Week - 4 - 2D meshing for Plastic components
ANSA JULY BATCH -1
AIM:-
carry out mid surfacing and 2d meshing for the given plastic component .
OBJECTIVE-
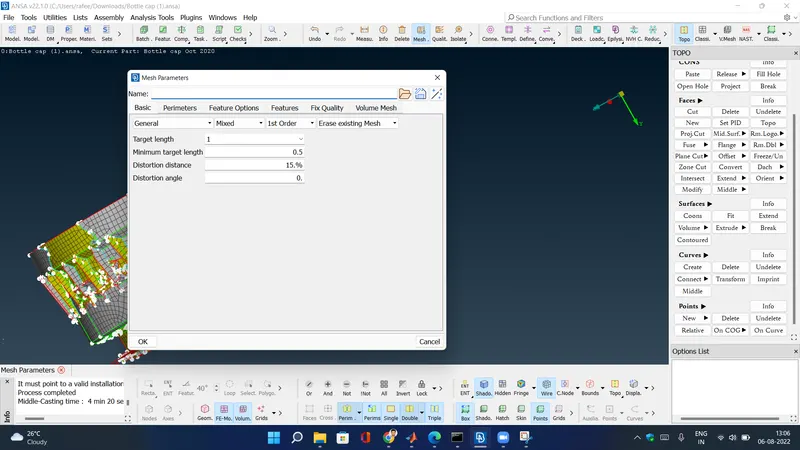
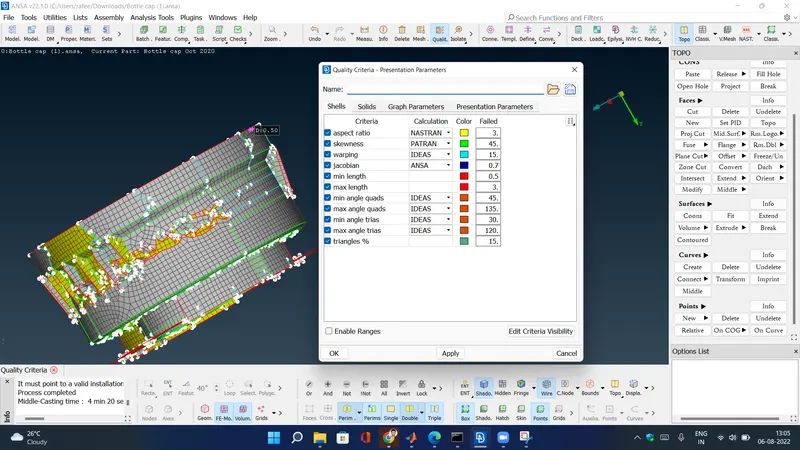
For the given Plastic Bottle Cap model, check for the geometrical errors and take the mid surface by suitable mid surfacing techniques. PID and Thickness assignment has to be done for all the mid surfaces. Mesh the same with given element Quality criteria. (Refer the table Below for the Quality criteria)
|
S.No |
Quality Criteria |
Value |
|
1 |
Target/Average length |
1 |
|
2 |
Minimum Length |
0.5 |
|
3 |
Maximum Length |
3 |
|
4 |
Aspect |
3 |
|
5 |
Warpage |
15 |
|
6 |
Skewness |
45 |
|
7 |
Jacobian |
0.7 |
|
8 |
Minimum Quad Angle |
45 |
|
9 |
Maximum Quad Angle |
135 |
|
10 |
Minimum Tria Angle |
30 |
|
11 |
Maximum Tria Angle |
120 |
|
10 |
Tria Percentage |
15 |
BOTTLE CAP :-
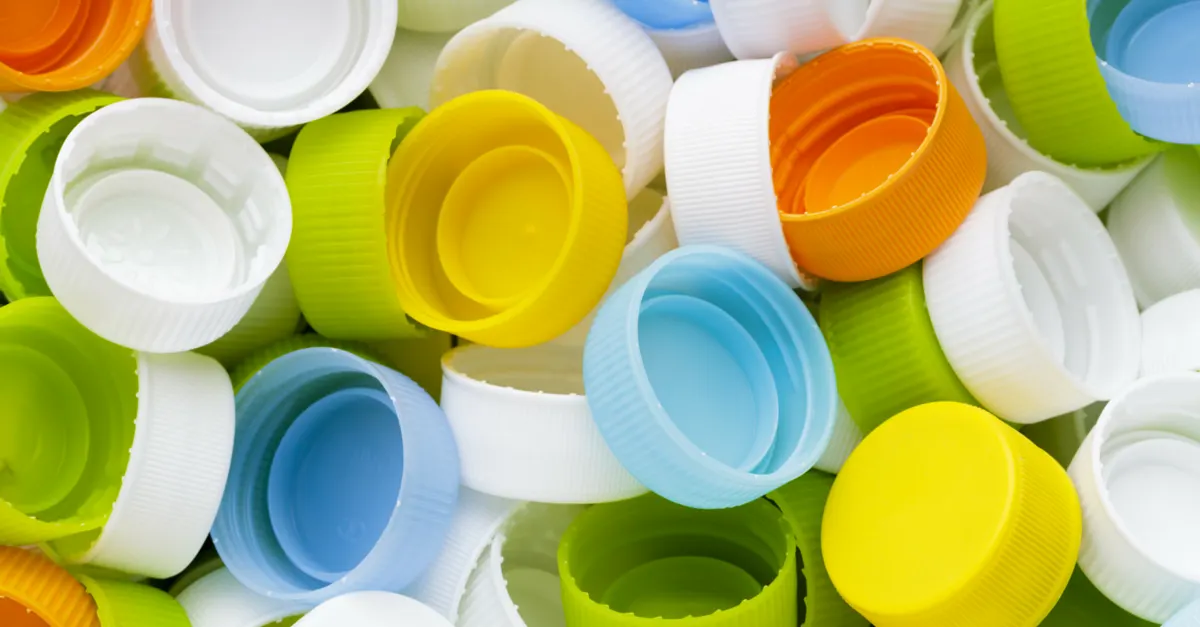
A bottle cap or bottle top is a closure for the top opening of a bottle. A cap is sometimes colourfully decorated with the logo of the brand of contents. Plastic caps are used for plastic bottles, while metal with plastic backing is used for glass; plastic caps are commonly made from PE or PP, whilst metal caps are usually either steel or aluminum
PROCEEDURE :-
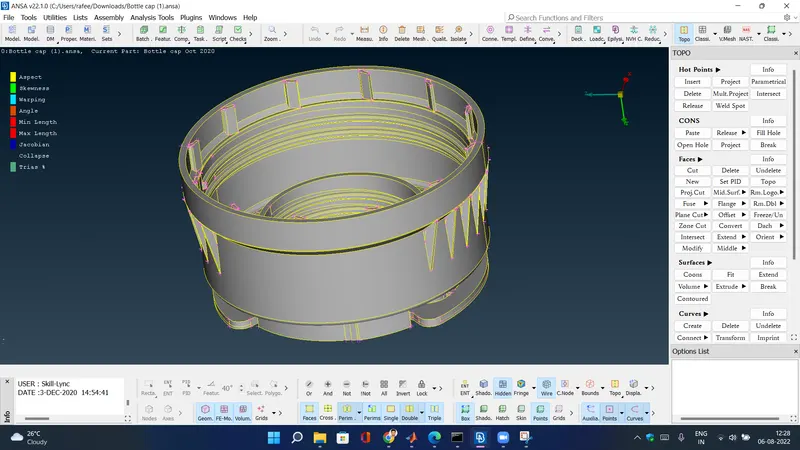
1.Import the model
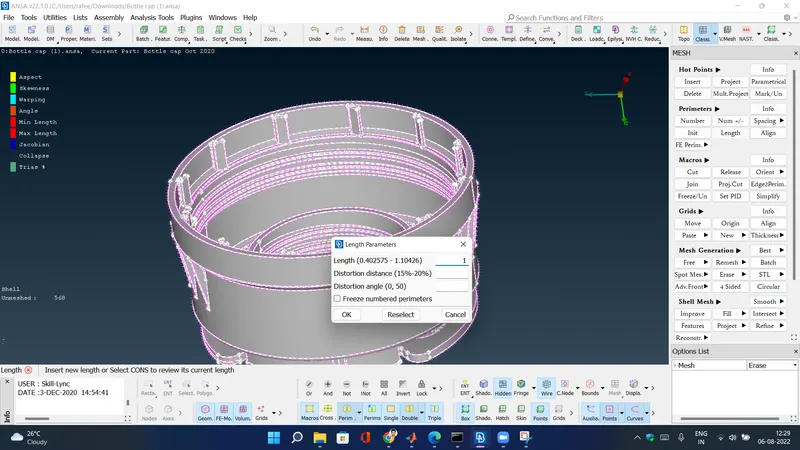
2.Cons resolution by Length option in Mesh module.
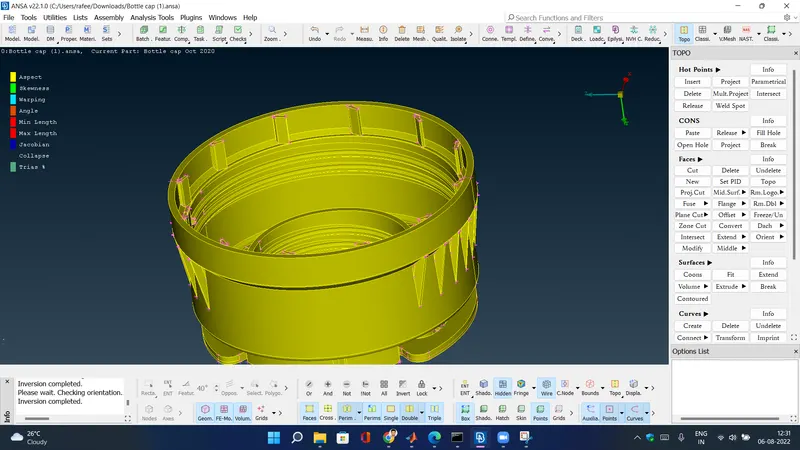
3. We have to Orient the Surfaces to make sure all the surfaces are in one normal direction.
4.Checking the geometrical errors and Clearing the geometry errors.
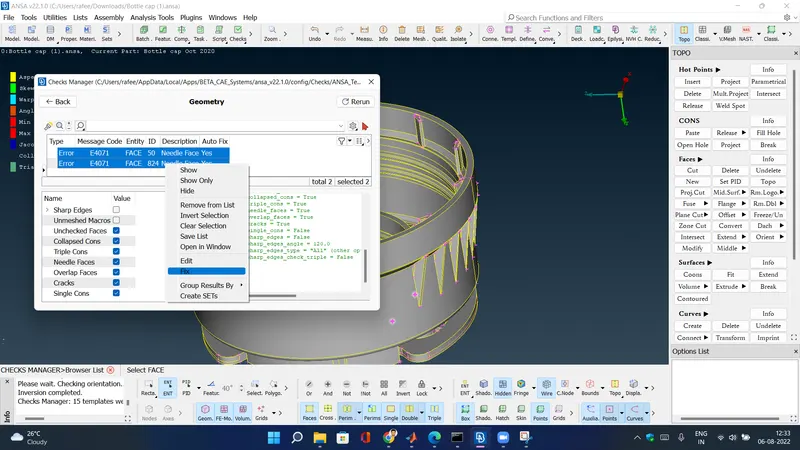
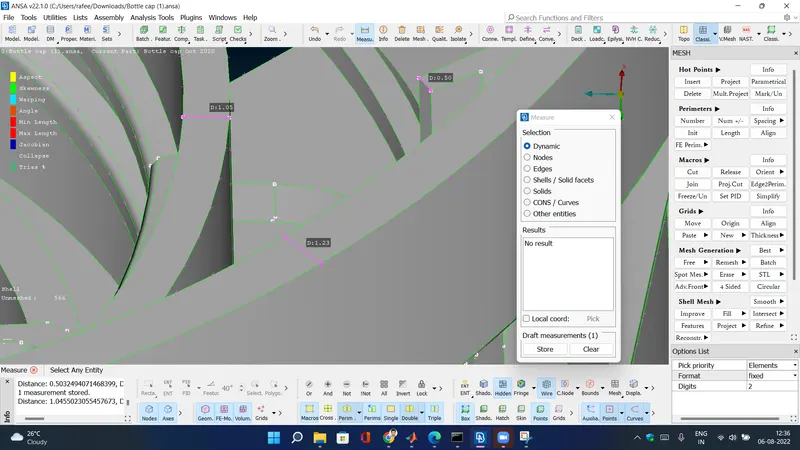
5.Check the thickness of the components.
- the thickness is less than 6mm .then we have to extract the midsurface.
- it is a plastic component as the thickness is varying .
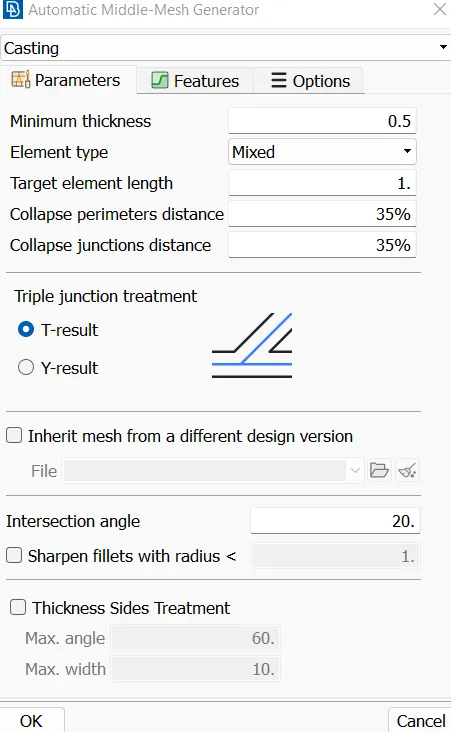
6. Creating the Midsurface for a Plastic component.
- For Extracting the midsurface we will be using the casting option.
- While Using the casting option the minimum thickness is given as 0.5 , even though minimum thickness is 0.2mm , it will take a lot of time to mesh and needed high level system .
- we will uncheck stop at geometry error in the options tab .
- target element length is given as 1 .
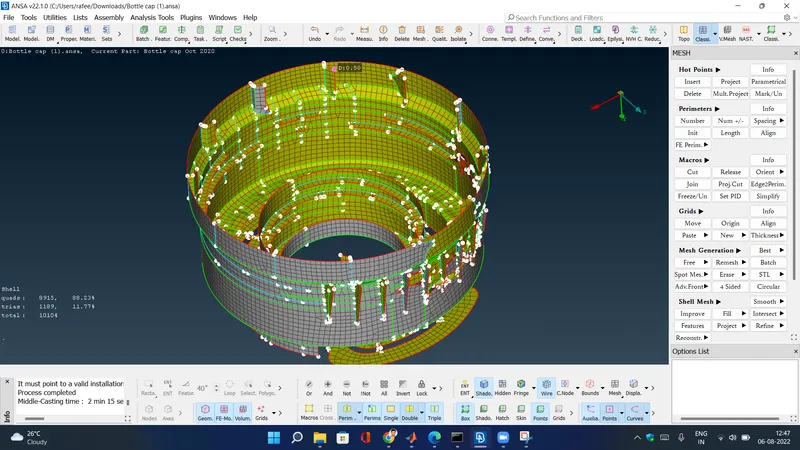
7. casting will create midsurface and mesh at the same time . we can see the midsurface generated and FE by turning on and off faces .

8.Providing the Mesh Parameters and Quality criteria to the model.
8.Cleaning the Midsurface.
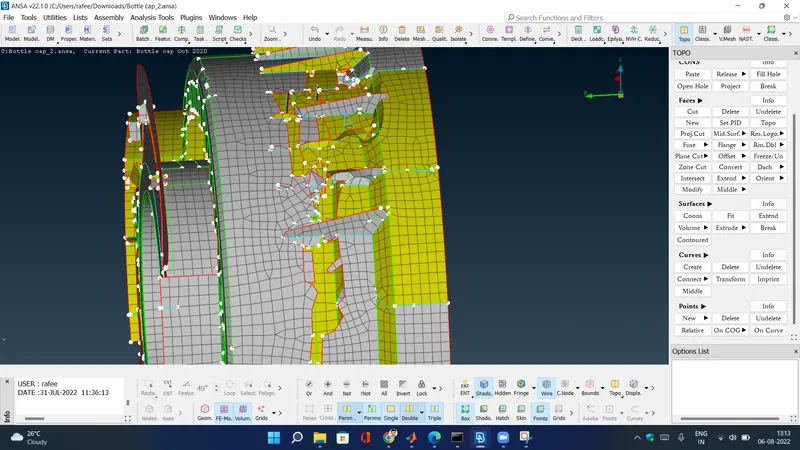
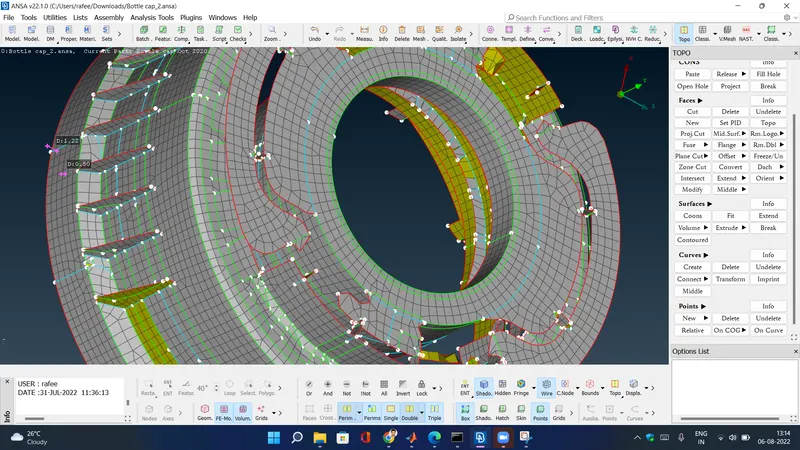
- the casting didnt capture the feature correctly in some parts . so we need to correct them .
- we can use help of align manager to correct them .
- using tools like paste , delete ,align , fill , middle in curves ,.... helps to correct them .
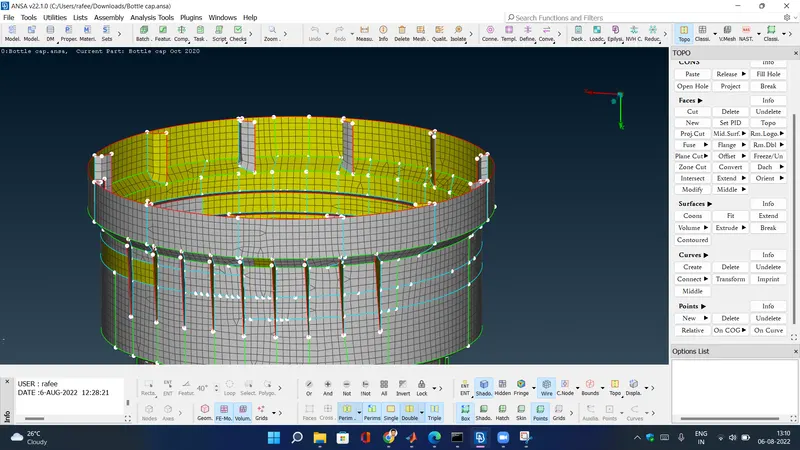
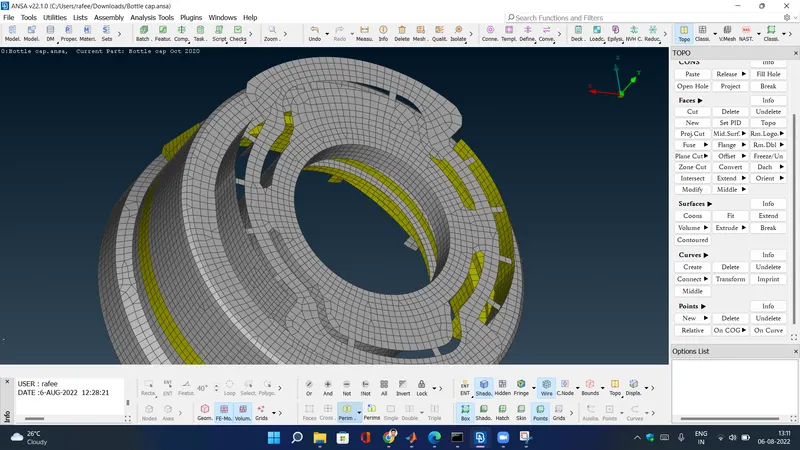
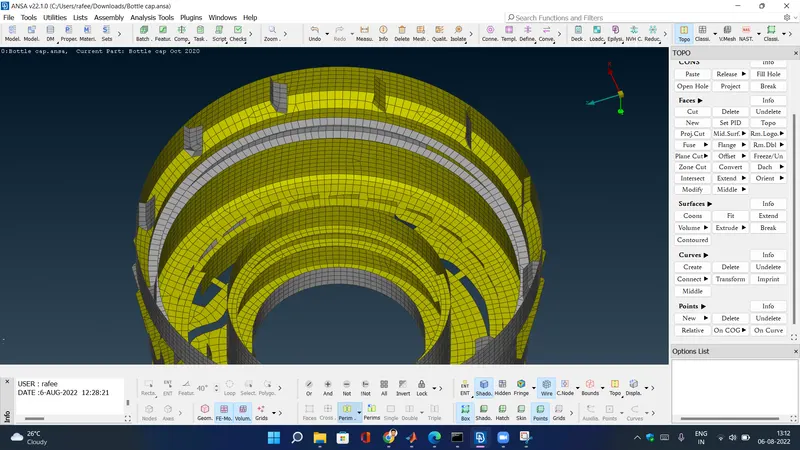
9.Clear the elements which are failing for the quality criteria.
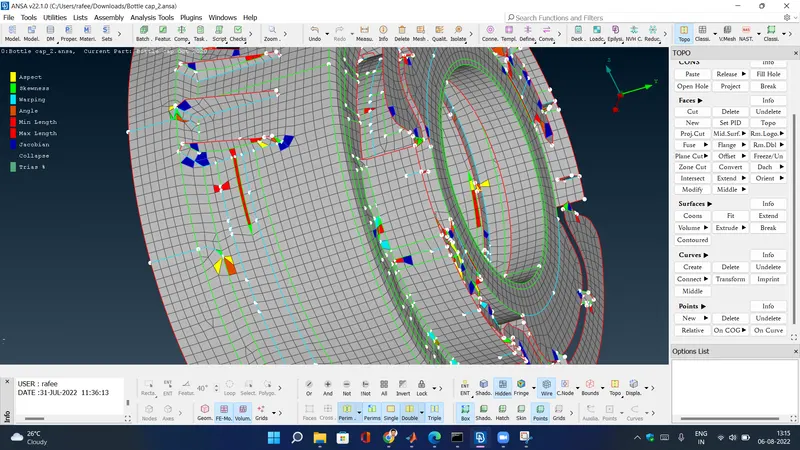
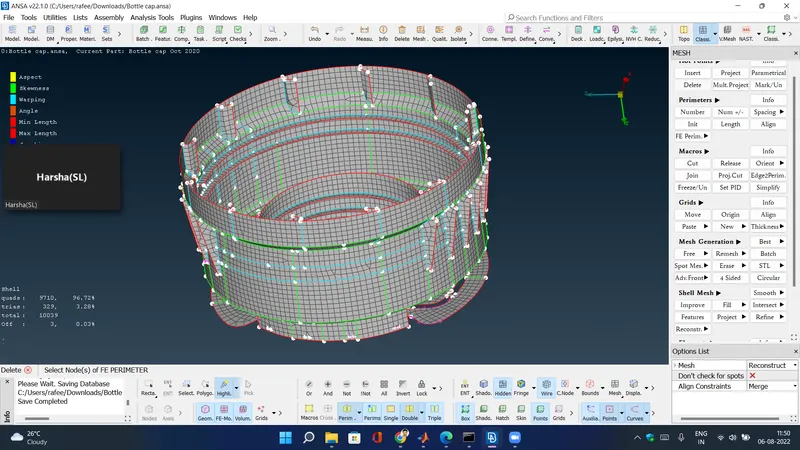
10. Assign the proper thickness for the newly created midsurface.
- give thickness step as .1
- check create FE perimeters .
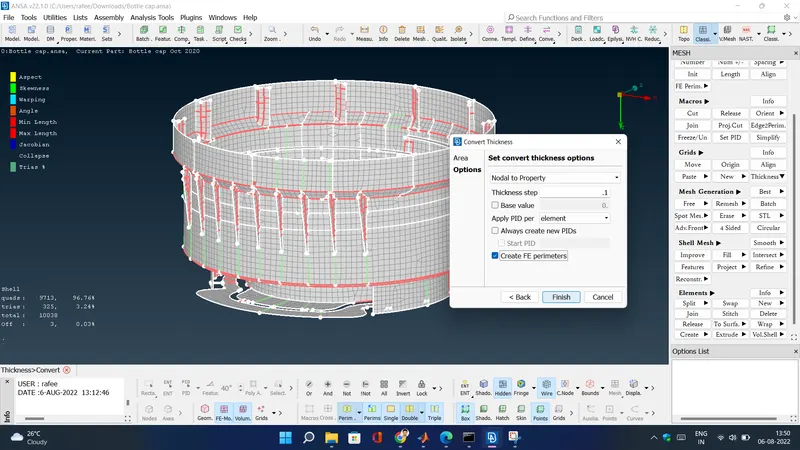
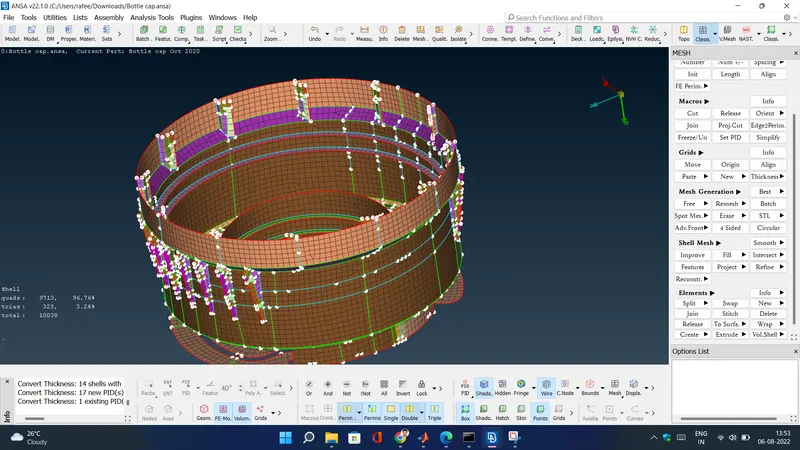
11 . Assign proper thickness .
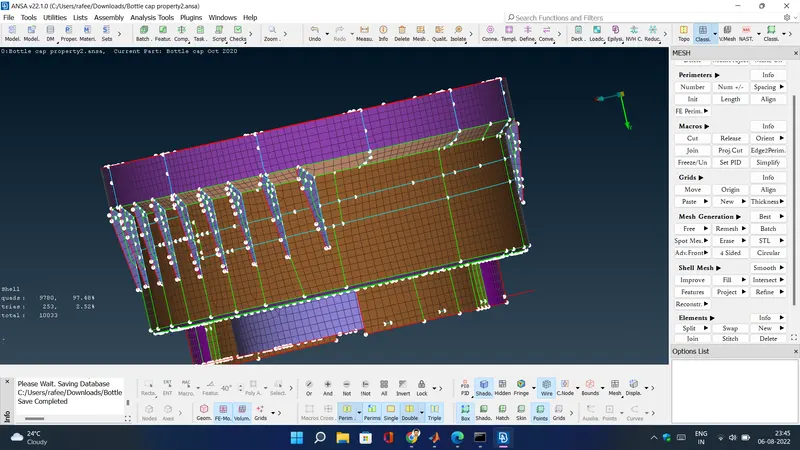
- when we give thickness , it may vary for some parts . correct the thickness using set PID function in macros in mesh module
LEARNING OUTCOMES :-
learned how to do casting .
learned to use align manger .
learned to create curves
CONCLUSION :-
we have successfully created mid surface and 2d mesh for the given component .