Week - 4 - 2D meshing for Plastic components
AIM : To visualize the 2D mesh for the given CAD model BOTTLE CAP using ANSA software.
APPARATUS : ANSA software,CAD model,laptop.
PROCEDURE :
- The given CAD model should be downloaded.
- the BOTTLE CAP is a plastic component.first,we should check the geomentical errors in CHECKS MANAGER and solve them.
- it's a plastic component. so, it has various thickness regions .we should measure the thickness and OFFSET to obtain mid-surface.
- first,we should get mid surafce to the small regions like the threads,teeths,fins and blades these are the main areas to get proper mid in this palstic component.
- In thread area it is impossible to create mid between the trapezoidal threads.so, first we should create a curve between two cons and project that curve to the surafce and creat a new surafce between them.
step :1
middle option under curves is used to create a curve between those two curves and use fine option in auxiliaries to get the purple colour line in correct shape.
step :2 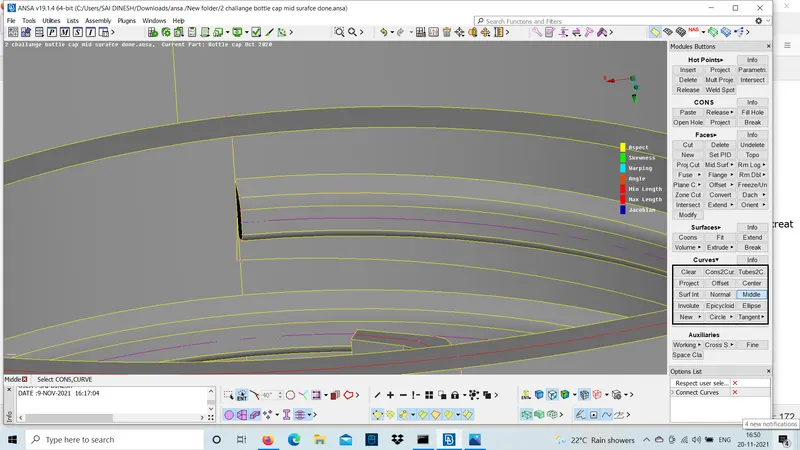
use project option in cons to select that curve and project it to the mid surafce.
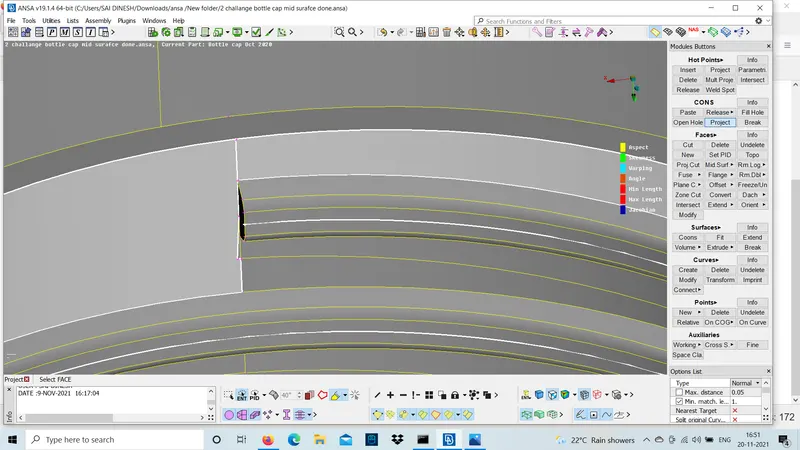
step :3
use new option to create a surace ( as shown below).
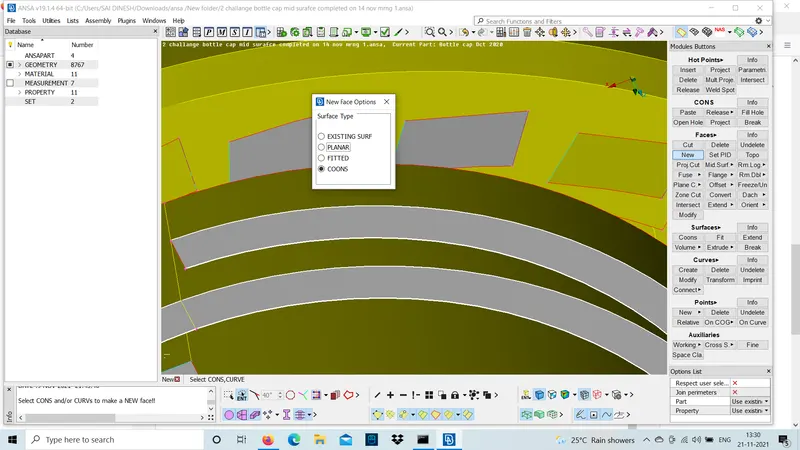
- Those teeth areas we can't create a mid surface for the entire tooths.so,we can use rotate option and project to the surafce.
step :1
In order to create a mid for one tooth .we should select the front face cons and create a curve at the middle.
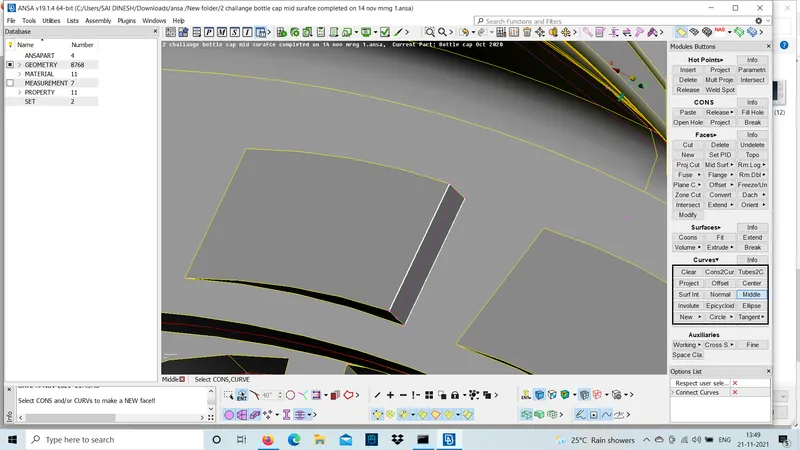
step :3
use project option and project the other face to the mid surface.
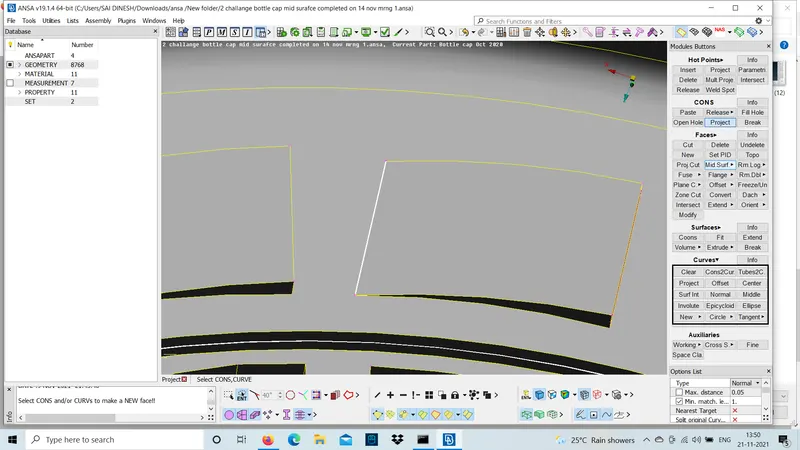
- pick those double con and middle curve and create a new suraface to get mid surface for the tooth.
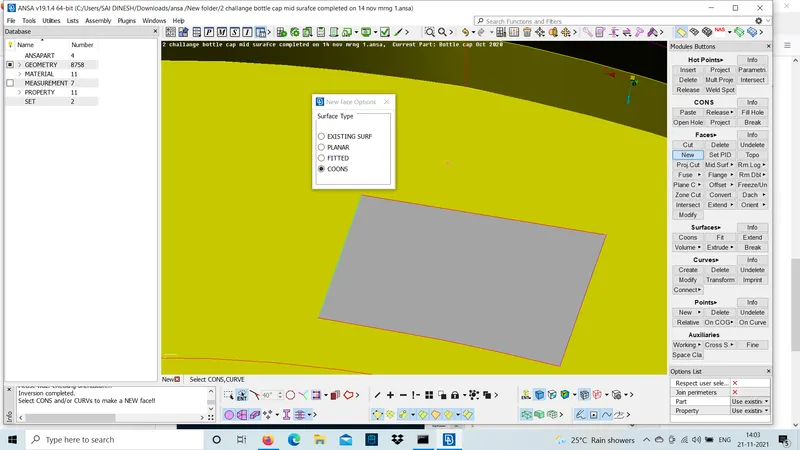
step :5
In order to use rotate option to create mid suraface for the entire tooth,we need a axis of rotation. for that new need two center points.
- To craete a center point,on COG option is used in points.
- select TRANSFORM>ROTATE .
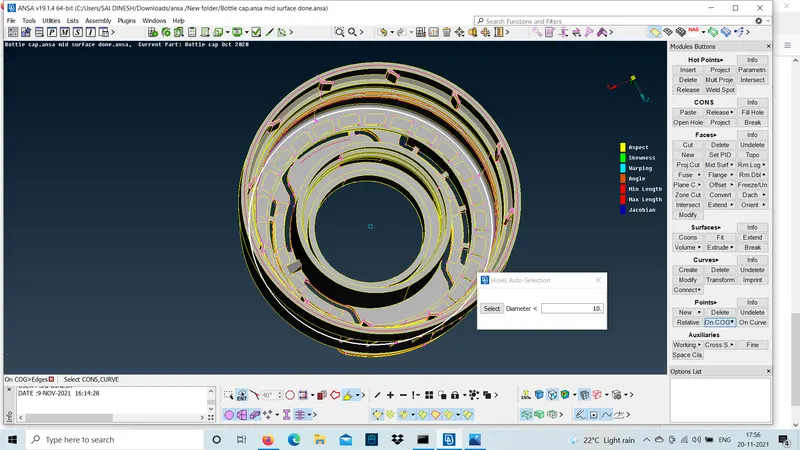
- rotation is done .
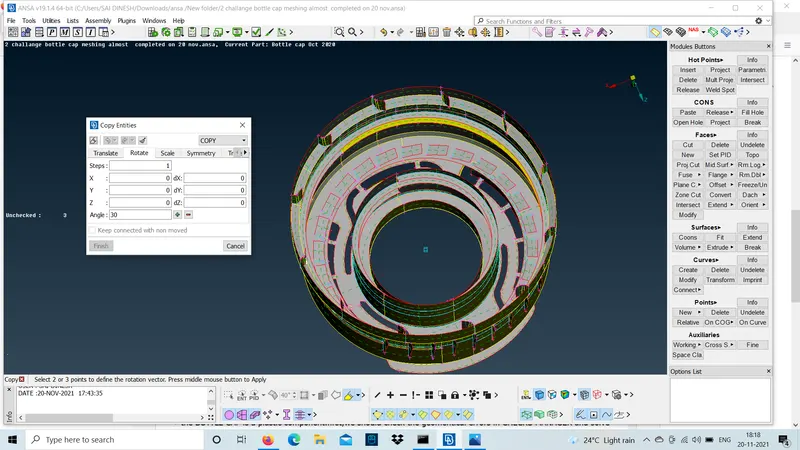
- For,fins create a curve at the middle in all faces and join them create a new surafce.next ,use extend option to join.
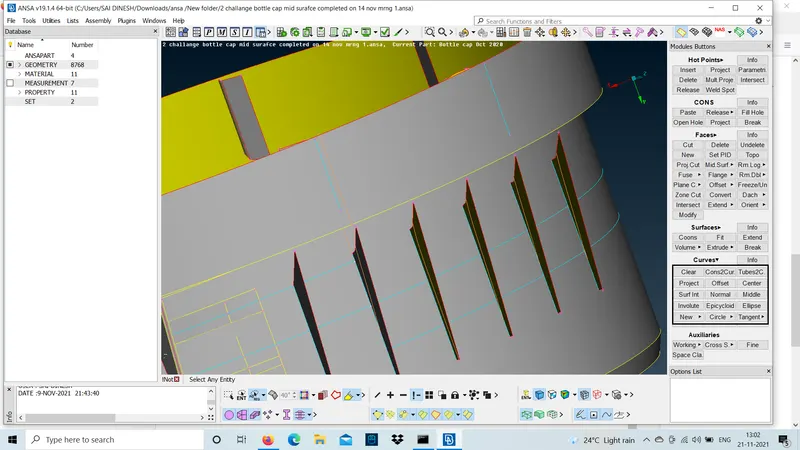
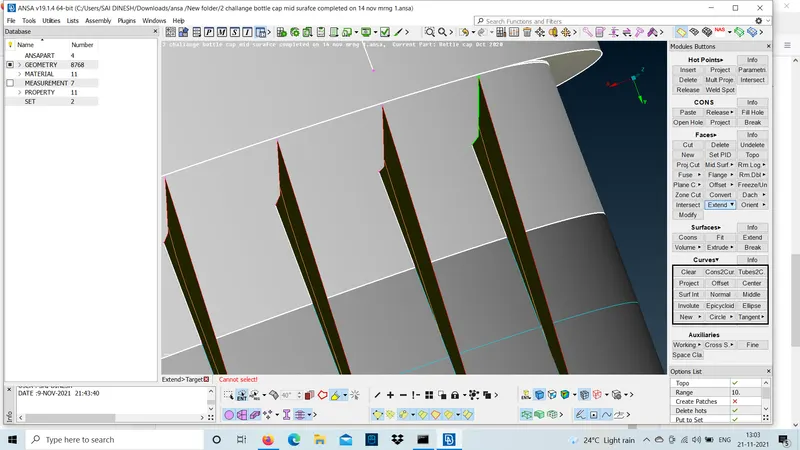
- totally,mid suraface is done for the entire bottle cap model.
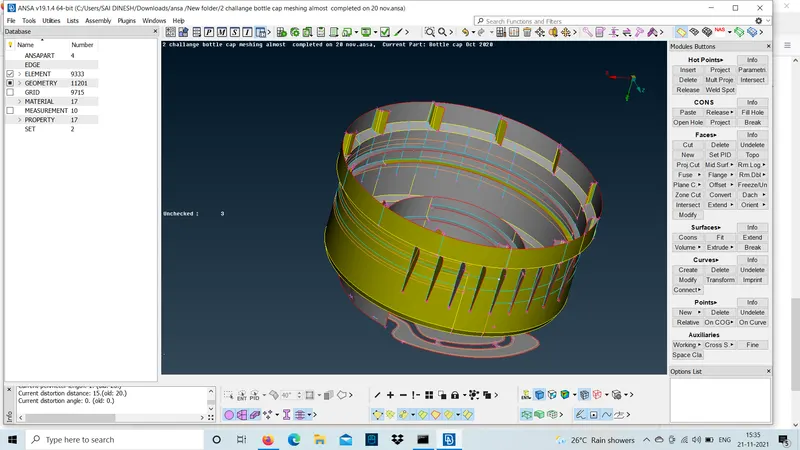
- Now,we should shift from topo mode to mesh mode and set quality criteria and start meshing part by part using best mesh and batch mesh.
- check the mid surface maching the CAD using transparancy option .
NOTE : try to avoid maximum number of traias or free edges it's totally based up the industry the way they need we should provide.
- The mesh flow of the bottle cap model can be achieved by spliting the mid into box shape using cut option and mesh the area to achieve proper mesh.
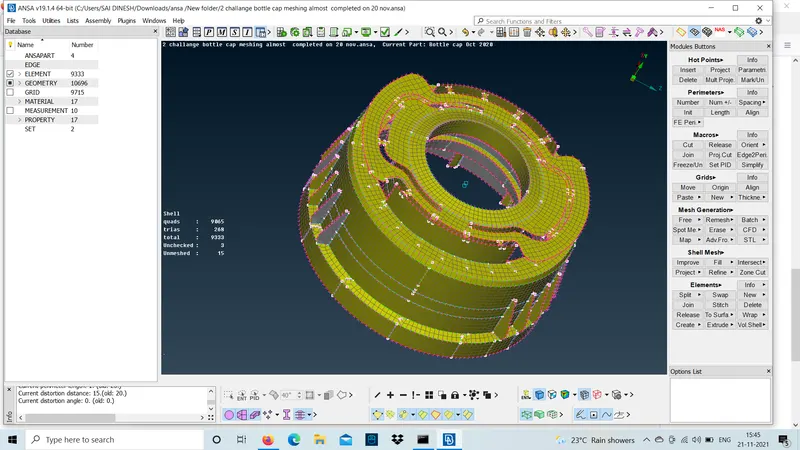
RESULT :
The 2D meshing for the given CAD model bottle cap is done.