Week 4-1D Element Creation Challenge
REPORT
AIM :
To mesh the given parallel bracket component and to create 1-D elements on the given component with given cross-section and DOFs.
a. Rod element:- Translational DOF should be Constrained with RBE2 link
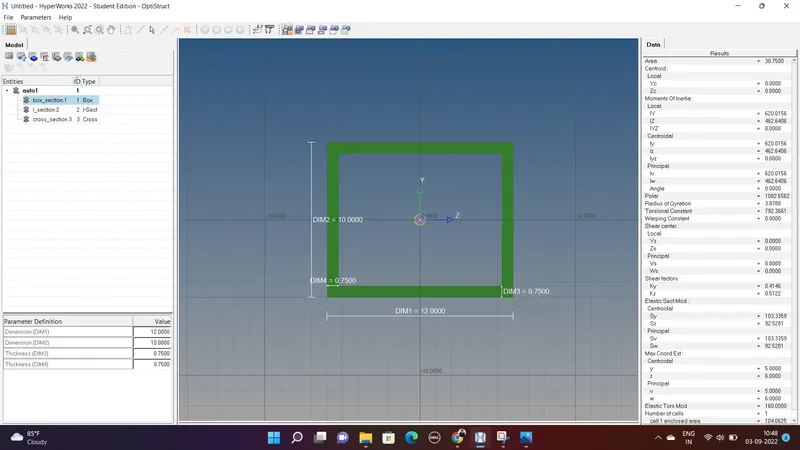
Cross-Section: BOX- Dimension a= 12 mm
dimension b=10 mm
Thickness t= 0.75 mm
b. Beam element:- All DOF should be constrained with RBE3 link
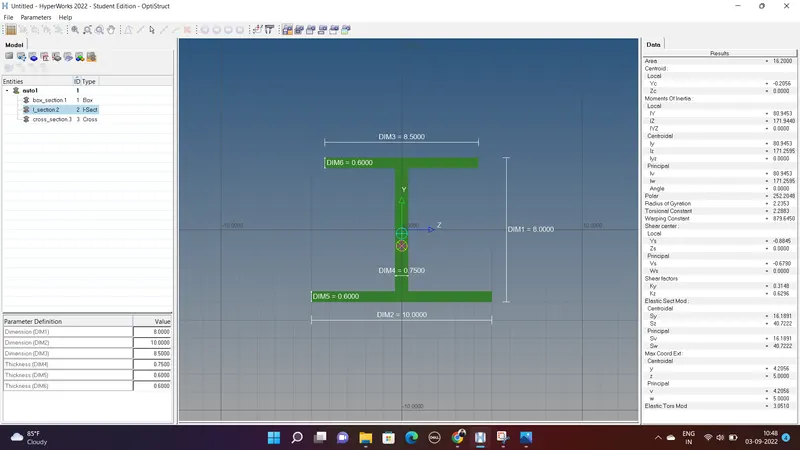
Cross-Section: I Section- Dimension a= 8 mm
Dimension b= 10 mm
Dimension c= 8.5 mm
Thickness t1= 0.75 mm
Thickness t2= .6 mm
Thickness t3= .6 mm
c. Bar element:- Constrain only x and y DOFs With RBE3 link
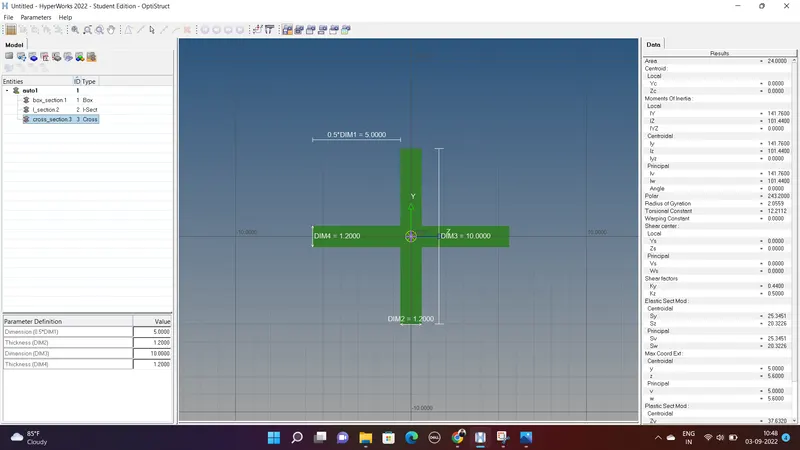
Cross-section: X section- Dimension DIM1= 5 mm
Thickness DIM2= 1.2 mm
Dimension DIM3= 10 mm
Thickness DIM4= 1.2mm
d. & e. Apply the mass of magnitude 10 with the RBE2 link
f. Join the two components with Spring elements
PROCEDURE:
1. Import the geometry which is the .igs file to Hyperworks workspace. Import Geometry > Choose File > Import.
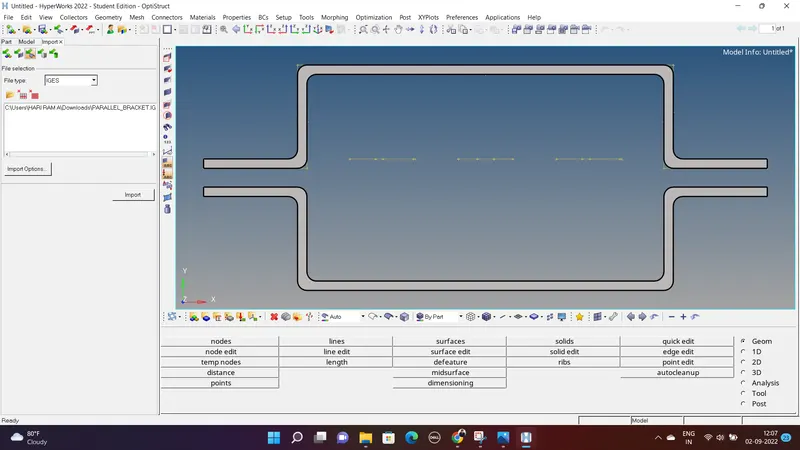
2. Mid surface extraction by using midsurface option. Geometry > Midsurface

- In the extraction option of the mid surface, we have to select the midsurface extracting method. Here Offset option is selected.

- In the surfs shown area, we have to select Solids. Selecting the bracket 1 and bracket 2 individually and choose create respectively.
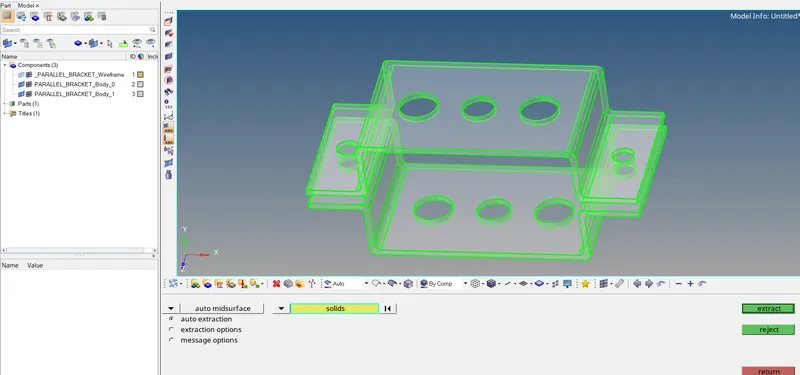
The completed midsurface creation is shown below.
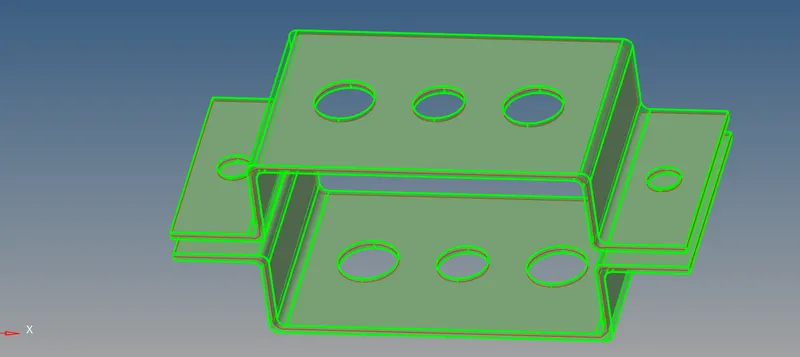
- We can make visible only the mid surface from the model tab component icon.
3. Create washer splits around the holes. Washer split is used to create a washer seated on a hole in a model. Inorder to create washer split, Geometry > Quick edits > Washer split.

- In washer split option, we have to give the offset distance and select the lines to be where washer to be give. Here the offset distance given is 5 units.
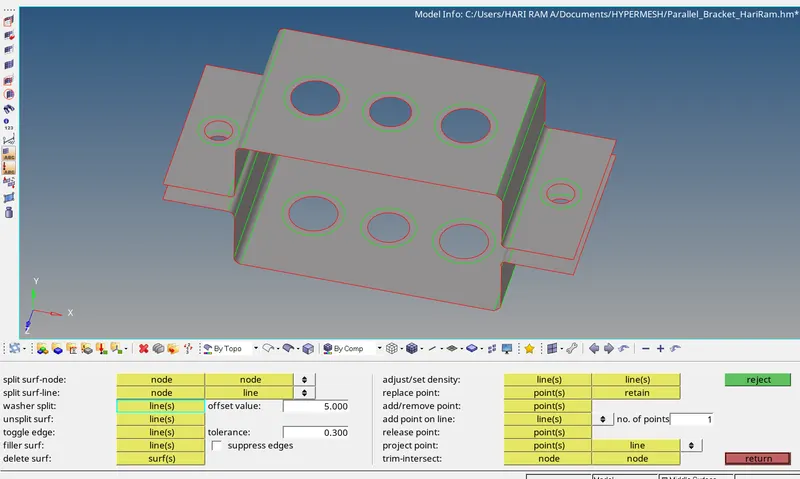
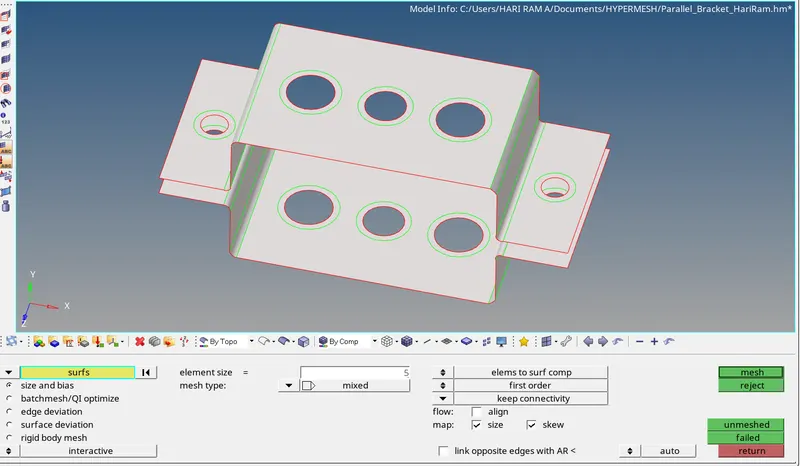
3. Mesh the component with the target element size of 5 units. Inorder to mesh, we have to select 2-D > Automesh.

- In automesh option, we have to select the mesh element type and the target element size. Here mixed element and 5 unit element size is given. Select the surface option and choose displayed. So that all displayed surface gets selected to mesh. Then click on Mesh.
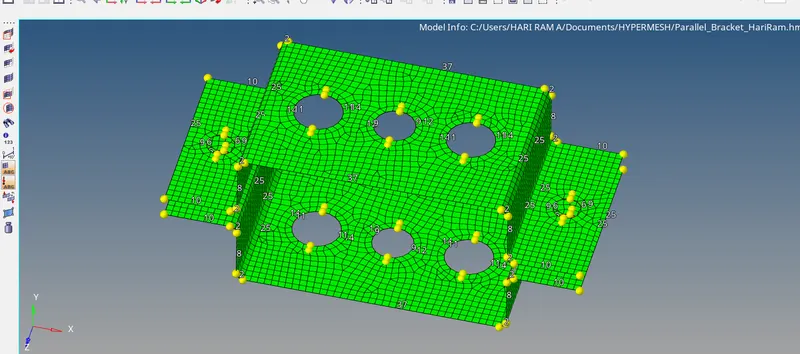
- In the obtained mesh, we can see different number of nodes are present in hole areas. Inorder to make it equal use the mouse left and right button to increase and decrease the nodes respectively.
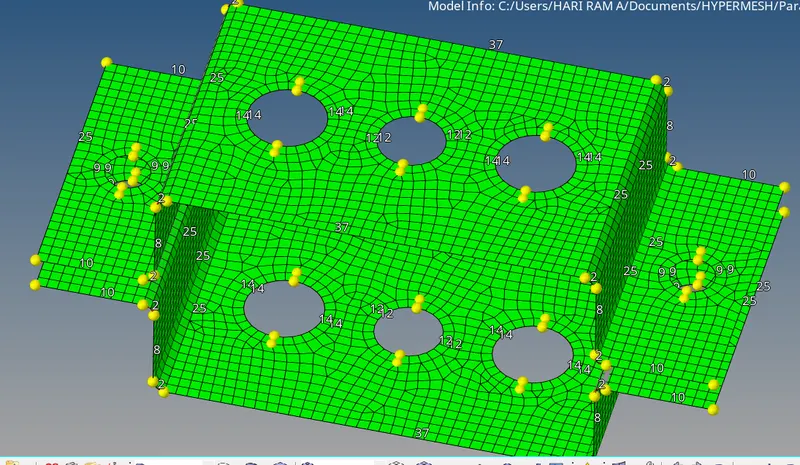
The meshed component is shown below.
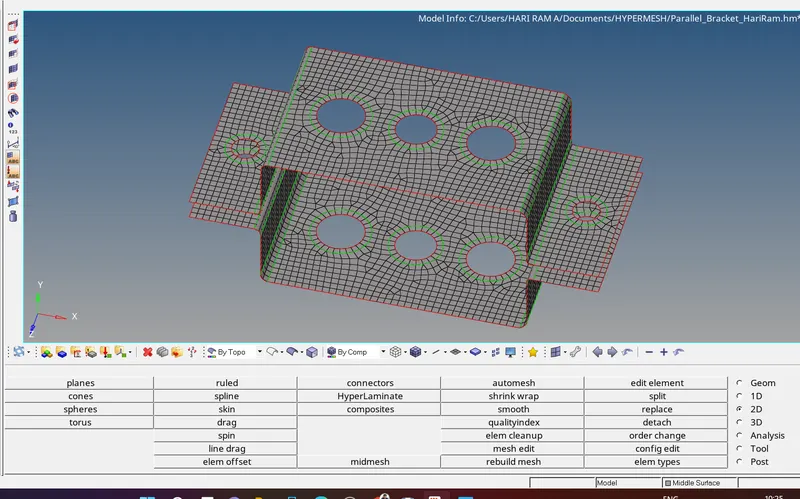
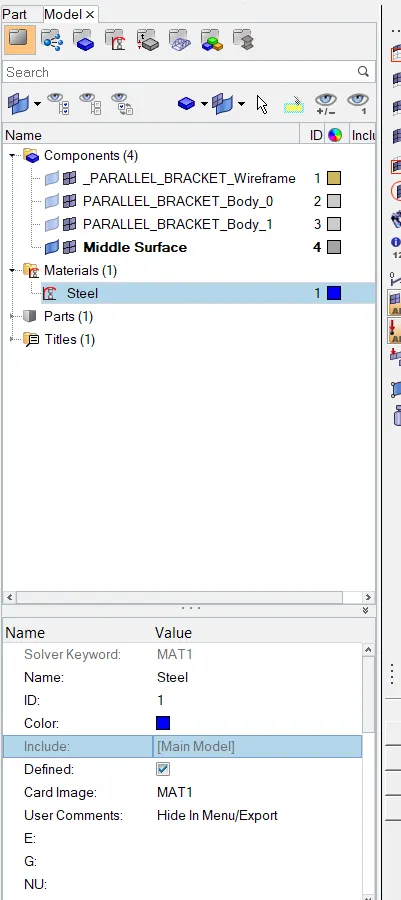
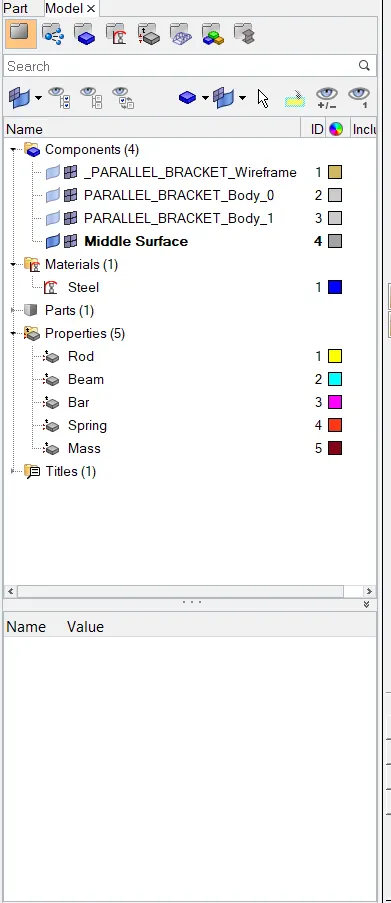
4. Material and Properties creation. Properties for each 1-D element has created inorder to do the selection while assigning it to the 1-D element. Material here selected is steel. Material card for steel is 'MAT1' in Optistruct.
5. Cross section creation in Hyperbeam.
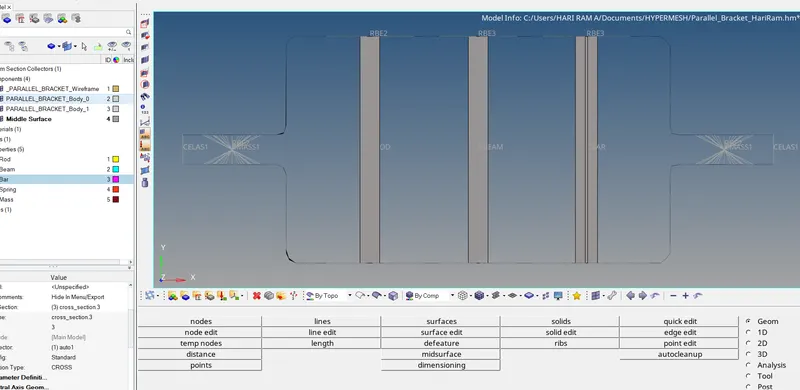
In hyperbeam, we have to create the cross sections which has to be created for 1-D element. The cross sections which are to be made are box, I and Cross types. The dimensions are to be given while creating these cross sections.
The cross sections created can be displayed below.
6. Creating Rod, beam, bar elements.
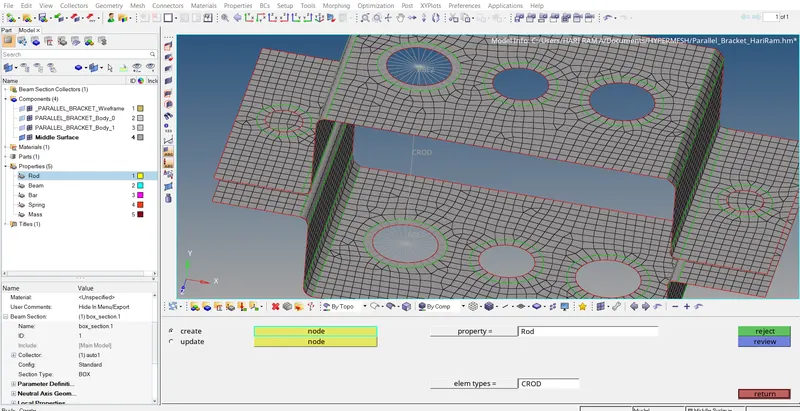
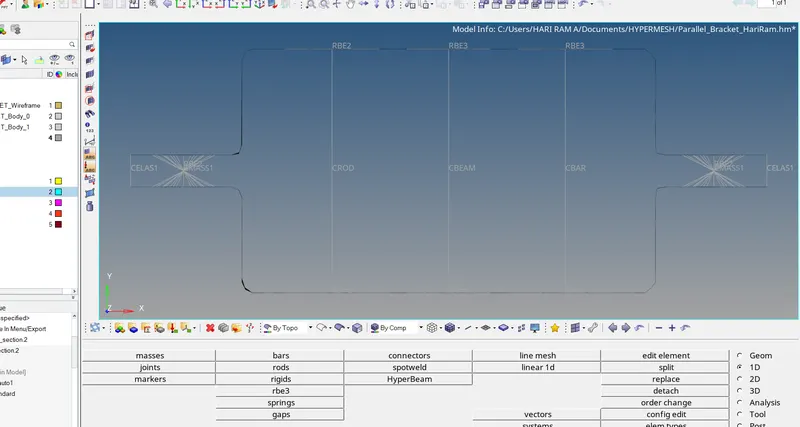
- Provide the rigids at a,b,c,d sections. RBE2 link should be given in a and d section. In b and c section, RBE3 links should be provided with given dofs.
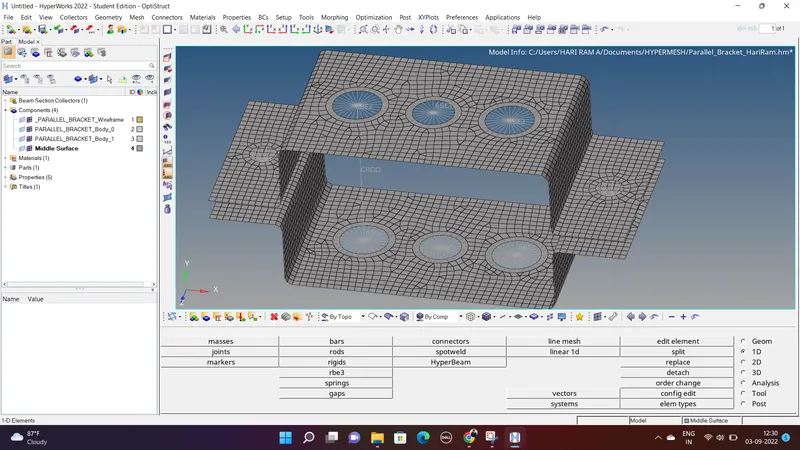
- Create Rod, Beam and Bar elements by assigning the properties, beam sections and also card image as PROD, PBEAM and PBAR respectively.
- The stepwise Rod element creation is shown below.


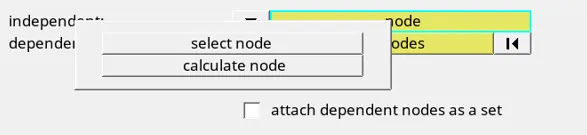
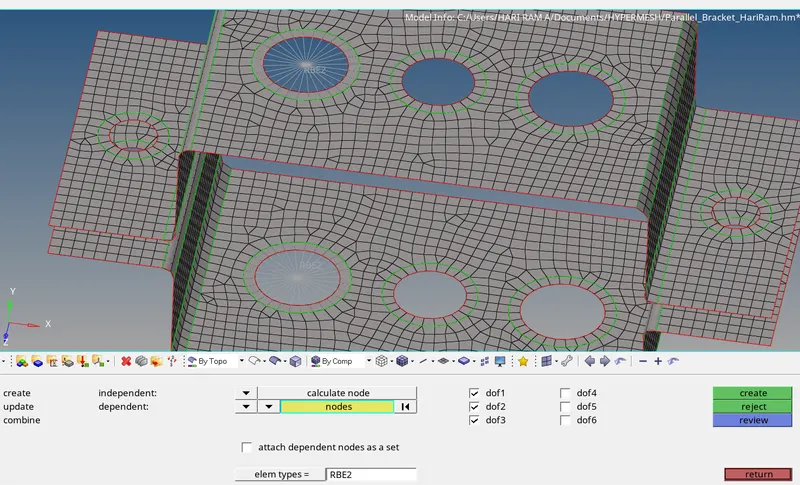
Similarlly, the beam, bar, mass and spring elements are shown below.
- The 1-D detailed element representation is shown below.
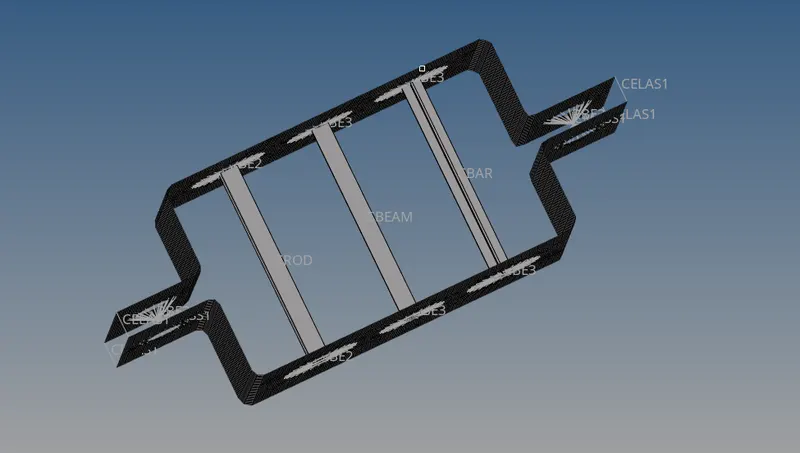
7. The complete image of the component along with 1-D elements can be shown below.
LEARNING OUTCOMES:
- Learned about the midsurface generation using offset method and meshing.
- Learned about the representation of RBE2,RBE3 links and the 1-D elements creations such as Bar, rod, beam, mass spring etc.
CONCLUSION:
The mid surface extraction and meshing of the given parallel bracket component has been successfully done and also the 1-D element and its representation has been created.