Week 3-Meshing of Hood Challenge
AIM:
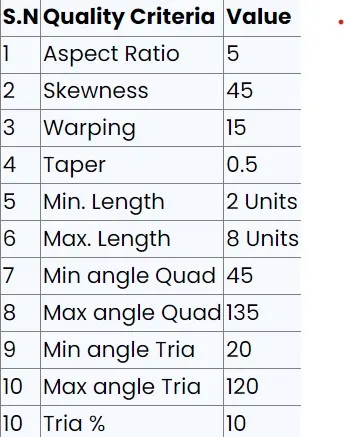
To take the mid surface for all the components after checking the geometrical errors and mesh the mid surface with the given element Quality criteria,for the given Hood model.
GIVEN DATA:
Steps involved in the procedure:
- To check all the geometry error and to fix them.
- Mid surface to be made for all the geometrys.
- To generate mesh with good flow in the given quality criteria.
PROCEDURE:
- Open the hypermesh software.
- Import the given hood model from the import geometry option
- In hypermesh we can import all the CAD Software file formats like IGES,STEP,etc.
- And we have to do midsurfacing and to mesh the component and to assign the thickness.
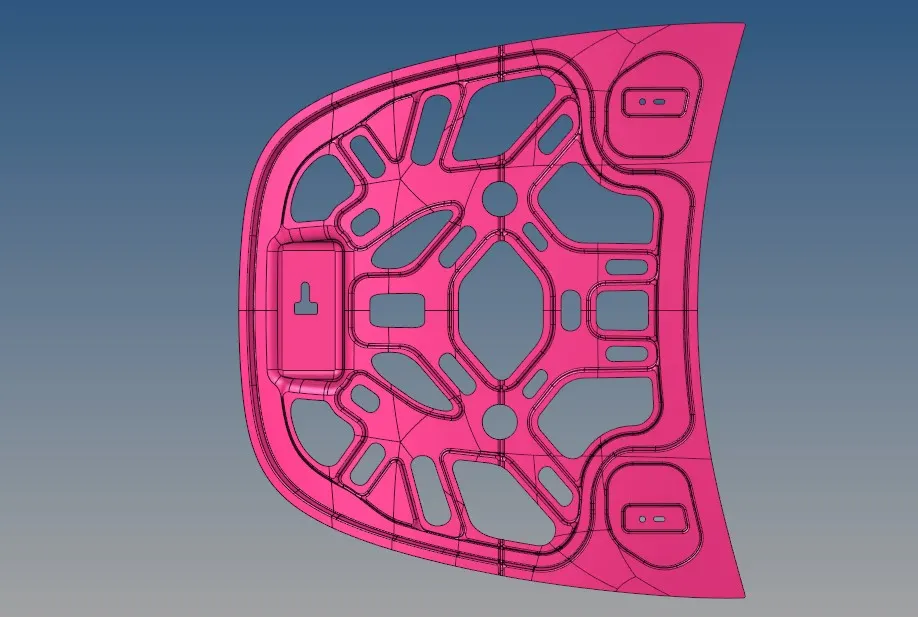
Given model:
STEP 1:
- After importing the model check whether there are any solids present in it.
- If any solids present in the component, then we have to delete them. For that go to Delete>solids and select the component and click on delete.
- In this component, there are no solids present. So we proceed for geometry cleanup.
STEP 2:
- After deleting the solids, we have to check whether there are any geometry errors.
- Now to perform geometry cleanup, go to the Geometry> autocleanup option and select the model and press middle mouse button. '
- Autocleanup option automatically clear geometrical errors present in the model.
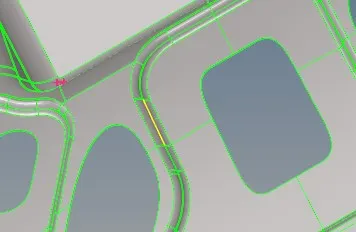
- after the geometry cleanup
STEP 3:
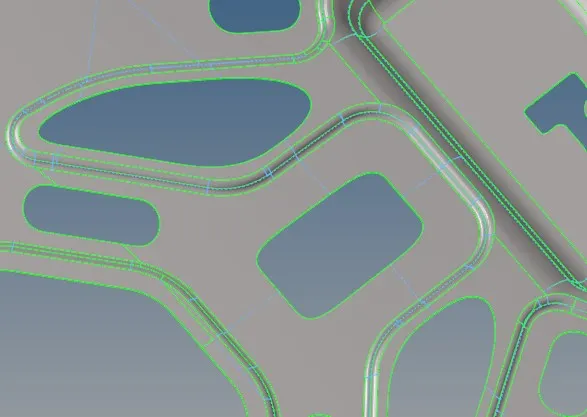
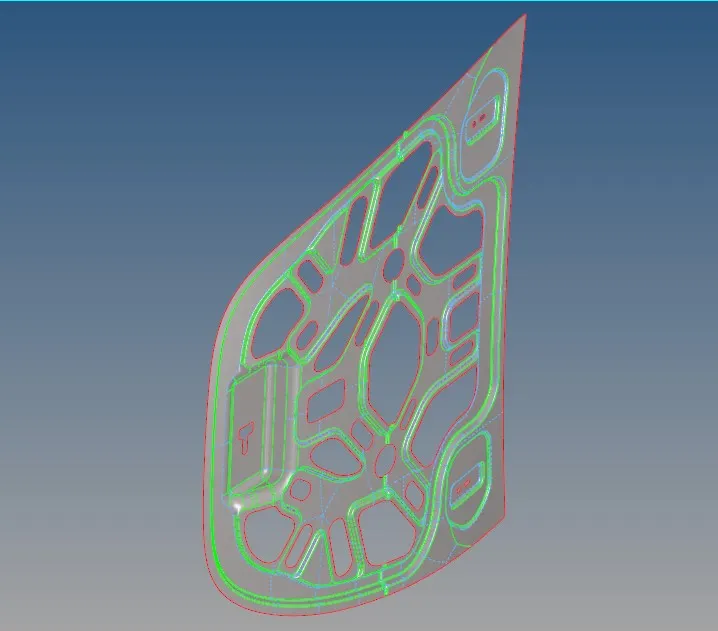
- After geometry cleanup, we proceed for midsurface extraction.
- go to Geometry>midsurface option. Choose the auto midsurface option and select all the surfaces. Then click on extract option.
STEP 4:
- After doing the midsurface we have to go for meshing .
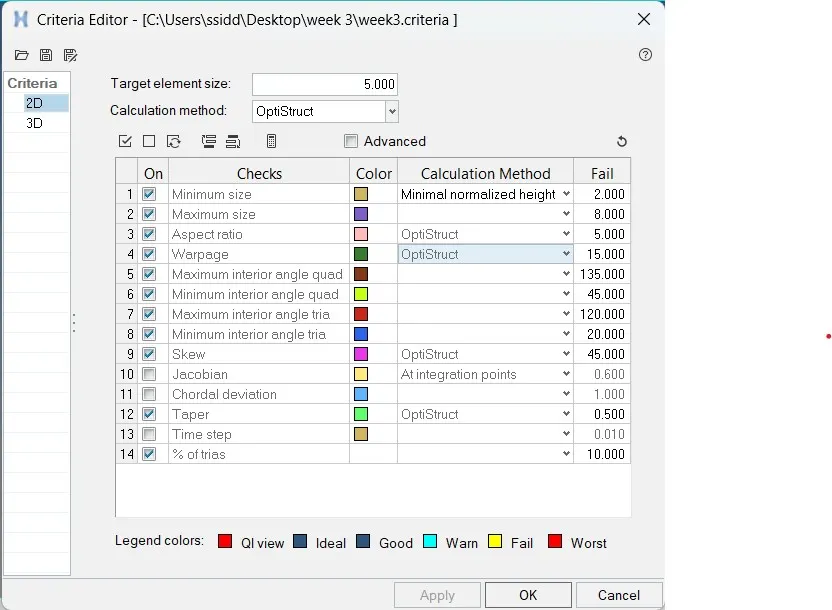
- before that we have enter the quality criteria and target element length
STEP 5:
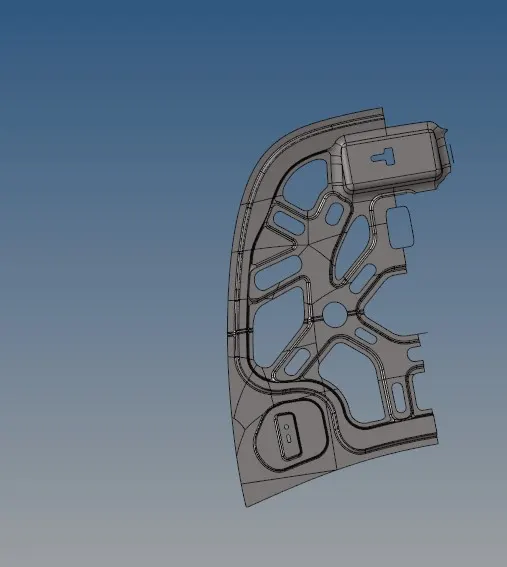
- since the given model is symmetric it is cut done into half for better meshing.
STEP 6:Meshing
- we can use two types of mesh auto mesh and batch mesh
- Go to 2D or press f12>> Automesh>> select the surface>> provide element length of 5 mm>> choose mesh type as ‘mixed’ >> element to current surface >> select current component as symmetric one >> Keep connectivity >> click on mesh
- after meshing the half part Go to Tool >> Reflect >> Select elements >> Duplicate >> Choose axis >> Choose base point >> Click on Reflect.
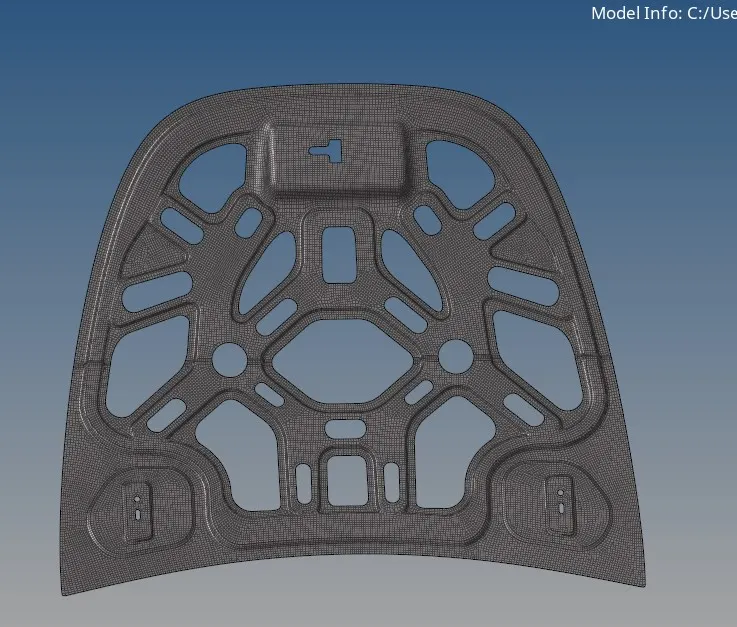
- now we have check for element failing.go to mesh>>check>>element>>quality index.
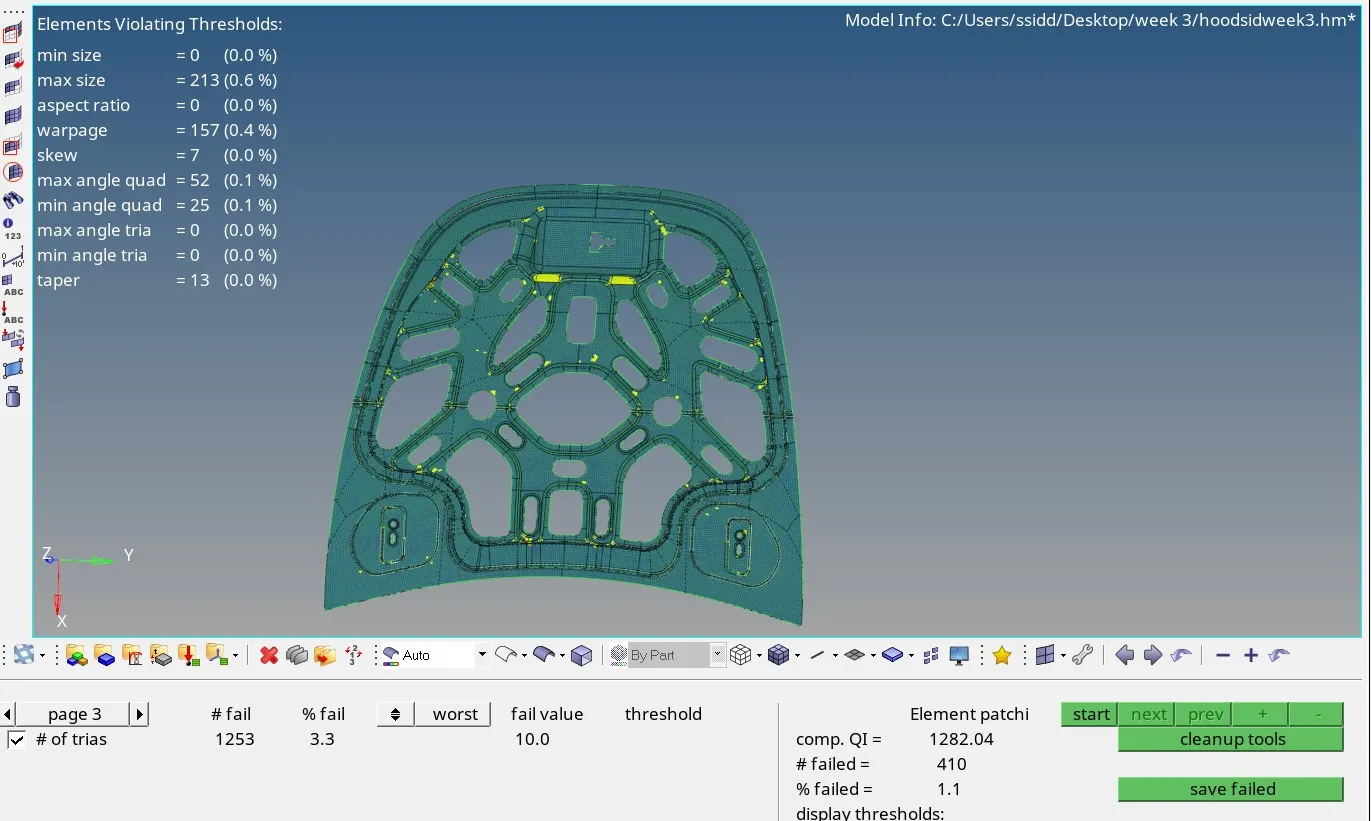
the trias obtained are reduced to 3%.
STEP 7:
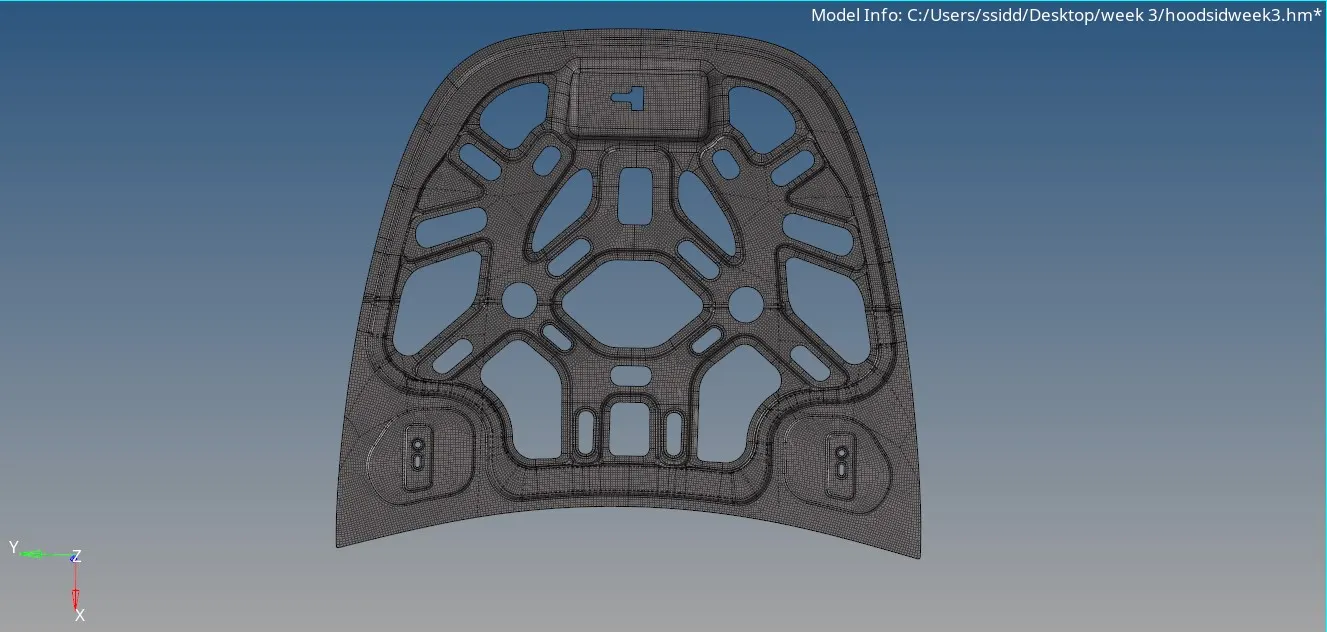
- To assign the thickness, Create a property in which give the thickness = 0.75 mm and then assign it to Middle surface.
LEARNING OUTCOMES:
- I can now able to generate geometry clean up and property Ids
- can do mid surface for any component
- understood how to do mesh for complex geometry
CONCLUSION:
Thus for the given Hood model, the mid surface for the component is generated and the geometrical errors are identified and fixed and meshing for the component with the given element Quality criteria is done and thickness is assigned.
since the file is larger than 20 mb i uploaded in my drive and shared the link--
https://drive.google.com/file/d/1vzjAY27wR6C0G4p_vKPyx1ReExnWH0jO/view?usp=sharing