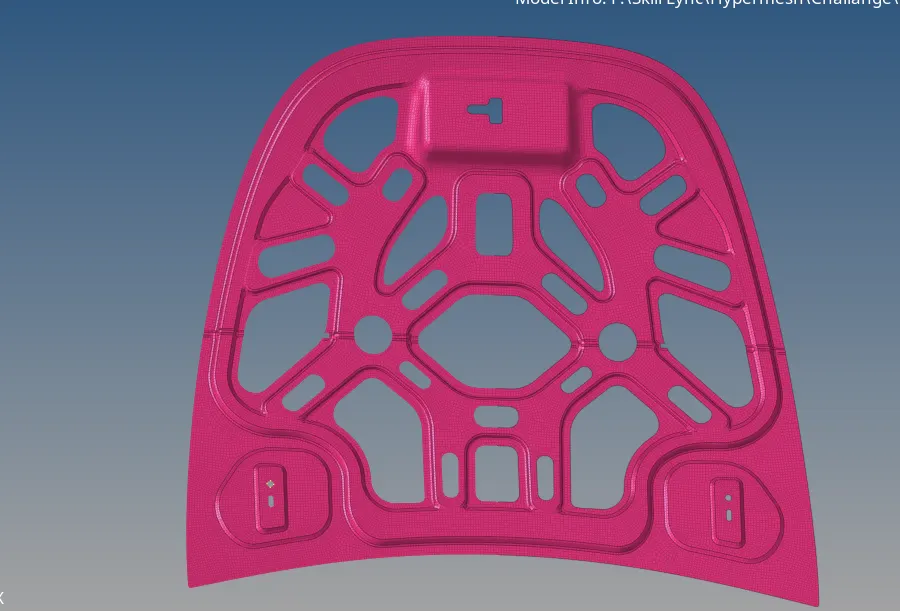
Week 3-Meshing of Hood Challenge
Objective: to extract the middle surface of given model and mesh the middle surface.
Procedure: First import the model in hypermesh
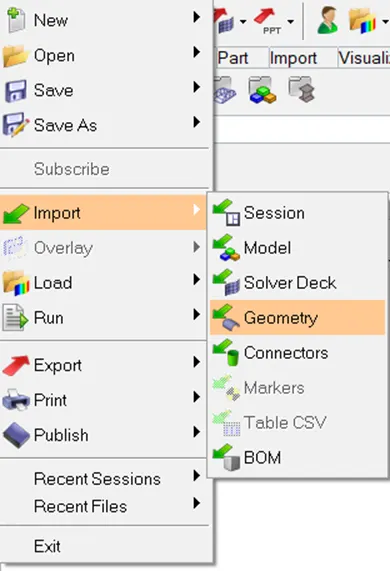
To import go to File Menu >> import >> geometry.
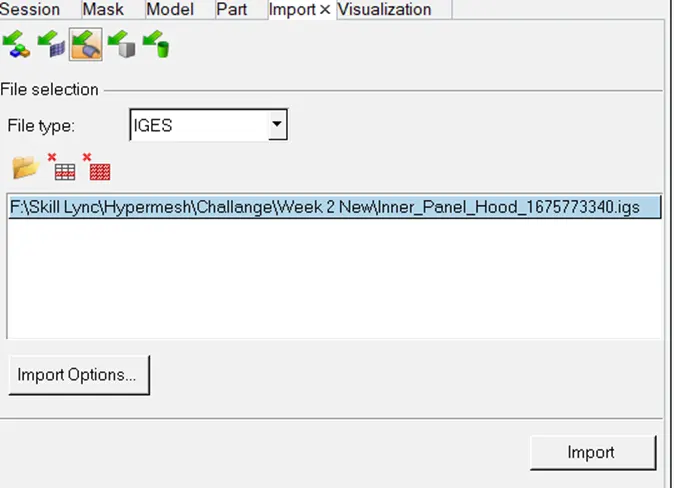
Now choose ‘IGES’ as file type and open the model.
Now select the model and click import.
Now our model is opened in hypermesh.
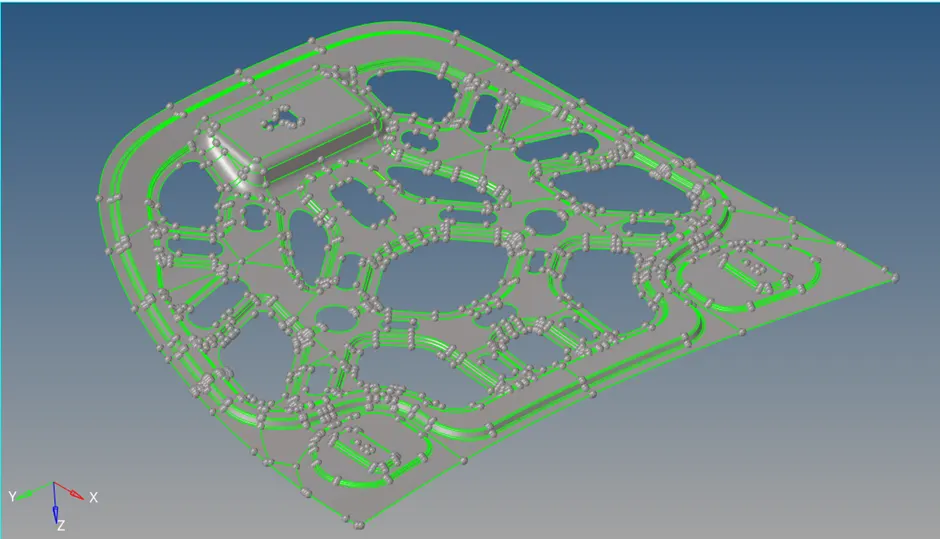
We will hide the unnecessary component and keep the required surface unhide.
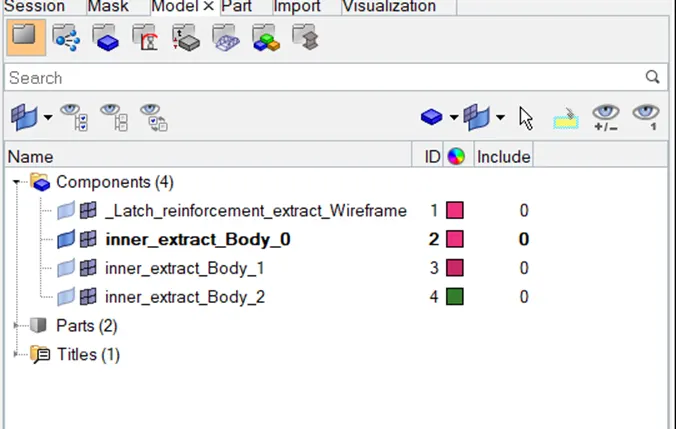
Now we will examine the model, where there is any geometrical error in surface.
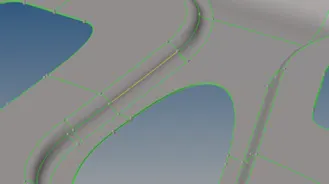
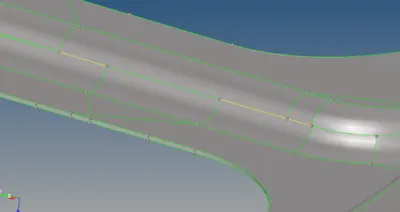
We will try autocleanup tool to clean
Go to Geometry>>Autocleanup>>Select Surfae>>click on autoclean up
We can see that it will not only remove the yellow line also supress the unnecessary lines
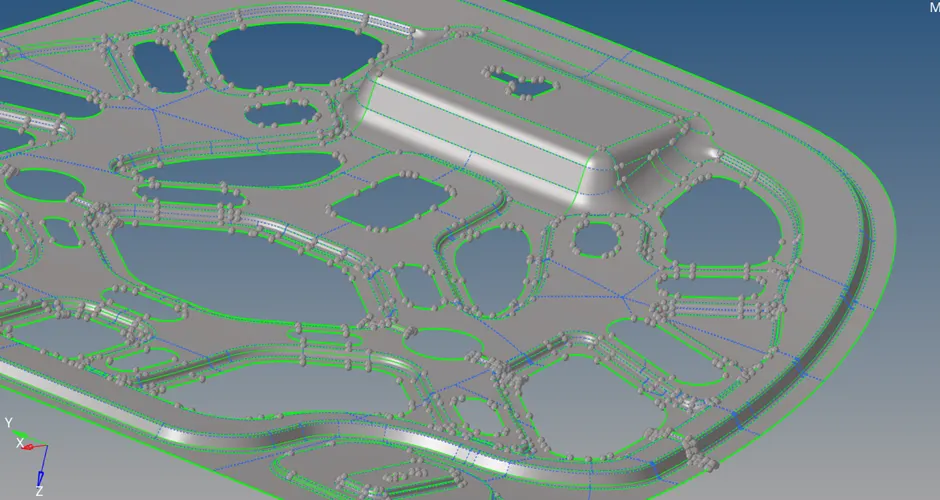
Now after examining the model properly, we ca see that except the one place other part is symmetrical. So, dividing the modal in half and meshing on the half portion and then reflecting the same will save our time.
Go to Geometry>>Midsurface>>auto midsurface>>Select surface>>Select auto extraction>>click on extract
Now Hide the component, and keep only the middle surface on the window
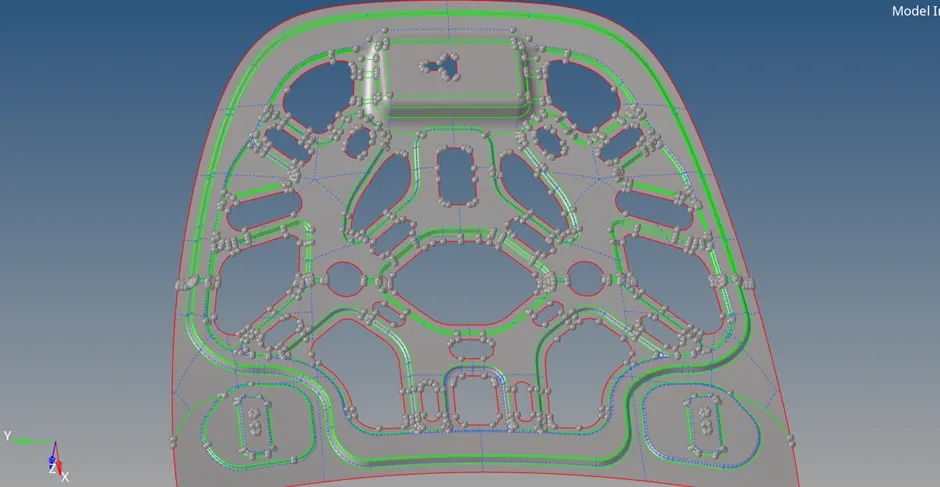
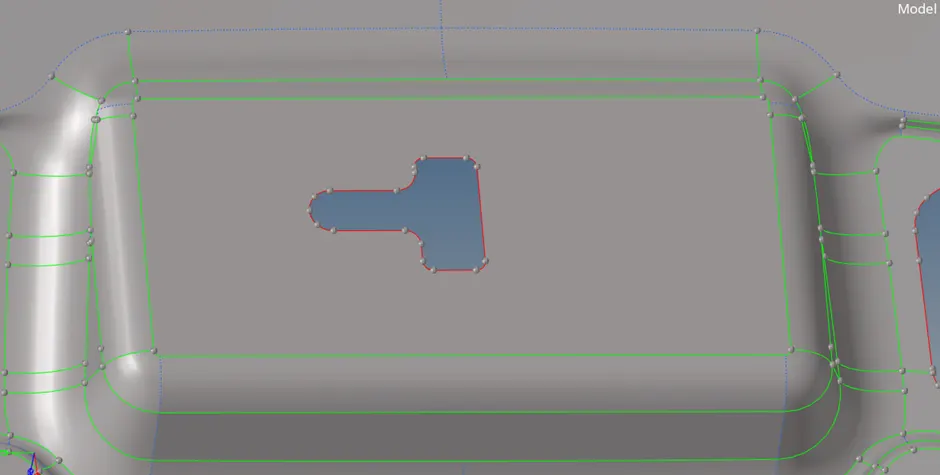
This is the which is not symmetric so we will collect it in different component. For this,
Frist create new component, Now go to >> Tool >> organise >> select the surface to move >> select the component in which surface is to move >> click on move.
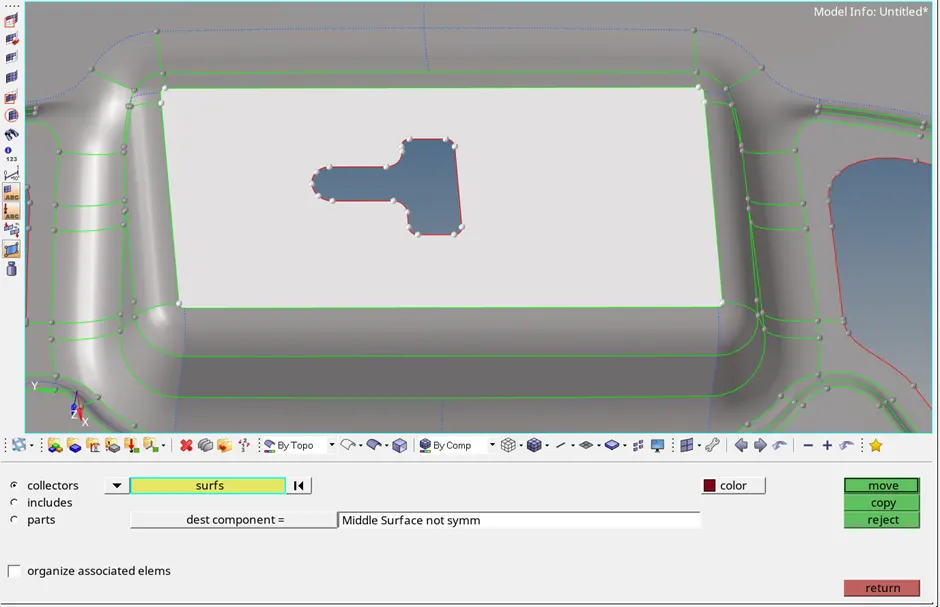
Now hide this unsymmetric surface, we will mesh it later.
Now delete the half portion of symmetric middle surface.
To delete first trim the surface into half.
Goto Geometry >> surface edit >> trim with surf/plane >> with plane >> select surface >> y axis – select the base point >> click on trim
Now delete the half portion
Now surface will look like this.
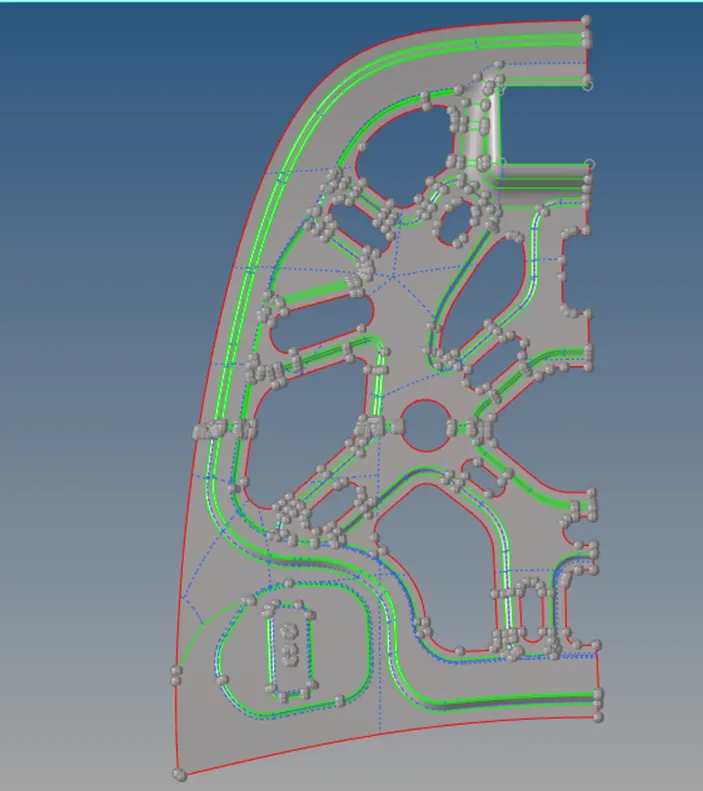
Goto Geometry >> Quick edit >> Add or Remove points >> remove the unnecessary points using right mouse click window selection.
Now supress the unnecessary lines give the surface proper cut so that mesh flow will be proper. Use quick edit panel for this.
Provide washer split at required holes.
Go to Geometry>>Quick edit>>washer split>>give offset value of 5 mm>> Select lines
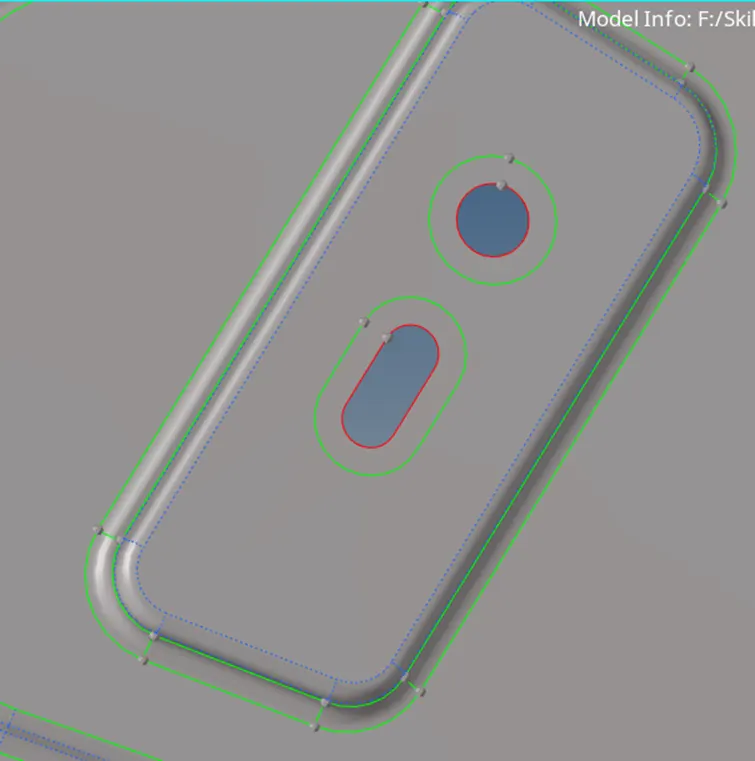
Now apply the mesh
Goto 2D>> Automesh>> select the surface>> provide element length of 5 mm>> choose mesh type as ‘mixed’ >> element to current surface >> select current component as symmetric one >> Keep connectivity >> click on mesh
Mesh will be applied
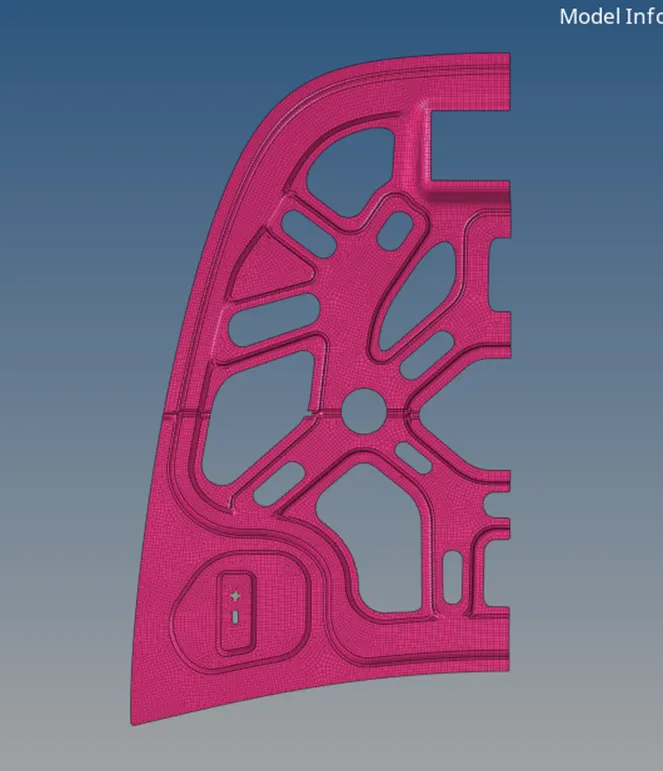
Now we will reflect the mess symmetrically.
To Reflect:
Goto Tool >> Reflect >> Select elements >> Duplicate >> Choose axis >> Choose base point >> Click on Reflect.
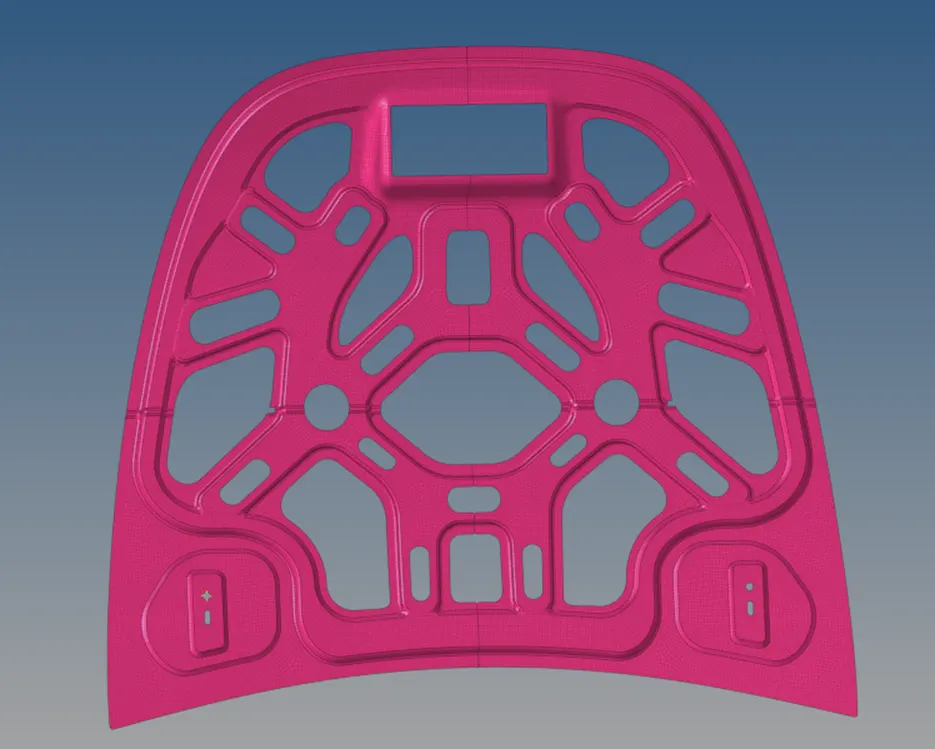
Now we will unhide the unsymmetrical surface and mesh that such that mesh is collect into Middle surface collector.
Now Equivalence the mesh surface. For this,
Go to Tool >> Edges >> Select elements >> Click on preview equivalence >> Click on equivalence.
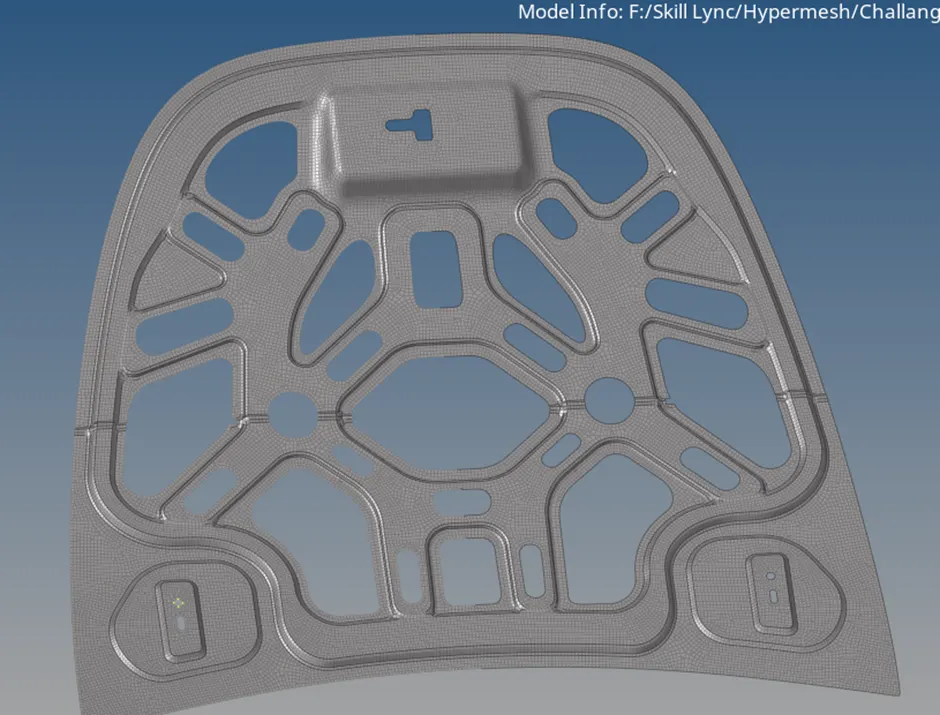
Now provide the thickness of 0.75 mm. For this
Create a property in which give the thickness = 0.75 mm and then assign it to Middle surface.
Go to ‘2D Detailed Element Representation’ to see the thickness to mesh elements.
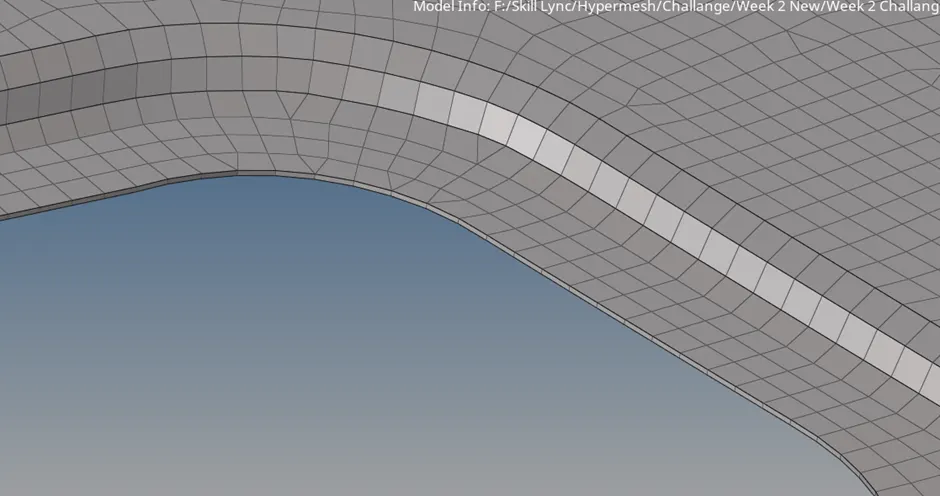
Thus, model is meshed successfully.
Final Model Image: