Week 3 - Geometry simplification of an Electronic enclosure assembly
Aim: To convert electonic assembly into Icepak object using spaceclaim.
To analyze any electronic assembly thermally using Icepak, it is first converted into Icepak compatible object. To convert assembly into Icepak object, it is simplified using four levels of Icepak Simplify feature. Also, unnecessary components that does not play any important role hydrodynamically and thermally are eliminated from assembly to reduce number of components and hance to save computational time. Following procedure shows how one can simplify any electronics assembly into Icepak compatible format using ANSYS Workbench tools.
Step 1: Import the stp model in spaceclaim.
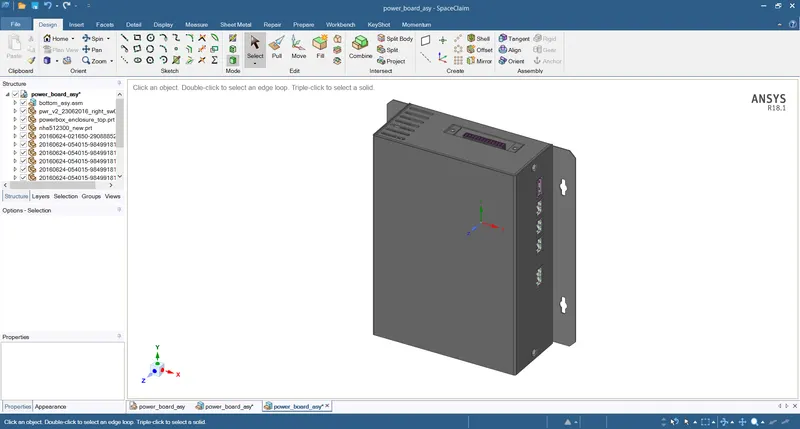
Step 2: Remove the mounting portion of enclosure as it will not take any part in simulation.
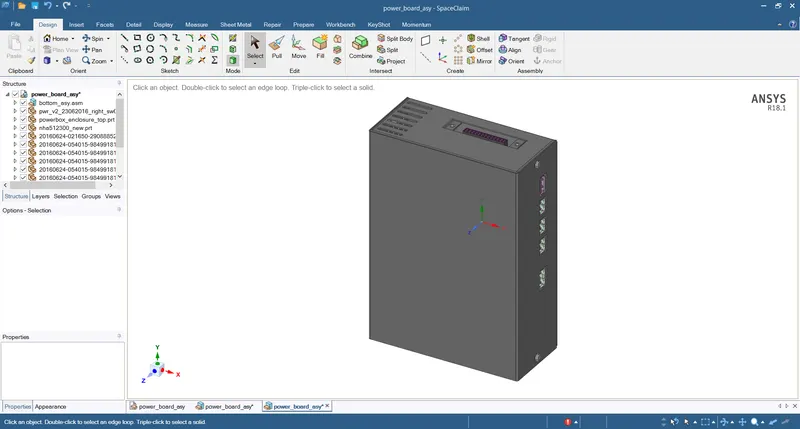
Step 3: Remove all the bolts and washer in the assembly.
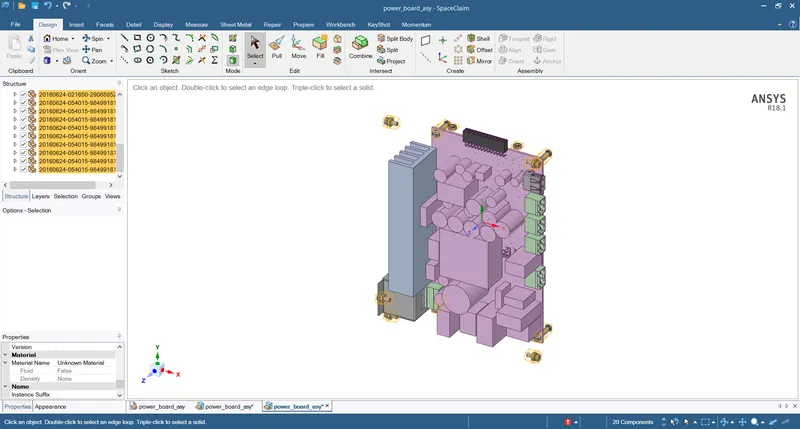
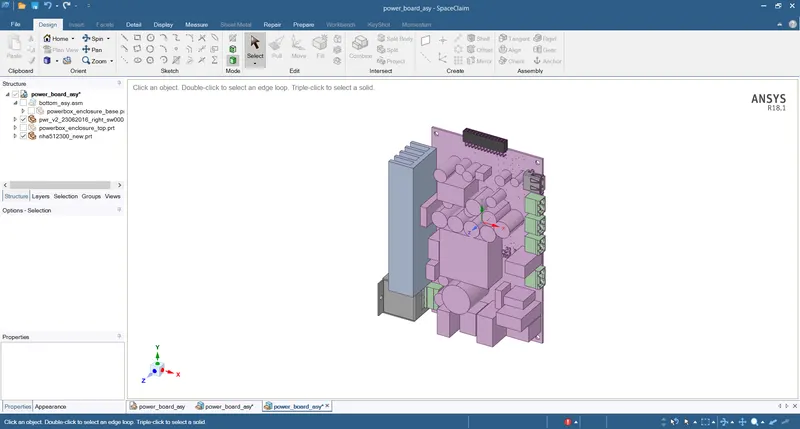
Step 4: Split all the components mounted above and below PCB from PCB board by using split body feature.
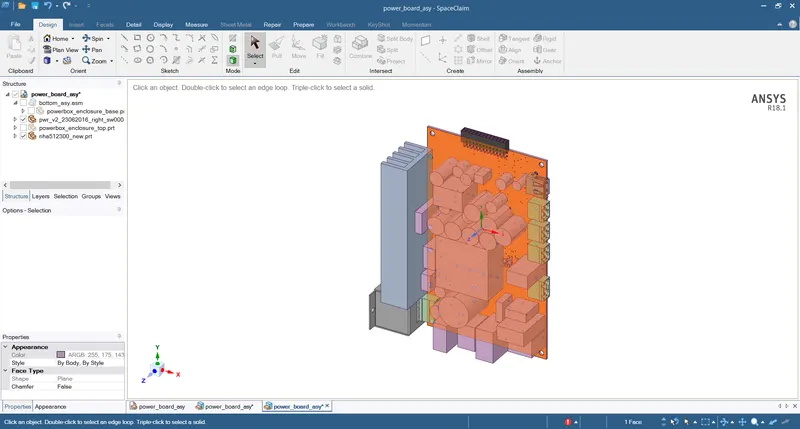
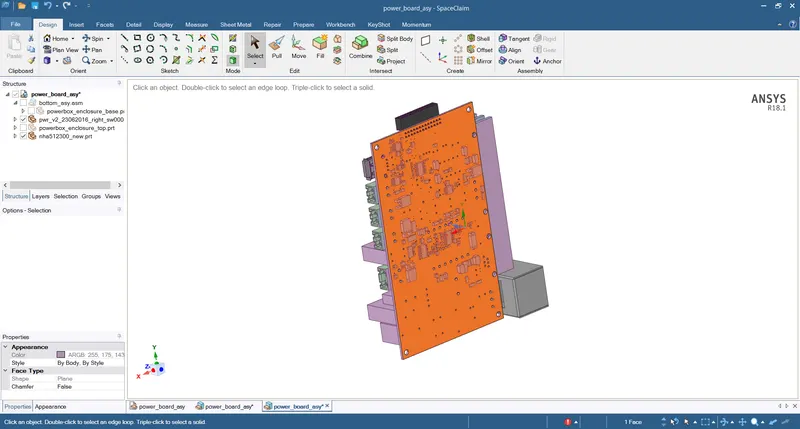
Step 5: Split all the connected bodies by creating appropriate planes.
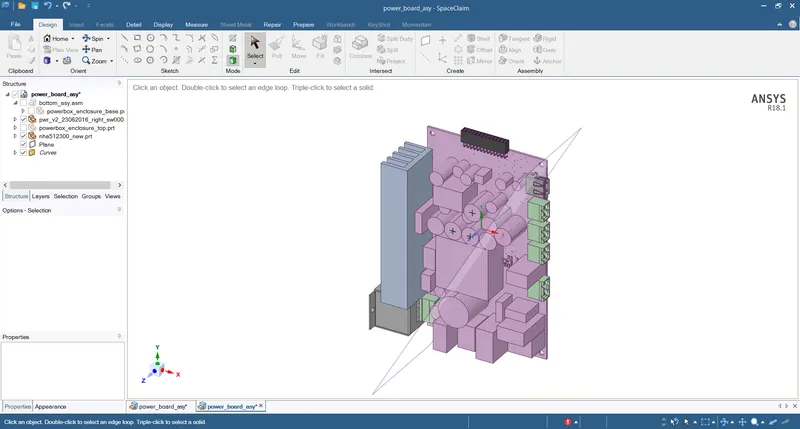
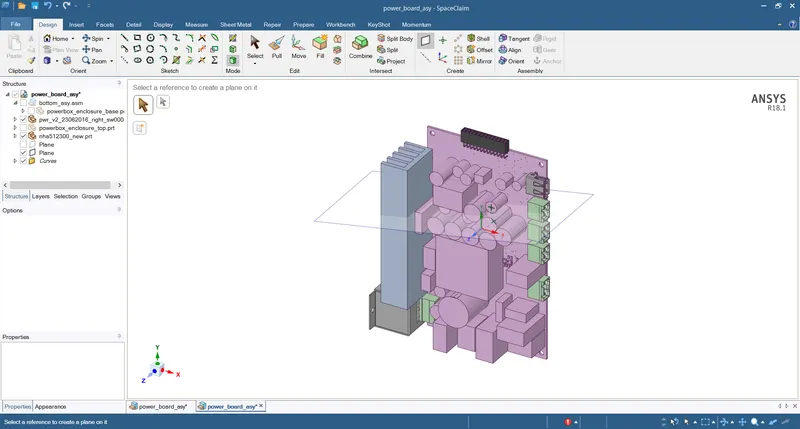
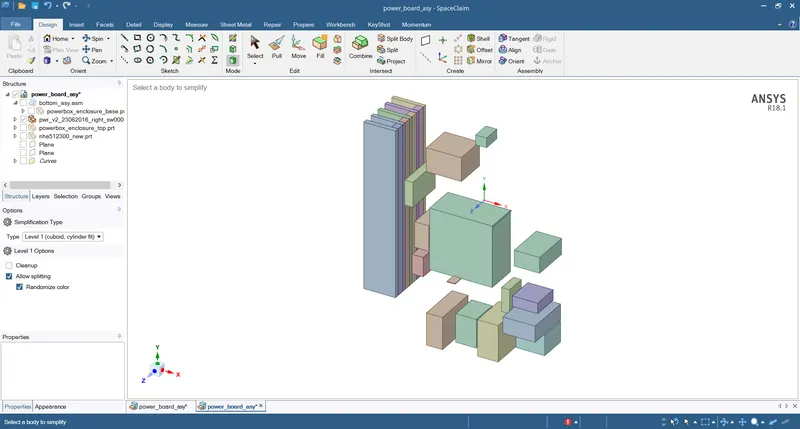
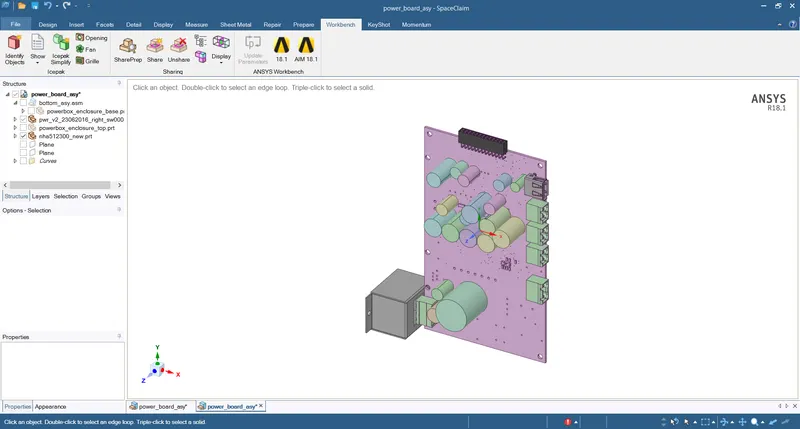
Step 6: Convert all the major cubical components into Icepak objects.
Icepak objects:
Non-Icepak objects:
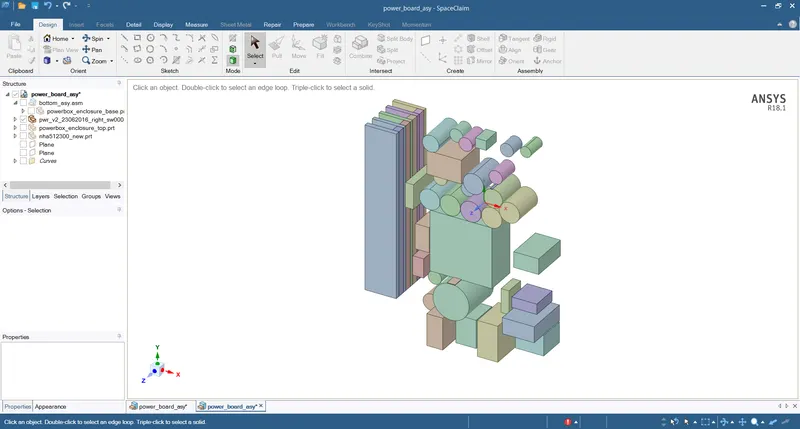
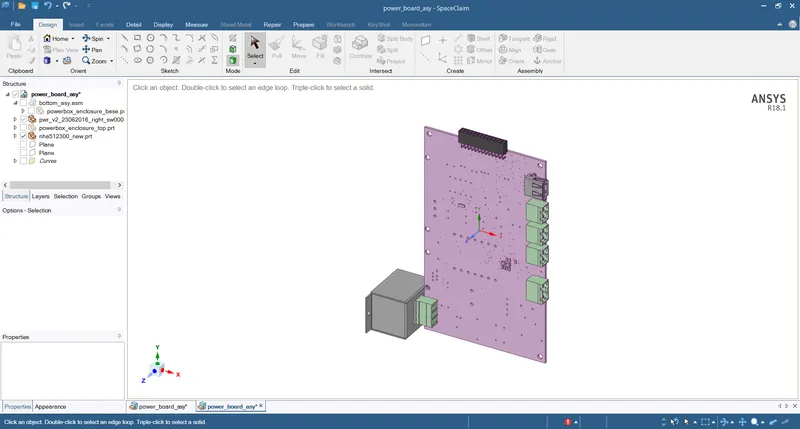
Step 7: Convert all the cylindrical objects in Icepak bodies.
Icepak objects:
Non-Icepak objects:
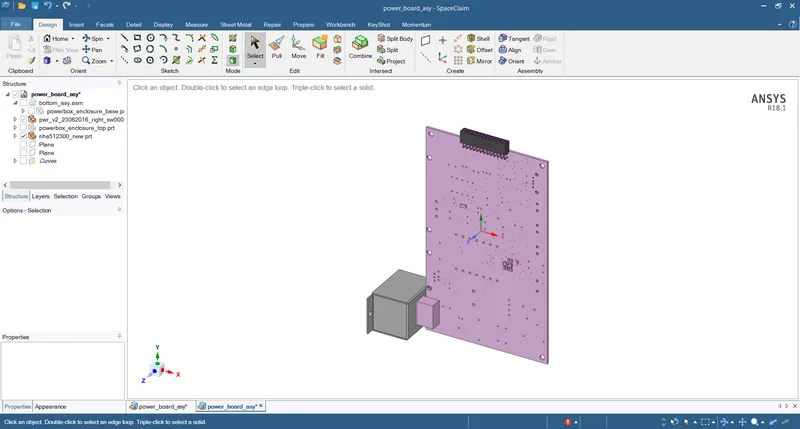
Step 8: Convert all the connection port into Icepak objects using Level-1 simplification.
Icepak objects:
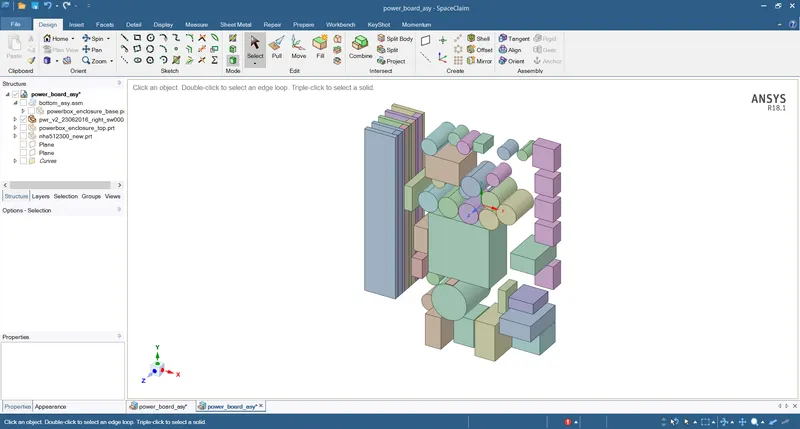
Non-Icepak objects:
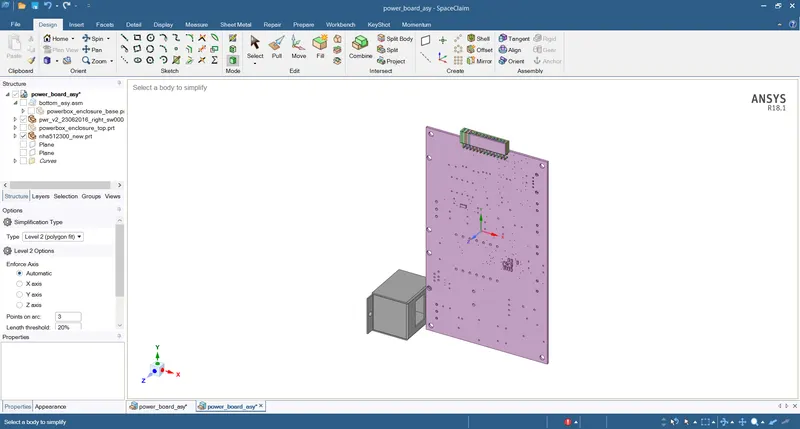
Step 9: Convert the connector at the left into Icepak object using Level-1 simplification.
Icepak objects:
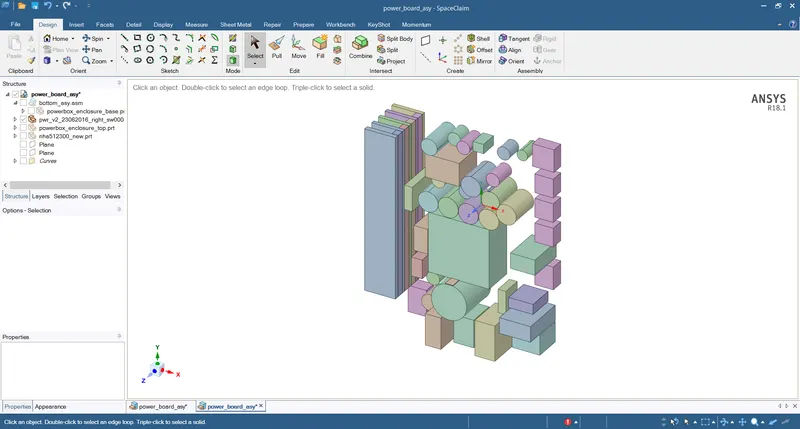
Non-Icepak objects:
Step 10: Convert IC on the top into Icepak object using Level-2 simplification.
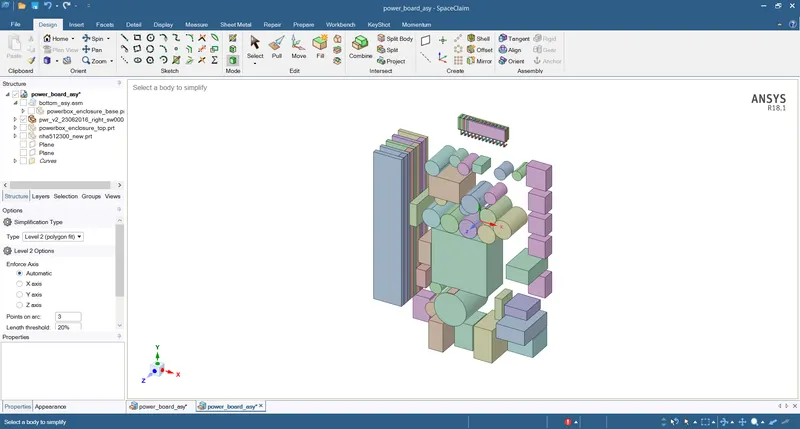
Non-Icepak object:
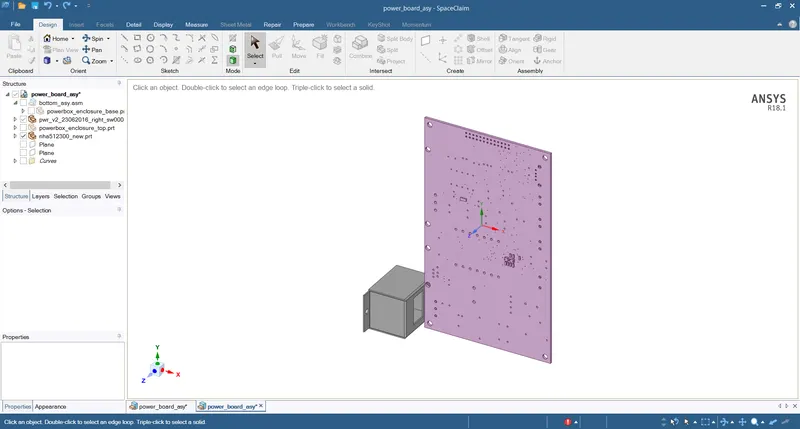
Step 11: Remove fillets from the black box at the bottom left.
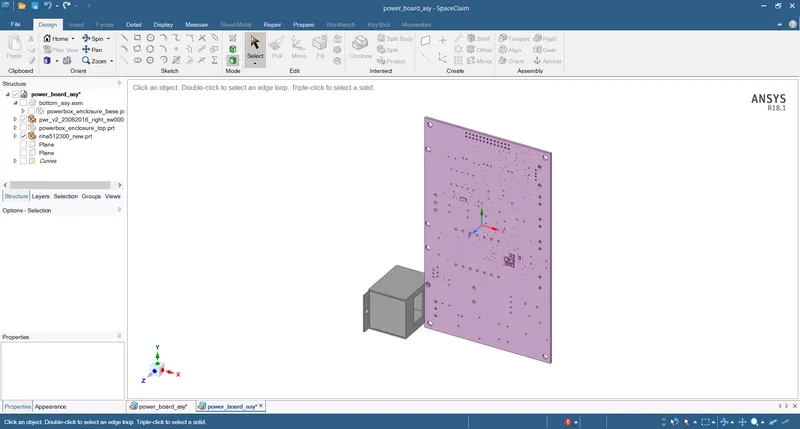
Convert the same box in Icepak object using Level-2 simplification.
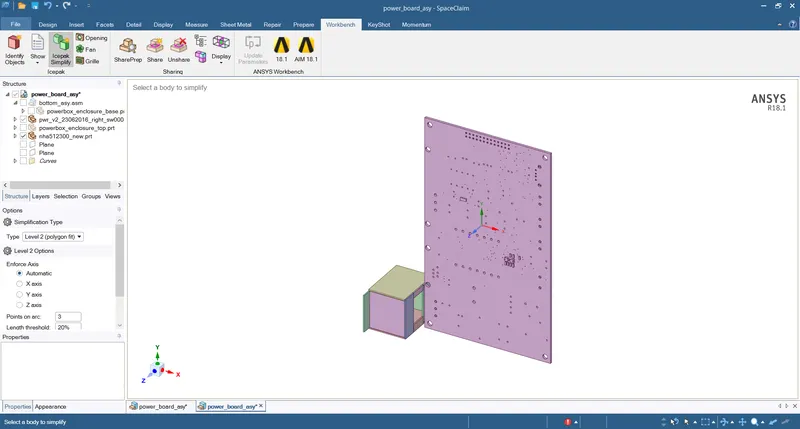
Icepak objects:
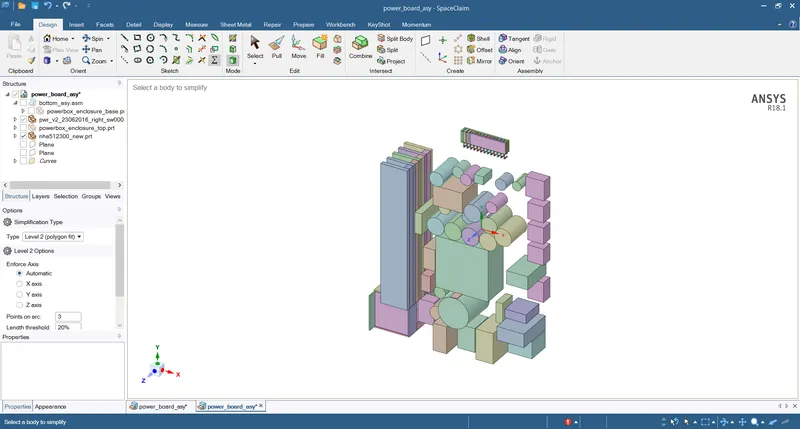
Non-Icepak objects:
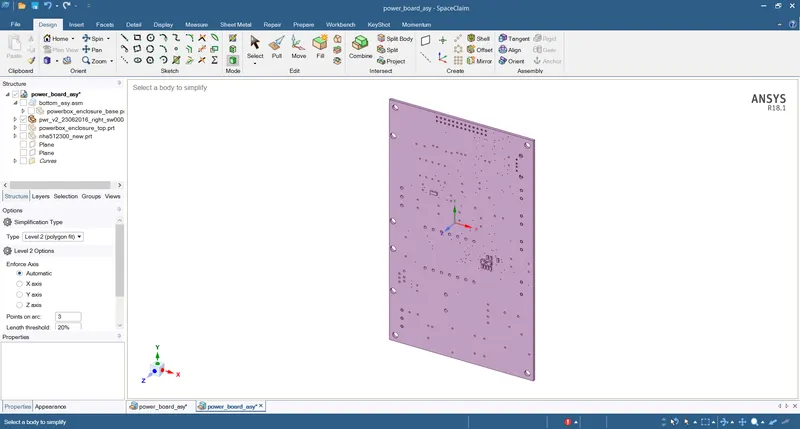
Step 12: Remove all the holes from PCB board and convert it into a simple cube by using Level-1 simplification.
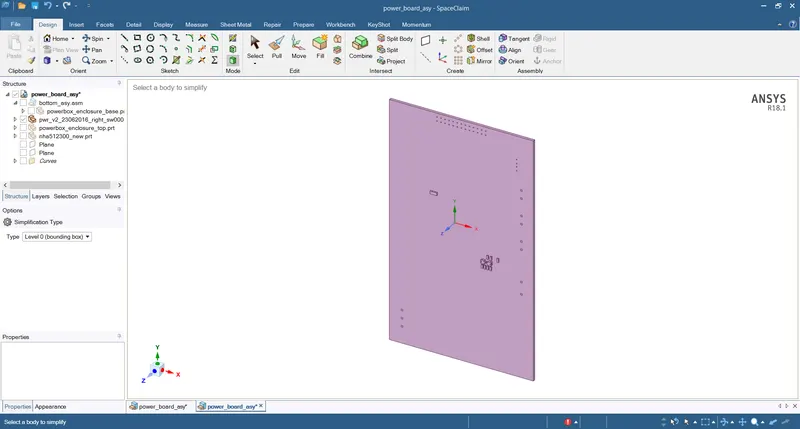
Icepak objects:
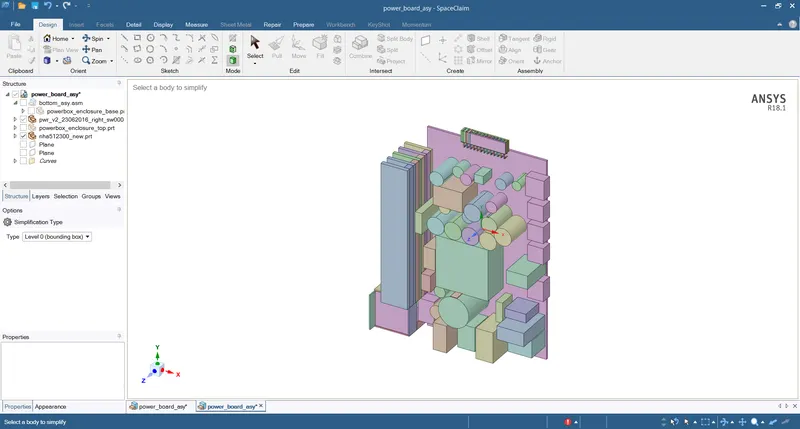
Non-Icepak objects:
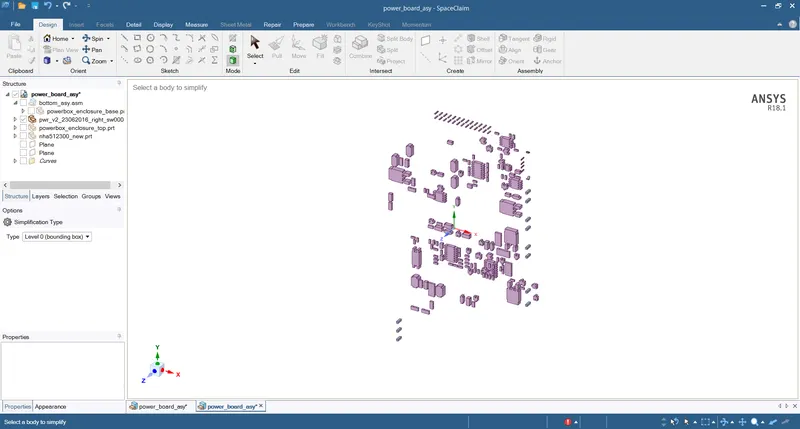
Step 13: Convert all the small components on the PCB into Icepak objects using Level-1 simplification.
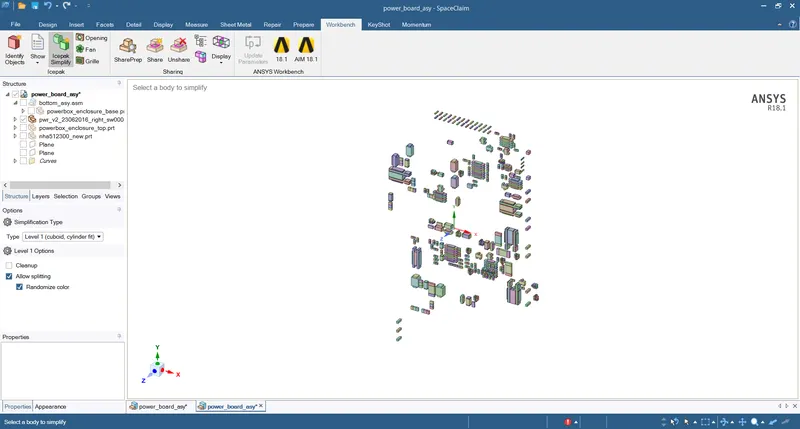
Icepak objects:
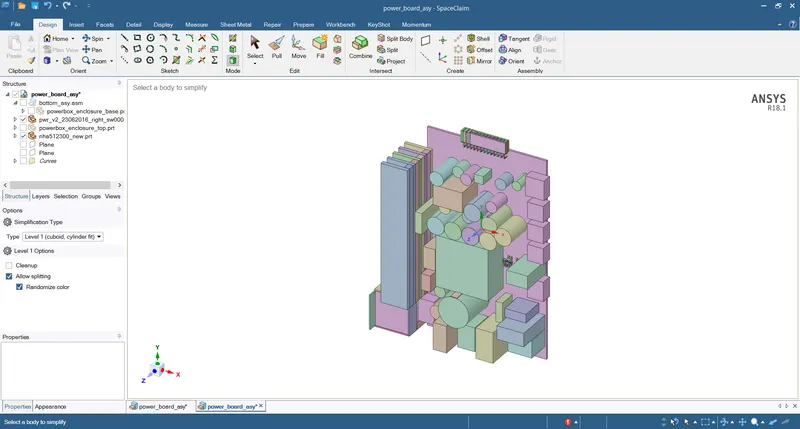
Non-Icepak objects:
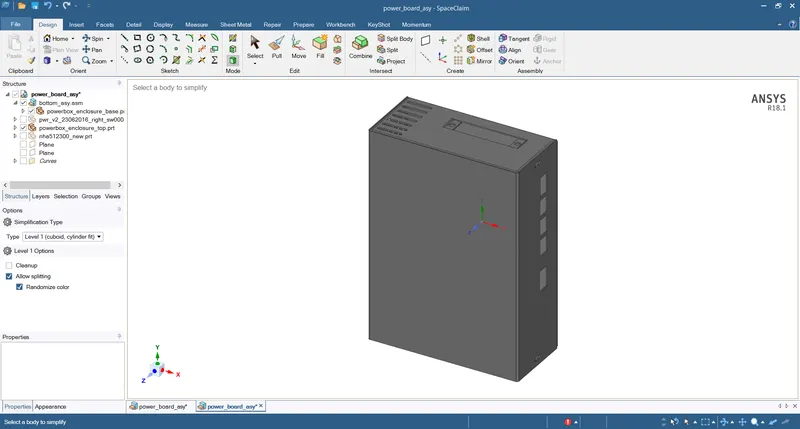
Only enclosure is left to be converted into Icepak object.
Step 14: Remove all the fillets of the enclosure.
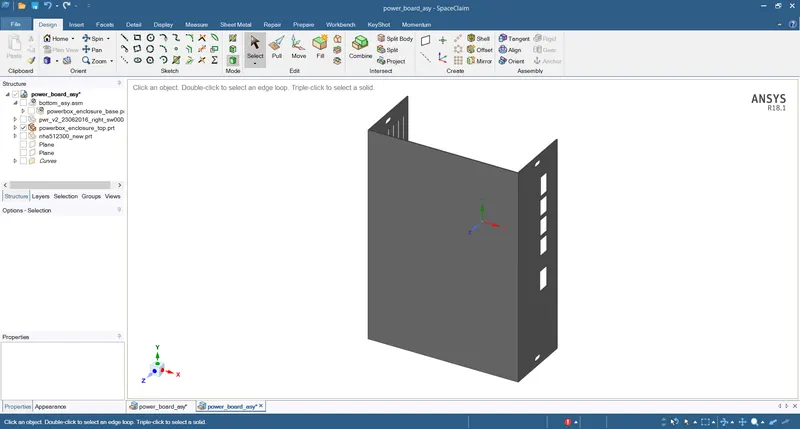
Step 15: Make all the openings at the right side of the enclosure closed, as when the connectors are connected there will not be any open region. Use pull feature for this operation.
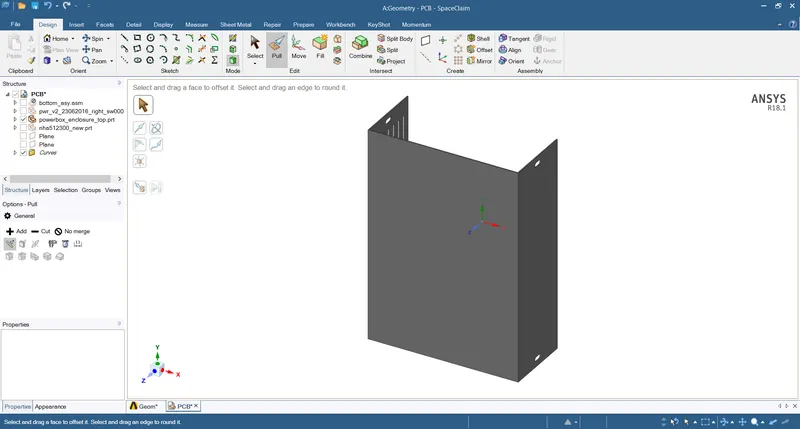
Step 16: Close all the four small openings for bolts using fill command.
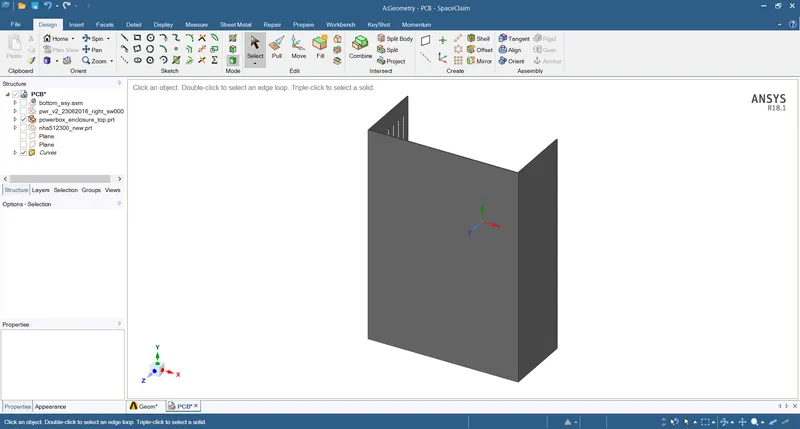
Step 17: Close all the small openings for screws using fill feature.
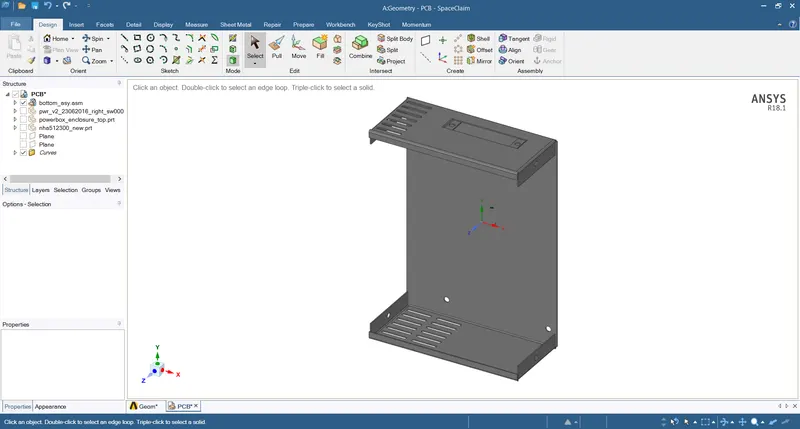
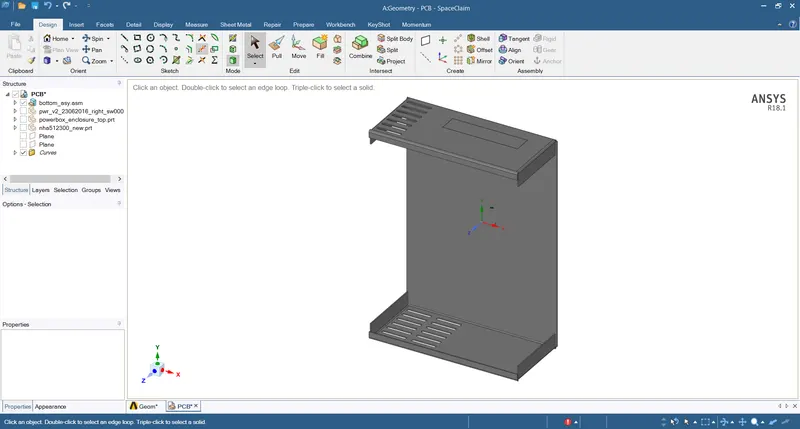
Step 18: Convert the enclosure into Icepak object using Level 2 (Polygonal fit).
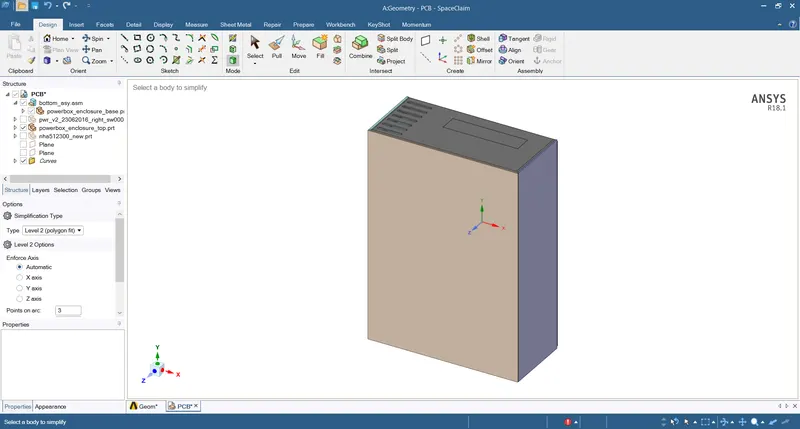
By following the same procedure explained above, one can easily convert any electronic assembly into Icepak object that can be further utilized for Icepak simulation.