Week - 3 Drop test Challenge
Aim: The main aim of this week challenge is to perform a drop test and to create a complete input file from the base file having only the basic mesh with nodes and element information.
PROCEDURE:
STEP 1: Open the LS-DYNA pre post and import the basic file containing the nodes and element.
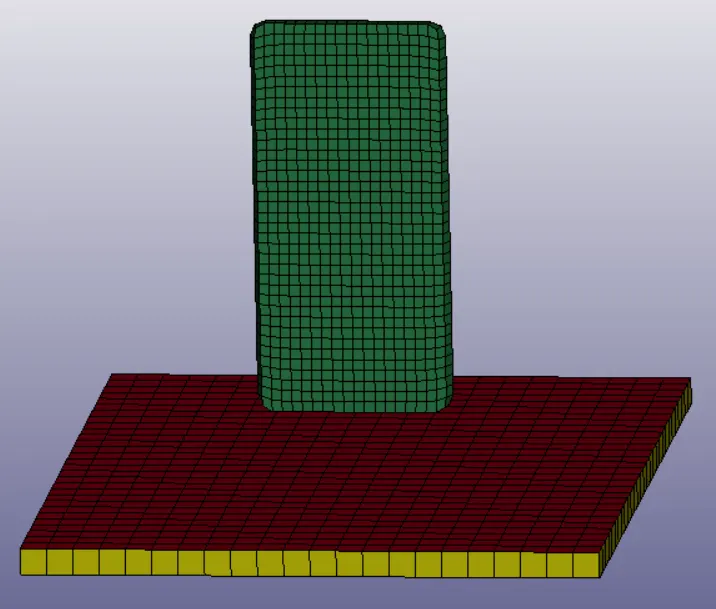
STEP 2: The file contains 3 parts and need to delete the solid elements below the shell elements.
open keyword manager and go to part keyword.In that select the solid shell elements forming wall and delete it.
Rename the other two files as wall and phone.2D shell elements form wall and 3D solid elements form phone.
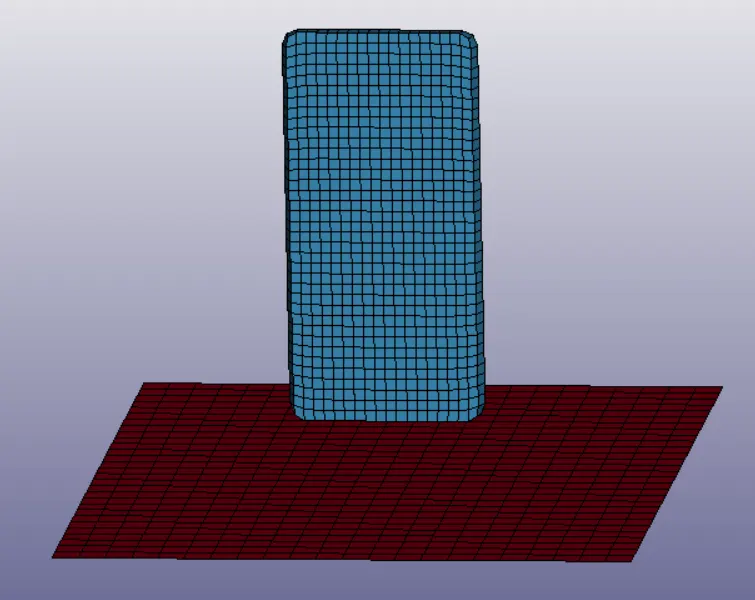
STEP 3: Now create material and section cards for the two parts.
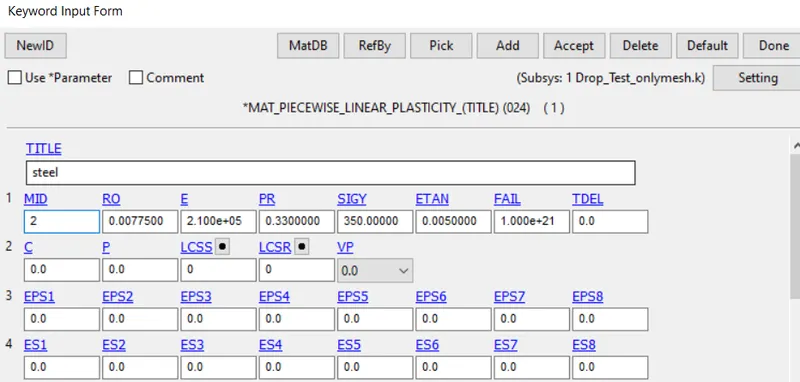
STEP 4: Open the keyword manager and check the all button.Under the MAT keyword select the MAT 24 PIECEWISE_LINEAR_PLASTICITY for phone. In that section card give the property of steel since the material of the phone is not given and the main objective of this challange is to understand how the analysis id performed.
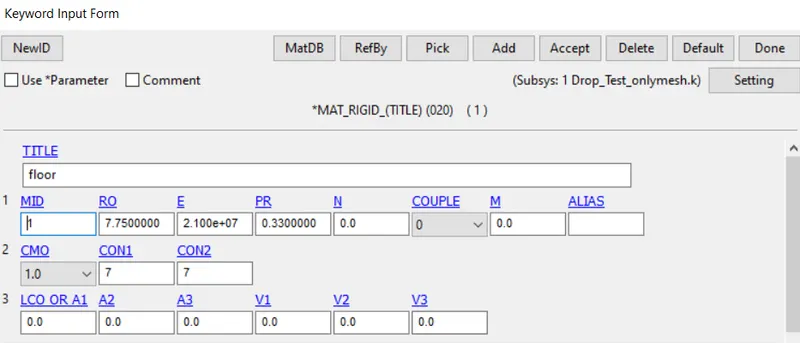
STEP 5: Open the keyword manager and check the all button.Under the MAT keyword select the MAT 20 RIGID for wall. In that section card give the property of steel but with high young's modulus and density so that it is more rigid.Since this part act as a rigid wall it is constrained to be fixed in all direction.
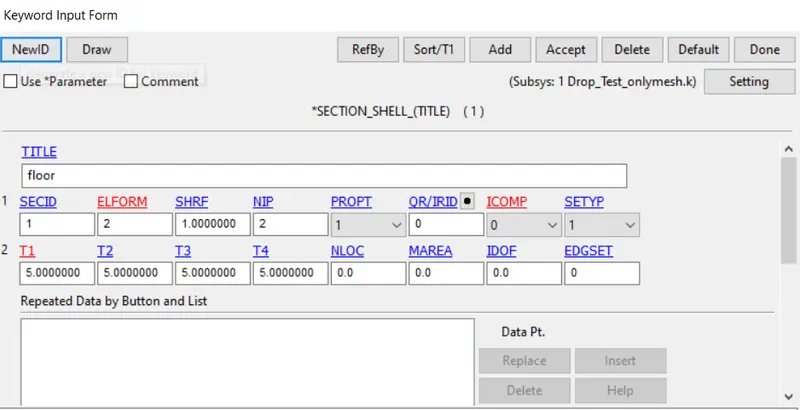
STEP 6: Open the keyword manager and check the all button.Under the SECTION keyword select the SHELL card for wall.Now give the properties of shell as desired.
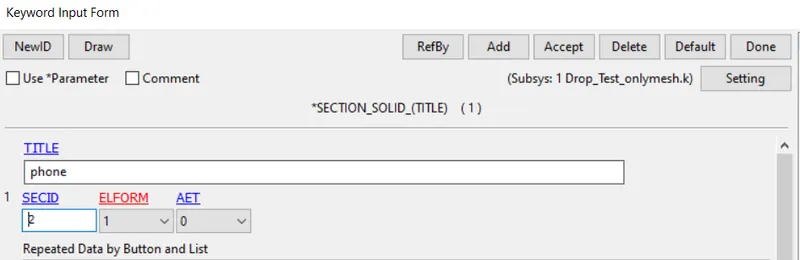
STEP 6: Open the keyword manager and check the all button.Under the SECTION keyword select the SOLID card for phone.Now give the properties of solid as desired.
STEP 7: Now go to PART keyword and assign the two parts with the desired material and section cards.
STEP 8: To give the initial velocity first create a node set. Go to create section and select the node set. click the create button and select the nodes to which you need to create the set.
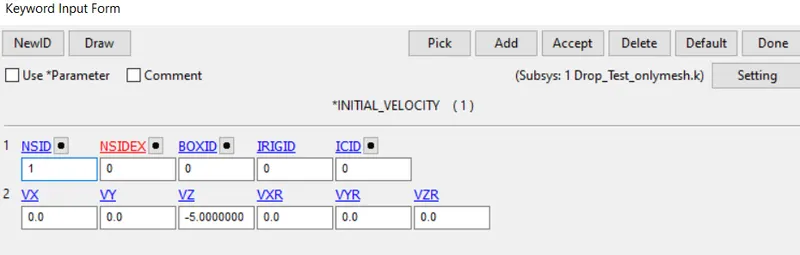
STEP 9: Open the keyword manager and check the all button.Under the INITIAL keyword select the VELOCITY card and give the initial velocity in Z-direction.
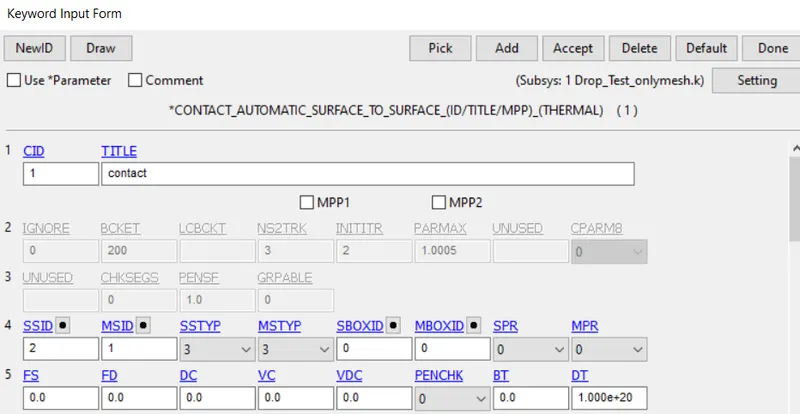
STEP 10: Open the keyword manager and check the all button.Under the CONTACT keyword and select AUTOMATIC_SURFACE _TO_SURFACE. now select the slave and master node using the part IDs.
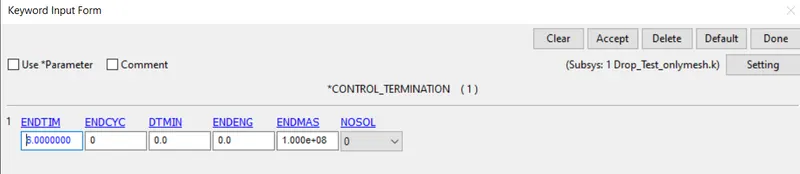
STEP 11: Open the keyword manager and check the all button.Under the CONTROL keyword and select TERMINATION.Now give the total time of the simulation.
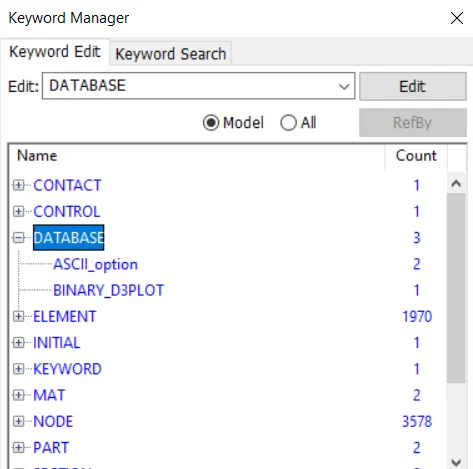
STEP 12: Now under the DATABASE card and select the appropriate output cards and give the time step to write the output files.
STEP 13: Now save the file in the keyword format and run the simulation.
STEP 14:Open new LS Prepost >File >Open Binary Plot >Select the d3 plot file of drop test > Open. This will show up the simulation in the Ls Prepost.
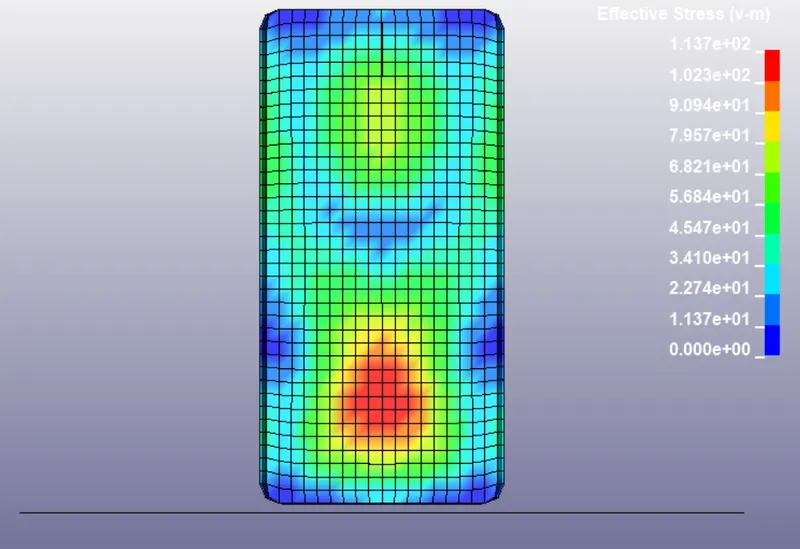
Select Fringe component tool on side tool bar > Select stress >choose Von Mises stress >Apply, This will show the Von mises stress stress contour of the simulation.
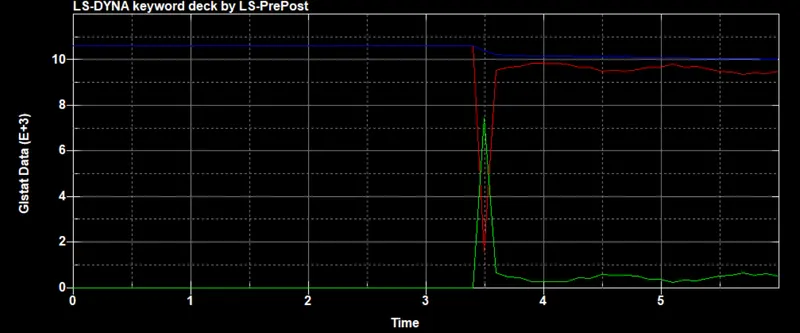
We ned to choose the ASCII plot tool on side tool bar> Choose glstst or Matsum >Load the respective file >choose the enrgies we need to plot> choose the part> select plot. This will plot the graph we request.
Conclusion:
Thus the drop test of phone has been performed and their results have been studied.