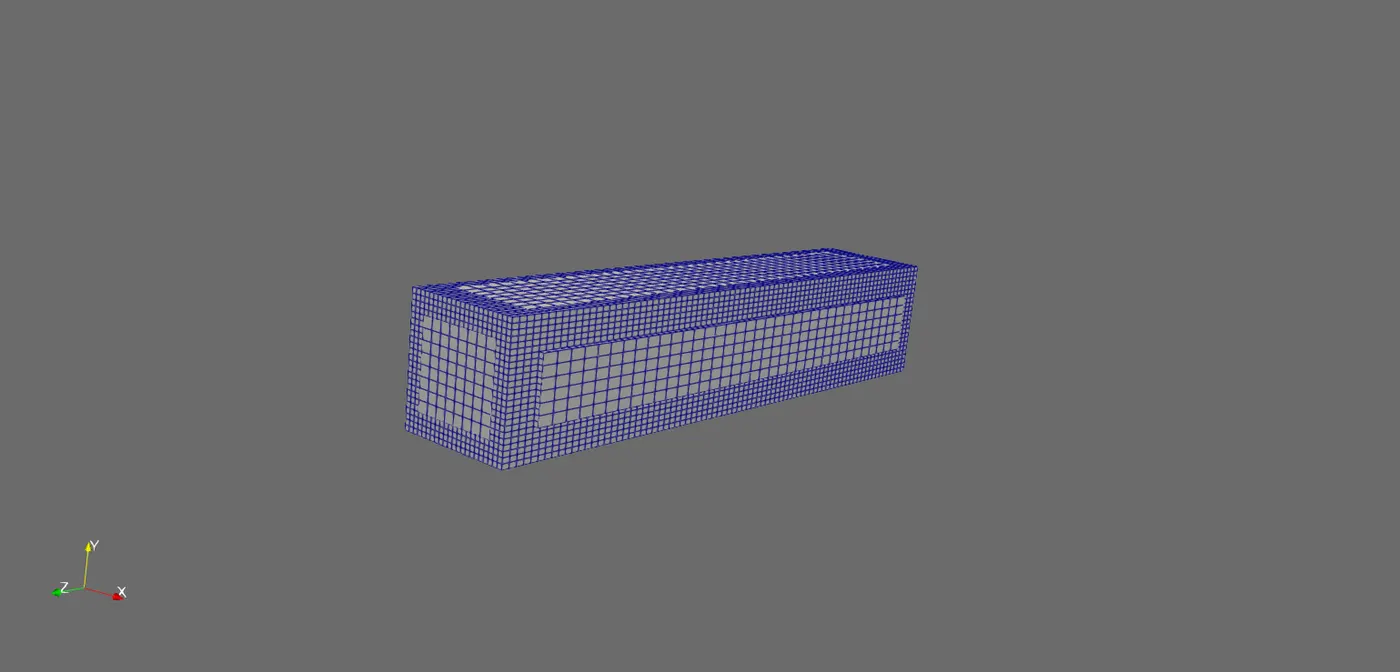
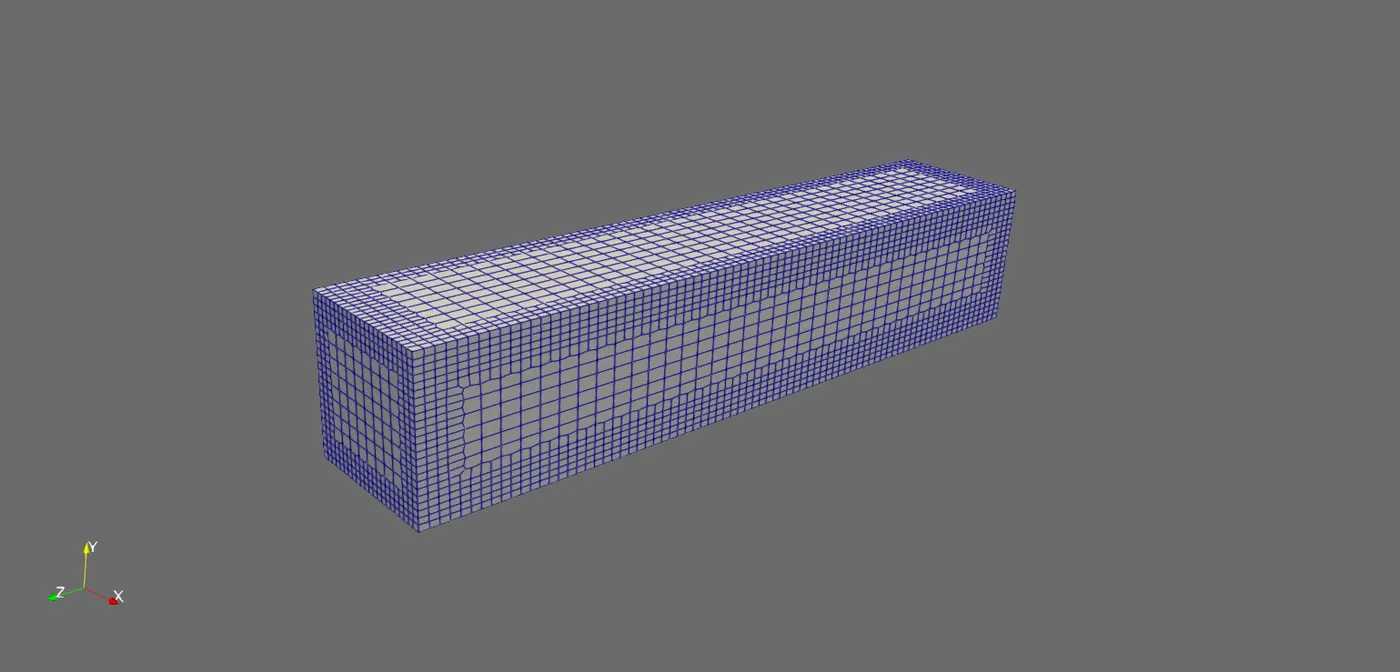
Week 3 Challenge: snappyHexMesh
Aim: To simulate and practice the snappyHexMesh utility of OpenFOAM to generate mesh on a pipe and obstacle in box geometry.
Objective: Mesh the given problems:-
1. Circular pipe (using blockMesh)
2. Circular pipe (using snappyHexMesh)
3. Obstacle in box, with box dimensions 20*8*8 (in meters using snappyHexMesh)
snappyHexMesh :- snappyHexMesh utility generate 3 Dimensional meshes containing hexahedra(hex) and split-hexahedra automatically from triangulated surfae geometries in Stereolithography(STL) format.
The mesh approximately conforms to the surface by iteraticely refining a starting mesh and morphing the resulting split-hex mesh to the surface.
In order to run snappyHexMesh, these are the requirements:
- surface data files in STL format, either in Binary or ASCII, located in a constant/triSurface sub-directory of the case directory
- a background mesh which defines the extent of the computational domain and a base level mesh density this is typically generated using blockMesh utility.
- a snappyHexMeshDict dictionary, with appropriate entries, located in the system sub-directory of the case.
There are 3 major processes in snappyHexMesh utility and from these three either two has to be True to complete meshing. These are:
- Castellation
- Snapping
- Layering
The above three layers are used by passing the Boolean value(True or False) to activate and use the process.
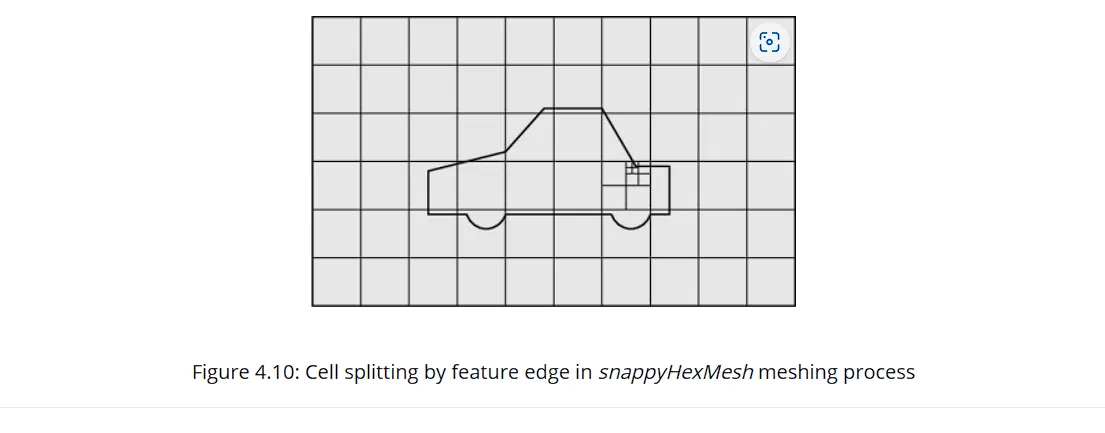
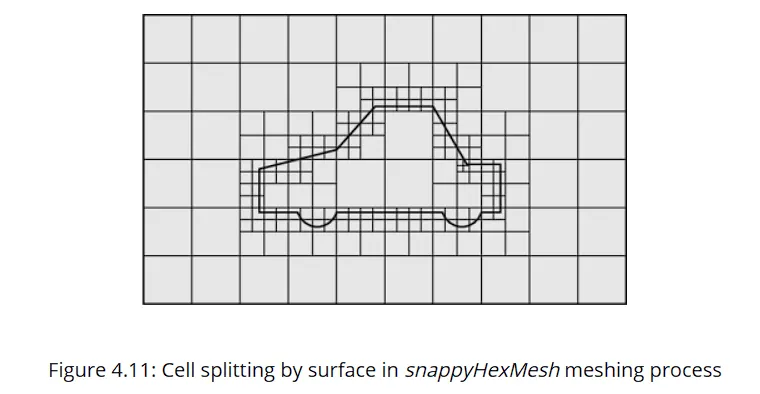
Castellation: castellation is the process of splitting existing cells to create finer mesh near the features edges, surface. This process splits the background mesh cells near the surface, edges of the STL geometry and morph the cells into jagged cartesian mesh.
This process is controlled using the parameters in the castellatedMeshControls sub-dictionary in snappyHexMeshDict.
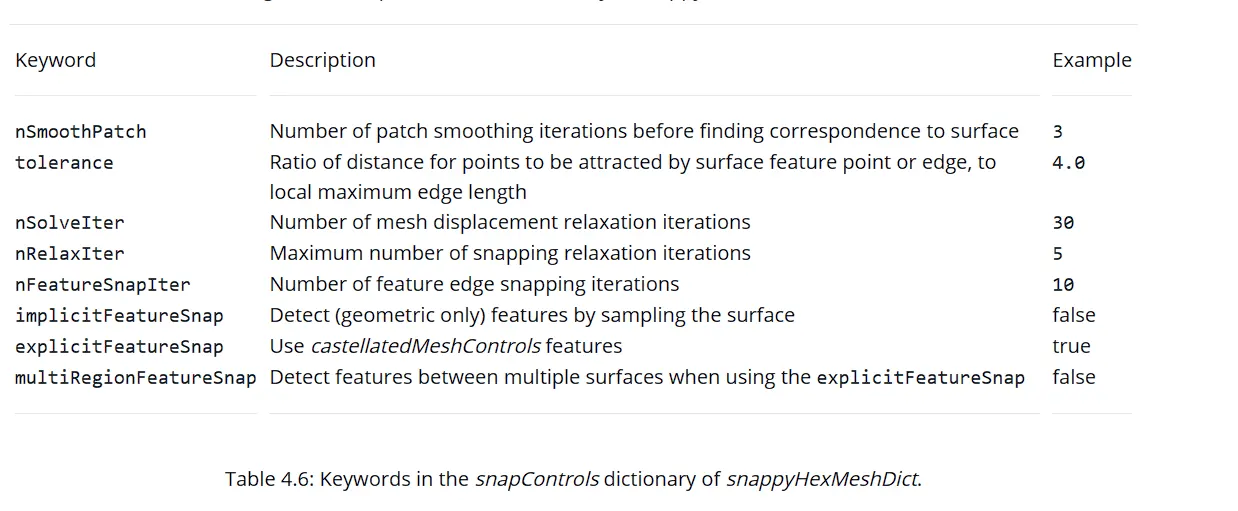
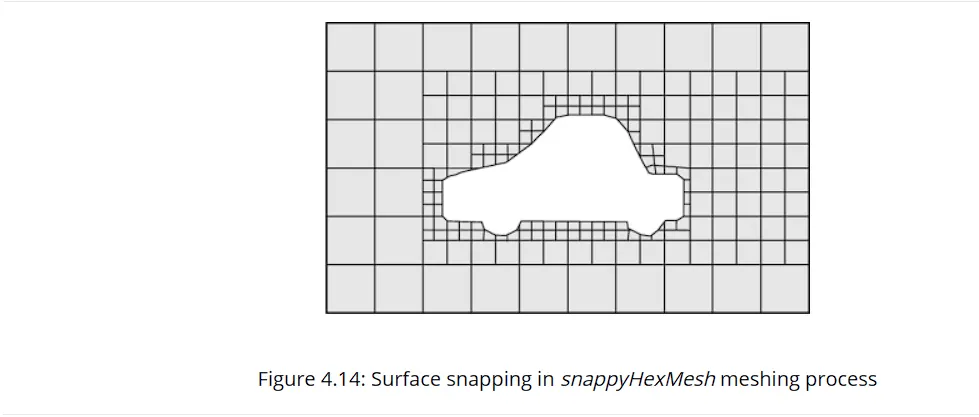
Snapping: This process conforms the jagged mesh to the geometry and the mesh snaps/aligns properly with the geometry and create a split-hex mesh. This process is iteratively repeated, the parameters to controll the snapping are defined in the snapControls sub-dictionary.
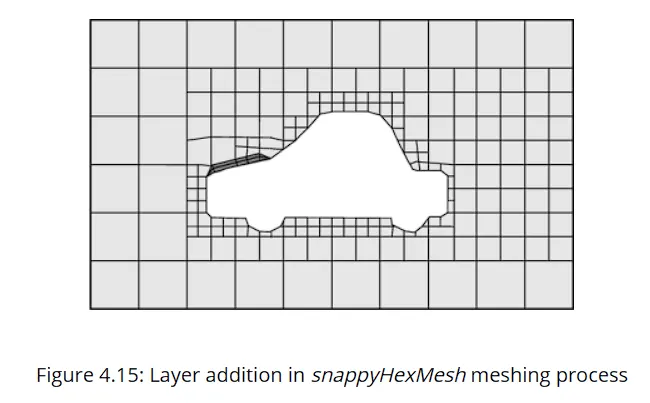
Layering: this process adds layer of mesh at the surface of the body when simulating boundary layers especially. This is the optional process and can be activated when necessary. addLayersControls is the sub-dictionary to control the paramters.
The snappyHexMeshDict consist of 5 main sections;
1. geometry: in this section the STL format geometry files are defined with refinement entities like Box, Cylinder, Sphere.
2. castellatedMeshControls: definition mesh splitting and refining at features surface, edge and volume refinement.
3. snapControls: surface mesh snapping.
4. addLayersControls: definition of boundary layer mesh.
5. meshQualityControls: definition of mesh quality metrics.
Snappyhexmesh workflow:
1. Creating the background hex cells using the blockMesh utility, the background mesh should fill the entire region with the STL object.
the background mesh should consist:
-purely hex cells
-the cells aspect ration should be approimately 1
-there should be at least one intersection of a cell edge with the STL surface.
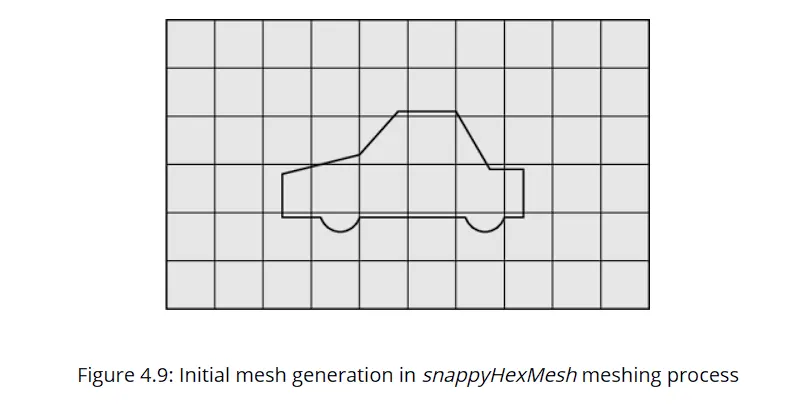
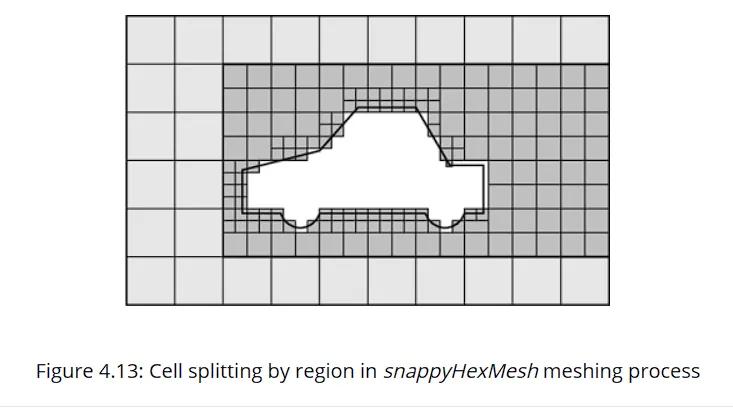
2. Cell splitting at feature edges and surface according to the specification supplied by the user in the castellatedMeshControls. There are number of important paramters to control this step
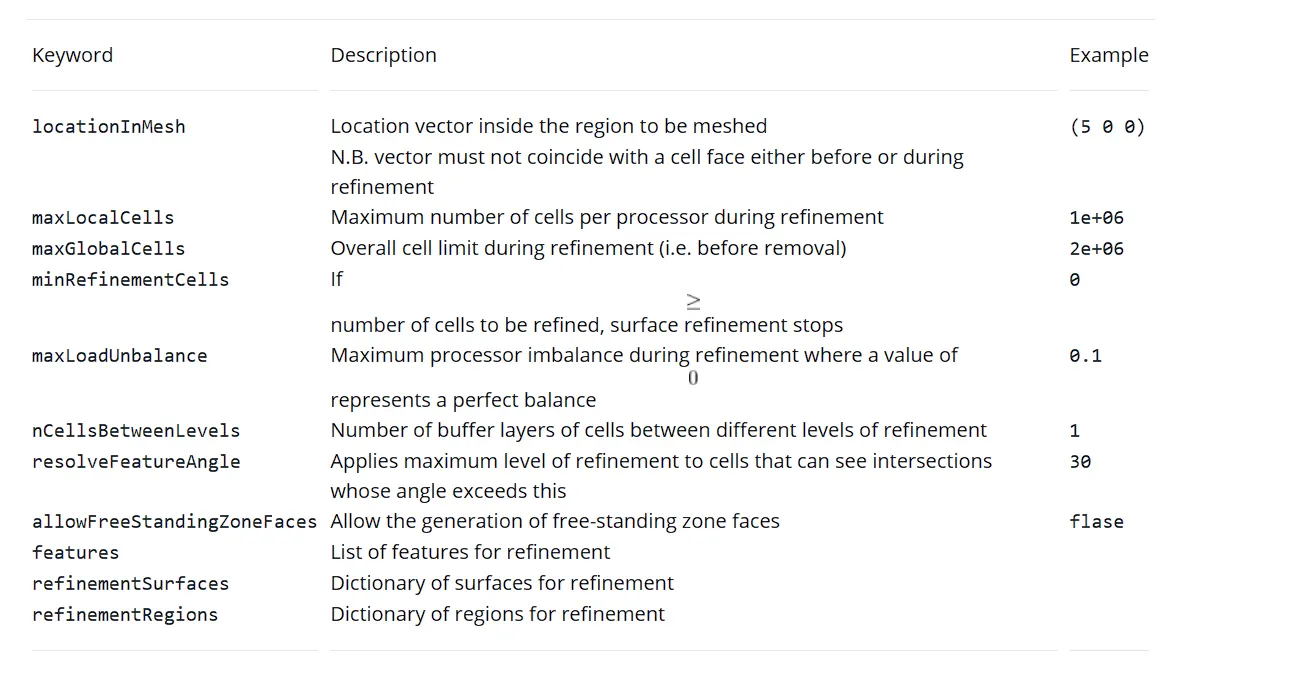
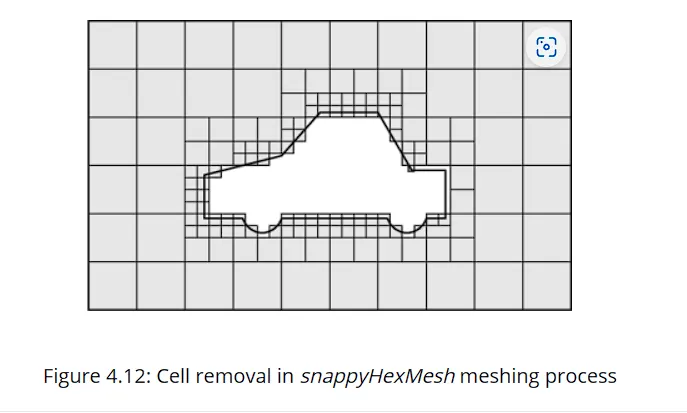
3. Cell Removal step removes the unwanted cells to reduce computation cost. The region where the cells are retained are identified by a location vector specified by the locationInMesh in castellatedMeshControls sub-dictionary.
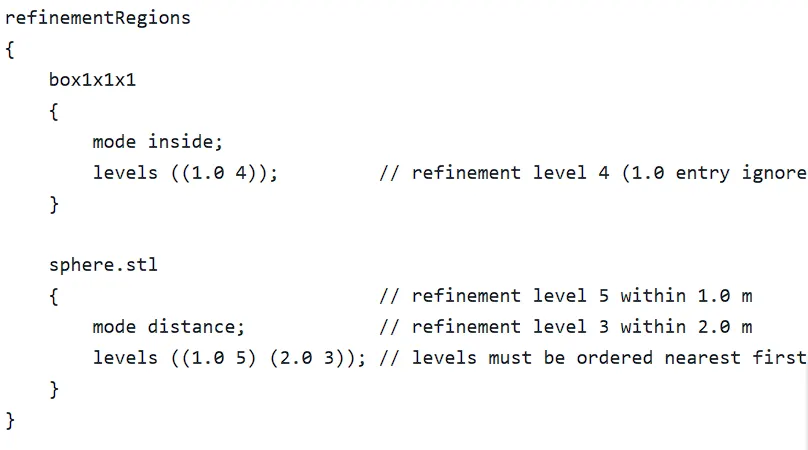
4. After the removal of unwanted cells from the mesh, the process of selectively refining mesh cells withing specific user-defined regions to increase resolution in concened are to get finer result. This refinement region and the refinement level is defined in the refinementRegions block under casetellatedMeshControls sub-dict.
5. Snapping to surface the castellated mesh by displace the vertices in the castellated boundary on the STL surface creating conforming mesh.
6. Adding the Mesh Layers close to the boundary by adjusting the parameters in the addLayersControls. This is the optional process to do that depends on the requirements of the simulation.
Problem 1: Circular pipe meshing with snappyHexMesh utility
-Copy a tutorial from the tutorials/mesh folder with the files needed for the meshing
-Download the file as provided and of the circular pipe. The pipe is of 1m in radius and 1m long in positive x-direction.
-Create a triSurface directory in the constant folder and store the STL format files of the circular pipe geometry.

-Create the background mesh using the blockMeshDict file create the block encompassing the pipe.
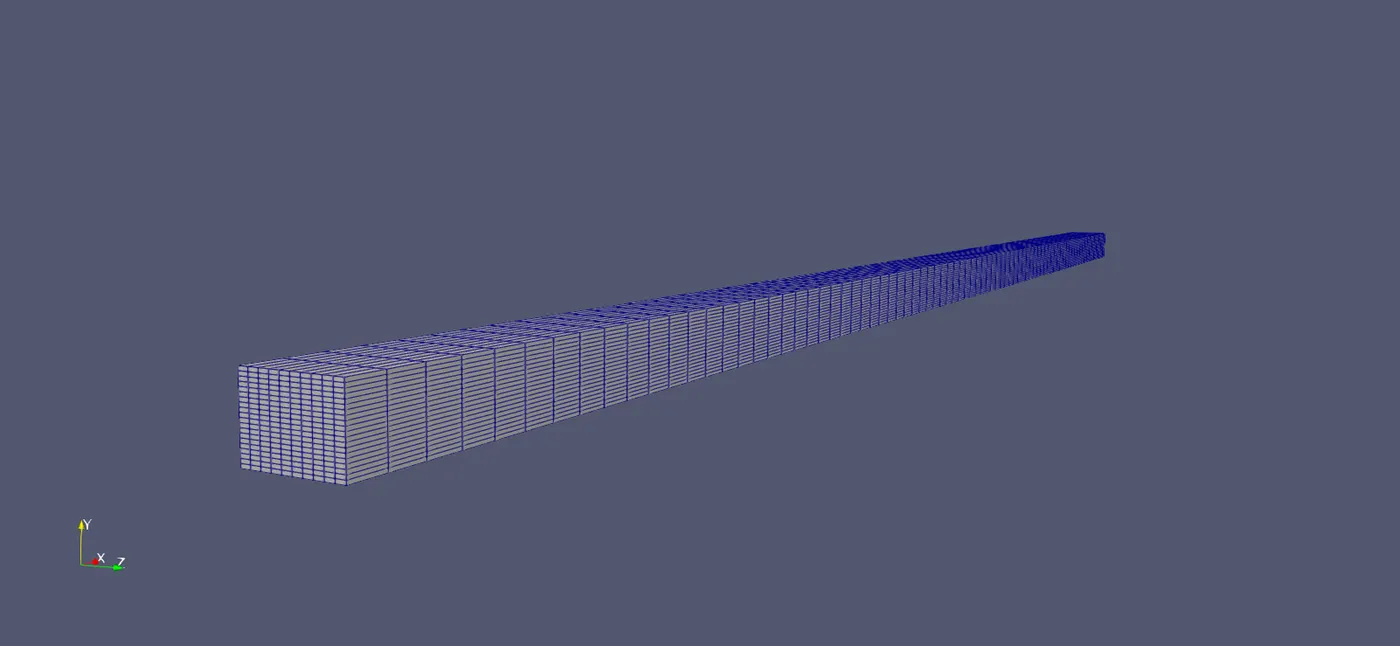
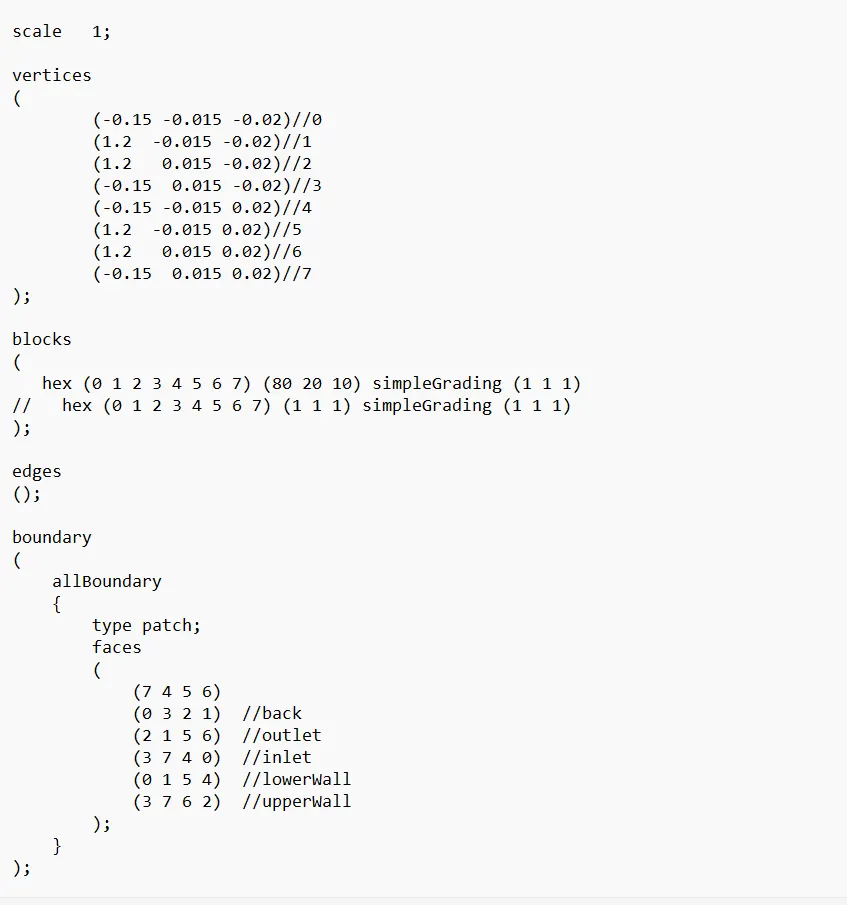
Then run the blockMesh command to generate the background mesh.
-Then edit the surfaceFeatureExtractict which is used to extract feature which then can be used in the feature refinement in the castellatedMeshControls sub-dict. As for the our case there are sharp edges just edit the name as pipe.stl and run the surfaceFeatureExtract command line. Then in constant extended feature angle folder will be created.
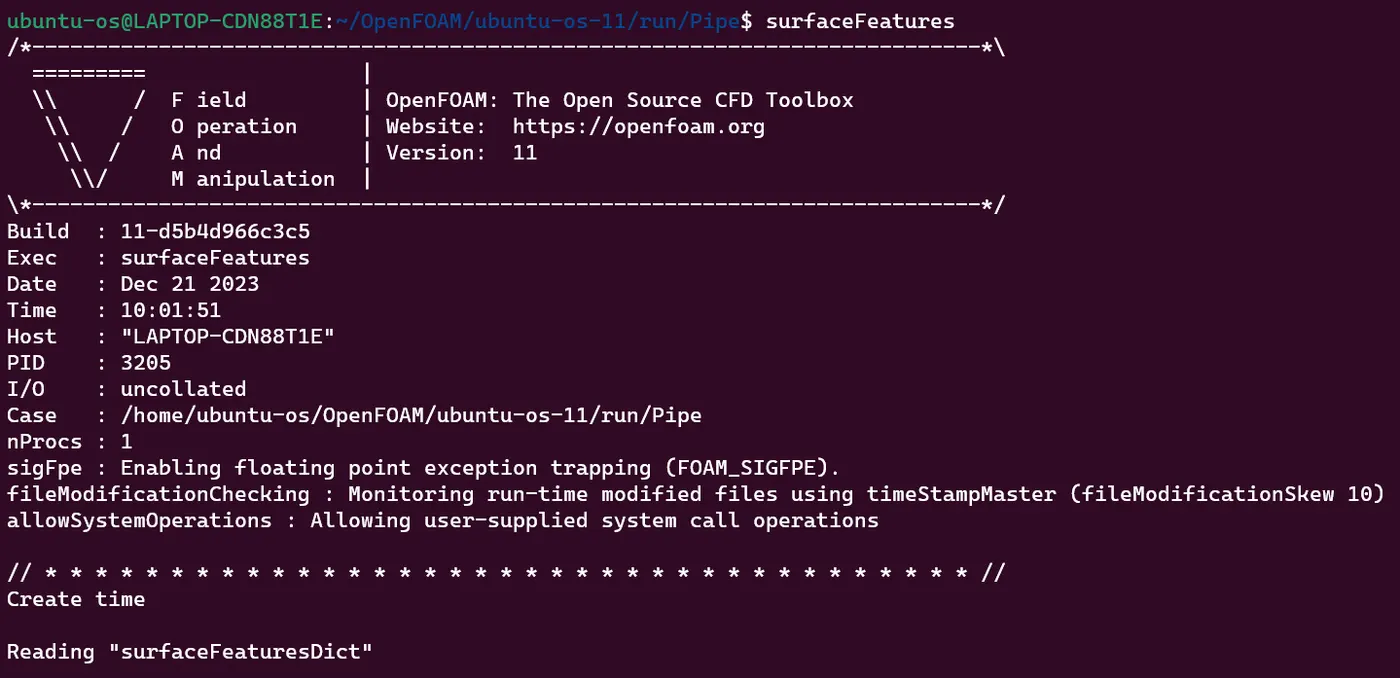
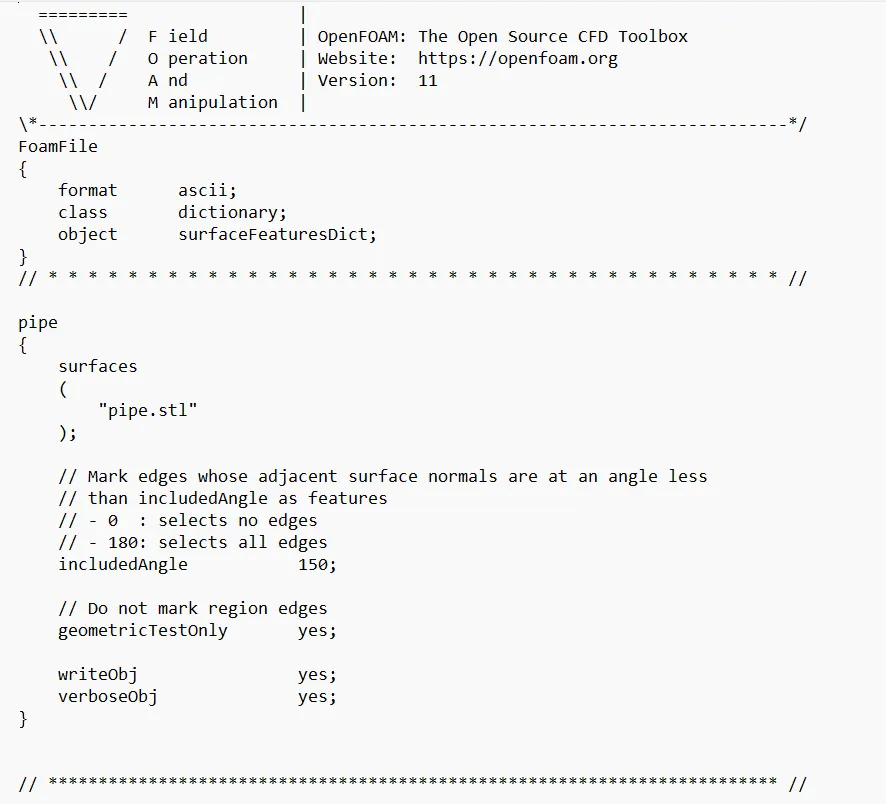
- Now edit the snappyHexMeshDict by changing the name of the STL file to read and enter the user-defined name that will be used in the file and keep the Boolean value for all three option as True.
/*--------------------------------*- C++ -*----------------------------------*\
  =========                 |
  \\      /  F ield         | OpenFOAM: The Open Source CFD Toolbox
   \\    /   O peration     | Website:  https://openfoam.org
    \\  /    A nd           | Version:  11
     \\/     M anipulation  |
\*---------------------------------------------------------------------------*/
FoamFile
{
    format      ascii;
    class       dictionary;
    object      snappyHexMeshDict;
}
// * * * * * * * * * * * * * * * * * * * * * * * * * * * * * * * * * * * * * //

#includeEtc "caseDicts/mesh/generation/snappyHexMeshDict.cfg"

castellatedMesh on;
snap            on;
addLayers       off;

geometry
{
    pipe
    {
        type triSurfaceMesh;
        file "pipe.stl";
    }

};

castellatedMeshControls
{
    features
    (
        {
           file "pipe.eMesh";
           levels ((1 2));
        }
    );

    refinementSurfaces
    {
        pipe
        {
            level (4 4);
            patchInfo
            {
                type wall;
            }
        }
    }

    refinementRegions
    {
    }

    insidePoint (-0.01 0.010 0.01);
}

snapControls
{
    // Number of patch smoothing iterations before finding correspondence
    // to surface
    nSmoothPatch 3;

    // Maximum relative distance for points to be attracted by surface.
    // True distance is this factor times local maximum edge length.
    // Note: changed(corrected) w.r.t 17x! (17x used 2* tolerance)
    tolerance 3.0;

    // Number of mesh displacement relaxation iterations.
    nSolveIter 30;

    // Maximum number of snapping relaxation iterations. Should stop
    // before upon reaching a correct mesh.
    nRelaxIter 5;

    // Feature snapping

        // Number of feature edge snapping iterations.
        // Leave out altogether to disable.
        nFeatureSnapIter 15;

        // Detect (geometric only) features by sampling the surface
        // (default=false).
        implicitFeatureSnap false;

        // Use castellatedMeshControls::features (default = true)
        explicitFeatureSnap true;

        // Detect features between multiple surfaces
        // (only for explicitFeatureSnap, default = false)
        multiRegionFeatureSnap false;
}

addLayersControls
{
    layers
    {
    }

    relativeSizes       true;
    expansionRatio      1.2;
    finalLayerThickness 0.5;
    minThickness        1e-3;
}

writeFlags
(
);

mergeTolerance 1e-6;

// ************************************************************************* //
Results circular pipe with snappyHexMesh:
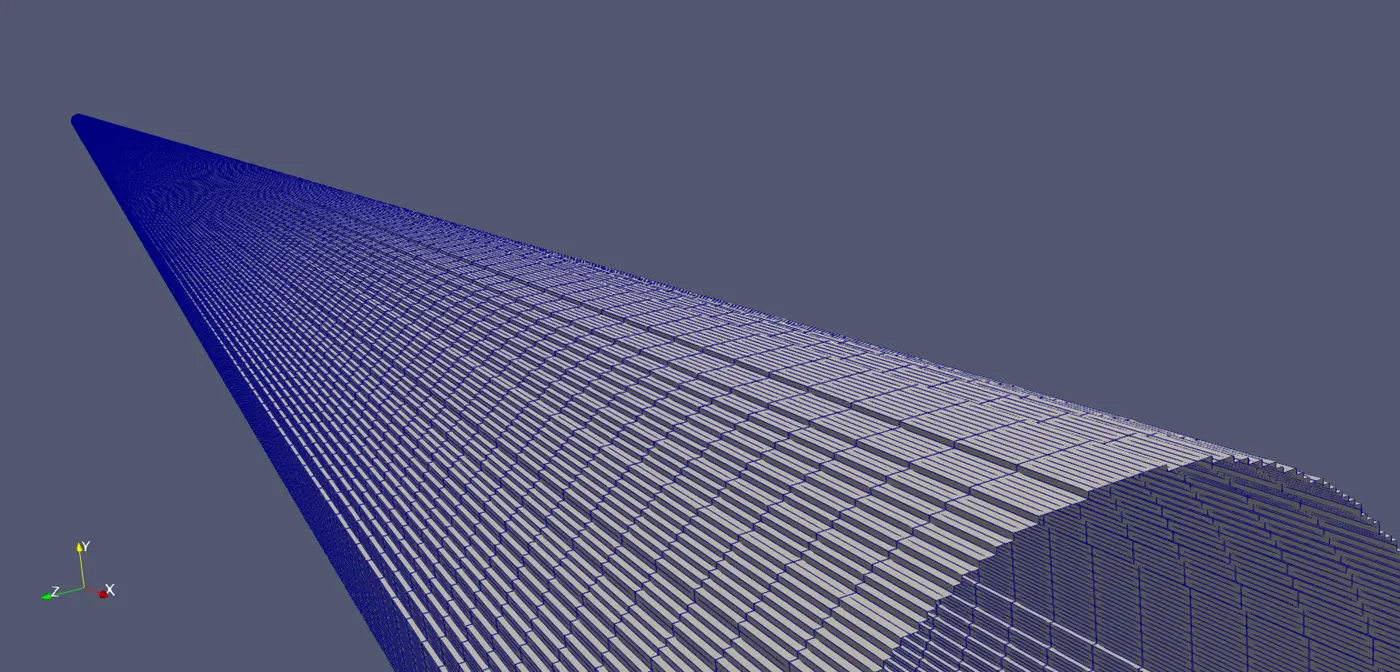 Castellated Mesh
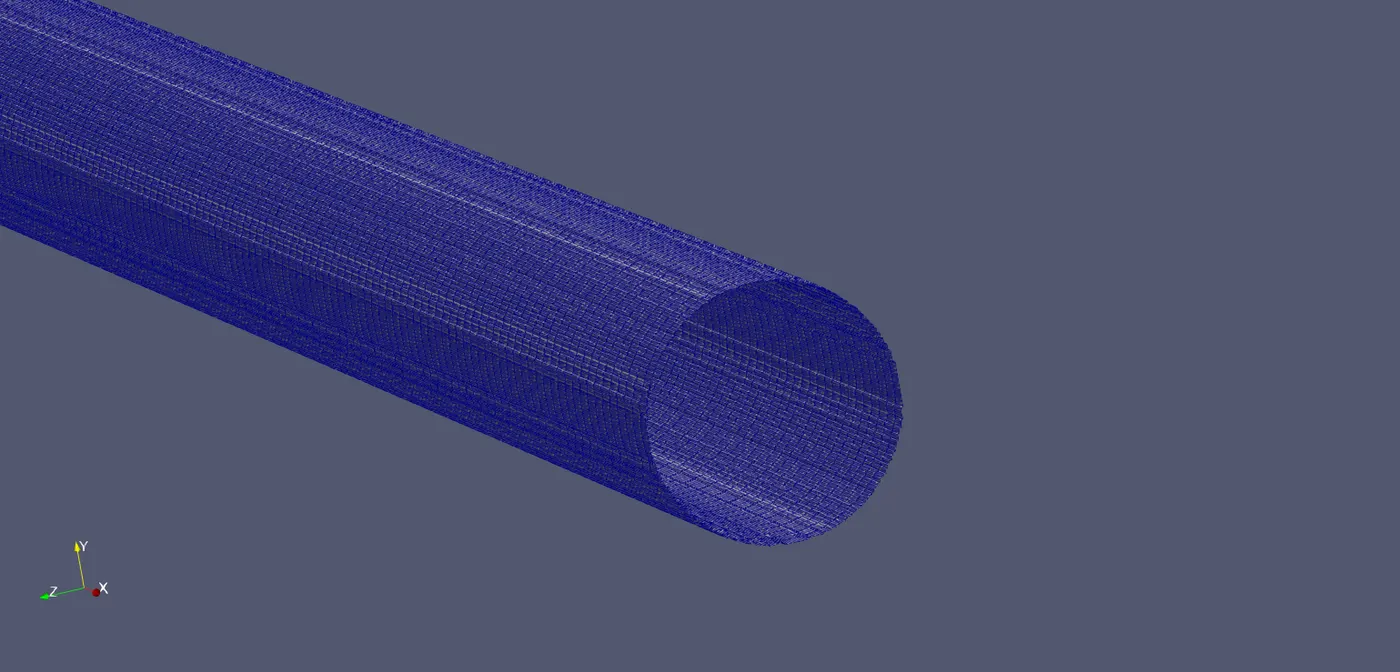 Snapped mesh
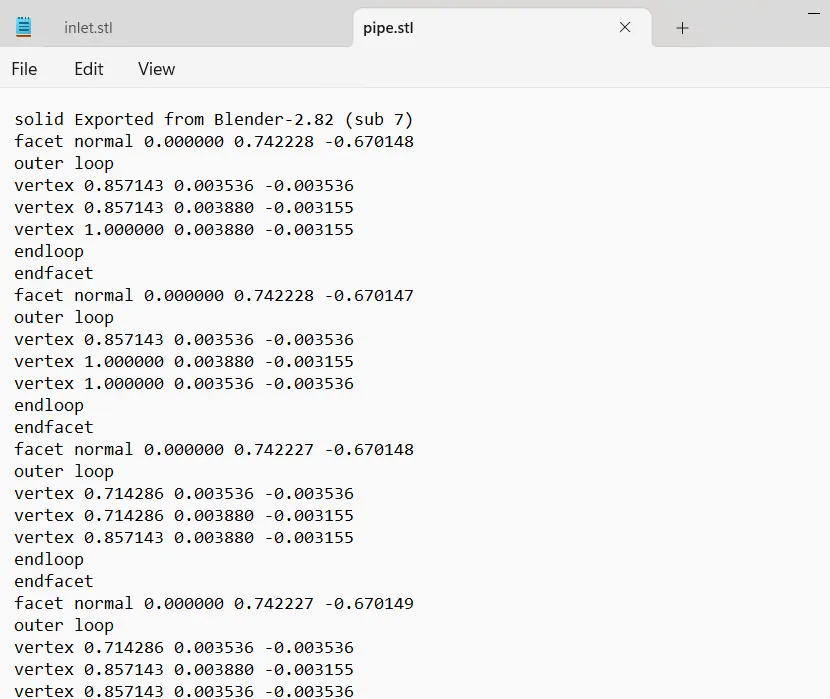
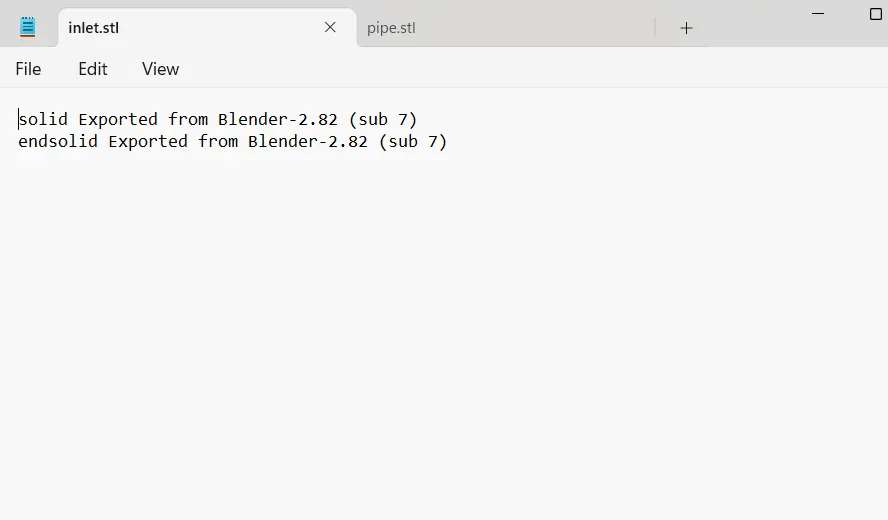
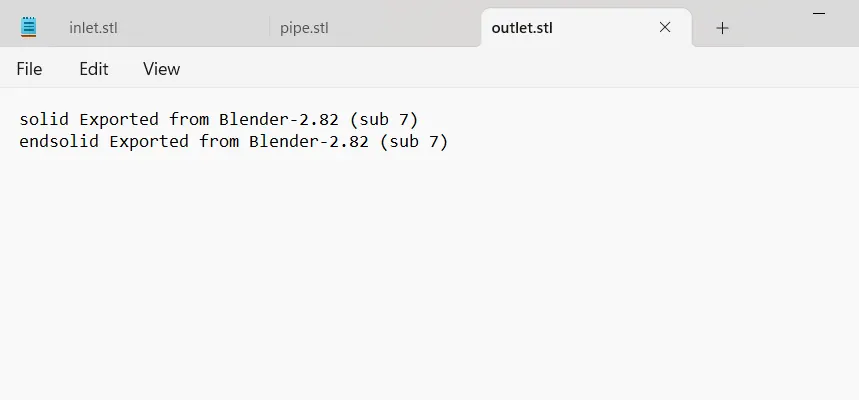
The snapping process is not done properly because of the geometry is open and the inlet and outlet.stl files provided are not proper and due to that the snapping is disrupted.
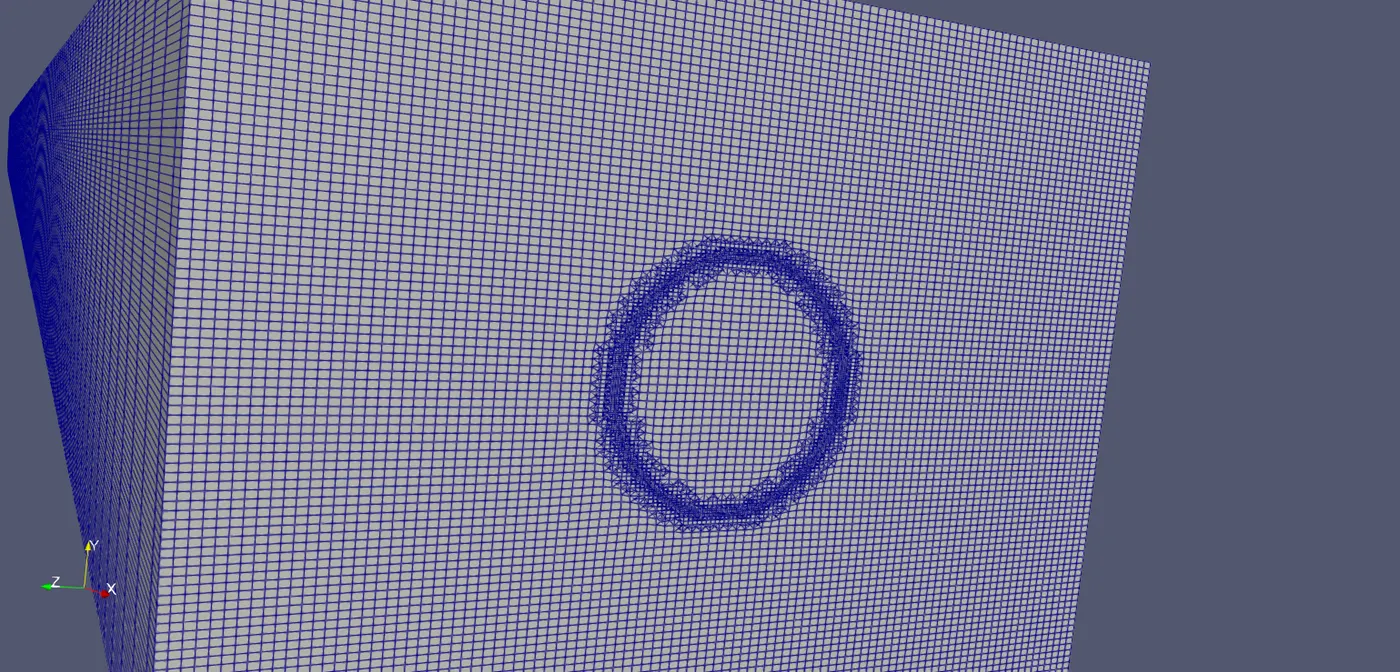 External Mesh
- Circular Pipe with blockMesh utility:
-Copy a tutorial into your run folder.
-Do the following changes in the blockMeshDict of the copied tutorial and view the mesh in Paraview.
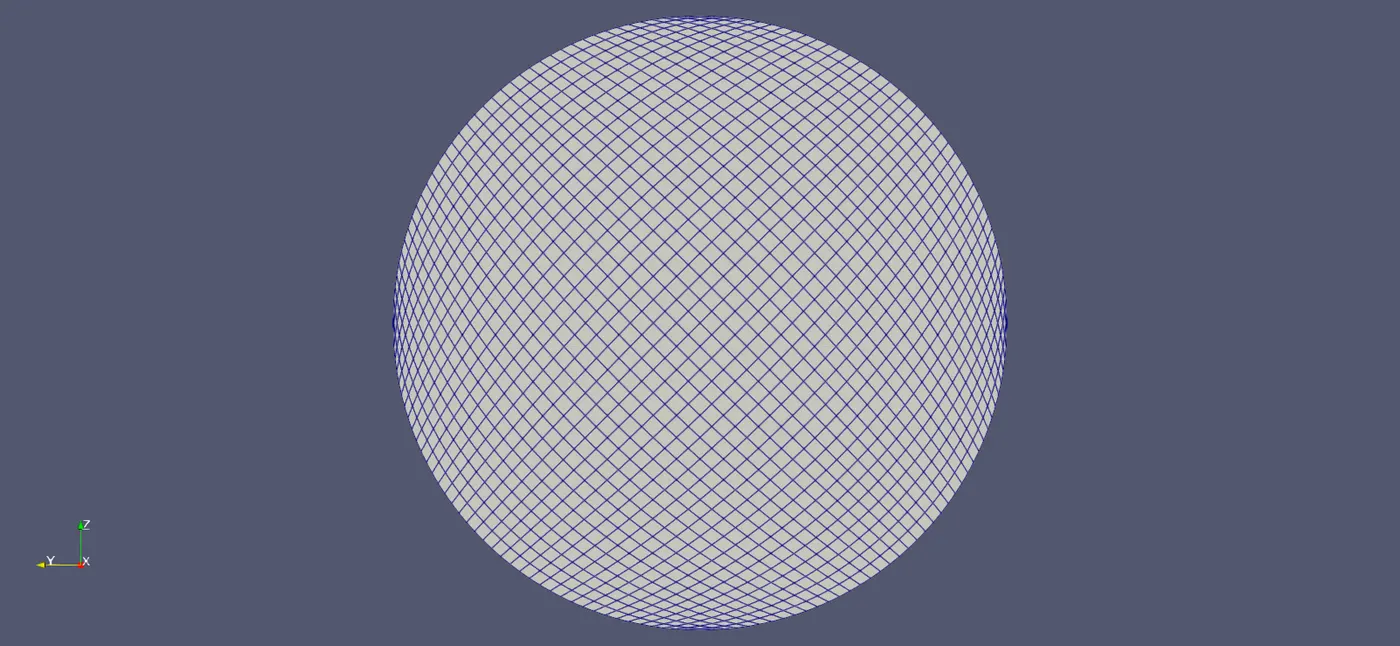
Generating the mesh with the blockMesh utility for simple geometries is achievable, but the blockMesh utility cannot create perfect mesh around sharp edges as it can be seen in the above image. The cells are getting conjusted at the edges and thier skewness will be higher.
Problem 3: Obstacle in the box
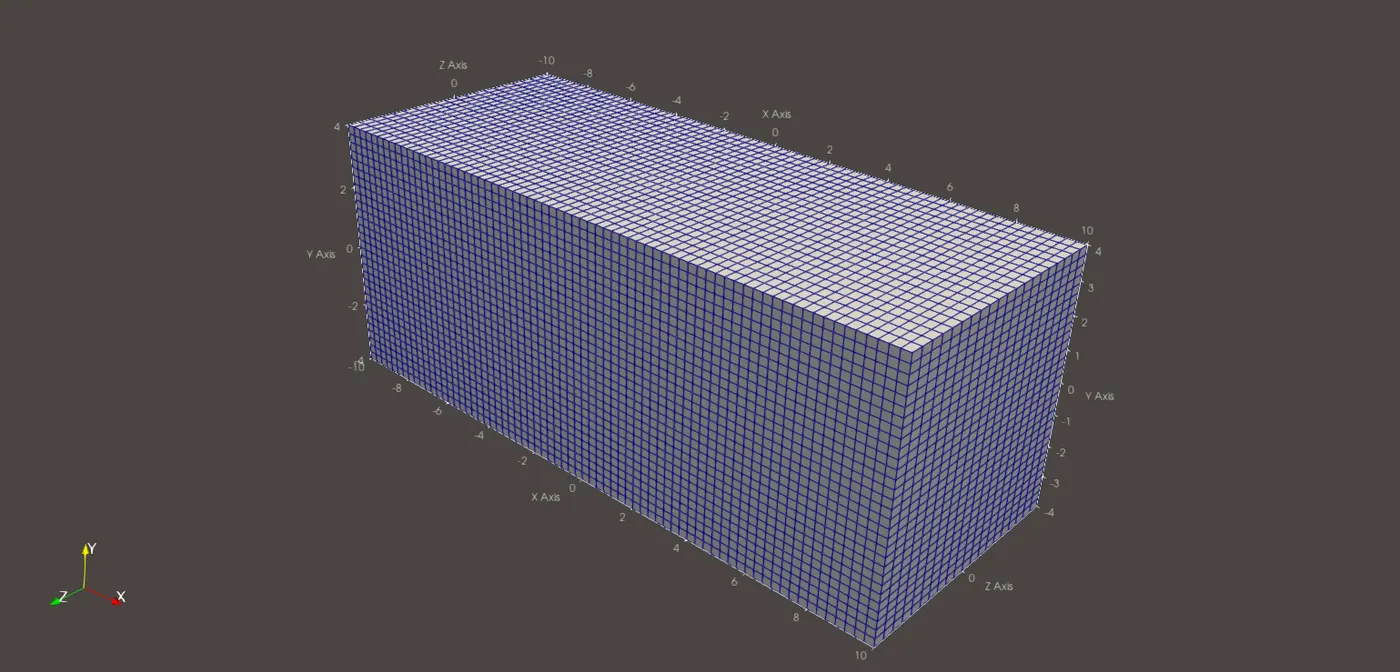
-Generate an enclosure of the given measurements of (20*8*8)m that encompass the two obstacles sphere and cube. Create a different case setup and copy the .stl format files in the constant/triSurface directory in the newly created case setup.
-Generate a blockMeshDict file for the given measurements in meters.
/*--------------------------------*- C++ -*----------------------------------*\
  =========                 |
  \\      /  F ield         | OpenFOAM: The Open Source CFD Toolbox
   \\    /   O peration     | Website:  https://openfoam.org
    \\  /    A nd           | Version:  11
     \\/     M anipulation  |
\*---------------------------------------------------------------------------*/
FoamFile
{
    format      ascii;
    class       dictionary;
    object      blockMeshDict;
}
// * * * * * * * * * * * * * * * * * * * * * * * * * * * * * * * * * * * * * //

scale   1;

vertices
(
	(-10 -4 -4)//0
	(10 -4 -4)//1
	(10 4 -4)//2
	(-10 4 -4)//3
	(-10 -4 4)//4
	(10 -4 4)//5
	(10 4 4)//6
	(-10 4 4)//7
);

blocks
(
   hex (0 1 2 3 4 5 6 7) (70 30 20) simpleGrading (1 1 1)
//   hex (0 1 2 3 4 5 6 7) (1 1 1) simpleGrading (1 1 1)
);

edges
();

boundary
(
    walls
    {
        type wall;
        faces
        (
            (7 4 5 6)
            (3 2 1 0)
            (3 7 6 2)
            (0 1 5 4)
        );
    }
    inlet
    {
        type patch;
        faces
        (
            (7 3 0 4)
        );
    }
    outlet
    {
        type patch;
        faces
        (
            (6 5 1 2)
        );
    }
);

// ************************************************************************* //
-Edit the snappyHexMeshDict file edit the geometry section, refinementSurface section.
/*--------------------------------*- C++ -*----------------------------------*\
  =========                 |
  \\      /  F ield         | OpenFOAM: The Open Source CFD Toolbox
   \\    /   O peration     | Website:  https://openfoam.org
    \\  /    A nd           | Version:  11
     \\/     M anipulation  |
\*---------------------------------------------------------------------------*/
FoamFile
{
    format      ascii;
    class       dictionary;
    object      snappyHexMeshDict;
}
// * * * * * * * * * * * * * * * * * * * * * * * * * * * * * * * * * * * * * //

#includeEtc "caseDicts/mesh/generation/snappyHexMeshDict.cfg"

castellatedMesh on;
snap            on;
addLayers       off;

geometry
{
    Sphere
    {
        type triSurfaceMesh;
        file "sphere.stl";
    }

    Cube
    {
	type triSurfaceMesh;
	file "cube.stl";
    }

};

castellatedMeshControls
{
    features
    (
	{
	    file "cube.eMesh";
	    levels ((1 2));
	}
    );

    refinementSurfaces
    {
        Sphere
        {
            level (2 2);
        }

	Cube
	{
	    level (2 4);
	}
    }

    resolveFeatureAngle 5;

    refinementRegions
    {
    }

    insidePoint (8.0 2.0 3.0);
}

snapControls
{
    // Number of patch smoothing iterations before finding correspondence
    // to surface
    nSmoothPatch 3;

    // Maximum relative distance for points to be attracted by surface.
    // True distance is this factor times local maximum edge length.
    // Note: changed(corrected) w.r.t 17x! (17x used 2* tolerance)
    tolerance 3.0;

    // Number of mesh displacement relaxation iterations.
    nSolveIter 30;

    // Maximum number of snapping relaxation iterations. Should stop
    // before upon reaching a correct mesh.
    nRelaxIter 5;

    // Feature snapping

        // Number of feature edge snapping iterations.
        // Leave out altogether to disable.
        nFeatureSnapIter 15;

        // Detect (geometric only) features by sampling the surface
        // (default=false).
        implicitFeatureSnap false;

        // Use castellatedMeshControls::features (default = true)
        explicitFeatureSnap true;

        // Detect features between multiple surfaces
        // (only for explicitFeatureSnap, default = false)
        multiRegionFeatureSnap false;
}

addLayersControls
{
    layers
    {
    }

    relativeSizes       true;
    expansionRatio      1.2;
    finalLayerThickness 0.5;
    minThickness        1e-3;
}

writeFlags
(
);

mergeTolerance 1e-6;

// ************************************************************************* //
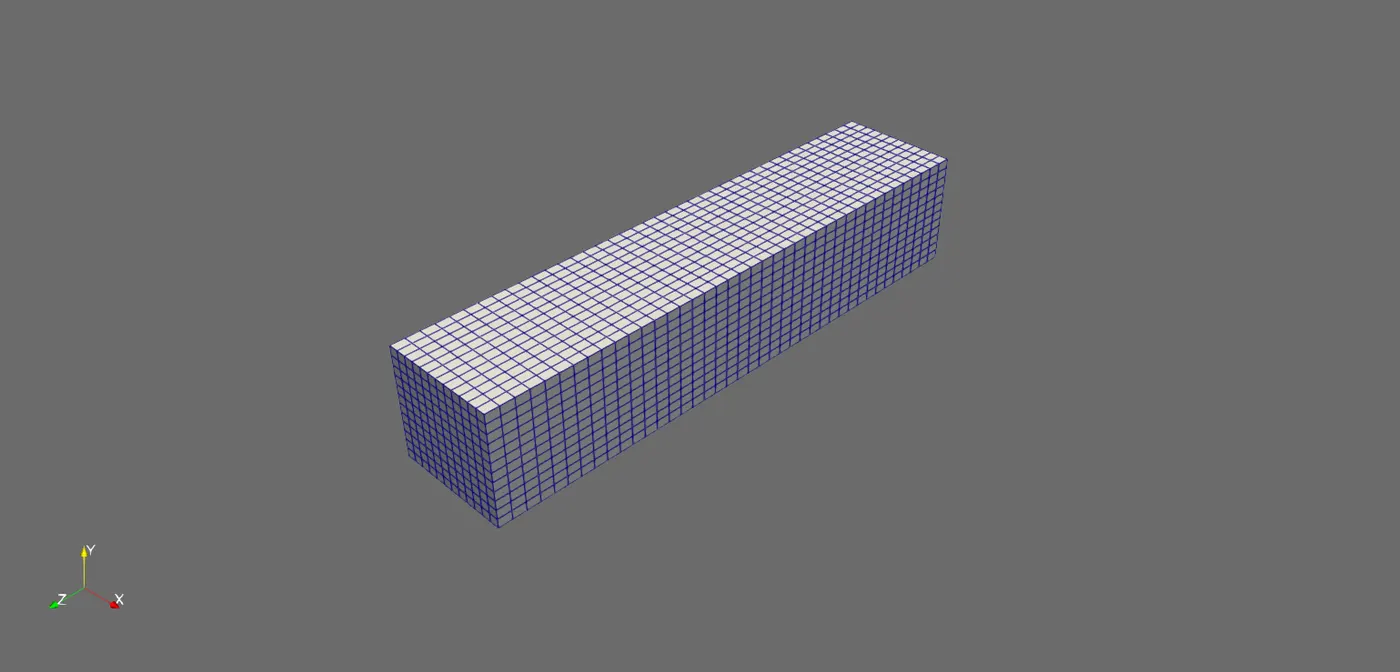
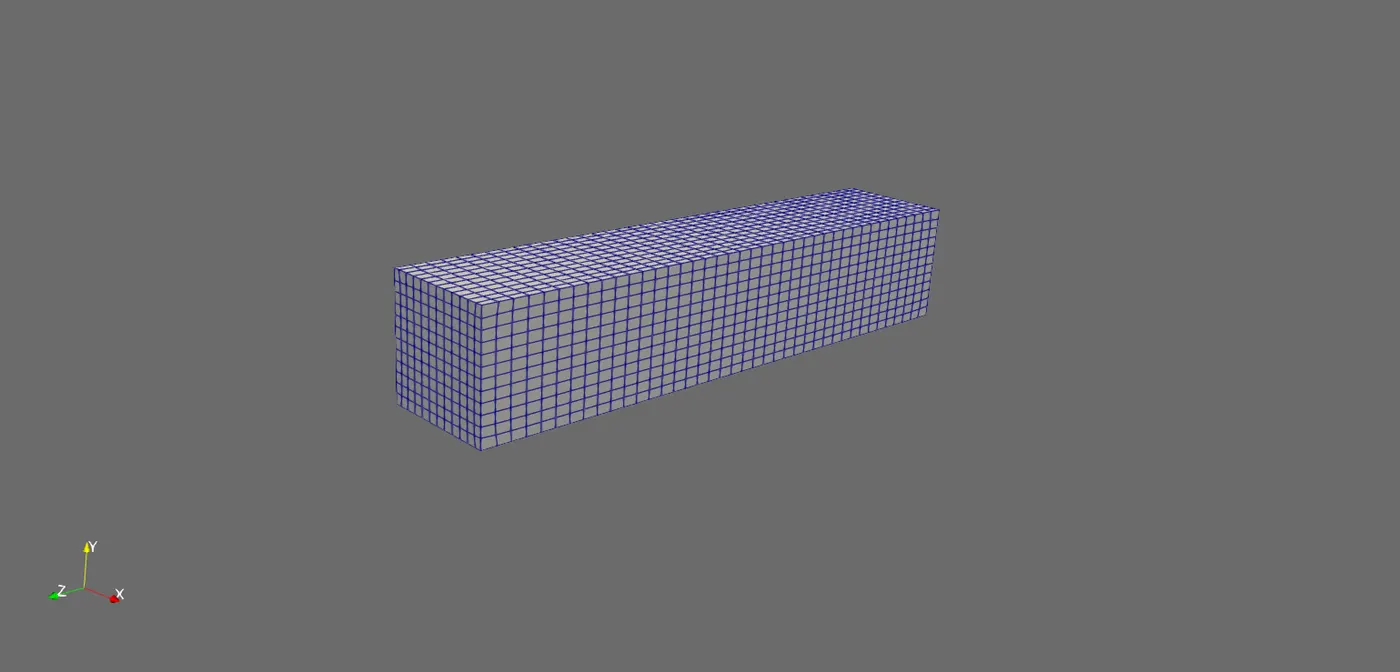
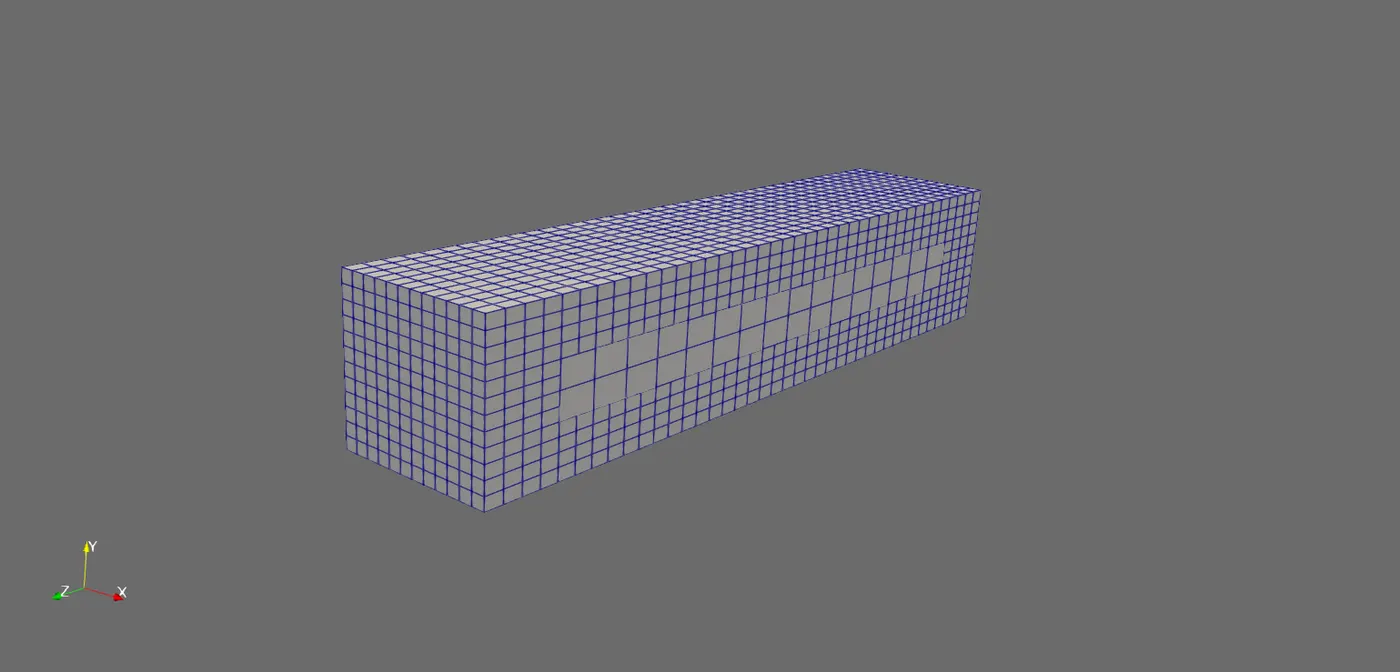
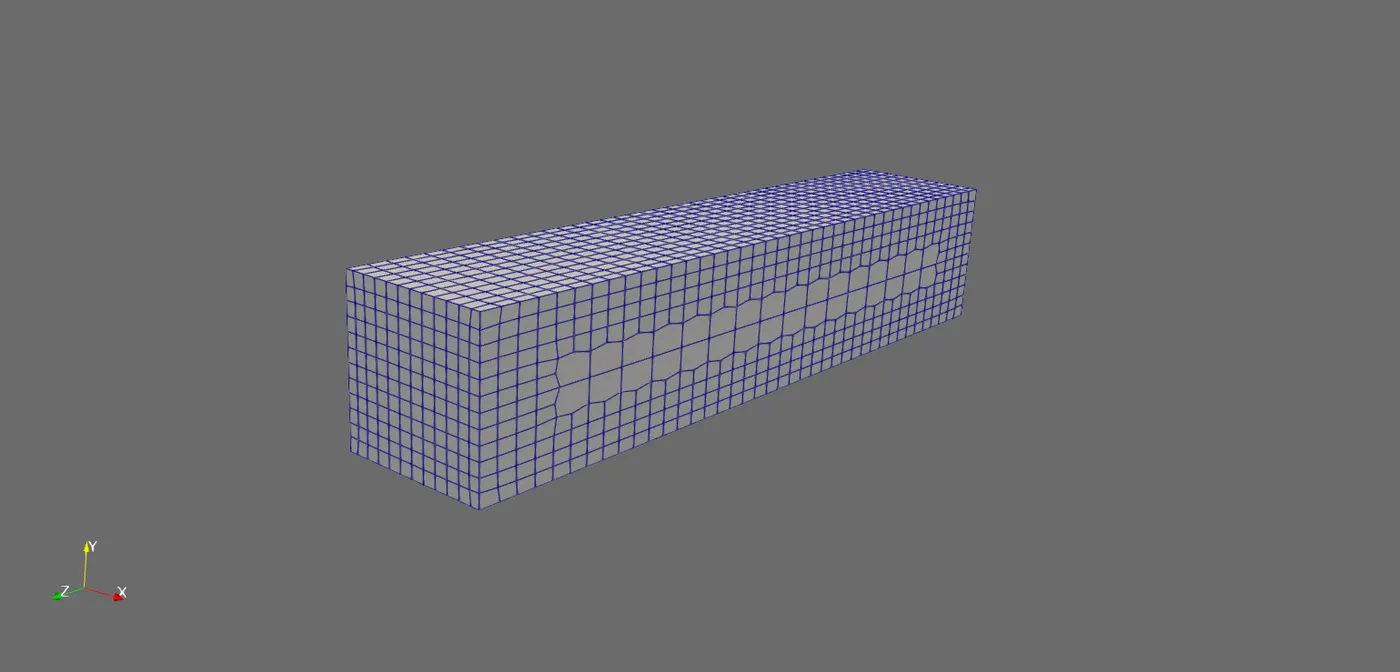
By changing the parameters like the Explicit Feature Angle levels, Surface Refinement levels and the resolveFeatureAngle values mesh can be maipulated below are some different meshes of different values.
- Explicit Feature Edge levels (1 1), refinementSurface (4 4) Casting and Snapping respc
- Explicit Feature Edge levels (0 0), refinementSurface (2 4), resolveFeatureAngle 5 Casting and Snapping respc
- Explicit Feature Edge levels (2 2), refinementSurface (4 5), resolveFeatureAngle 30 Casting and Snapping respc