Week 3 Challenge : CFD meshing on Turbocharger
CFD meshing on Turbocharger
Aim:
To CFD meshing the given component in ansa using the given target length.
Objective:
2D mesh the Turbocharger then CFDMesh the given model by using the following target length,
1.Blade Stage-1 =1mm
2.Blade stage-2 =1mm
3.Impeller =2mm
4. Shaft rotor=1mm
5.Turbo Casing =5mm
6.Compressor casign= 5mm
7. Inlet casing Caver = 5mm
Procedure:
- Topo Clean up:
- Open the file from the location where we have saved it on our Computer by using the “Ctrl+O” Command.
- Go to the Tool in the ansa
- Select the check
- Left click on geometry check
- Select the following check-in geometry check
- Single cons
- Cracks,
- Overlap faces
- Needle faces
- Trible cons
- Collapsed cons
- Unchecked faces
- Remove the overlapped surface by Delete the Surface which is over lapped.
- Remove the extended surface by deleting the extended entities and creating a new surface.
- Eliminate void surface by creating the new surface in ansa.
- Check the single Cons by using wireframe mode in ansa by using the combination of the Ctrl+Shift keys.
2. Creating PID
- Go to the PID manager
- Create new PID
- Assign the color for each surface according to the PID that we have created.
- Apply the PID to the Surface.
- Edit the PID according to the given name.
- Compress the unwanted PID.
3.2D mesh:
- Go to the mesh deck and give the perimeter and macro values as a target length.
- Assign the mesh parameter value
- Go to the quality Criteria and give the minimum and maximum values.
- Go to the mesh deck,
- Pick the spot mesh.
- Generate the mesh for the given component.
- Do the same procedure for various target lengths that they are given.
- Check the unmeshed surface
- Regenerate the mesh.
4.3D mesh:
- Go to the 3D mesh deck.
- Select the volume and click on Auto Detect. The 3D volume will appear.
- Delete the unwanted Volume Where the flow won't be.
- Right-click on the volume which is we want.
- Generate 3D mesh
- Check the 3D model
Learning Outcomes:
Geometry clean up:
- Removal of the extended surface.
- Creating a Complicated surface
- Deleting intersected surface
PID creation for a part
- Compress the unwanted PID
- Creating the New PID 2D mesh
- Creating 2D mesh
- Find the unmeshed surface and fix that.3D mesh
- Creating a 3D mesh
Result:
The CFD meshing has been done on the Turbocharger
1. Topo Cleanup:
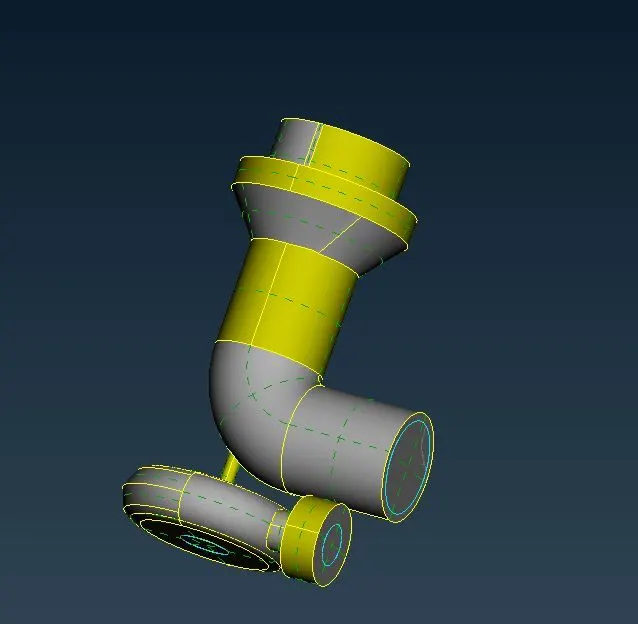
Fig: Topo clean up
PID manager:
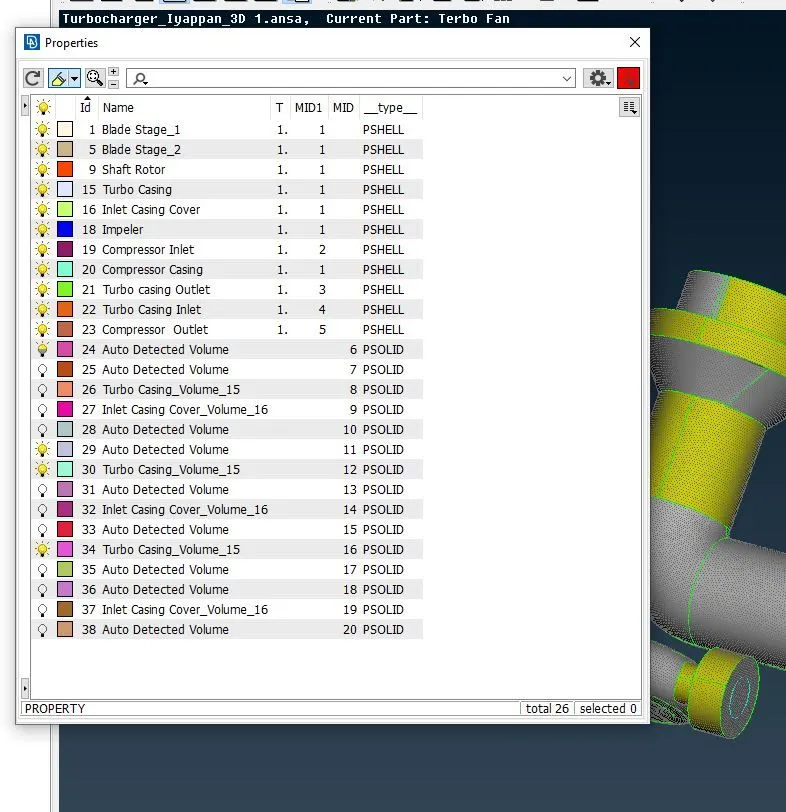
Fig: PID manager
2D meshing:
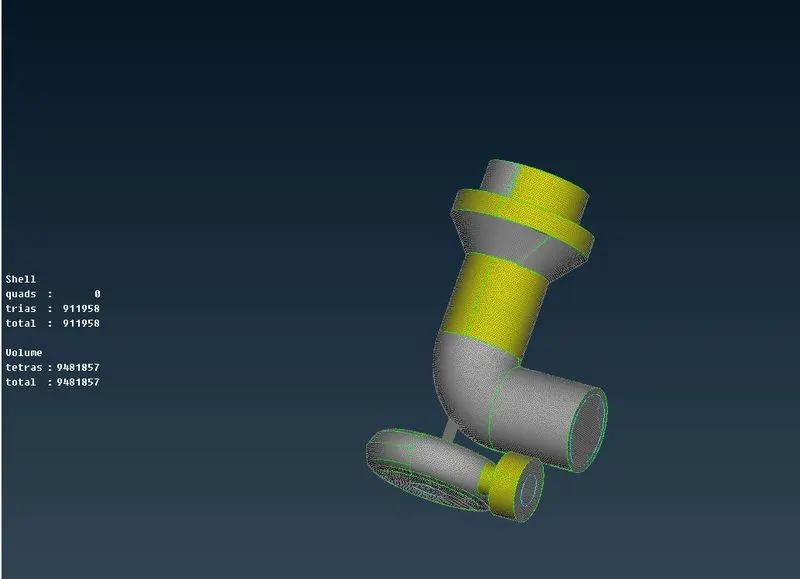
Fig:2D meshing
3D meshing:
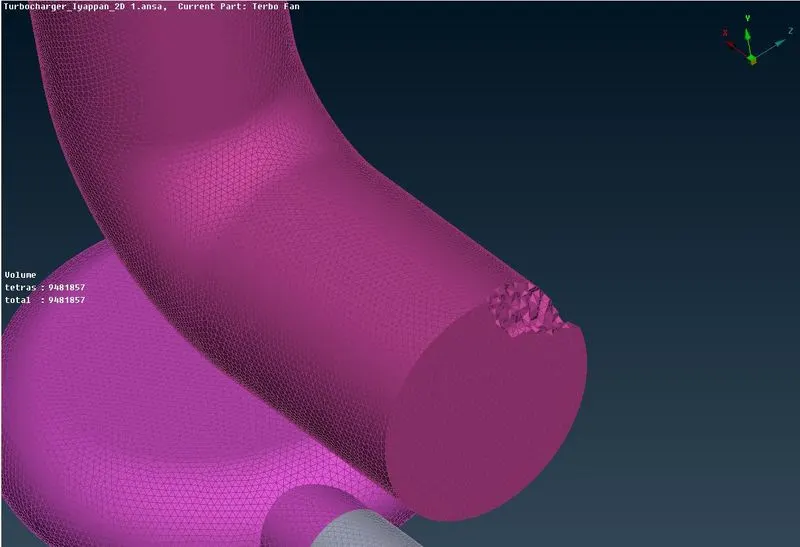
Fig: 3D meshing
Conclusion:
Thus, CFD meshing on the given model was successfully generated.