Week 3 Challenge : CFD meshing on Turbocharger
Week 3 Challenge : CFD meshing on Turbocharger
Aim:
To check geometrical error and geometric cleaning to assign the property identities to turbocharger and perform surface meshing and volumetric meshing respectively.
Objective:
Maine objective in this report is to learn how to assign property identities and how to perform meshing on turbo charger.
Body of content:
The motive of these report is to perform meshing, volumetric as well as surface meshing respectively and to assign the property identities to all the component of turbo charger. The meshing is taken under ANSA v23.0.1.
To start first we have to divide our problem step wise, the first we are going to perform geometric clean up after that we will assign PIDS which is noting but property identities, then we will go for surface meshing and then we will perform volumetric meshing respectively.
1. Geometric cleanup:
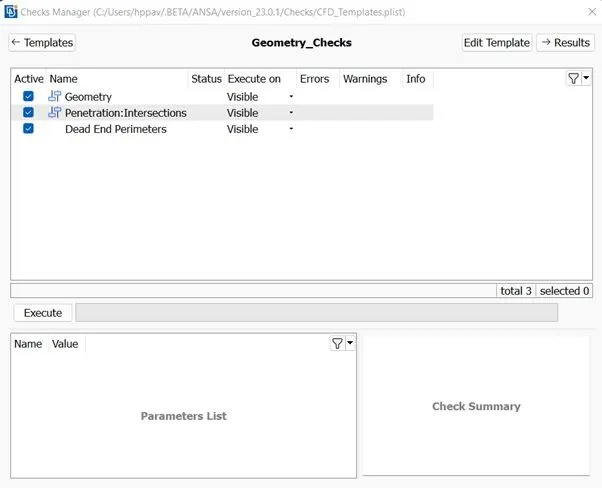
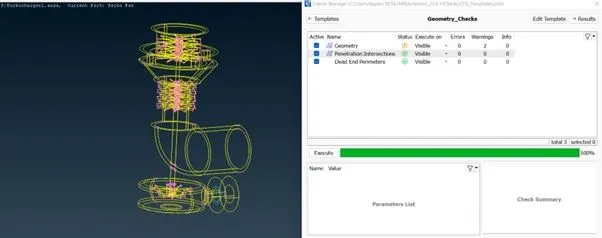
Geometric cleanup is done to rectify the error which will cause our geometry problem later on CFD meshing, in this method will we going with two process or we can say geometry check which include geometry and intersection. As shown in below figure, we will discuss each process in detail.
1.1 Geometry error.
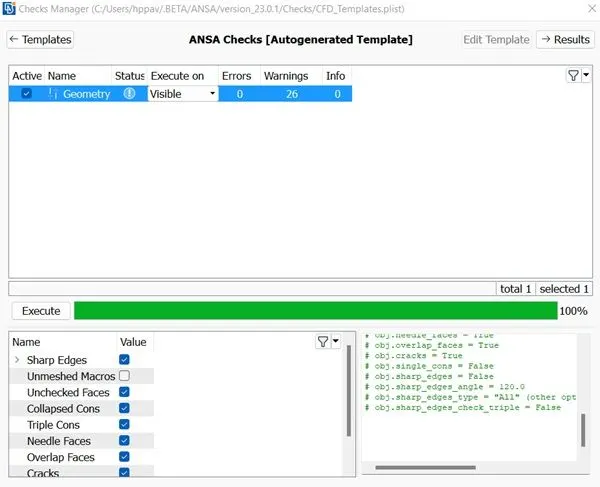
In these we will go with missing face, overlapping face, red cons and blue cons. As shown in below figure when we check the geometry we see one error, and remaining warning.
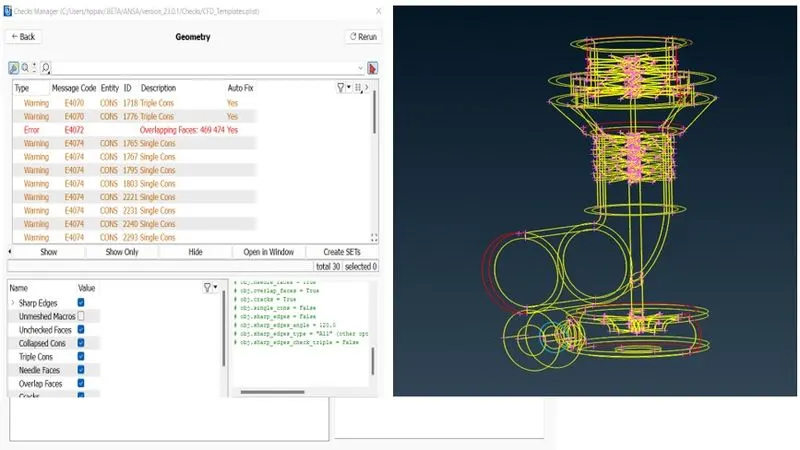
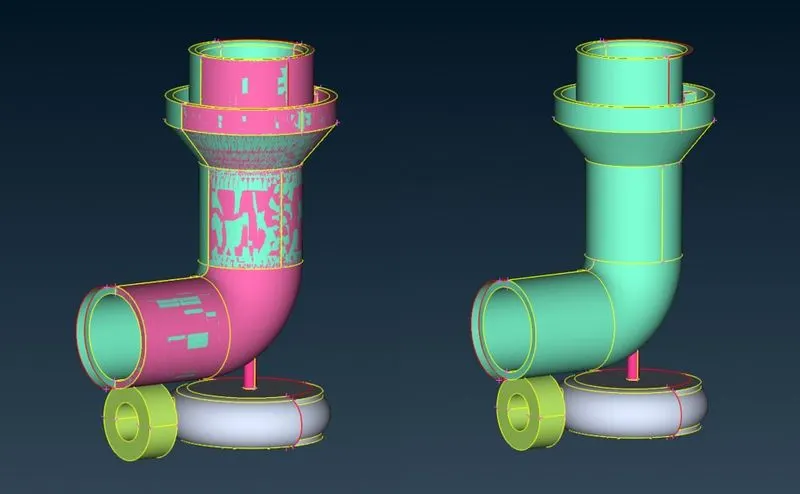
If we check properly, we see there are overlapping face as shown in below figure it is nothing but hatch faces so in order to clean up our geometry, we will delete that face because we do not need it during our meshing purpose. For that simple go to the PIDs find that pink face and delete face.
Now going to another error of geometry as shown in figure we can see there is an extra face there, for our meshing purpose we will delete it, for that go to the face click on delete option.
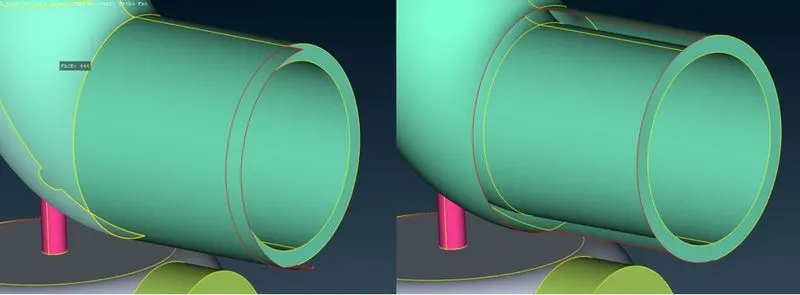
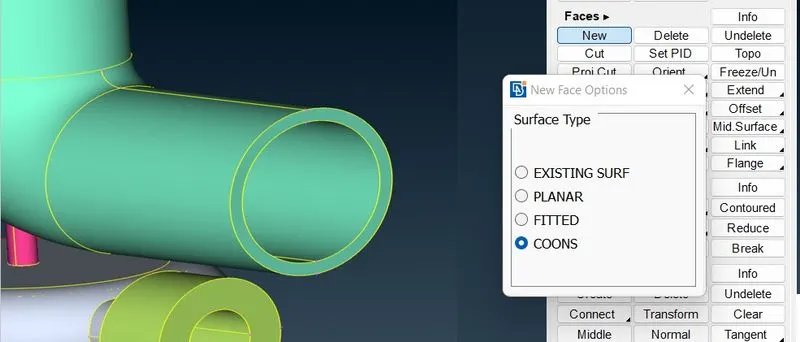
Now to create face select the face and delete it and create a new face there. For that go to the face click on new and go with cons method create as new face.
Moving to next geometry error as shown in below figure the undefined face and also the unsymmetric boundaries are there to rectify that error we go with intersection method.
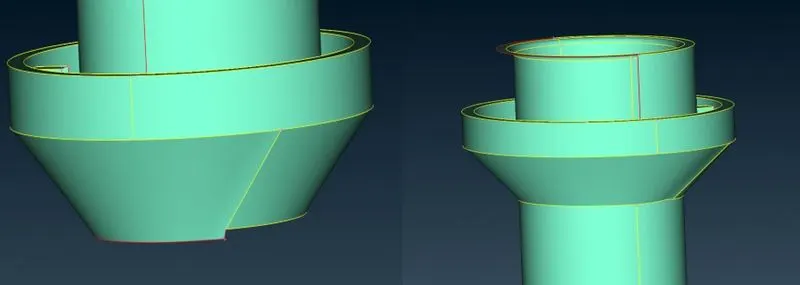
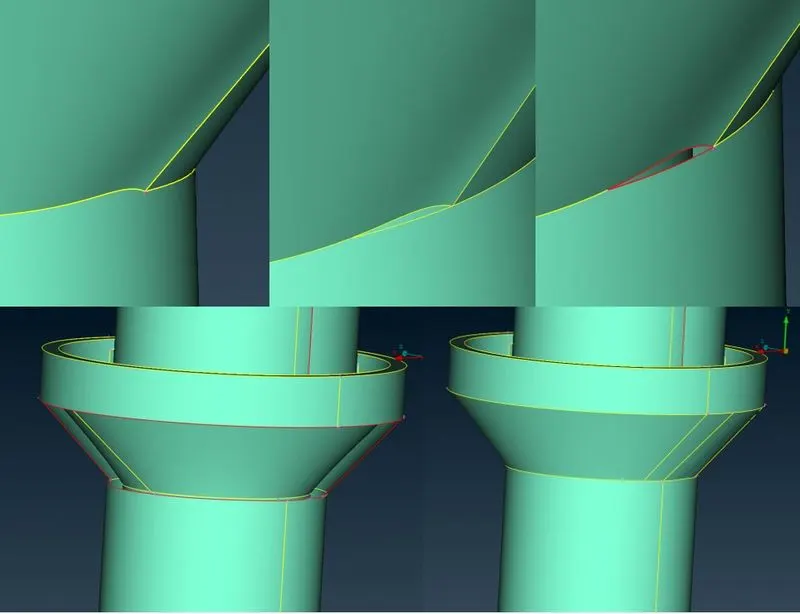
As shown in below figure we can see that there is still some a symmetric boundary for that we cut that region with cut command in faces and then delete whole face and create another on them with help of new command.
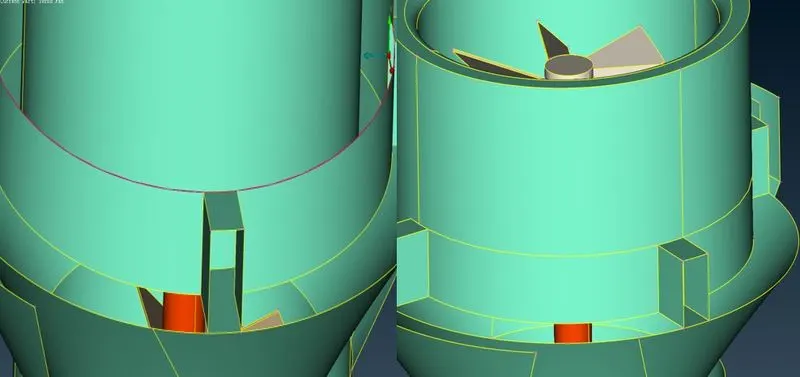
Now moving to next geometric error, we can see missing face for that we will going to use transform command, for that go to the curve where you can see transform option and from there select a curve you want to transform. Transform command help you to transfer the same curve to the next geometry.
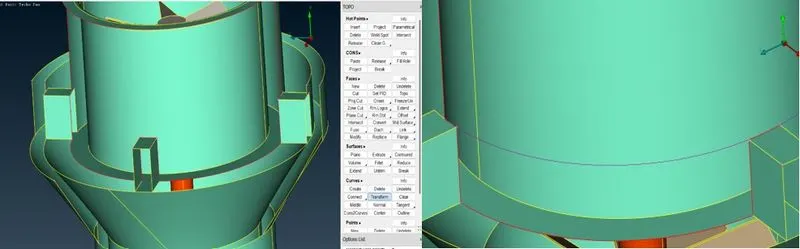
The purple curve shows the transform curve now we can easily create faces on the geometry. As shown in below figure.
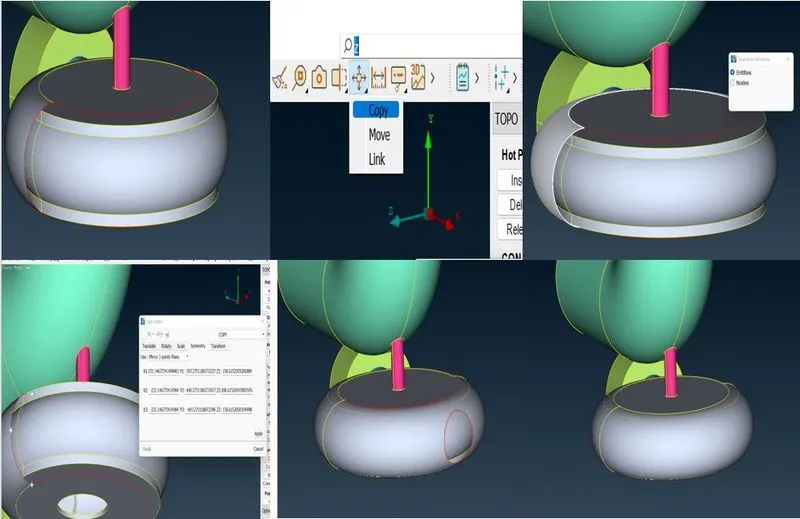
Moving to next geometry error we can see the face is missing so for that we will go with transform option for that we will insert a hot points o the curve and go to transform option and from their we click on copy and select entities option, form their go to symmetry and chose three pints option and select the three point on the curve click apply and click ok. After you can see there is a hole in geometry for that use fill hole option.
Now if go with geometry check there are no geometry error only warning as shown in below figure. So next step is to go for intersection error.
1.2 Geomtery intersection error:
As we can see in below figure there is nine intersection error, we will eliminate them one by one.
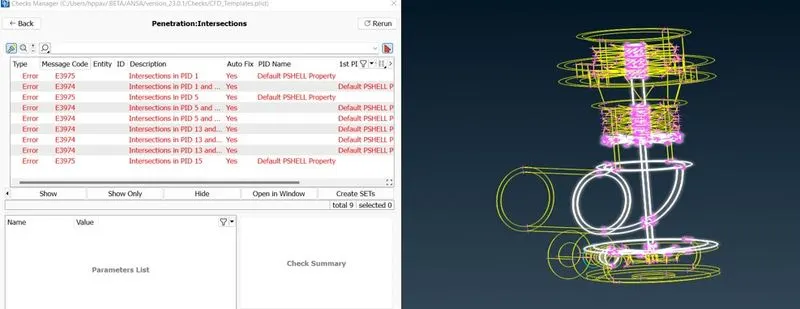
As it shows geometric error in below figure for that one can see there are blue cons to rectify that we have to delete extra faces there
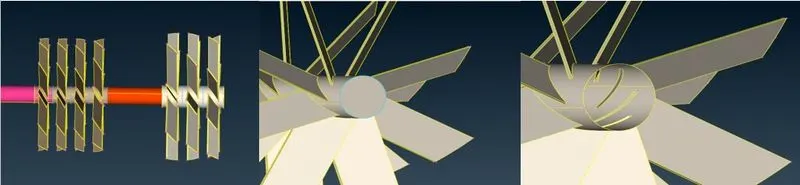
Moving to next geometry we can see yellow body of shaft which is overlapping with the blade face so we going to delete extra face of it as well. Now we have to generate the face there for that go with new command and create a face as shown in figure.
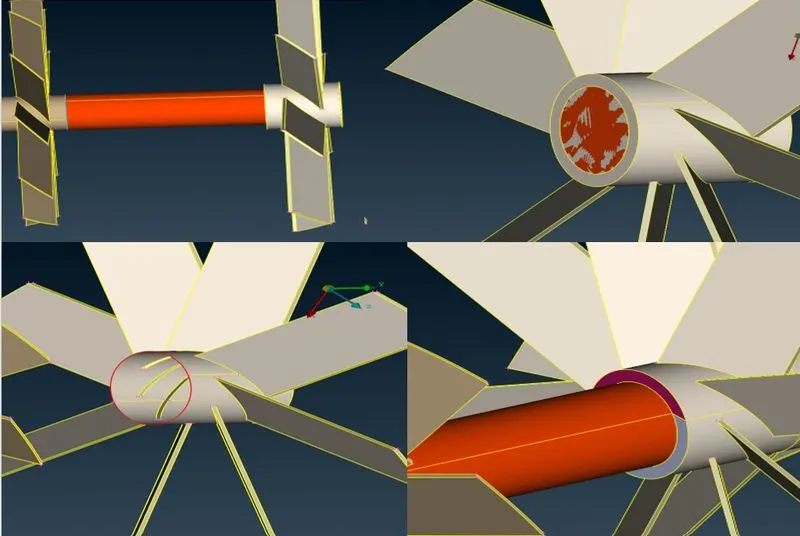
Now moving to next geometric error, we can see there is overlapping face is shown in pink we will delete it with help of delete command. But first we have to take projection of cons on the below face for that go to the cons and click on project option and select the face of shaft then delete the overlapping face.
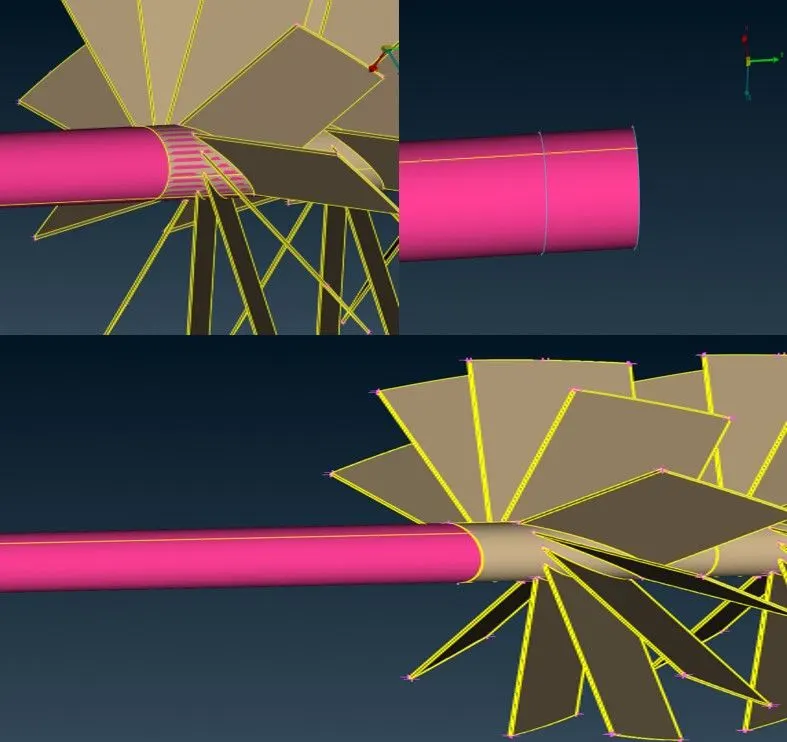
As shown in below figure we can see that there is another intersection error in this case we will delete the face too. As shown, we also cut the pipe in order to avoid red cons.
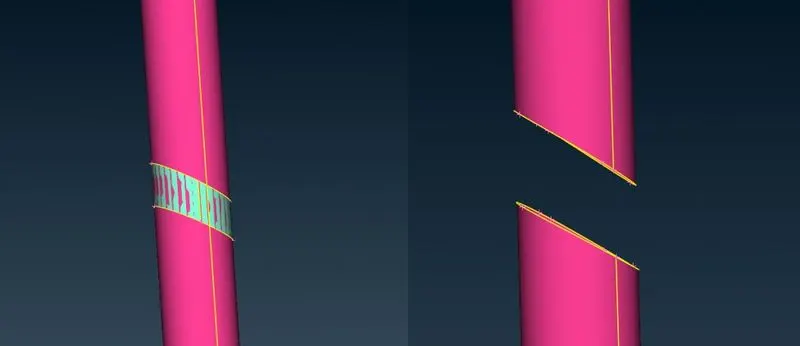
As shown in below figure we can see that there is another intersection error in this case we will delete the face too. As shown, we also cut the pipe in order to avoid red cons
Now moving to next geometry error, we can in below figure there is overlapping face for that we have to delete the face as same we do in other method.
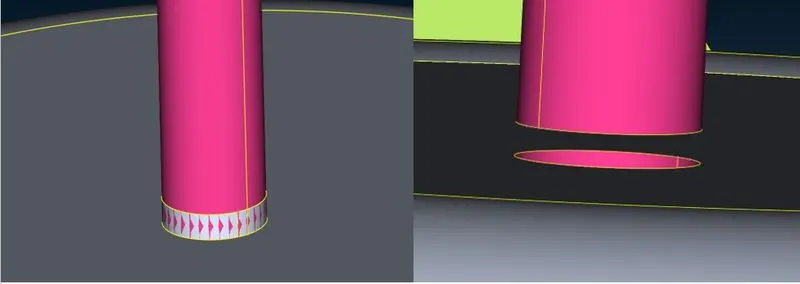
Now moving on to next error we can see in below figure there is triple cons so that means it have overlapping face there, delete that face with help of delete face command.
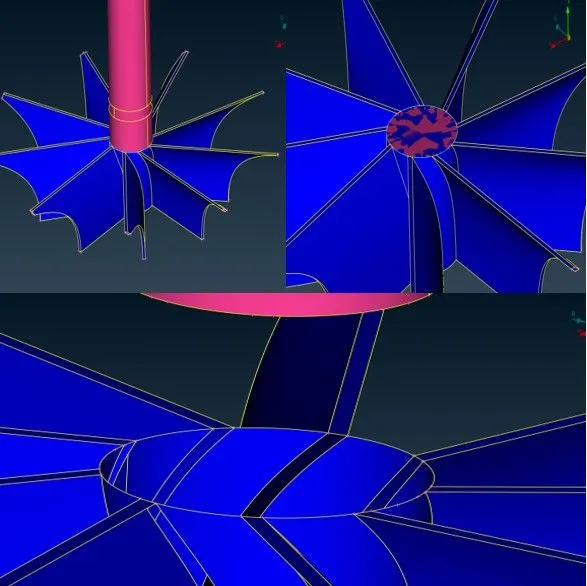
Now moving to the next geometry, we can see the extra face as shown in below figure we don’t need it during our meshing part so we goanna delete it here.
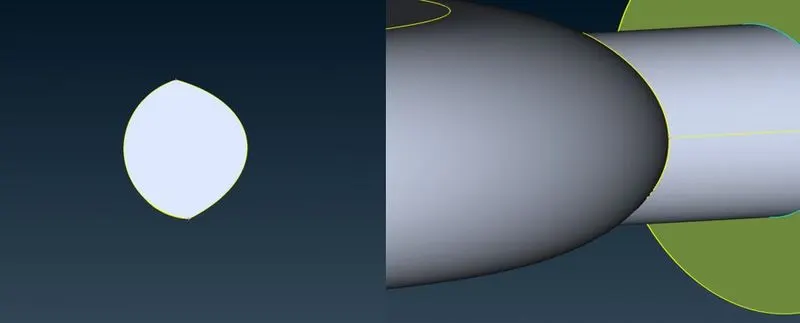
Now if we go for geometry check we don’t have geometry error only warning which will not effect our meshing, as shown in below figure.
2. Assigning PIDS to turbocharger:
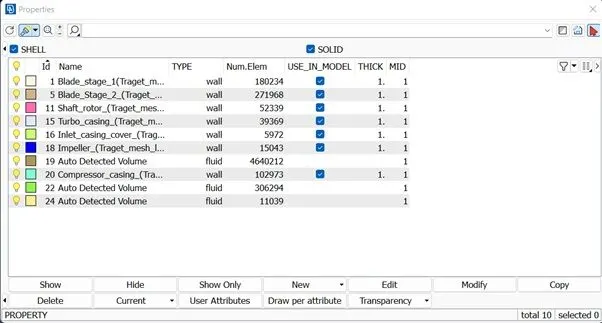
Now as we rectify our error its time for PID assignment, as one can see there are already some PIDs assign to the component so we only going to change the name as shown in below figure.
For the remaining unwanted PIDs go to the compress option and click ok. The name is given accordingly with mentioning the length of mesh for details.
3. Meshing on turbocharger:
We are going to perform surface meshing and volumetric meshing on turbo charger the meshing is going to be CFD and the target mesh length is going to be 1mm for shaft, blade stage 1 and shaft blade, 2mm for impeller and 5 mm for the turbo casing, inlet casing cover and compressor casing cover. Now giving the CFD meshing to turbocharger.
3.1 Surface meshing
We are going to give surface meshing according to the length of mesh which is given to us. Before that we will close all the opening in body because we are going for internal mesh flow.
3.1.1 Surface meshing of target length of 1mm on blade stage 1, blade stage 2 and shaft
We were going to perform the meshing on blade stage 1, blade stage 2 and shaft with mesh length of 1mm as shown in below figure. We have performed CFD mesh and we given the CFD parameter for 1mm mesh length is 0.5 for minimum and 1.2 for maximum the mesh quality is shown below.
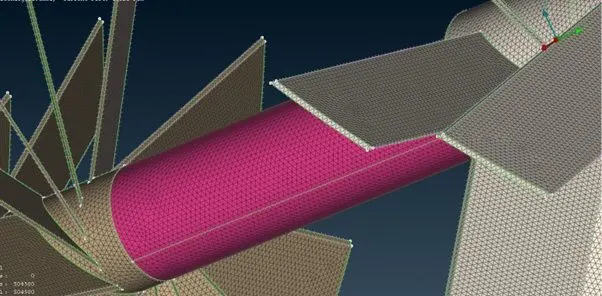
Now going for another meshing but before that freeze the element in current mesh otherwise it will show unmeshed. For that go to macros click on freeze/unfreeze, left click on your mouse and select the current mesh body it will.
3.1.2 Surface meshing of target length of 2mm on Impeller
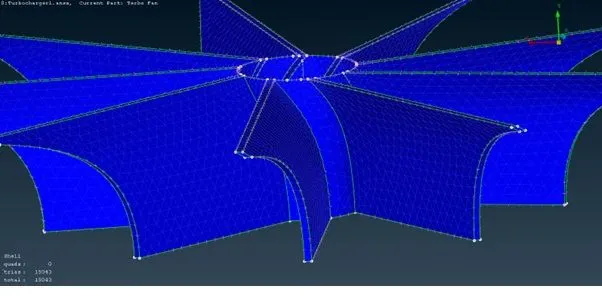
We will be going with same method as we use in above meshing, we will only going to change the spacing of CFD meshing in impeller which is 1.5 for minimum and 2.5 for maximum, the mesh quality is shown in below figure.
Again, we will be going to freeze the body and move to next part.
3.1.3 Surface meshing of target length of 5mm on turbo casing, compressor casing and inlet casing cover
With the same procedure we will going to mesh the turbo casing, compressor casing and inlet casing cover with different mesh length which is 5mm for that we will going to set the criteria to 4.5 to 5.5. The mesh quality is shown in below figure.
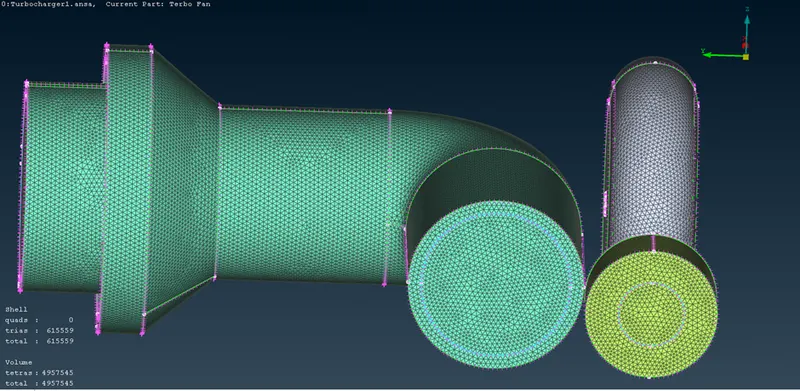
Now freeze the elements in these body also go to show body and unfreeze all the element by going to macros and clicking the unfreeze select all the body with right click. Below is the result of surface meshing.
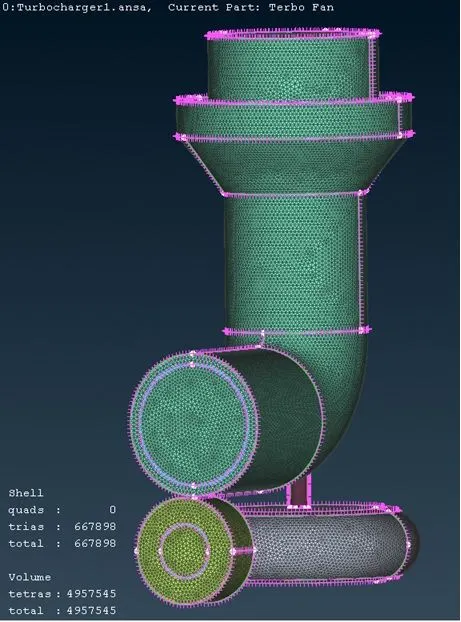
3.2 Volumetric mesh of turbocharger
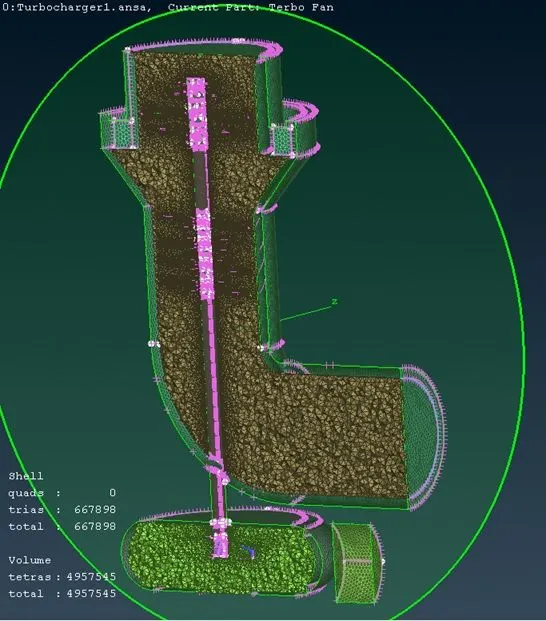
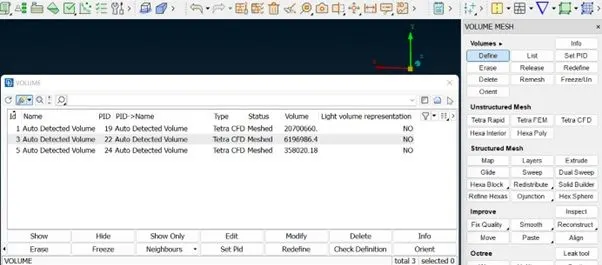
Now for volumetric mesh go to the volume mesh and find the volume click on it it shows table as shown below now select the internal body and delete remaining part after that give meshing type to tetra CFD and meshed again.
The below is a cross section view of volumetric mesh for better understanding.