Week 3 Challenge : CFD meshing on Turbocharger
Aim:
The aim of the challenge is to check for the geometrical errors to make appropriate volumes. Creating and assigning a PIDs for the model with appropriate surface mesh with the given target lengths as per PIDs.
Objective:
The main objective of the challenge is to perform Volumetric mesh for the required volumes. The below are some of the constrains given to the model.
- Blade stage-1 = 1 mm
- Blade stage-2 = 1 mm
- Impeller = 2 mm
- Shaft rotor = 1 mm
- Turbo casing = 5 mm
- Compressor casing = 5 mm
- Inlet casing cover = 5 mm
Procedure:
Step 1: Importing the model to the ANSA interface.
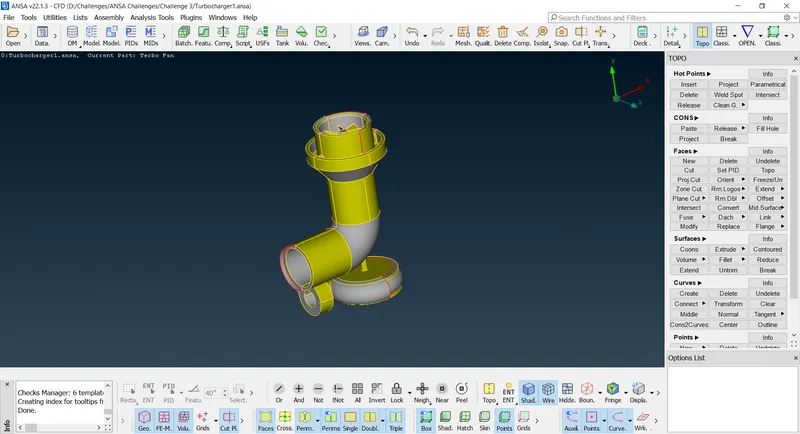
Topo clean up to the model:
Step 2: Deleting the unwanted surfaces present in the model.
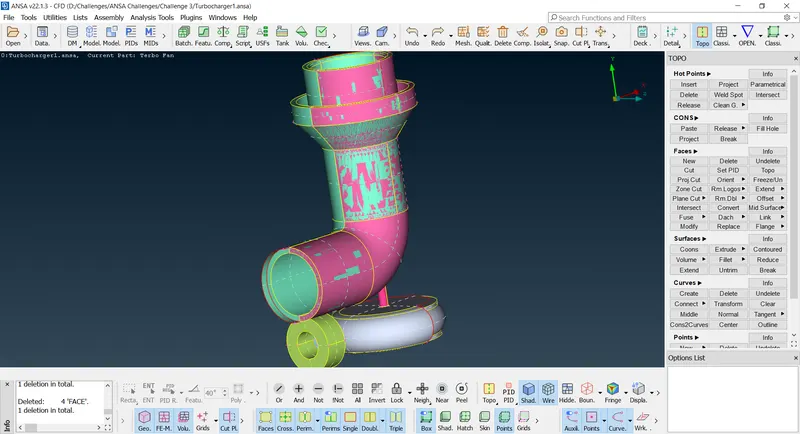
Delete tool to remove the surface:
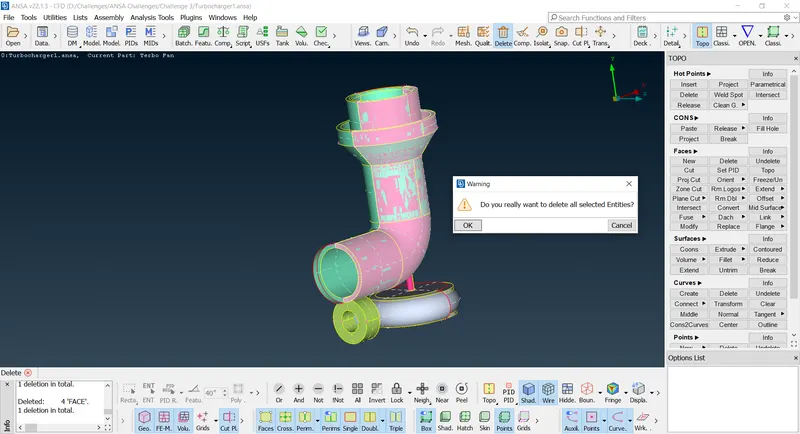
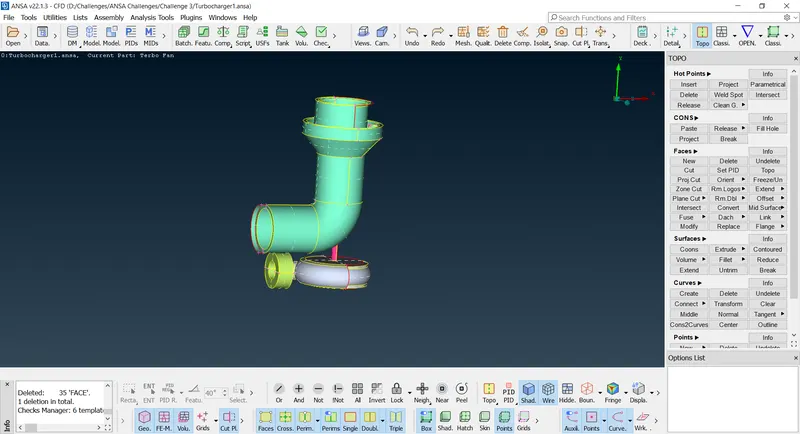
Step 3:
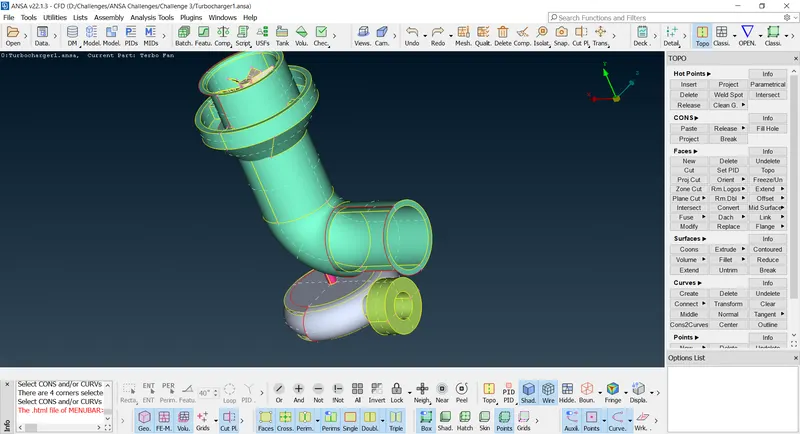
1. Deleting the unwanted extended surface over the model
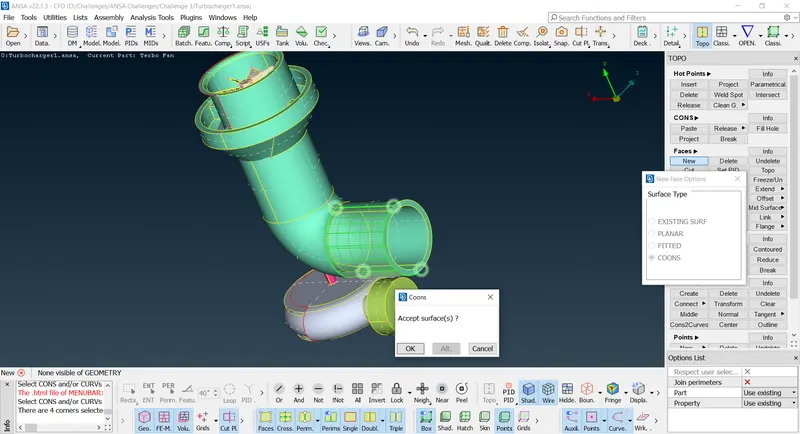
2. Creating new face to replace that surface.
Step 4: Topo clean up to rectify the single cons to the model.
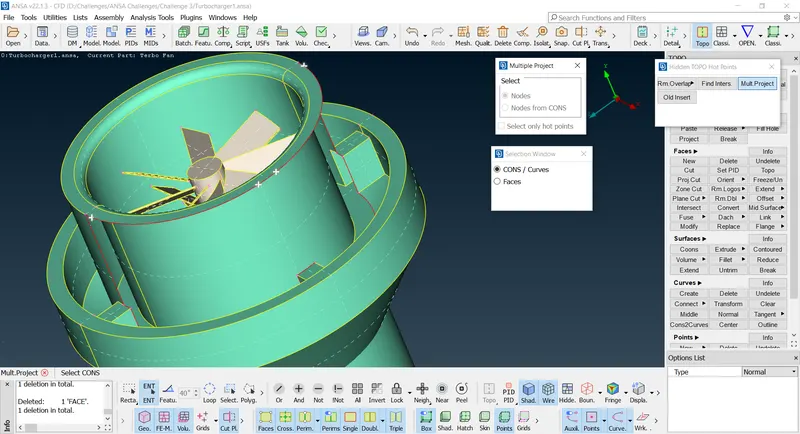
1. Projecting hot points to the cons.
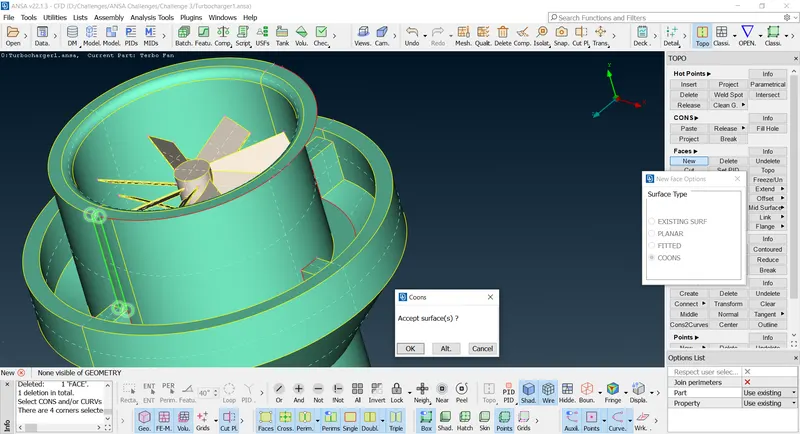
2. Creating small face by selecting hotpoints and cons.
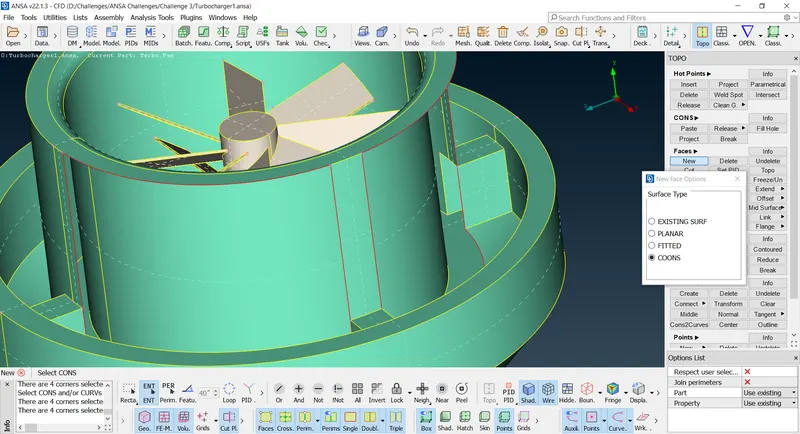
3. Using Fill hole tool in the cons to make a surface.
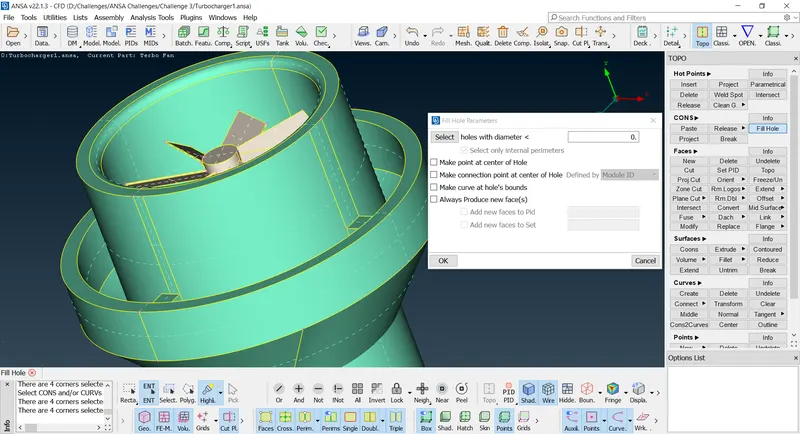
4. Using interset tool to identify the intersect part in that surface.
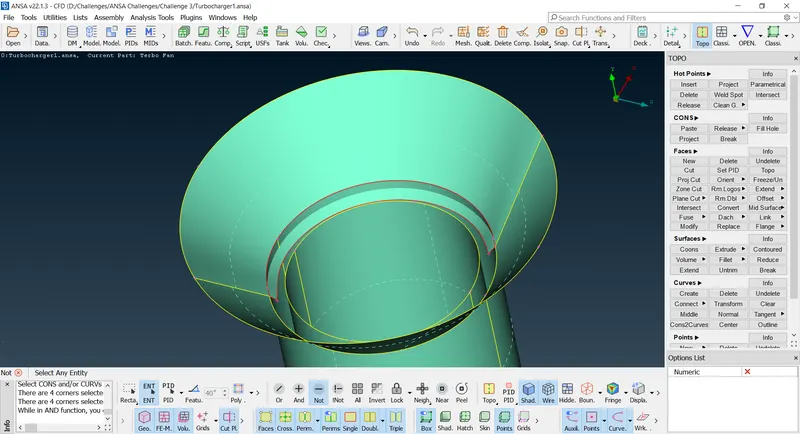
5. Deleting that surface by using delete option.
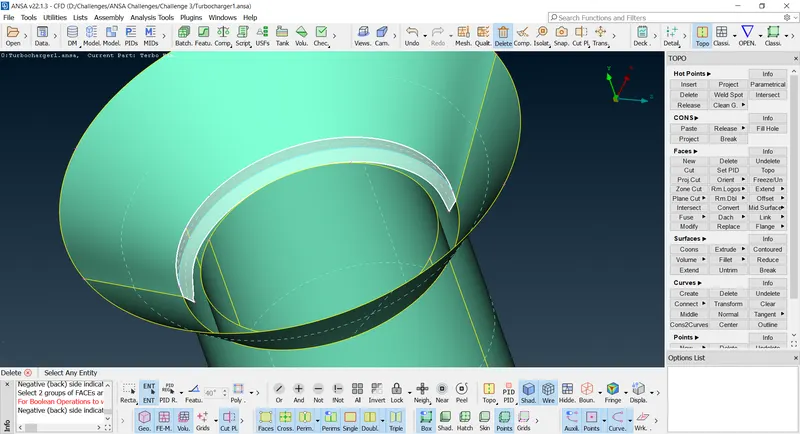
6 . Finally that single cons are removed and cleaned up.
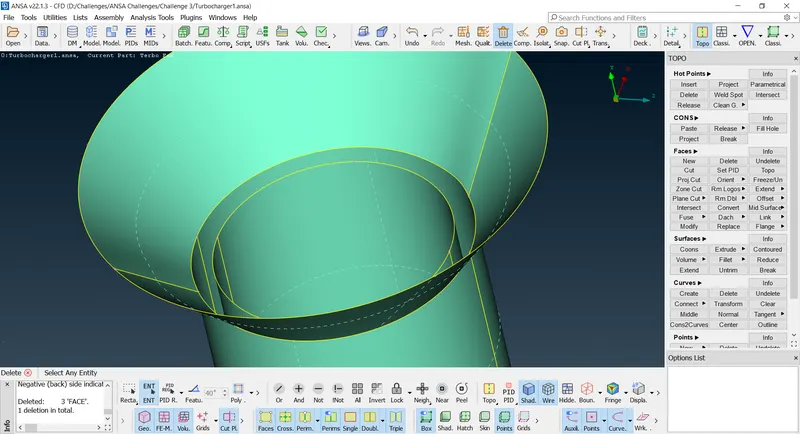
Step 5: Using topo removing the triple cons in that surface.
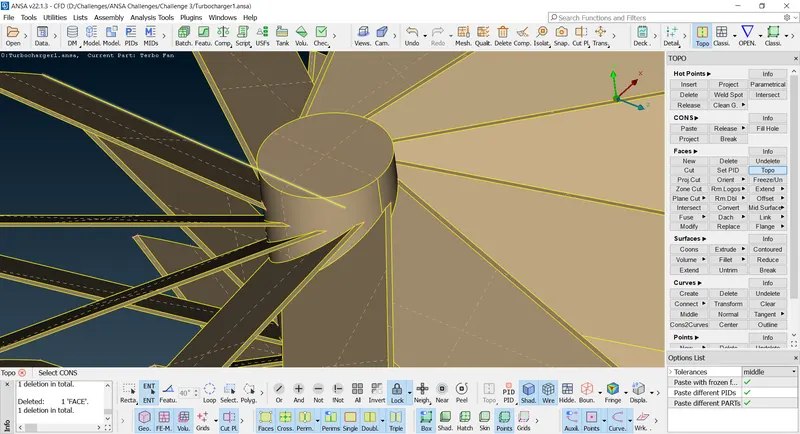
Step 6: Closing the missing surface shown below.
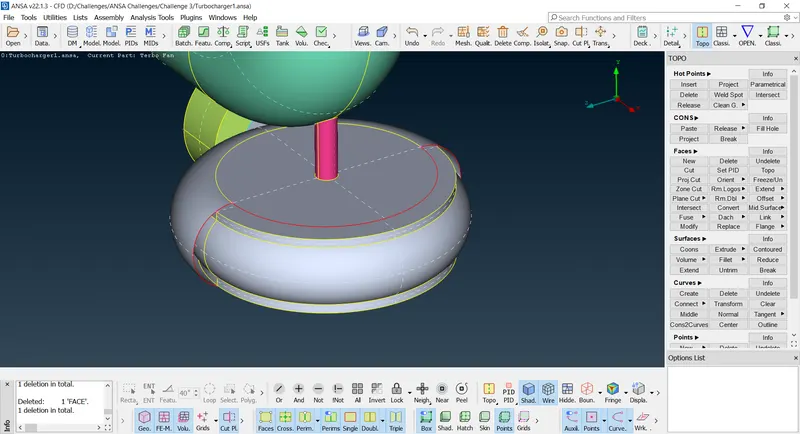
1. Hotpoints are created to make a small surfaces over that part.
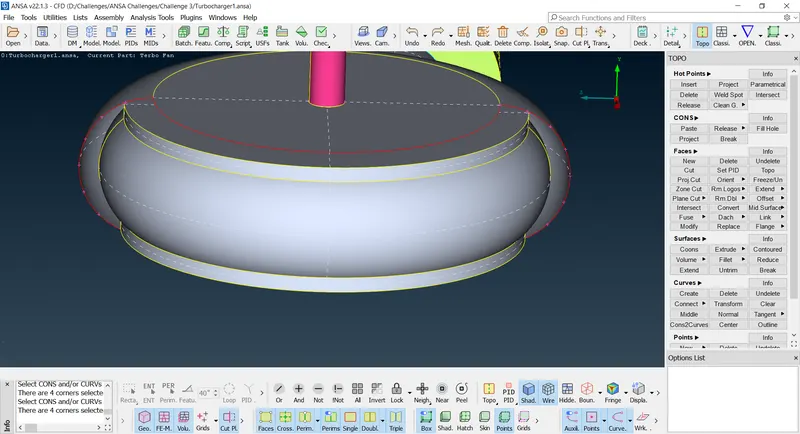
2. Creating surfaces with that hotpoints.
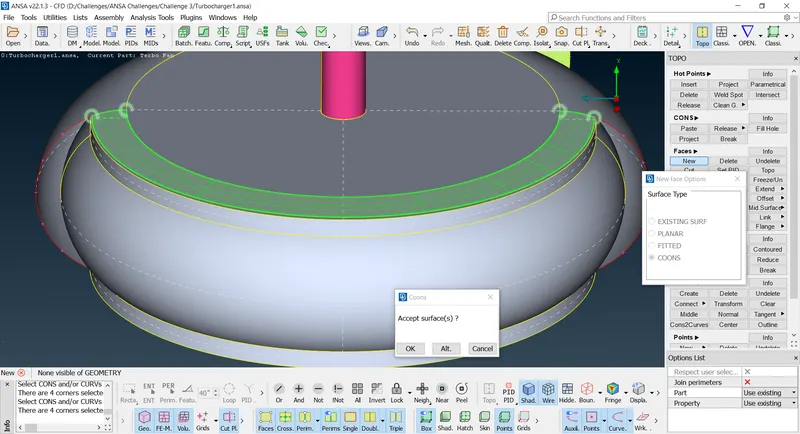
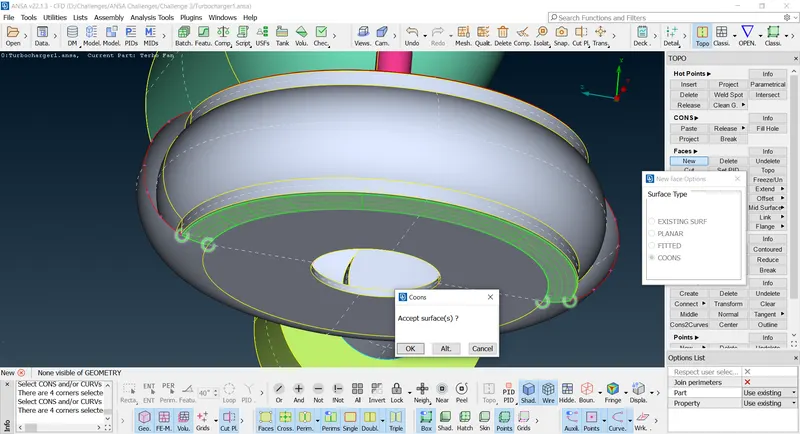
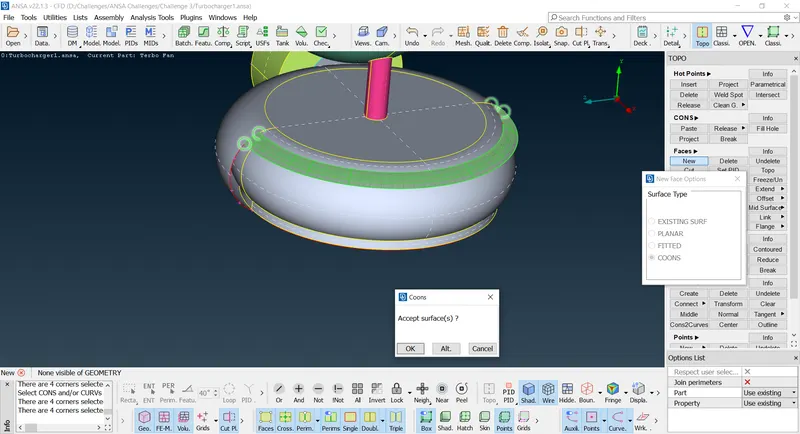
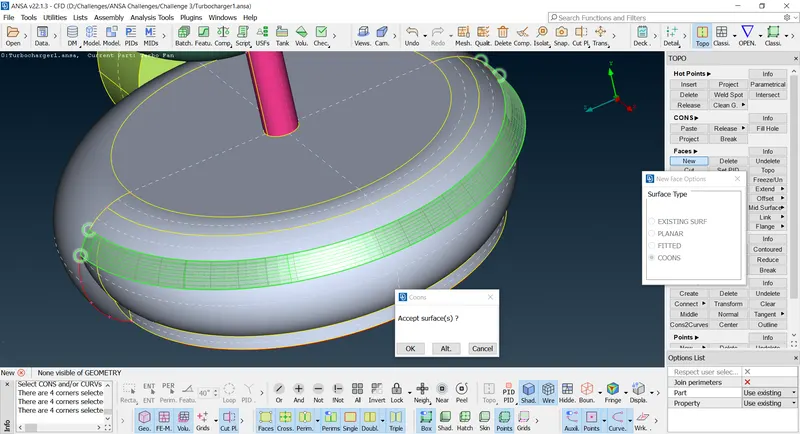
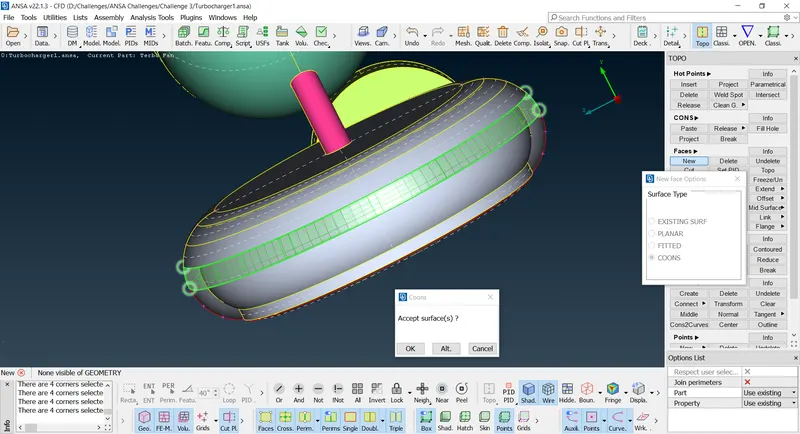
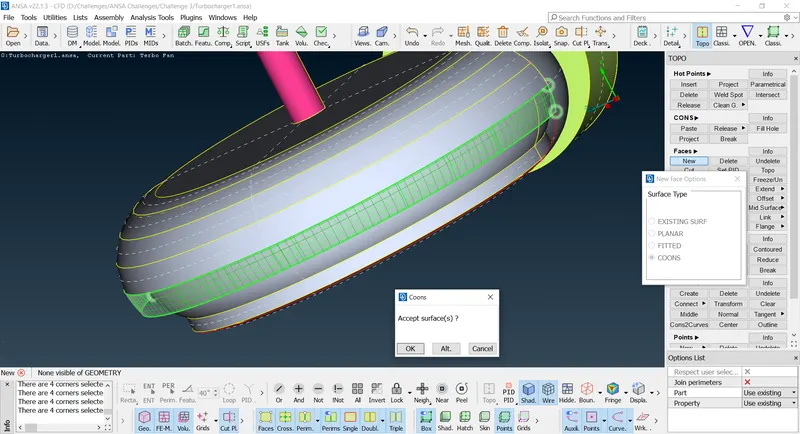
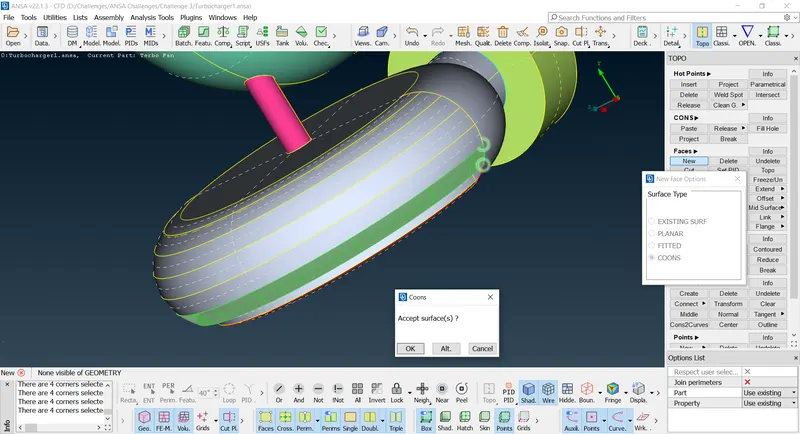
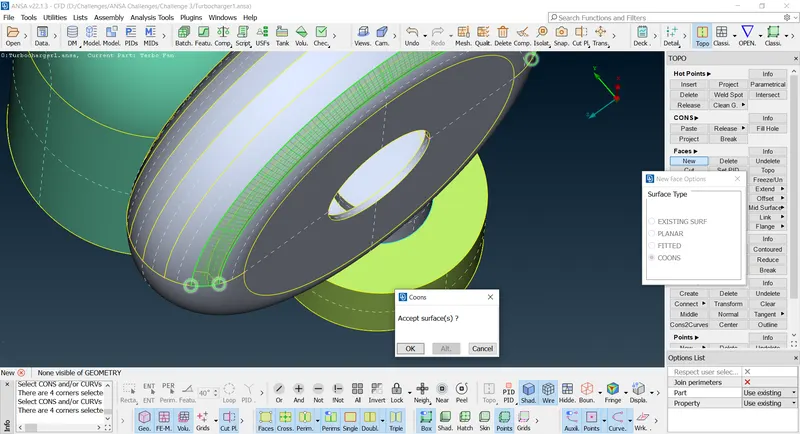
Finally the surface is closed using new tool in faces.
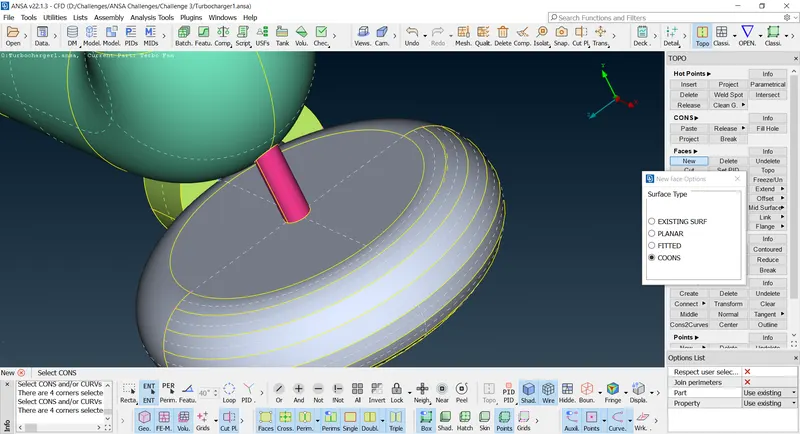
Step 7: Finally the topo clean up of the model is done.
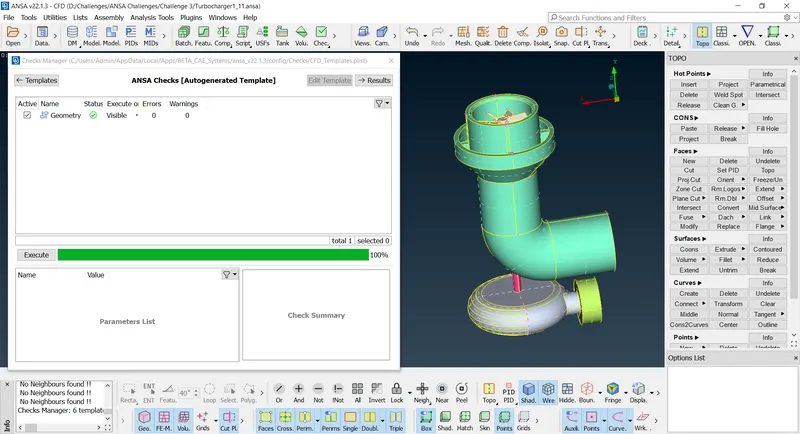
Creating PID to the model:
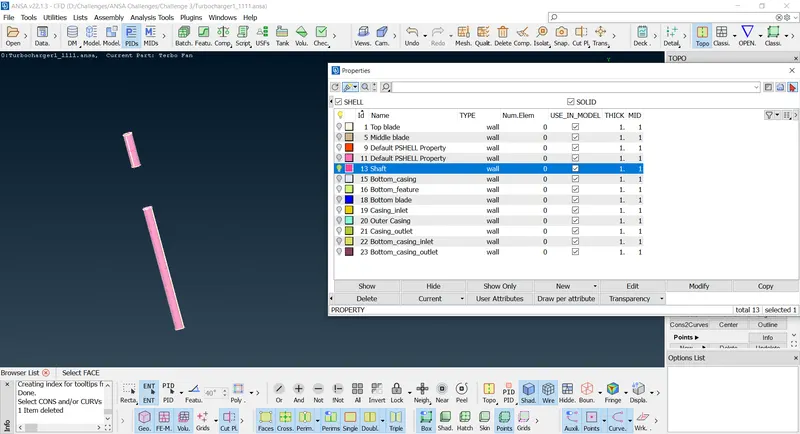
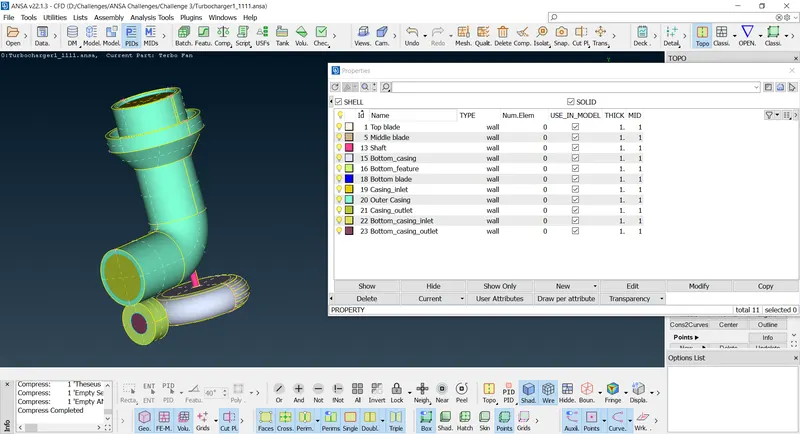
Step 1: Naming the PID to each part and closing all the open surfaces.
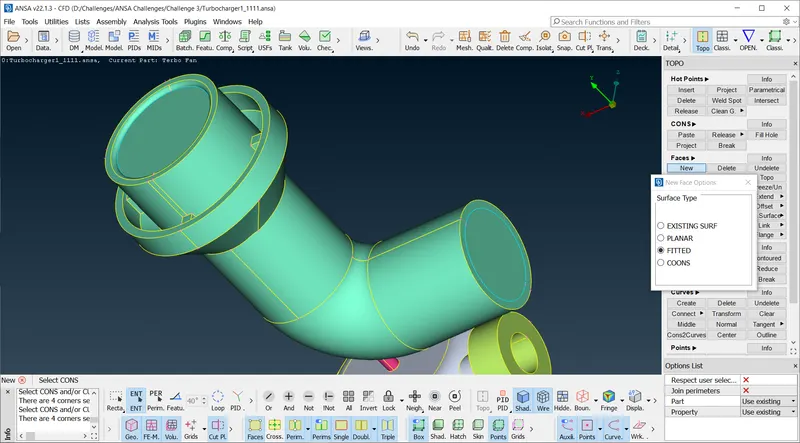
Compressor casing:
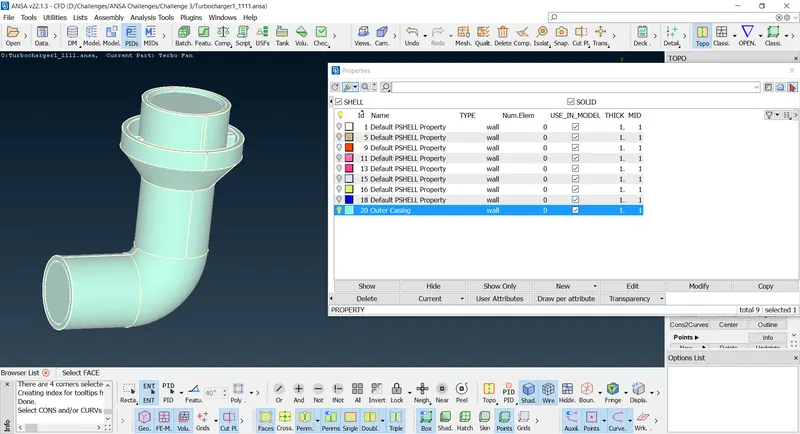
Outer casing inlet:
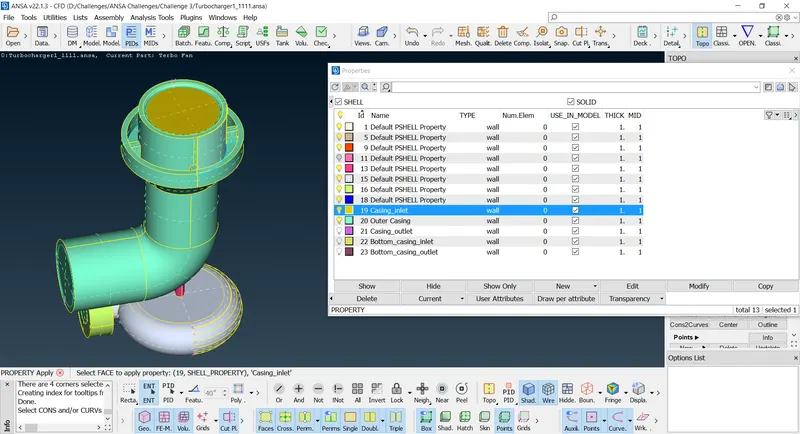
Outer casing outlet:
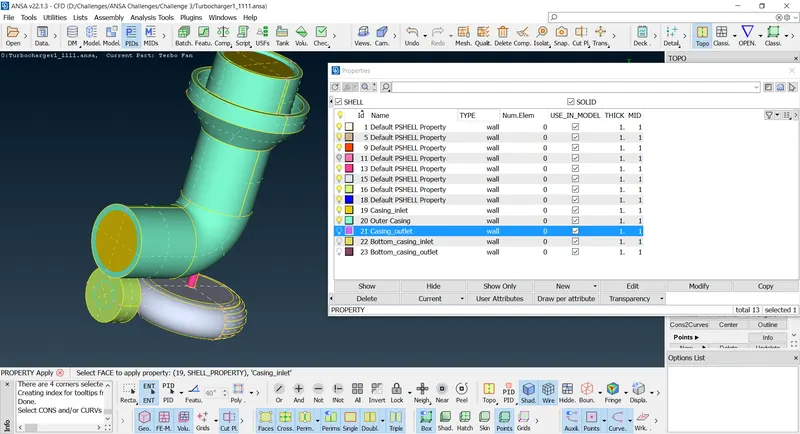
Turbo casing:
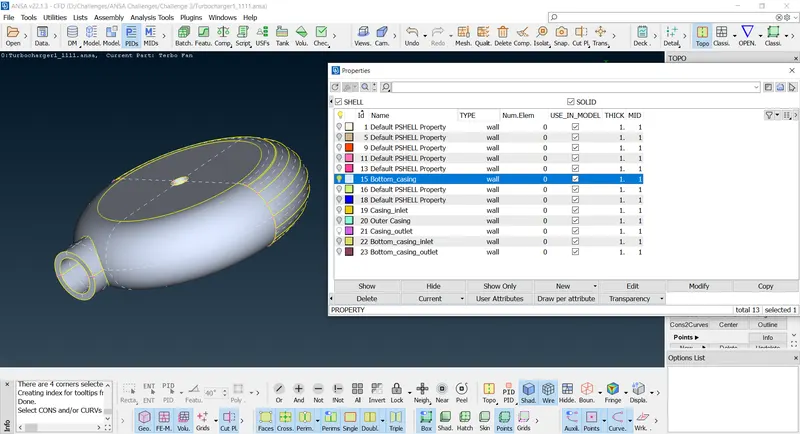
Bottom casing inlet:
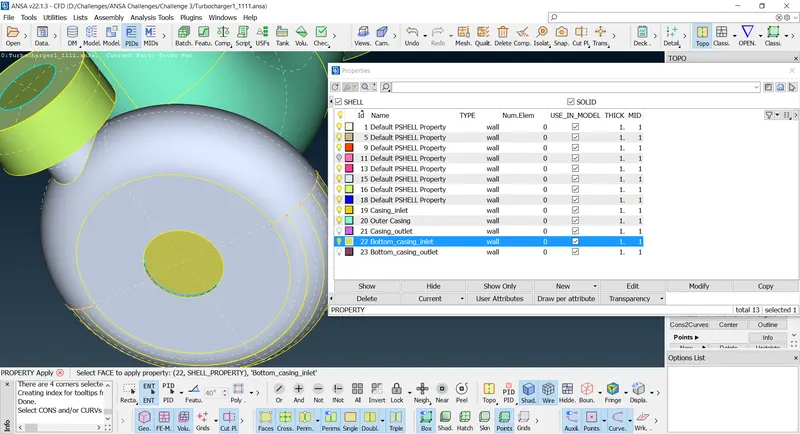
Bottom casing outlet:
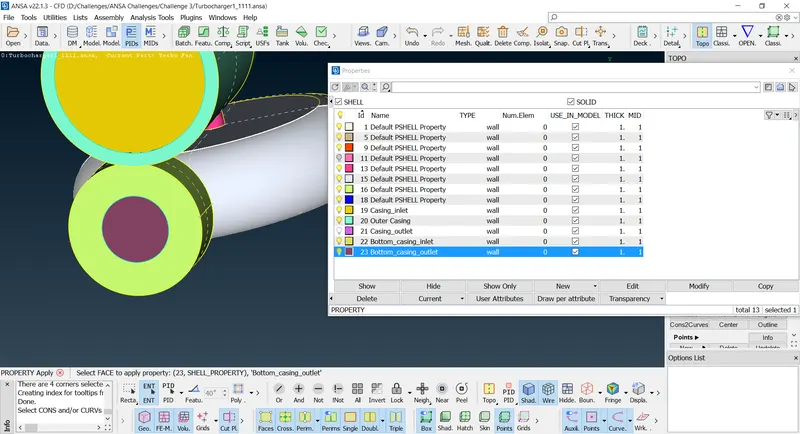
Inlet casing cover:
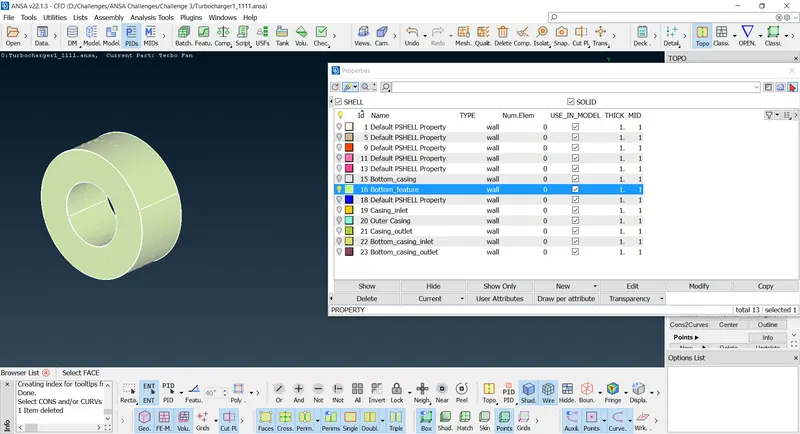
Blade Stage_1:
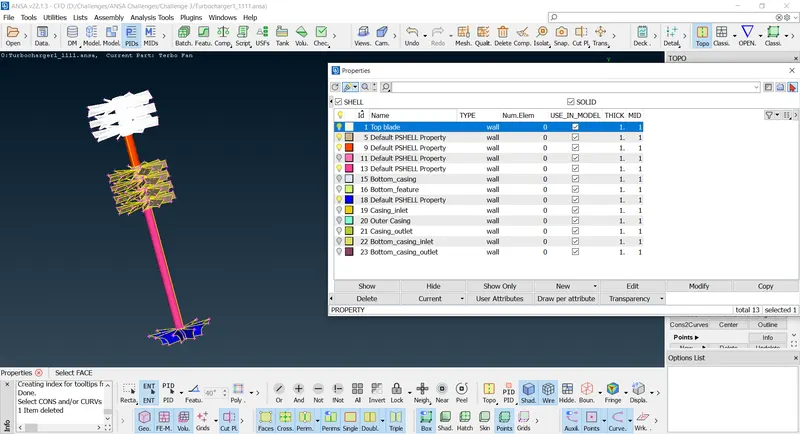
Blade stage_2:
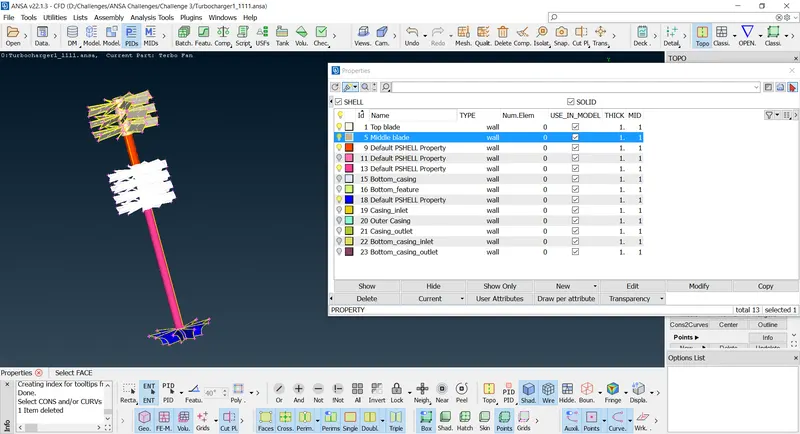
Impeller:
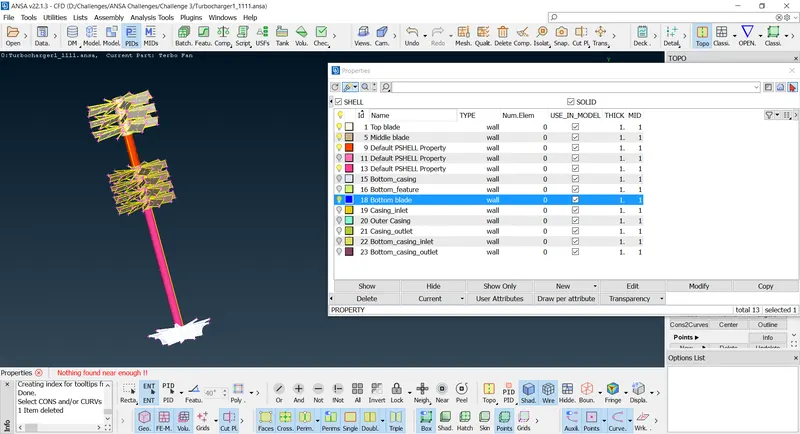
Shaft rotor:
All the PID's are assigned to the model:
Meshing the model:
The mesh is done first by surface and then go for the volumetric mesh because surface mesh is the pre requestie for thr columetric mesh.
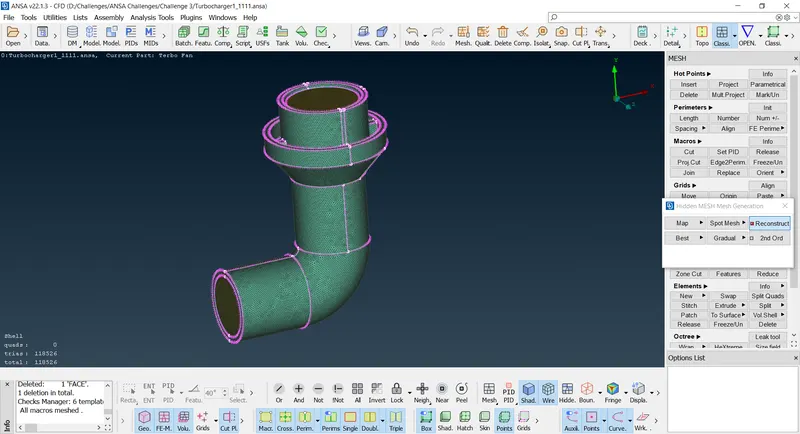
Surface meshing of Compressor casing:
Compressor casing = 5mm
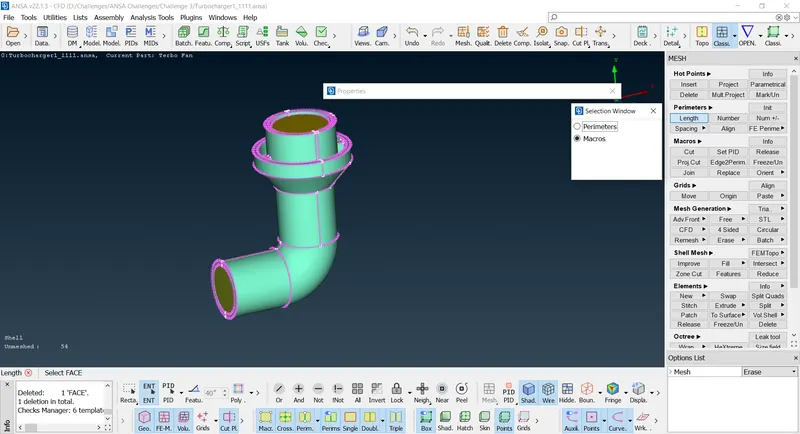
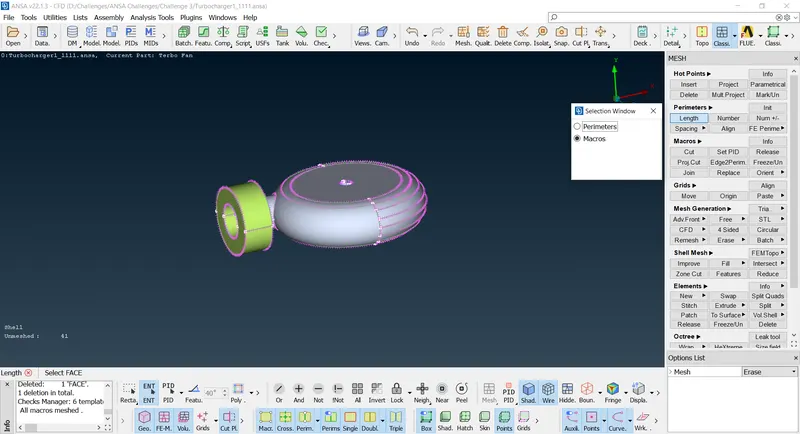
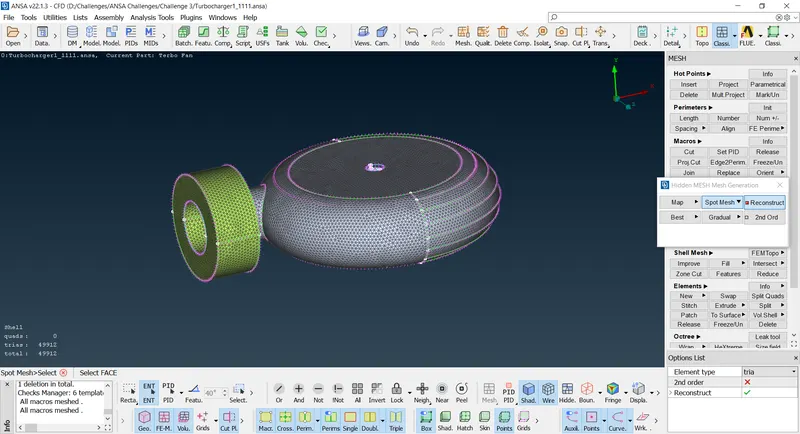
Surface meshing of Turbo casing and inlet casing cover:
Turbo casing = 5mm
Inlet casing cover = 5mm
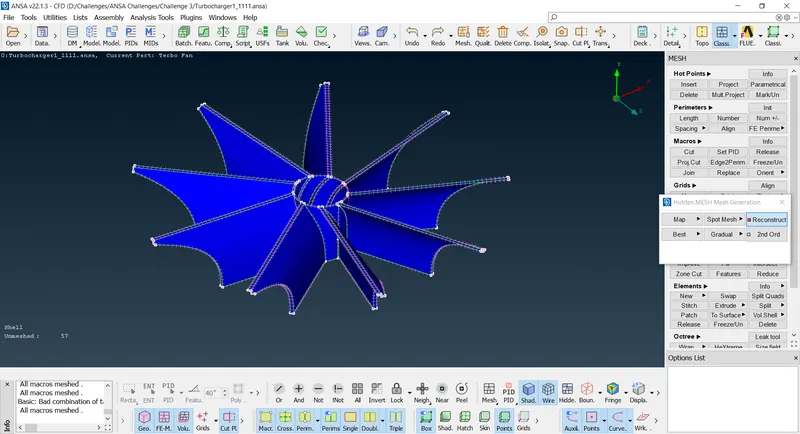
Surface meshing of Impeller:
Impeller = 2mm
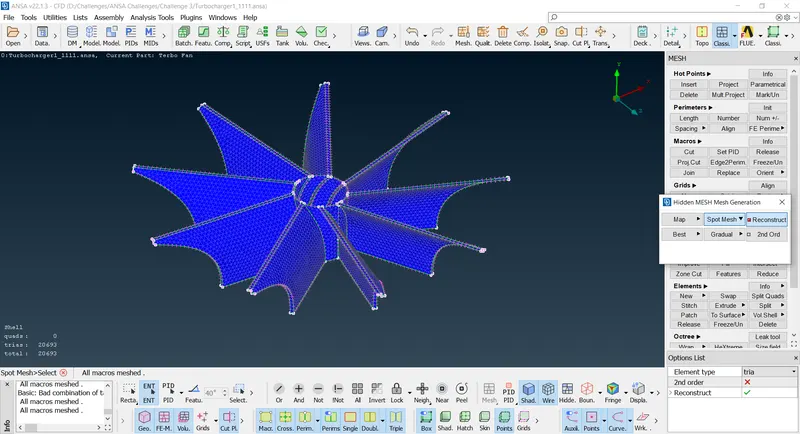
Surface meshing of Blade stage 1 and Blade stage 2:
Blade stage 1= 1mm
Blade stage 2= 1mm
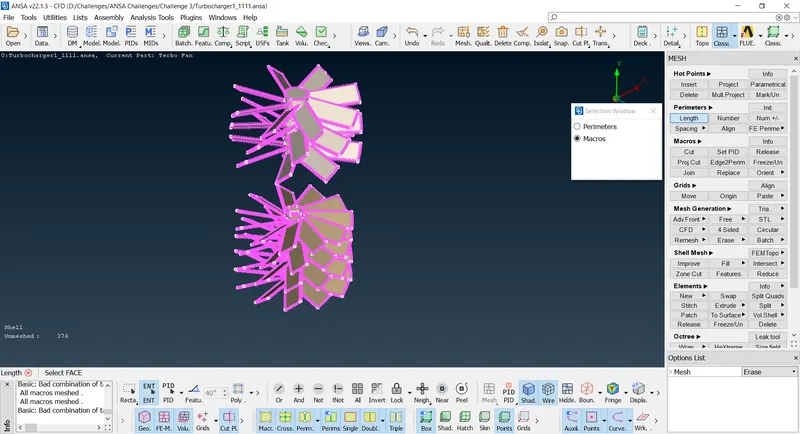
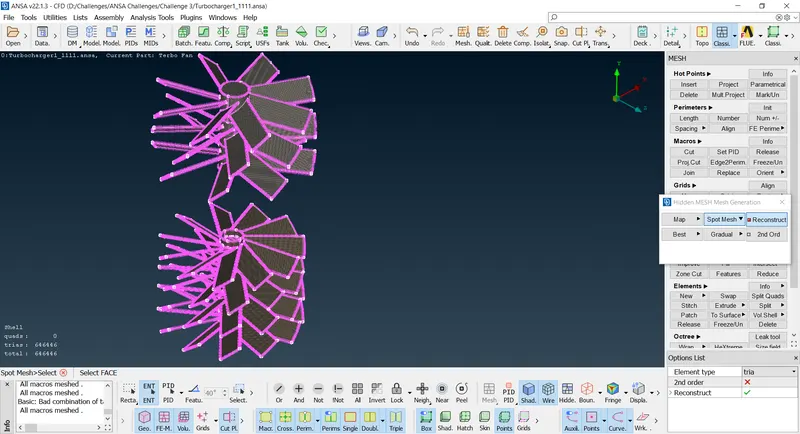
Finally surface meshing is done for the model:
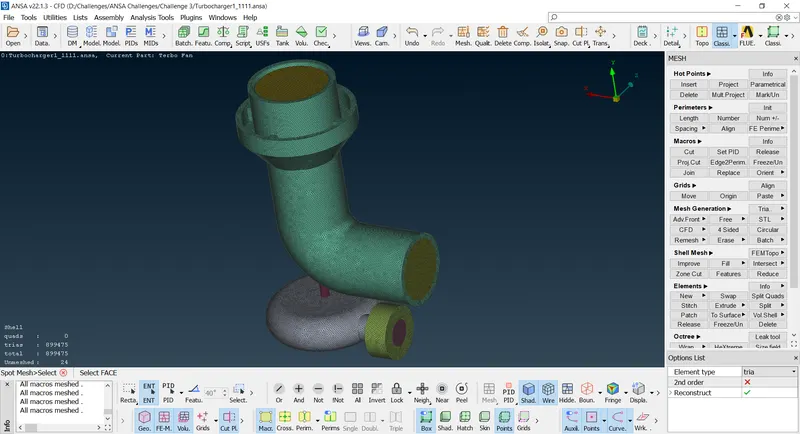
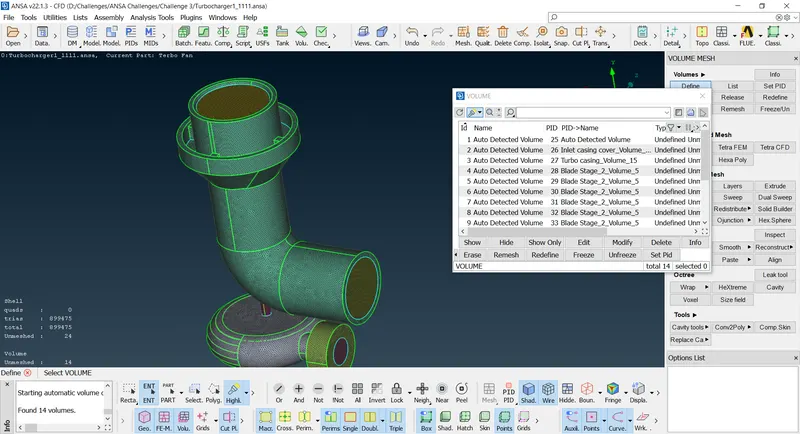
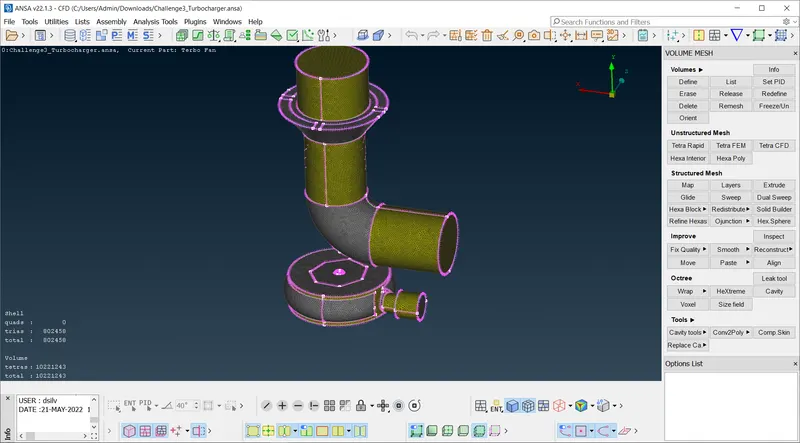
Volumetric mesh:
Step 1:
Learning Outcome: -
- practiced checking for errors in geometry using geometry checks and solving these errors.
- practiced creating new surfaces using the Existing surface option, fitted option, coons' option, and also using the Fill Hole command.
- got to know about finding single cons by disabling triple cons, double cons, and crosshatches.
- Switching to wireframe mode, PID mode, ENT mode, and PID region mode, and using these for smooth operations.
- assigning and renaming the PIDs in PID manager
- Aearned about deleting the surfaces and overlapping surfaces.
- To make cons finer, and project the cons.
- The use of the Topo option.
- Mesh transition from two different lengths effectively.
- To isolate the mesh to make it better.
- Volumetric meshing, defining volumes, and deleting volumes.
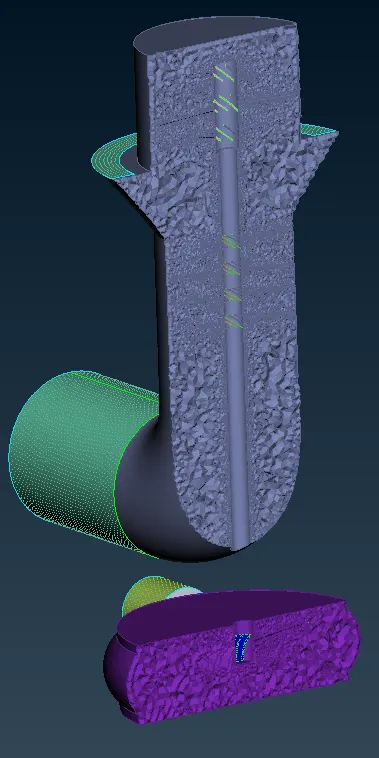
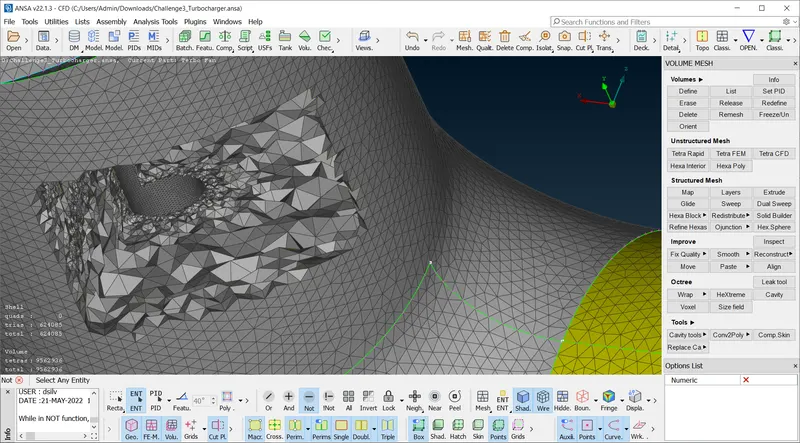
- learned to use the not command to view the cross-section of the volumetric mesh.
- Viewing options such as geometry, FE-mode, and Volume.
Drive link: https://drive.google.com/file/d/13CXQHSOqnOgqeUf-1oOJacFMdGnmYLbV/view?usp=sharing
Conclusion:
Finally the volumetric mesh for the given turbo charger is meshed sucessfully.