Week 3 Challenge
1. Create beam properties for First floor and model the beams
AIM
To add the beam properties as reference of Given plan by using Tekla software
PROCEDURE
- Go to manage property sets.
- To create new Beam properties at MB300 at primary beams.
- Go to structure for choosing the First floor
- Then model the beam at all boundary conditions with proper considering.
- After completion of primary beam, then goes to providing the secondary beam.
- To add new beam property for consideration of secondary beam.
- Before we get information of any intermediate point are there in a plan for like any open area of staircase.
- For where we have a staircase, in there to which provide a supplementary beam of that conditions.
- For other area we considering to provide secondary beam at long span.
- To check and validate the model for proper joints at all connections.
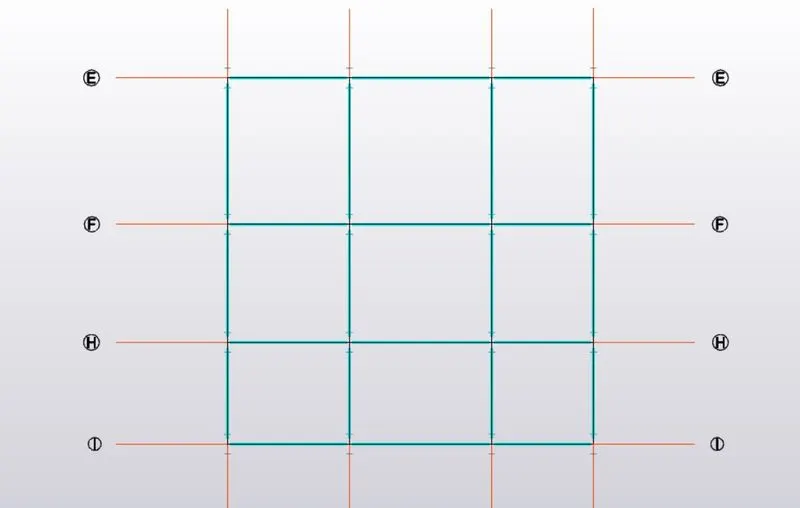
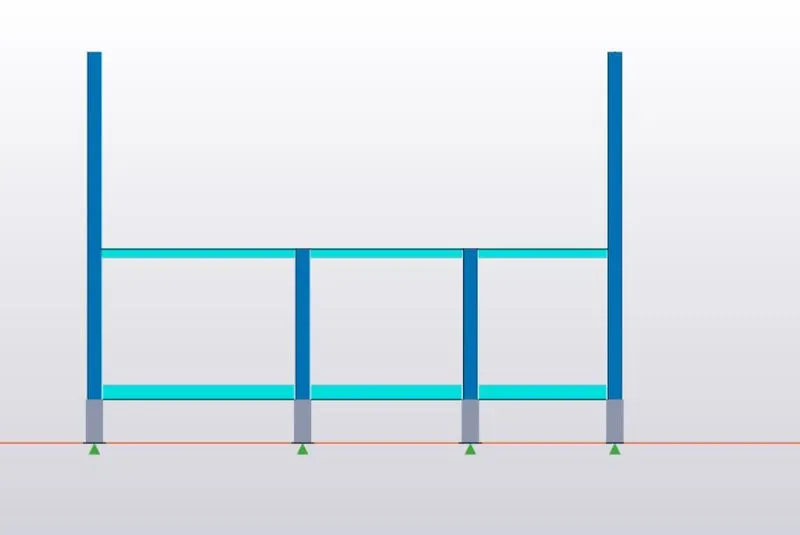
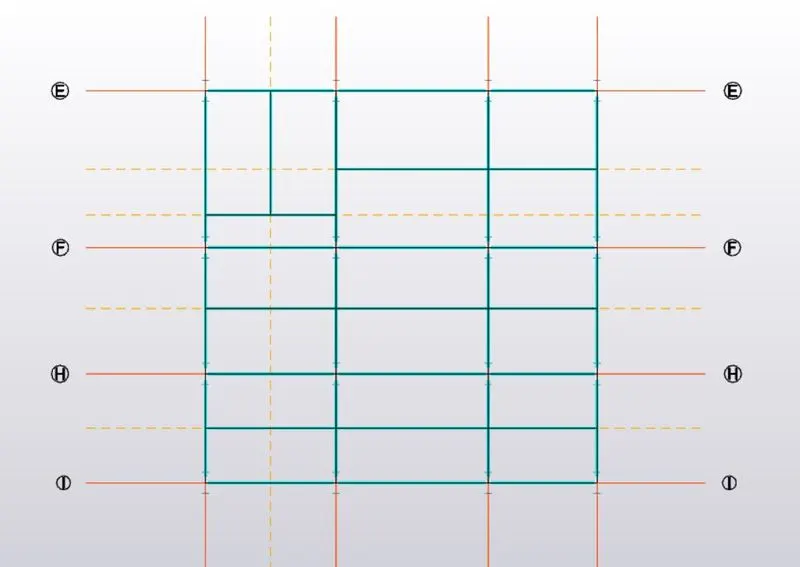
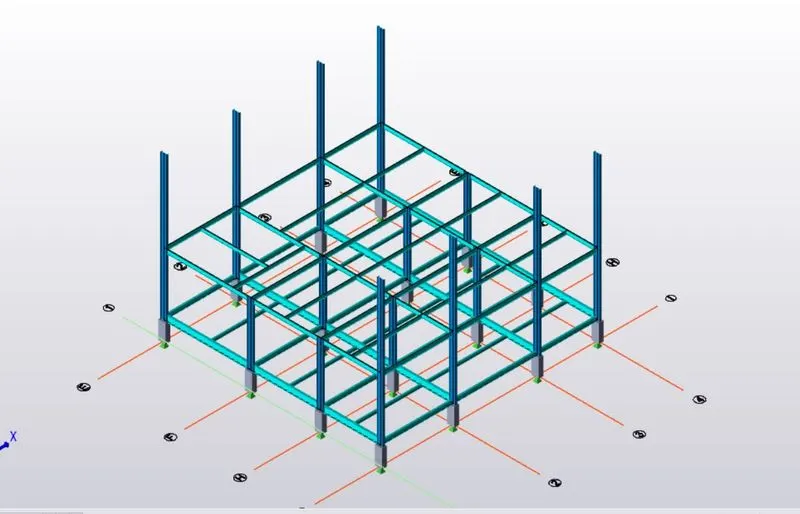
RESULTS
Finally, the beam are provided at First floor successfully.
2. Create rafter beam on second floor as roof and moment frame action in one direction and add bracings at locations as per the design intent
AIM
To provide a Rafter beam on second floor at roof level and also to add bracing as per design conditions.
PROCEDURE
- Here, we considering to add the rafter beam at top level of structure( Finishing level ).
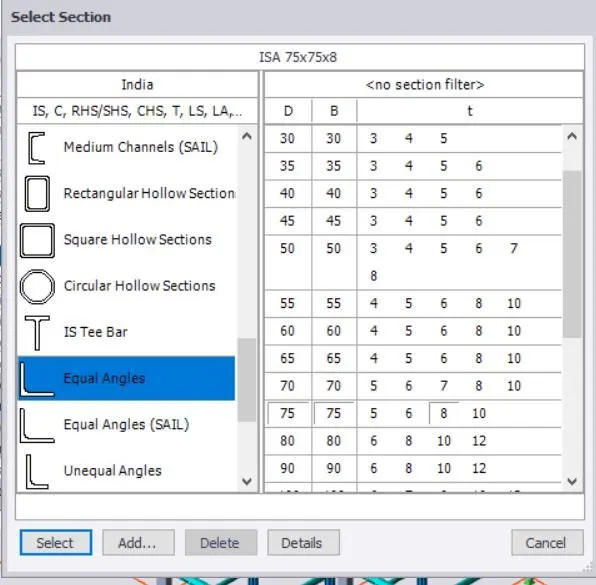
- First Go to HOME > MANAGE PROPERTY SET > NEW steel beam for RAFTER.
- Before we check and add the construction level of top level.
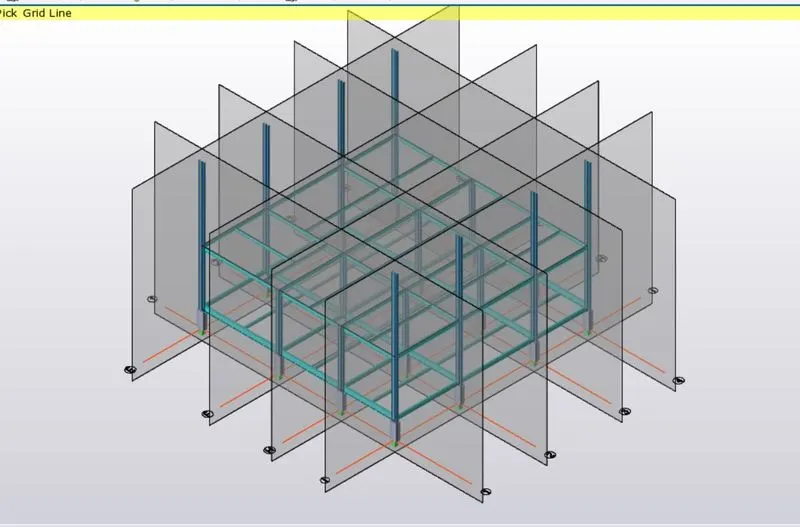
- To add frames for all Grids point to visualize all sectional view for STRUCTURE, Can be easily understand the structure frame view for where we need to work properly.
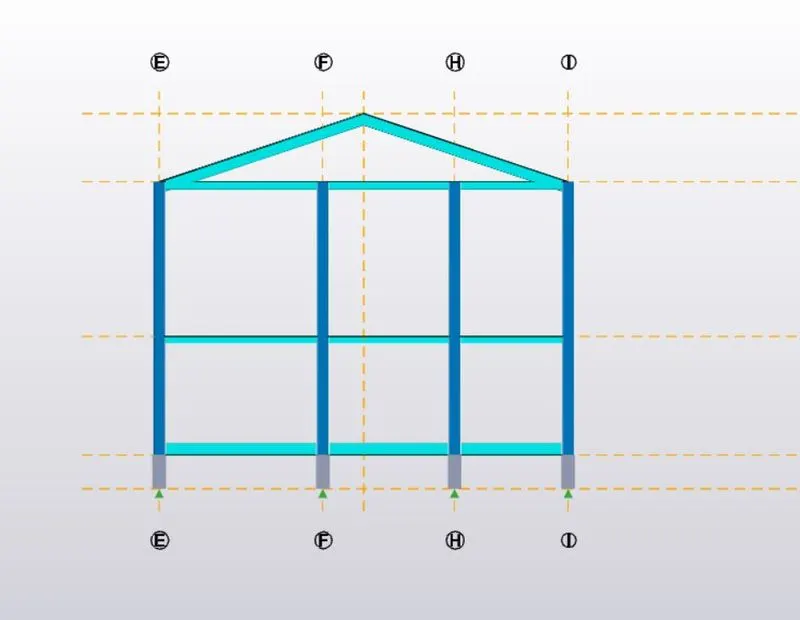
- Go to main section view for we fixed the center point of top level eaves.
- The level of Eaves is 3 meter from Top roof level.
- We added the new beam property level for RAFTER Beam.
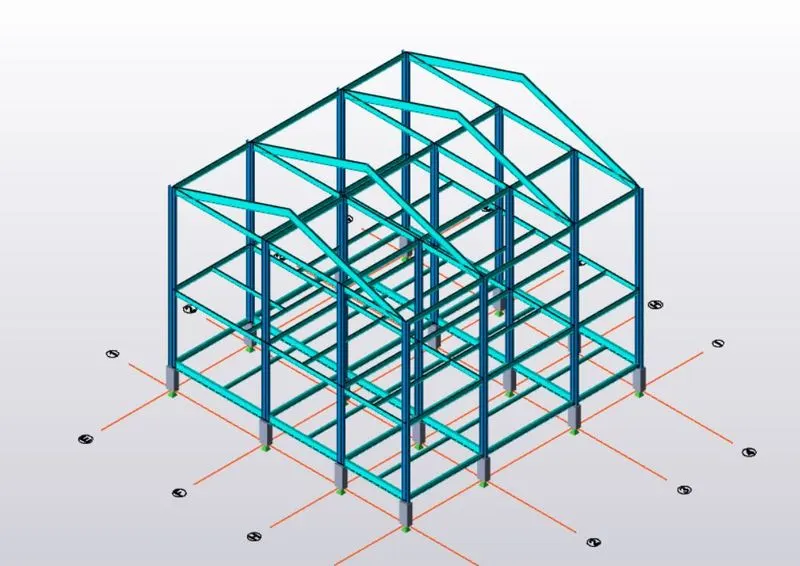
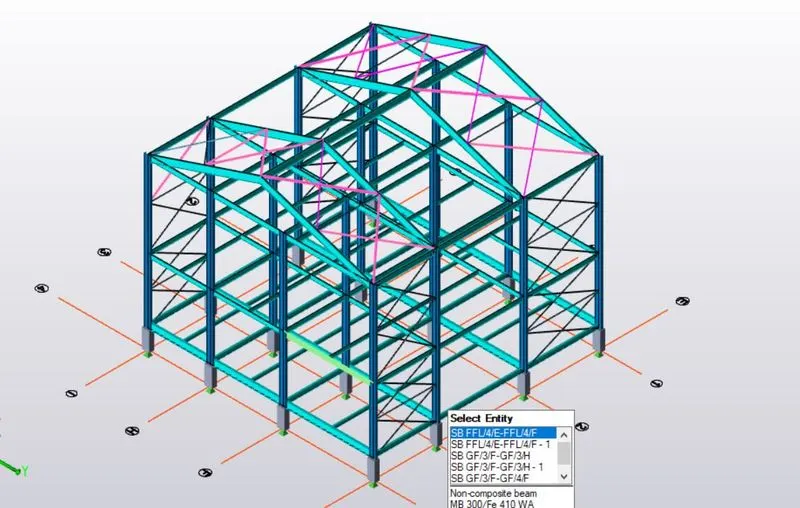
- Go to 3D view of structure and to model beam at proper nodes joint.
- We complete the one row of rafter beam, then to select the beam , copy and to add all top level of stages.
- Finally, select all beams and right click to assign the prepared appropriate beam property.
- To check all joint and validate the structure.
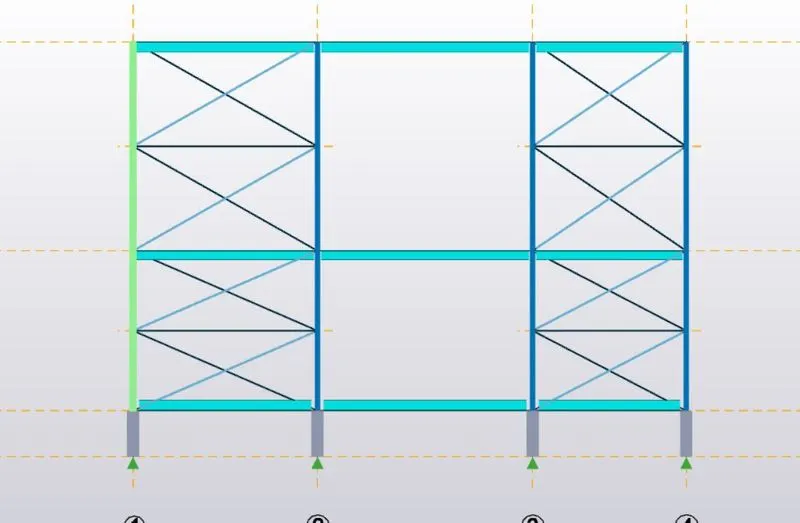
- After we consider to add the bracing at design standards of all corner & central area of frames.
- For we providing the bracing for withstand the structure will able to stabitily in standard forces and contains better moment resisting action about a frame.
- We choose brace for intermediate and X-Brace to cover the frame.
- Then to check all joints and validate.
- Go to 3D view, and to view the structure joints.
RESULTS
Finally, rafter beam and bracings are provided successfully.