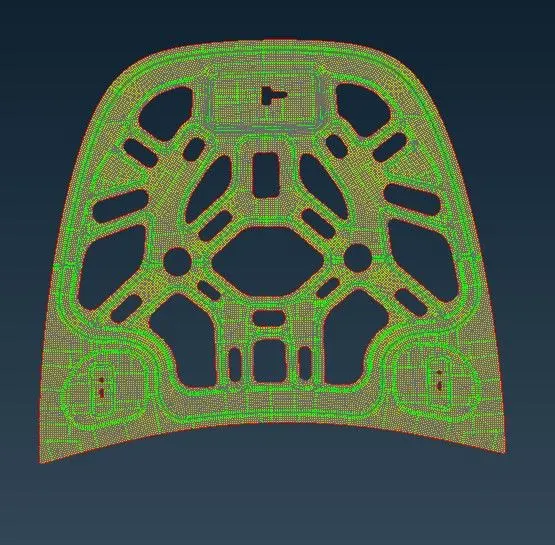
2D meshing for sheet metal
ANSA BATCH 1
Aim: For the given hood model, take our mid surfaces for all the components in the model, mesh these the mid surface with the given quality criteria, and assign the thickness
Given data:
Quality criteria
Every product which has been produced will go through a set of quality checks. If the quality check fails other steps like country condition & applying loads will not be feasible,
The criteria provided are mentioned below in the table
| S.no | Quality criteria | Value |
| 1 |
Target length |
5 |
| 2 | Minimum length | 2 |
| 3 | Maximum length | 7 |
| 4 | Aspect | 3 |
| 5 | Warpage | 15 |
| 6 | Skewness | 45 |
| 7 | Jacobian | 0.7 |
| 8 | Min Quad Angle | 45 |
| 9 | Max Quad Angle | 135 |
| 10 | Min Tria angle | 30 |
| 11 | Max Tria angle | 120 |
| 12 | Tria % | 15 |
Procedure:
1. Import the file and open it
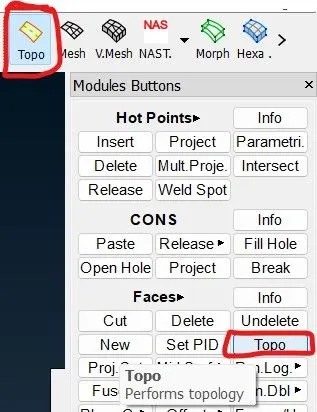
2. Check the Lenght in the mesh module and the connectivity between the surface ( TOP MODULE > FACES > TOPO )
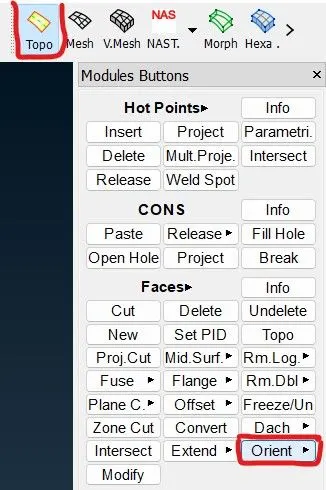
3. Orient the surface using the Orientation element ( TOPO MODULE >FACES > ORIENTATION ) make sure the orientation has been done and the model should be in the same color.
4. The given components have a uniform thickness then it is a sheet metal and now we extract the mid surface for the sheet metal component we will be using the skin or Offset options or extracting the mid surface.
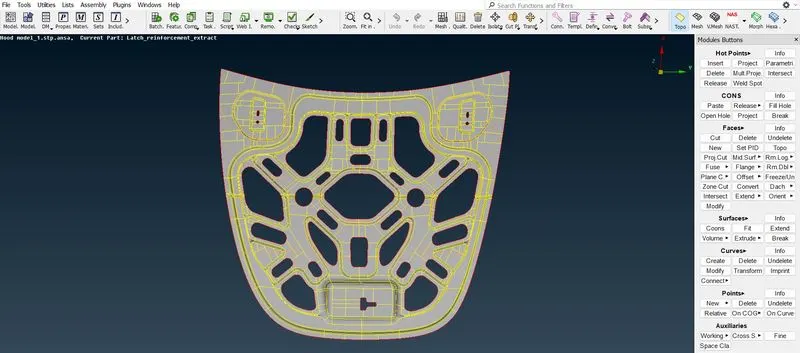
Because the module looks symmetric we can delete half of the side of the module and mesh the entire side, the reason why we delete the half side is because at last after meshing the entire half of the module we can use the transform option to remake the half side to the total structure.
Using the delete option we can delete the half side of the module
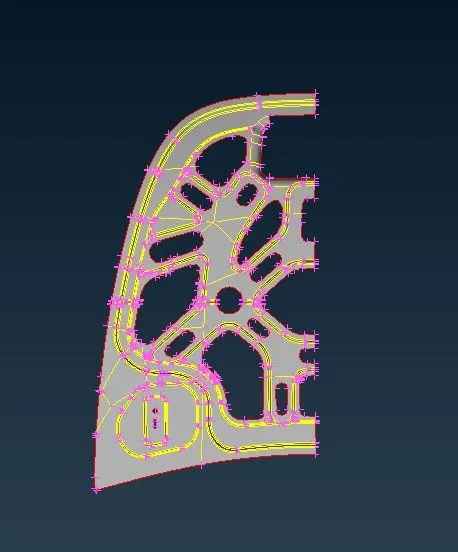
Here is the module with half side deleted
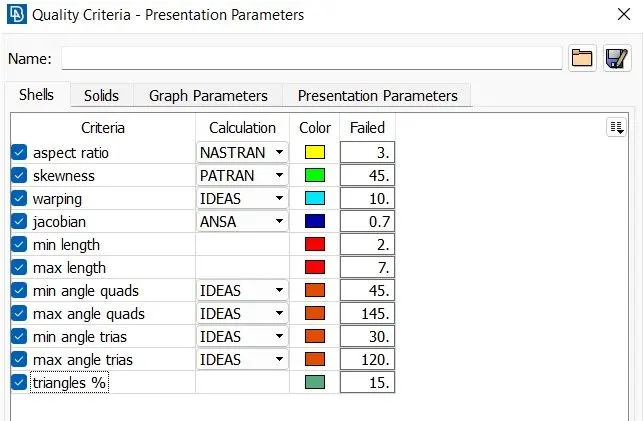
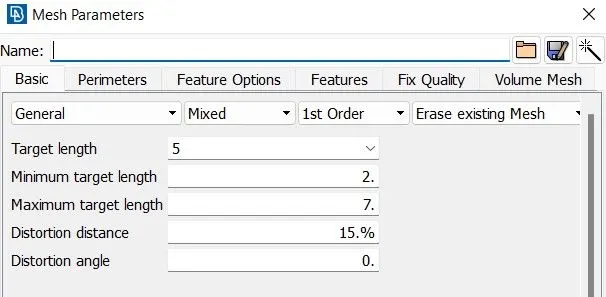
5. Providing the require geometrical values in Quality criteria and Mesh parameters to the module. After giving the values for both Quality criteria and Mesh parameters save them as a file because while opening the module for the next time it should be easy to open the file which is already given the parameters.
Quality criteria:
Mesh parameters:
6. Cleaning the mid-surface extracted by deleting the unnecessary hotpoints by using the insert option or delete option which is available on Hotpoint groups and when we use the Insert and delete option, Insert can use as in both ways when we click on the right side of the mouse then the hot points will be inserted and click the left side will remove the hotpoints (HOTPOINTS > iNSERT left mouse click (OR) DELETE right mouse click ).
Hotpoint elements and groups:
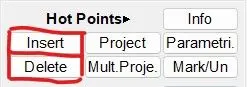
Hotpoints (white in color):
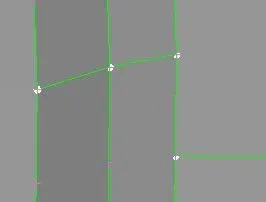
7. If any construction lines are effecting then we can remove the lines using the Cut option and add the construction lines using the Join option in Macros group also if there is any feature line that is very close to each other where it is less than the minimum length when we measure it then we can suppress any one of the lines. (MACROS > CUT) & (MACROS > JOIN)
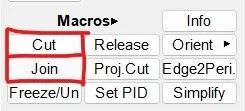
Before:
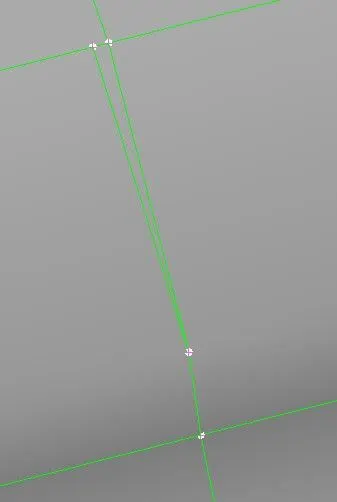
After using the cut option :
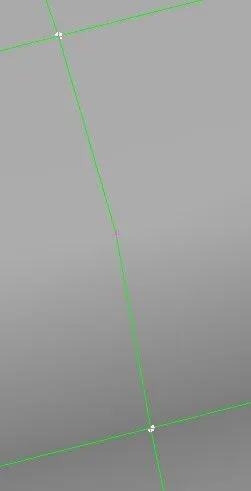
8. Using the Cut and join elements make construction lines by spitting surfaces in the small square-like structures, such that when we generate clean and clear mesh without any failure and it makes good mesh flow.
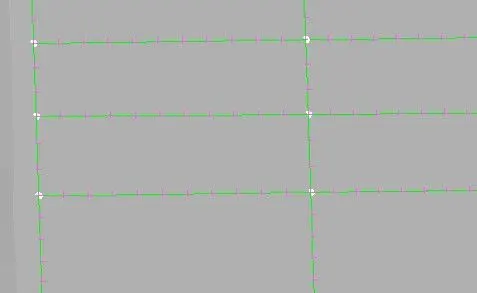
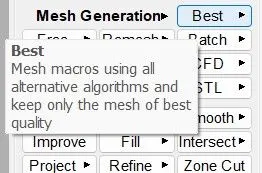
9. Generating the Mesh using the Best option using the Mesh generation group (MESH GENERATION > BEST )
After meshing the module
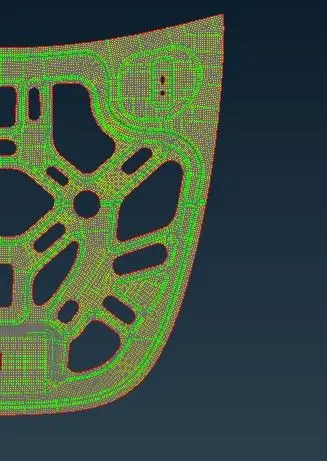
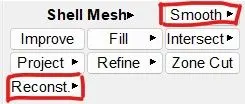
While we mesh the module we have to check the quality criteria and use the Smooth and Reconstruction option from the Shell mesh group to get the module with proper mesh, these options help to get better mesh from failing ( SHELL MESH > SMOOTH ) & (SHELL MESH > RECONSTRUCTION )
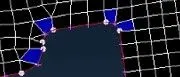
Here are some visuals which are failing for the quality criteria
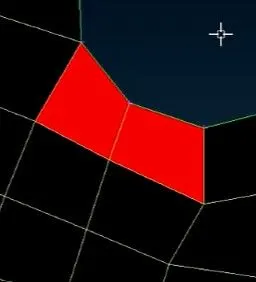
Tria:
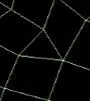
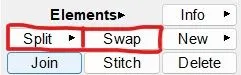
When it comes to trias we can use the Split, Past, and Reconstruct option to avoid opposite trias. Both Split and Paste option help to avoid the trias which is opposite and pointed towards each other. And also we can separate the trias using the swap option. (ELEMENTS > SPLIT) & (ELEMENTS > SWAP)
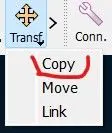
10. Finally use the Transform option so we can transform half of the module( which we already meshed ) to full size.
and we get our Module finished by meshing the entire module