Week 3 - 2D meshing for sheet metal
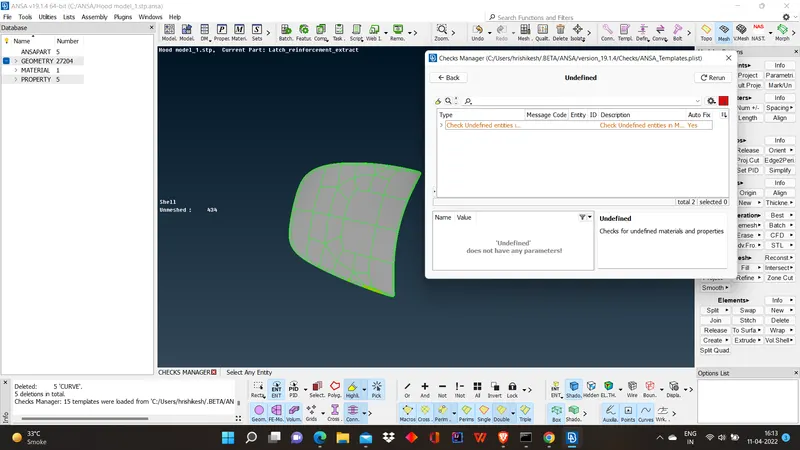
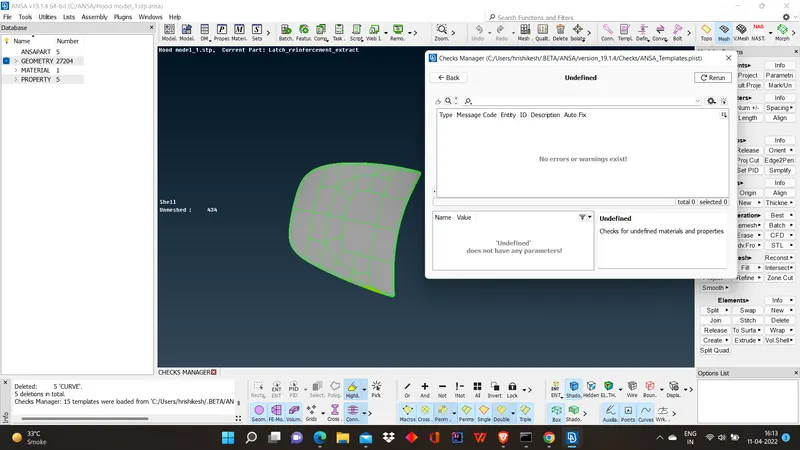
DOING UNDEFINED checks:
an example of part 2 is shown and same is done for all parts
part2:
before
after
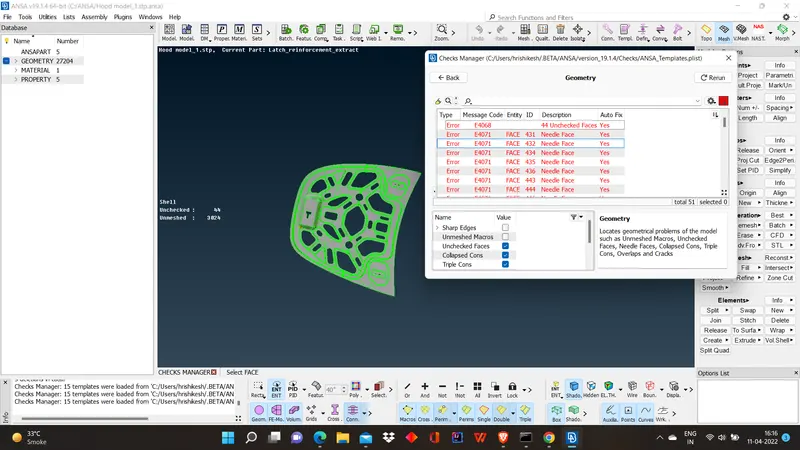
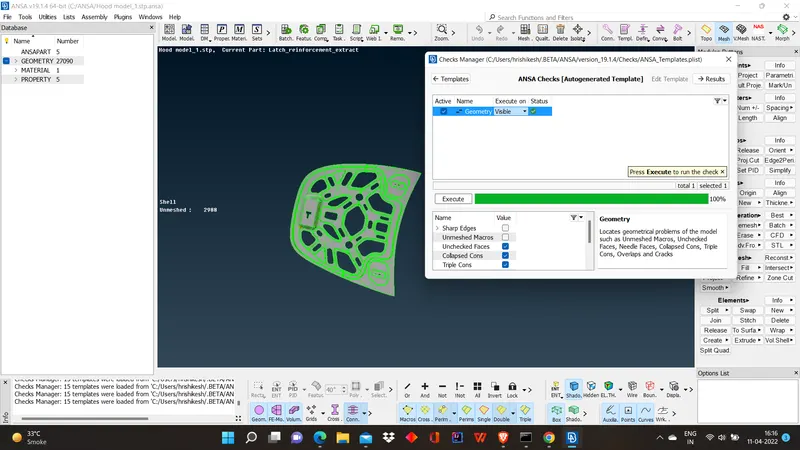
Doing GEOMETRY checkup
part1
before
after
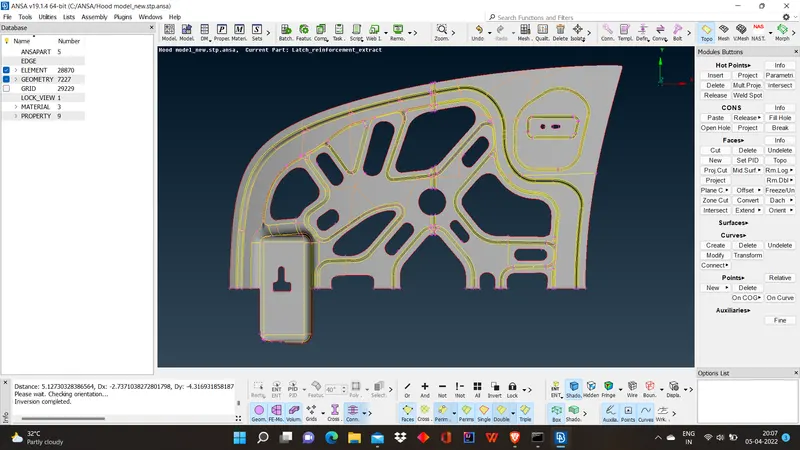
BEFORE MESHING:
part1:
part2:
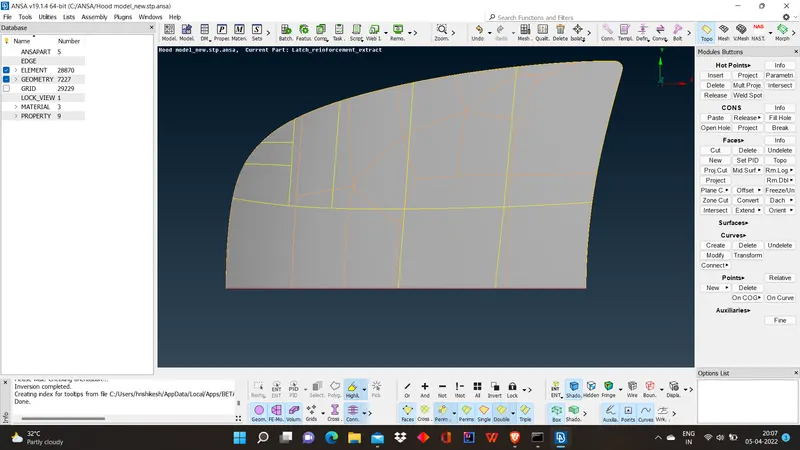
part3:
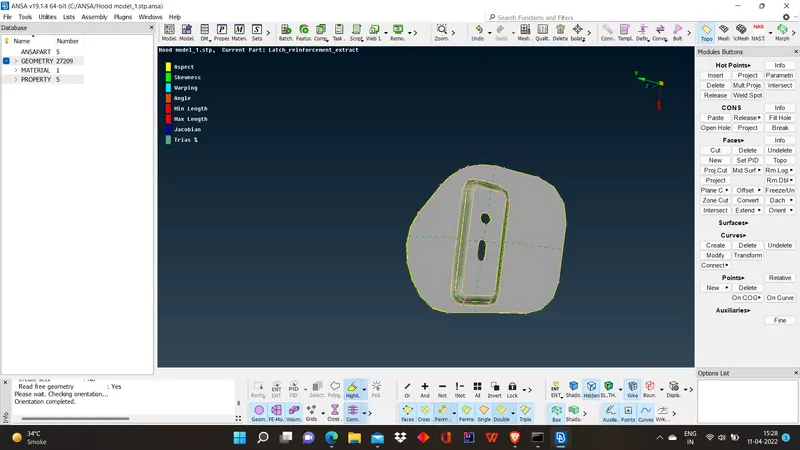
part4:
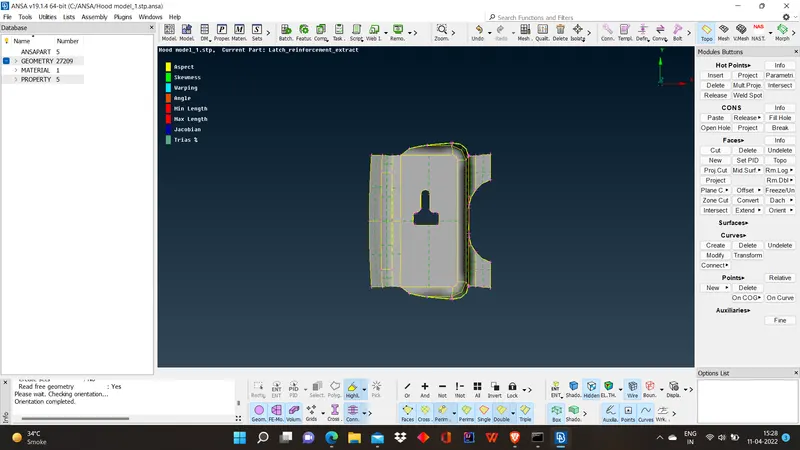
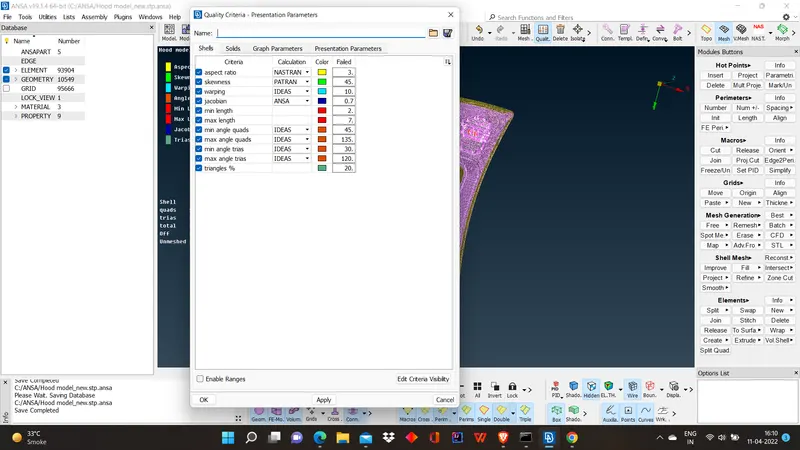
• Cons and Hot points are altered according to fit the criteria, i.e., for hemming surface cons are joined to avoid failing minimum shell length using cut and join of macros tab.
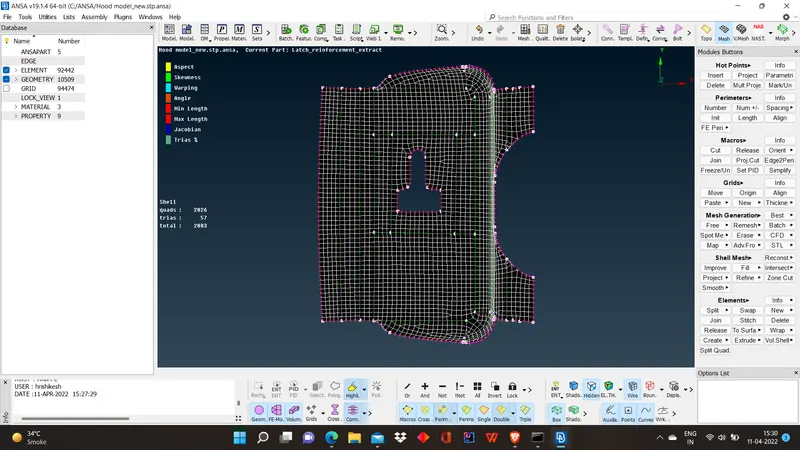
Perimeter and macros are set for 5mm using the length in the perimeter option of the mesh tab. • Each Face (macro) of each component is meshed using the Best option in the Mesh Generation.
• Mesh Quality is improved using reconstruct option in Shell mesh.
• Further failed elements and trias are removed using Split, Swap, Join (Elements Tab), Smooth (Shell mesh tab), Paste (Grids) and Num +/- (perimeter tab).
• The Symmetric surfaces are reflected using transform -> copy option (Symmetry -> Working plane).
AFTER MESHING:
part1:
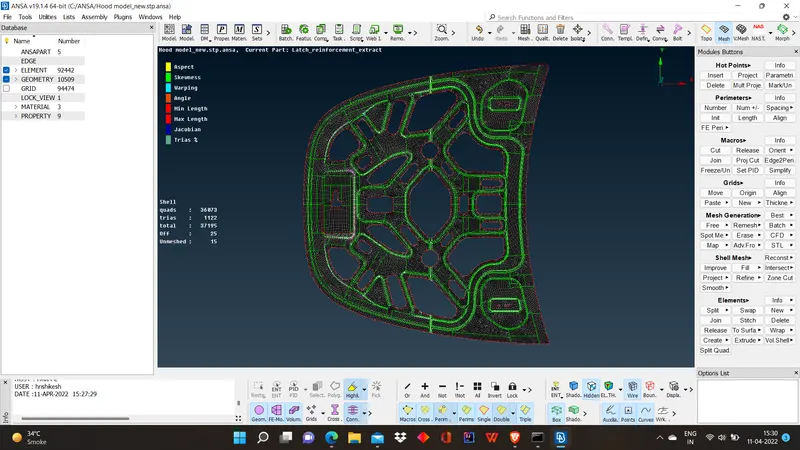
part2:
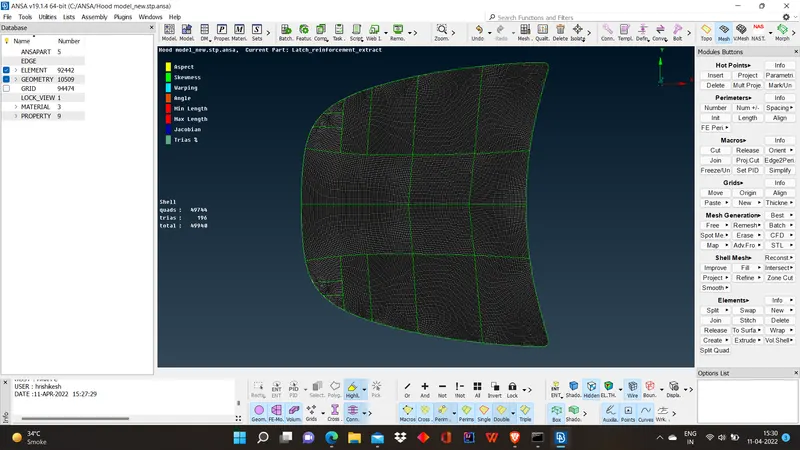
part3:
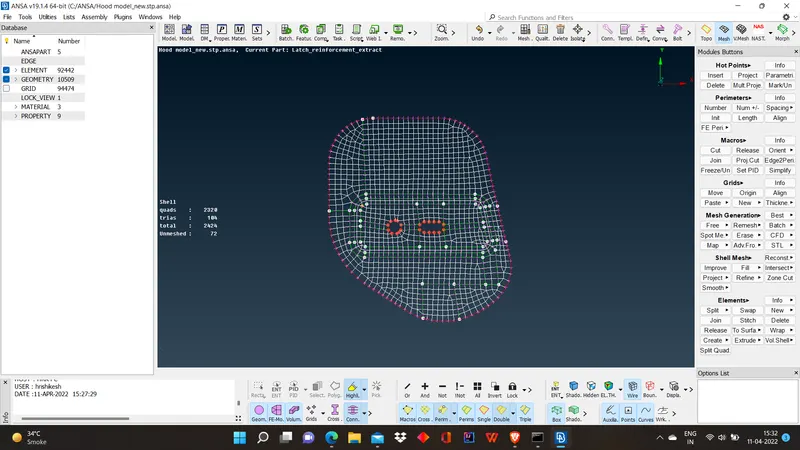
part4:
OUTCOMES:
1]I have learned the use of COPY COMMAND .
2]A better use of SPLIT command.
3]How to obtain better mesh using CUT(macros) command.
4]RECONSTRUCT and SMOOTH command.