Week 2 Challenge : Surface meshing on a Pressure valve
AIM : To perform Surface meshing on a Pressure valve in ANSA
OBJECTIVES :
- Loading up the Geometry in ANSA.
- To do the Geometry Preparation using TOPO Tools in ANSA
- To mesh the Valve Geometry.
- To do the meshing for three different cases with target lengths of 1mm, 3 mm and 5 mm, with Element type = Tria.
STEPS / PROCEDURE :
1) Loading Geometry
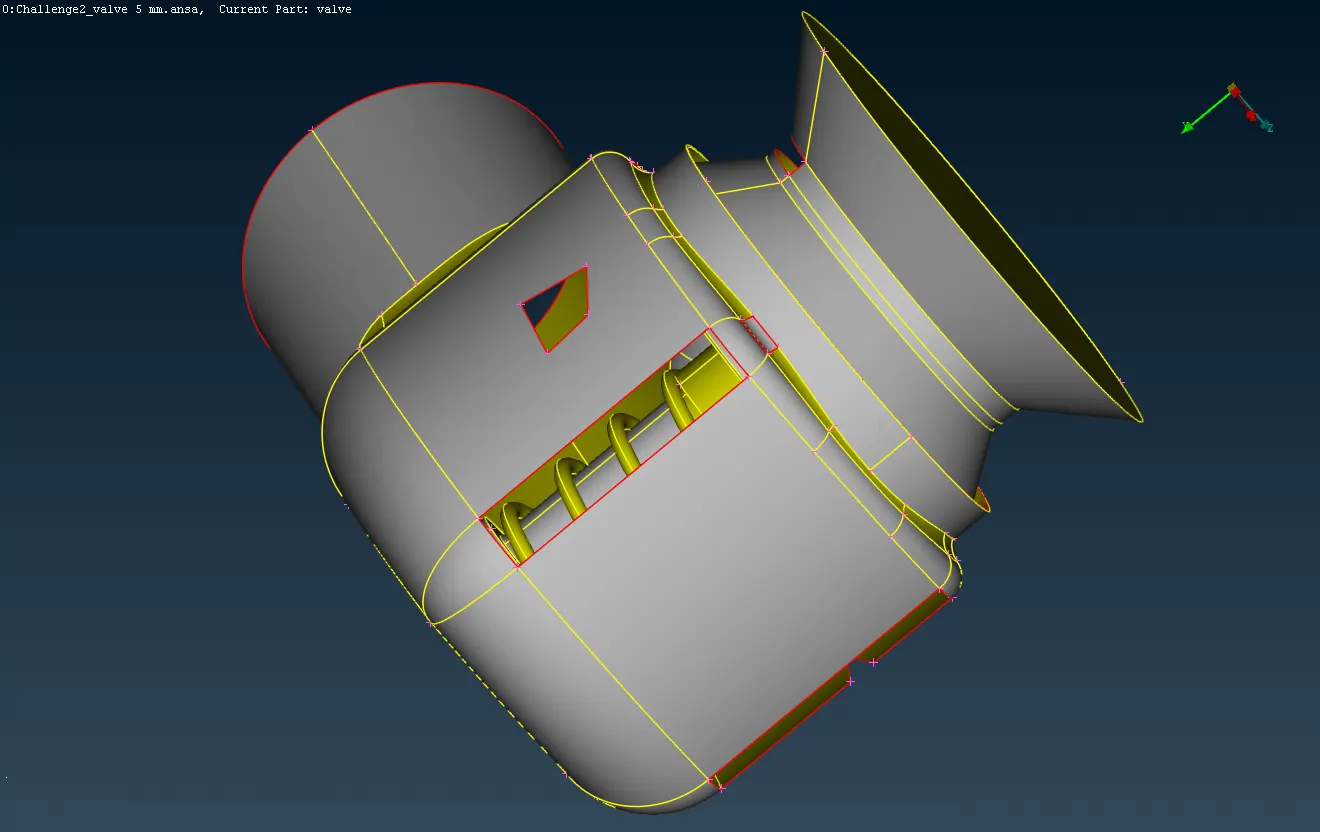
The Following is the geometry given -
2) Geometry Cleanup -
We can see there are many missing faces and irregular geometry.
Before proceding to meshing we will improve the geometry using tools in TOPO deck.
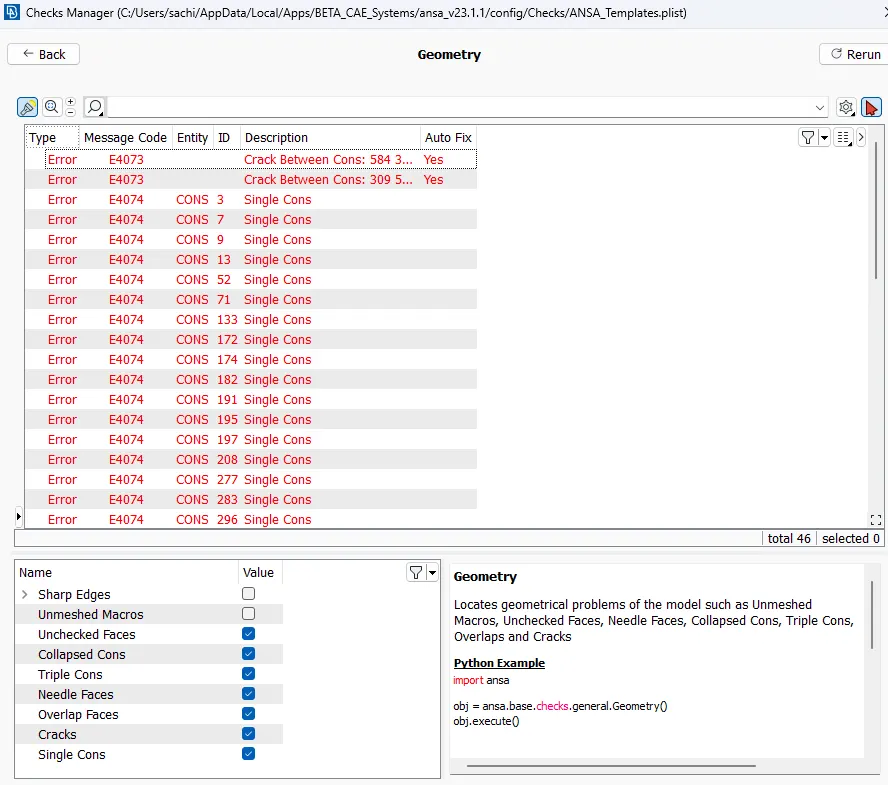
The first thing to do is to check the single cons and triple cons in the model. These are identified using geometric check tool.
Single cons are cons that are shared with only one surface, meaning an open surface. For closed geometry, such open surfaces are not expected, so they must be resolved.
Triple cons are created due to the con shared with the three surfaces and also need to be resolved based on the weather that is desired or not at that location. Triple cons are not always faults, but it does show that local volume can form because of these faces.
As Shown below we got this much singles cons after perfoeming the the gemortric check.
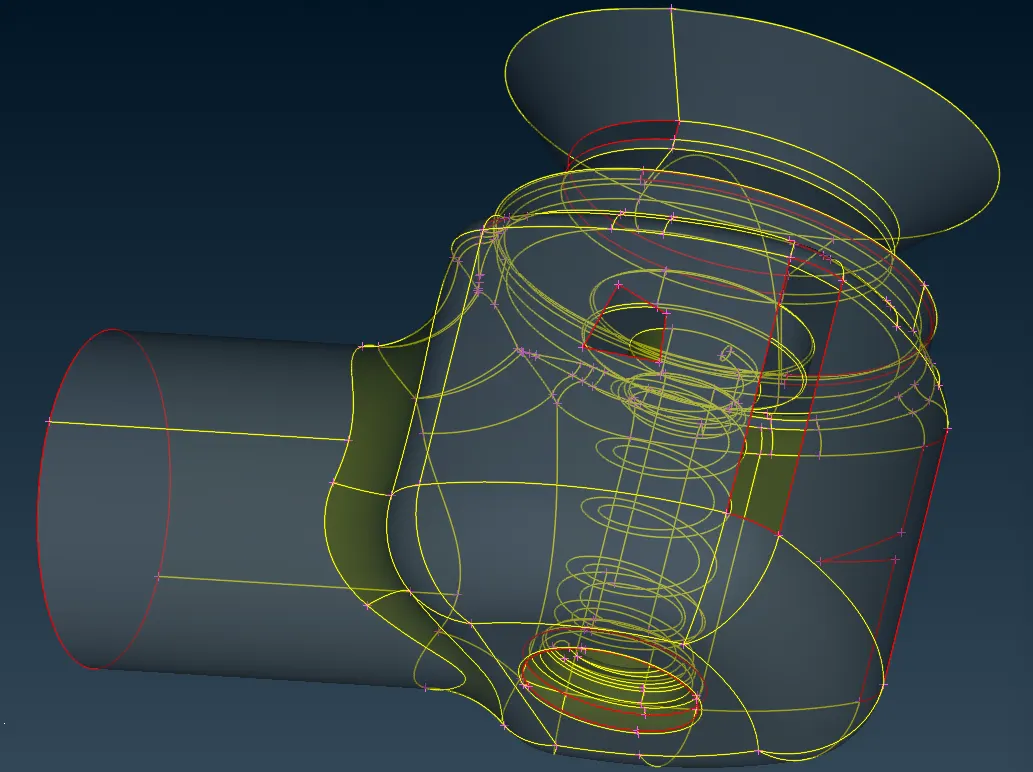
From the following, you can see the yellow lines that are double cons and the red lines are the single cons.
There are no triple cons yet.
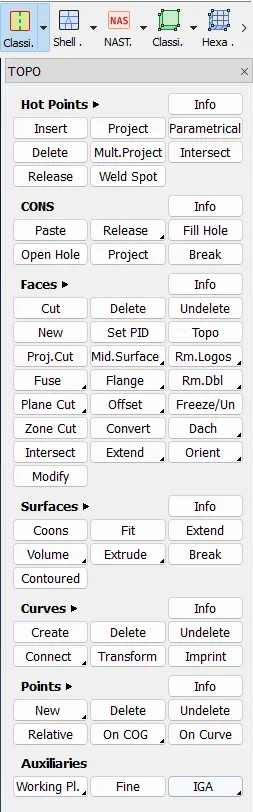
Following we can see the options avaliable in the topo deck -
We will complete the cavities by making faces and making single cons to double cons -
there are 4 ways to create faces near single cons each gives slightly different results, shown as following.
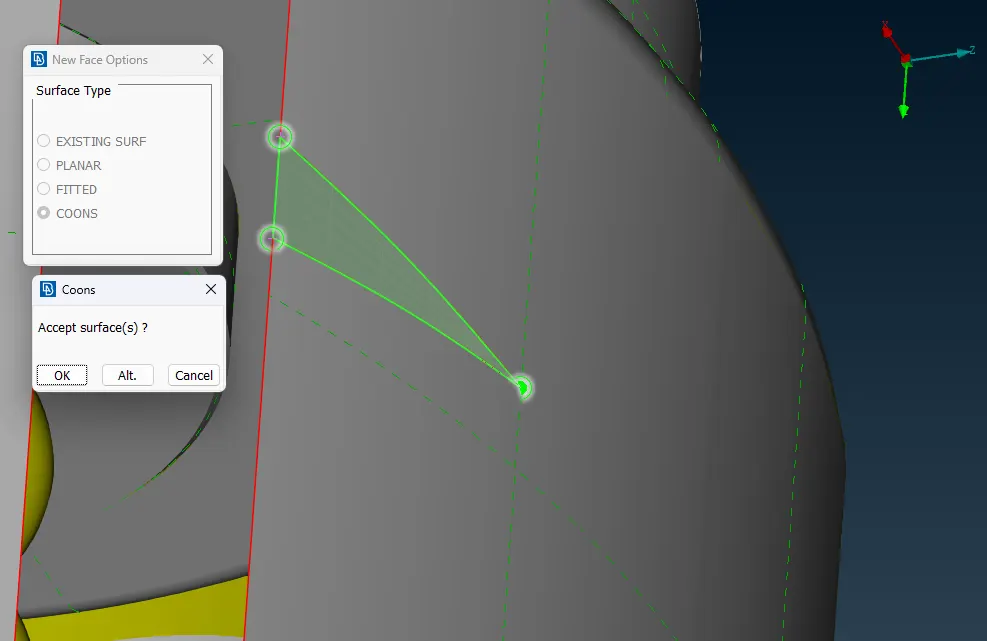
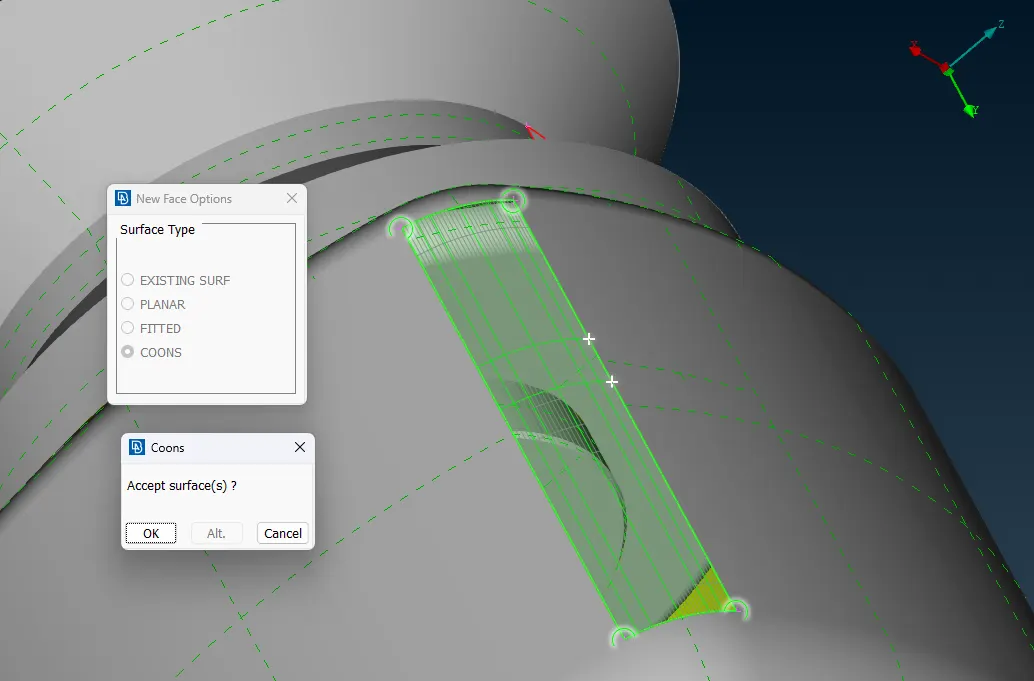
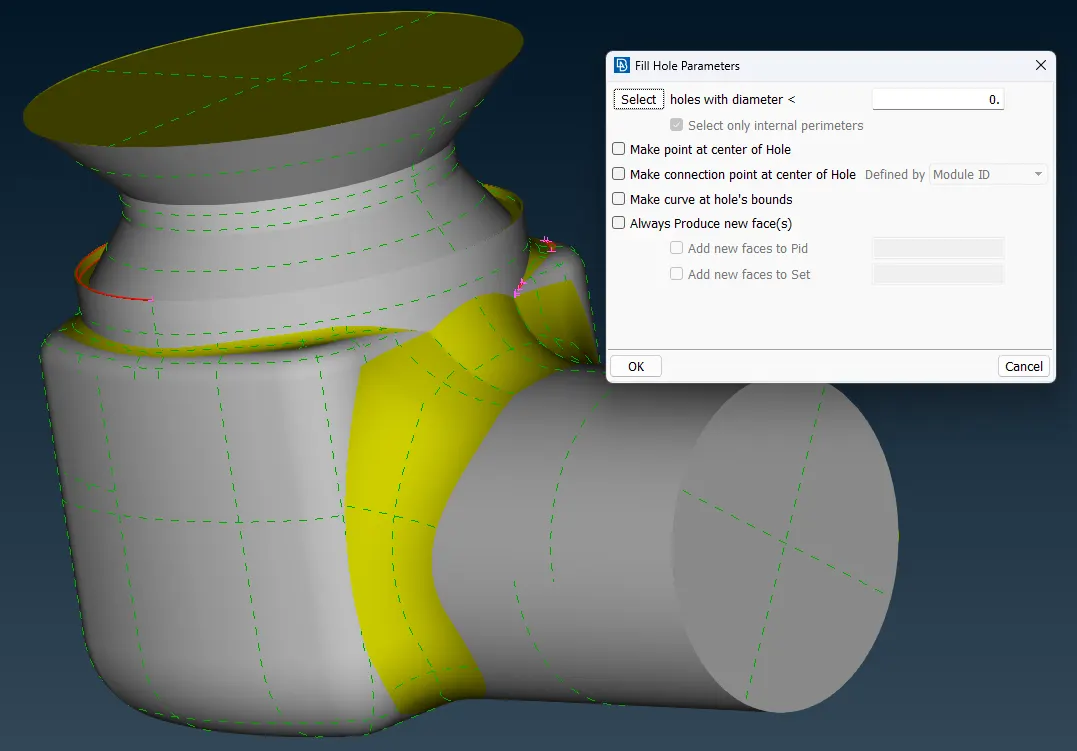
using Fill hole tool to creat Inlet and Outlet Faces -
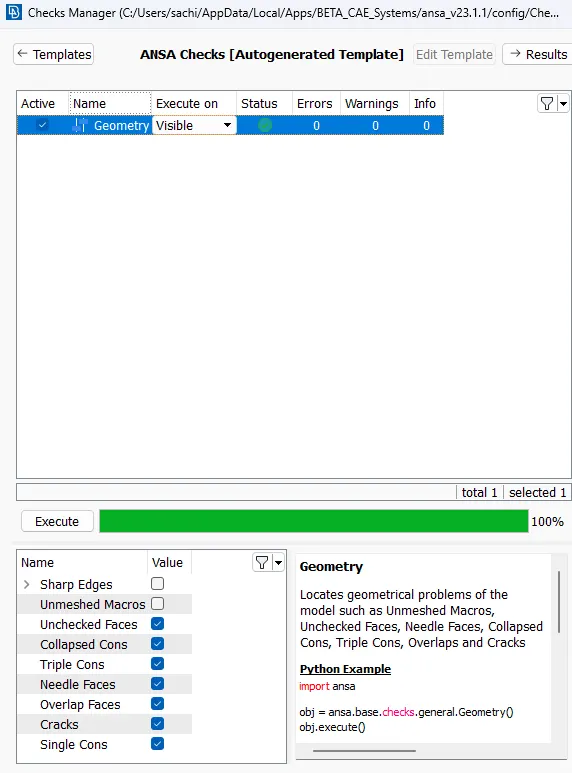
After Completing face creation operaion we again check the topo check.
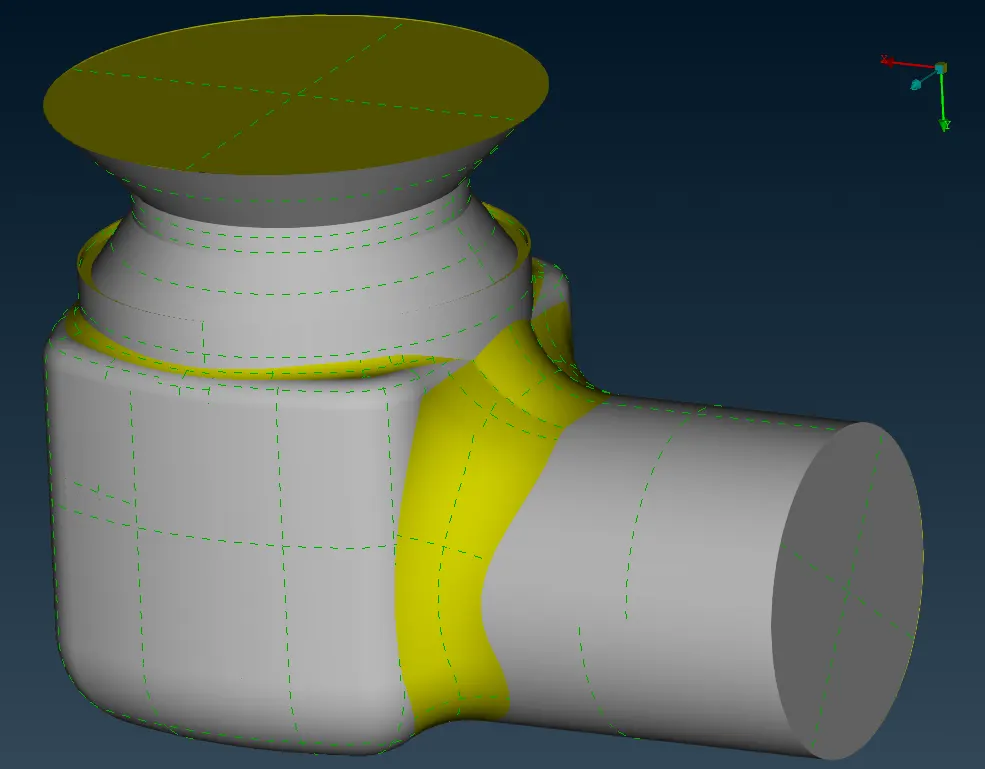
Following is the complete geometry looks like after geometry cleanup-
After completing with the topo cleanup we can assign the PID to the set of surface which designated part of the components
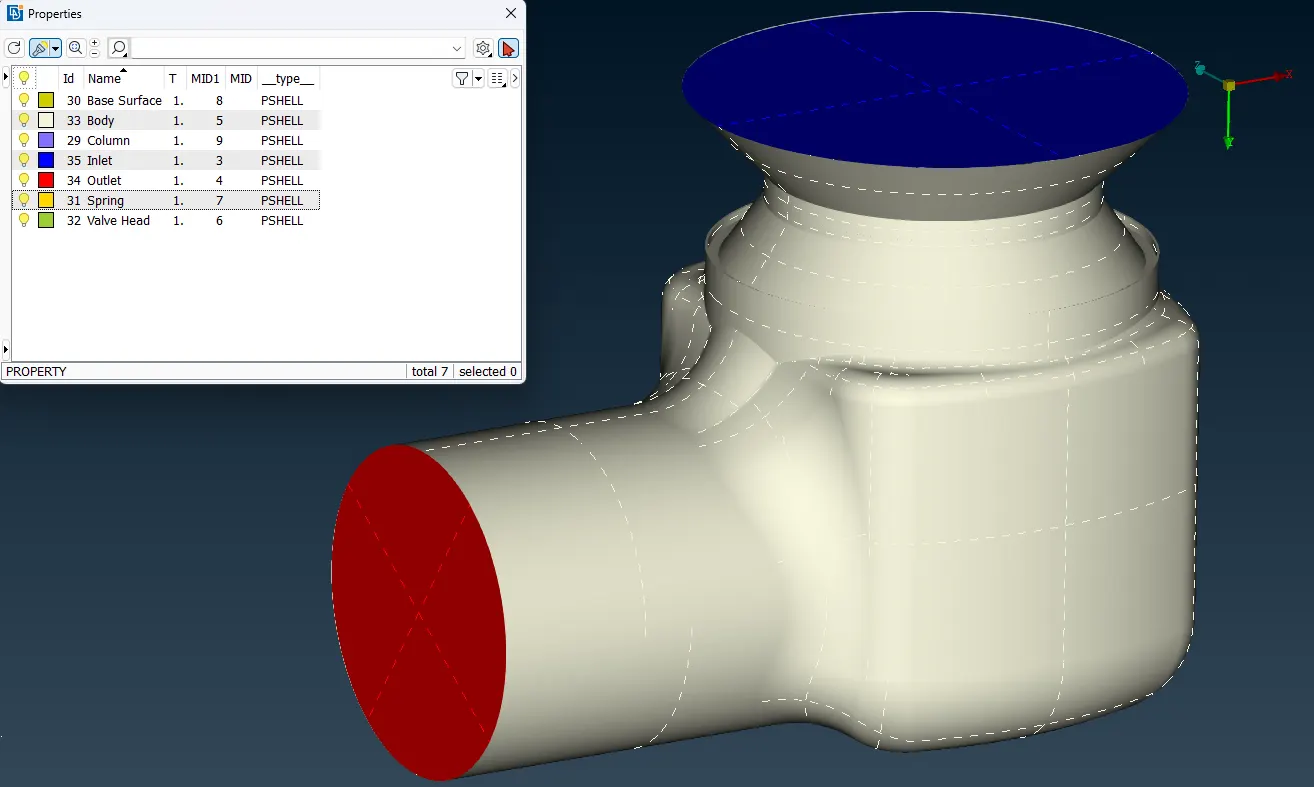
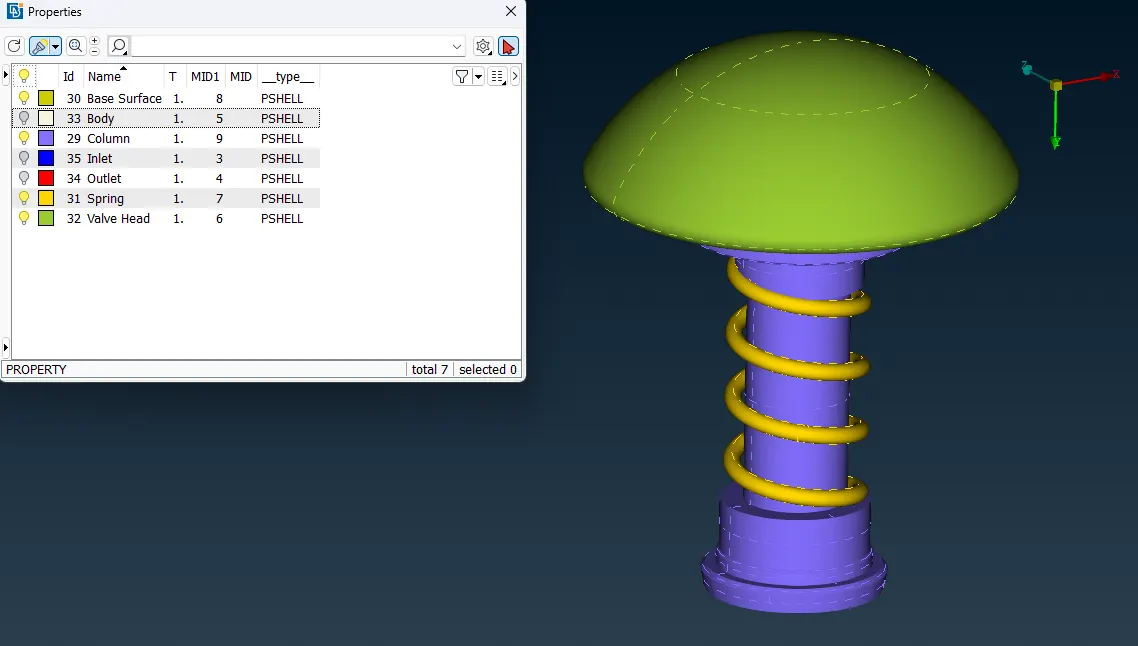
After Completing with the Topo cleanup and PID assignment we move towards the Meshing.
3) Meshing -
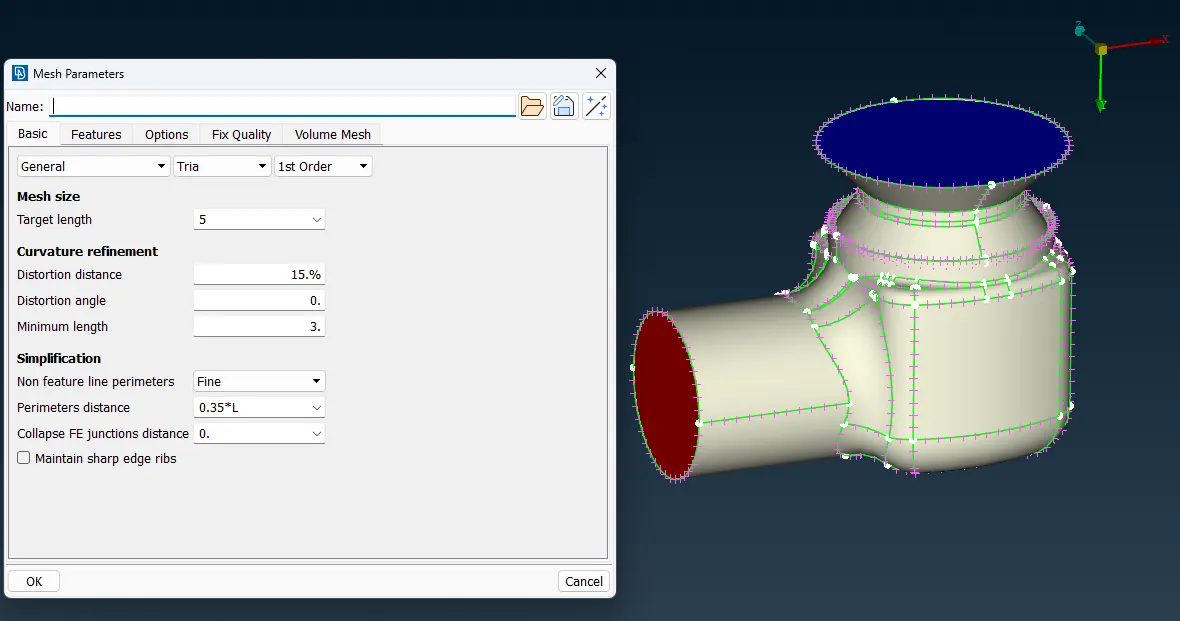
From the Classic Mesh deck we can use the length tool inorder to assigning mesh size to the geometry.
In Length tool, we assigned 5 units size to all faces in both parameters and macros.
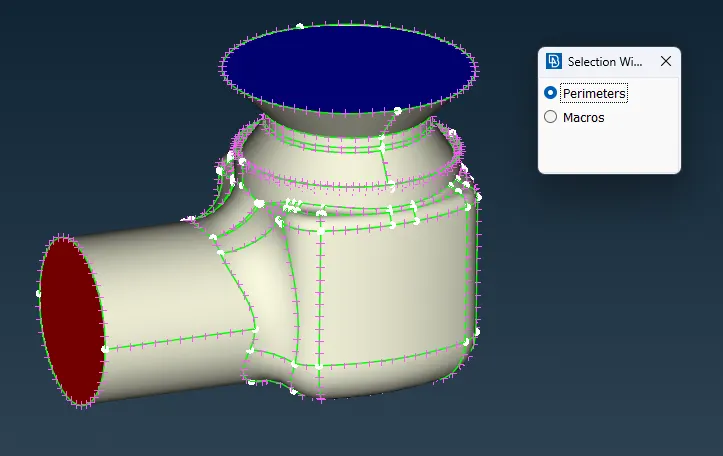
In the Mesh Parameters Section, we will assign 5 units to the target length.
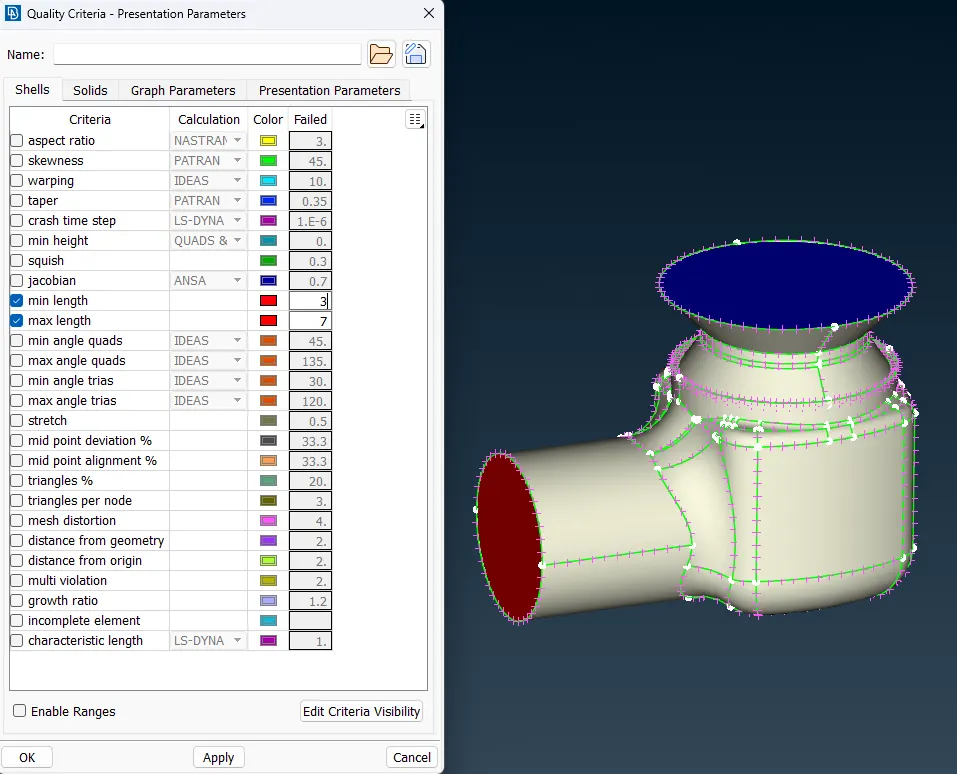
With min and max length criteria be 3 and 7 units respectively.
And setting the Mesh element to Triangle elements.
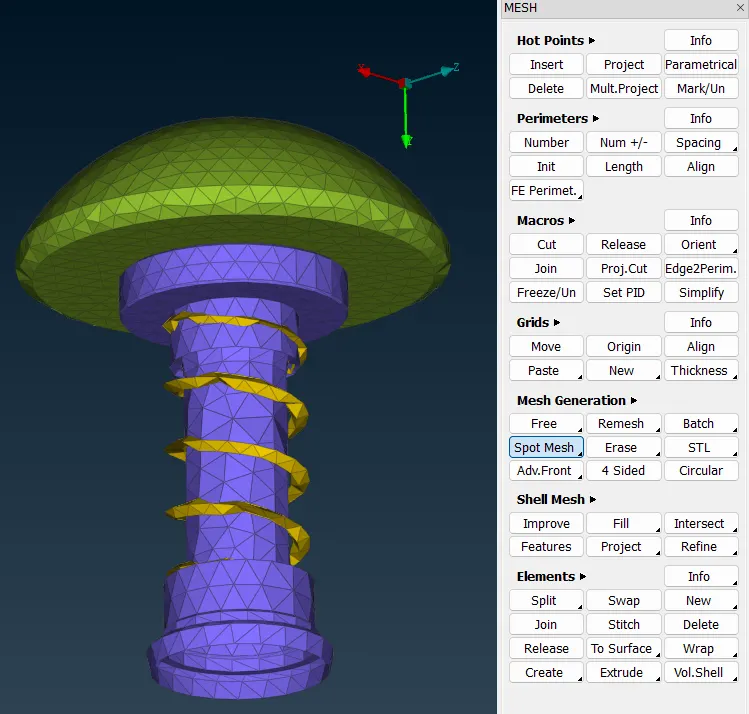
After assigning mesh sizings, we will proceed to generate mesh using Spot meshing tool.
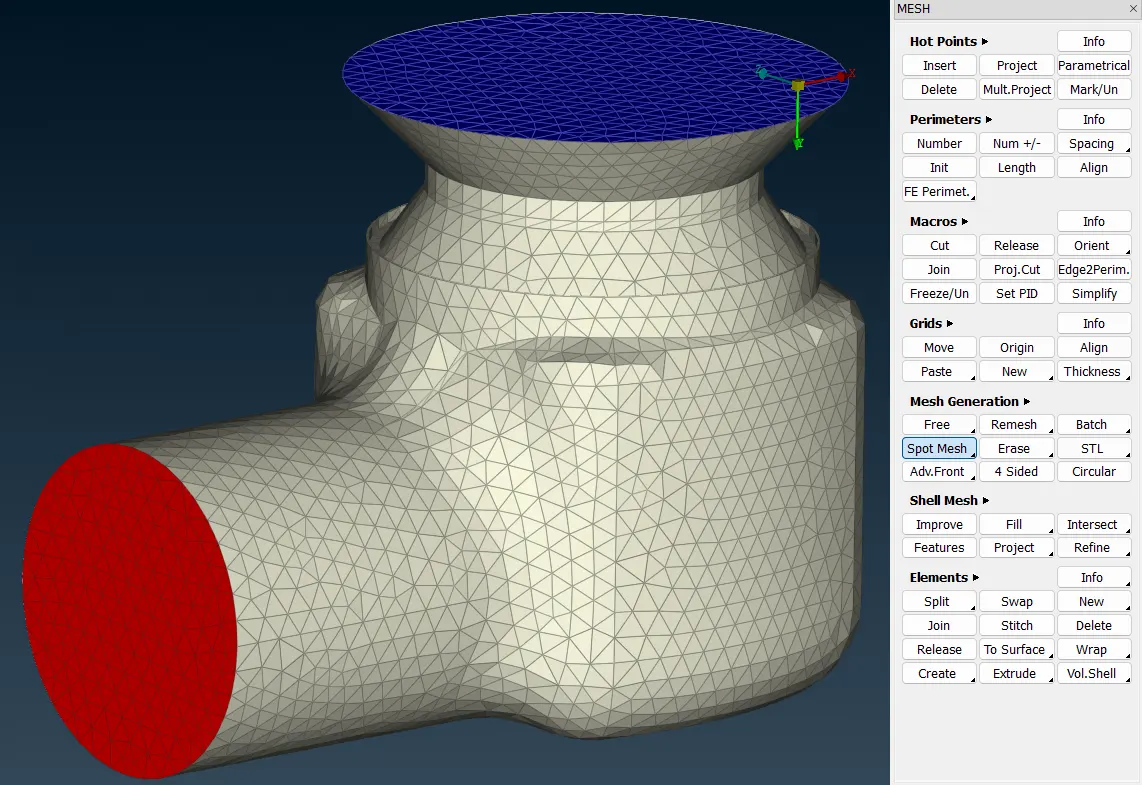
As per our objective, we have to mesh for 3 case of 3 target lengths, i.e. is as follows -
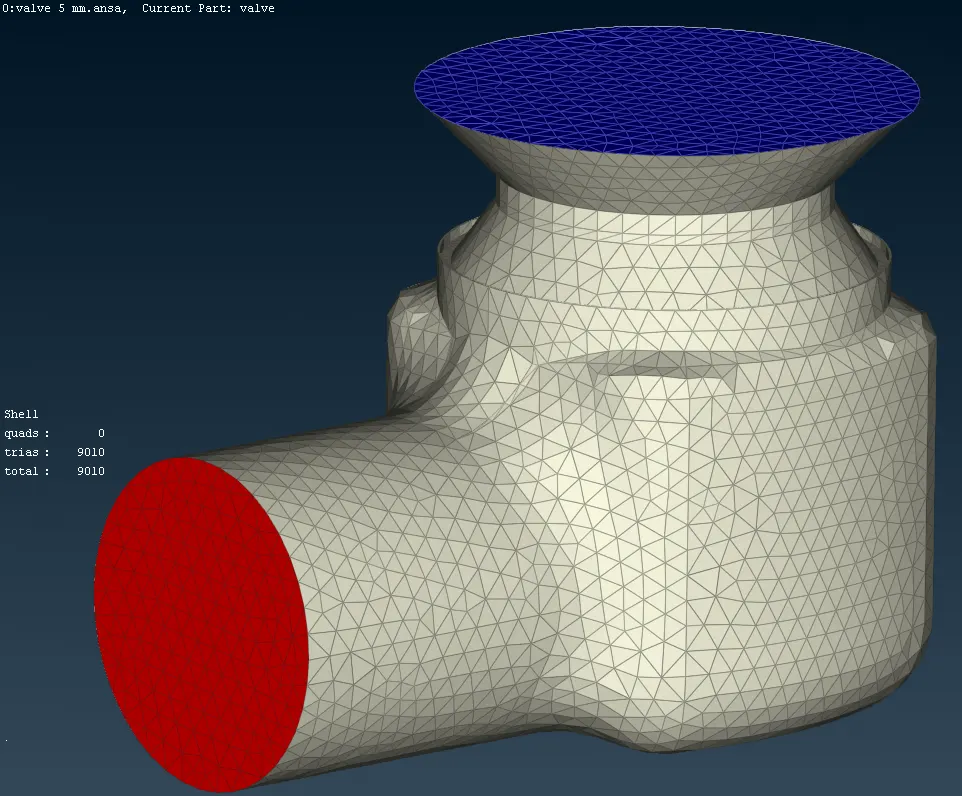
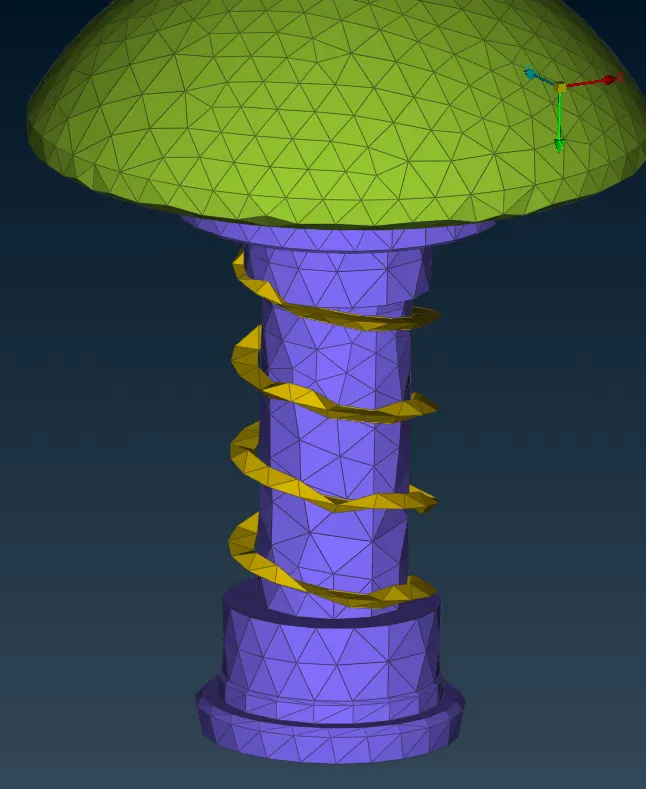
1) For Target length = 5
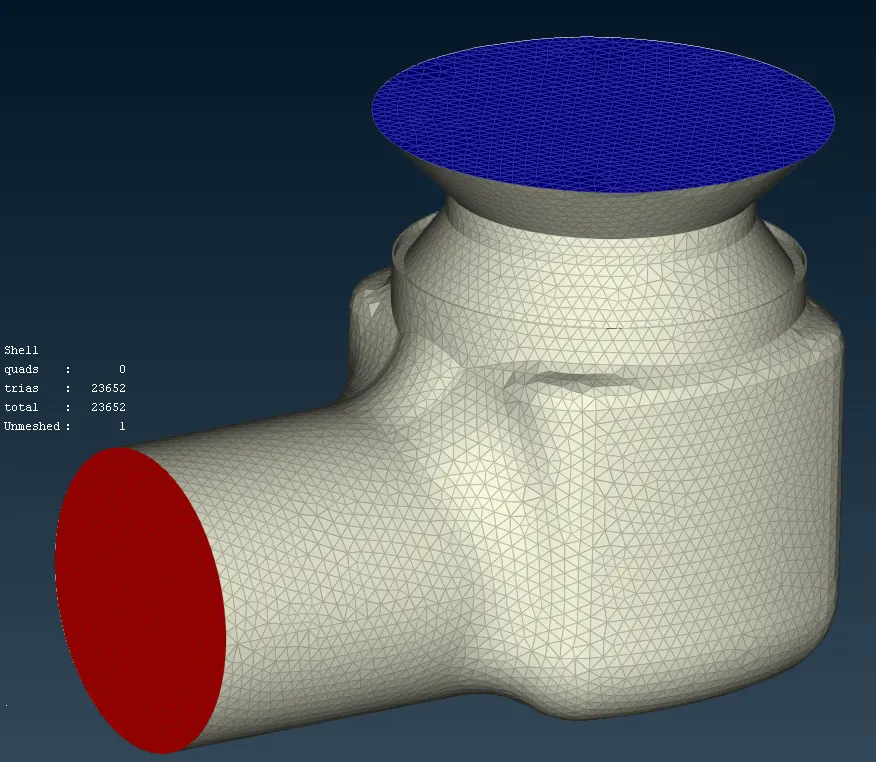
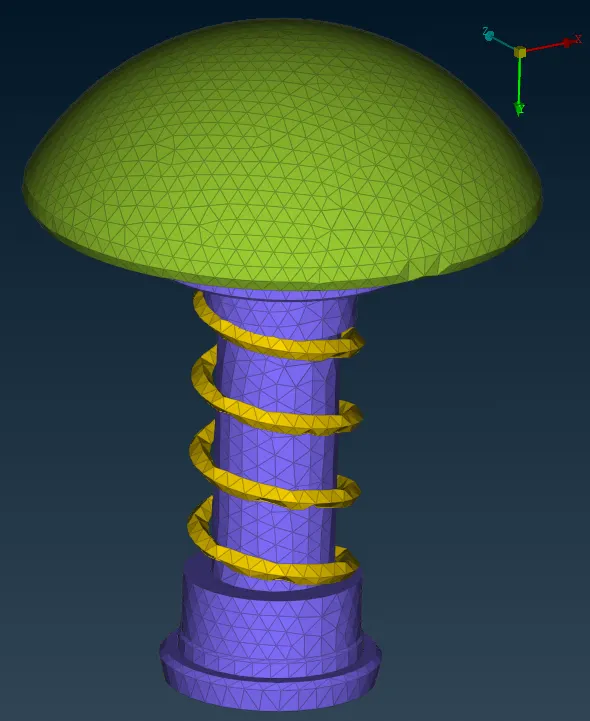
2) For Target Length = 3
2) For Target Length = 1
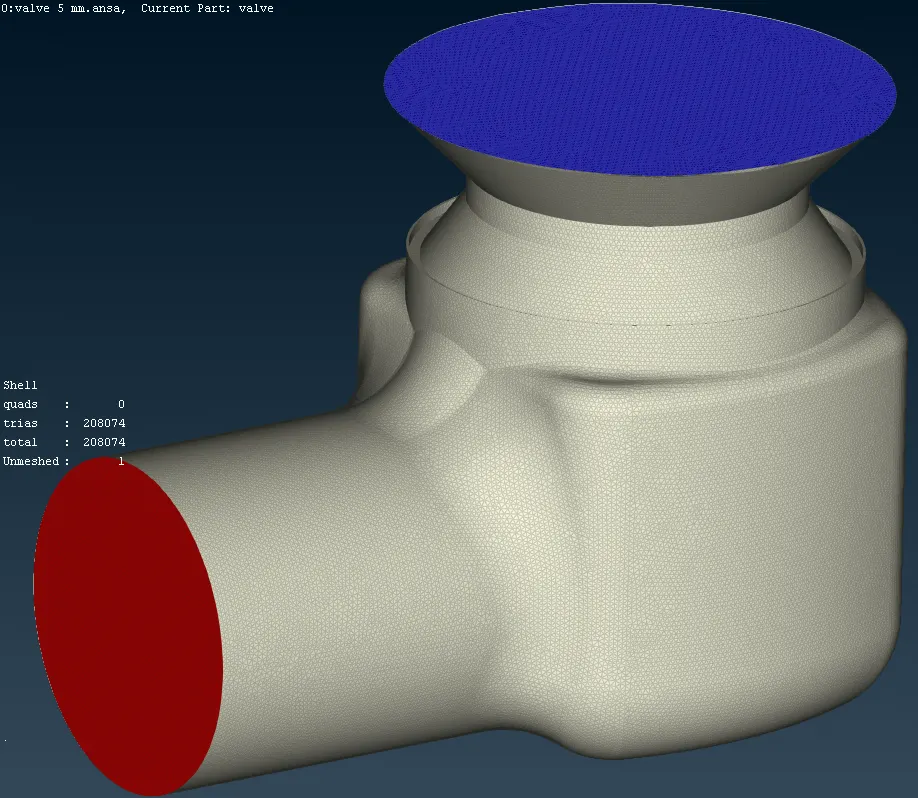
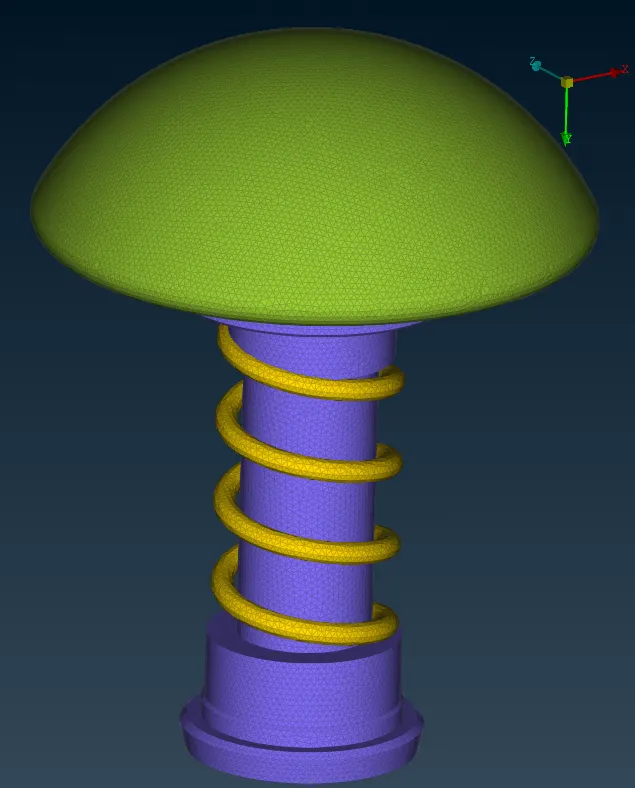
RESULTS :
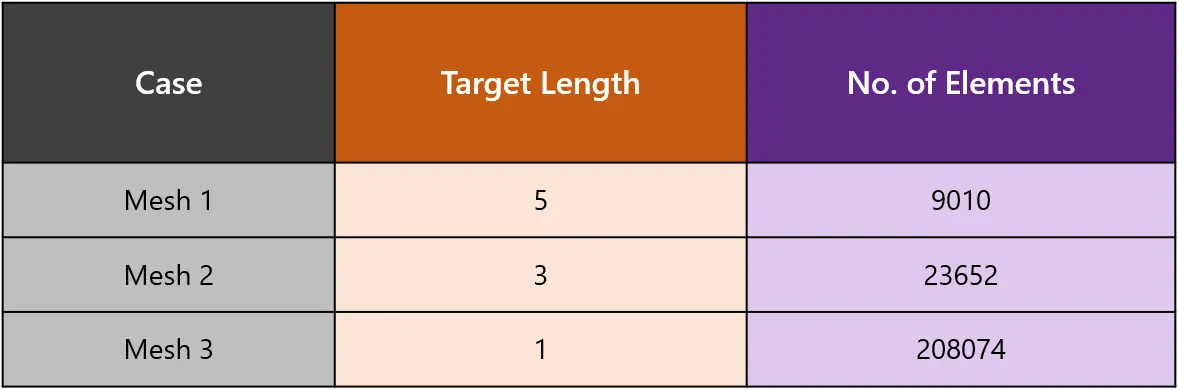
The Following are the results and comparison after generating the mesh -
CONCLUSION :
We have successfully created the mesh for the pressure valve with different cases.
We can see that from the above results, as the target length decreases the accuracy of capturing the geometrical profile and shape increases. When the length of the mesh exceeds the size of any geometric entity, it tends to distort the geometry, which can lead to a misinterpretation of the physics going on at that location, and can also cause an error when transforming information from neighboring cells.
But also as we increase the geometry accuracy by fining the mesh the no. of the elements also increase which increase the requirement of the computation power.
Therefore it is important create an optimum mesh. So different mesh size for different components will be suitable to avoid using more computing resources and computing cost.