Week 2 Challenge : Surface meshing on a Pressure valve
Aim:
To do Surface meshing for the given model by checking its geometrical error and perform Topology cleanup . Meshing the model with three different target length = 1mm,3mm,5mm and setting its element type as Tria.
Procedure:
1. Importing the file:
- To import the given file to ANSA
- In ANSA, Go to File -> select Open
- Select and open the given file with .ansa extension
- The model is opened in ANSA
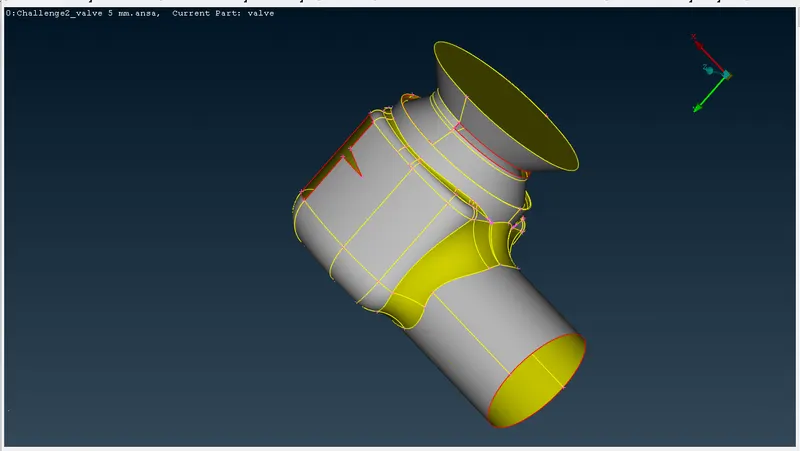
2. Geometey check ups:
- After opening the model we have to check the geometry of the model
- Go to Toolbar -> Checks -> Geometry Checks -> enable the mode to check error and give Execute
- Now we find error (i.e) Single cons
- To solve that now we will check them in wireframe mode
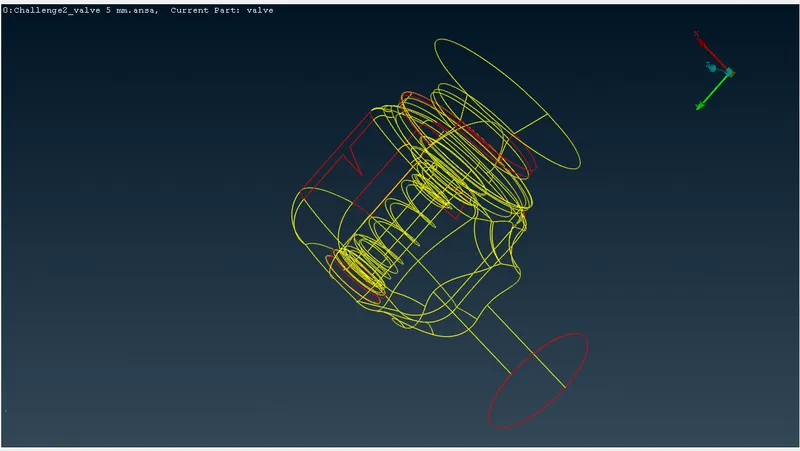
- Red colour line indicates the single cons
- we can solve them by using options of New from Faces in Topo module.
- Using COONS,Fitted,PLANAR,Existing surf we will patch those surfaces
3. Check for Topological Error:
- After solving the single cons, we can do meshing only when we do geometry checks the triple cons will be shown as error
- Bottom of the model we closed as it was opened , so that there appears a blue line
- Blue Lines are TRIPLE CONS.
- We have to decide whether it is needed are not as it was not a problem
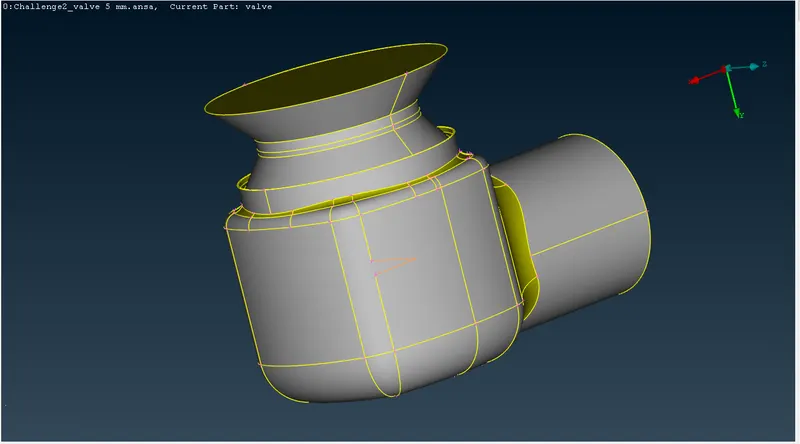
- Next we have to assign the PIDs, as we now meshes can not be fine on the smaller surface of the model
- we will clear the smaller surface by using CUT from Faces .
- After cutting them an Orange line appear ,it denotes the history of the deleted line
4. Creating PIDs and assigning the surfaces:
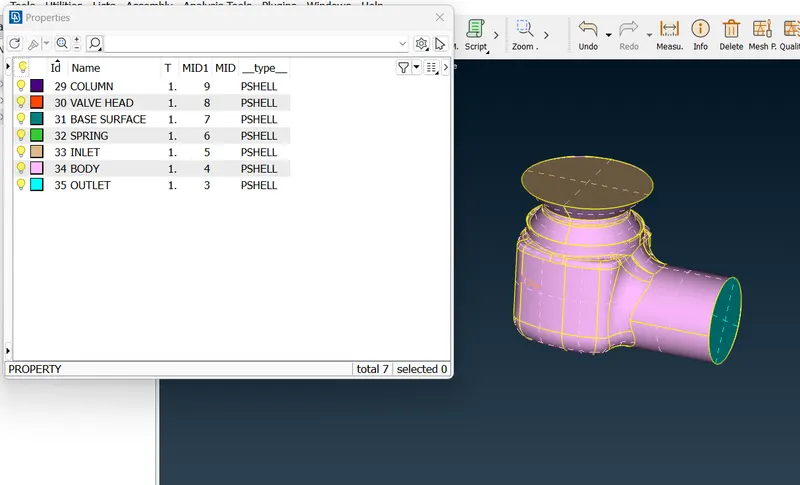
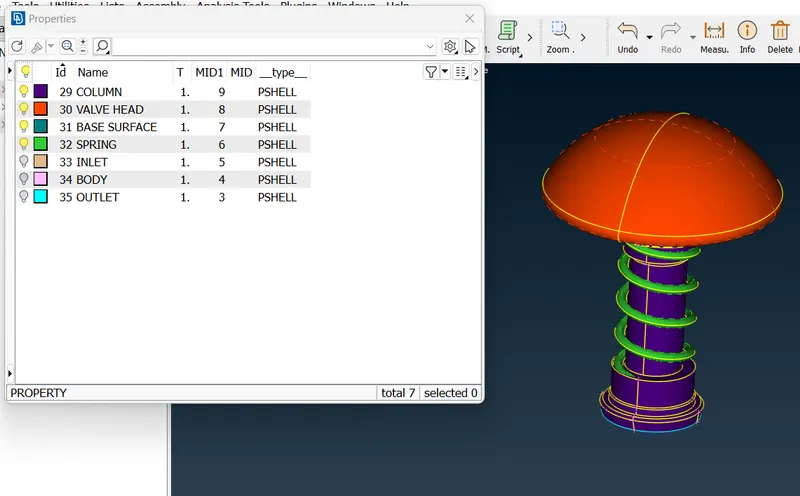
- Go to Properties -> there will default PID .
- In order to create different New PIDs , Right click -> select new -> then select PSHELL -> then select PSHELL -> then give name in the popup box -> then OK .
- You can change the colour by double clicking on the colour box .
- We will create new PIDs naming them Outlet,Inlet,Spring,Column,valvehead,Body,Base surface .
- After creating we will assign the surface respecive to name
- To assign , click on the PID -> right click on it -> then click on apply -> then in the geometry select the cross hatch of the surface you want to assign -> middle click .
- In the similar way we have to apply for all different PID's
- we will delete the empty PID which has no surface on it
5. Defining the Element Length and type:
- We have to Mesh the model with three different lengths
- Target length = 1mm, 3 mm and 5 mm and element type as tria
(i) Target length = 1 mm :
- We have to give the mesh length parameters at four places.
- Go to mesh module -> perimeters -> length -> select perimeters -> select the entire model -> middle click
- Select macros -> Enter the element length as 1 mm -> middle click.
- Go to mesh parameters set target length as 1 mm and select element as tria
- Select Quality criteria -> give min and max length as 0.5 mm and 2 mm.
6. Meshing:
- Go to Mesh module -> Mesh Generation -> spot Mesh -> Select the PID Region
- So we can mesh as PID region using property by enabling and disabling the PID
- we can also select spot mesh -> Visible option to mesh the surface
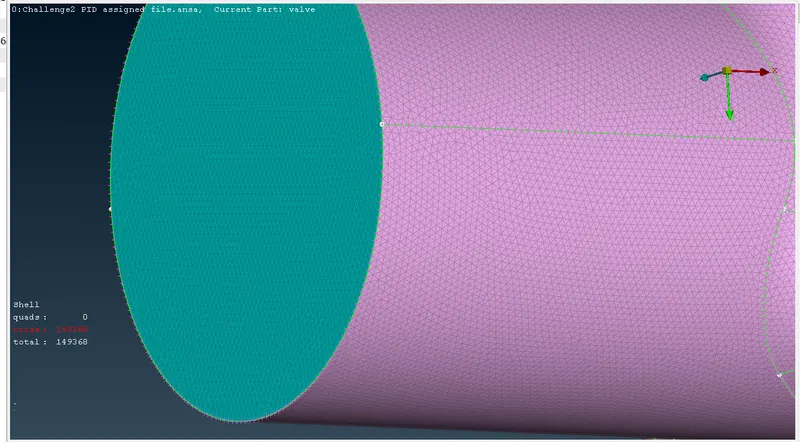
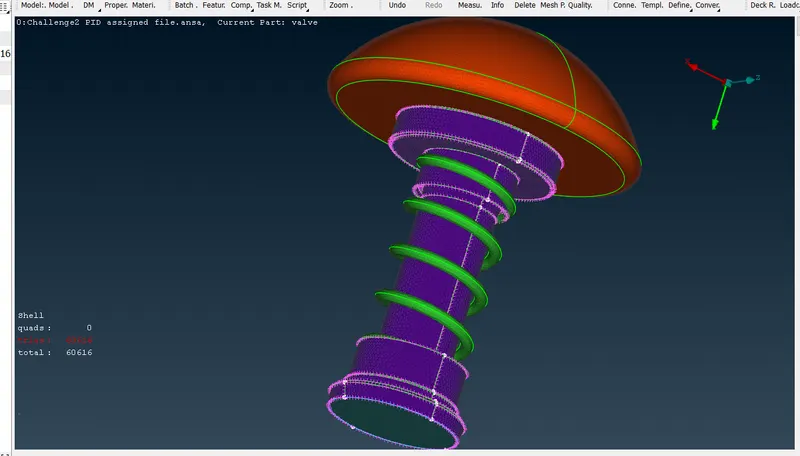
(a) (b)
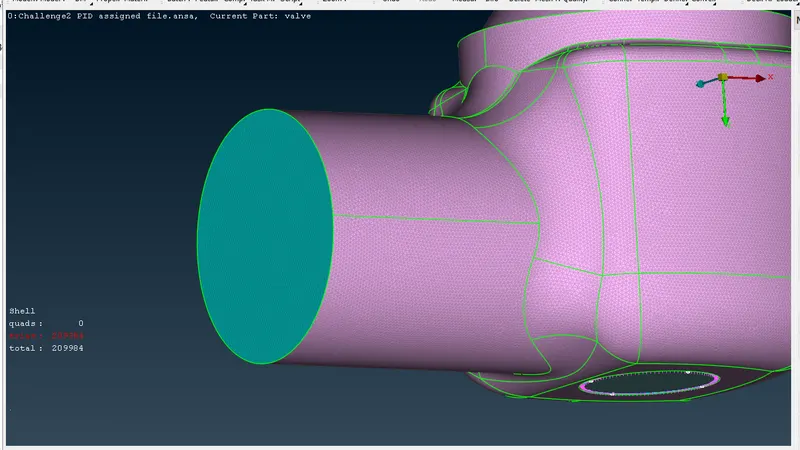
(c)
After Meshing is done we can see Element type formed is Tria = 209984 with target length = 1mm
(ii) Target length = 3 mm :
- Again same procedure should be done as (i)
- Go to mesh module -> perimeters -> length -> select perimeters -> select the entire model -> middle click
- Select macros -> Enter the element length as 3 mm -> middle click.
- Go to mesh parameters set target length as 3 mm and select element as tria
- Select Quality criteria -> give min and max length as 1 mm and 4 mm.
- Meshing also done same as before
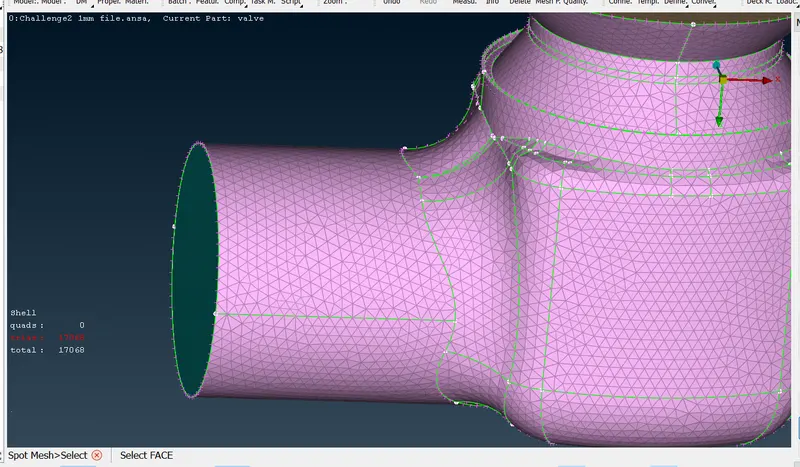
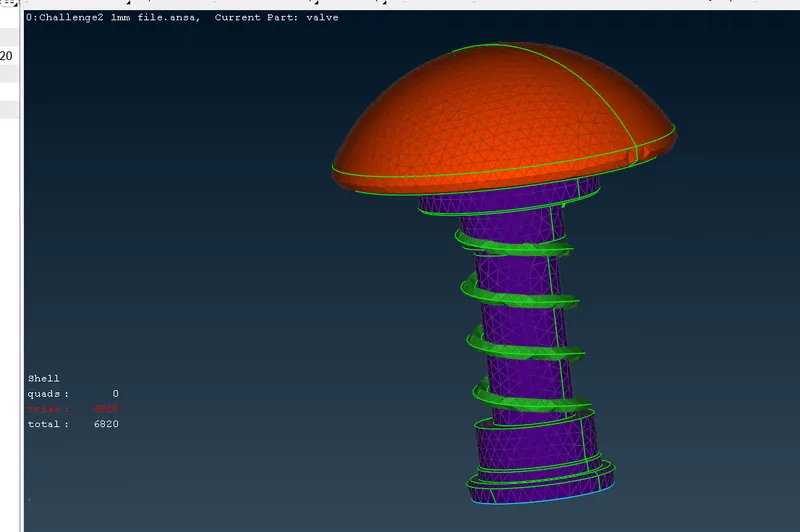
(a) (b)
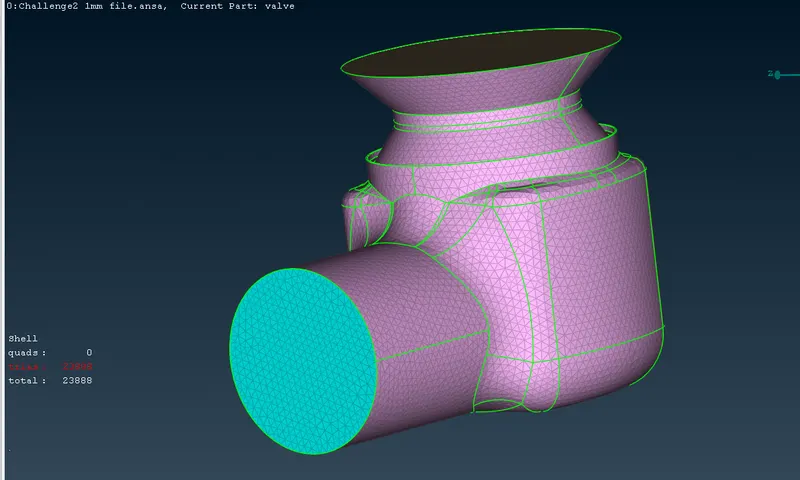
(c)
After Meshing is done we can see Element type formed is Tria = 23888 with target length = 3mm
(ii) Target length = 5 mm :
- Again same procedure should be done as (i)
- Go to mesh module -> perimeters -> length -> select perimeters -> select the entire model -> middle click
- Select macros -> Enter the element length as 5 mm -> middle click.
- Go to mesh parameters set target length as 5 mm and select element as tria
- Select Quality criteria -> give min and max length as 2 mm and 7 mm.
- Meshing also done same as before
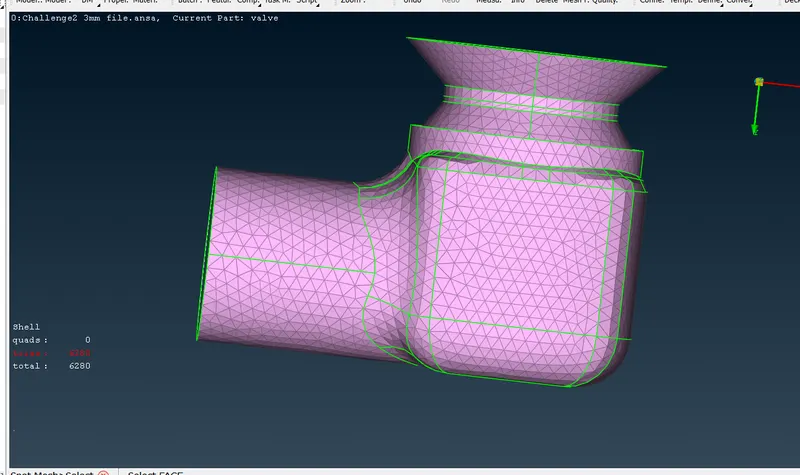
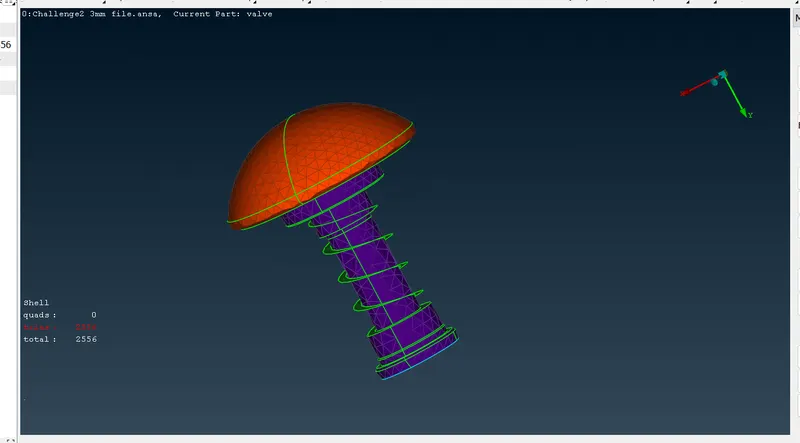
(a) (b)
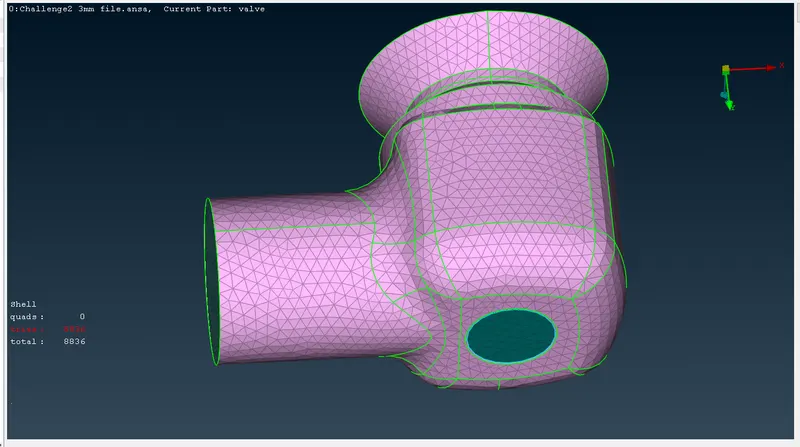
(c)
After Meshing is done we can see Element type formed is Tria = 8836 with target length = 5mm
Learning outcome :
- As a new learner we have learned how to do geometry check-up and Geometry cleanup and Creating new PIDs and assigning the surfaces to PIDs and then defining different element length/type and surface meshing the pressure valve
Result:
- We have meshed the given model with given three different lengths 1mm, 3 mm, 5mm
- As the mesh size is increases ,the number of elements dereases.
- In target Length = 1mm, mesh length is small ,so we have more number of elements (209984) , which makes the mesh quality is very fine.
- In target length = 3 mm then we have less number of elements (23888) than in previous length .The mesh quality also less fine than before .
- In Target length = 5 mm then we have very less number of elements (8836) compared to previous two length .The mesh quality is worst .
- In target length =5mm ,we can see failure mesh in the valve head and in spring . That is why meshing is not good in target length =5mm
- we can also observe as we have selected tria elements in all the three lengths we see quad elements are 0 in the model we meshed .