Project 1 : CFD Meshing for Tesla Cyber Truck
Aim:
For the given Tesla Cybertruck model, check and solve all geometrical errors and Assign appropriate PIDs. Perform meshing with the suitable Target length and element Quality criteria.
Procedure:
1. Importing the file:
- To import the given file to ANSA
- In ANSA, Go to File -> select Open
- Select and open the given file with .ansa extension
- The Tesla Cybertruck model is opened in ANSA
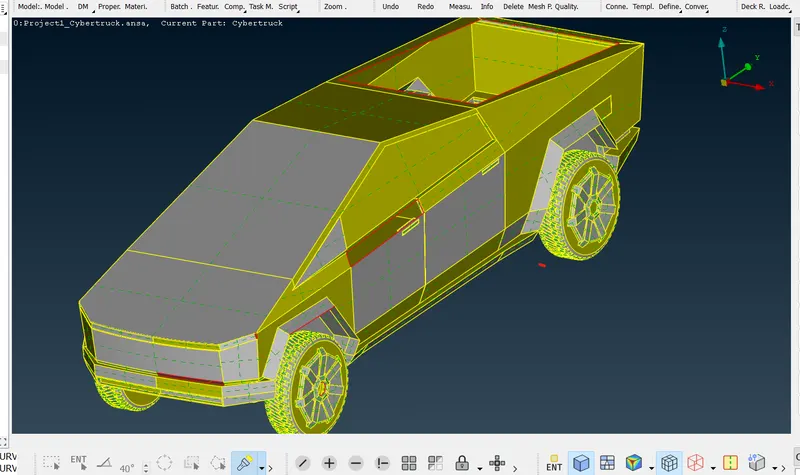
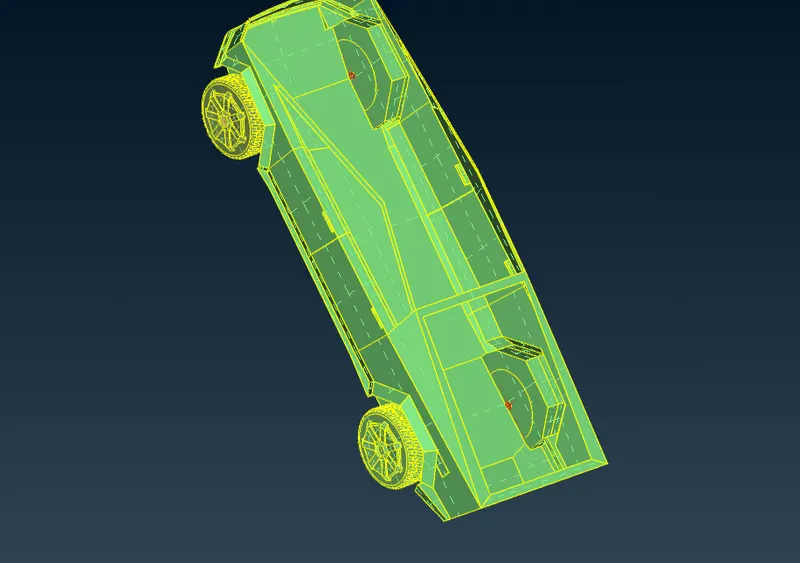
2. Topo clean-up:
- After importing the ANSA file onto screen to perform topo cleanup
- Go to mesh and choose length and enter 1 mm under perimeters to smoothen the sharp curves of the car and give it a fine look.
- Now see in the wireframe mode of our model to see the topological errors more clearly
- As we seen that the given geometry has several topological errors, missing faces which are indicated by single cons
- After all the errors have been corrected we can mesh the model .
3. Setting-up of relevant PIDs :
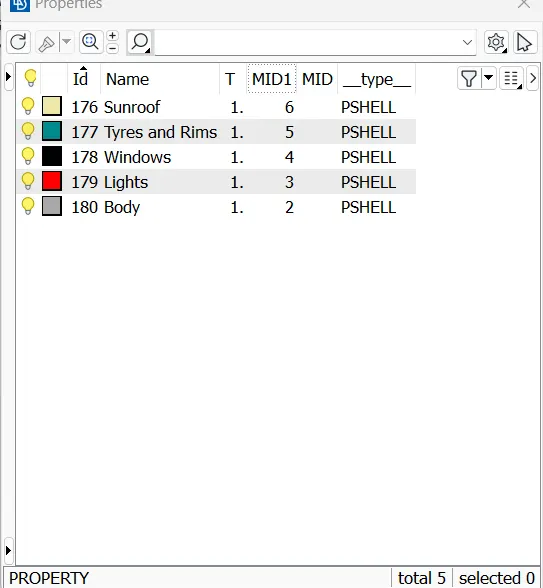
- After doing topo clean up, we can assign the PID for different parts and give a name and colour to differentiate between the components and ease up the working on the components individually
- Open properties manager at the top , you will have some default PID's which are assigned. We have to create new PID's to assign for our components
- To create new PID , right click on properties manager -> click new -> then select pshell -> then again select pshell -> then give name in the popup box -> then ok .You can change the colour by double clicking on the colour box -> then ok
- Then next is assigning these PID's to the components of the geometry
- To Assign ,we select on the PID to apply in the PID manager -> then right click on it -> then click on apply -> then in the geometry select the cross hatch of the surface you want to assign -> then middle click
- Then after assigning the PID , delete the empty orginal PID's which has no components assigned by using compress
- Now our model is ready to be meshed.
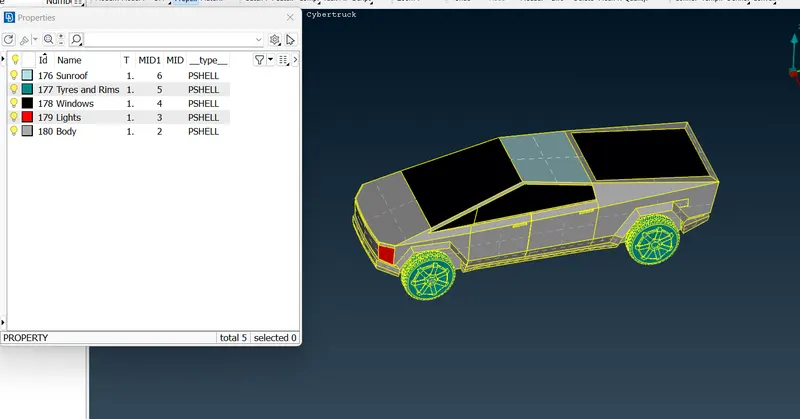
4. Defining Target length and surface mesh:
- We have different surfaces , we will use different quality criteria for different surfaces , we will change mesh length as per our surface complexity and surface size
-
Mesh length for differnt PID's
Sunroof top- 4 mm
Lights - 3 mm
Tyres - 3 mm
Windows -4 mm
Body- 4 mm
- We isolate each component/PID and give above quality criteria(target, min and max length ,skewess etc. ) in quaity criteria and then in mesh parameters
- Go to Mesh Generation -> Spot Mesh -> tria -> drag and select the required model -> click on the middle button on mouse to mesh
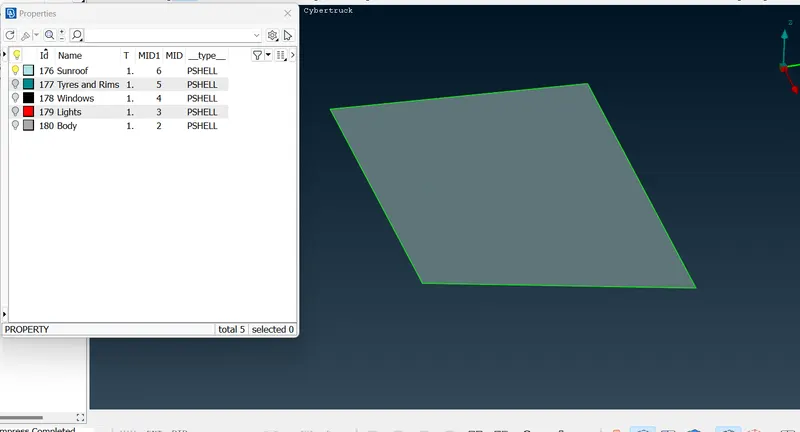
SUNROOF Meshing
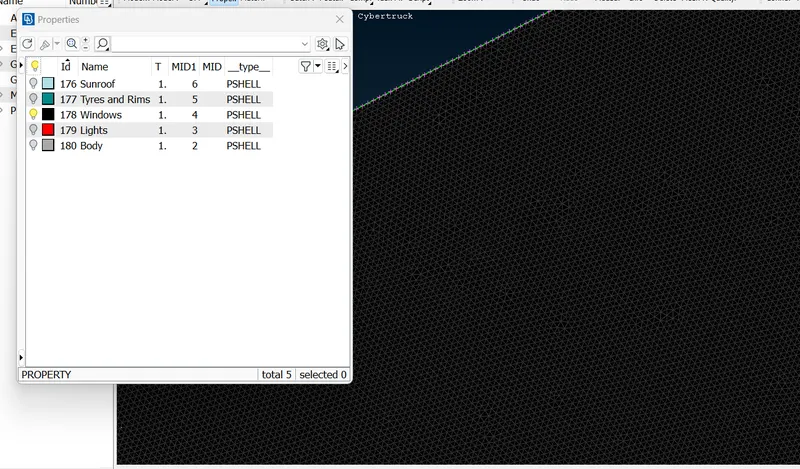
WINDOWS Meshing
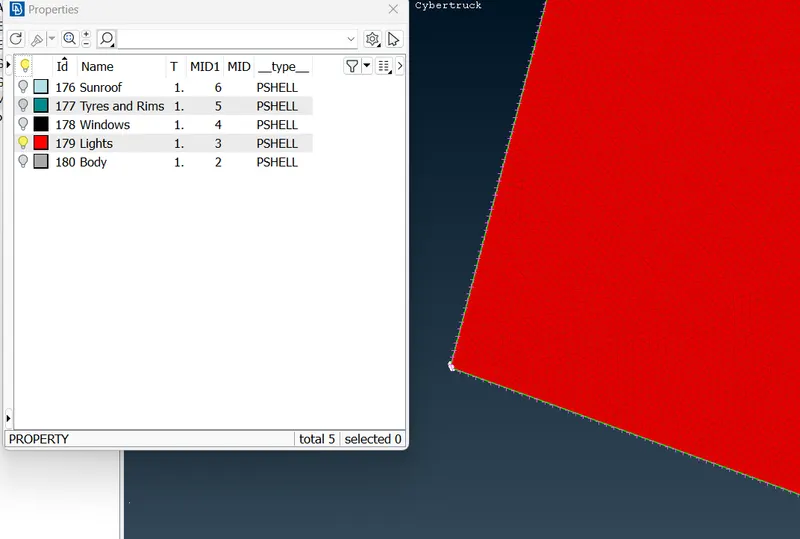
LIGHTS Meshing
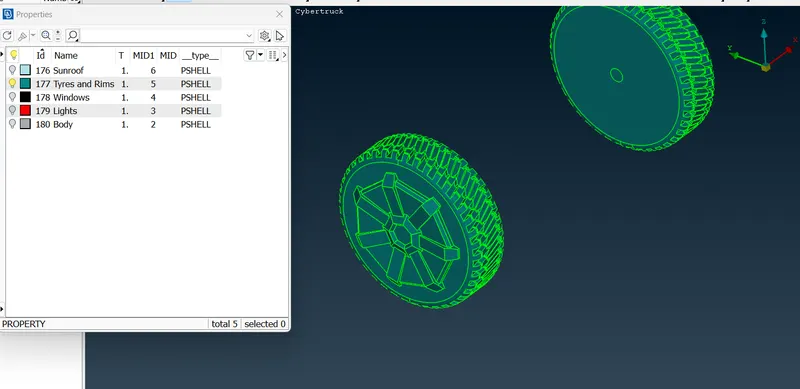
TYRES AND RIMS Meshing
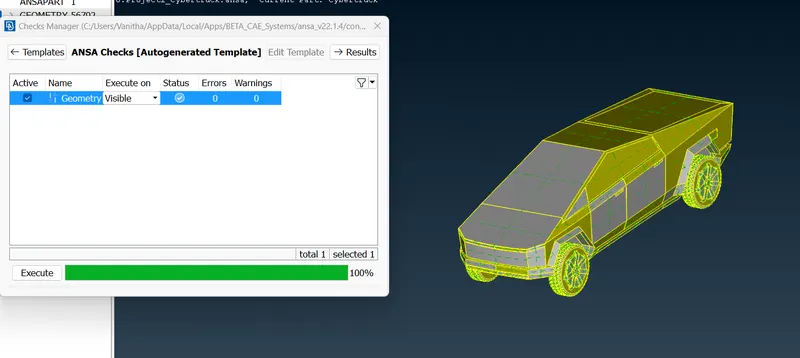
- Before creating wind tunnel we perform geometry checks for full model ,we find that there are no errors
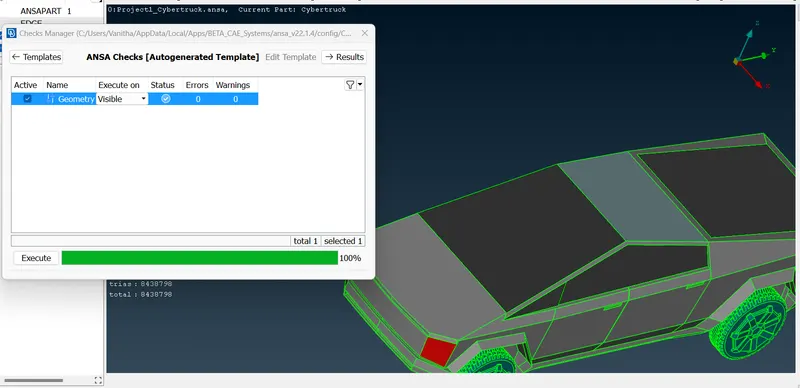
5. Creating the wind tunnel:
- To perform external flow CFD analysis a wind tunnel has to be created around the car. It is created in TOPO mode as a Rectangular box.
- First, we need to create reference points to create wind tunnel surfaces
- Select relative under points in topo mode, create a point below the car taking one reference point and entering the correct values.
- calculating the wind tunnel dimensions appropriately, we can create the wind tunnel accurately.
- To create a point at bottom of car we will give 650mm with negative sign.
- With reference to that point create a point in front of car at distance 25610mm in X direction & at 37740 in back of car.
- create side ponits atr 5760 on front and back side

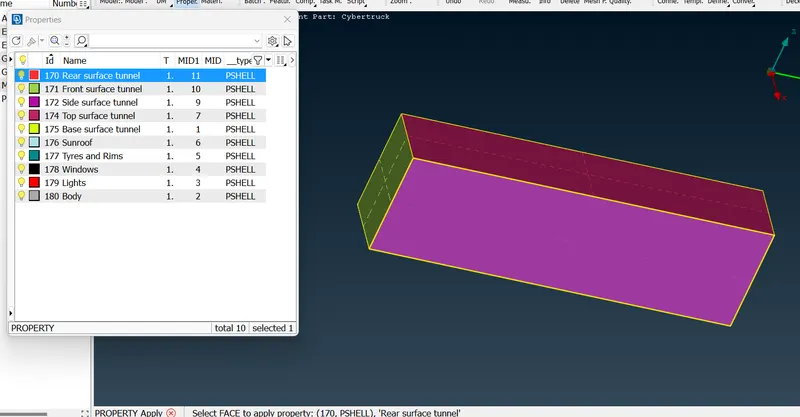
- Now we create and assign PID's for the wind tunnel walls
6. Surface mesh of wind tunnel:
- Now that the wind tunnel has been modelled, it has to be surface meshed first, such that the mesh size gradually grows from top to bottom
- If we have refined mesh length at the top ,then we will have lot of cells and effort is required to solve .So we will give varying mesh length
- This can be done by using the spacing option under perimeters in mesh utility menu
- Choose geometry biasing option & set the dmin value as 20 and dimit value as 100 and factor as 1.1 and select all the four vertical perimeters.But before that we surface the top part by giving a length of 100 mm and bottom part with a length of 20 mm .
- Then generate surface mesh. we can see that the mesh length is varying and increasing from bottom to top
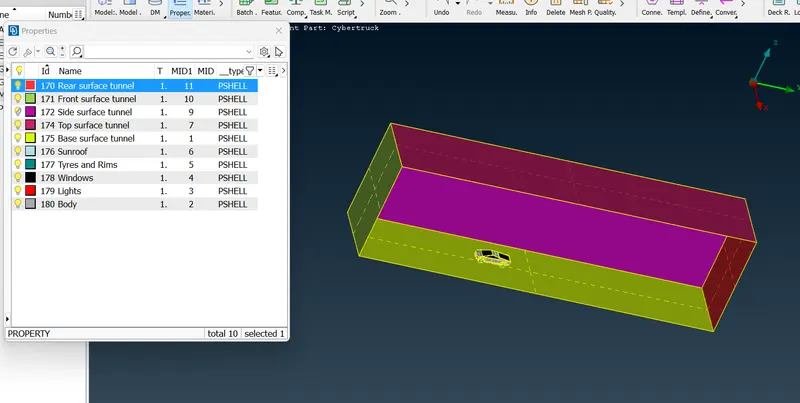
Conclusions:
-
Tesla Truck model is topo-cleaned and surface meshed appropriately
-
Different volumes of the Truck model is created as rims and tyres are not connected to the Truck body.
-
Done surface meshing when there are different PIDs with different mesh length in contact with each other
- Wind tunnel is created and surface meshed with reference to the Truck model size.
Solved model google drive link https://drive.google.com/file/d/1ZgiCeUemZd1wVIQjMuw6QRdKCT06SL2G/view?usp=sharing