Week 2 Challenge : Surface meshing on a Pressure valve
Objective:- Surface Meshing of a Pressure Valve by Using ANSA.
Procedure:
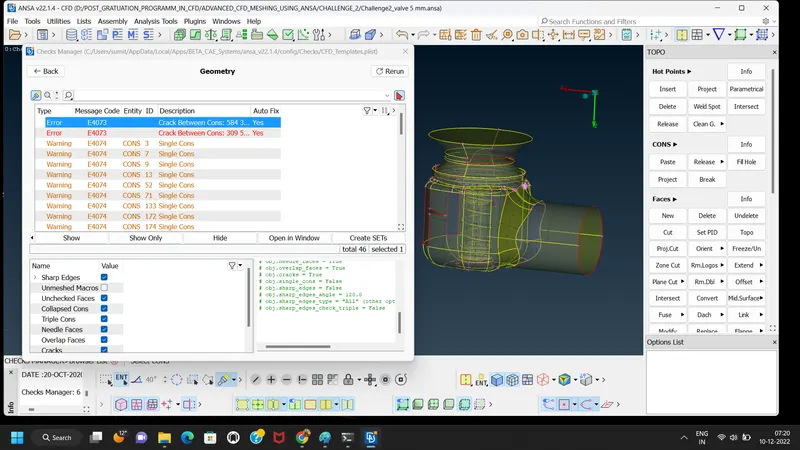
a) Before topo clean up we go for Geometry Checks. In this Geometry checks we can find the Single cons, Overlap cons, Cracks, triple cons, Collapsed cons etc.
This errors are clean by using topo clean-up.
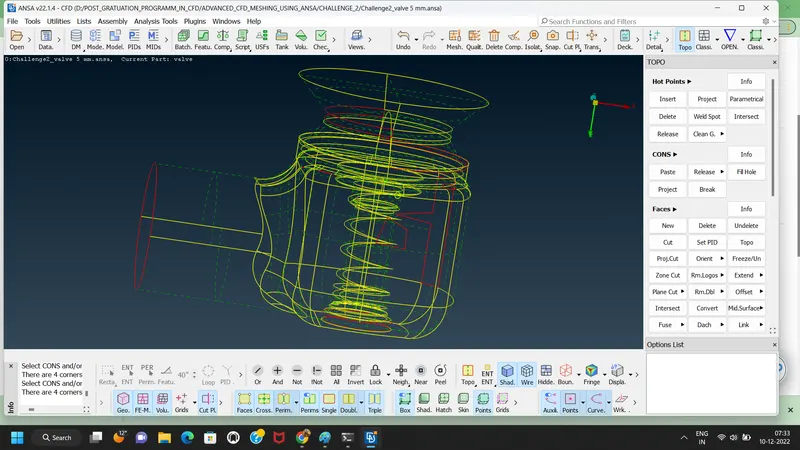
b) We can check the all single cons by clicking shift+ctrl :
All the red lines showing the single cons.
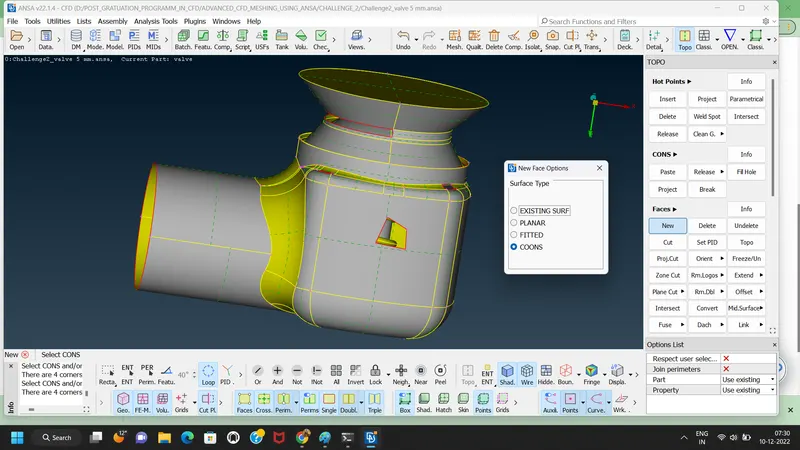
c) Patch the Surface:
By using new face Option we can patch the holes, cracks, Single cons etc.
We can also patch the surface by using Fill Hole option
d) After patching all surfaces we again go to Geometry Checks to see is there still having some errors or not.
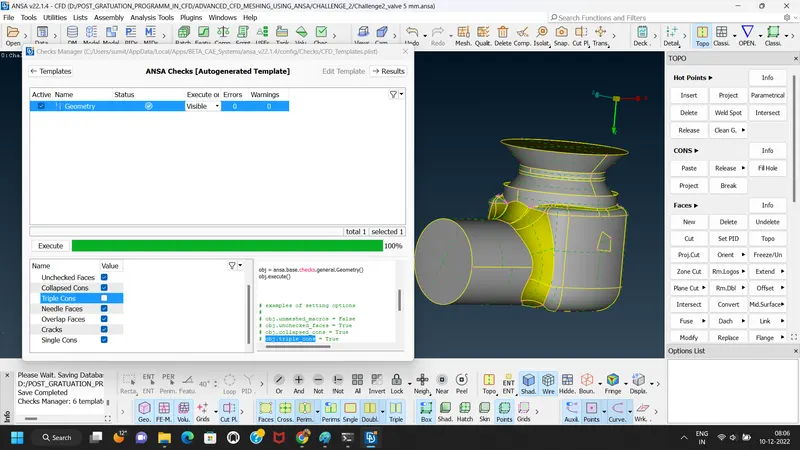
e) In previous step we found that the geometry check status is completed that means there is no error. next step is to cut the smaller surfaces which are lesss than the mesh length, because if the mesh length is gtreater than surface then meshing will not done proper way.
So we cut the small surfaces.
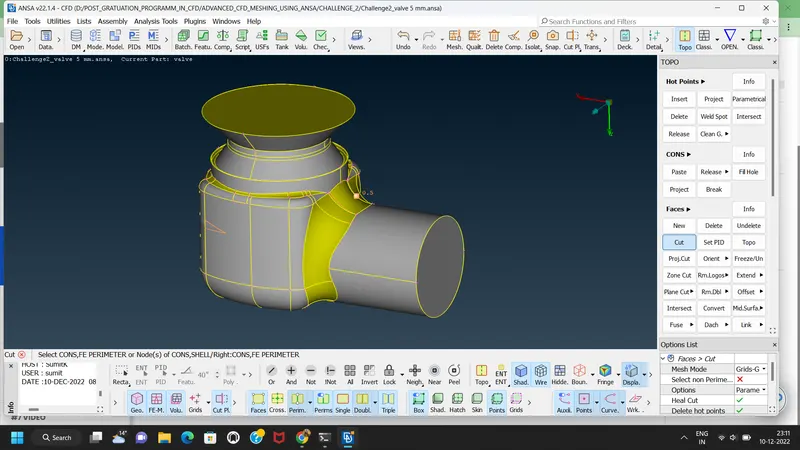
f) The next step is we apply different PID to different Components.
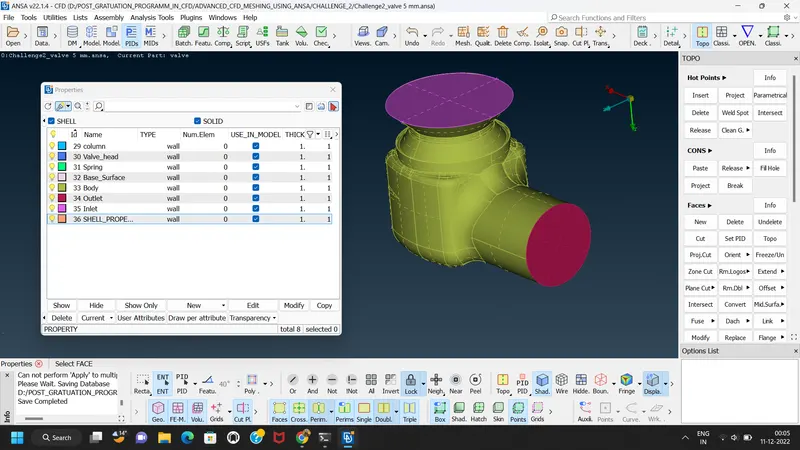
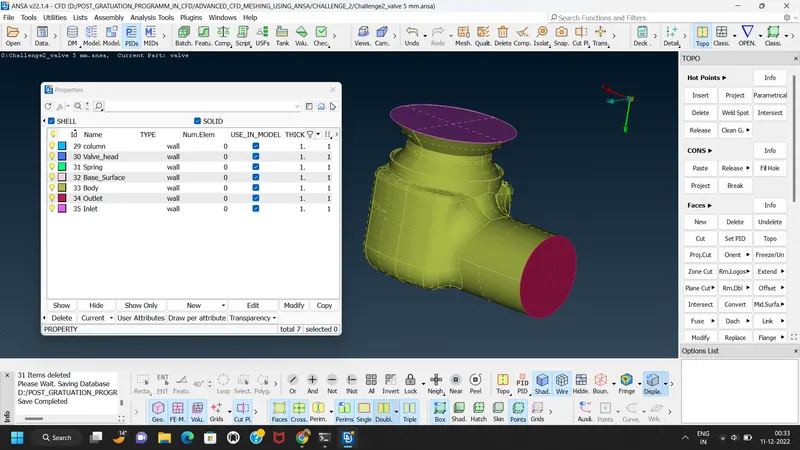
g) Next step is to apply mesh length (Perimeters and Macros)
h) Then set mesh parameters and quality criteria
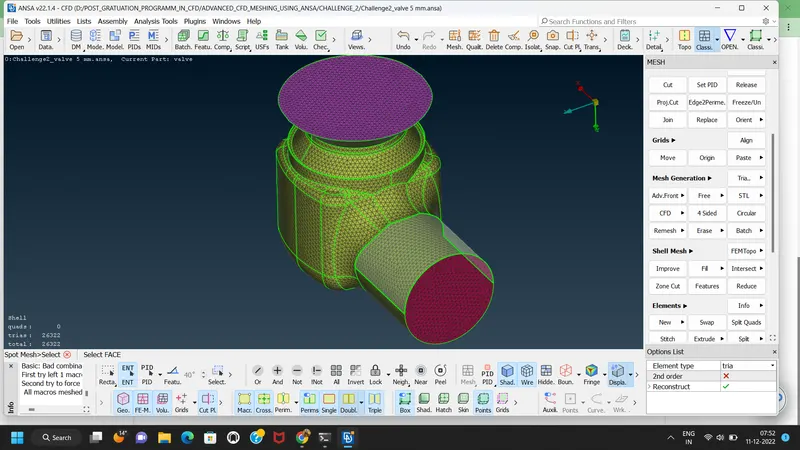
i.e Case-I:- Mesh length 5 mm and Element-Tria
Case-II:- Mesh length 3 mm and element- Tria
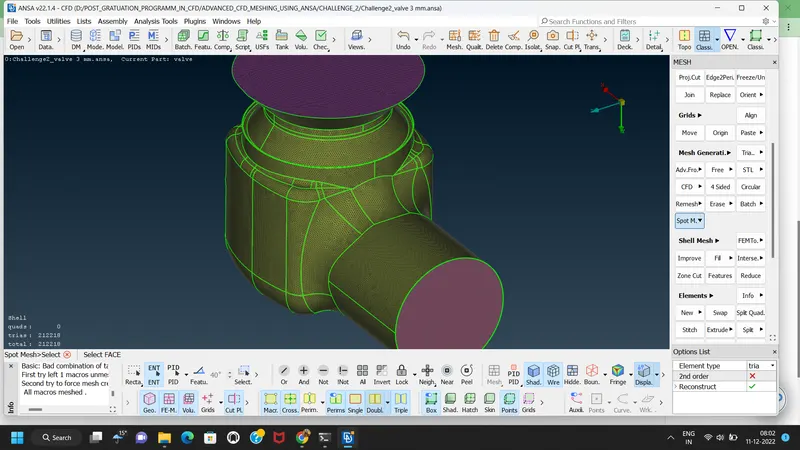
Case-III:- Mesh length 1 mm and element- Tria
i) Next step is deploy the mesh by using spot mesh.
Case-I:- Mesh length 5 mm and Element-Tria
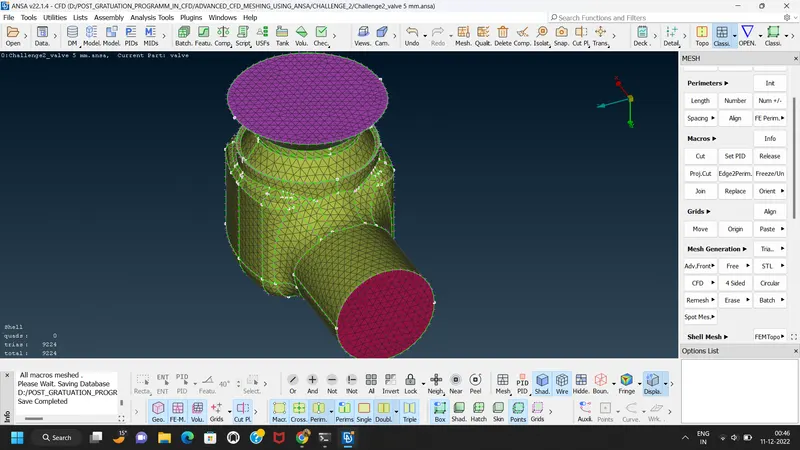
Case-II:- Mesh length 3 mm and element- Tria
Case-III:- Mesh length 1 mm and element- Tria
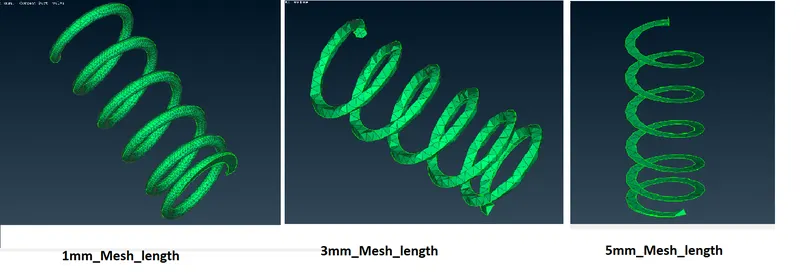
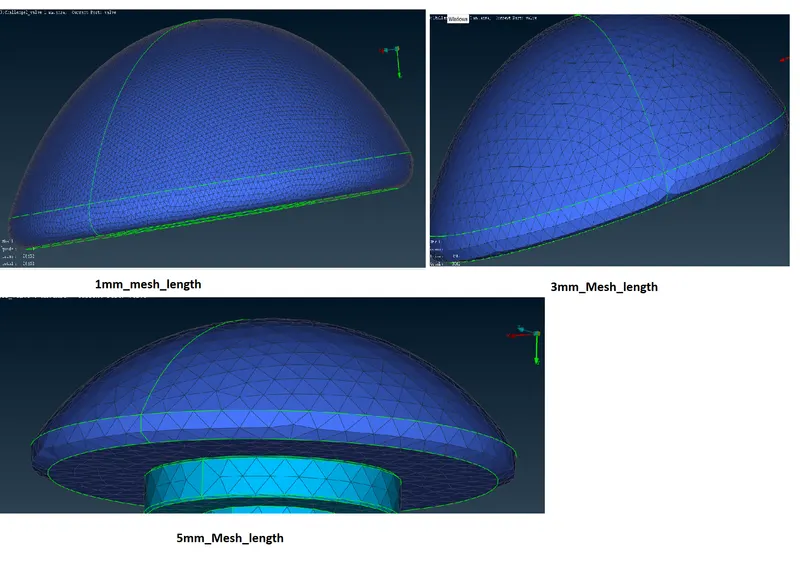
Comparision of Meshing:
Conclusion:-
The valve meshing is done by using 3 different cases i.e 1mm mesh length, 3mm mesh length & 5mm mesh length and tria element for all. We found that the there are small components present in the valve (i,e spring, valve head)
By comparision we conclude that less is the mesh length we get finner meshing. Above two images shows the comparision of spring & valve head.
So the 1 mm mesh length gives the good results as compare to 3mm & 5mm mesh length.