Week 2 Challenge : Surface meshing on a Pressure valve
For this exercise, the aim is to mesh a given model for a valve for 3 different mesh sizes and compare the differences in the mesh quality and the effectiveness of the meshing.
To do this, we have to first get the model for the valve and then import it into ANSA. Now, first, we have to do geometry cleanup before we can assign the parameters and topologies and finally start meshing.
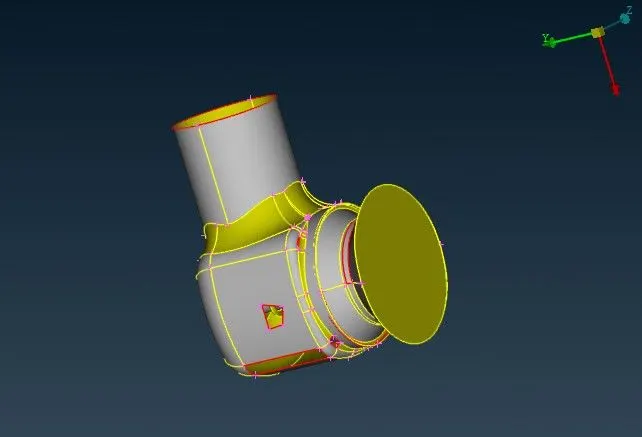
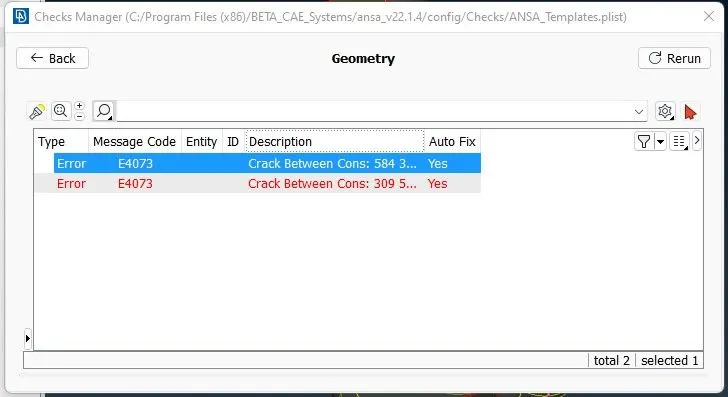
After importing the valve model, we can first conduct a geometry checkup to see any erros or discrepancies present on the model's surface and within the geometries. In our case, there are few surfaces missing form the model and there are uneven surfaces where we have to individually create new surfaces according to the model's geomerty.
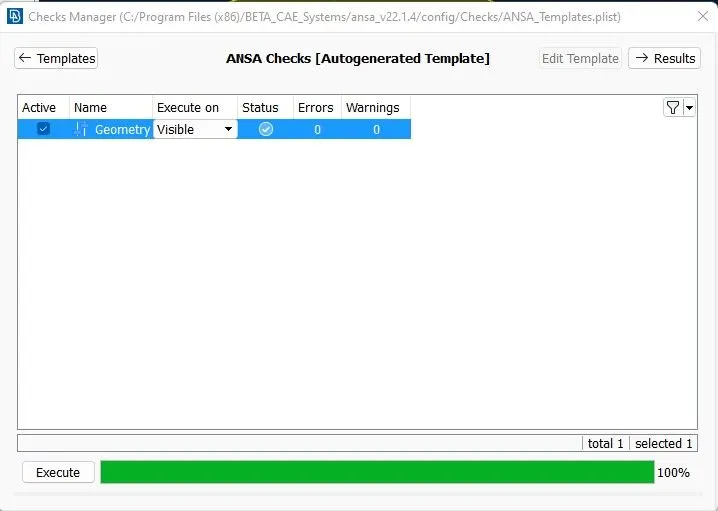
Now, we can first enable the topo mode and then create new surfaces from faces and new and then choose the appropriate surface types i.e. amongst existing surface, planar, fitted coons. We can choose existing surface if the missing surface was a part of an existing larger surface. We can choose coons for smaller components who have boundaries shared among other surfaces and then enable the loop option to choose the surface boundaries that are closed easily and create surfaces. Likewise, we can create all the missing surfaces and then again check for any errors.
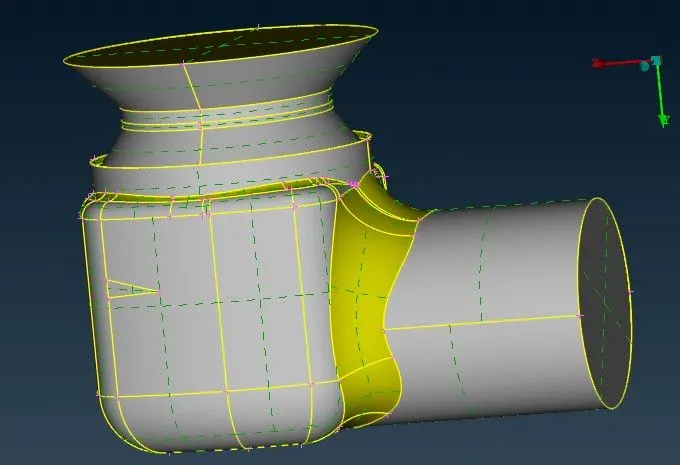
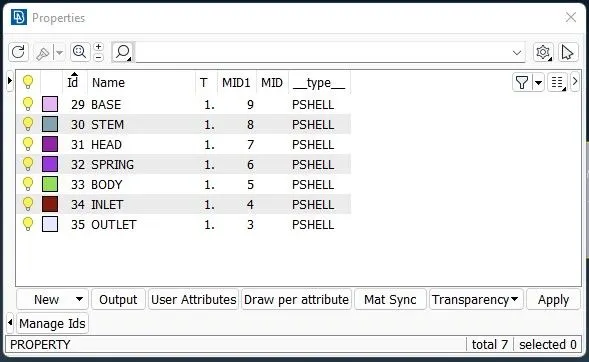
Now, we can assign individual PID names for the parts and components present inside the valve and the body. We can do that by going to the PID manager and then inserting new pshell and then renaming them accordingly. After all the PID names desired have been created, we can delete the existing dummy pshell present and then move onto meshing.
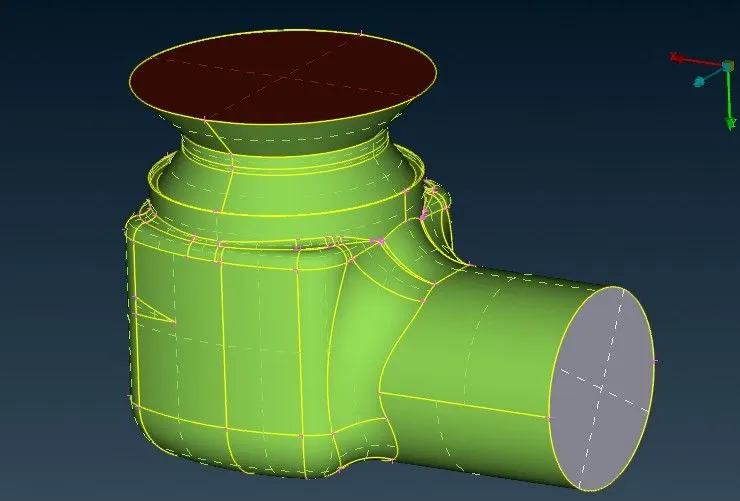
Case 1: target length = 5mm
First, we enable the mesh mode and then choose the length option. Under length, we select the perimeters and the valve body, then enter the length required. Now, under macros we do the same and enter the lenth. Under mesh parameters, we provide the desired mesh length and the minimum length required and alos choose tria mesh type. Now, we choose the spot mesh option and mesh the entire model.
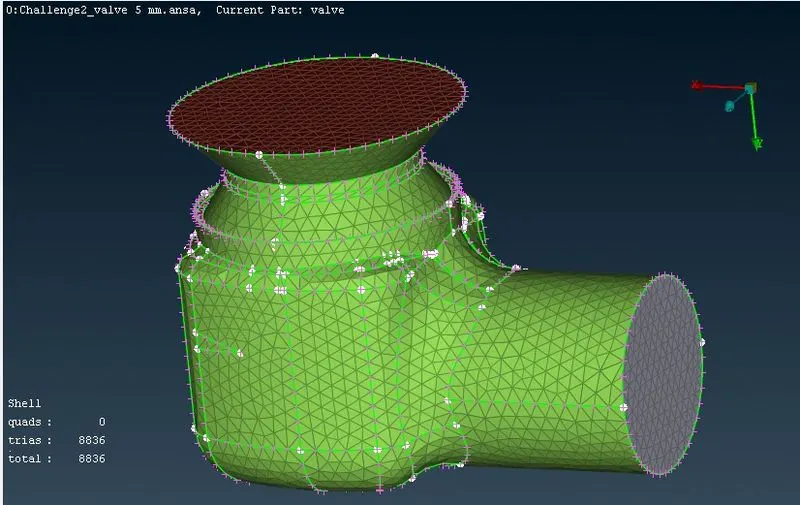
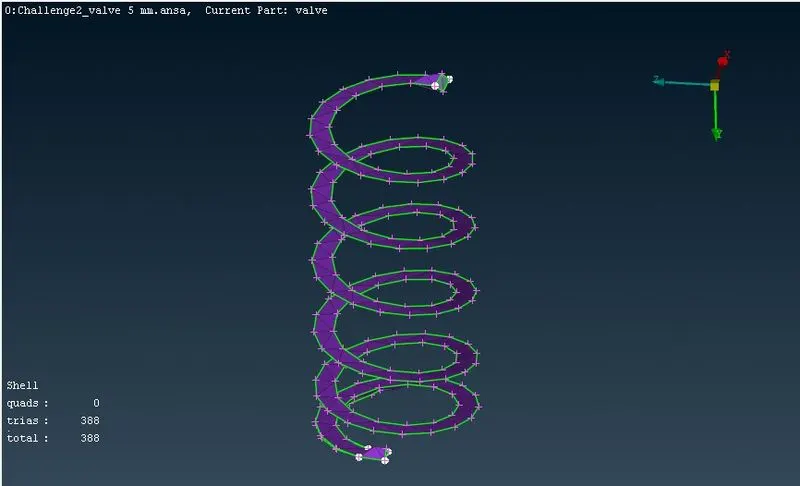
Similarly, we mesh for 3mm and 1mm target lengths.
Case 2: target lenth = 3mm
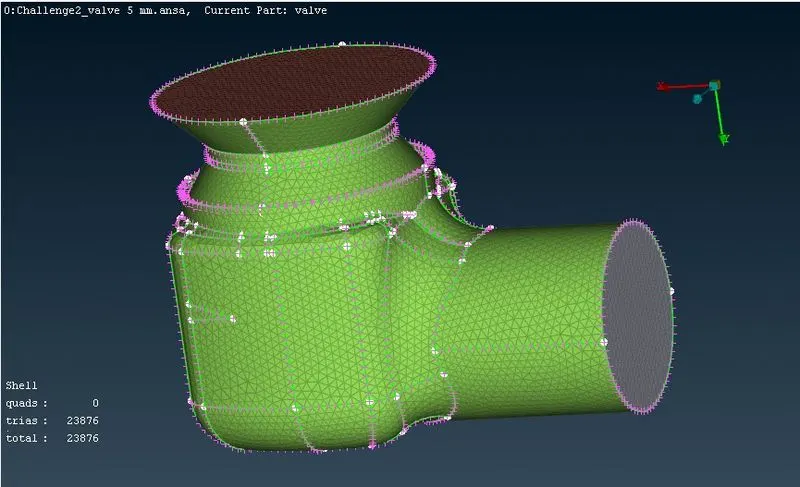
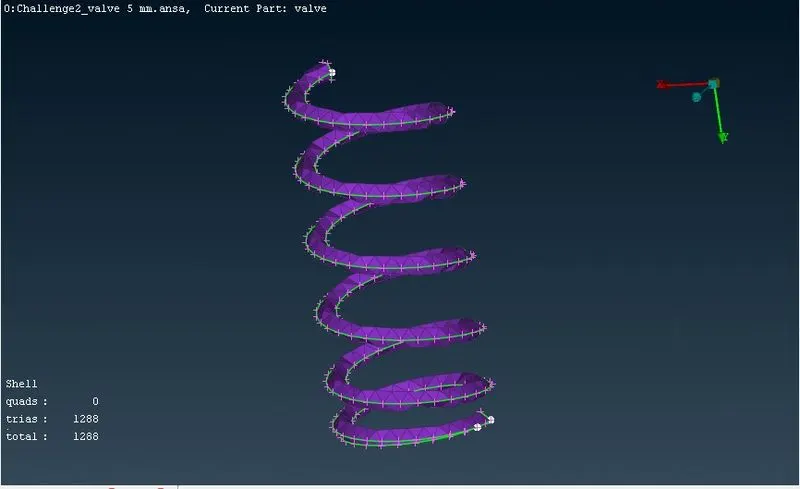
Case 3 : target length = 5mm
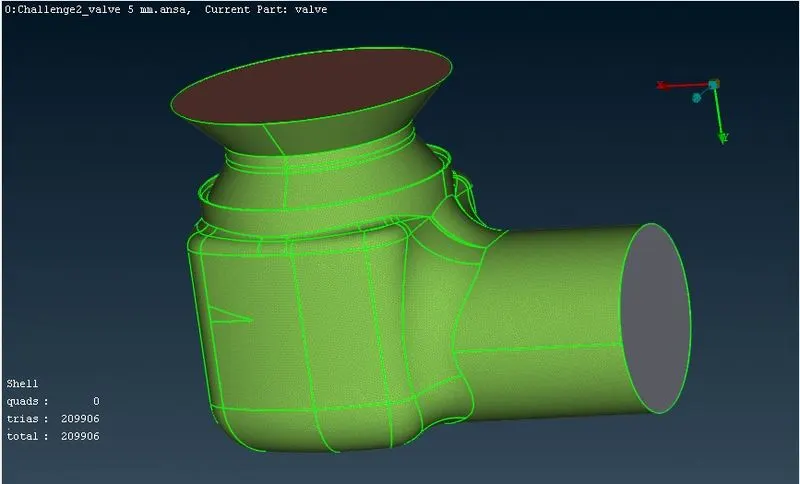
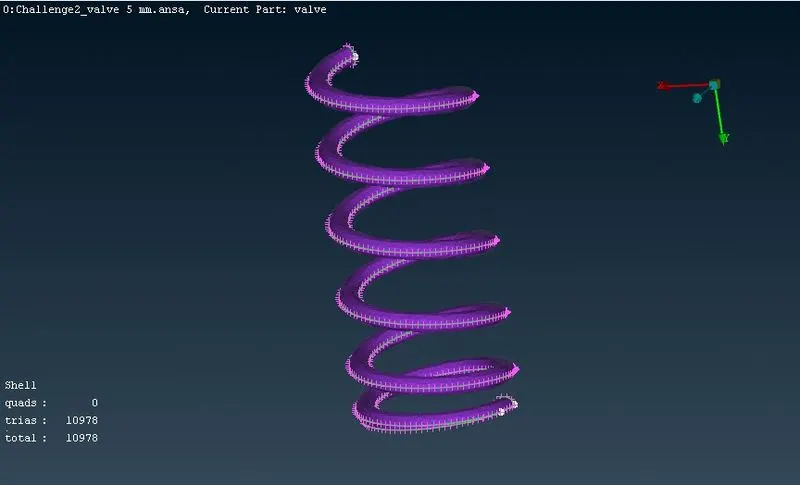
From the above mesh results, it is evident that for the mesh size of 1mm, the results are much more accurate and the model has low defeaturing compared to the mesh size of 5mm. For the mesh size of 5mm, the model especially the springs undergo large defeatures and thus are visible as single surfaces. This is due to the fact that the target length for the mesh is larger than that of the surface length of the model and this applies to all the region where the mesh length is greater than that of the model's geometry. Therefore, while choosing the mesh length, we have to carefully choose for particular region as the same mesh length may not be applicable for all geometries and this is evident for the above results. Also, to get accurate enough results with less defeaturing, and deformations, we can go with smaller mesh sizes which may help us to yield much precise results, but the time consumption to mesh the models with smaller mesh size may be more compared to models with large mesh size. For this, we can try meshing larger surfaces with larger mesh lengths and smaller geometries with smaller lengths individually so as to reduce this phenomenon.
https://drive.google.com/file/d/1j-j6uJcOa2c9IPh62DFERr8uoys3sg4q/view?usp=share_link