Week 2 Challenge : Surface meshing on a Pressure valve
In This week 2 Challenge, I have learned about the pressure valve [ How it works and how to mesh it]
There are few gaps in the geometry and some of the gaps can't be viewed properly, by using wireframe mode or ctrl+shift it can be viewed. Also learned about the three types of cons (single, double and triple) and cross hatch and how to use Not , Inot, All, lock, loop, Ent, Pid and it's region
In the Topo mode by using Face- New option, a pop up will appear and it have existing surf, planar, fitted and Coons option. we can fill the gaps by these options or else by fill hole option
After filling the gaps, we can double check by geometry check, it shows if there is any error or warnings
Inside of the pressure valve there will be a intersecting error, we can assign the spring or column by the help of Not and Pid region and by choosing first and second option in Faces - intersect option, we can delete the intersect part and it can be named one by one
After Closing the outlet Part
CASE 1 : 5mm Target Length
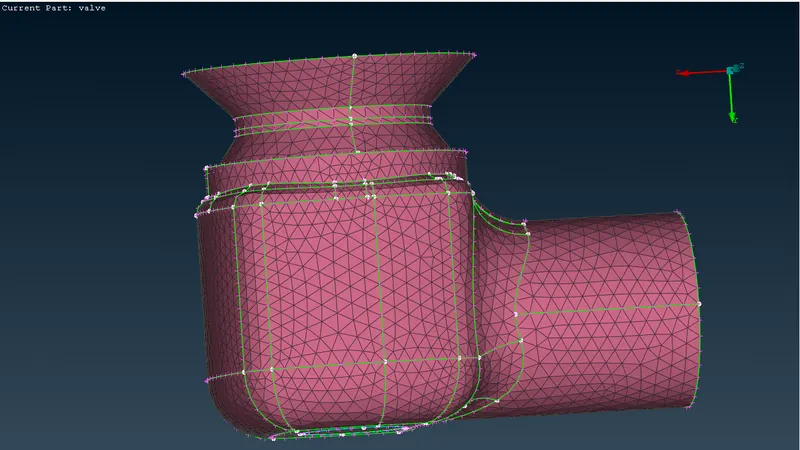
Using CFD Mesh,we can give the minimum and maximum target length and by using
Spacing - Auto Cfd - Perimeter and Macros - Cfd - Visible... We can mesh the geometry
5MM Spring:
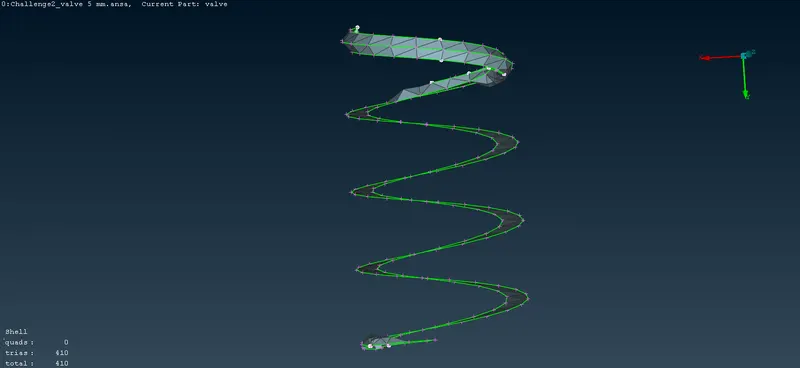 In 5mm Mesh, Spring wasn't meshed properly
CASE 2: 3mm Target Length
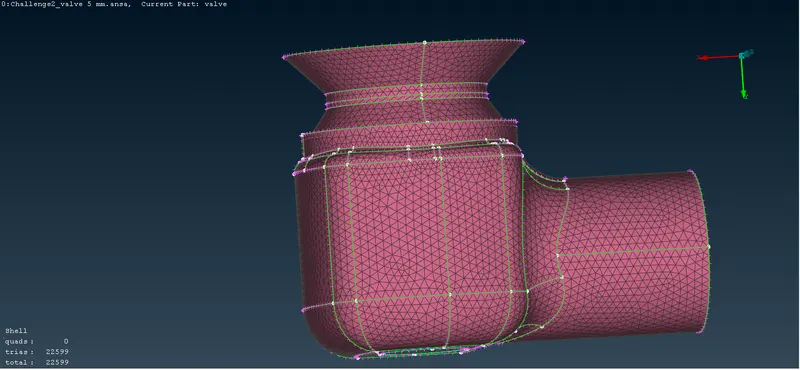 Same as case 1, just the target length will be different
3mm Spring:
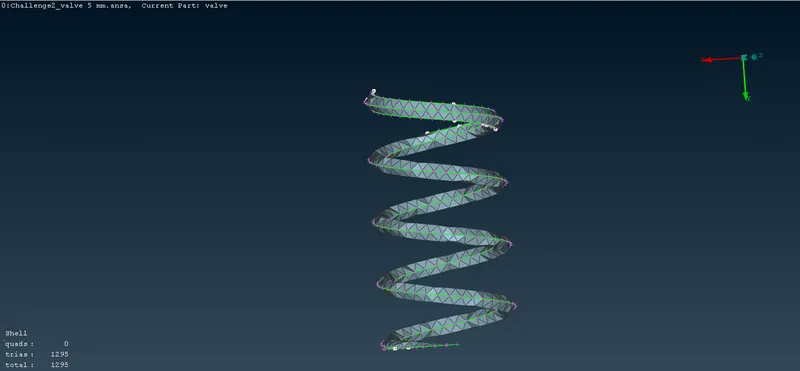 Mesh was ok but not satisfied, so we can go for a lower mesh
CASE 3 : 1MM Target Length
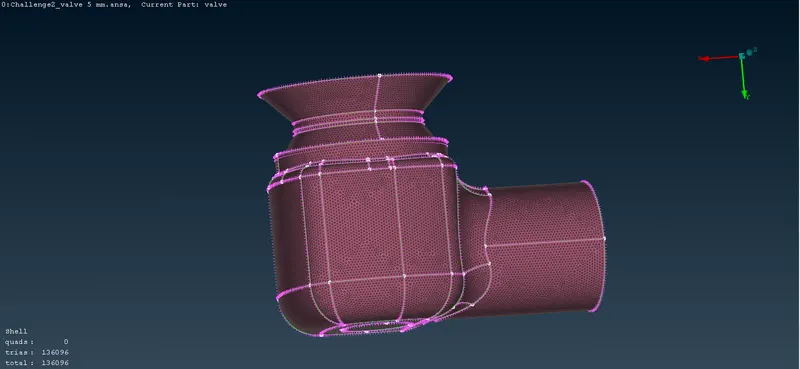 Properly meshed in this length
1mm Spring
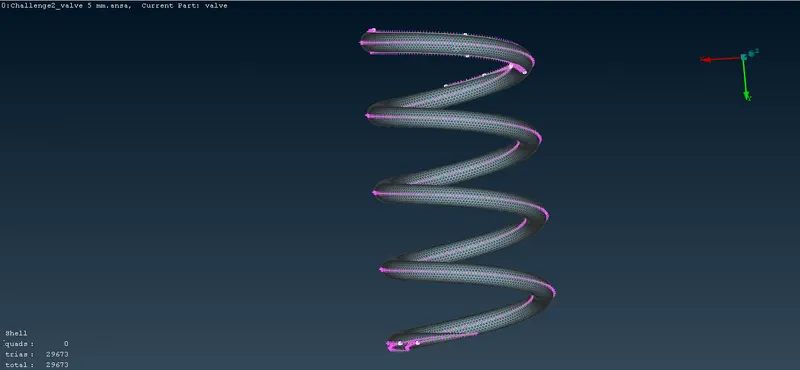 In this Length, Spring was so properly meshed and this was the correct length to mesh the pressure valve