Week 2 Challenge : Surface meshing on a Pressure valve
Aim:Surface meshing on a Pressure valve
Objective:For the given model, check for the geometrical errors and perform Topology cleanup accordingly. Set three different target lengths as three different cases and mesh the model.
- Target length = 1mm, 3 mm and 5 mm (i.e. 3 cases)
- Element type = Tria
Procesdure:
Steps invalving in the crfeating the surface mesh fallows below:
- Geometry import and cheak
- Setting up Properties using set PID command
- Geometry clean up(deleting the unnecessary drawing)
- Meshing
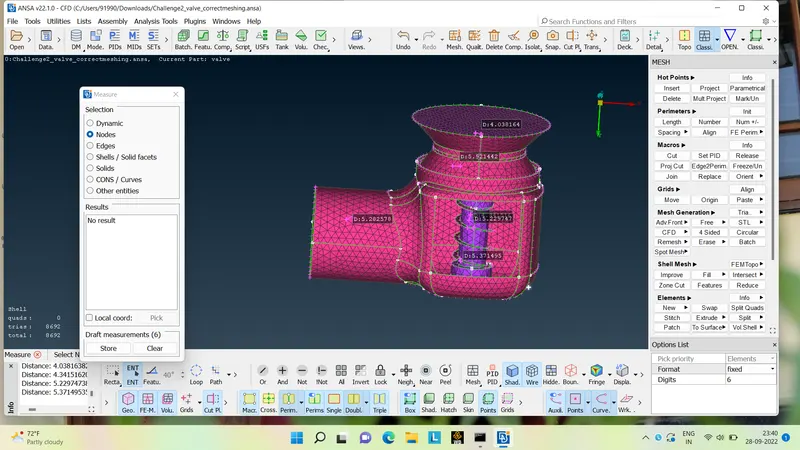
- Measuring the node distance
- Surface mesh cheaking
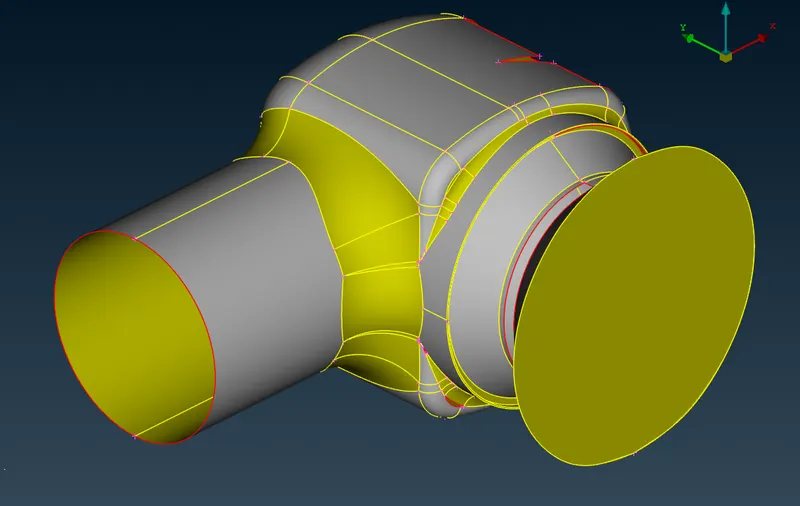
Geometry import and cheak:First steps is to import the geometry into the ANSA by going to FILE>OPEN>IMPORT
Setting up Properties using set PID command:
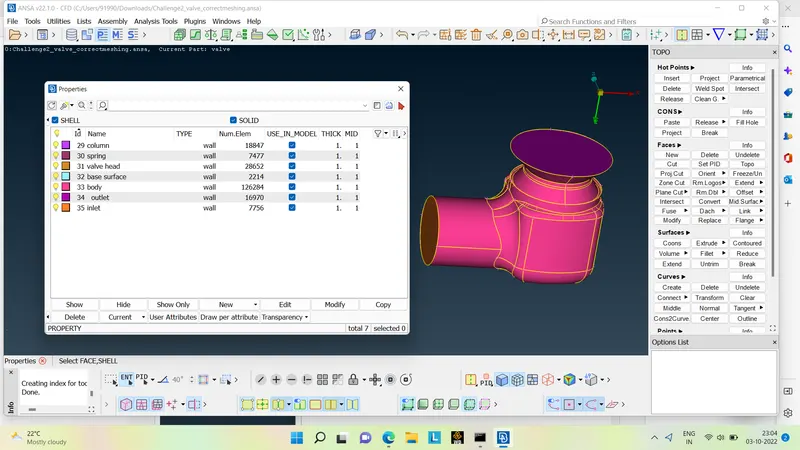
for setting the pid first we have turn on the crossedge in order to select the face for giving the properties
after that we have to go to PROPERTY then we have to creat the new labels and then we have to give naming to the facing as shown below
- inlet
- outlet
- spring
- colum
- value head
- base surface
- body
Geometry clean up(deleting the unnecessary drawing):here we have to clean the geometry by removing the any extra cones,face and hotpoints and also filling the holes
- First we have to fill the holes which is not nessesry for our meshing as shown below
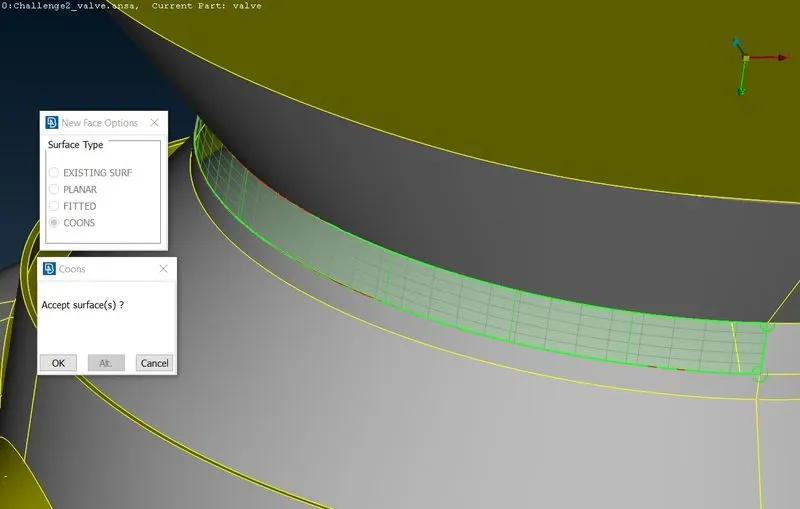
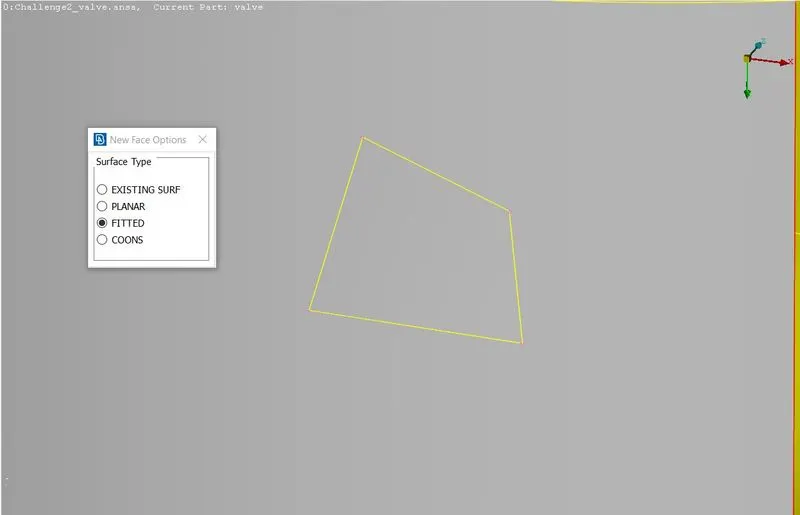
2. After filling the holes we have to cheak wheather we have any unnecessary cones if we have any unnecessary holes we have to fix it by going to OPO>HOTPOINTS>DELETE as shown below
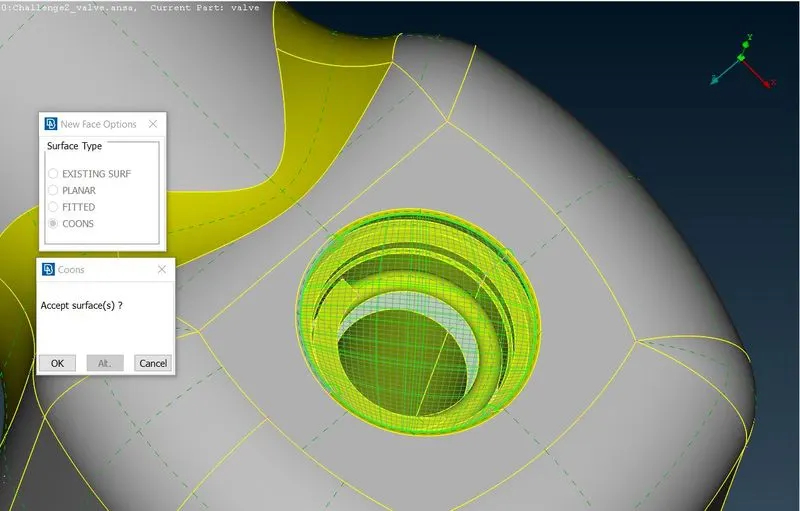
3. After cleaning all the geometrical error we have to veryfy ou geometry by going to TOOLS>CHEAK>GEOMETRY CHEAK> EXECUTE as shown below
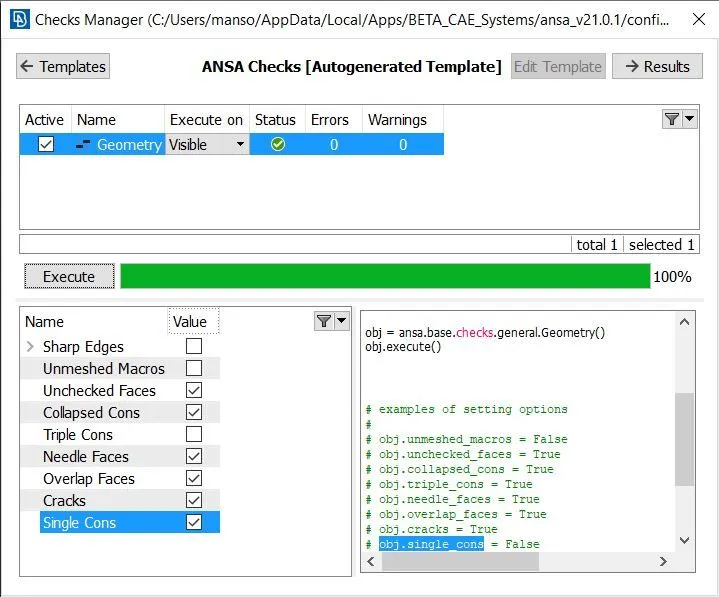
- In the above provided geometry we had some holes which is not necessary for our meshing so we have cleaned up by creating surface and holes
- after that we had some unnecessary cones in our geometry we also we have fixed
- and also we had some cracs in our gemetry that also we have cleared.
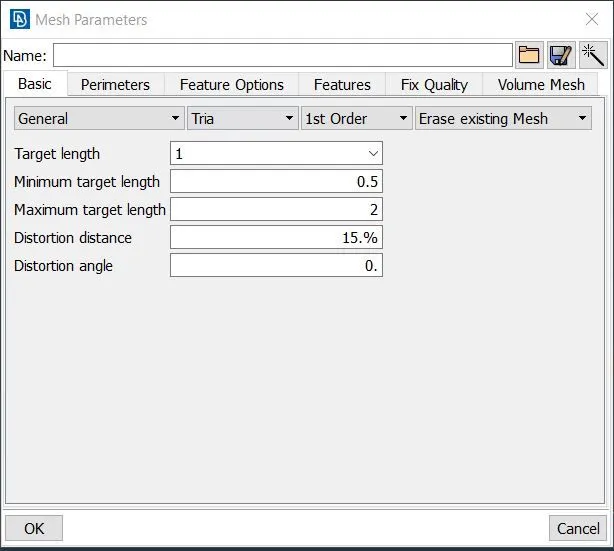
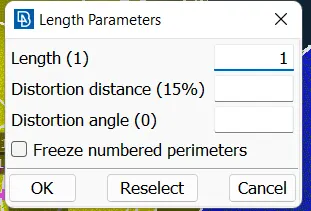
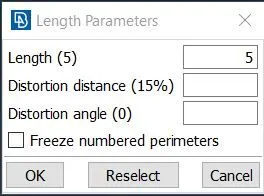
Meshing:After cleaning the geometry we have to create the mesh by going to MESH>LENGTH>PARAMETRIC+MACROS after this setup mesh element by going on MESH PARAMETER>TARGET LENGTH>ELEMENT TYPE>SPOT MESH
case 1: in our first case we have to mesh the above model with 1mm lenght as shown below and we have mesh one by one parts as shown below
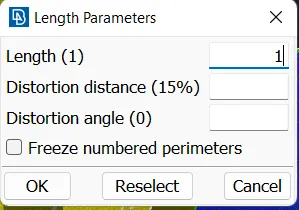
- colum
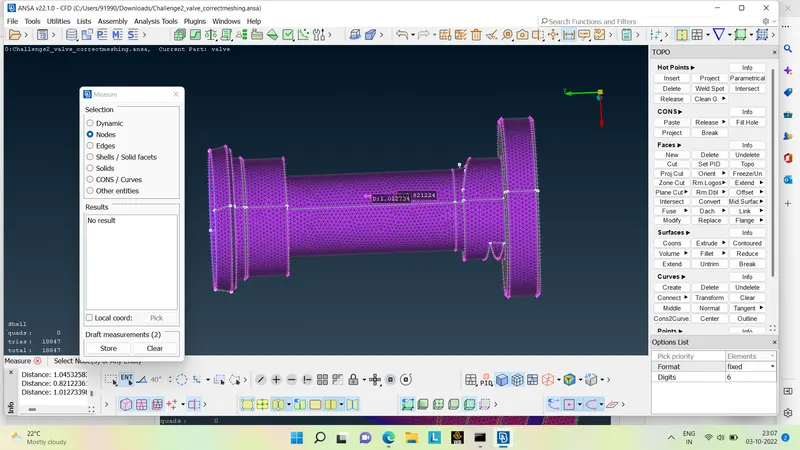
- spring
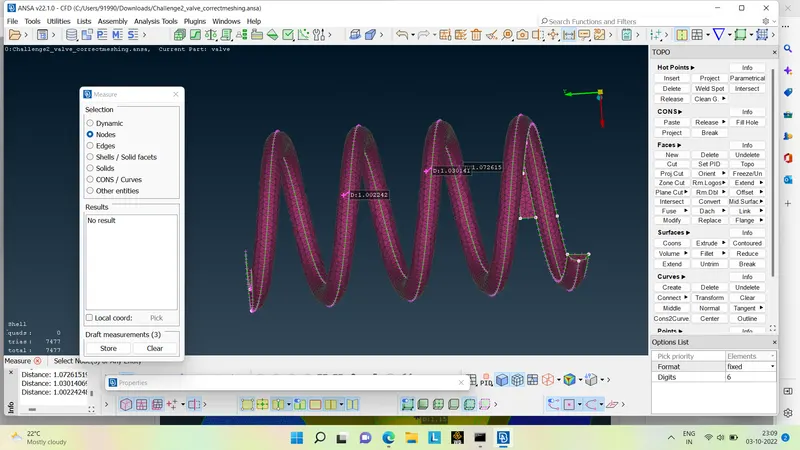
- body,inlet,outlet and base
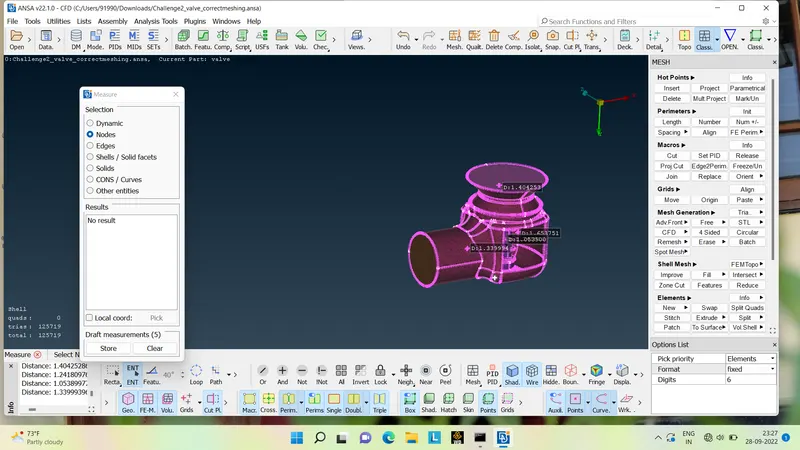
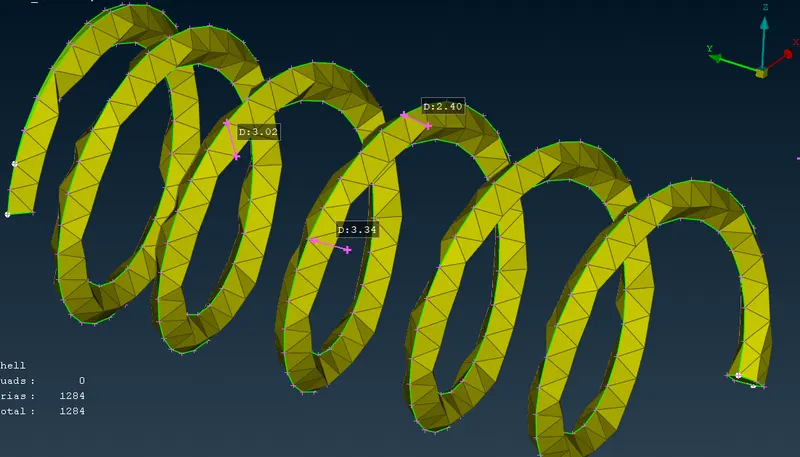
case 2: in our first case we have to mesh the above model with 3mm lenght as shown below and we have mesh one by one parts as shown below
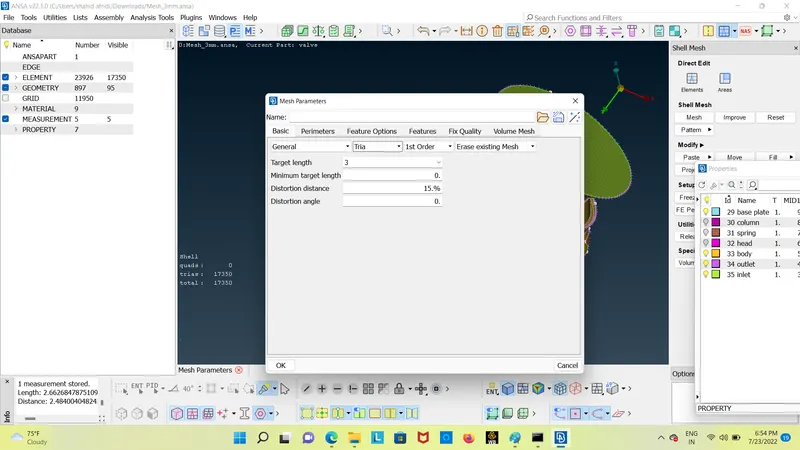
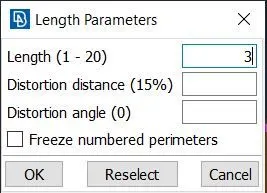
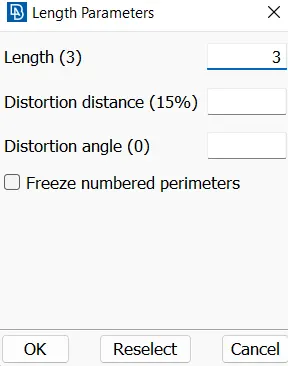
- colum
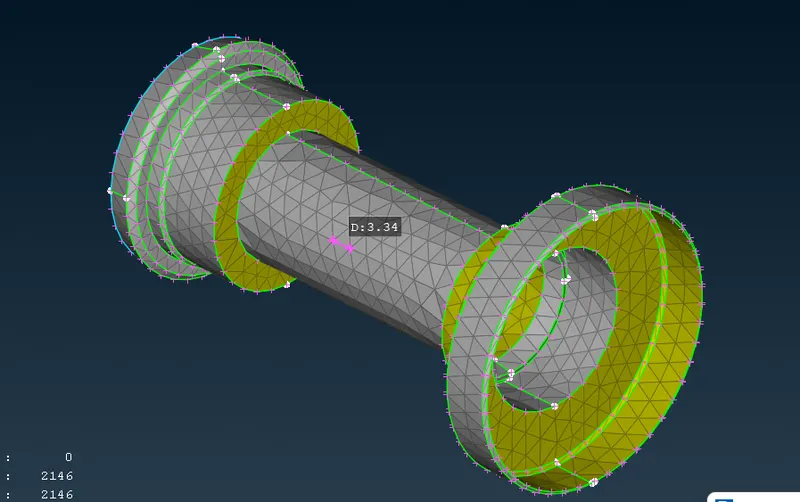
- value head
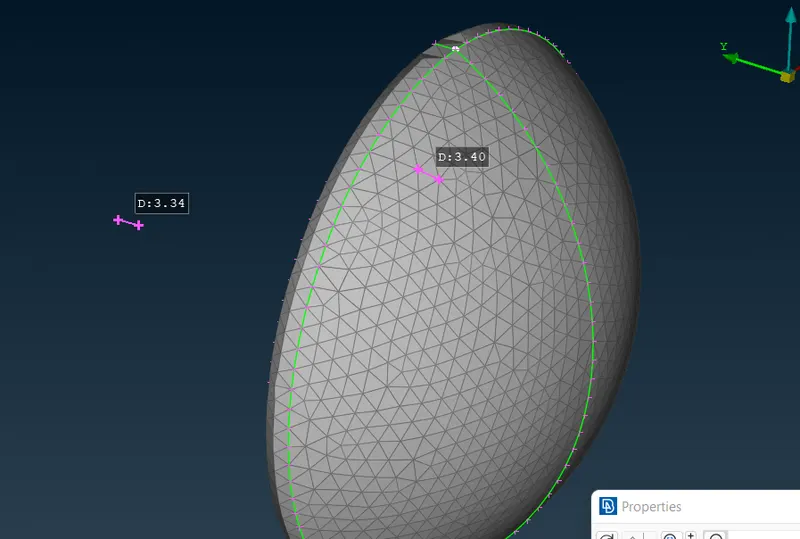
- spring
- body,inlet,outlet and base
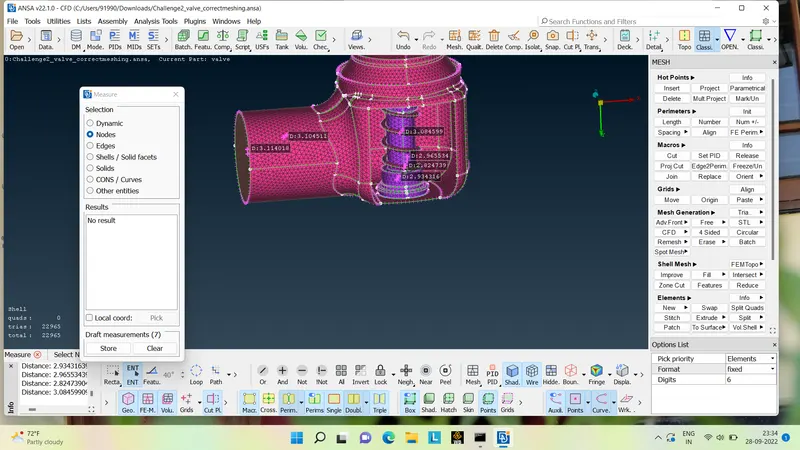
case 3: in our first case we have to mesh the above model with 5mm lenght as shown below and we have mesh one by one parts as shown below
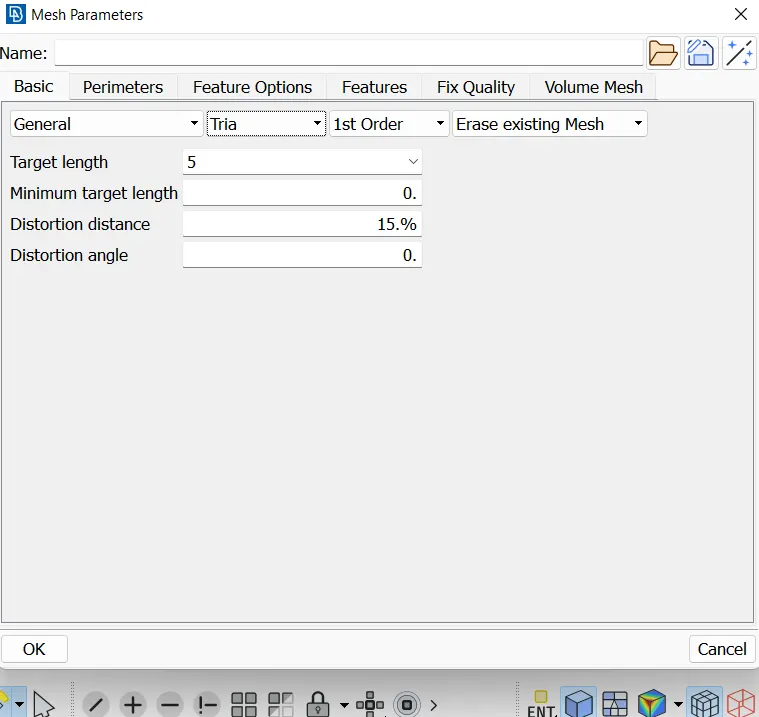
- colum
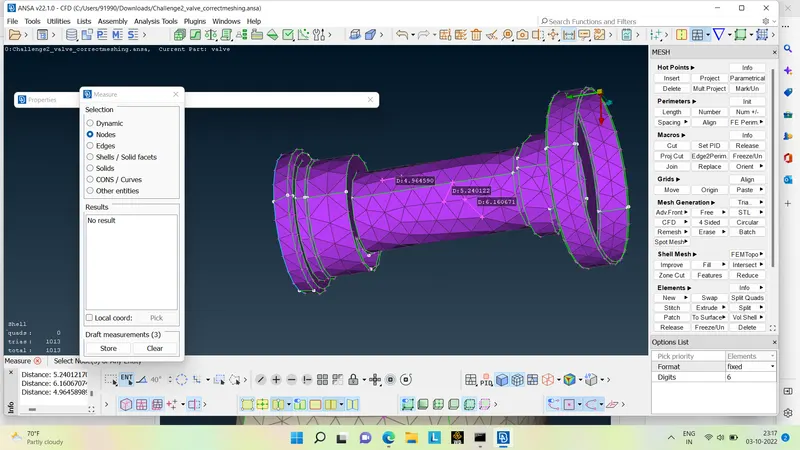
- value head
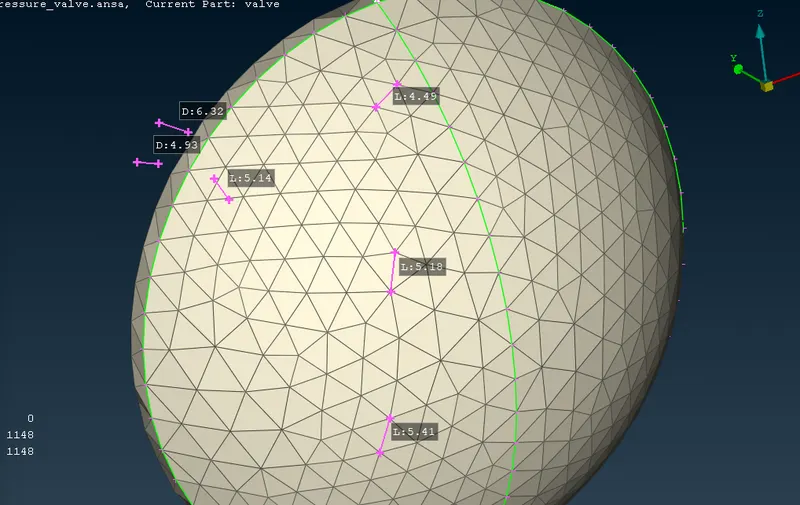
- spring
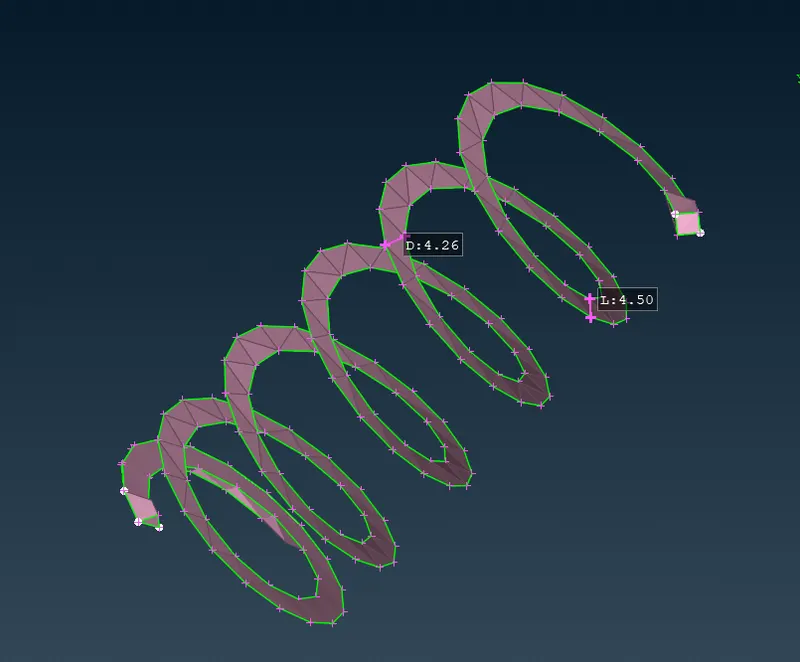
- body,inlet,outlet and base
drive link:
for 1mm mesh:https://drive.google.com/file/d/1PjS9AUAjoad39_Z30Vkoc0dcYn5vcZFt/view?usp=sharing
for 3mm mesh:https://drive.google.com/file/d/1O-2_la1pRD785ERCVxk5P2dedZss-YkG/view?usp=sharing
for 5mm lenght:https://drive.google.com/file/d/1hKw-kbuwwHYVoyRDlGB4xPfIx5-lwL4N/view?usp=sharing
Conclusion:
1.it's far obtrusive that 1mm mesh length offers the great consequences
2.3mm mesh size is good but the spring dint mesh well due to the dimensions affords.
2.1 The spring length is small and the period parameter with 3mm and 5mm will deliver terrible mesh and the satisfactory falls.
3.The tower head and casing also has deformities with 3mm and 5mm mesh.