Week 2 Challenge : Surface meshing on a Pressure valve
QUESTION -
For a pressure valve, check the geometrical errors, perform Topology cleanup and mesh the model with three different target lengths each individually. Also, include the concepts you learned.
Target length = 1mm, 3mm & 5mm
Element type = Tria
ANSWER -
Aim - To set the target length & mesh the given model of pressure valve according to the conditions mentioned in the ANSA pre-processor. ANSA is a popular computer-aided engineering tool for CFD and Finite Element Analysis in the automobile sector.
A pressure valve is a kind of safety valve that is used to limit or control the pressure in a system. If pressure isn't controlled, it could build up and result in a process disruption, instrument, or equipment failure.
Procedure -
We will follow two major procedures to accomplish the task, viz.,
- Geometrical Errors Resolution and Topology Cleanup
- Mesh Generation
Here, the first procedure will be the same for all three models. However, each model will have a separate procedure for generating mesh.
Steps -
Import the Geometry. Turn the geometry to "Shadow display" mode from the "Wireframe display" mode so as to perform the desired operations on it.
- Geometrical Errors Resolution and Topology Cleanup
Here, we are working in "Topo Deck" by default.
Before proceeding toward meshing, we need to check for errors and clean the entire geometry.
Check all the errors in the given geometry:
Tool Bar > Checks Geometry > Geometry_Checks > Execute > 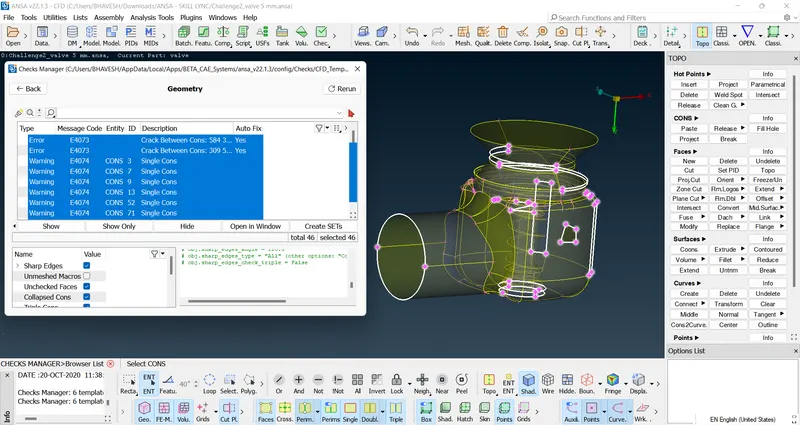
Here, you will find all the errors that your geometry contains.
Now, you will find several tools to resolve the geometrical errors under "Module Buttons Group"
Few Module Buttons which we use for this are,
CONS > Fill Hole
FACES > New > Existing Surface
FACES > New > Planar
FACES > New > Fitted
FACES > New > COONS
To correct various geometrical errors, various tools are implemented. The appropriate tool must be identified in order to reduce errors as much as possible.
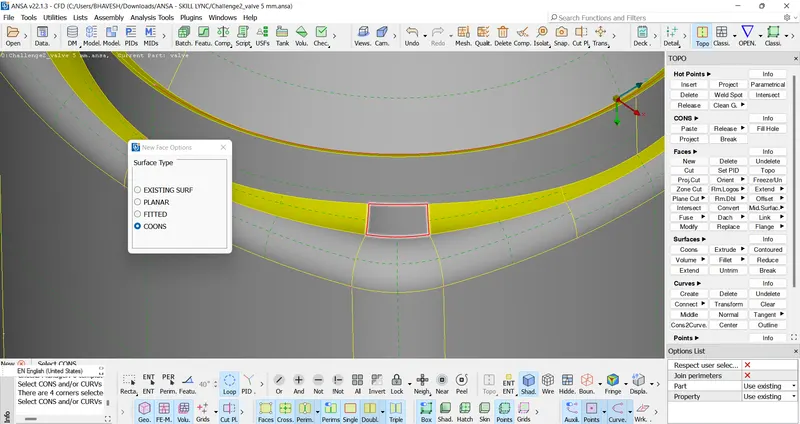
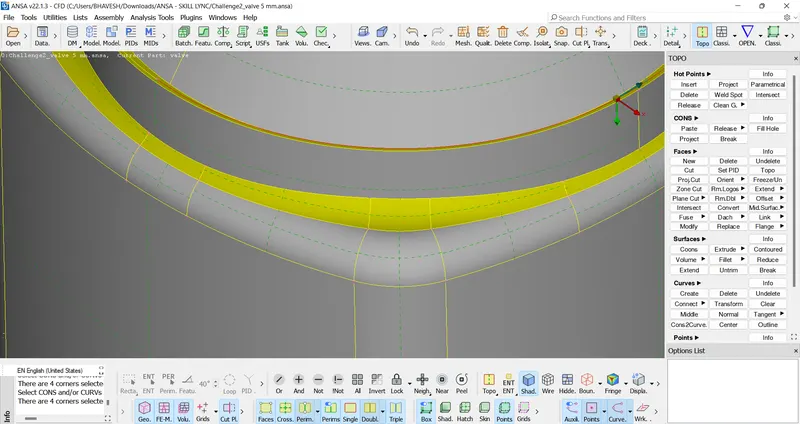
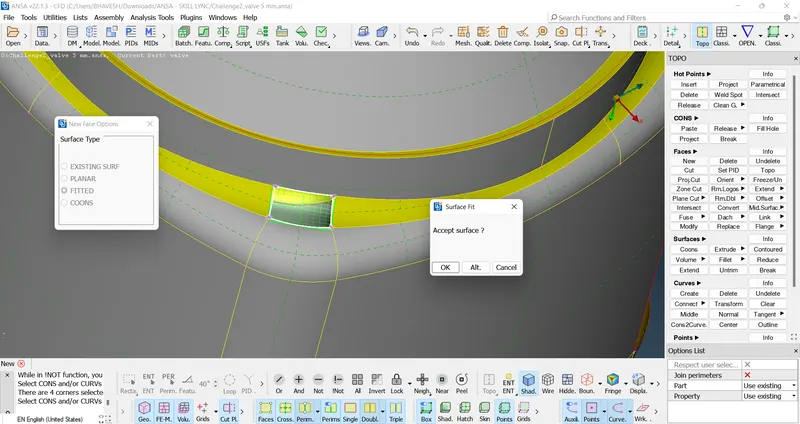
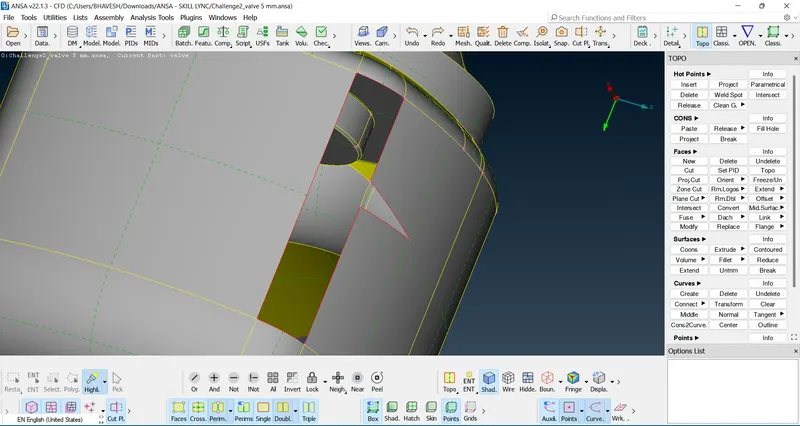
Note - "Loop" Option under the "Status Bar" can be used to select a particular face rather than selecting each con one by one.
Here, we completed resolving all our geometrical errors shown in the previous geometry check.
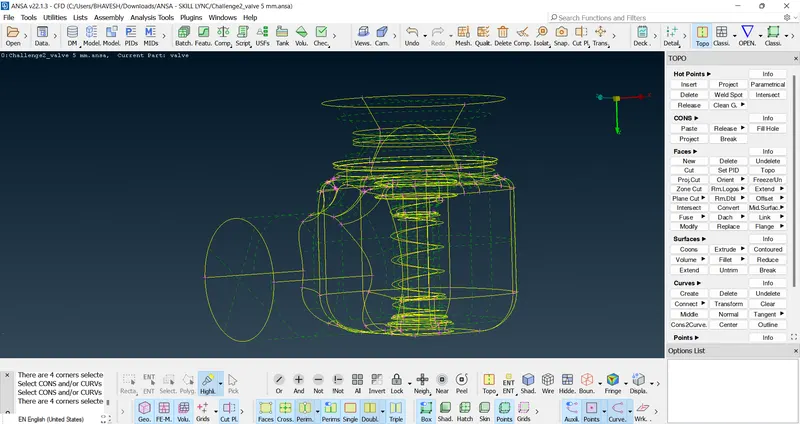
Note - To make sure there are no errors still present, we must run a Geometry Check once more. Instead of errors, one may get certain warnings. Warnings are ignorable since they are generated by the geometry's shape, which is an inherent factor. However, depending on the geometry you are working with, every warning should not be ignored.
Now, in order to generate a good mesh, we need to assign properties to different components of the pressure valve. Generally, a pressure valve consists of Inlet, Outlet, Spring, Column, Column head & Body.
To assign these properties:
Tool Bar > PIDs > New > SHELL_PROPERTIES > Name > OK
One may change the color of each component assigned to a different color.
Here, I executed various boolean operations to assign the inlet and outlet first followed by the spring, column, and column head. The body was assigned at the last. 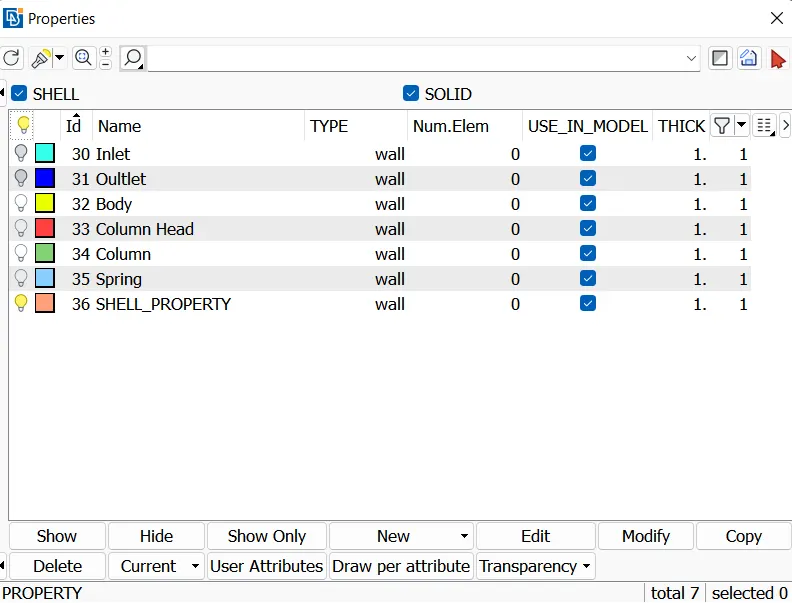
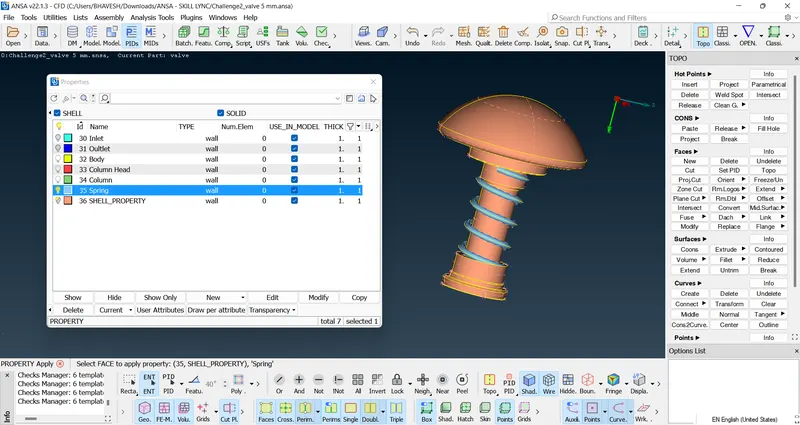
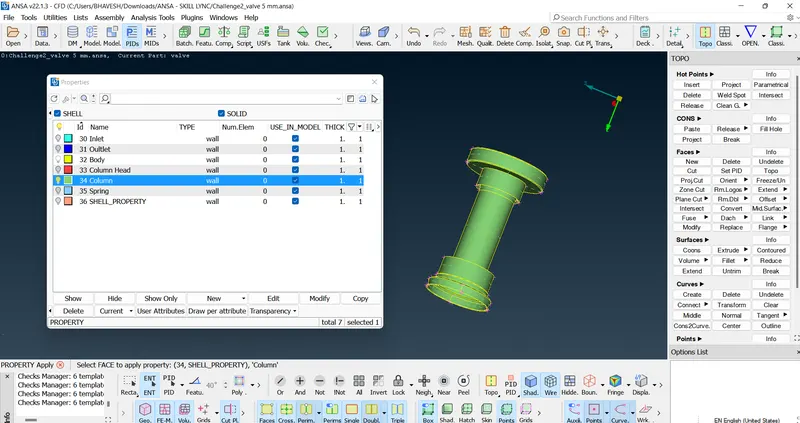
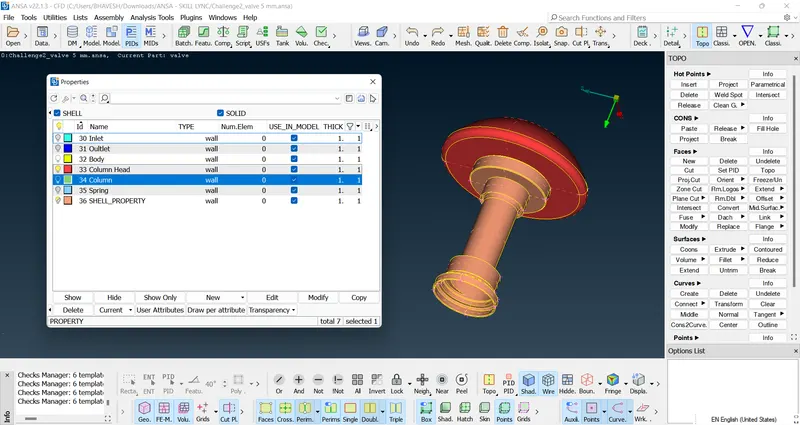
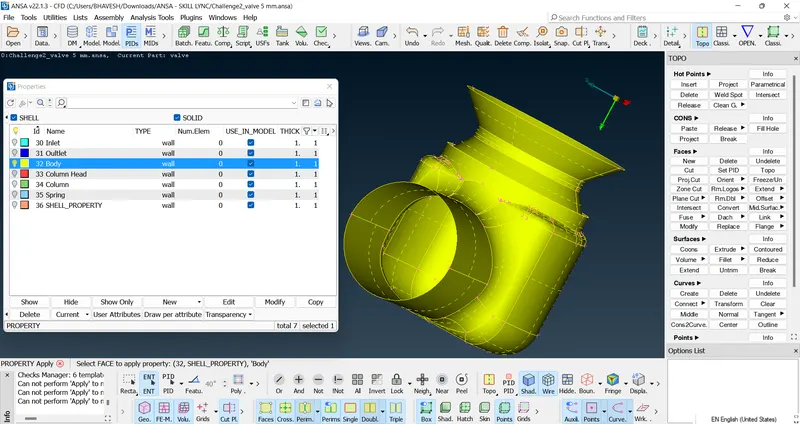
The PID which is not of any use can be deleted by using "Compress Tool" in the Tool Bar.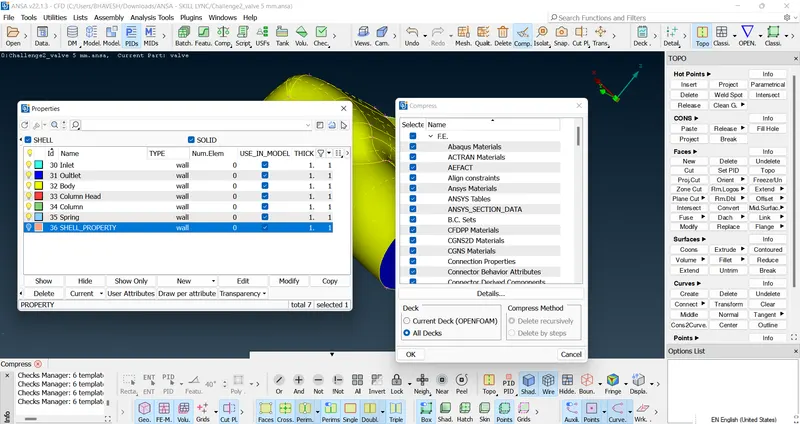
Here, we completed assigning PIDs to various components of our geometry.
Perform a geometry check to make sure our geometry is accurate before moving on to mesh generation. There are two penetration/intersection problems here, even though there are no geometry errors. By clicking our mouse over the errors, we can see what they are in detail. Between Column and Spring, there is a mistake in this case.
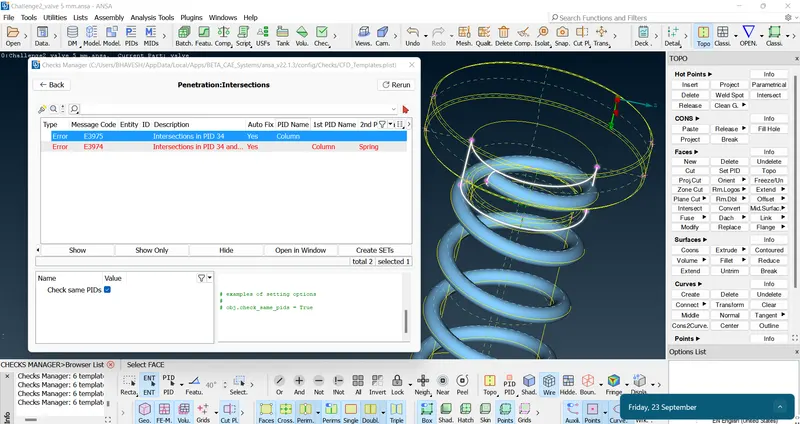
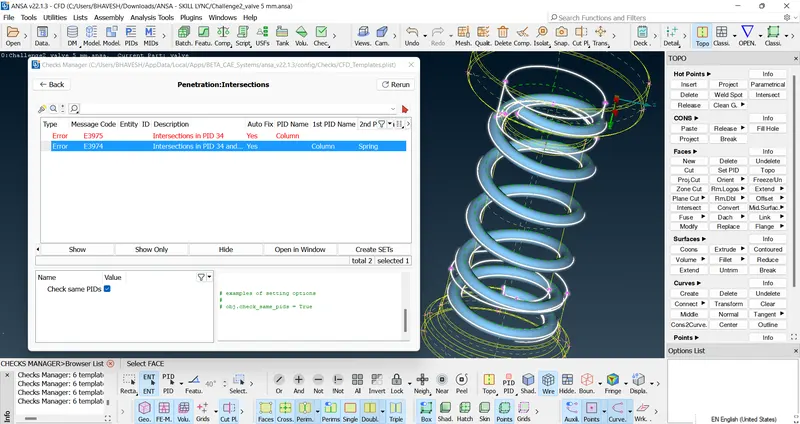
To resolve these errors we need to use "Intersect Tool" under Faces Module.
Face Module > Intersect > First > select the Column > middle click > Second > select the Spring > middle click 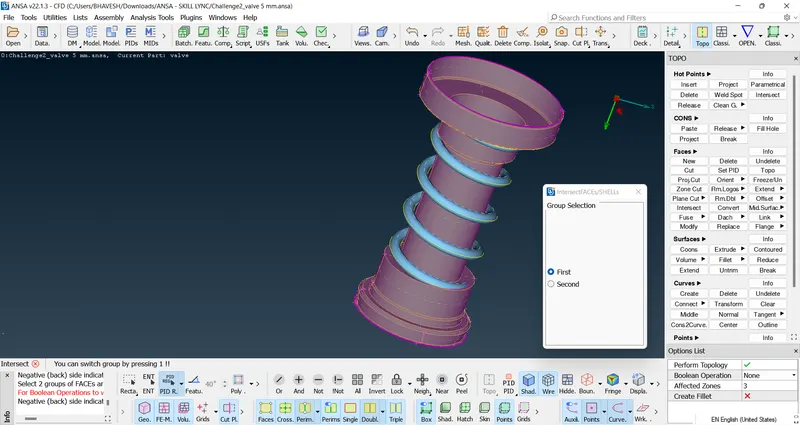
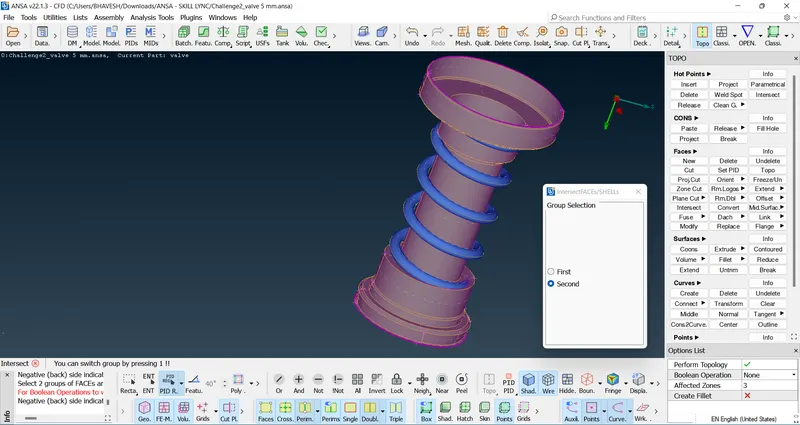
Now, we will be asked to 'Keep' or 'Delete' some particular highlighted faces one by one. Delete the faces which aren't necessary and keep the faces that are necessary for the geometry. 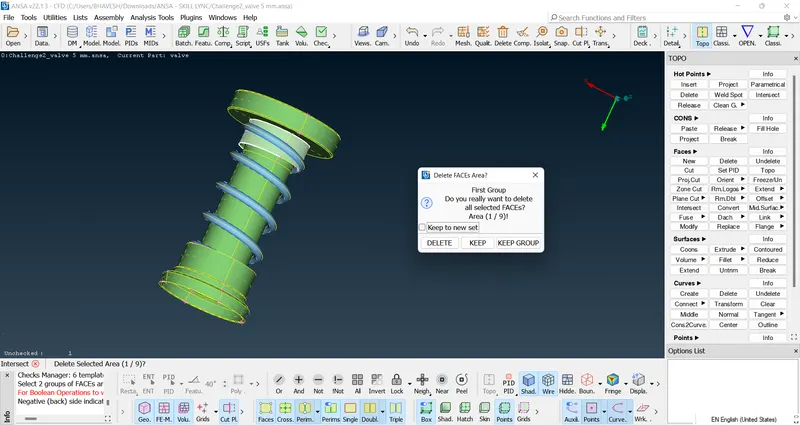
Once, again perform the geometry check and now all the errors have been resolved and we are ready to generate mesh over the geometry. Warnings may be ignored as mentioned earlier. 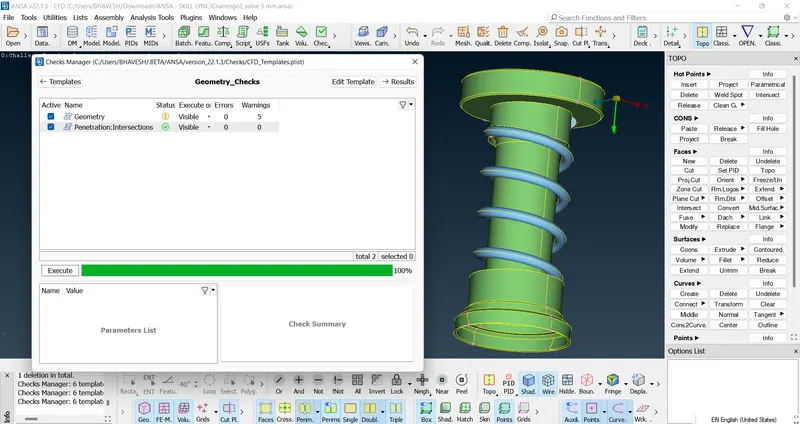
Now, save the file as we have to perform meshing three times with three individual target lengths.
- Mesh Generation
In order to generate a mesh with three different target lengths, that is, 1 mm, 2 mm & 3 mm, we need to perform meshing three individual times on the saved geometry file.
Click "Classic Mesh". To generate mesh, we need to follow three steps:
-
-
Click "Mesh Parameters" in the Toolbar. Under the "Basic" menu, select mesh type as "CFD Mesh" & element type as "Tria". Enter the minimum target length and maximum target length. Click OK. Here, we used CFD mesh instead of General mesh because the former gives more accurate results. One can select General mesh as well, there will be no error in the final results.
Sr. No. Target length provided Minimum Target length Maximum Target length 1) 1 mm 0.6 mm 1.4 mm 2) 3 mm 2.6 mm 3.4 mm 3) 5 mm 4.6 mm 5.4 mm - Perimeters Module > Spacing > Auto CFD > Perimeters > Select entire geometry > middle click > OK > Macros > Select entire geometry > middle click > OK
- Mesh Generation Module > CFD > Visible
-
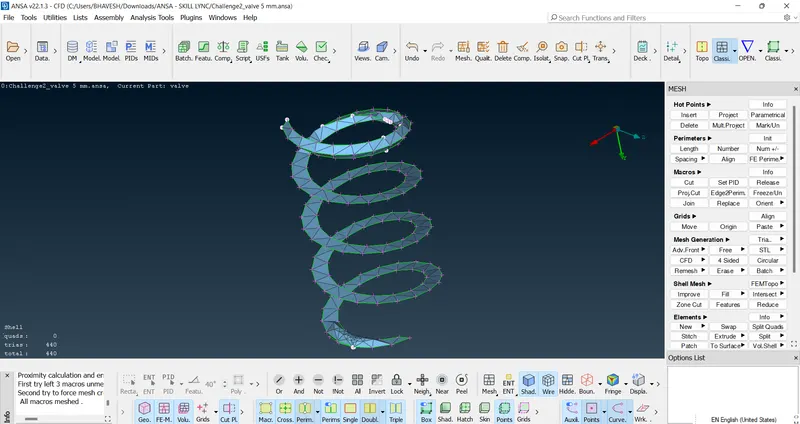
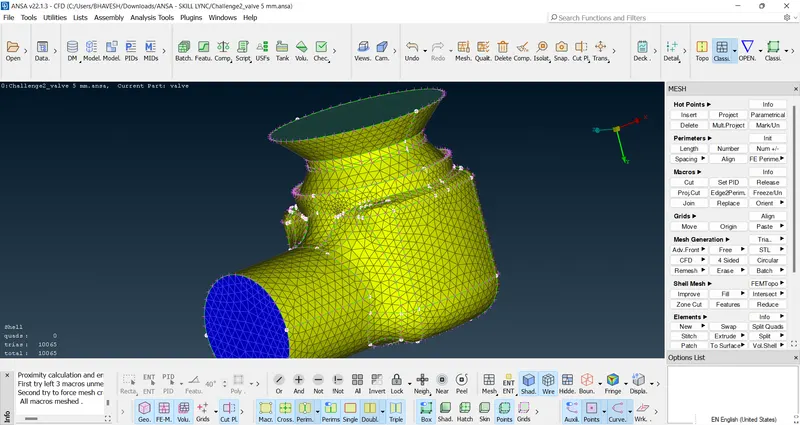
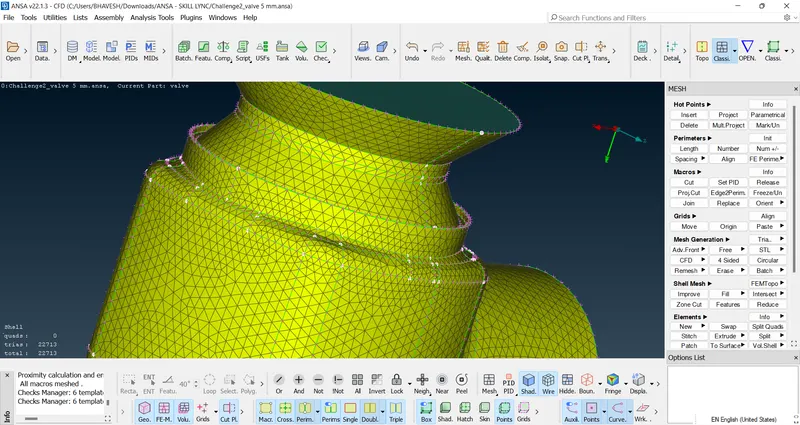
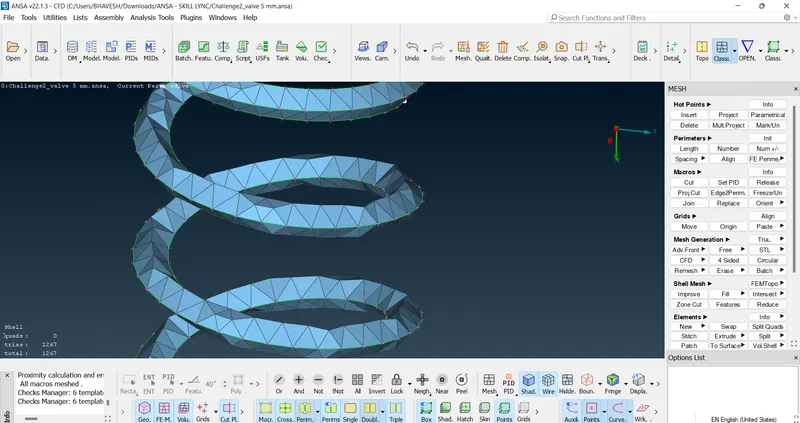
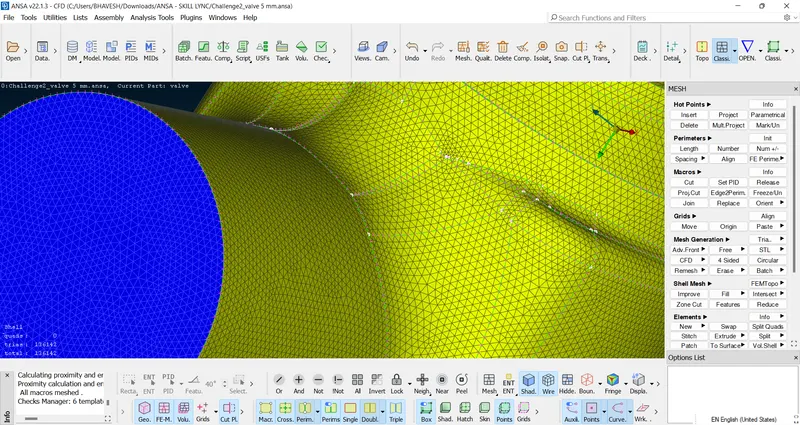
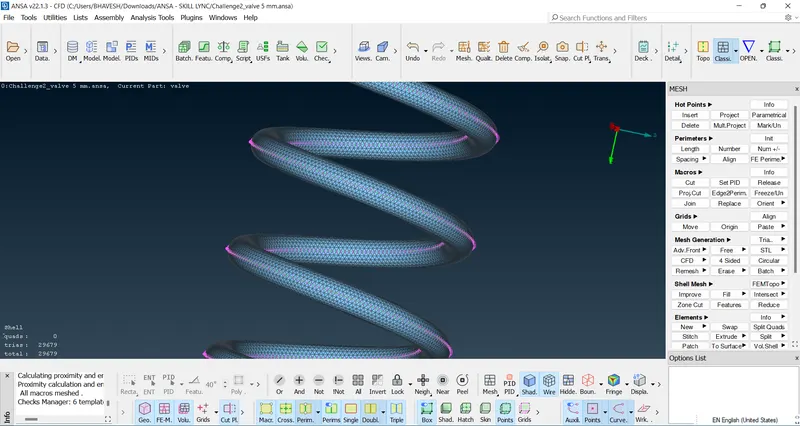
Thus, Mesh is generated according to the given target lengths.
Learning Outcomes - Acquired knowledge of various new tools and how to use them to execute operations on given geometry.
Result - Geometry was modified according to given conditions and proper meshing was done.
Conclusion - A detailed report of the entire meshing process was mentioned.
As the spring appeared to be deformed and the mesh components generated over the geometry were highly unstructured, mesh with a 5 mm target length was geometry-inappropriate. A mesh with a 3 mm target length was marginally better, and the geometry of the elements appeared organized. The geometry of the spring appeared perfect in the final mesh, which had a 1 mm target length, and the overall mesh parts were structured.