Week 2 Challenge
1. What are workspaces and worksets? List Civil specific variables (min. 5). Where is the workspaces saved on computer (default location).
2. What are feature definitions? What is broader classification of feature definition types.
3. Create a dgn file with 2D imperial seed file and 3D imperial seed file. Save it in project data folder, creating new folder named DGN from SEED.
4. Set geographic coordinate system to TX-83, North Central zone, US survey foot. Turn on the background imagery. Save this file with save settings.
5. Attach the survey file from SURVEY folder to the newly created 2D dgn in above #3.
1. What are workspaces and worksets? List Civil specific variables (min. 5). Where is the workspaces saved on computer (default location).
Workspace: a workspace is a collection of projects,standrads,and other related sources in general a workspace is a place wherethe DOT's store their "Department standards" resources,libraries and custom applications such as levels,cells,lines style,features definitions,macros,pen tables/design scripts,color table/book,unit definitions(milies/feet english vs kilometers/meters metric)design standards,seed files etc
Workset: In general, a workset is the "Project"or plan set using the resources and standards of a workspace
A workspace is the "parent" of a workset workspace and workset are used in open buildings energy simulator to save project data these set up a folder structure that allows for effective management of preferances,such as standards,custum constructions, and schedules.
Civil-Specifies variables:
1.CIVIL_CIVILTMGNLIBIST
2.CIVIL_DISALLOW_LOCKCHANGES
3.CIVIL_CIVILSETTINGS_LOCKCHANGES
4.CIVIL_SHOW_SHARED_FEATUREFET_PROPS
5.CIVIL_DEFAULTSETTINGS
Save locations
Workspace folder: C:\Program Data\Bently\Open roads\Designer CE\Configuration\Workspace\Indian
Workset folder: C\Program Data\Bently\Open roads Designer CE\Configuration\Workspace\Indian\Worksets
2. What are feature definitions? What is broader classification of feature definition types.
A feature definition control how each feature is displayed and how it interacts with various tasks. the first time you use a feature definition it is copied into your active DGN an can then be modified
1.Properties are used to defined how a feature is to be displayed, annotated, computed,etc
2.These are normally customised by each organization
3.These are normally created is advanced and propagated across an organization is order to standardize designs
Types of features definitions
3 types of features defintions are supported depending on its type, a feature definition will have various properties that are available for definition
1.Point features
- R/W Marker
- Control Point
- Iron Pin
2.Linear Feature
- Crub and gutter
- Wall
- Ditch
3.Surface Feature
- Existing Ground
- Aggregate Base
- Asphalt Pavement
3. Create a dgn file with 2D imperial seed file and 3D imperial seed file. Save it in project data folder, creating new folder named DGN from SEED.
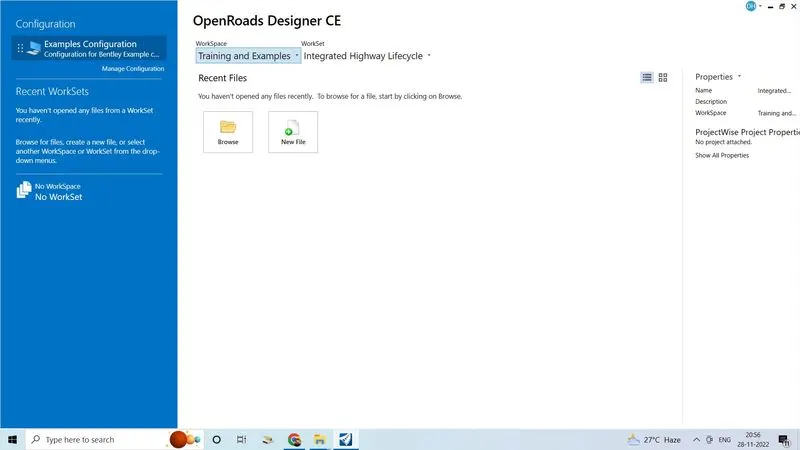
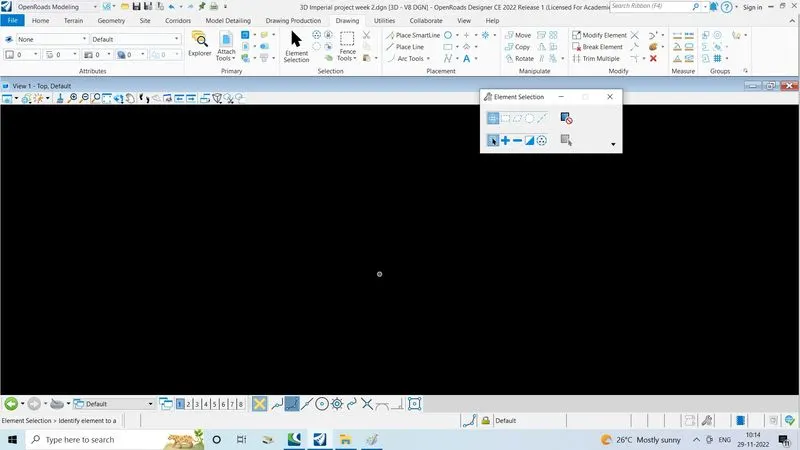
To create a dgn file with a 2D Imperial seed file and 3D imperial seed file. first we should set work space as well as work set
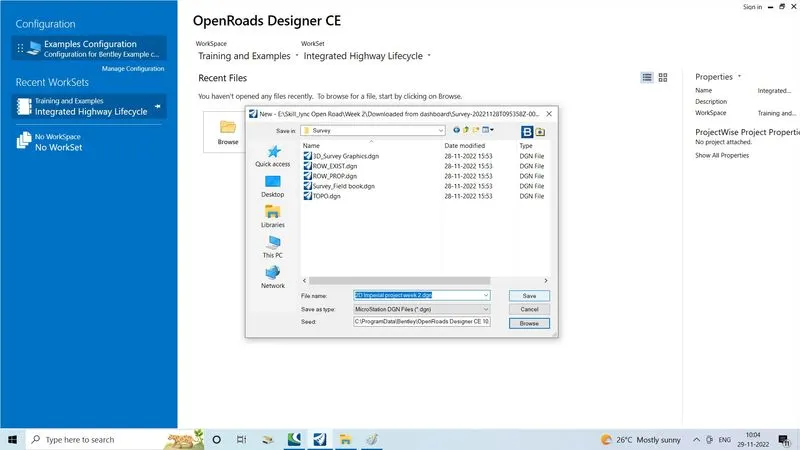
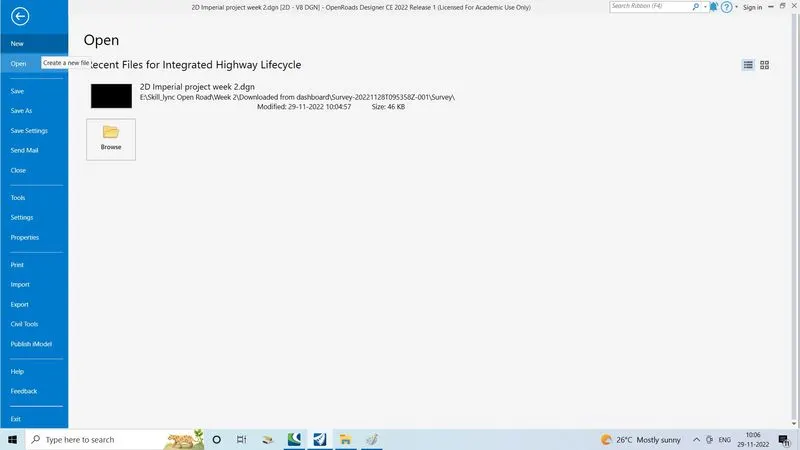
- Now Click on the new
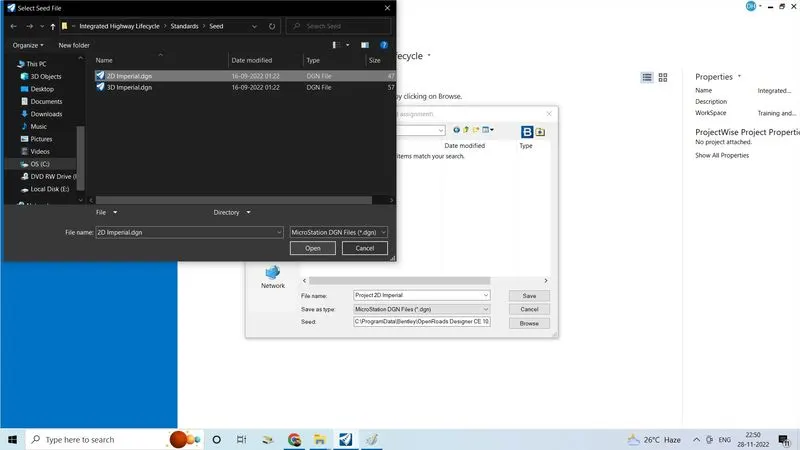
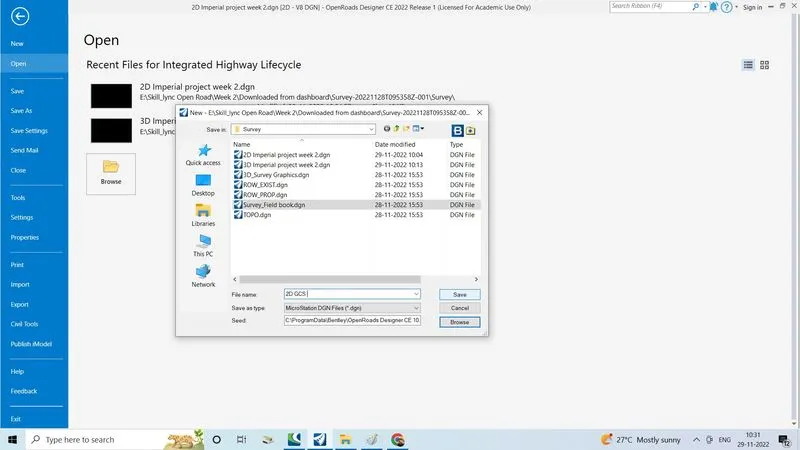
- Give the file name as project 2D imperial week2 and store in the proper folder open road/week2/completed assignment and
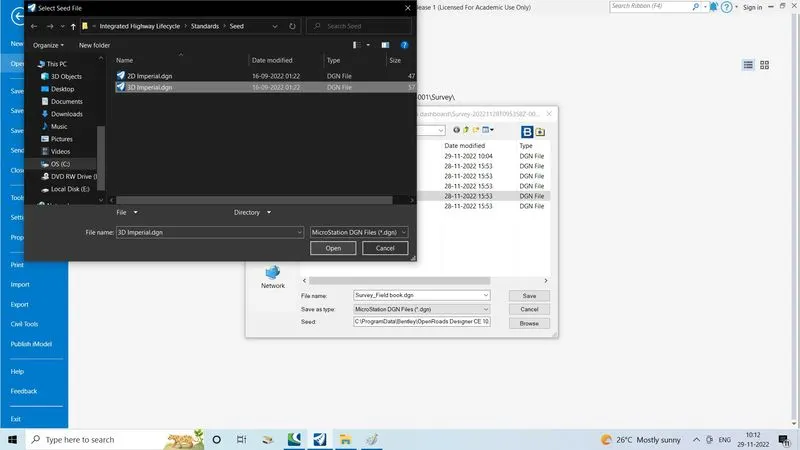
- Then click on the browse select 2D imperial click open
- Then click on the save
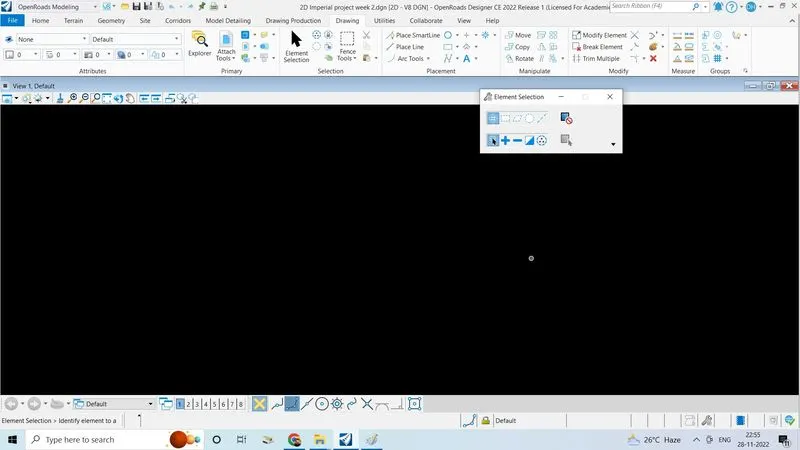
- 2D imperial seed file is created
- Do the same procedure for 3D imperial seed file
- Click on file click on new
- Click on browse select the 3D imperial dgn, click on open
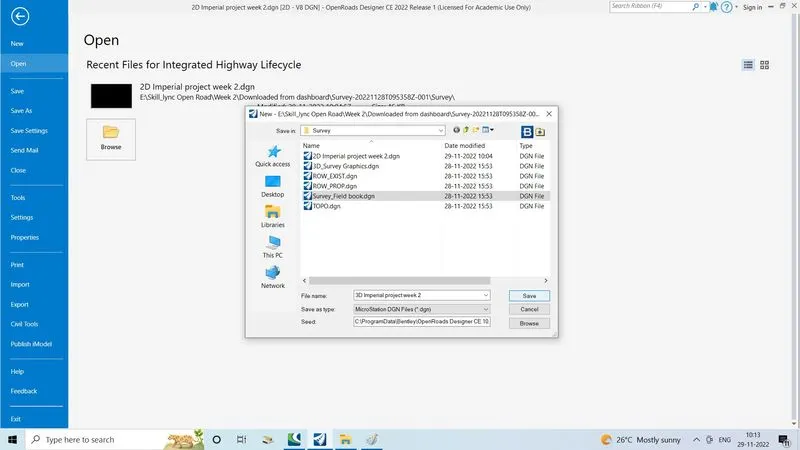
- Give file name as 3D imperial project week2
- Click on save
- Now 3D imperial seed is created
4. Set geographic coordinate system to TX-83, North Central zone, US survey foot. Turn on the background imagery. Save this file with save settings.
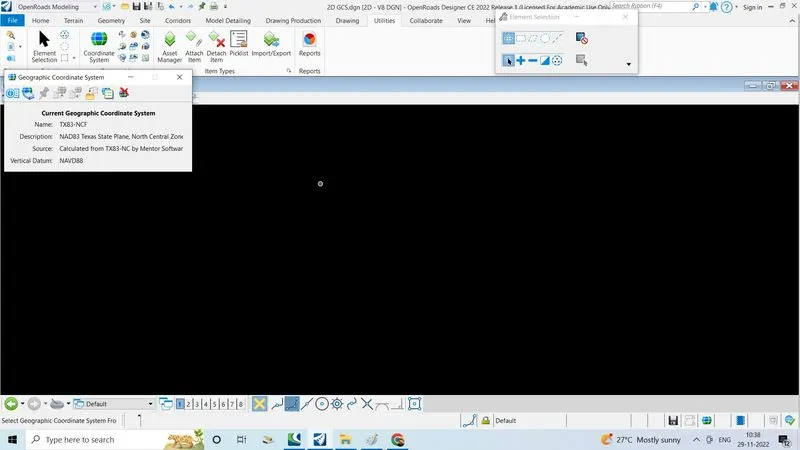
To set GCS create new 2D seed file as shown below picture
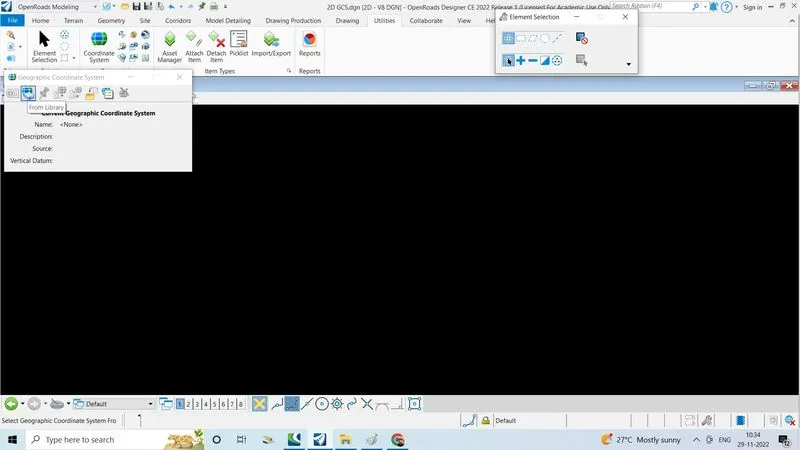
- Now click on utilities, ribbon will open
- Click on from library
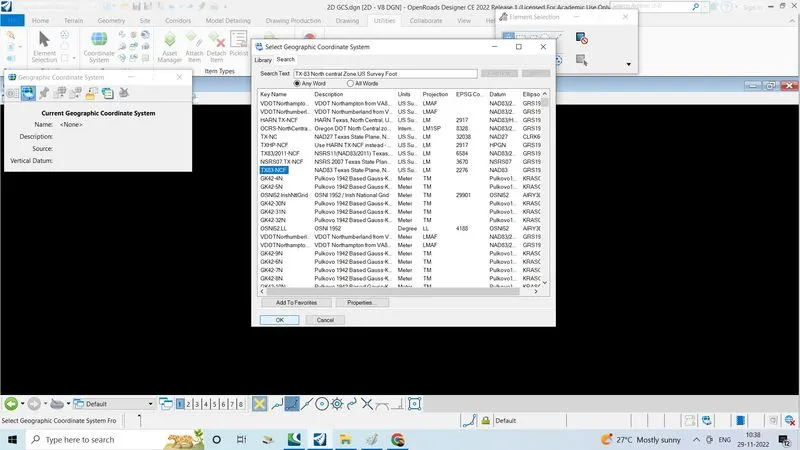
- Click on search
- Select TX83-NCF
- Click on ok,Now GCS is set
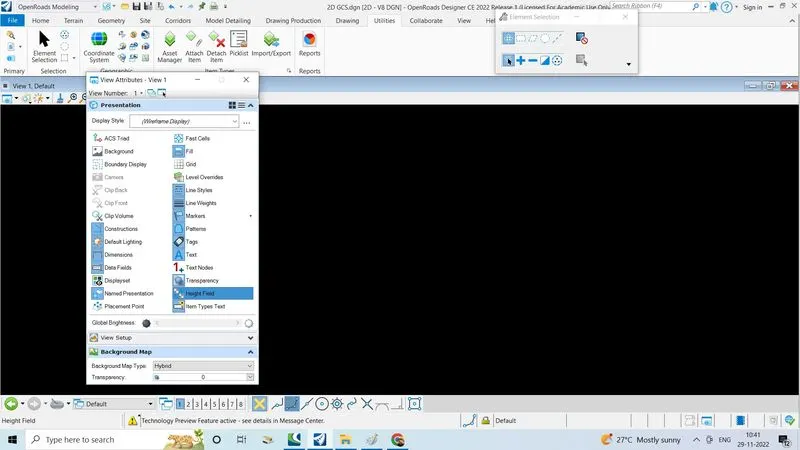
- Now Click on view attribute,now turn on background map
- Set the background map as hybride
- After setting the GCS and truning on background map the result as fallows
5. Attach the survey file from SURVEY folder to the newly created 2D dgn in above #3.
Now open the created 2D imperial project week2 file
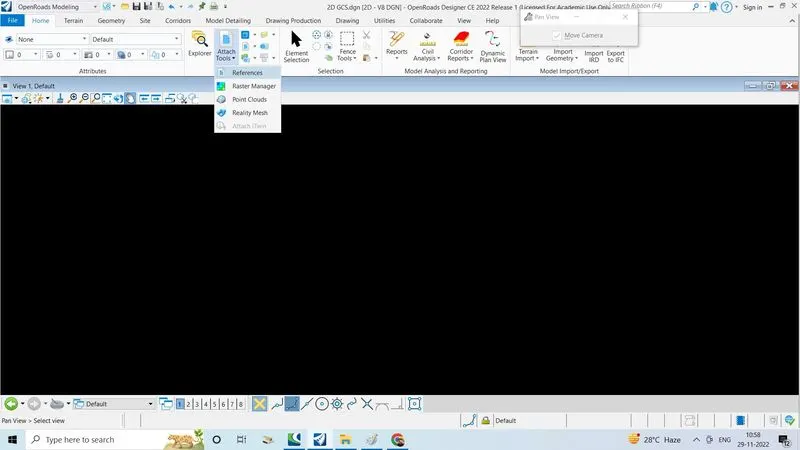
- Go to home tab click on attach tools,click on reference
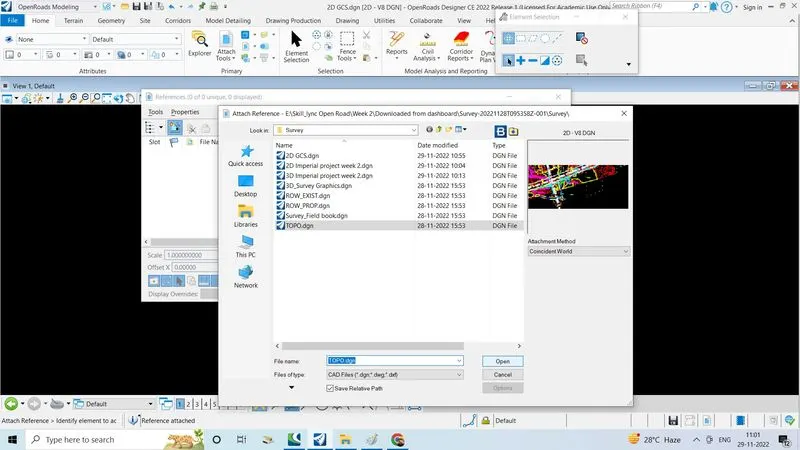
- Click on attach reference
- Select the topo.dgn which is provided by the company,click on open
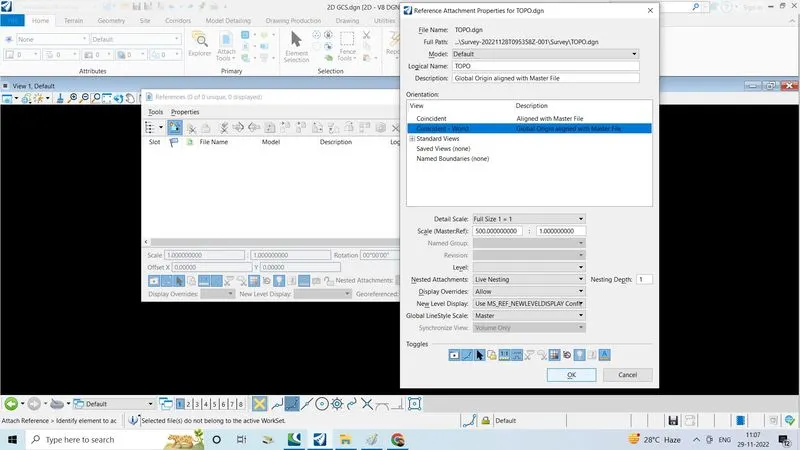
- Give the logical name as TOPO
- Give the nesting as live nesting and nesting depth 1
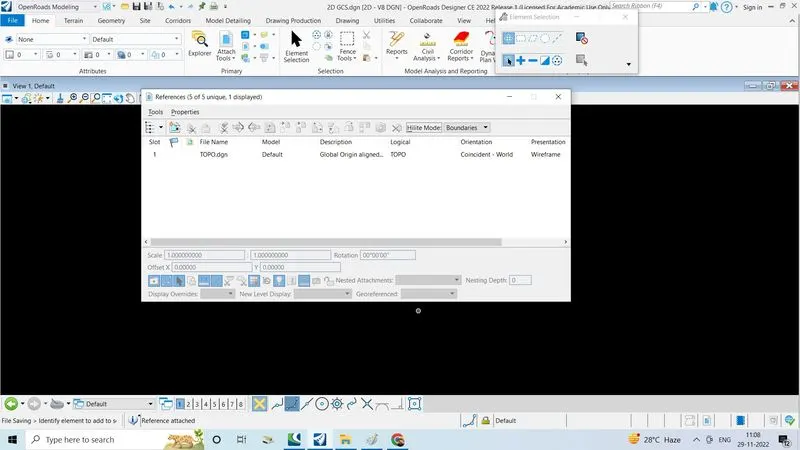
- Click on ok, now survey file is attached
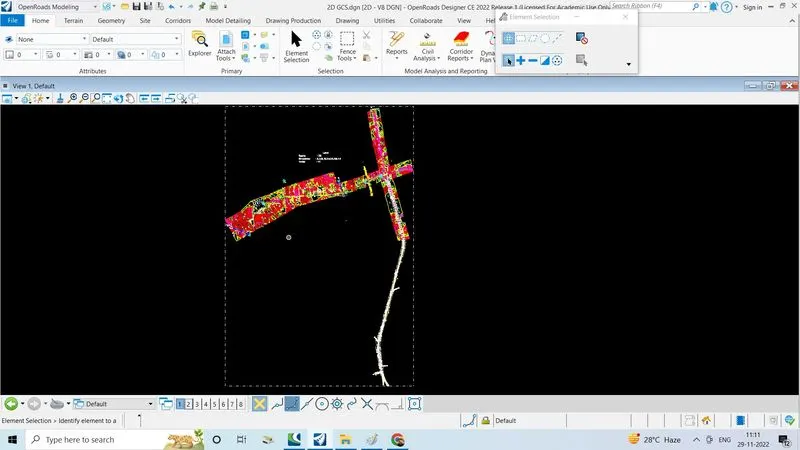
- Click on the fit, on the displayed screen
- Now TOPO or Survey data is reflected