Week 2 Challenge
1.
Building Information Modeling is shotly known as BIM. BIM is a very effective and advanced 3D modelling software that plays a vital role in drafting and planning softwares in today's world . BIM helps in quick understanding and detailed explaination about the project. BIM was invoked by autodesk and we can say that autodesk helps us in achieving BIM.
Features of BIM :
- Coordination.
Coordination is well developed in BIM because mutliple people can work on the same project simultaneously and it is also time saving. Perfect coordination helps in arranging a lot of people and increase efficiency and accuracy.
II. Computation.
Computation is an other advantage of BIM where it mainly involves the calculation and schedule planning.
Benefits of using BIM over 2D CAD tools :
- With the help of BIM we can achieve complete representaion of the project
- BIM is real time modeling and Improves scheduling.
- We can use links co as to complete the project with higher efficiency and accuracy
- BIM is much time saving as compared to 2D CAD.
2.
Aim: Go to insert tab and select a category, pick a family and element
Tools used : Inset tool bar, File name, Load family, Open
Procedure :
- Select architectural template on opening new project.
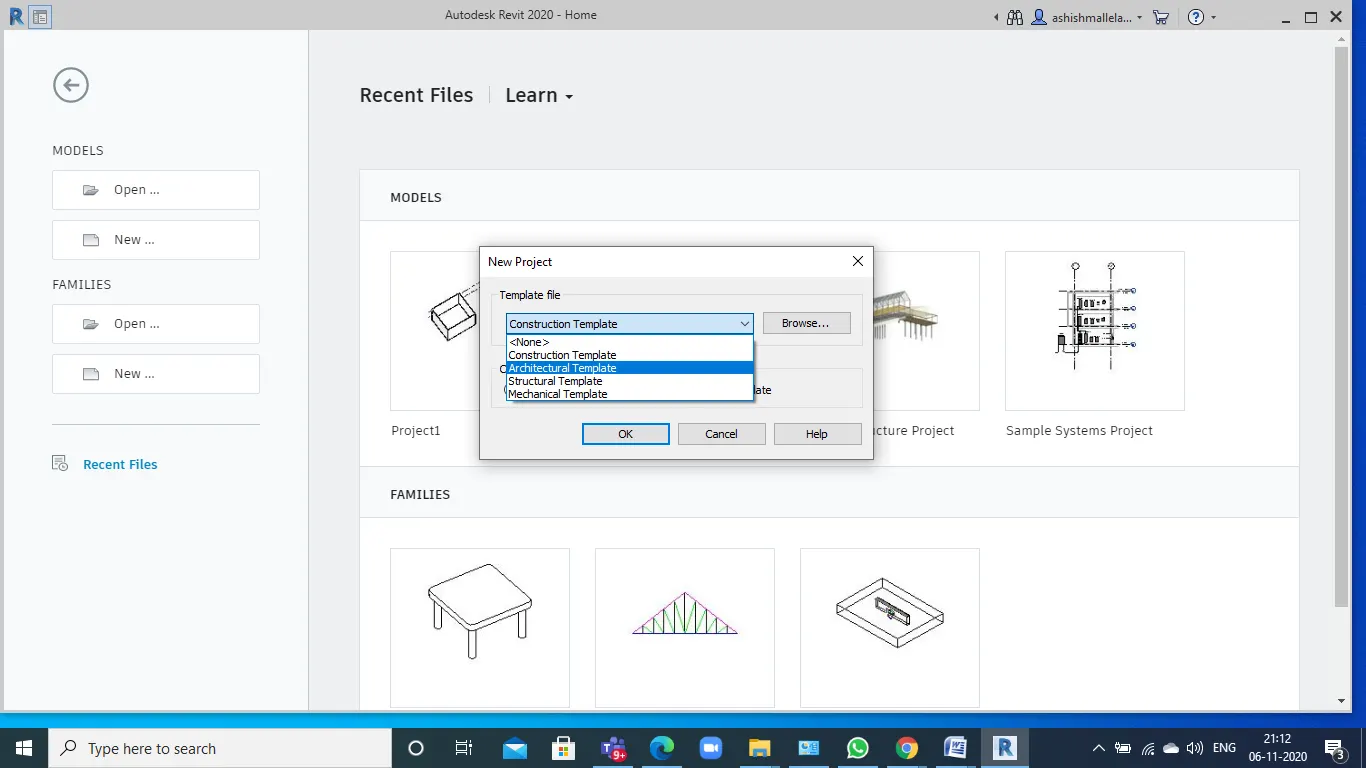
- Open the insert toolbar
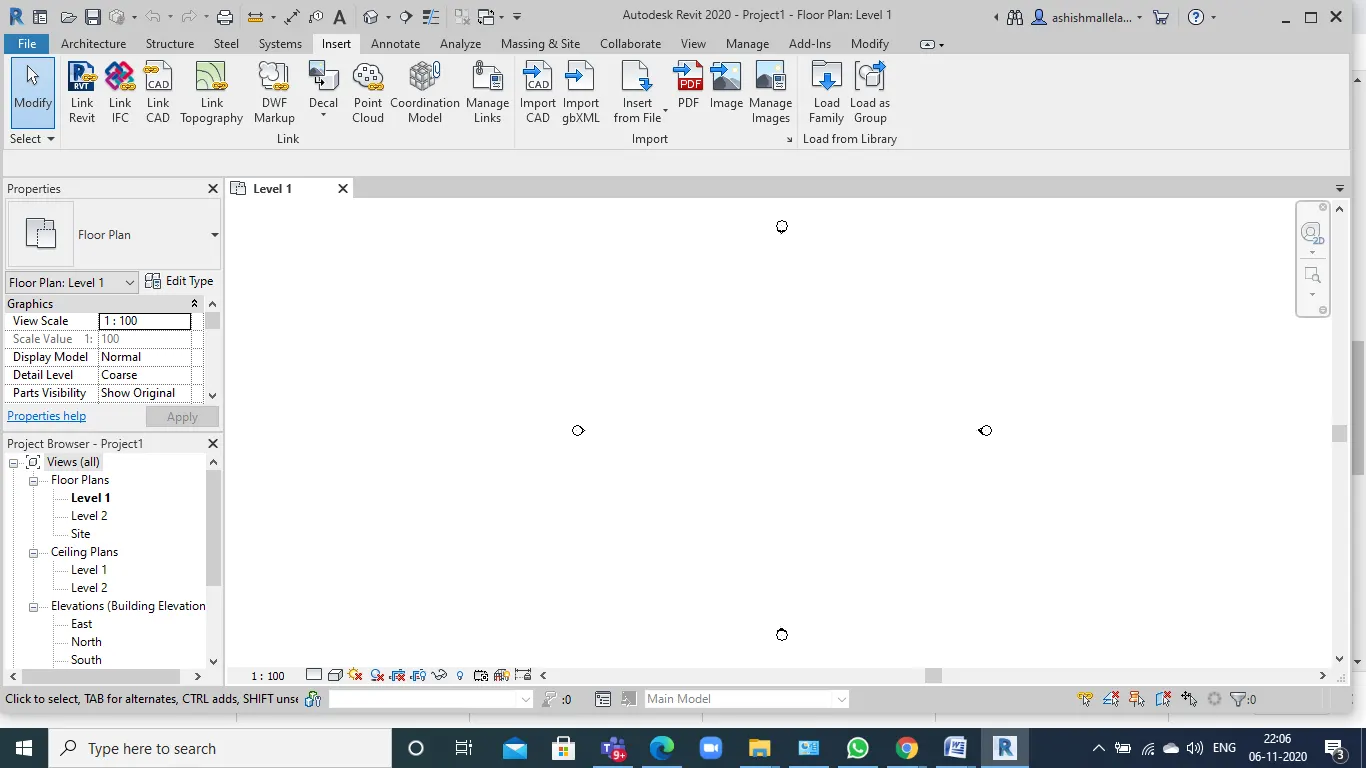
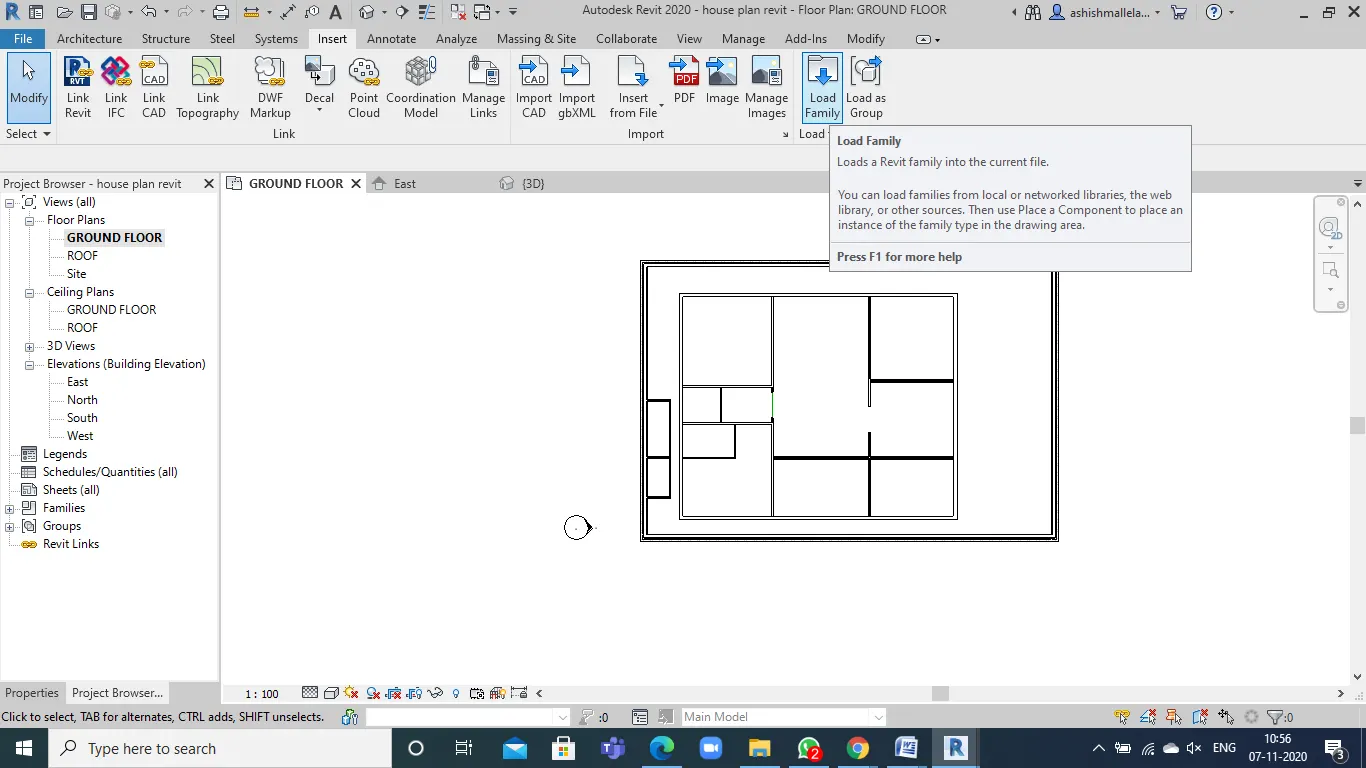
- There you find “load family option”
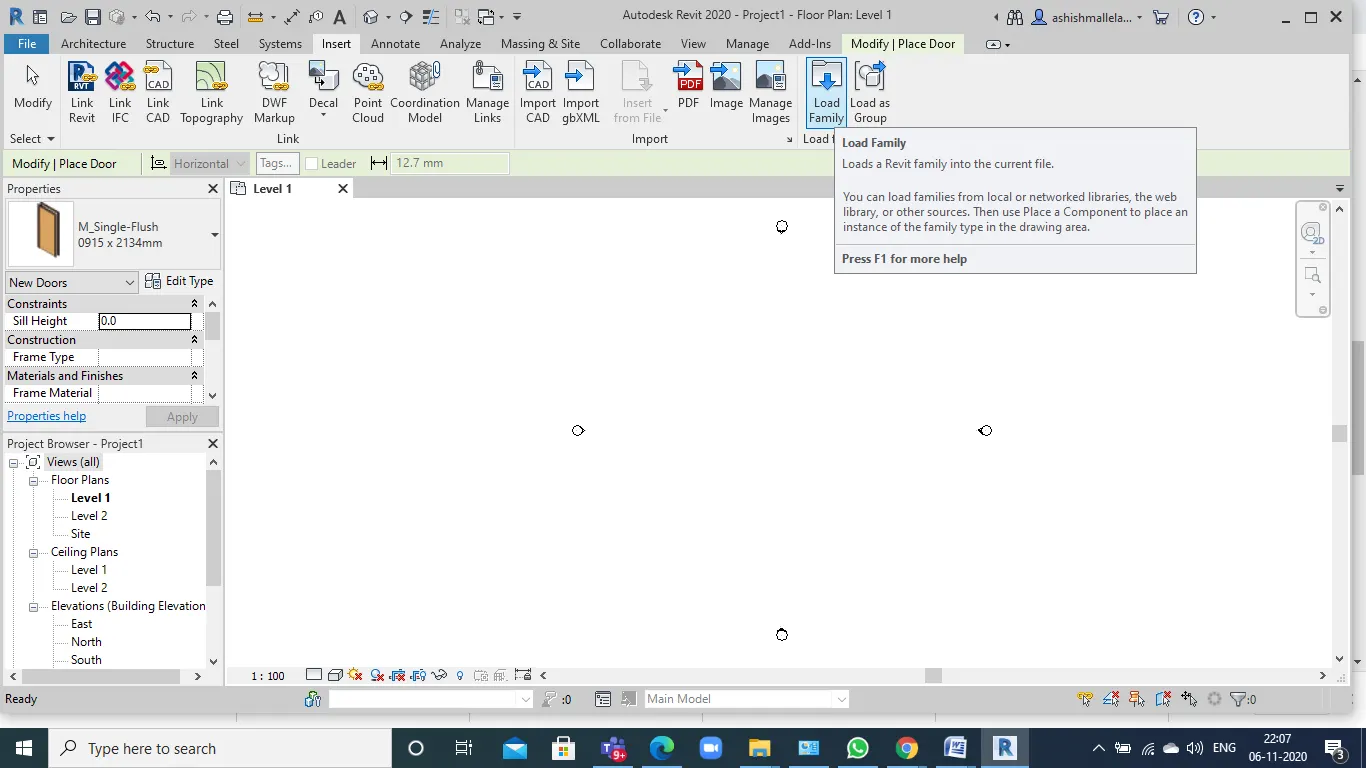
- Once you click on that open the family dialog box appears.
- Go to window in architecture menu and select the object
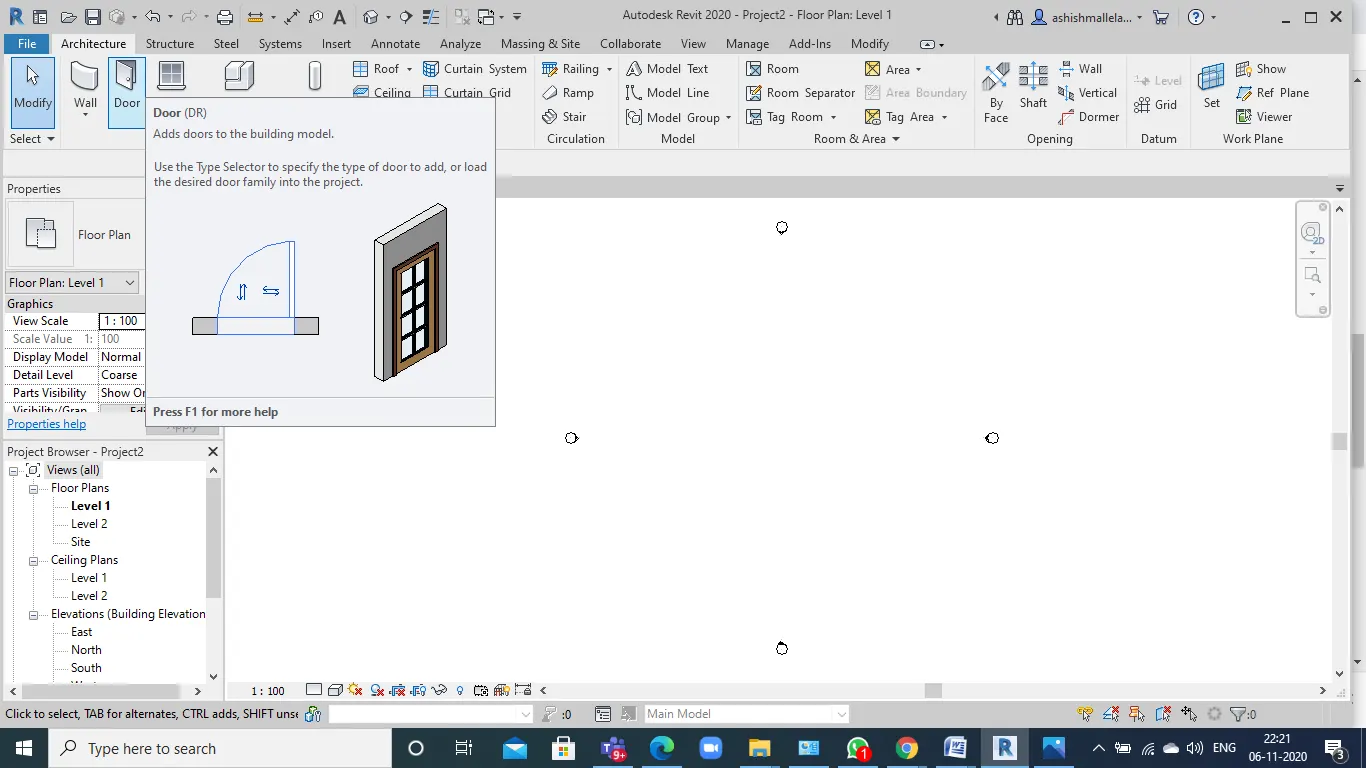
- Drag and click where u want to inset the components
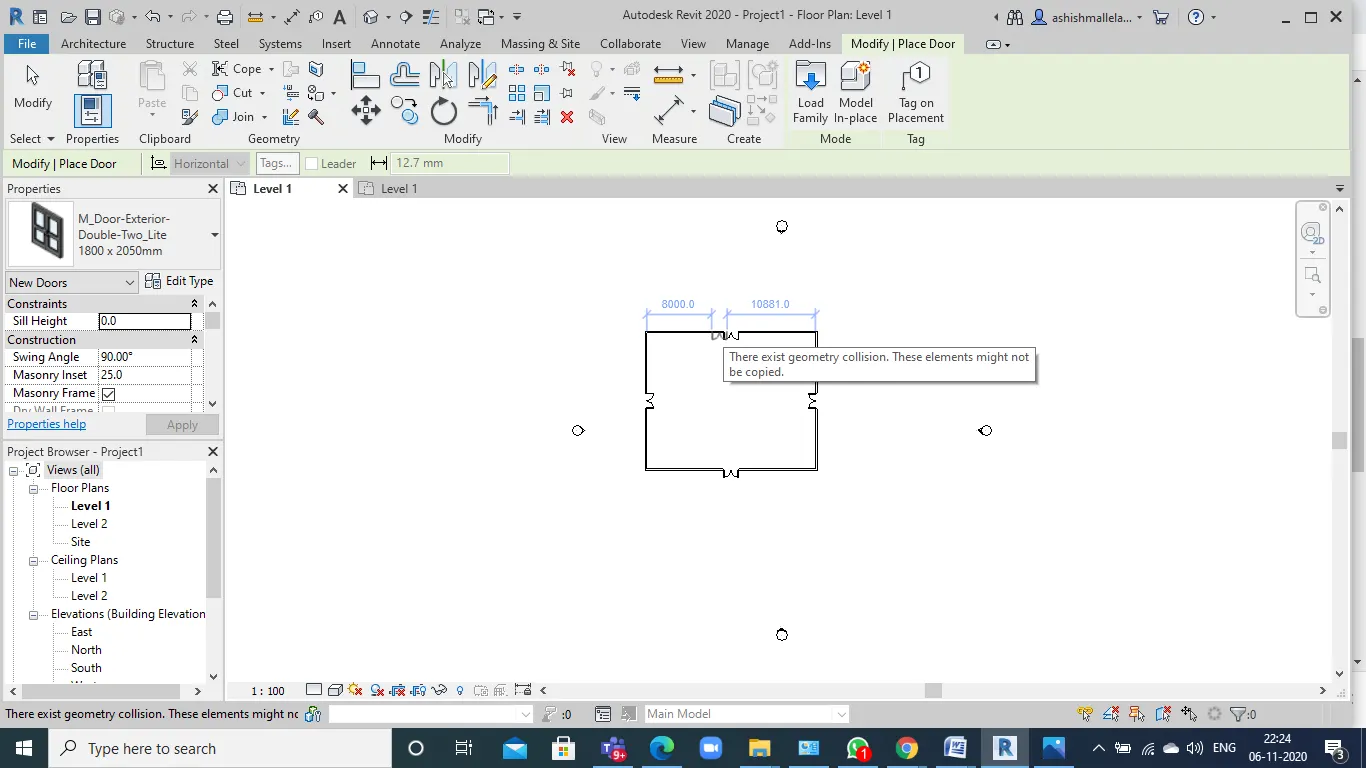
Result : Families are succesfully loaded into revit model.
3.
Aim: Setting up a project , opening and saving the file with appropriate name, and completing the project information under the manage tab with maximum backups for project file to 3
Tools used : Manage tool bar,Project information,Architectural template,Save option
Procedure:
- Open the new project with architectural template .
- Then once the project is open, click on the manage tab.
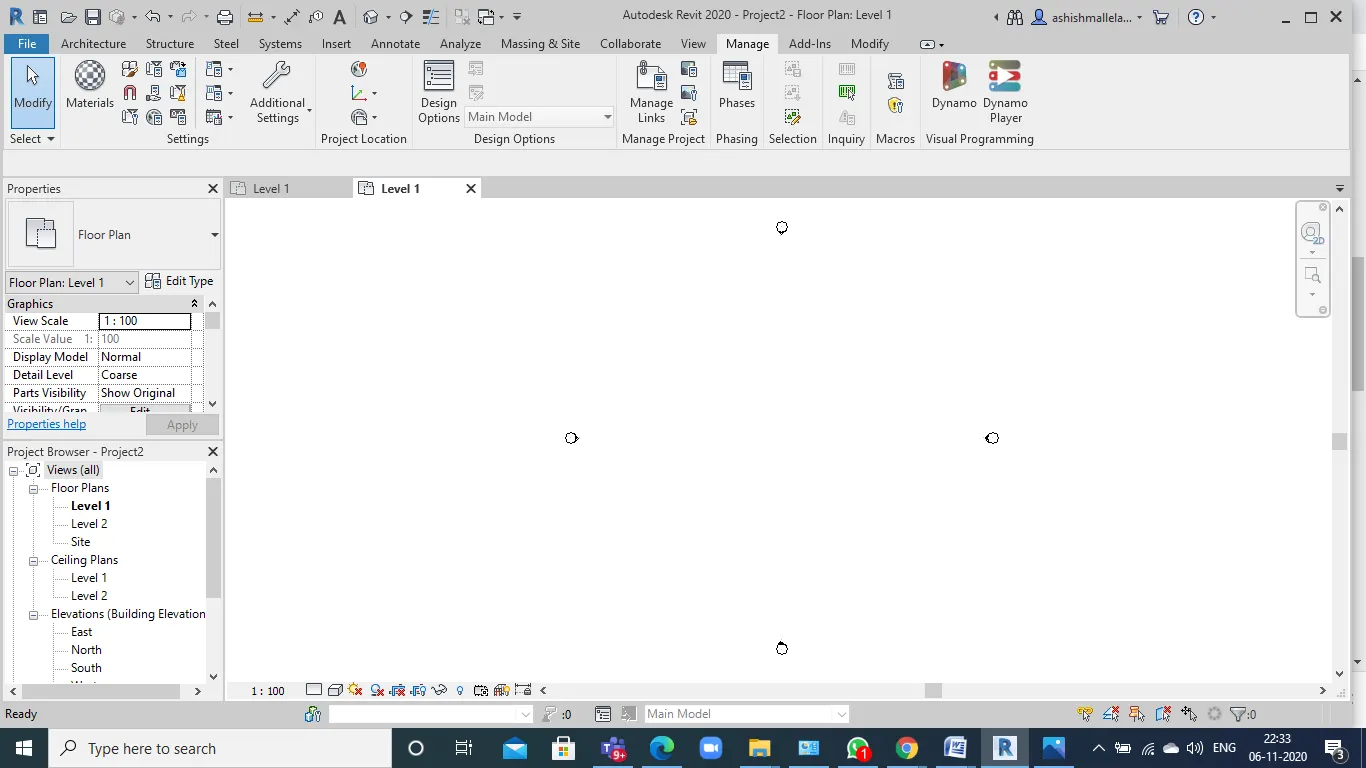
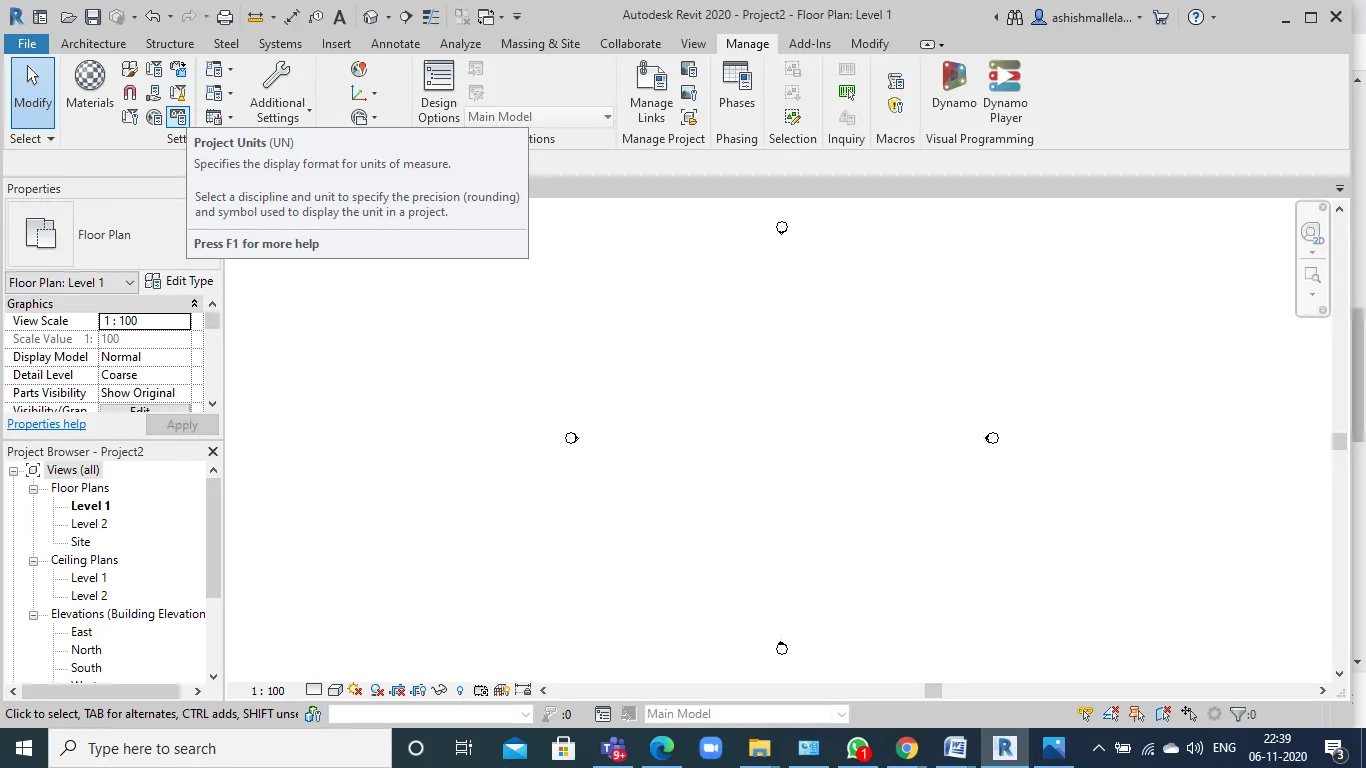
- Then click on the project units, to change the units according to the requirement.
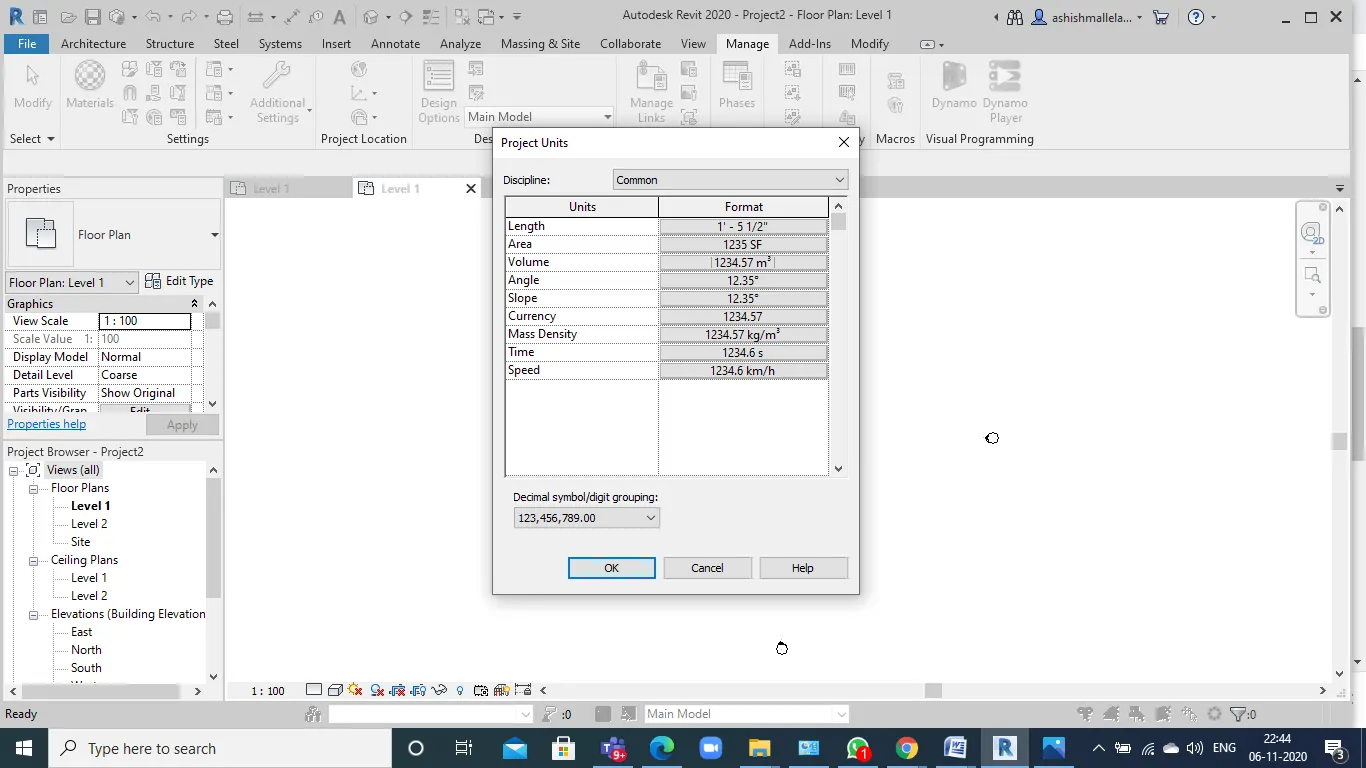
- Once u change the units click on ok.
- click on project information icon
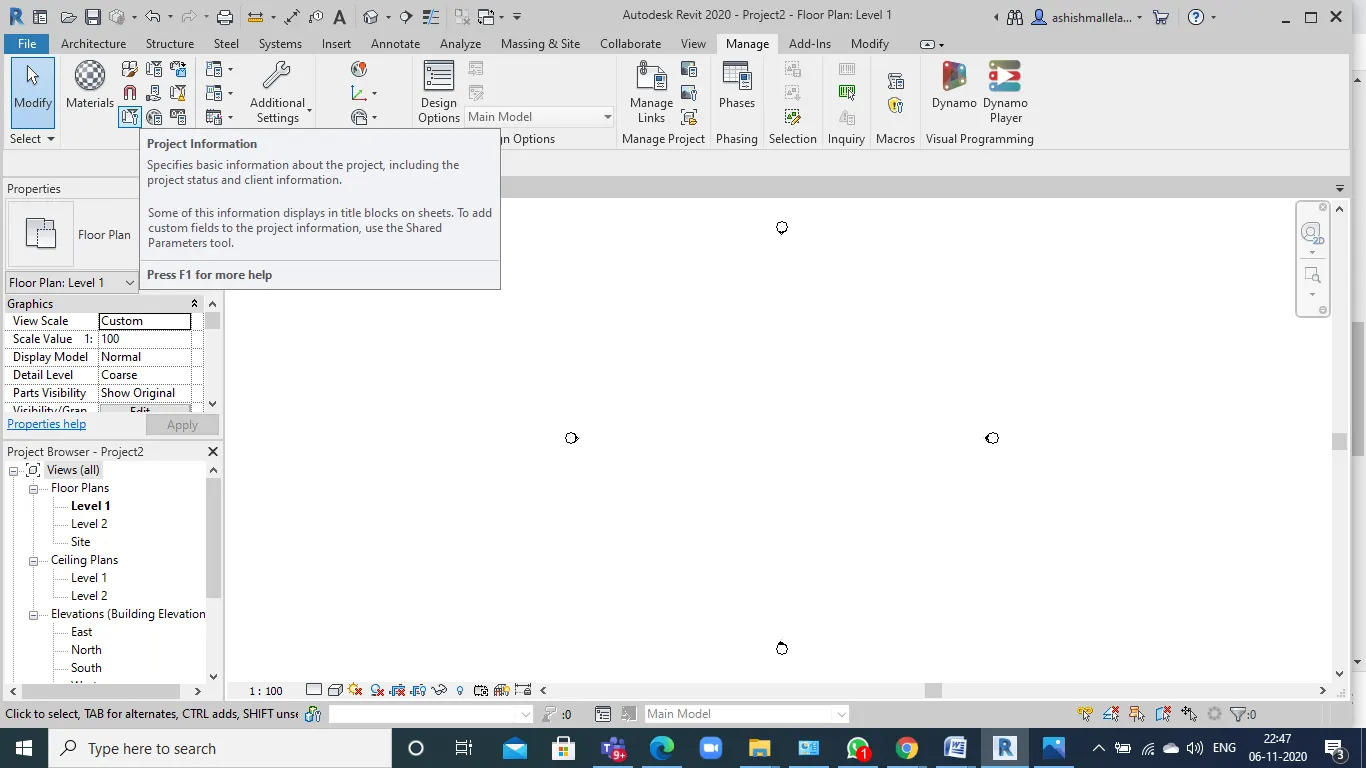
.
- Fill in with proper information regarding the project . press okay after filling everything .
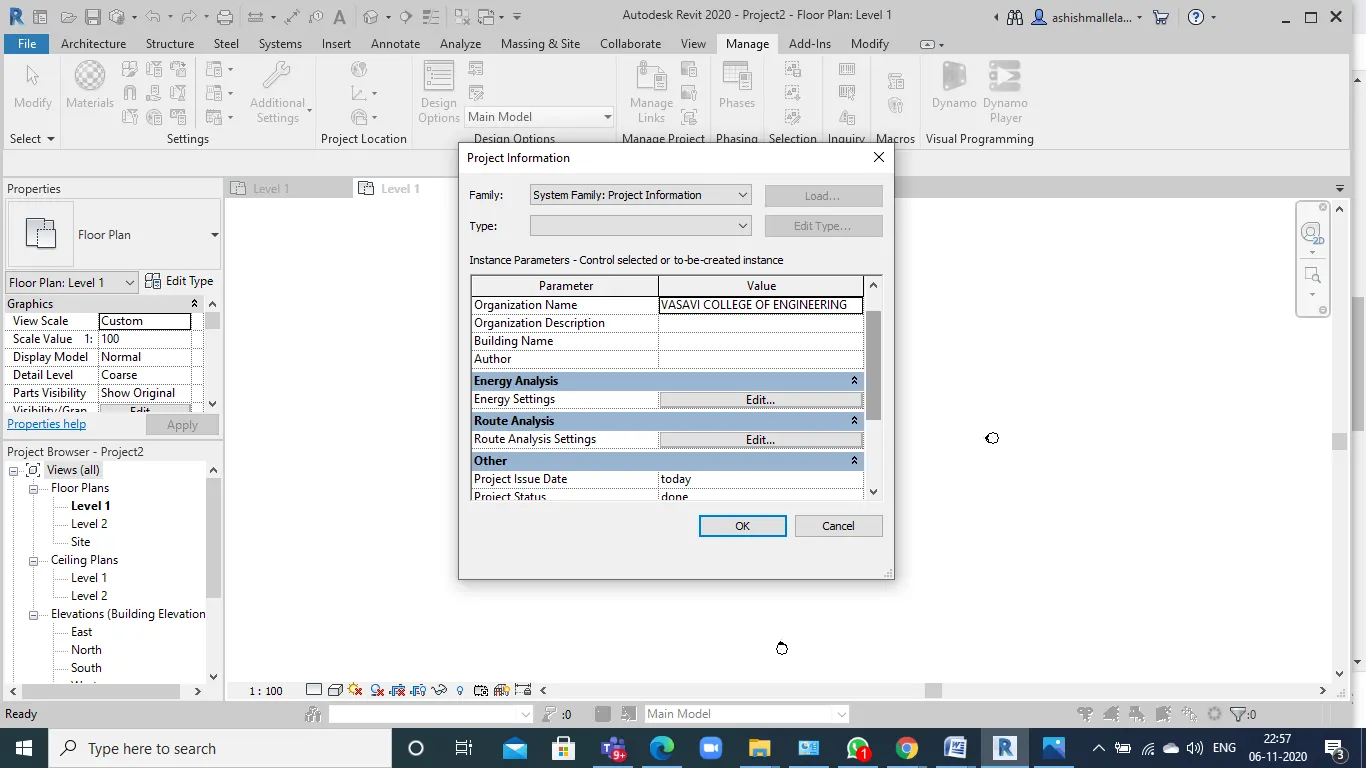
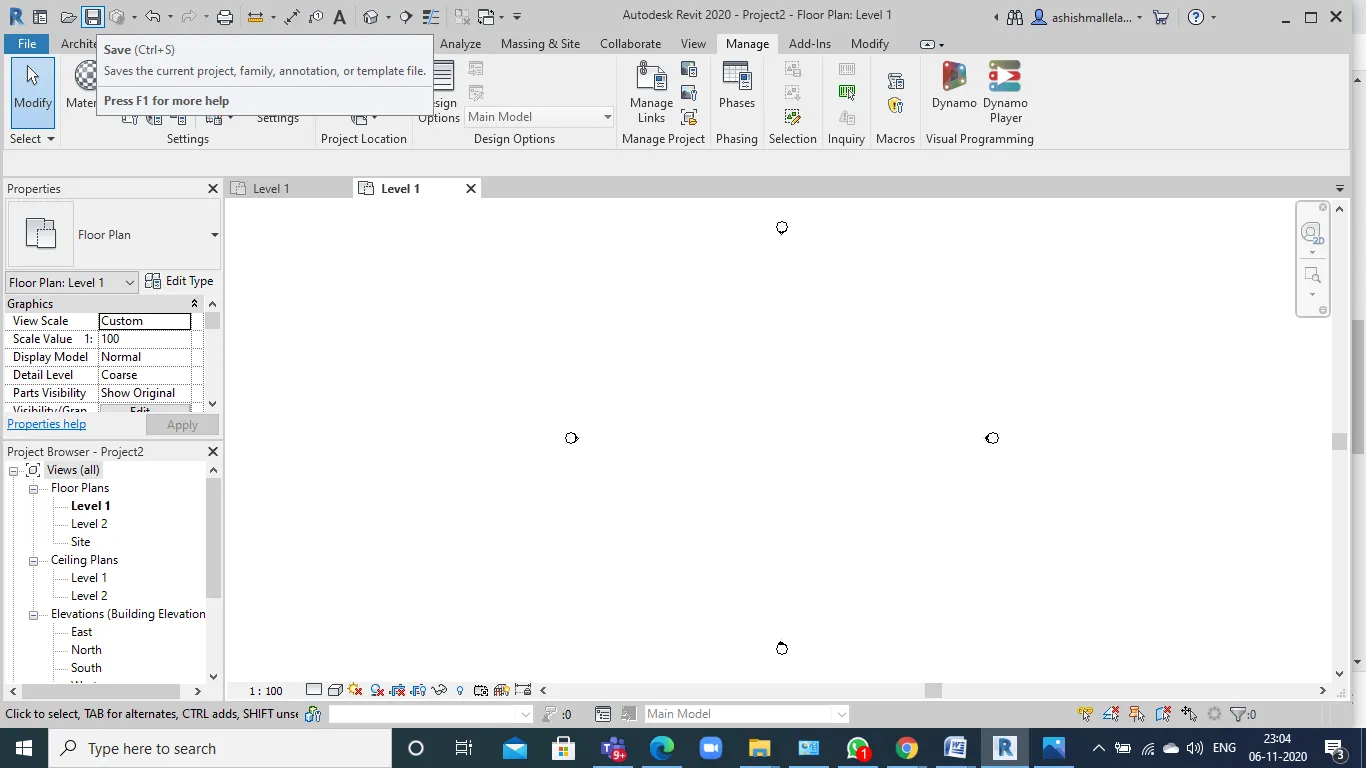
- Now Click on save to save the file .and assign a name for your file.
- Click in the option button, where you are given an option for backup. Set up the maximum backups for project file to 3.
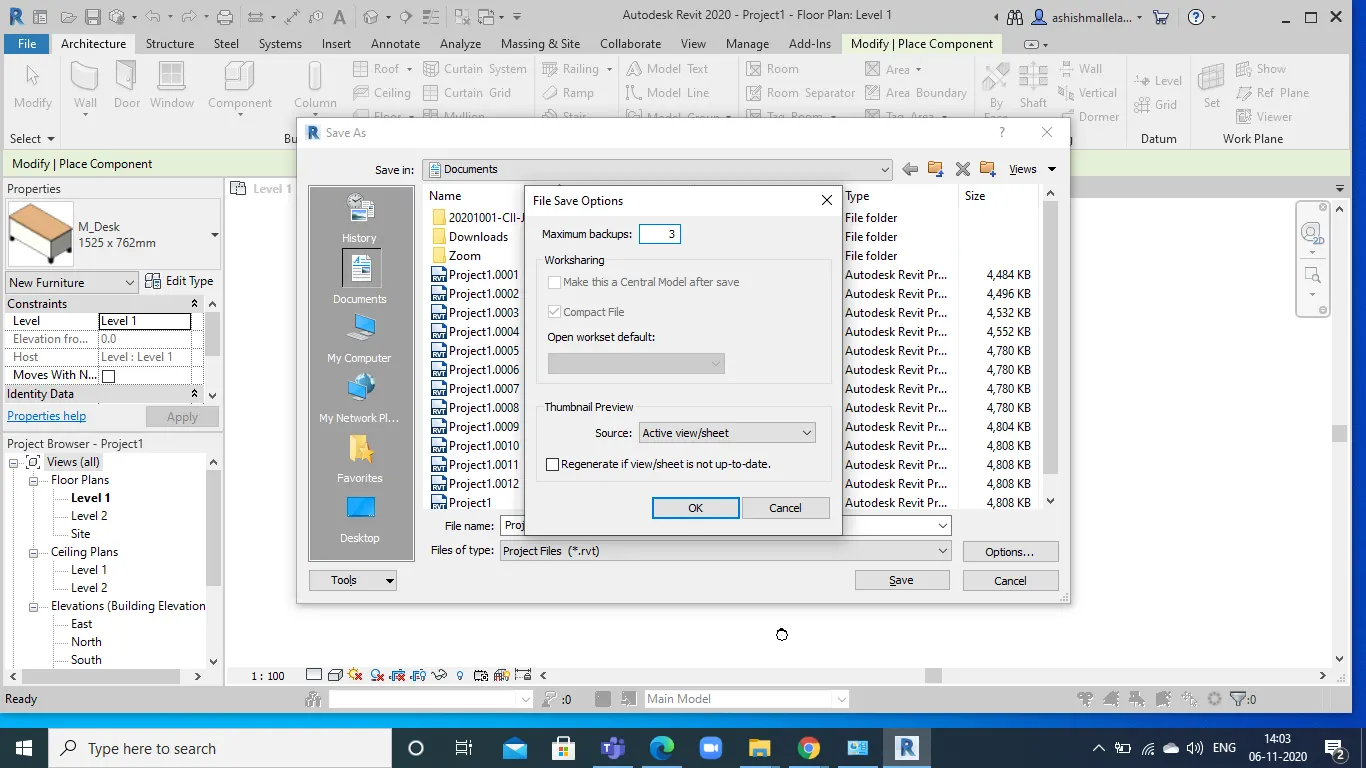
Result: The requirements are done using revit model.
4.
Aim: Create the following Levels: Ground Floor @ 0’, First Floor @ 10’, Second Floor @ 20’, Roof @ 30’
Tools used: Levels,Grids
Procedure:
- Go to any elevation From the architecture tab we have level. We have to choose the level option to create levels.
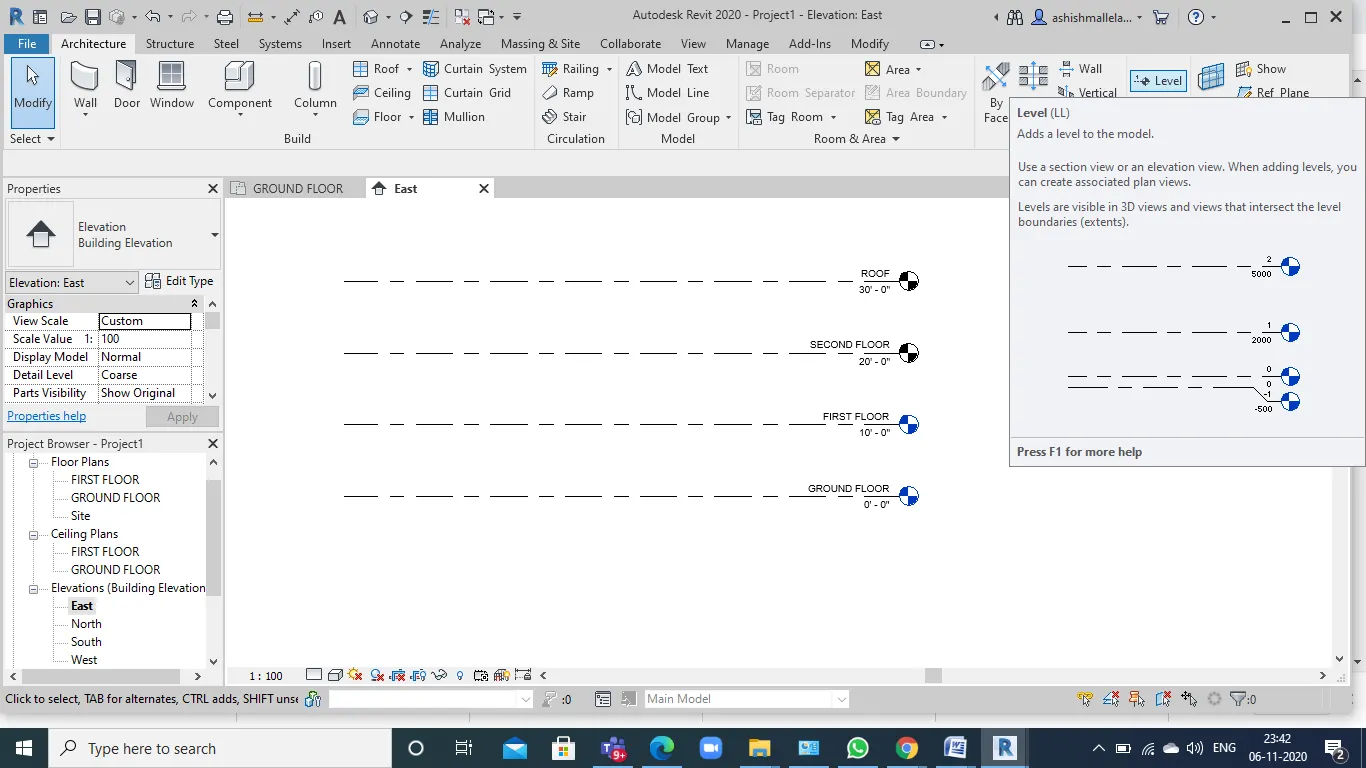
- The desired distances between the levels are to be entered as per the information given in the question .
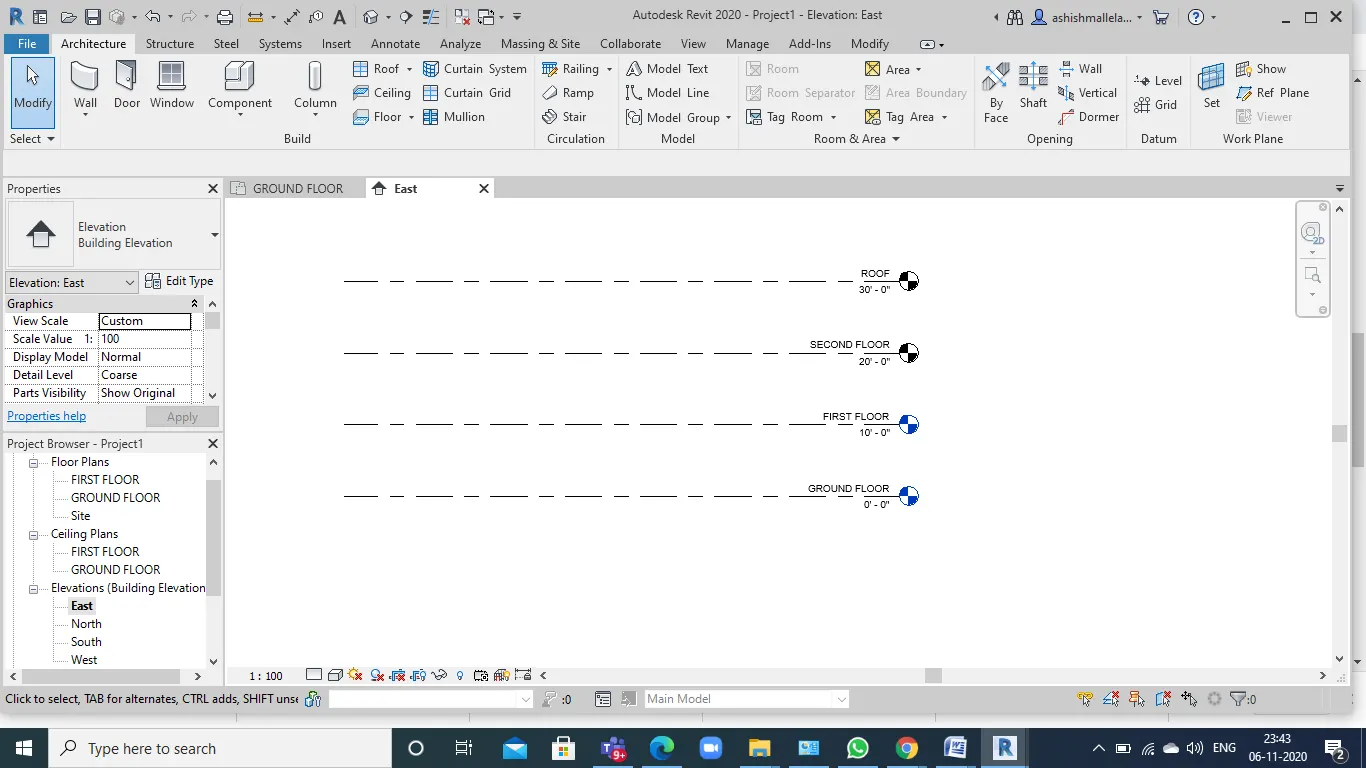
- After the levels are done we have to look into the grids.
- Under the levels option in architecture tab, we find the grids option.
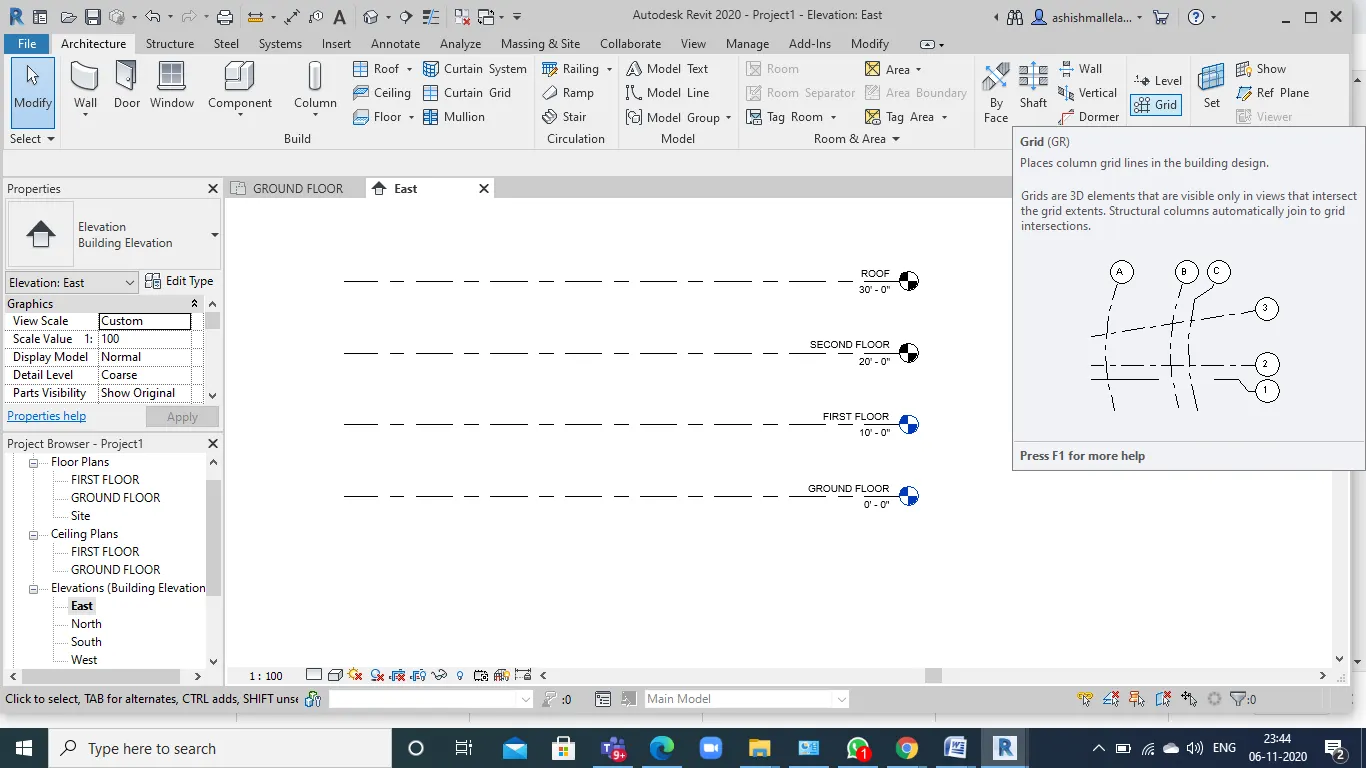
- Once we choose the grids option, we can insert grids in the project according to our equirements.
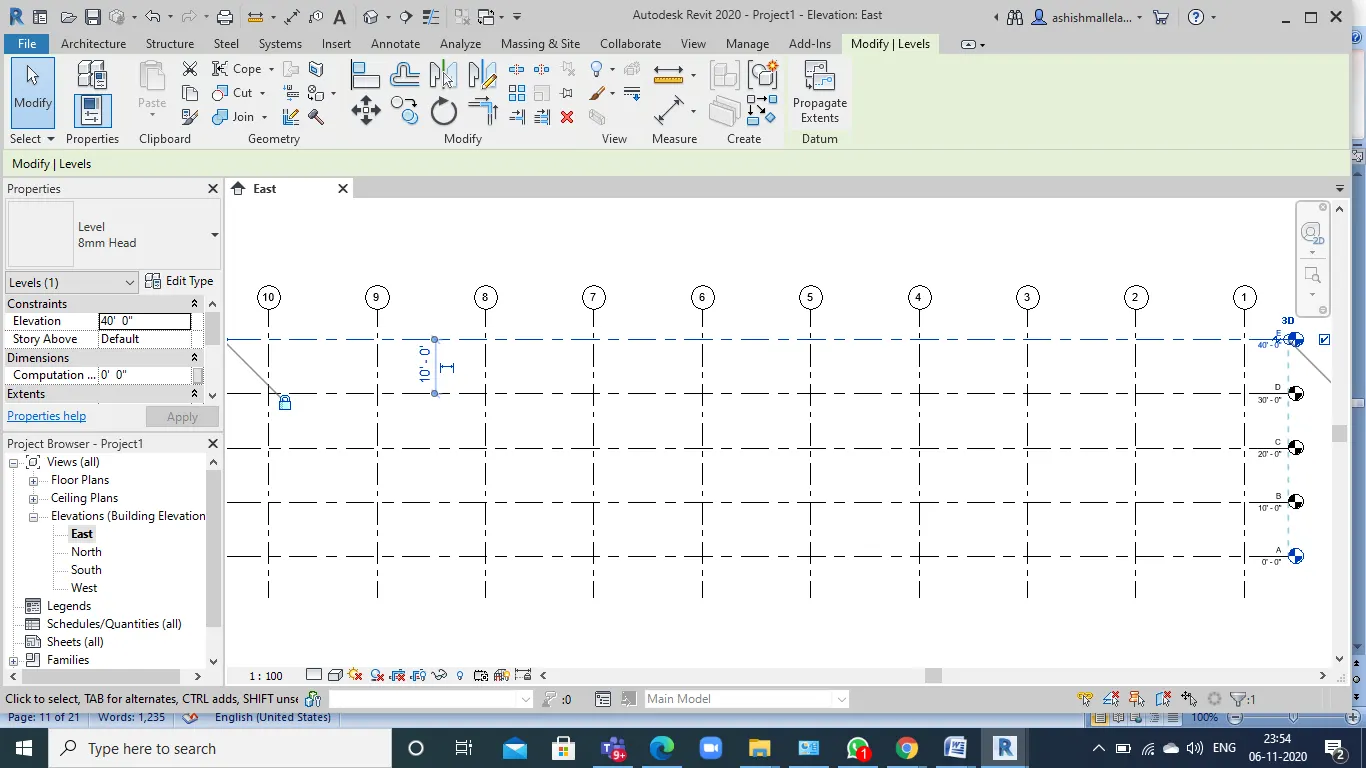
Result: the required grids and levels are made using revit.
5.
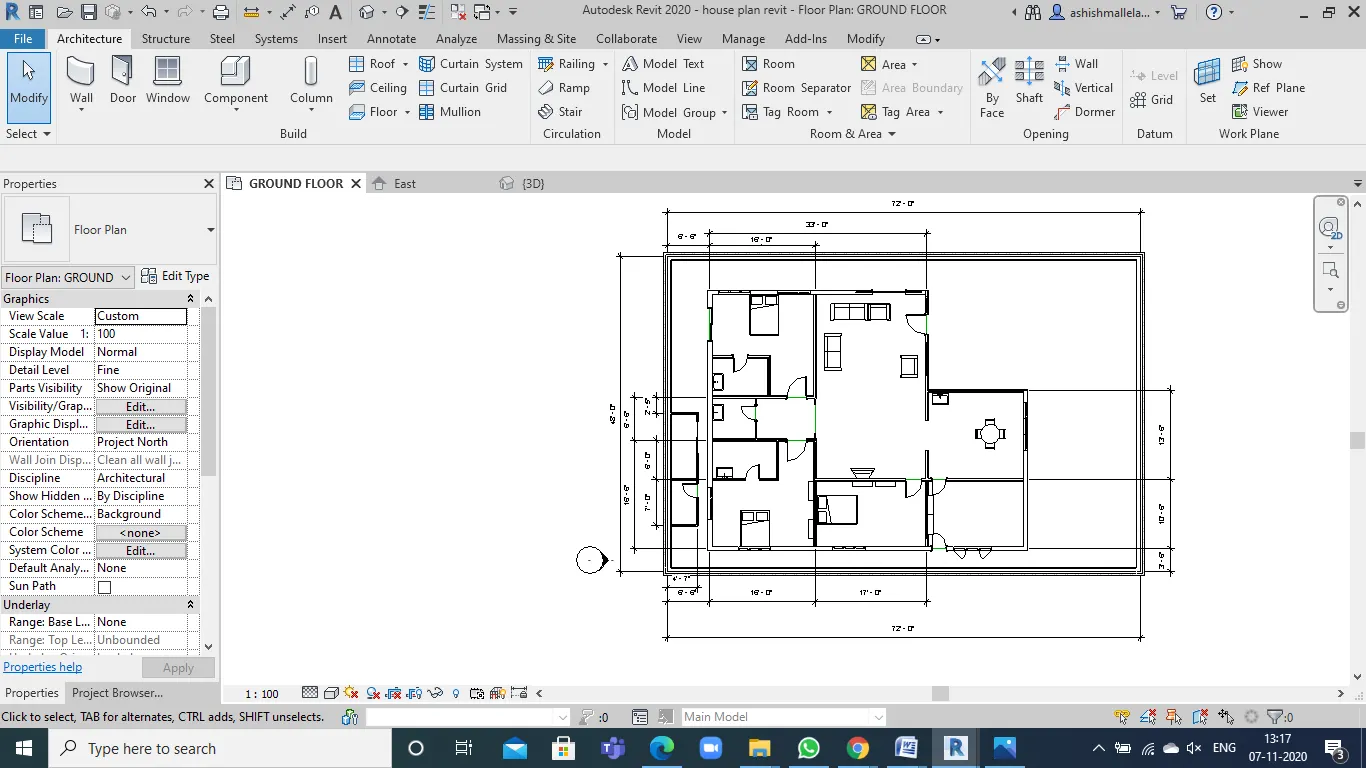
Aim: 3D modelling of residential unit and to create a layout
Tools used : Architecture tool bar, Wall, View, Default 3D view
Procedure :
- Once you open the architectural tool bar, you see an wall tool.
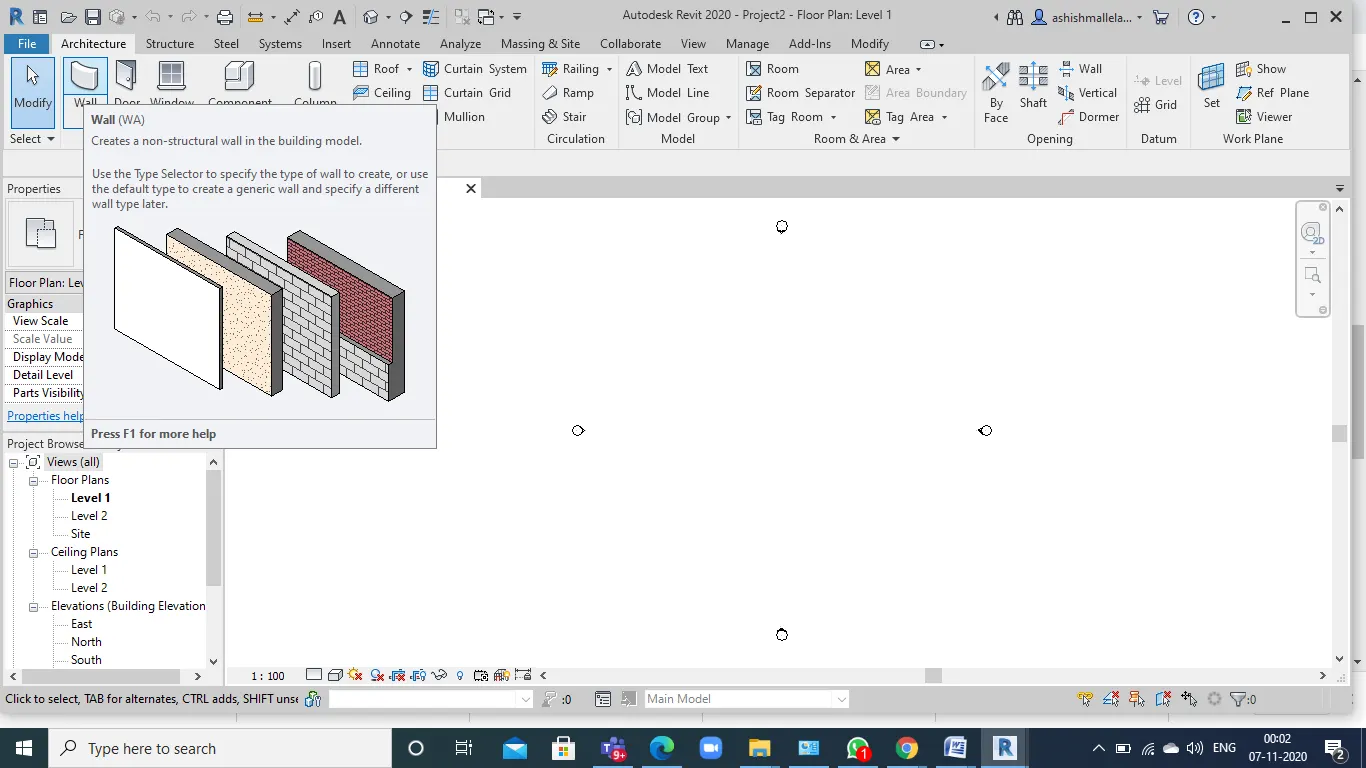
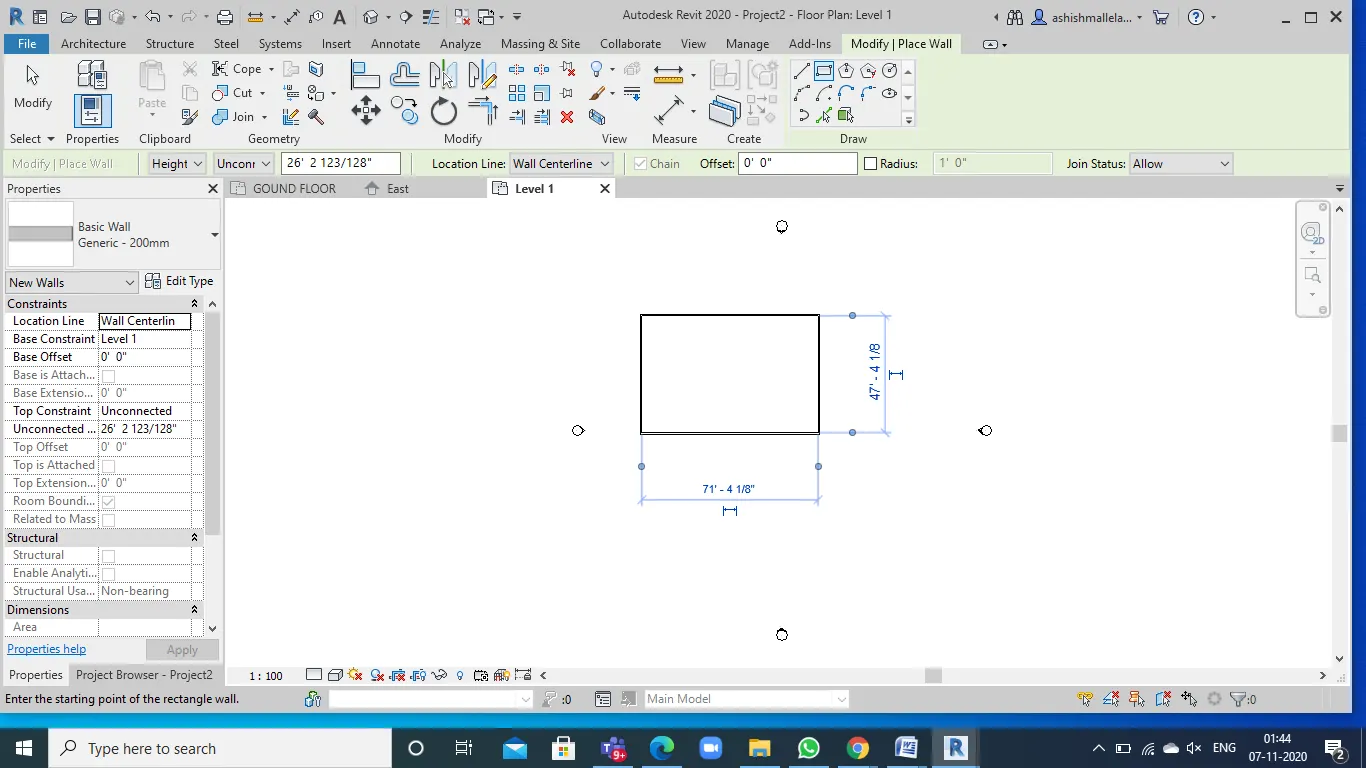
- Once you open the wall tool, start drawing the walls .
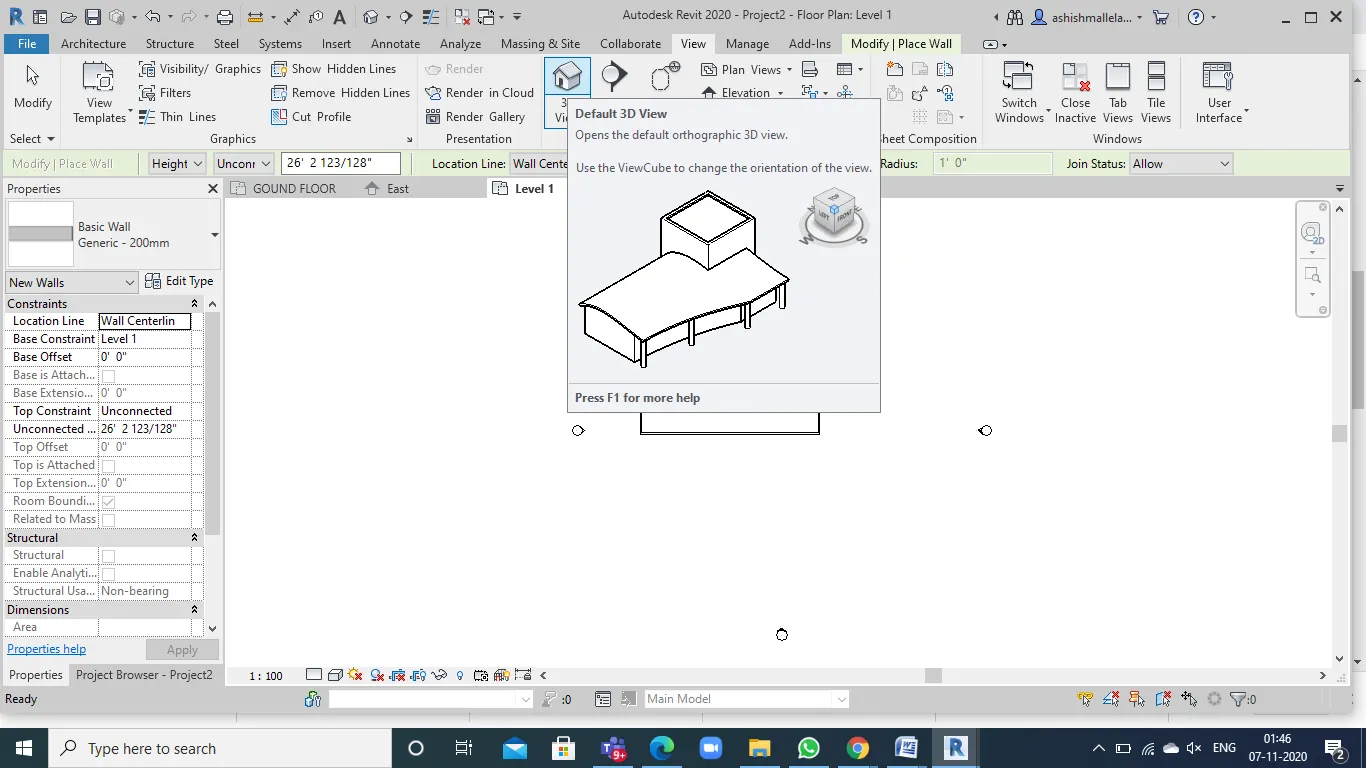
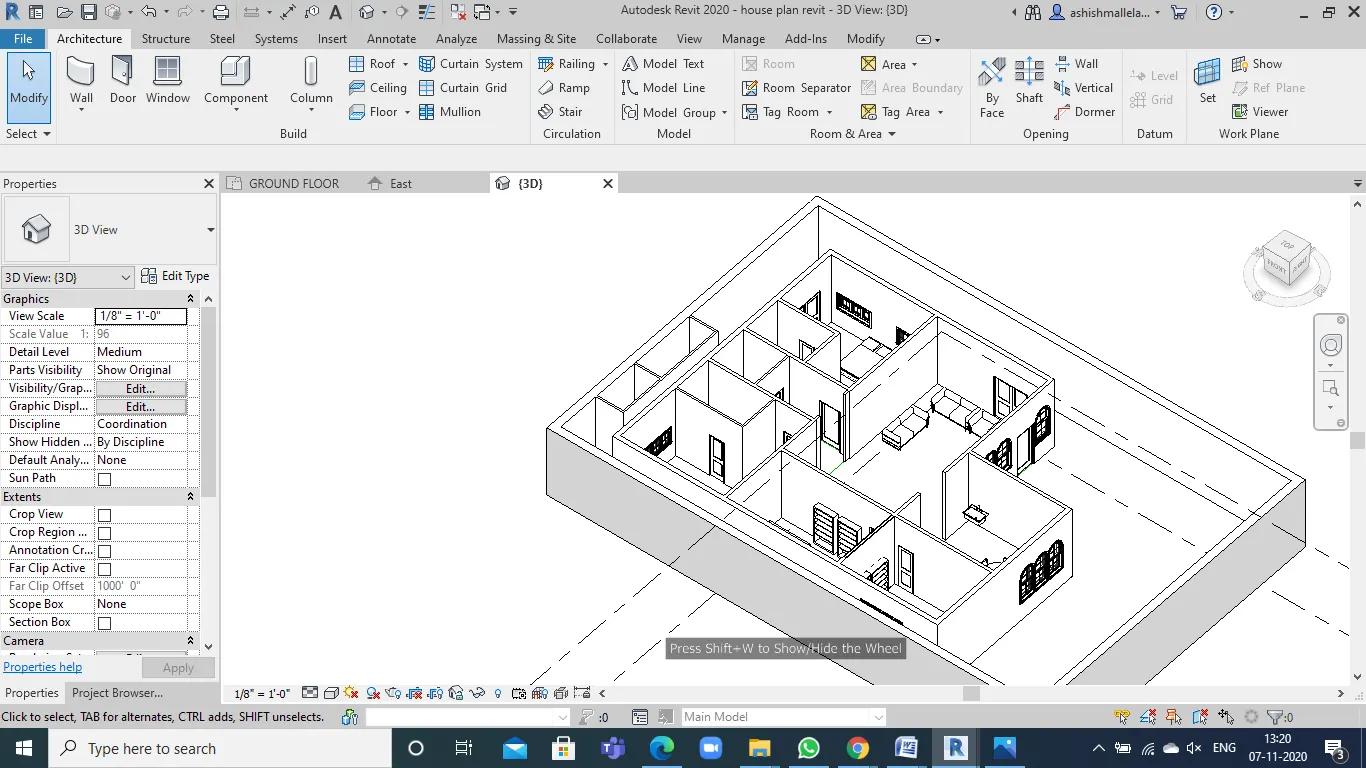
- Click on the view option, then you find 3D option
- Once you click on 3D option, the layout appears in 3D
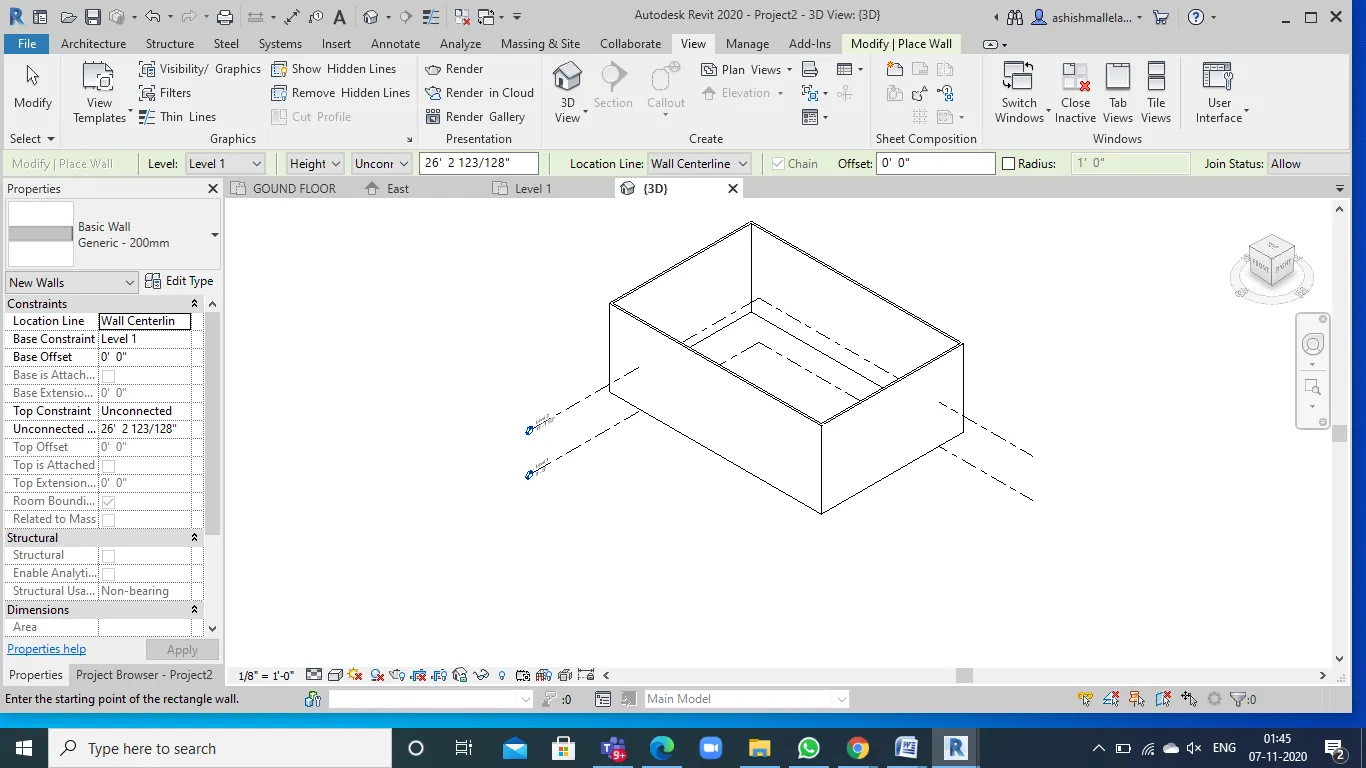
Result: creating a 3d layout is succesfully completed.
6.
Aim: In the layout created, draft the levels of details you would like to include.
Tools used: Insert, Load, family, Architecture, Windows, Door, View, Default 3Dview
Procedure:
- After completing the layout. Draw interior walls
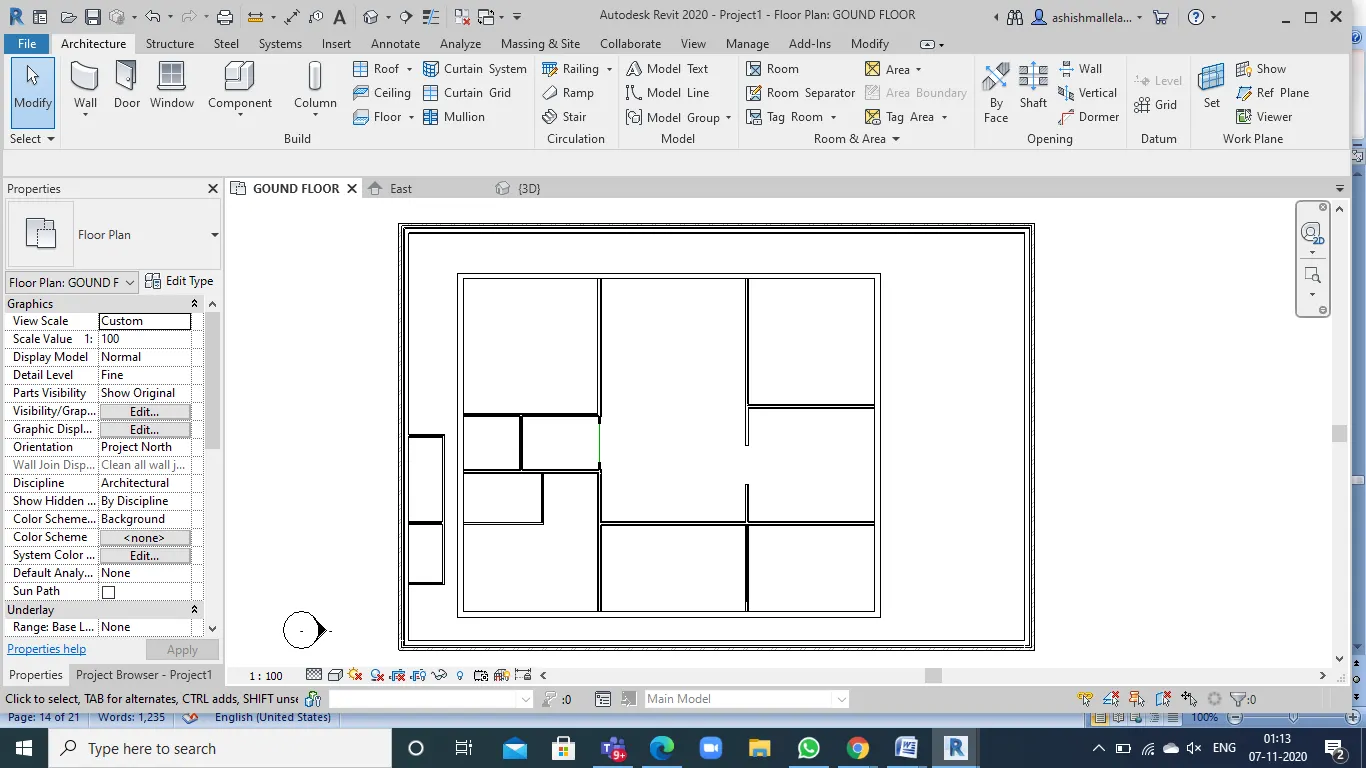
- Click on insert menu and select load family to add components
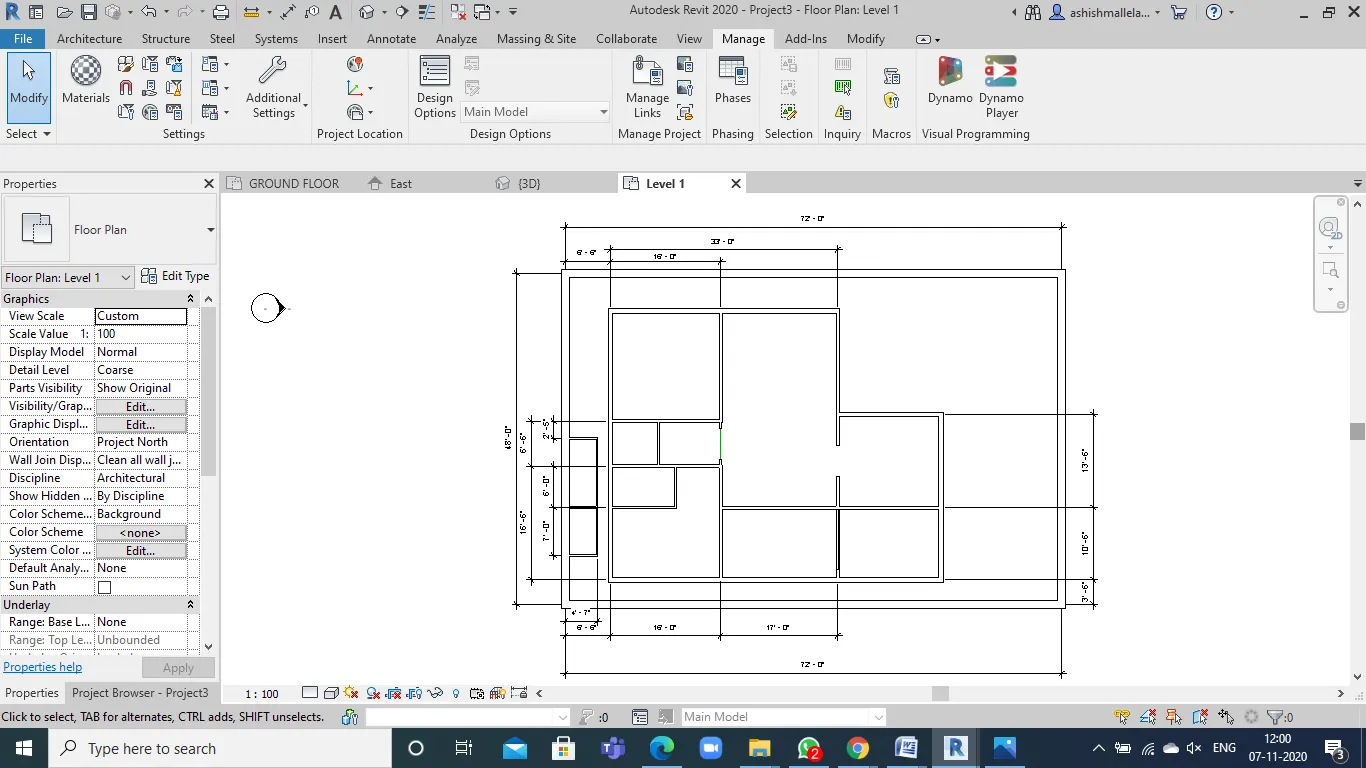
- click on annotate menu to mark the dimensions
- Then click the view menu and select the 3d view option and look at the view of the project
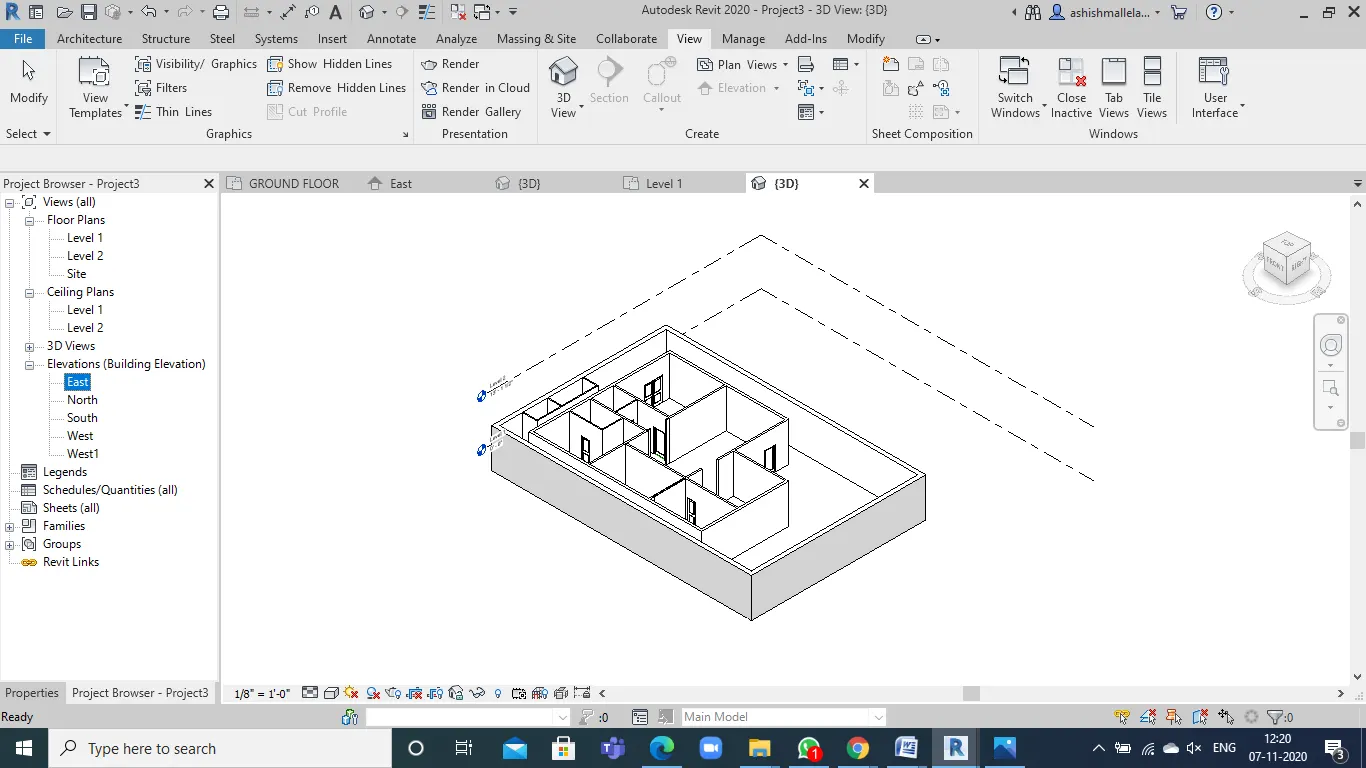
Result: revit model is successfully converted into 3D
7.
AIM :
To add components to the layout project like doors, windows, tables, chairs, couch, bed, from the insert library.
TOOLS USED :Insert, Load family, View, Architecture, Doors, Windows, Components, Bed, Dining table.
PROCEDURE :
- After the completion of inner walls and dimensioning, we have to start with the interior components.
- From insert menu >> load family.we load the components like windows, doors and other componets like table, sofa, beds etc
3.Click on view menu and click on 3D view to get it in 3D view.
RESULT :
The components to the project like doors, windows and other components are successfully added.