Week 2- 2R Robotic Arm Challenge
1. AIM : A program to simulate the Forward Kinematics of a 2R Robotic Arm .
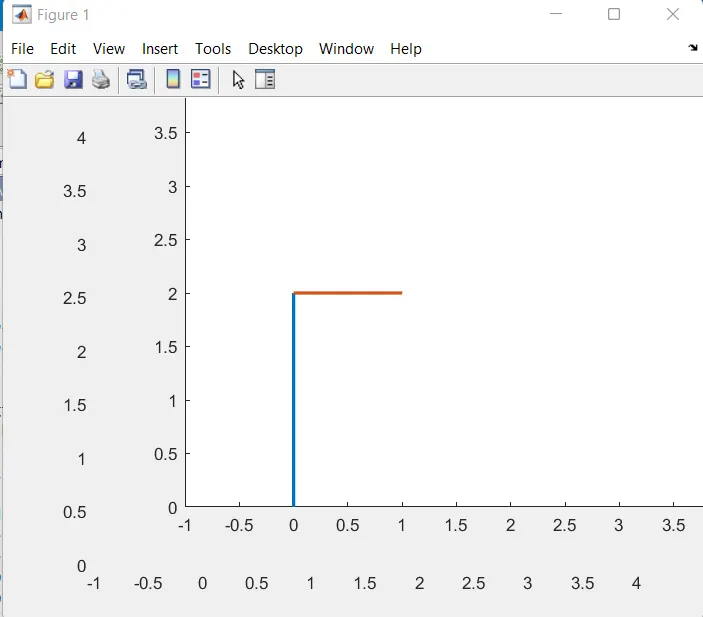
An example of the 2D plot is shown below.
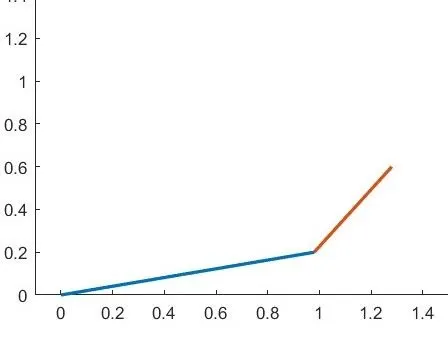
In the diagram above.
1. Line 1 in shown in blue color which is mentioned as " l1 " in the equation(s).
2. Line 2 is shown in red color , which is mentioned as " l2 " in the equation(s).
3. Theta1 is the angle of Line 1 ie " l1 ". Theta 1 will be variable.
4. Theta2 is the angle of Line 2 ie " l2 ". Theta 2 will be variable.
clear all
close all
clc

% Program to simulate forward kinematics of a 2R Robotic Arm
% Inputs
l1 = 2;
l2 = 1;
theta1 = linspace(0,90,10);
theta2 = linspace(0,120,20);

ct = 1;
for i = 1:length(theta1)
    THETA1 = theta1(i);
    for j = 1:length(theta2)
        THETA2 = theta2(j);

        %coordinates
        % line 1 coordinates x0,y0 and x1,y1
        % line 2 coordinates x1,y1 and x2,y2
        x0 = 0;
        y0 = 0;

        x1 = l1*cosd(THETA1);
        y1 = l1*sind(THETA1);

        x2 = x1 + l2*cosd(THETA2);
        y2 = y1 + l2*sind(THETA2);

        % plotting
        plot([x0 x1],[y0 y1],[x1 x2],[y1 y2],'linewidth',2)
        axis([-1 4 0 4])
        pause(0.05)
        M(ct) = getframe(gcf);
        ct = ct + 1;

    end
end

movie(M)
videofile = VideoWriter('2R_Robotic_Arm_Animation.avi','Uncompressed AVI');
open(videofile)
writeVideo(videofile,M)
close(videofile)
Description : The inputs provided in the code are :
1. length of the first and second line in metre. Angular range of line 1 and line 2.
2. linspace command is used for calculating the values of ' theta1 ' and ' theta2 ' in the given range. Here the range given for theta1 is from 0 to 90 with 10 values and the range for theta2 is from 0 to 120 with 20 values. The values of angles are in degrees.
Now, since we will have multiple values of theta1 and theta2 , hence we will need to repeat the program again and again using program code. For this puspose we have used ' for loop ' . The first line in the for loop indicates the length of theta1 from the range 1 to 10 ie the number of values for theta1 at which at which ' l1 ' will move from angle 0 to 90. so this process will be repeated 10 times.
In order to plot the values of theta2 for every value of theta1 we again use a for loop within the for loop for theta1. Here the line again indicates the length of theta2 from the range of 0 to 120 with 20 values ie this process will be repeated with line ' l2 ' ,20 times for each and every value of theta1.
Next, we have to determine the coordinates for l1 and l2 . Coordinates for l1 is x0,y0 and x1,y1. Coordinates for l2 is x1,y1(since end point of l1 is start of l2) and x2,y2. The value of x1 and y1 is calculated using cosd and sind respectively , since the values of angles are in degrees.
Now we plot the values.
please not : we have to enter the correct sequence in which the values of x and y will will be plotted. In the code the correct sequence is written ie " plot([x0 x1],[y0 y1],[x1 x2],[y1 y2],'linewidth',2) " . If we write the plot command " plot([x0 x1],[x1 x2],[y0 y1],[y1 y2],'linewidth',2) , we will get the incorrect plot as shown below.
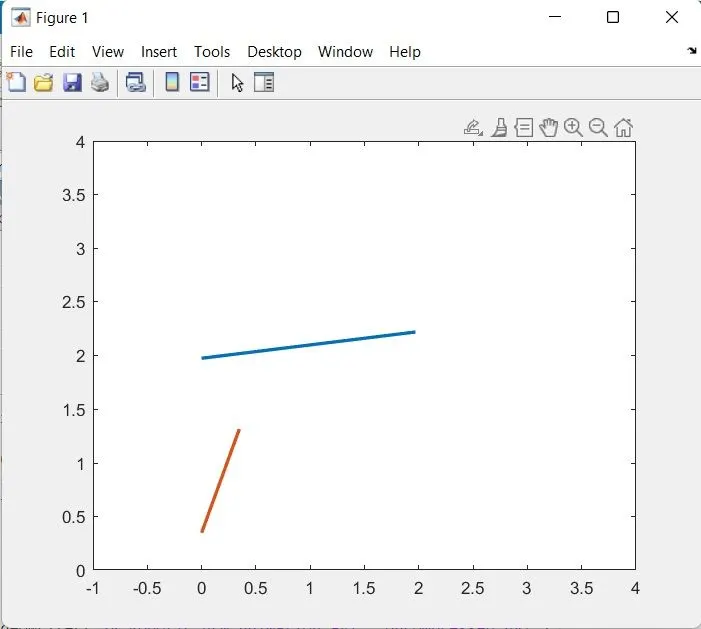
The above plot is just to show the screenshot of part of the animation. The animation is still working but with the wrong visualisation.
Inorder to get a better view the axis command is given with proper coordinates ie axis([-1 4 0 4]).
The pause command is given here to pause between each frame ie pause(0.05).
Please note : The number values of theta1 and theta2 and the pause duration will determine the smoothness in the animation. Less pause duration and higher values of theta1 and theta2 will give a much smoother animation.
Converting the plots into a movie.
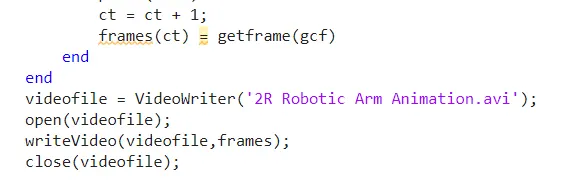
The command ' M(ct) = getframe(gcf) ' is used to save each and every frame including the first frame and subsequent frames. The number frames will depend on the number of values of theta1 and theta2. hence to create a movie all these frames have to be joined/stitched together.
The ct command is the counter command and ct = ct +1 will increase the counter after each frame is saved and the process will go on till the desired condition is reached.
To Convert into a movie file or .avi file , the following commands are :