Week 14 challenge
Assemble and apply GD&T to the butterfly valve assembly drawing
Answer:-
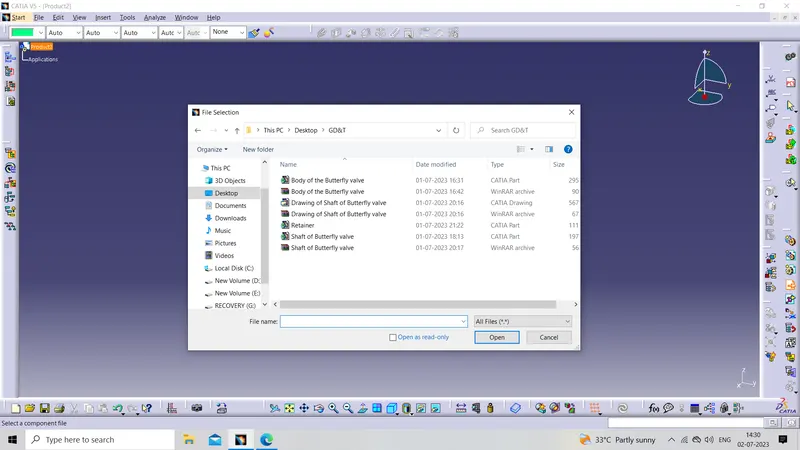
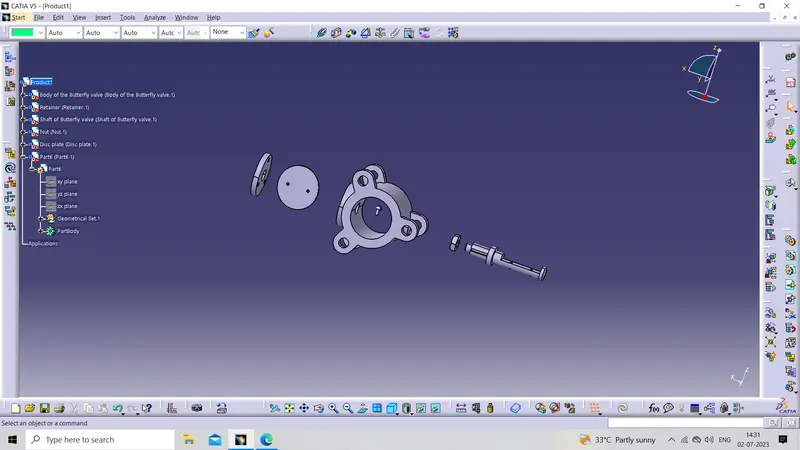
The first step is to we have to create the Product file in that file we will assemble the different parts of the butterfly valve which are created in the previous challenges
By using the existing components command we can add the previously created part files one by one
************************************************************************************************************************************************************************************************************************************************************************************************
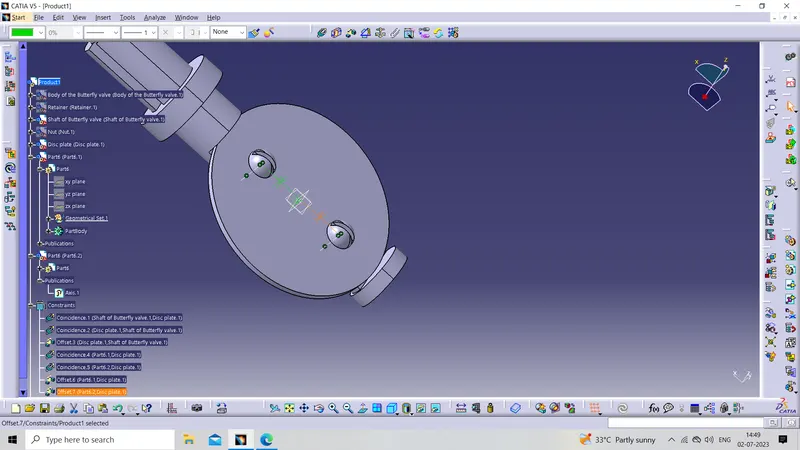
Now first we give constraints to the disc and the shaft of the butterfly valve
here we give the coincidence constraint
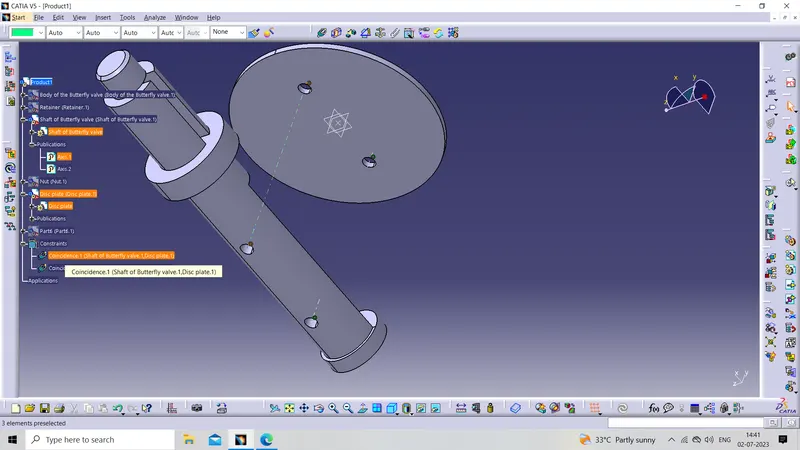
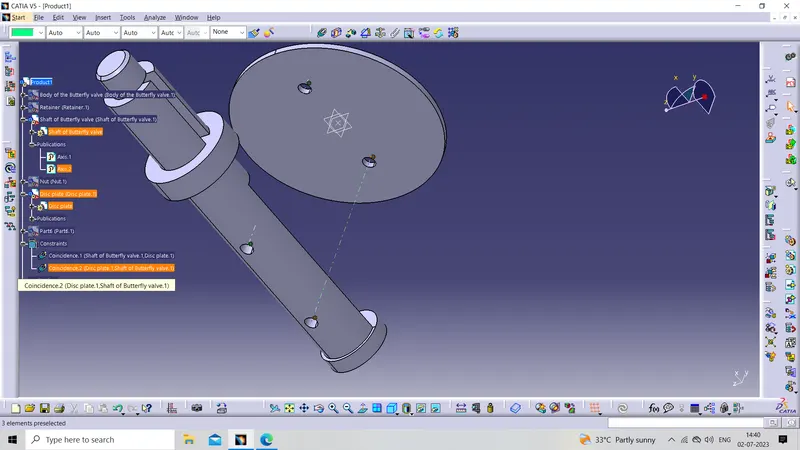
Now give the offset constraint of 0mm then both parts are mating properly
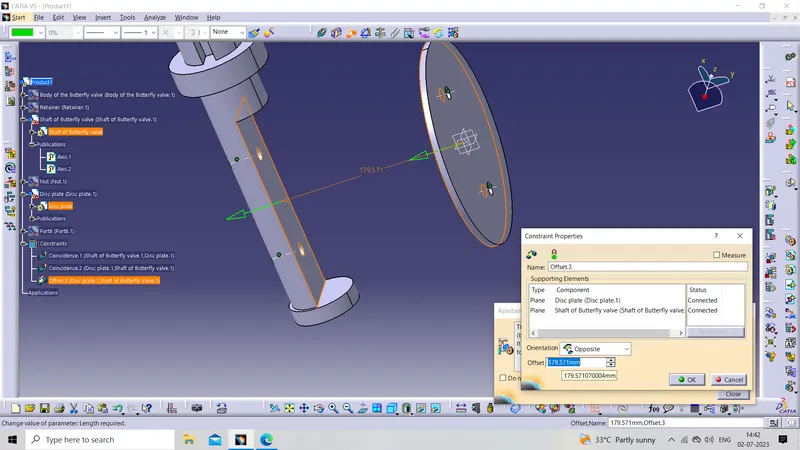
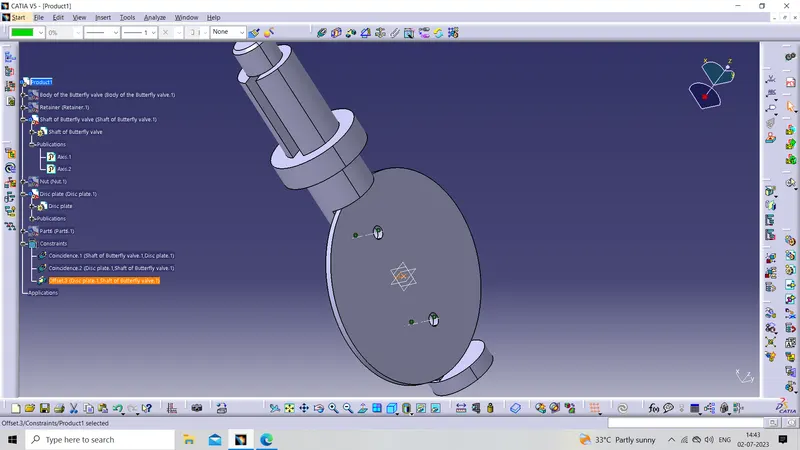
Now give the coincidence constraint
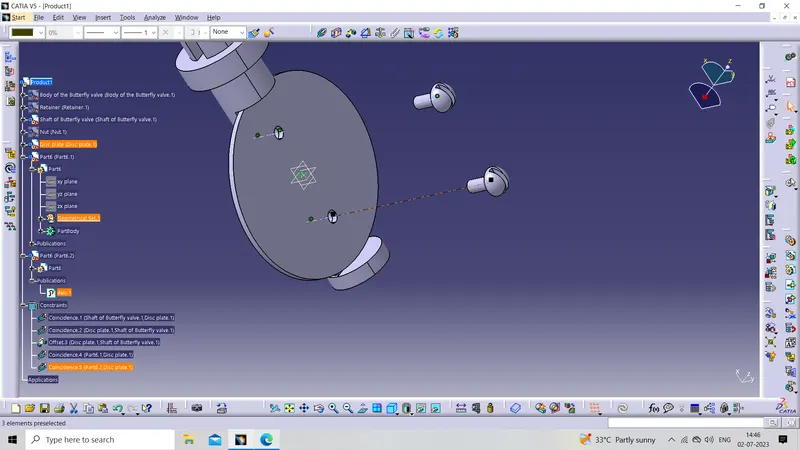
Now give the offset constraint of 0mm then both parts are mating properly
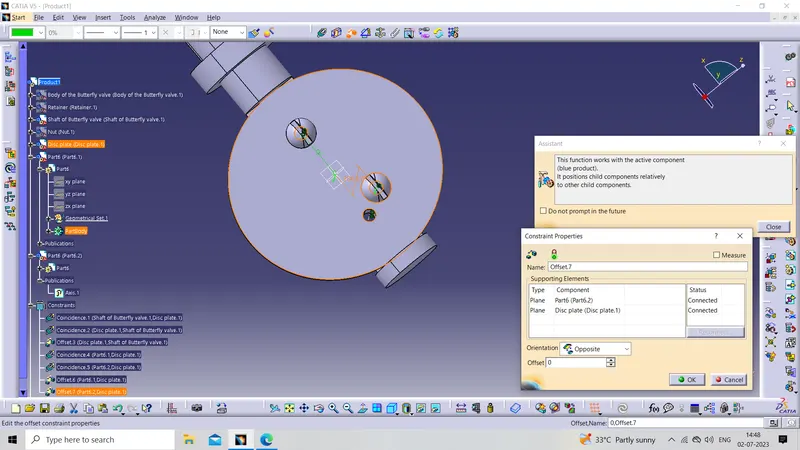
************************************************************************************************************************************************************************************************************************************************************************************************
Now the above sub-assembly is going inside the by using the different constraint command from the Assembly workbench
Now give the coincidence constraint to the above sub-assembly and the Body of the butterfly valve
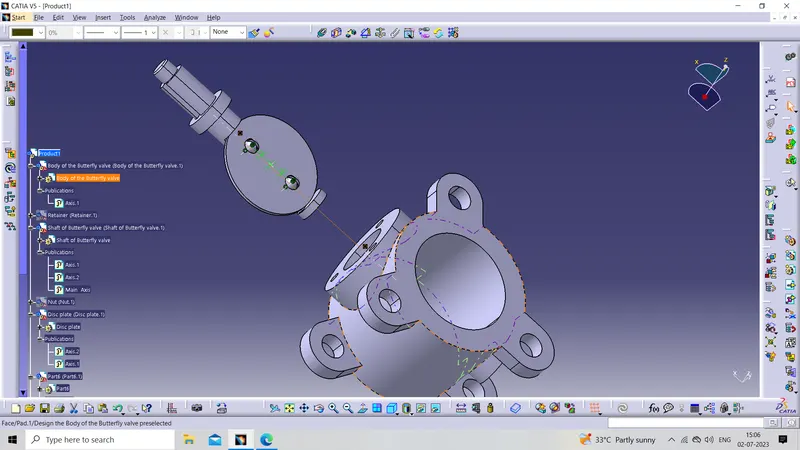
Now give the offset constraint of 0mm then both parts are mating properly
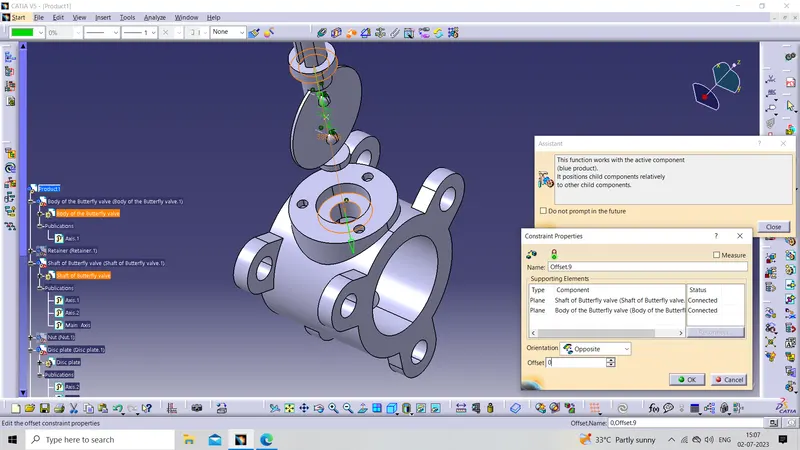
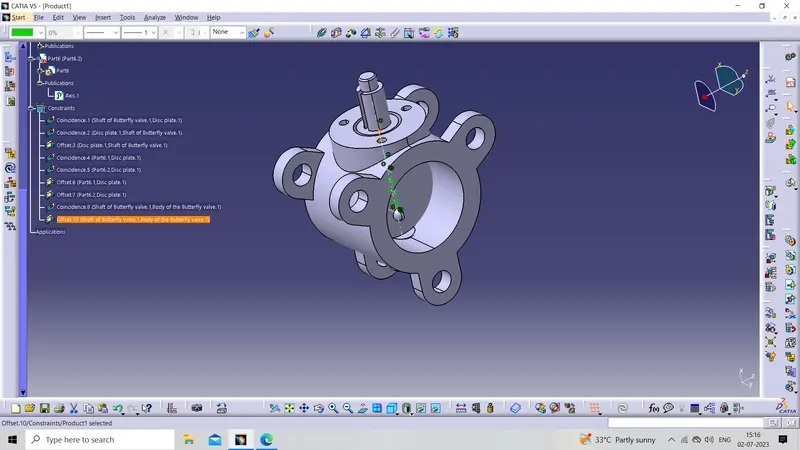
************************************************************************************************************************************************************************************************************************************************************************************************
Now we place the retainer plate on the Butterfly valve body
Now give the coincidence constraint
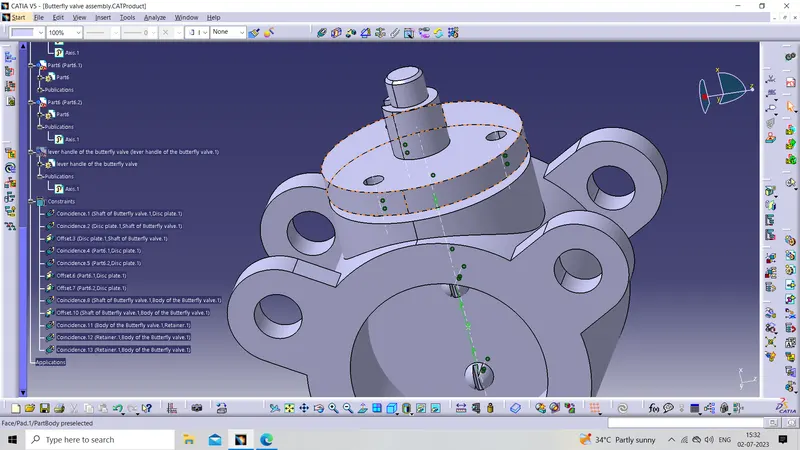
Now give the offset constraint of 0mm then both parts are mating properly
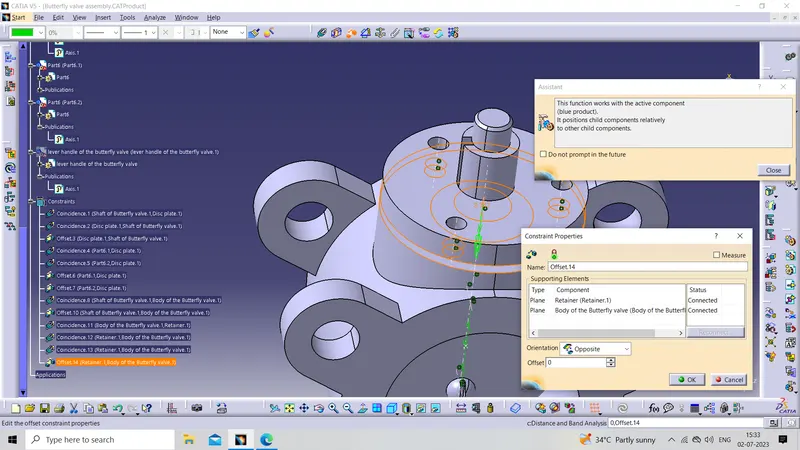
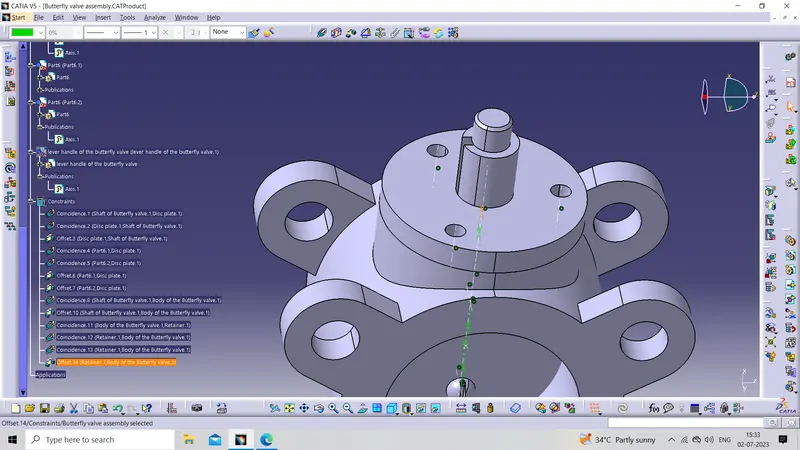
************************************************************************************************************************************************************************************************************************************************************************************************
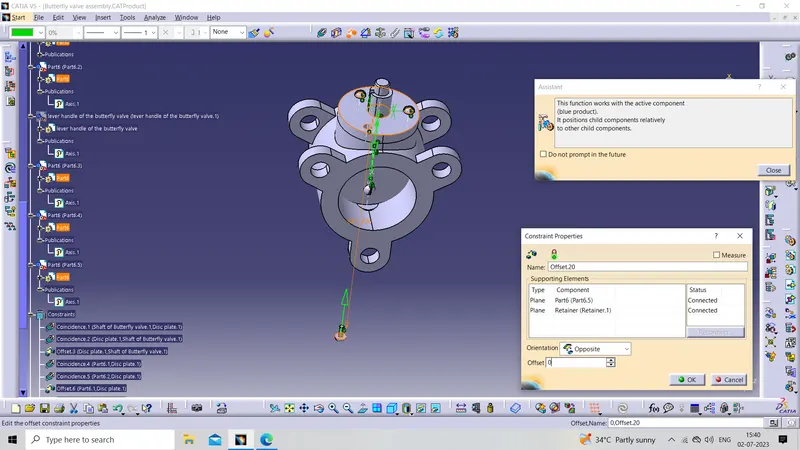
Now place the screws in the holes By using the coincidence constraint And offset constraint
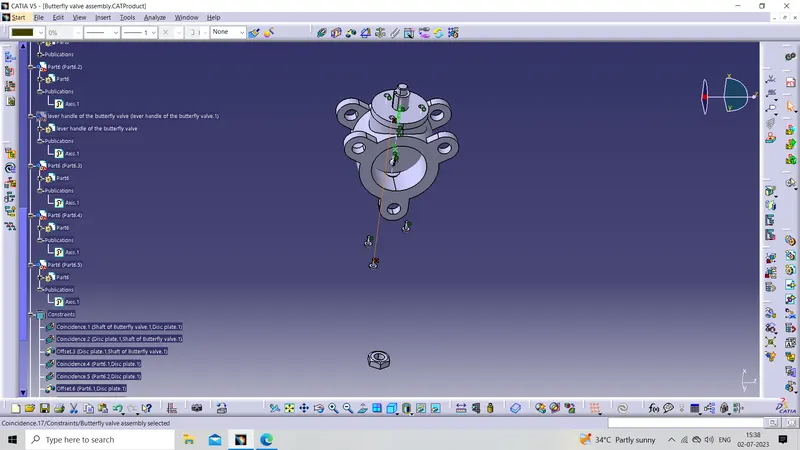
Now give the offset constraint of 0mm then both parts are mating properly
************************************************************************************************************************************************************************************************************************************************************************************************
Now Placing the Lever handle on the butterfly valve by using the different constraint command
Now give the coincidence constraint
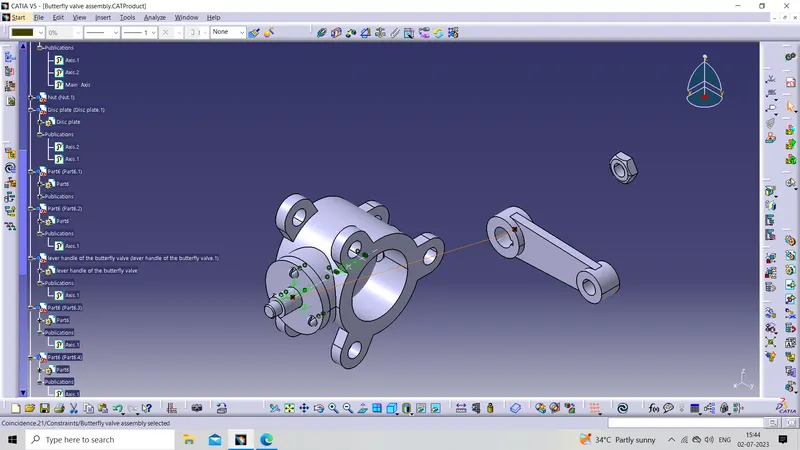
Aligning the key slot of the Shaft And the lever gives an offset constraint
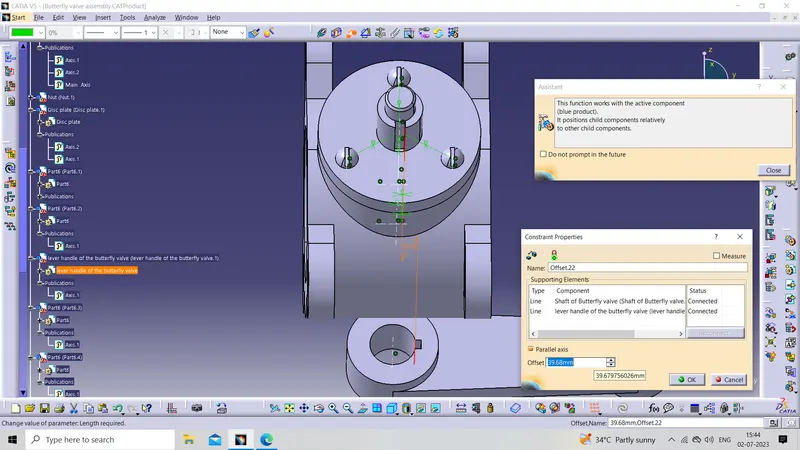
As we see the key slots of the Shaft and the Lever handle of the butterfly valve are aligned properly
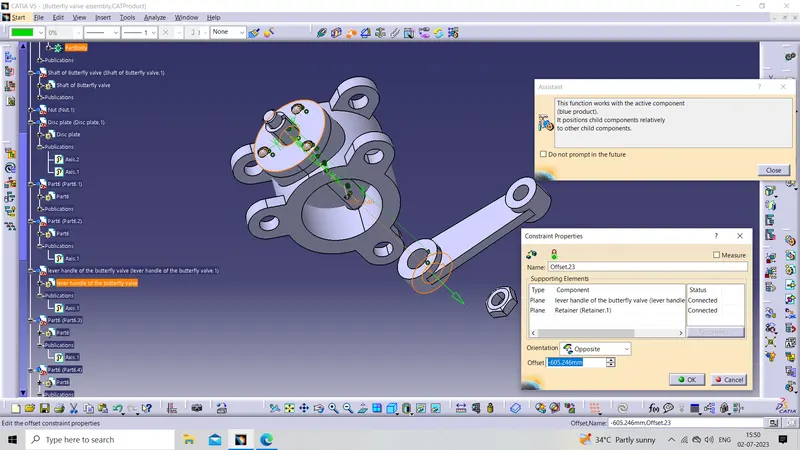
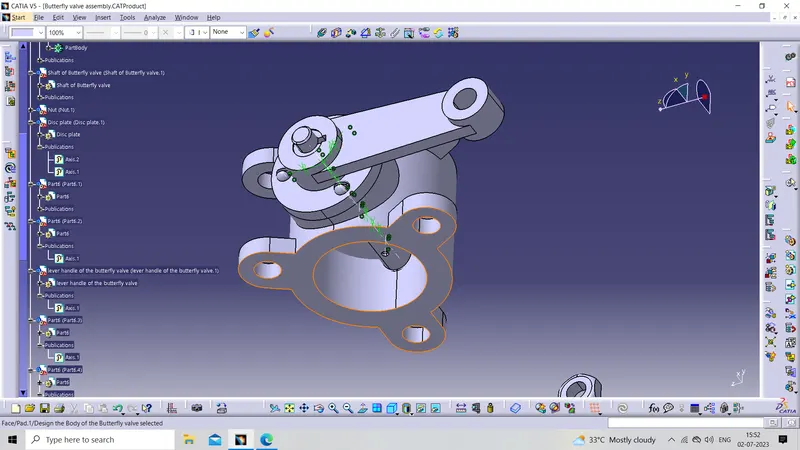
Now placing the lever handle of the butterfly valve on the retainer by using the offset constraint command
************************************************************************************************************************************************************************************************************************************************************************************************
By placing the nut on the lever handle of the butterfly valve we lock it properly
Now give the coincidence constraint
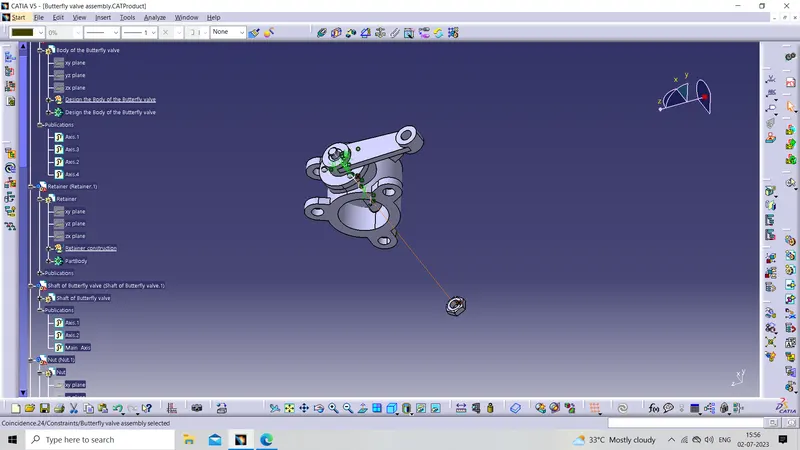
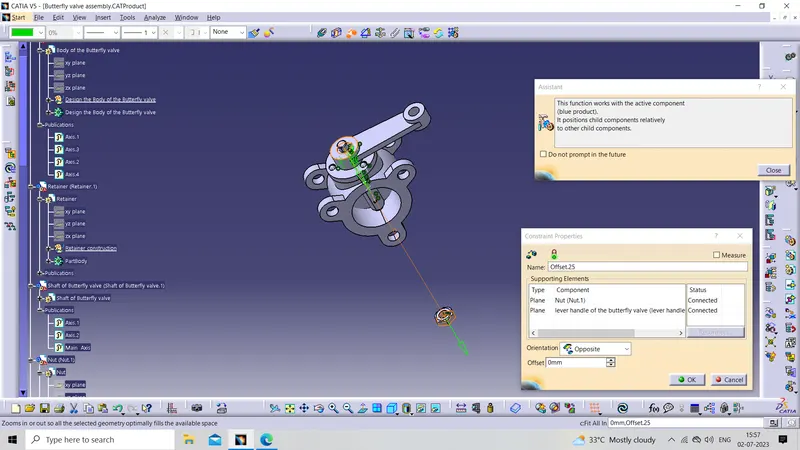
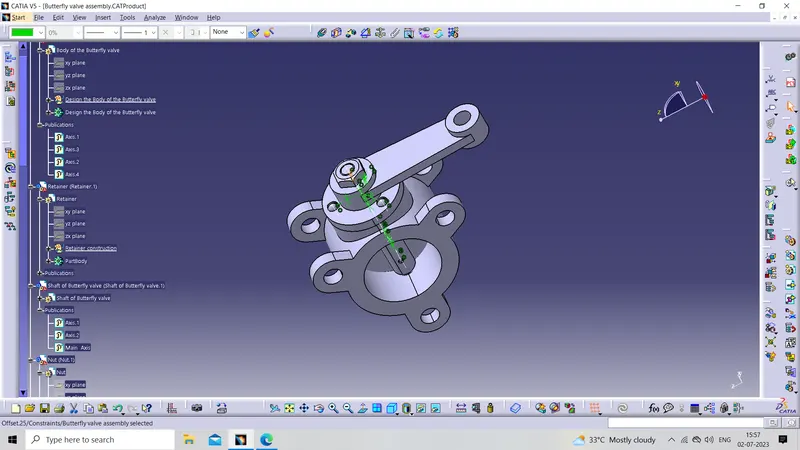
Now give the offset constraint of 0mm then both parts are mating properly
************************************************************************************************************************************************************************************************************************************************************************************************
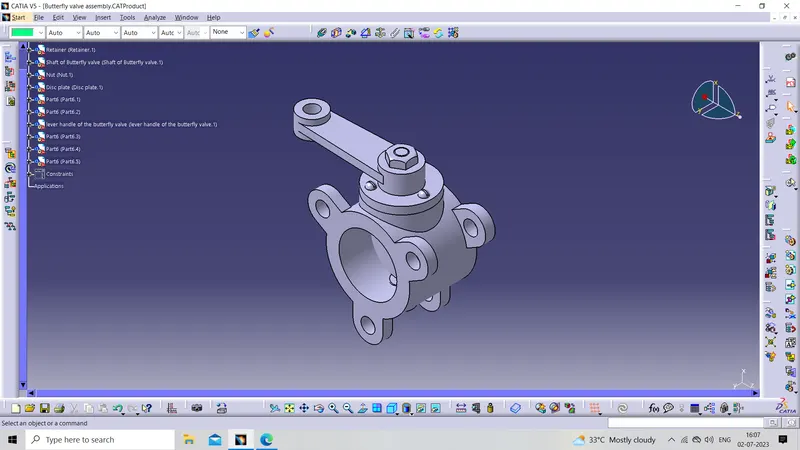
Hence our Assembly is completely done
Isometric view
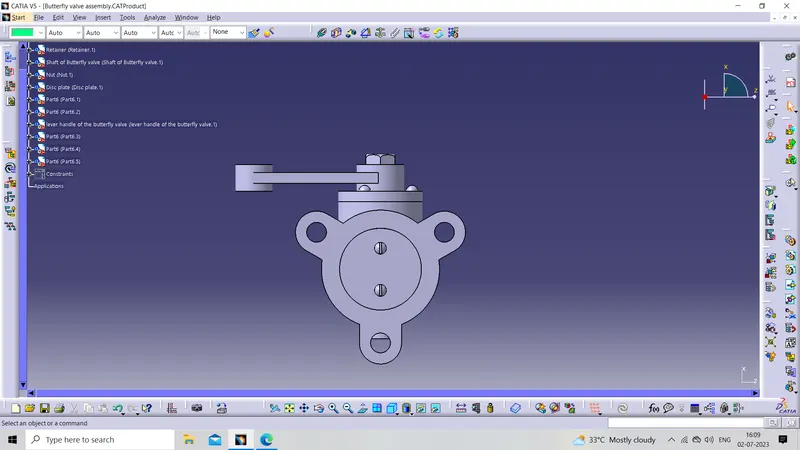
Front view
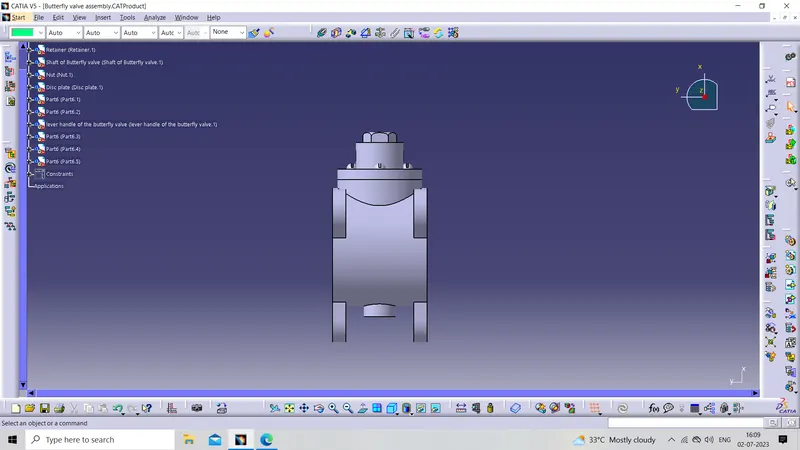
Side view
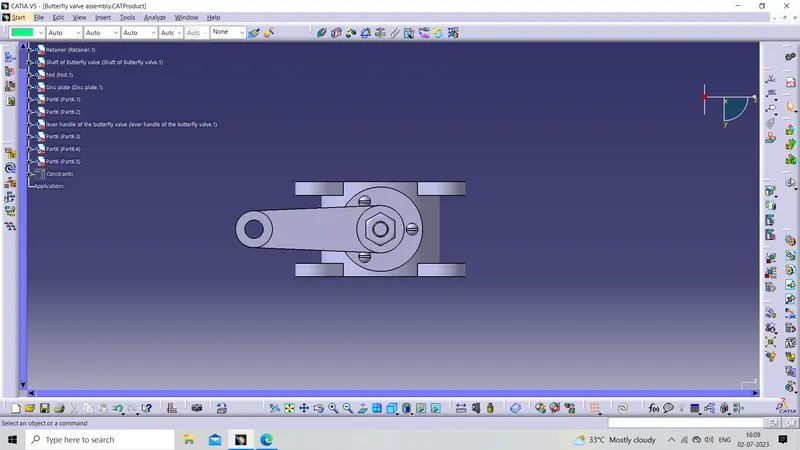
Top view
************************************************************************************************************************************************************************************************************************************************************************************************
Now Apply GD&T to the butterfly valve assembly drawing
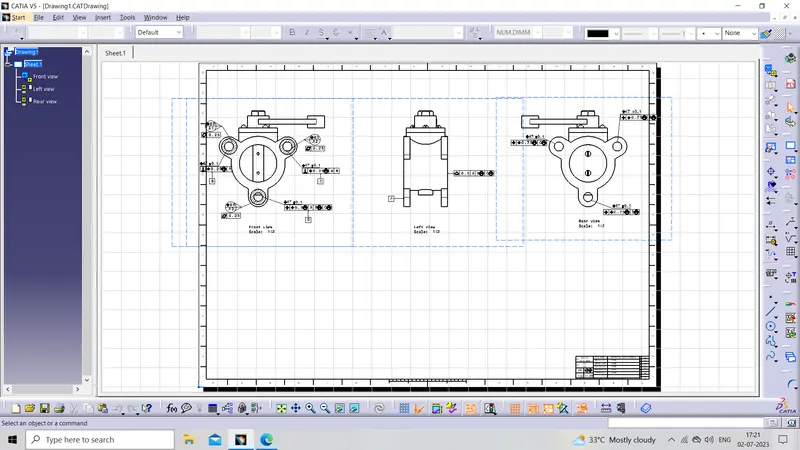
create the new drawing file
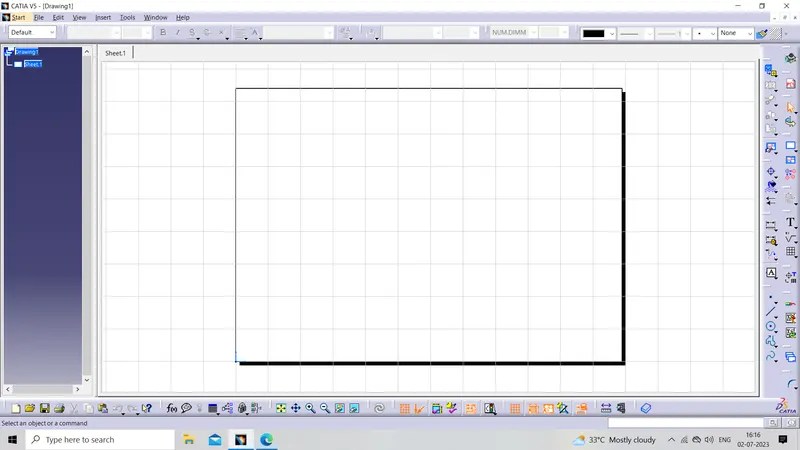
Now project our Assembly
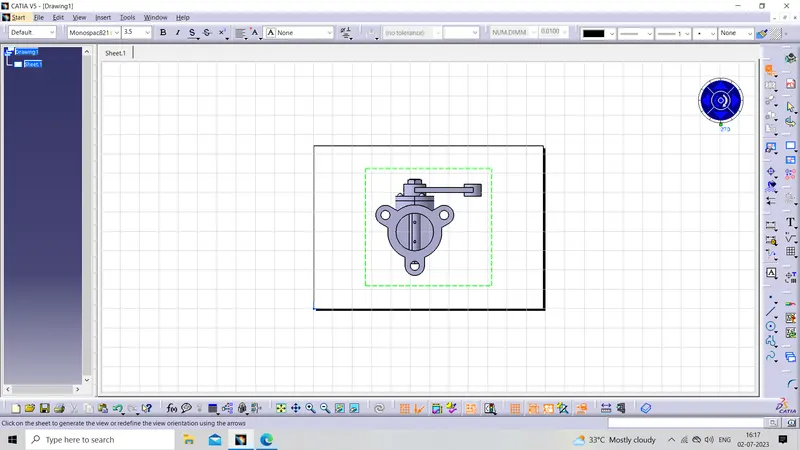
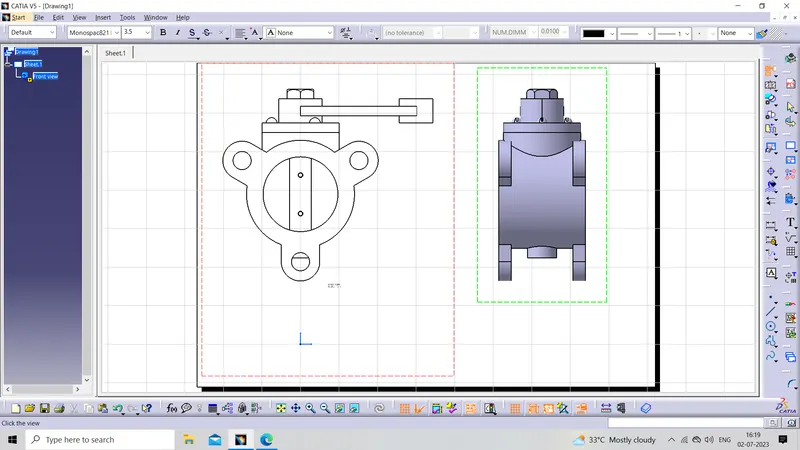
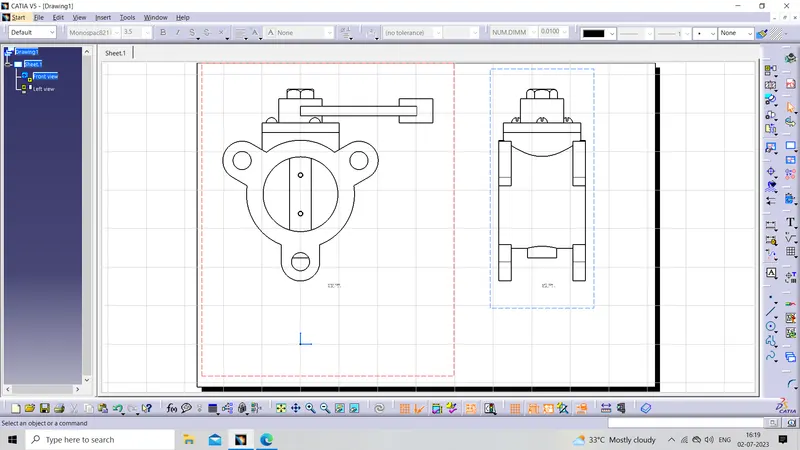
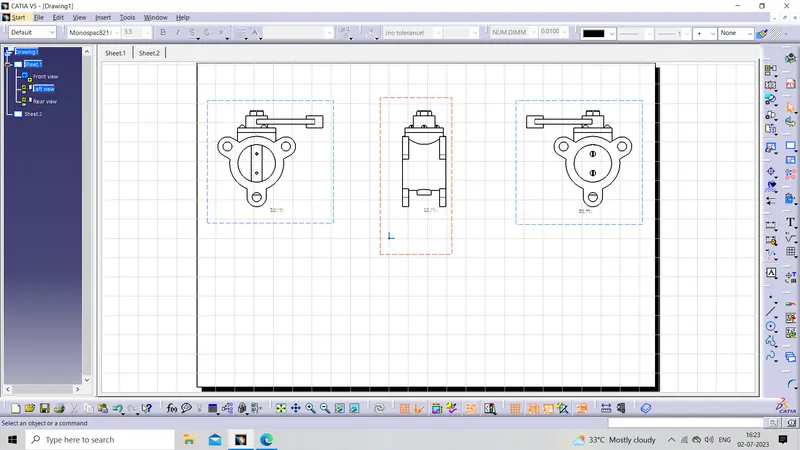
************************************************************************************************************************************************************************************************************************************************************************************************
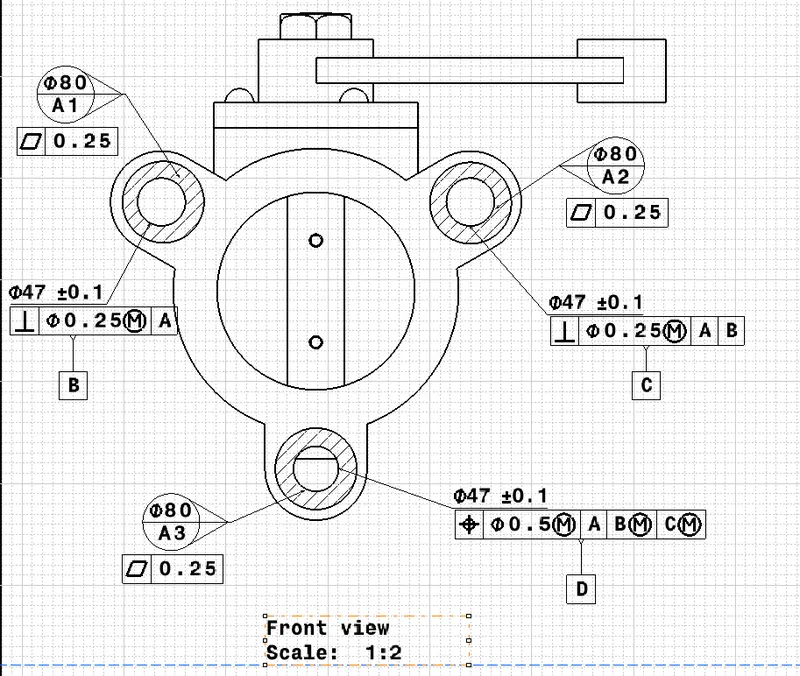
Now Applying the Datum target area
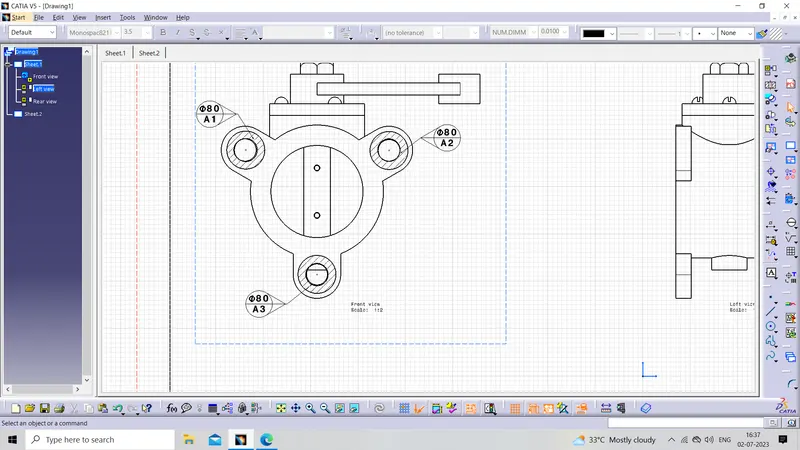
Now Applying Flatness tolerance to the datum target area
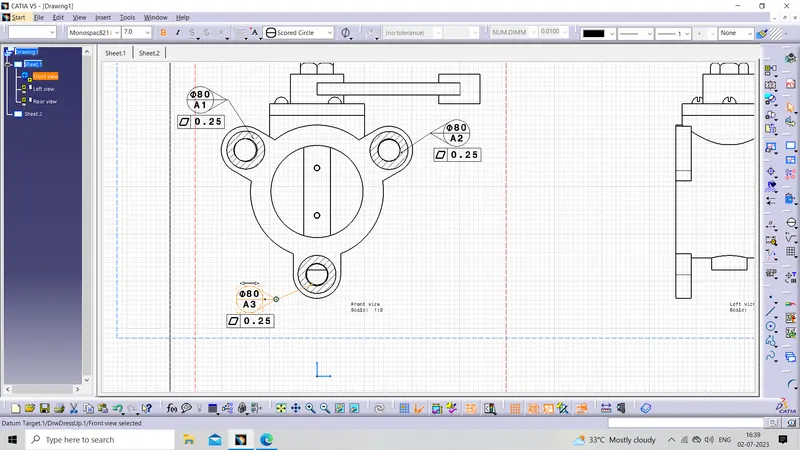
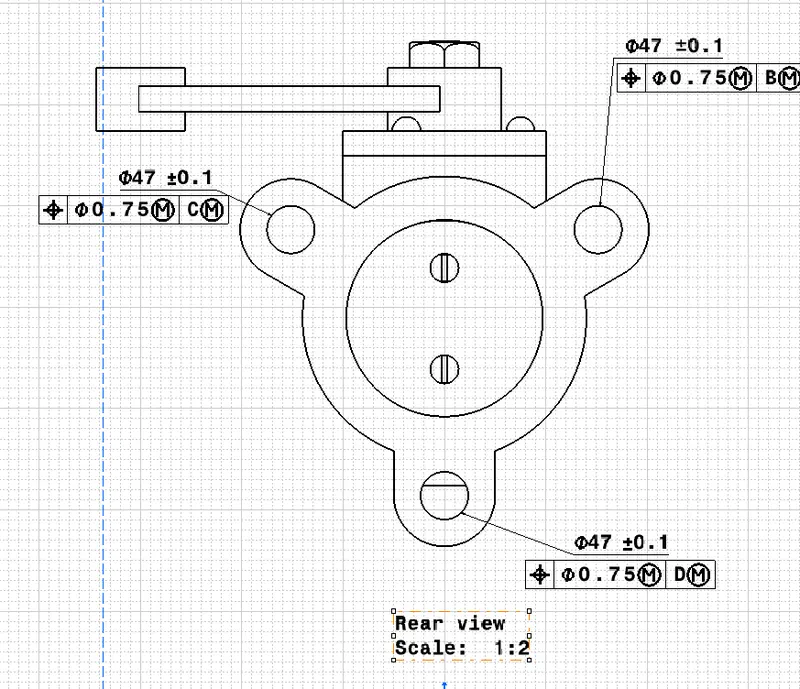
Now applying the perpendicular & position tolerance to the three holes
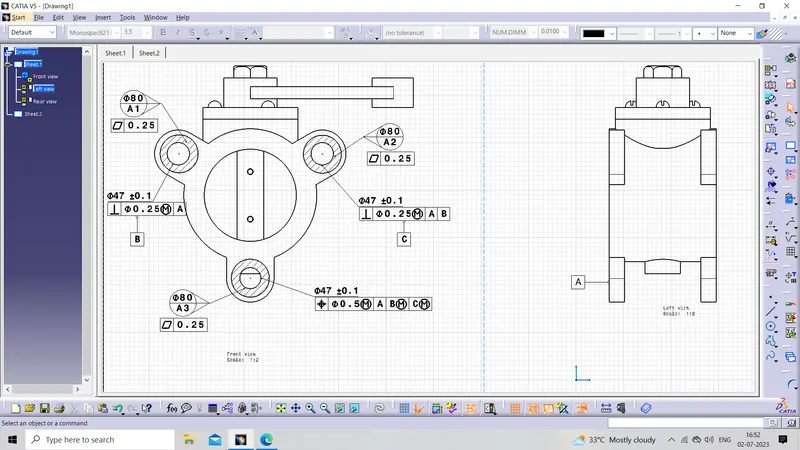
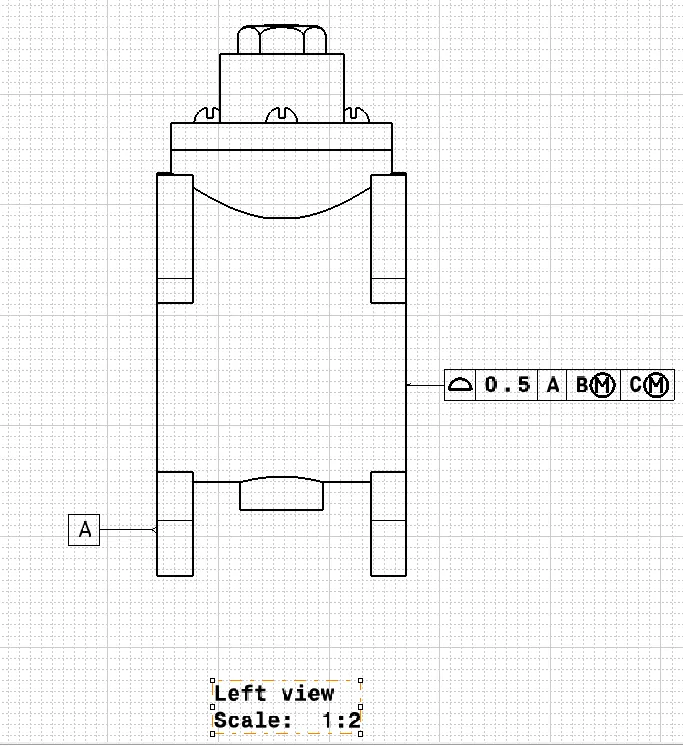
Now applying the profile tolerance to the face of the butterfly valve assembly
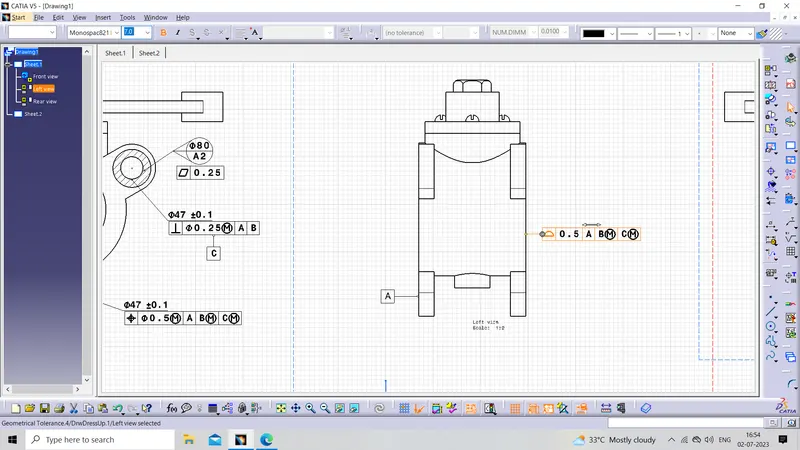
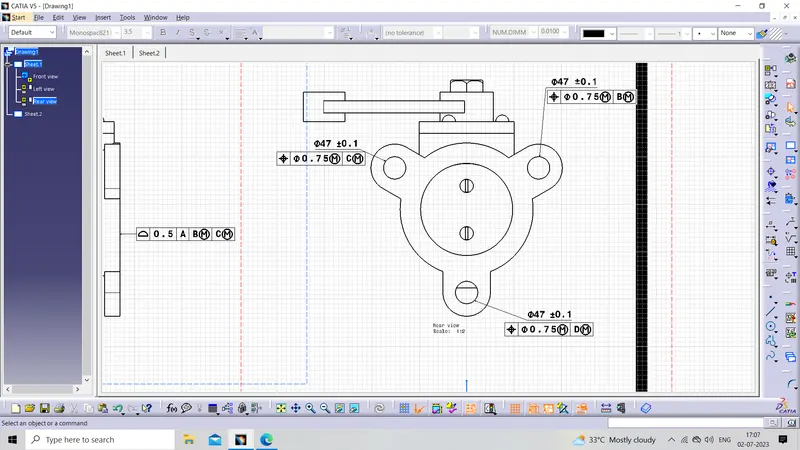
Now for controlling the position of the rear three holes concerning the front three holes, we give the position tolerance
************************************************************************************************************************************************************************************************************************************************************************************************
Hence we applied GD&T successfully
************************************************************************************************************************************************************************************************************************************************************************************************
CONCLUSION: Hence, the Butterfly valve is created and the Geometric Dimensioning and tolerances are applied with the help of using CATIA V5 software.