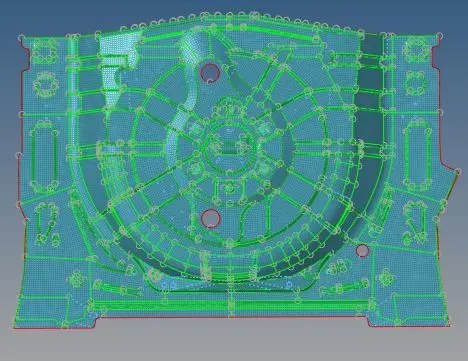
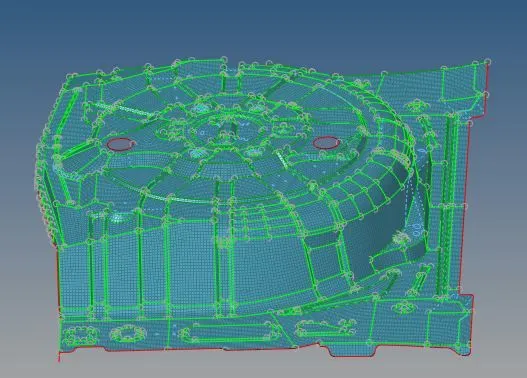
Week 12:Project 2-Meshing of Rear Wheel Holder challenge
AIM:
To extract mid-surface, geometry clean up and create the shell (two dimensional) mesh for the given rear wheel holder according to the given quality criteria by using HYPERMESH.
THEORY:
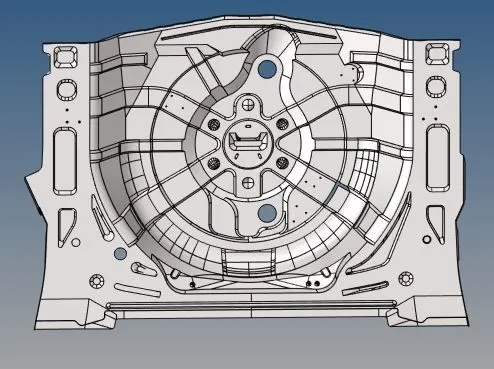
Rear Wheel Holder:
A structural shear panel for forming a floor panel for support by a vehicle frame is formed by a composite of top and bottom sheets and a core with a vacuum infused resin. The core is formed of top and bottom layers each formed from a honeycomb panel defining an array of hexagonal tubular cells with walls which extend in the thickness direction filled with a foam material. A third layer is located between the first and second layers and is formed of a material such as foam, rubber or cork which is free from tubular cells in the thickness direction and free from rigid structural members in the thickness direction to reduce communication of sound through the panel.
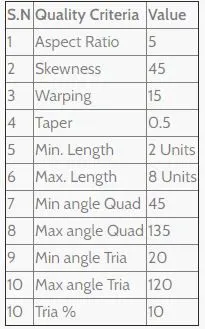
QUALITY CRITERIA REQUIREMENT:
PROCEDURE:
- First, import the rear wheel holder model into HyperWorks.
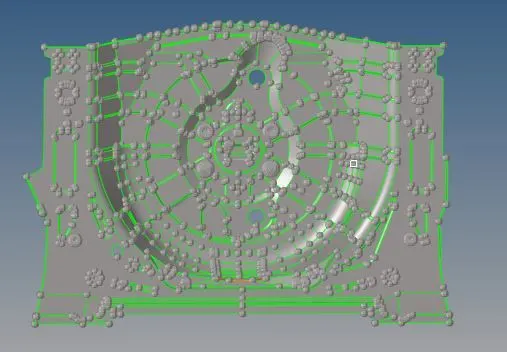
- Clean up the geometry of the components for obtaining better mid-surface.
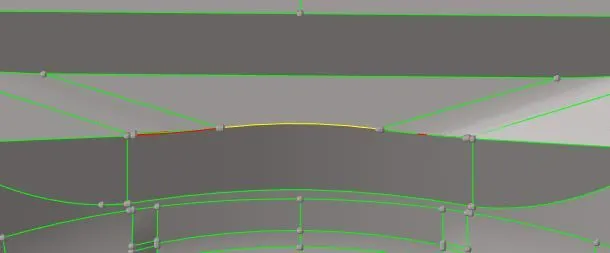
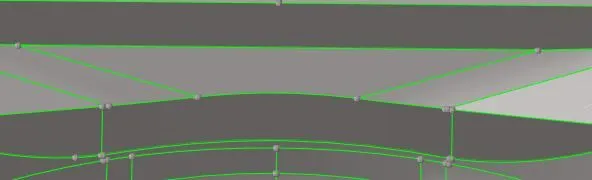
- Now, after checking the thickness at various points of the components by Geometry > distance > two points, it is found that the component has same thickness. So, auto mid-surfacing is done by going to Geometry >midsurface. Select extraction option and change it to offset and then, select the entire component; click extract and the mid surface is created.
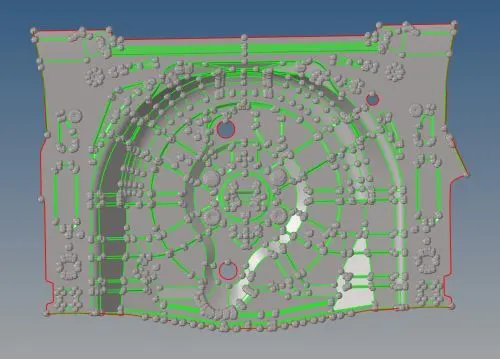
- After extracting the mid-surface, perform the geometry clean up. Also, delete the buttons which will disturb the mesh flow and fill the surface by Geometry > quick edit > filler surf.
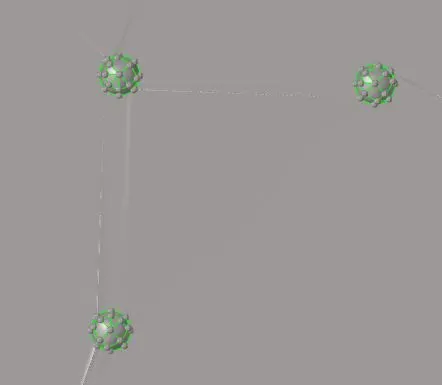

- Then, the mesh can be created by 2D > automesh > size and bias. Then, assign element size, mesh type, select surface and click mesh.
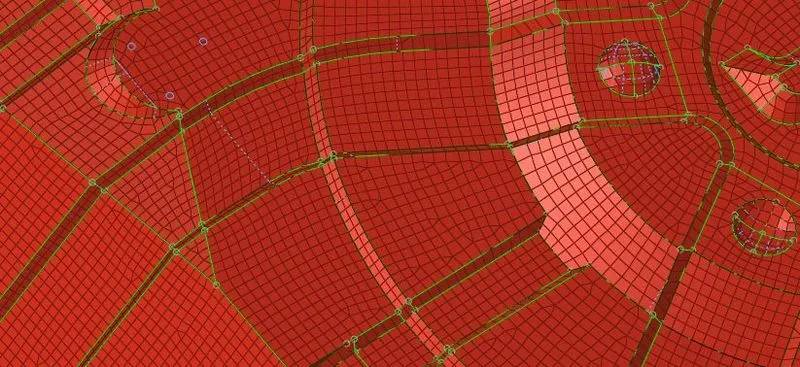
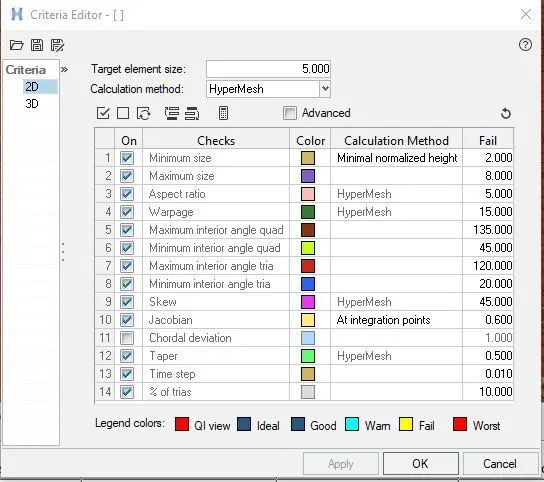
- The obtained mesh fails for quality criteria which can be corrected by remeshing with 2D > rebuild mesh ad select edit criteria. A window is opened where quality criteria requirements can be given. Then, select the elements and click rebuild. If the mesh still fails select the elements and remesh it.
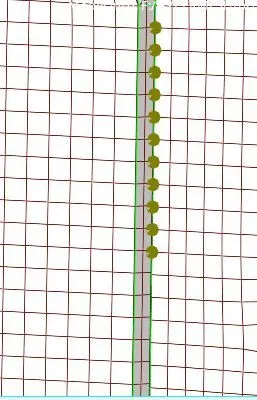
- Also check for connectivity by Tool > edges, select the elements and click preview equivalence. This can be corrected either by clicking equivalence in the same menu or by manually through 2D > replace and selecting the nodes to replace.
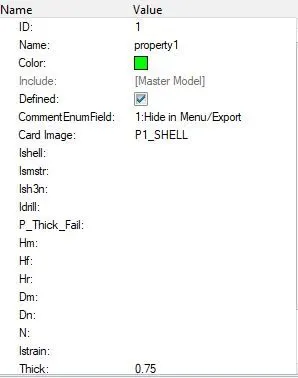
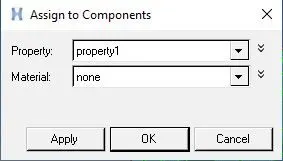
- To assign thickness, create a property card with the thickness value and assign it to the component.
RESULT:
The given model is meshed property with the specified quality criteria requirements and the correct thickness is assigned to the geometry.