Week 12:Project 2-Meshing of Rear Wheel Holder challenge
AIM :- Mesh the given floor pannel component with below mentioned quality criteria and assign thickness.
| S.N | Quality Criteria | Value |
| 1 | Aspect Ratio | 5 |
| 2 | Skewness | 45 |
| 3 | Warping | 15 |
| 4 | Taper | 0.5 |
| 5 | Min. Length | 2 Units |
| 6 | Max. Length | 8 Units |
| 7 | Min angle Quad | 45 |
| 8 | Max angle Quad | 135 |
| 9 | Min angle Tria | 20 |
| 10 | Max angle Tria | 120 |
| 10 | Tria % | 10 |
Procedure :-
- Import the given .hm file into hypermesh , go to - import model- select file - click on import .
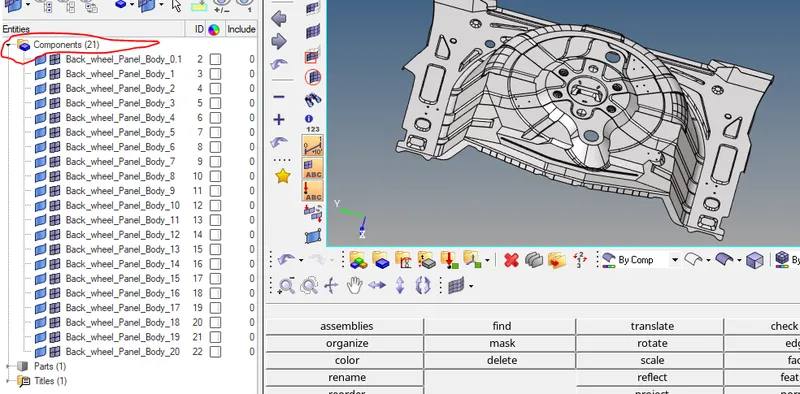
- Given model splitted into 21 components, delete the unwanted components and organize all required components in single collector.
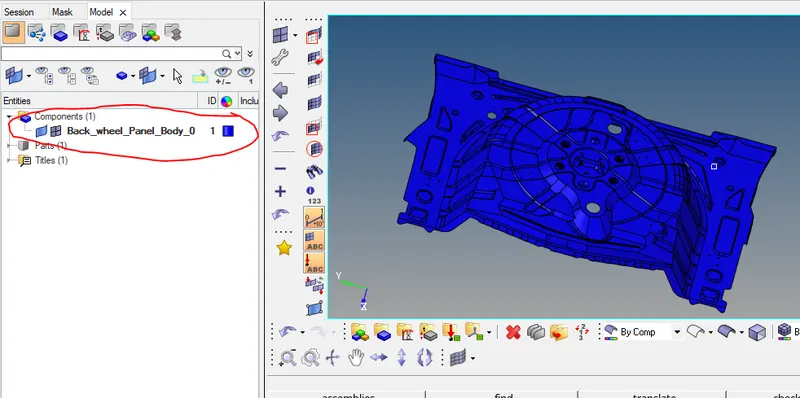
- To move components from one collector to another collector , go to- tools- organize-select surfaces- click on move.
- Now it is a single component , it is difficult to create midsurface for these kind of single complicated components.
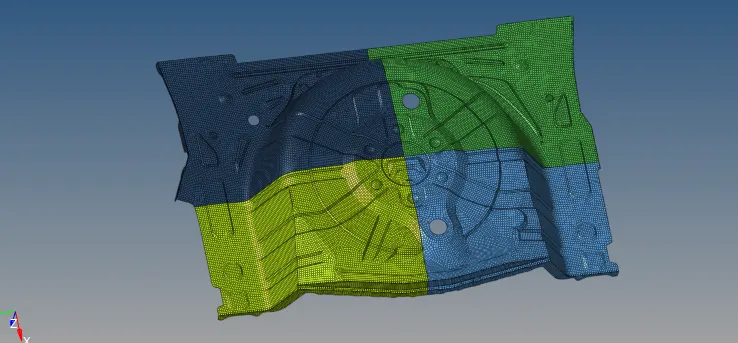
- Split the component into 4 pats, go to - geometry - surface edit - trim with surf/plane- select surface and direction [axis]-click on trim.
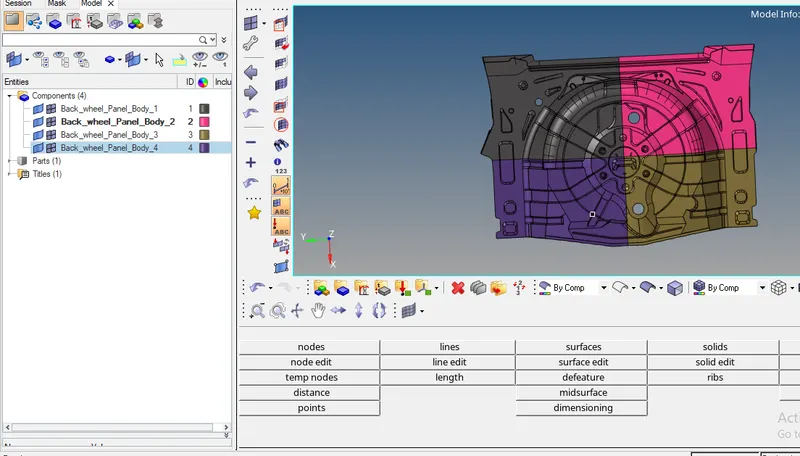
- After this do geometry cleanup for each component.
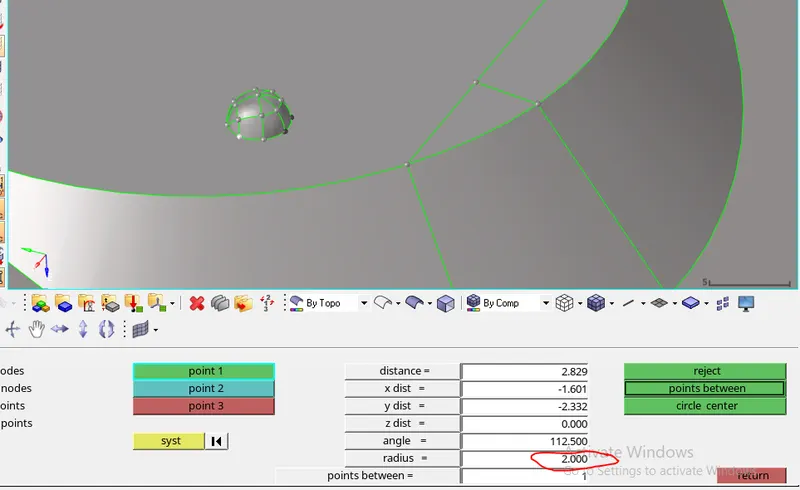
- Radius of this geometry is 2 ,it is difficult to capture these features with required quality so consider these features as pin holes and remve it.
- To measure , press F4 ,choose 3 points option.
- To remove pin holes , go to geometry - defeature- pin holes
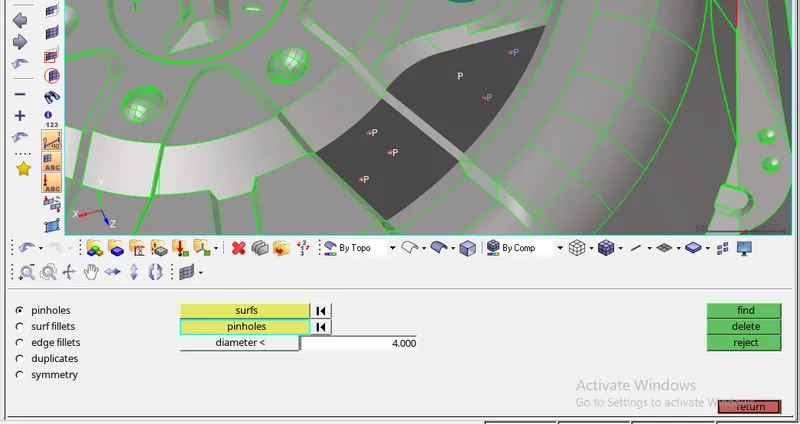
- Do the geometry cleanup for all components , using quick edit, surface edit options mainly.
- After completion of geometry cleanup create middle surface for components .
- go to - geometry -surface edit - offset - select surfaces - give offset distance- click on offset.
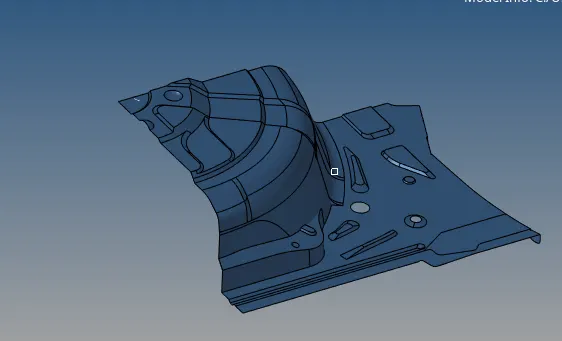
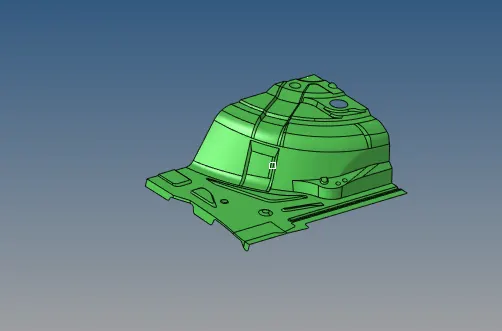
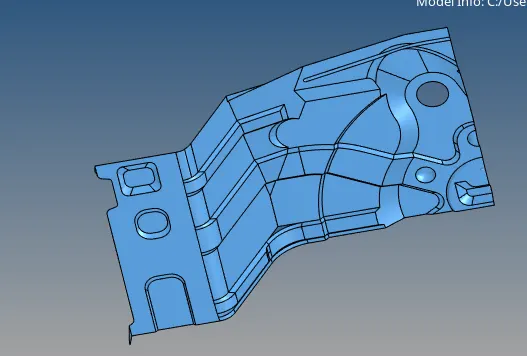
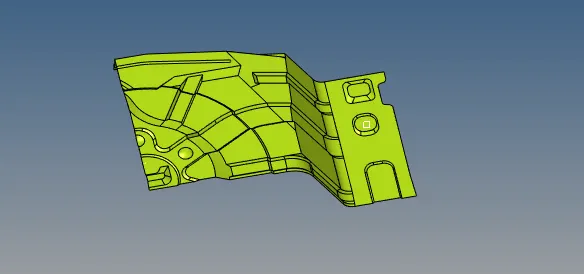
- check for connectivity errors, it means is there any free edges or any missed or duplicate surfaces like that.
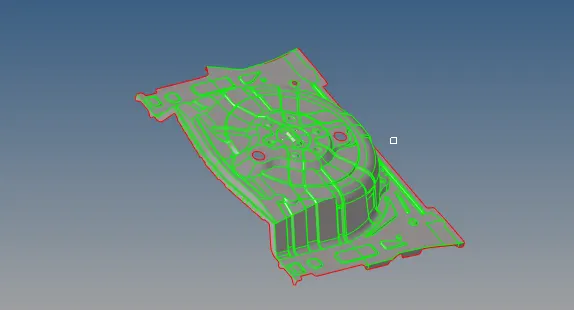
- Above pic shows the total midsurface of floor pannel component in topo view mode without connectivity errors.
- Mesh the each component seperately , go to- 2D-automesh - select surface - element type [fixed] - size [5]- click on mesh.
- After meshing go for quality check .
- To give quality criteria , go to - preferences - criteria file settings .
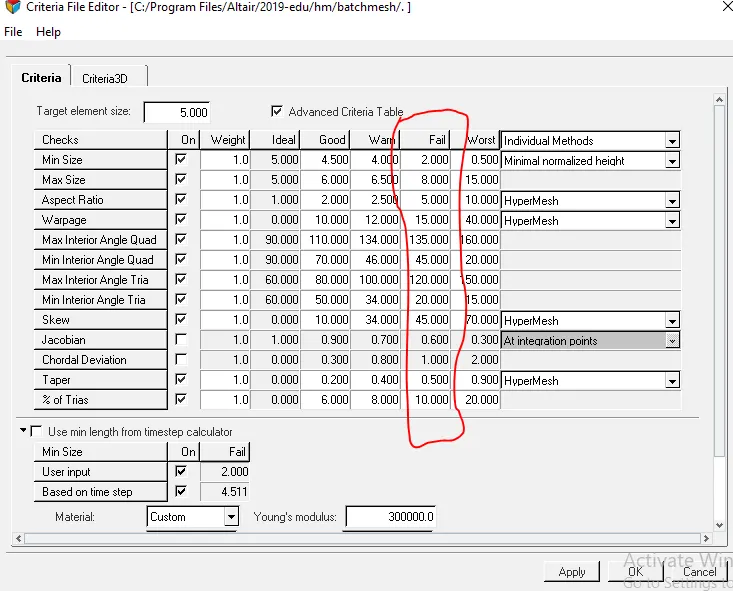
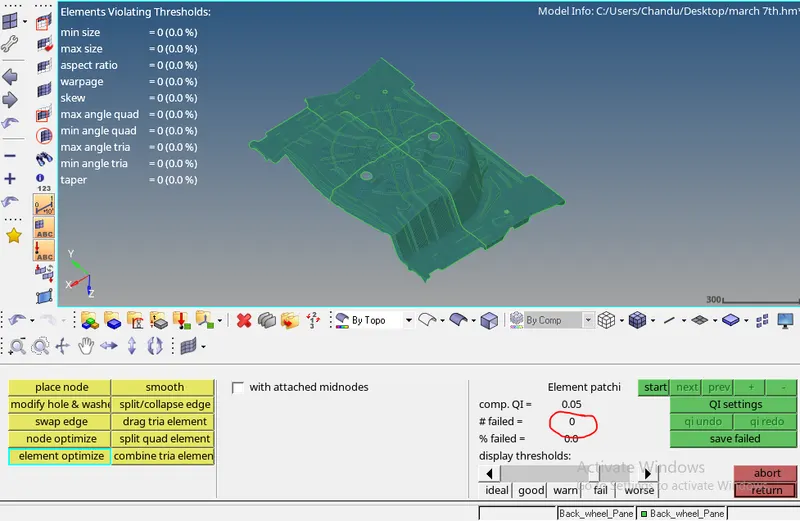
- to check, go to- 2D - quality index
- clear the all failed elements using cleanup tools[quality index], edit element [2D] ,smooth and node edit options.
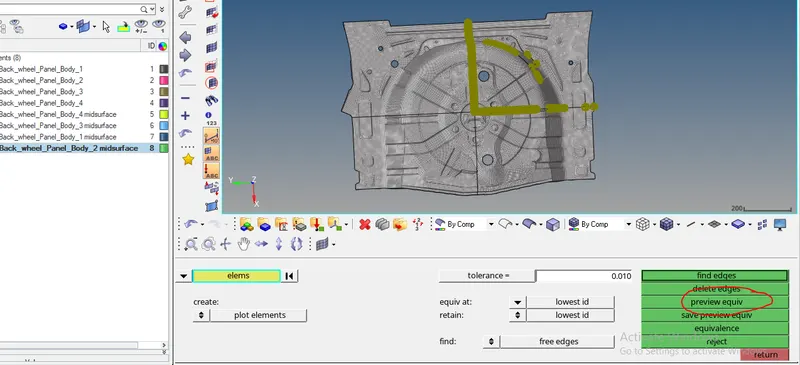
- After clearing quality check foe edges , go to -tools - edges- elements - select all - preview equivalence - click on eqivalence.
- Still some elements have edges, to clear this use replace[2D] option
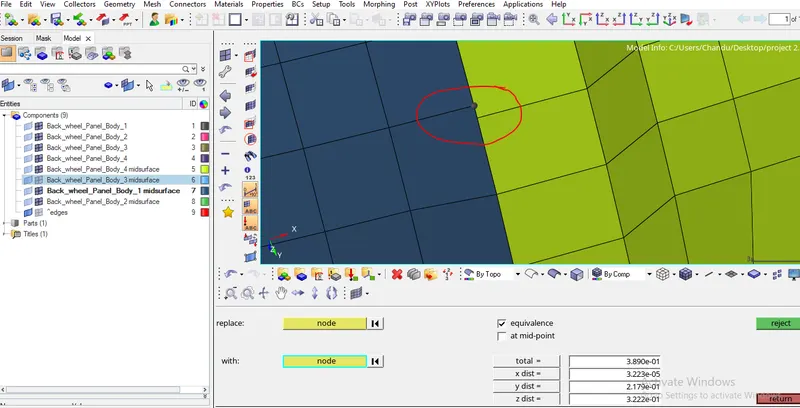
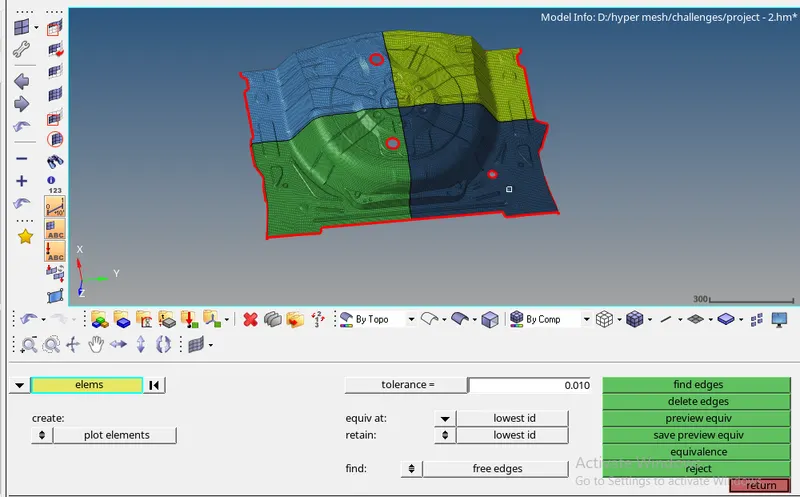
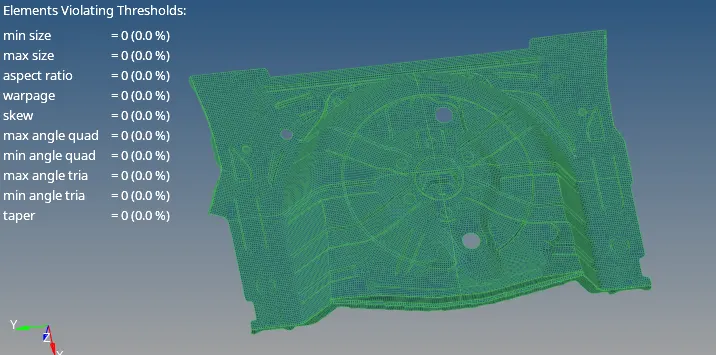
- above pic shows there is no free edge between elements and all elements have proper connectivity.
- It is a uniform thickness component, so single property is enough
- To create property , right click- create- property .
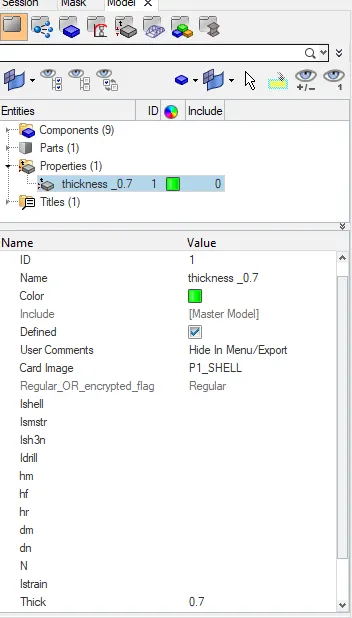
- assign this property to the components
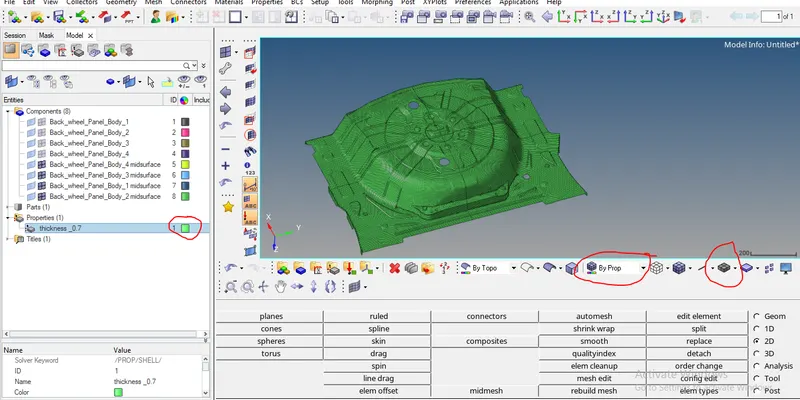
- to view thickness change view mode to by property and put in 2D detail element represention.
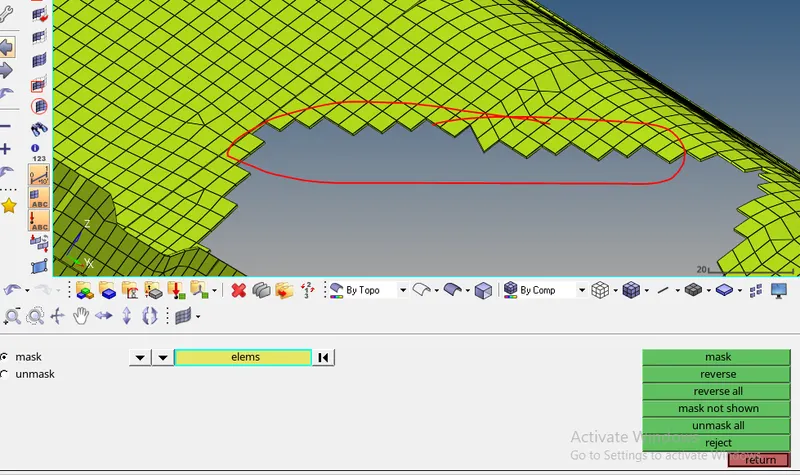
- mask some elements and see whether thickness is applied or not.
RESULT
Meshed the floor pannel component with given quality criteria and assigned thickness.