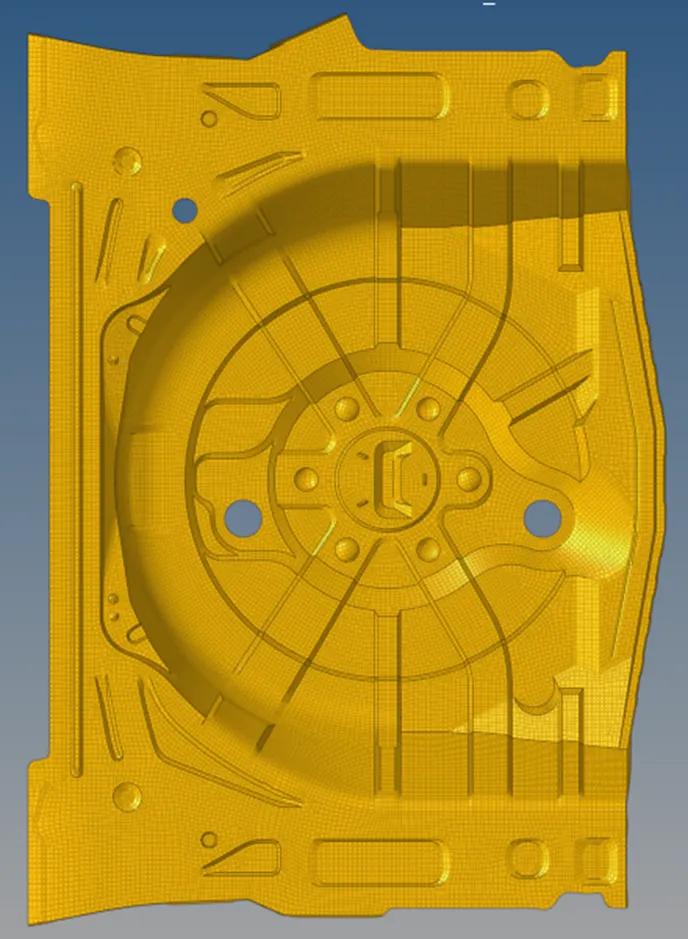
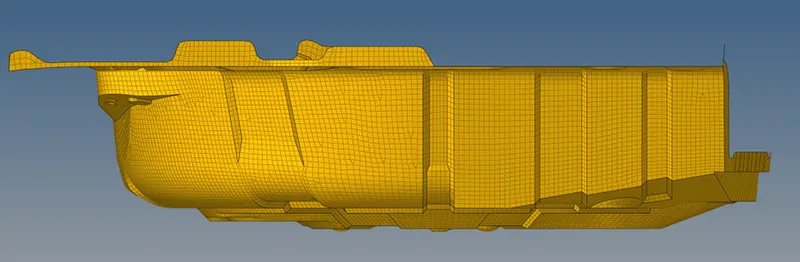
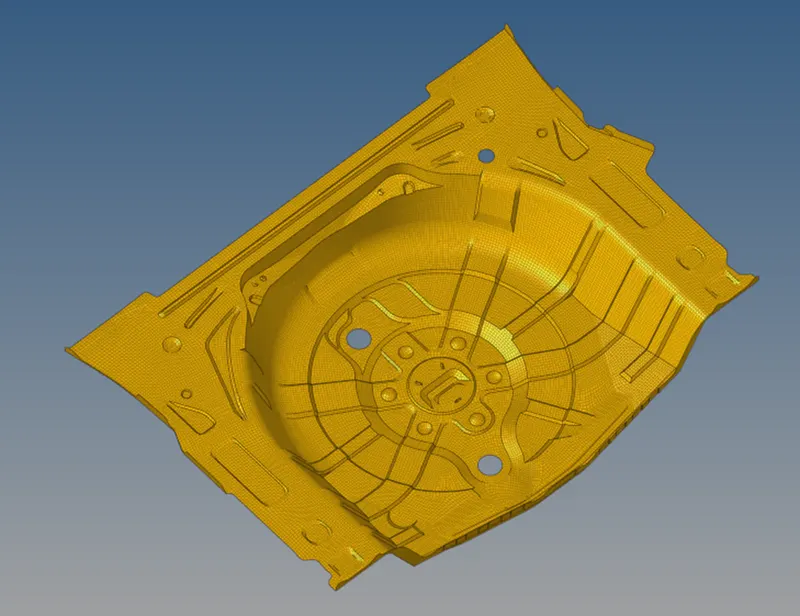
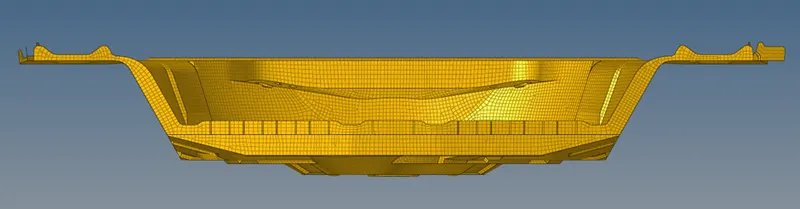
Week 12:Project 2-Meshing of Rear Wheel Holder challenge
PROJECT-2
Objective: To extract mid surface of given model and do 2D mesh operation and try to properly capture the whole geometry with Quad elements by using hyper mesh software.
STEPS:
- Import geometry from file menu, import, geometry.
- Organize different components into one component.
- Imported geometry will look like this.
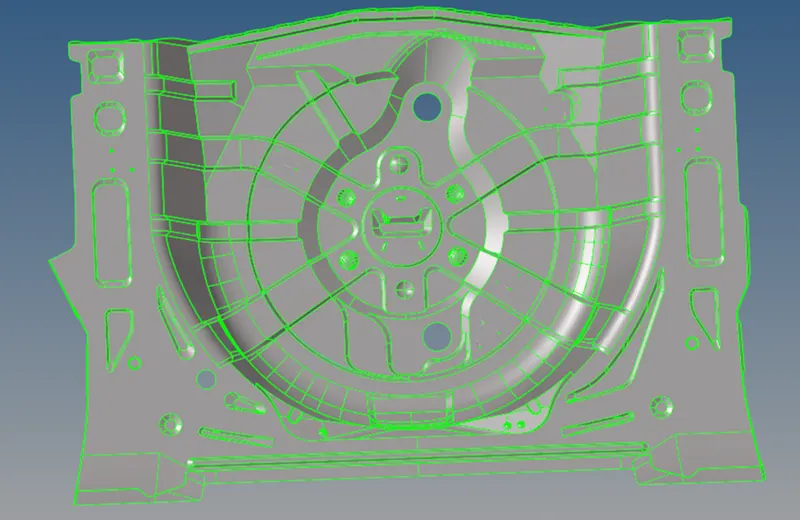
- There are open surface with free edges which should be patched.
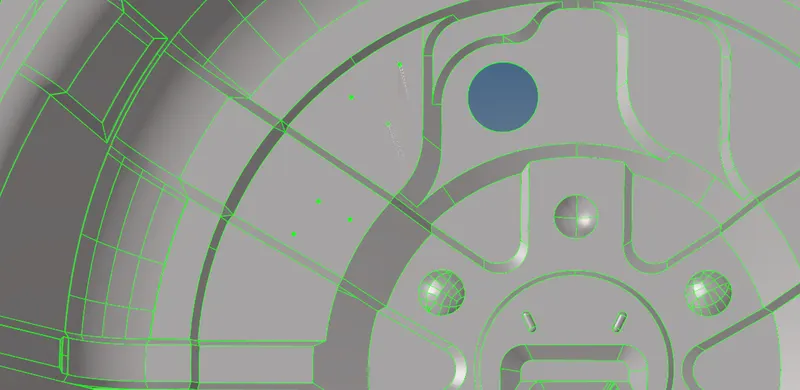
- After using surface and quick edit tools, the free edges are patched. Use filler surf option and/or go to geom panel, select surface, use spline/filler option to patch open surfaces.
- Define quality criteria as shown in image from preference tab.
How to:
Go to preferences.
Select criteria file settings option.
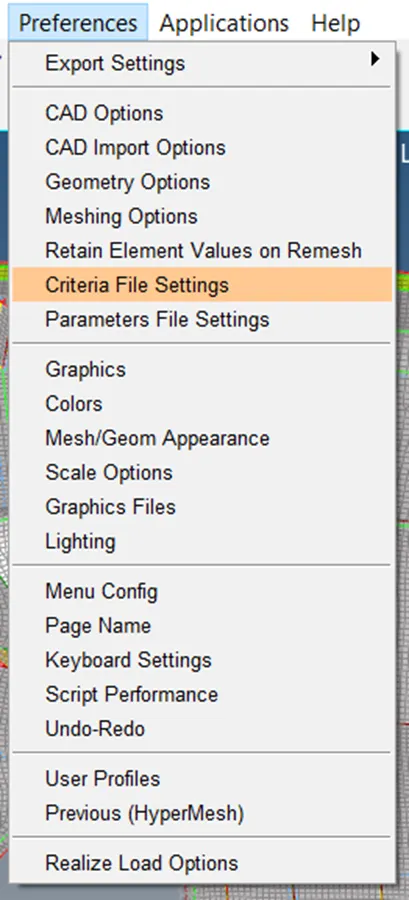
This dialouge box will open.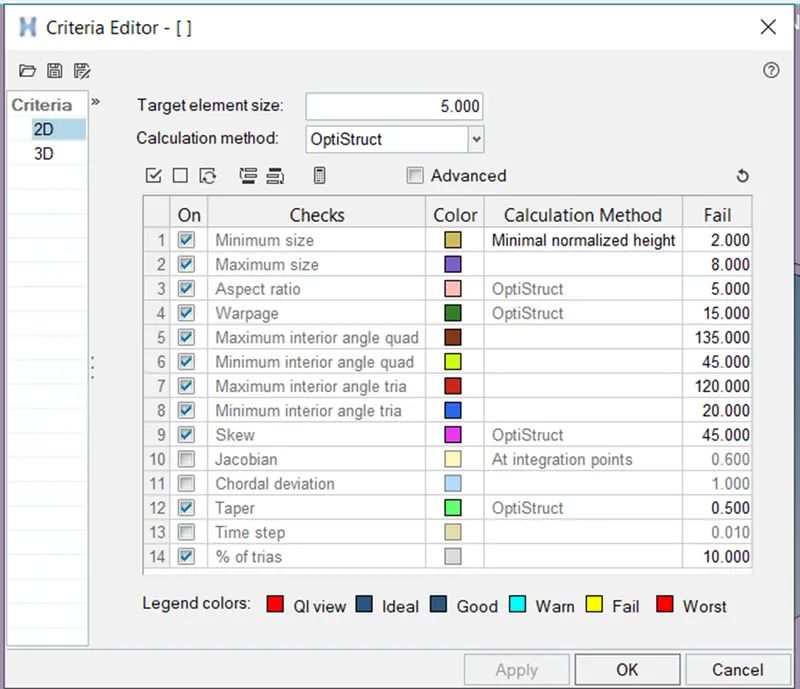
Set all the criteria as given in challenge.
You can save this settings by clicking on save as option which is top left corner.
It will save this criteria file as .criteria and you can use same settings again and again in different sessions.
- Extract mid surface using auto mid surface extraction.

How to:
Go to geom panel.
Select midsurface .
Select all the surfaces which are displayed.
Set auto midsurface and auto extraction option on.
Click on extract.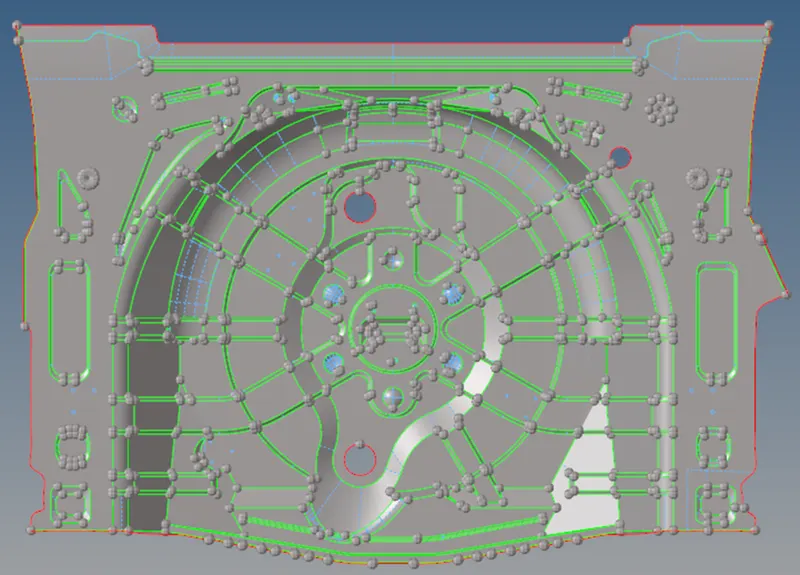
- Still there are surfaces which are not extracted, so it has to be done manually by using different tools like offset and manual mid surface extraction.
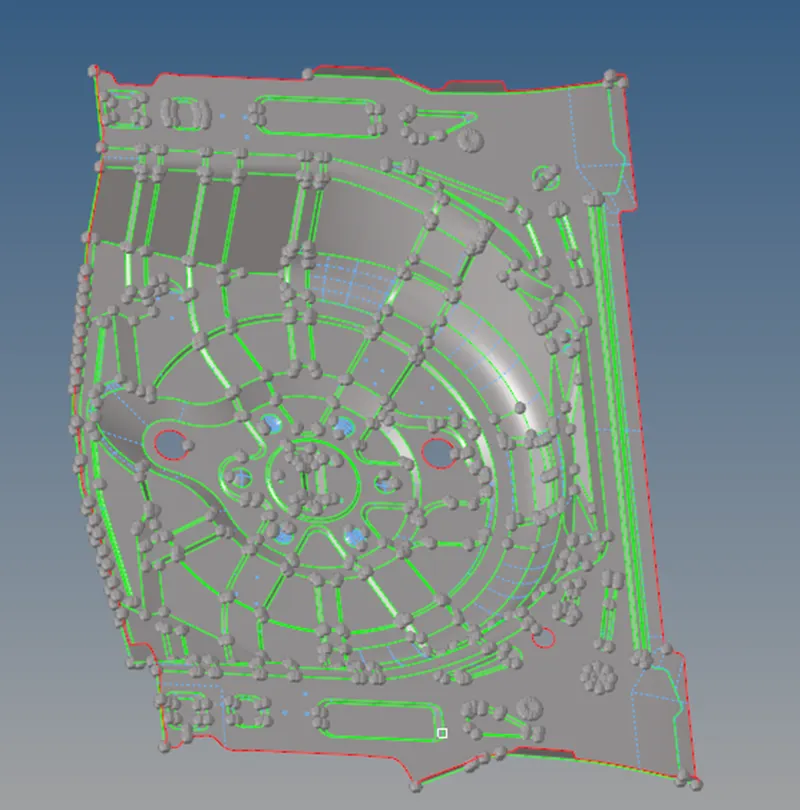
- Do autocleanup or manual cleanup geometry.
How to: go to geom, select autocleanup.
There you will require criteria file and parameter file.
If you have both files ready, then just browse those files and import it.
If you don’t have files, create the files first then import.
How to create criteria file, is already mentioned above in steps. Same as criteria file, a parameter file can also be generated.
Select displayed surfaces and click on autocleanup.
Sometimes, autocleanup also doesn’t work properly, so it manually by using quick edit panel (press F11).
- After cleaning up the geometry it will look like this.
- Now mesh the geometry by pressing F12.
How to:
Go to 2D mesh panel.
Click on automesh or press F12.
Set element size as 5.
Mesh type as mixed.
Check options as shown in image.
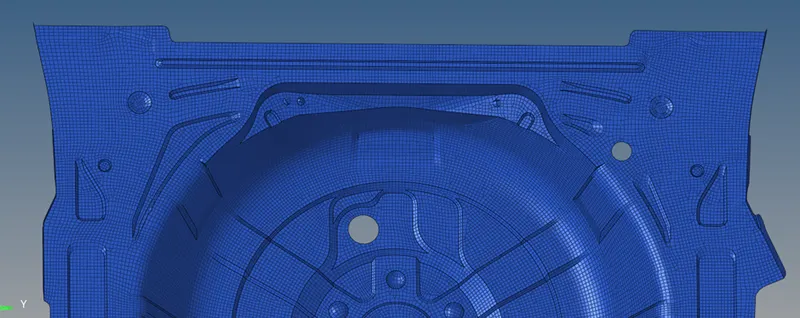
- Check for proper mesh flow and try to maintain quality criteria.
- Use rebuild option for proper mesh flow.

- Check quality criteria by pressing F10.

How to:
Press F10 to open this panel.
Set criteria as given in challenge.
Click on every criteria and check its status on status bar (lower left corner).
Above is an example of warpage.
It will show failed percentage and no. of elements failed.
If elements are failing, click on save failed.
Press F5 to open mask panel.
Click on elems and select retrieve.
Click on mask and then click on reverse.
Use qualityindex which is located in 2D panel.
Use element optimization in quality index to optimize the elements which are failing.
- Check for normal by going to tools, normal.

- Click on display button.
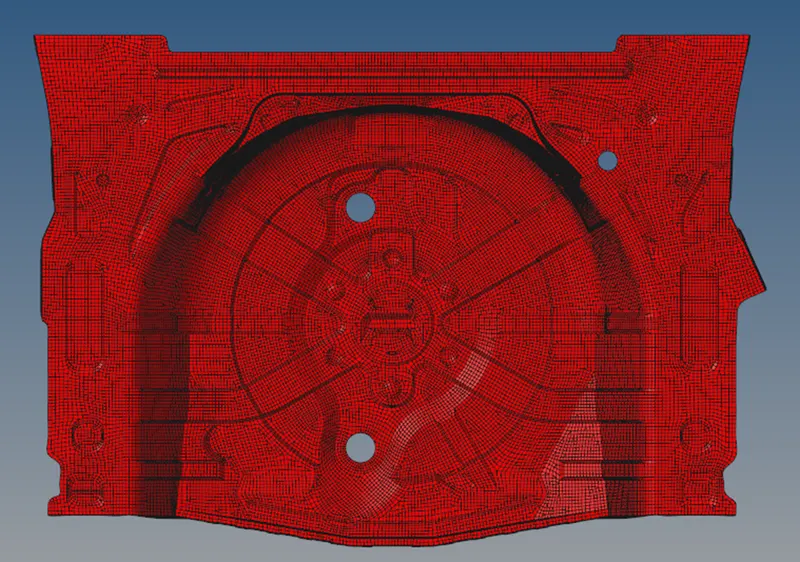
- All elements should be blue or red on single side.
- So just click on adjust button if they are not. Even then if its not working then select elements manually by changing the displayed 2d elements button to elements and click on reverse button. After proper conversion it will look like this.
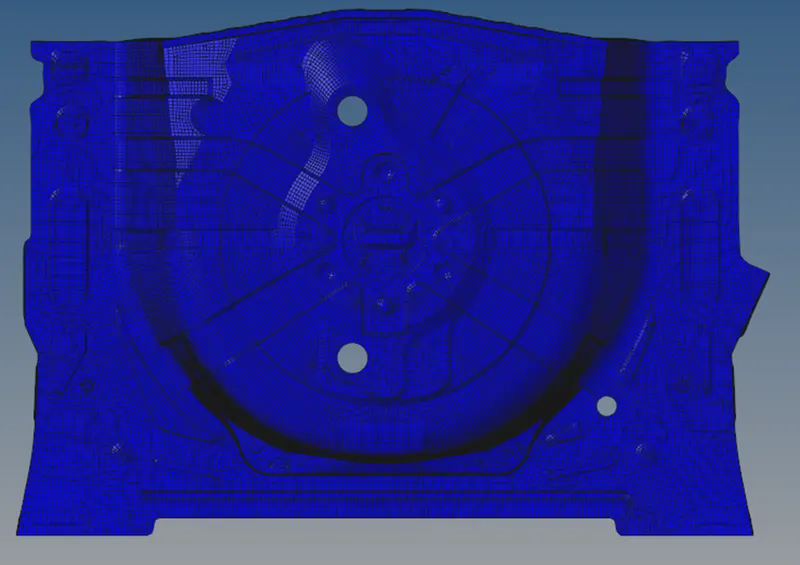
- Now assign thickness to mesh.
How to: Right click on model browser tab area.
Create, click on property.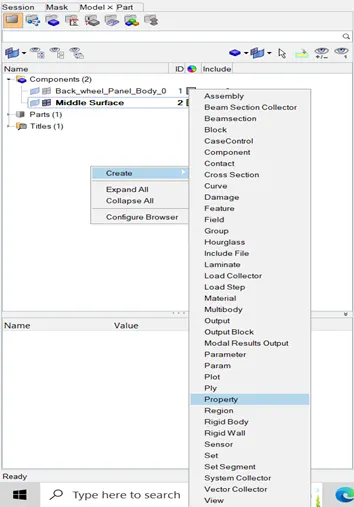
Rename property as thickness, as shown in image.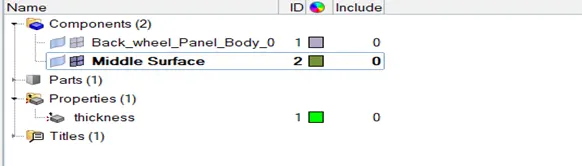
Assign thickness as 0.75 mm.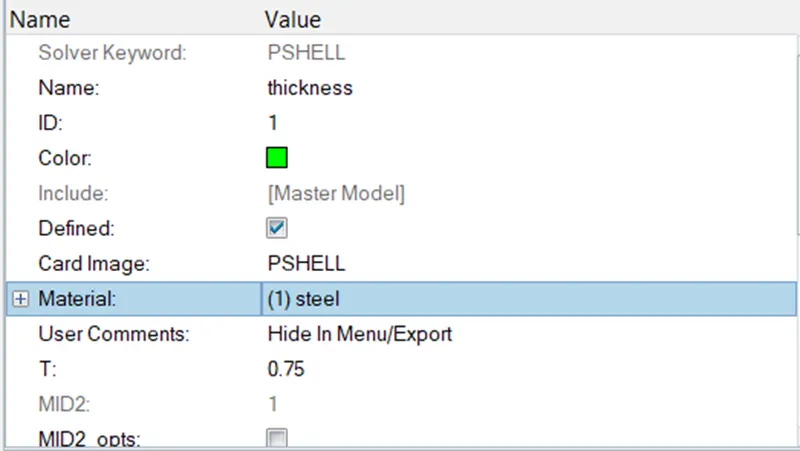
- Assign material by right clicking in model browser tab area.
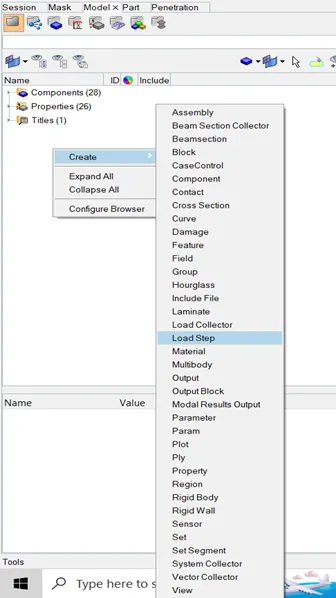
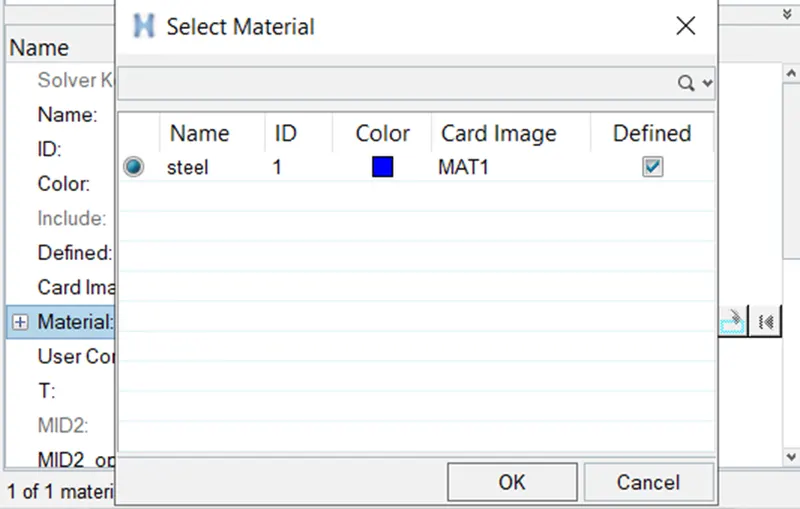
- Check for free edges.
How to:
Press shift + F3.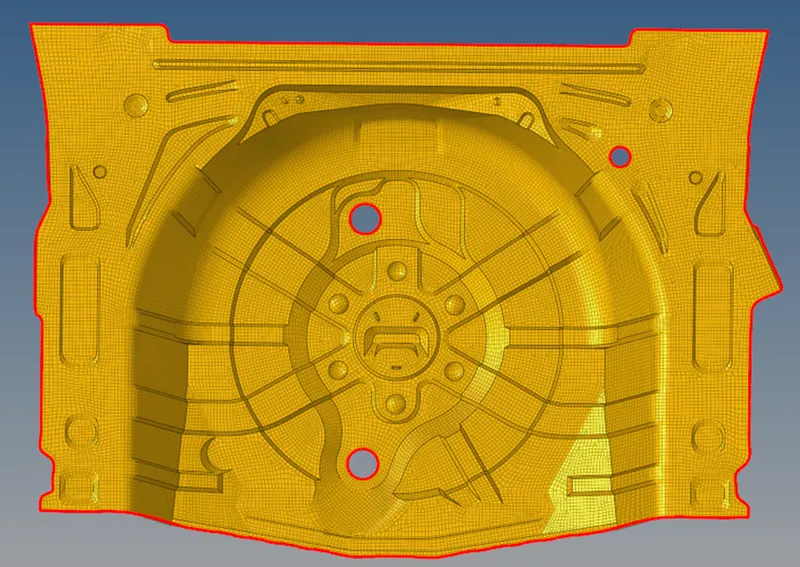
Select the displayed elements and click on find edges.
Check carefully, free edges should be at boundaries not inside a mesh.
If there is any free edge, select those elements and click on “preview equiv” and the click on equivalence.
- All view: