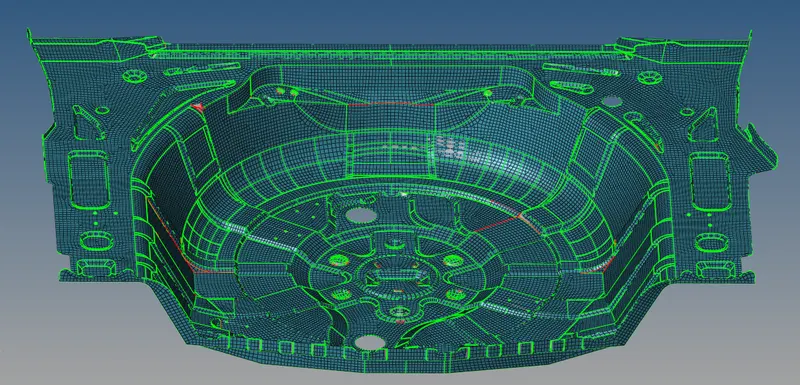
Week 12:Project 2-Meshing of Rear Wheel Holder challenge
Objective: To extract midsurface and mesh the component and give thickness.
Cad model image:
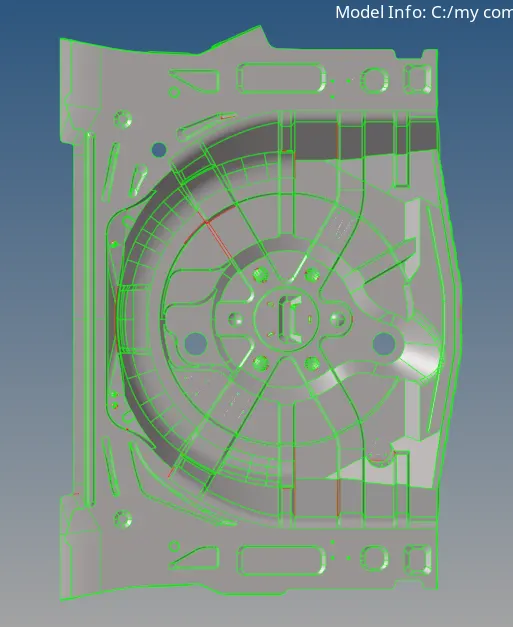
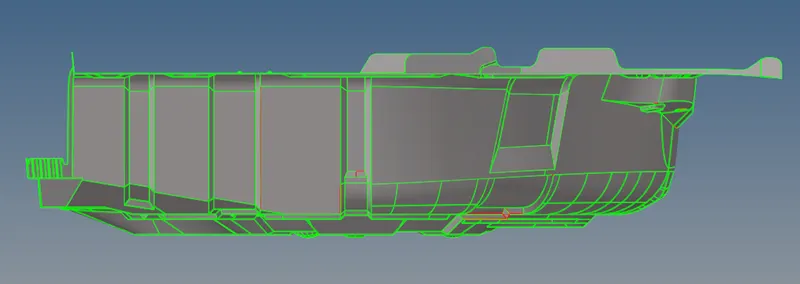
Procedure:
- We should understand the geometry, check for the errors in the parent geometry.
- In this rear wheel holder design, there were lots of missing surfaces, extra surfaces.
- But ignoring those we should directly take the midsurface, by automidsurface or manual.
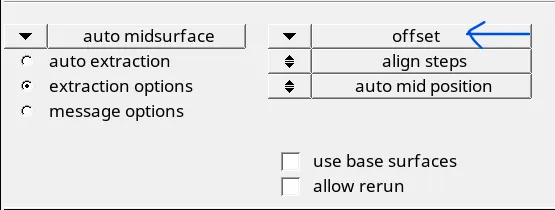
- I try with automidsurfacing first and if it fails, I go with manual offset midsurface.
- I got the perfect midsurface with the offset only option in automidsurface.
- The midsurface also had missing surfaces and irreggular surfaces because of the parent geometry.
- That were removed using replacing points, adding new surface, building new surface by ruled and then doig surface edit to get desired geometry.
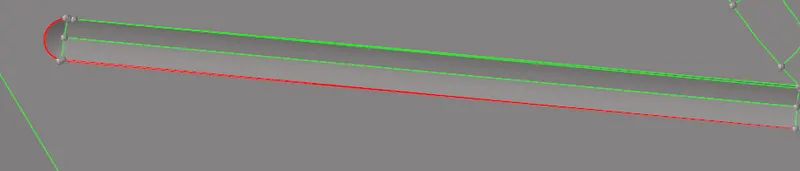
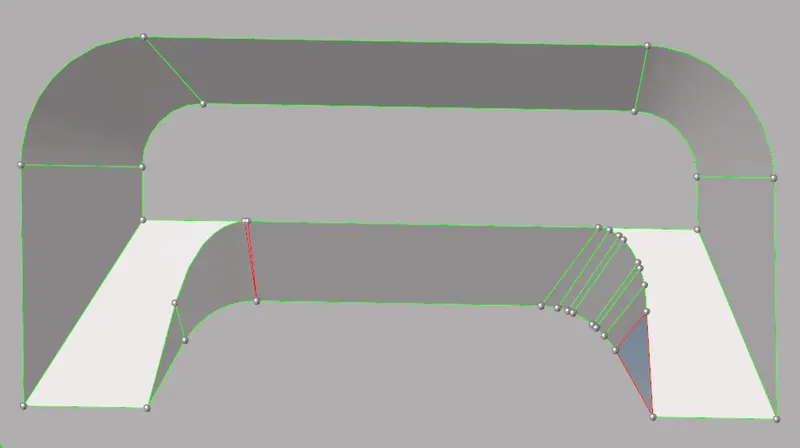
- The toughest part to fix was this one-
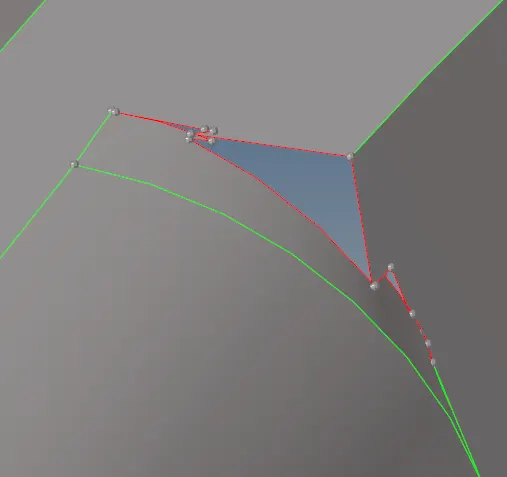
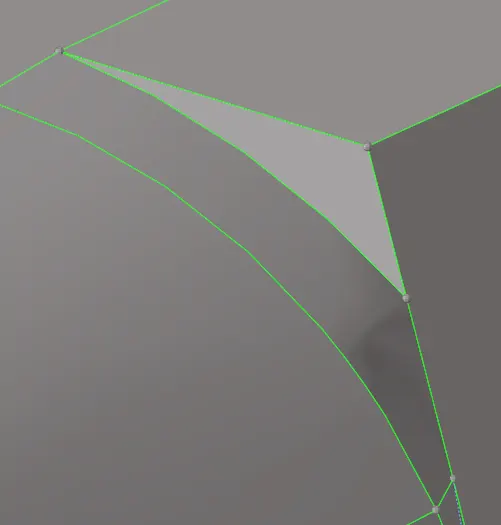
- Here, I had to do all these operations- replacing points, adding new surface, building new surface by ruled and then doig surface edit to get desired geometry.
- These surfaces even further distured me during meshing.
- Had to replace points and make the mesh correction manually.
- There were extra surfaces also which had to deleted or points has to be replaced.
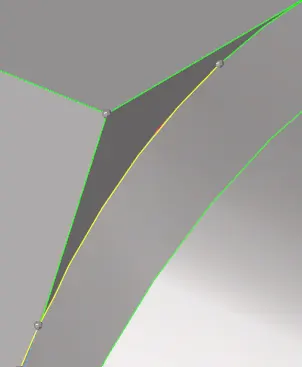
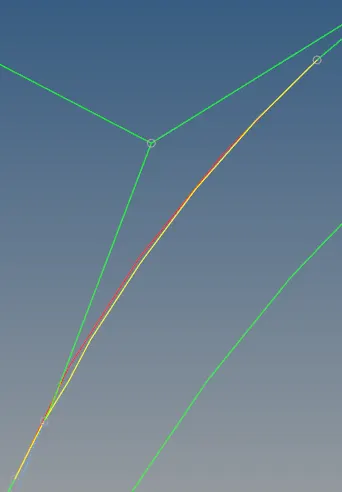
- Then we had to remove these buttons because they are very small and would compromise the mesh flow.
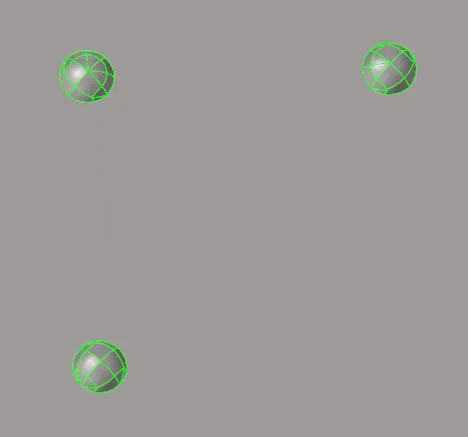
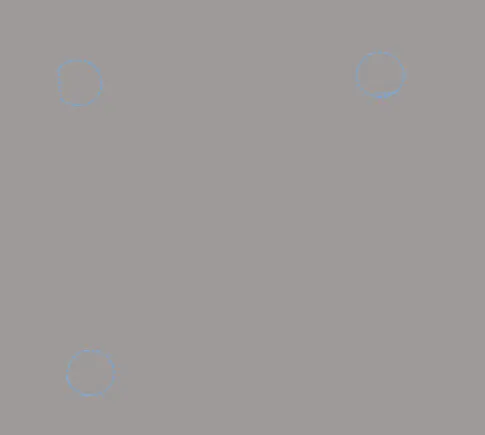
- To remove this we can delete surface and then add filer surface and then toggle the line.
- Some missing surfaces had to be filled by a filler surface or by using ruled option.
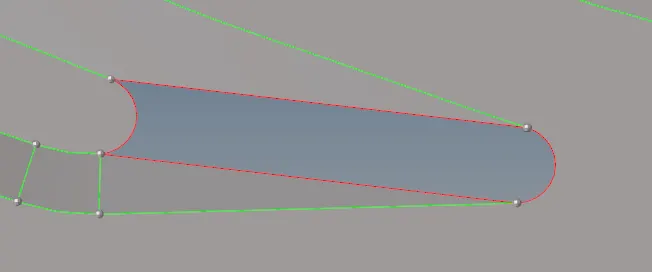
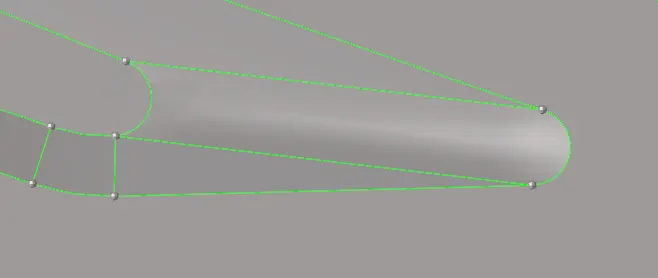
- After we have completed with the geometry cleanup we can start the meshing.
- I've started the meshing from the center area and this is how we have cleaned the geometry for better mesh.
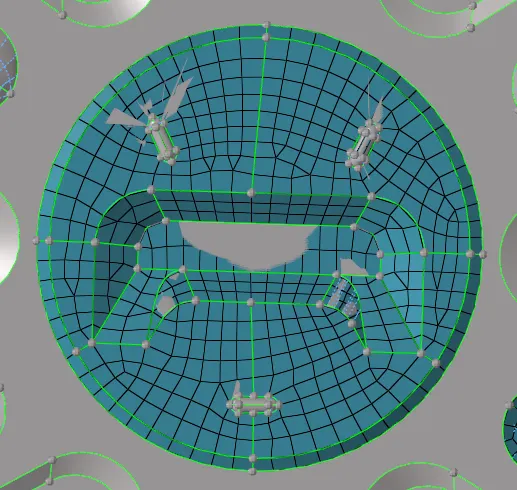
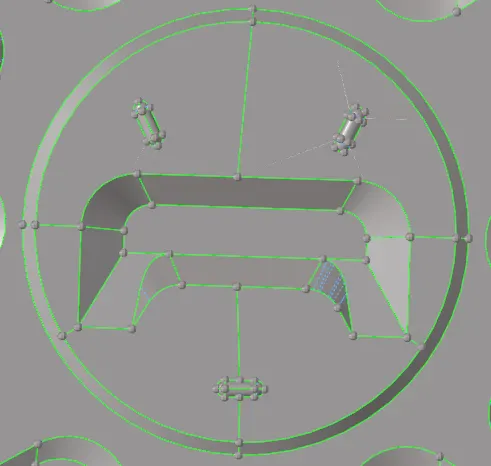
- Meshing was simple at many areas but equally difficult at some areas as it had many edges.
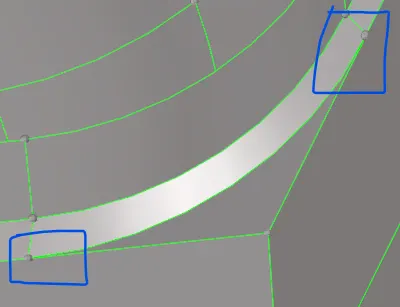
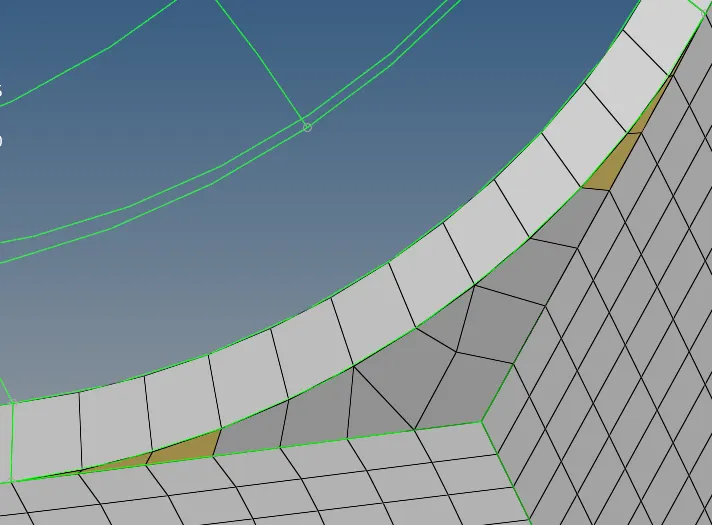
- Here we replace points by removing the edges and then we rebuild the mesh it goes little off geometry but that's the only way the elements won't fail.
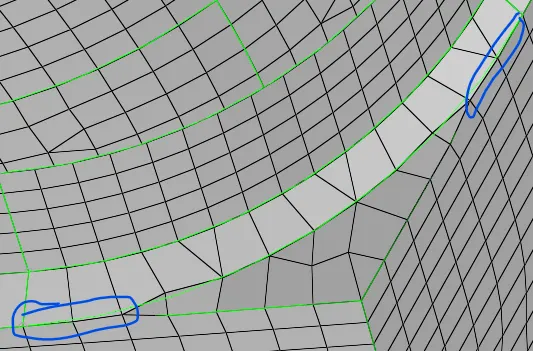
- We stitched points there and then rebuilt the mesh.
- After these edges, there were small topology which was similar to this case.
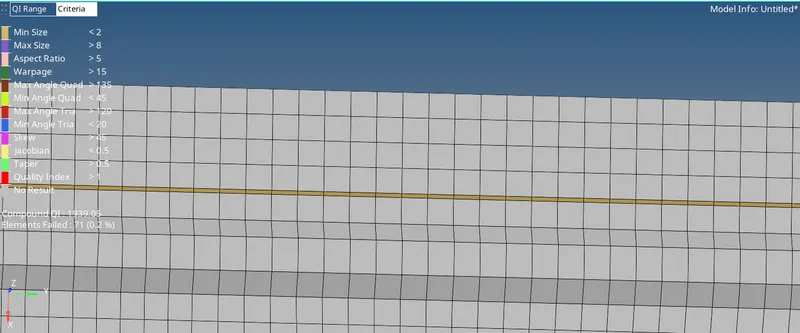
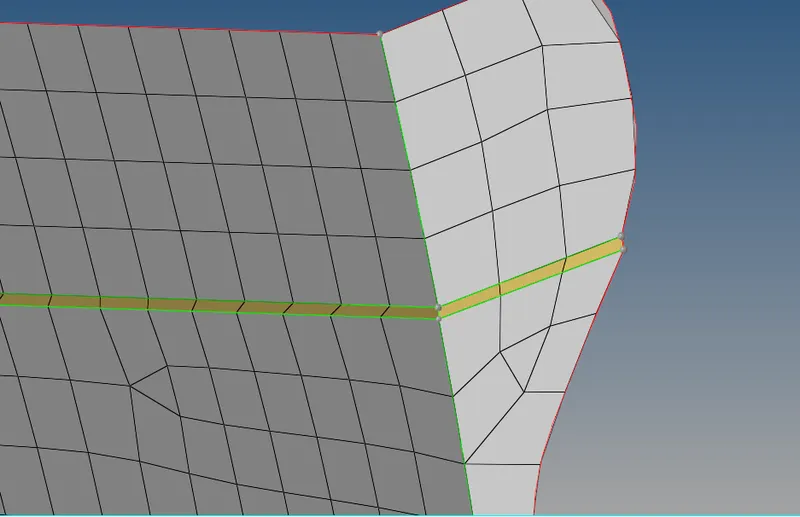
- So instead of capturing this we stitched the points above and below it.

- The last part was this,
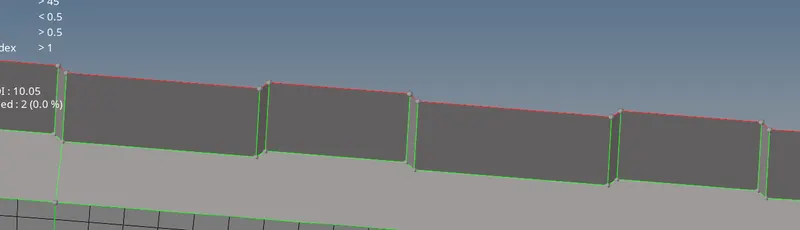
- Here we created points in between and then replaced the points.
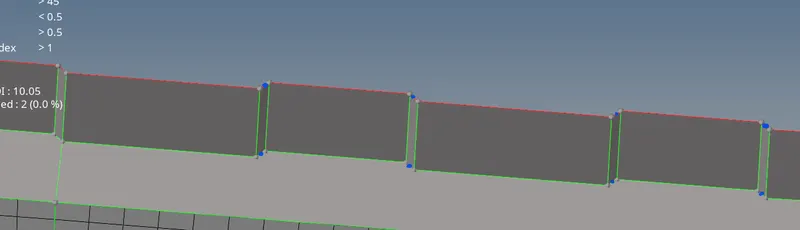


- Then check for edges and remove if there are any.
- The final part is to assign property and thickness.
Result and final model:
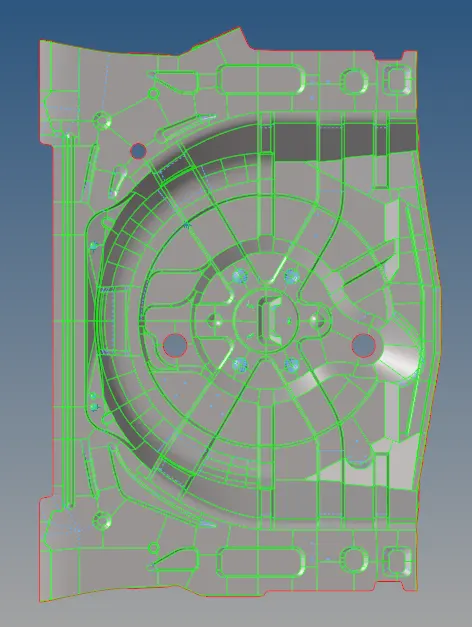
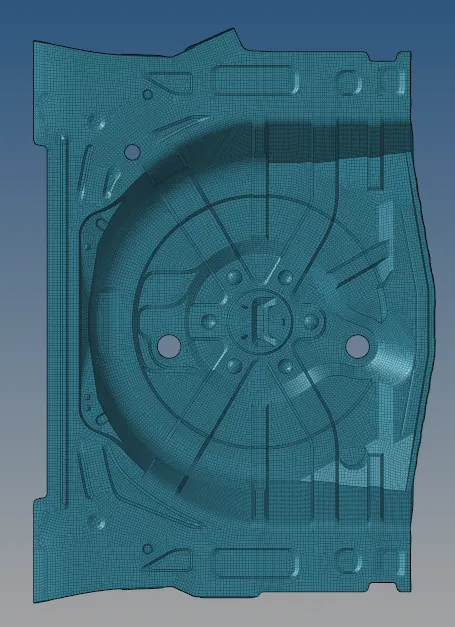
- By turning on parent geometry and enabling 2d detailed mesh view.