Week 12:Project-1-Meshing of Door Inner Panel Challenge
Objective:-
Follow the Quality Criteria and mesh the side door component and assign thickness:
Target Element Length = 4 Units
| S.N | Quality Criteria | Value |
| 1 | Aspect Ratio | 5 |
| 2 | Skewness | 45 |
| 3 | Warping | 15 |
| 4 | Taper | 0.5 |
| 5 | Min. Length | 2 Units |
| 6 | Max. Length | 6 Units |
| 7 | Min angle Quad | 45 |
| 8 | Max angle Quad | 135 |
| 9 | Min angle Tria | 20 |
| 10 | Max angle Tria | 120 |
| 10 | Tria % | 10 |
Procedure:-
1. Import the model:
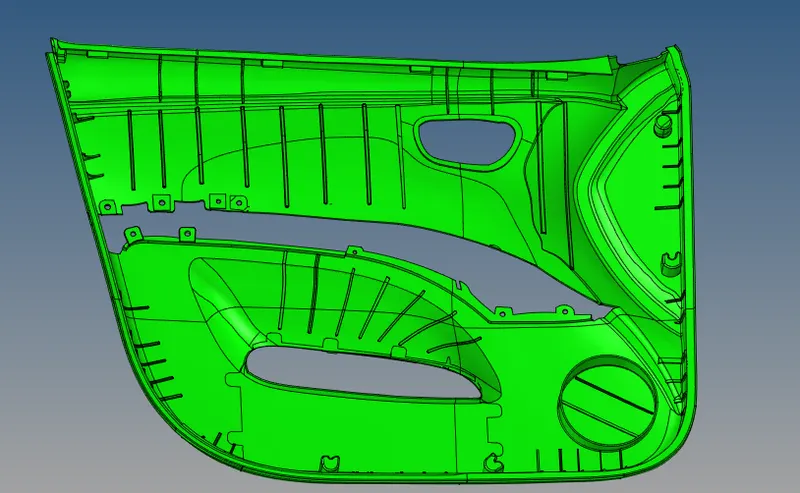
2. In this modle auto-mid cannot be genereated, so we need to offset the surface from the opposite side in order to avoid complexity of the features present at the front side of the model.
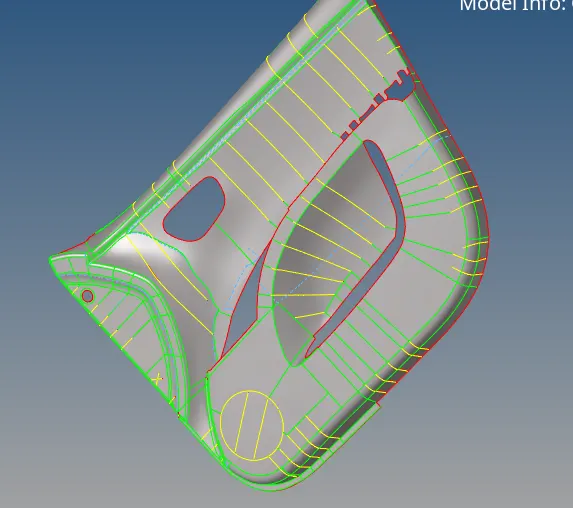
3. The offset surface will look like the image shown above.
4. After offseting the surface clear the geometry of the obtained surface.
5. Turn the model to the front side and offset the feature one by one.
6. To offset the ribs, measure the distance between the extreme edges of the ribs and select the surface from the side and duplicate it. Offset it to the half of the measured distance.
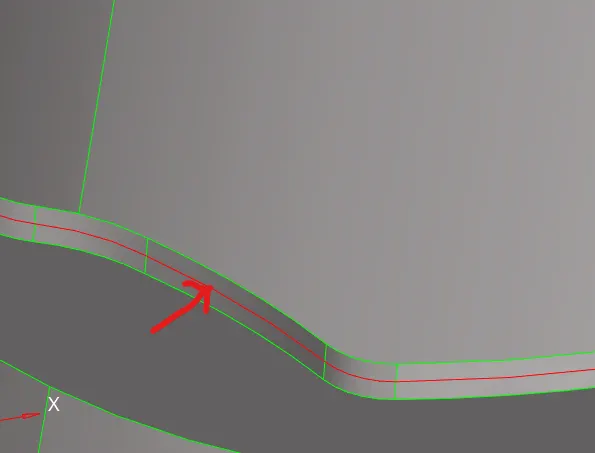
the offset rib is shown below.
7. Extend the ribs to the surface, using surface edit<extend.
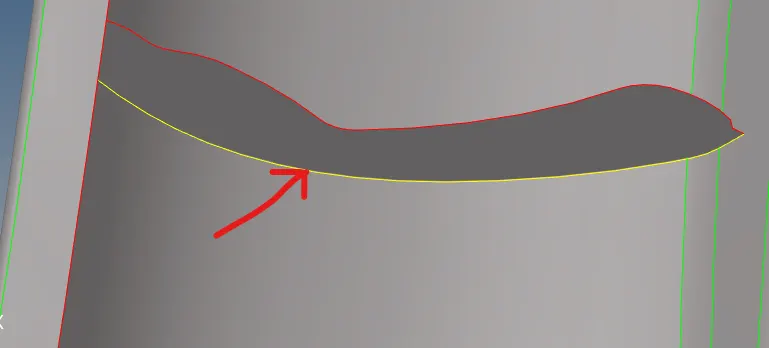
the extended rib will get intersect to the surface.
8. For the dog house like features as shown in the image below.
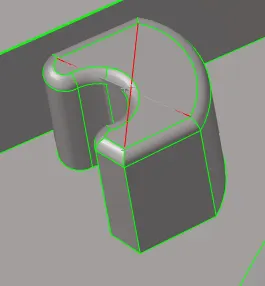
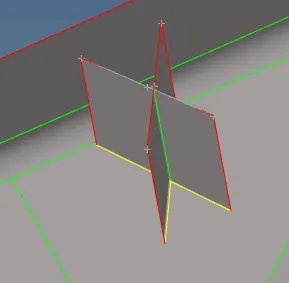
9. Create the line using the opposite nodes and drag the surface out of the line using line drag.
As shown.
10. After obtaining the mid for all the features, input the quality criteria parameters as given and mesh the component.
11. The meshed component will look like this.
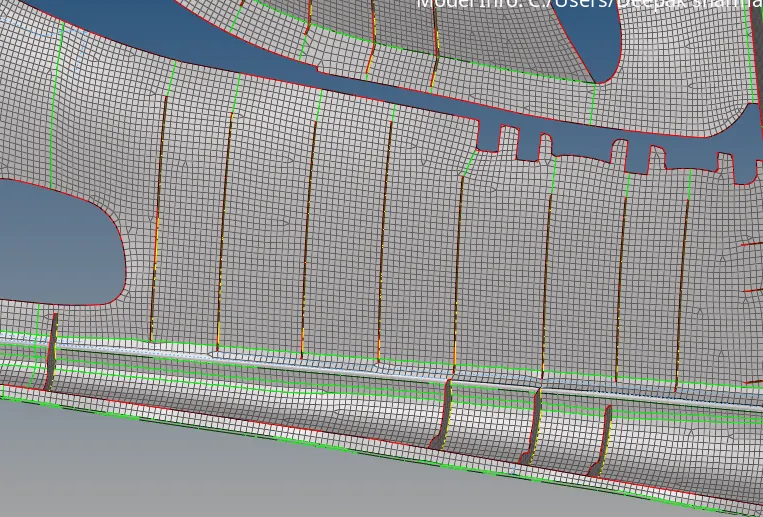
11. Check for the quality criteria of the mesh.
12. Check the free edges and preveiw equivalence.
13. Create property for the given component and assign thickness of 2.77 as of the parent.
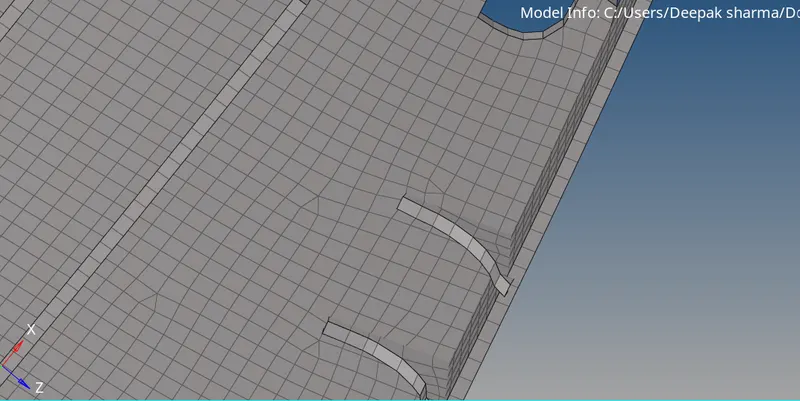
14. Assign the property to the elements. And change the diplay mode to "2-D Detailed element representation.
15. Save the model.