Preprocessing for structural analysis of a plastic side door panel
Mesh the side door with the given Quality Criteria and assign the thickness
Introduction
Side Door Panel
Door panels serve as an interface between the interior of the car and the inner workings of the door, and between vehicle occupants and the door. They are expected to meet a variety of design specifications regarding safety, aesthetics, and functionality. In addition, they are expected to continue the material theme of the dashboard and pillars while concealing intricate electrical and mechanical components for operating locks, windows, and other features.
The door panel covers internal parts like the window regulator, the power window motor, and the wiring.
Most modern cars have door panels made from plastic.
Procedure
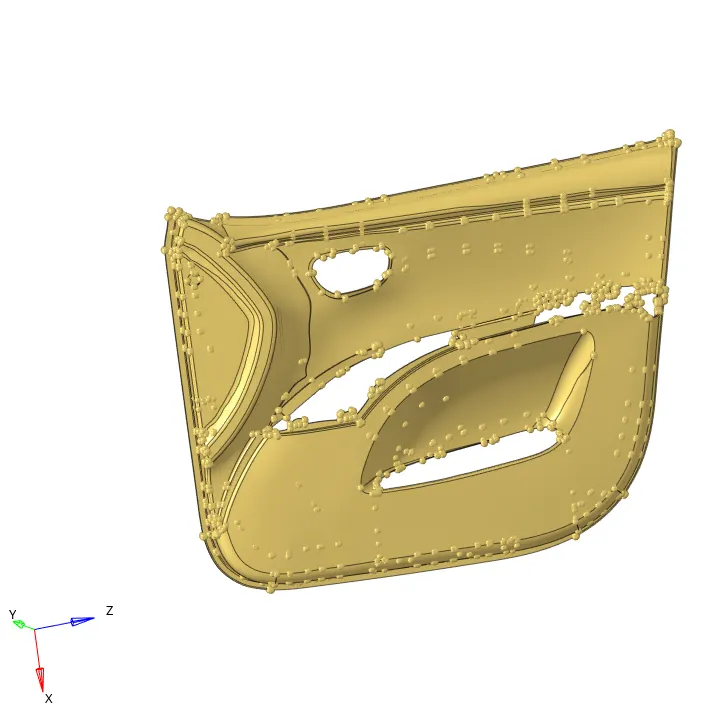
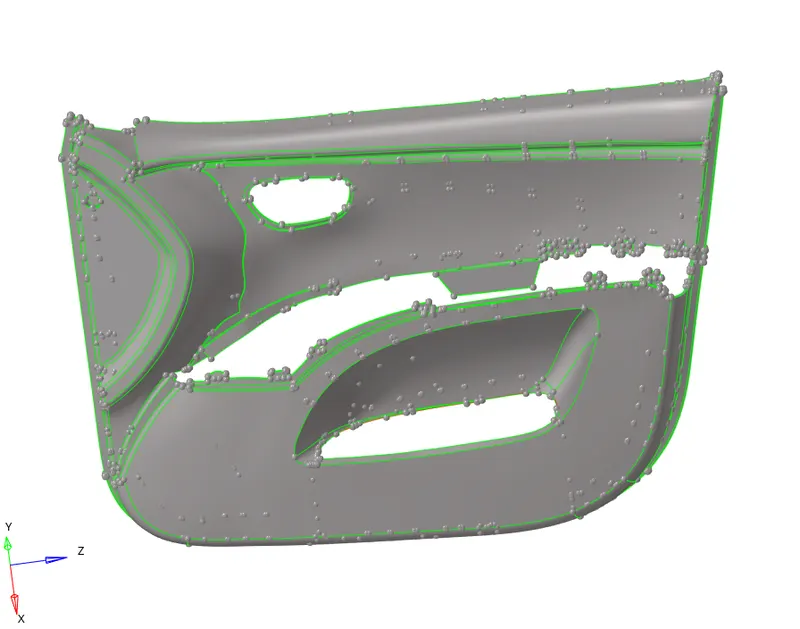
1. First we are going to import the model.
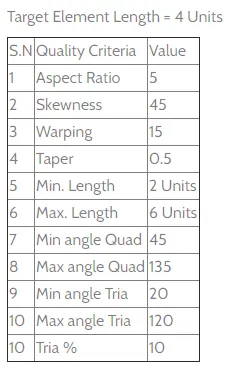
2. We are going to give the criteria file setting.
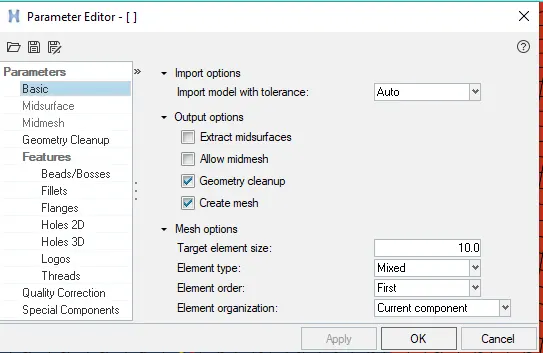
3. The thickness of the components is less than 6 mm. So when the thickness of the component is less than 6 mm we can extract the mid surface and we can mesh on that. It is easy to do the 2-D meshing as compare to the 3-D mesh. That is why we convert the 3-D model into the 2-D model and after meshing we give the thickness to the elements.
4. Now we are going to check if the components have a uniform thickness or not. For auto mid-surface extraction, the thickness of the model should be uniform.
5. So we found out that the thickness is not uniform. So we are going to extract the mid-surface manually.
6. To extract the mid-surface manually we go to
Geom--> Surface edit (Shift+F9)--> offset
There we first select the surface which we want to offset, we duplicate that surface. After that, we have to check the vector normal. It should be in that direction where we want to offset the surface. We have to give the offset value which will be half of the thickness of the surface and then we offset that surface.

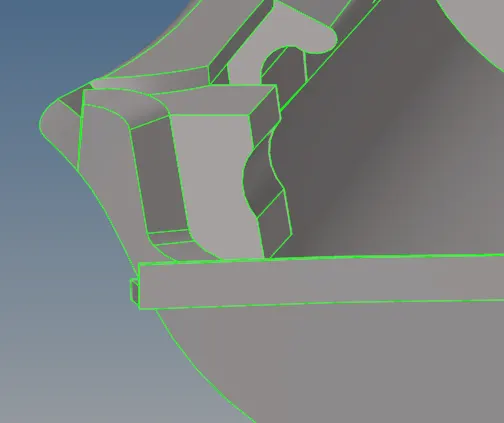
When we are extracting the mid-surface, there are some changes we have to do during the mid-surface extraction.
(i) In the following region:-
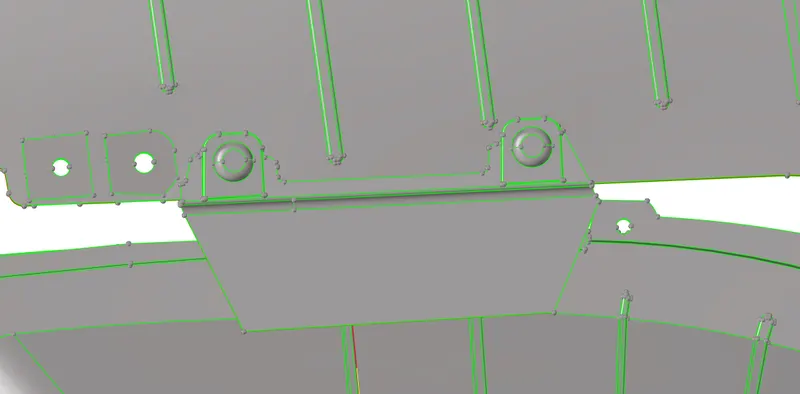
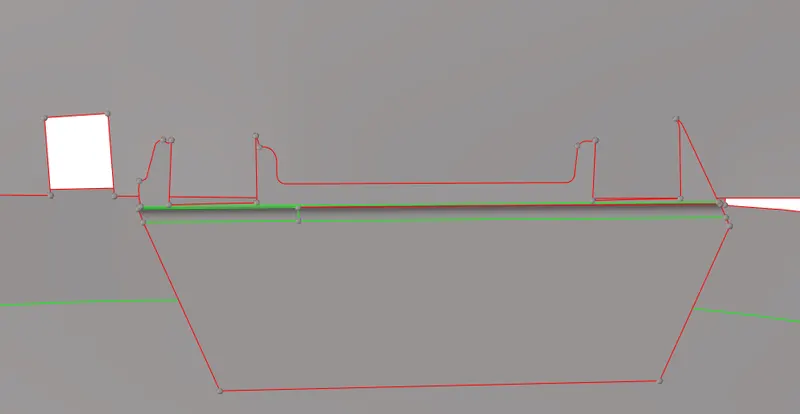
In the end, the region will be like this:-
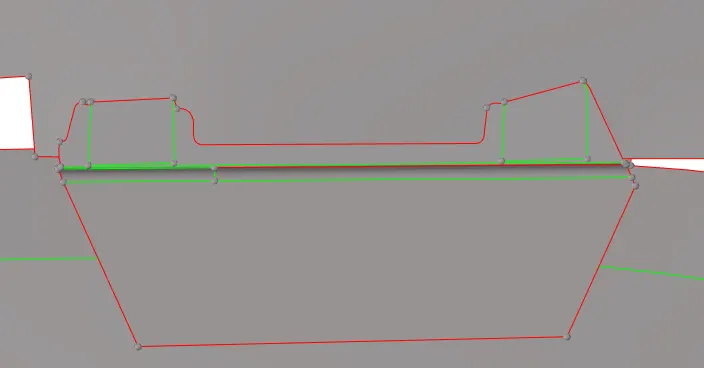
(ii) In the following region:-
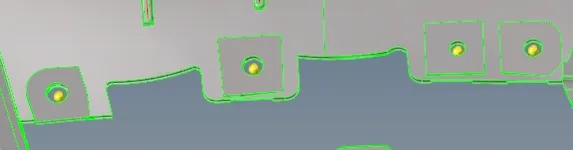
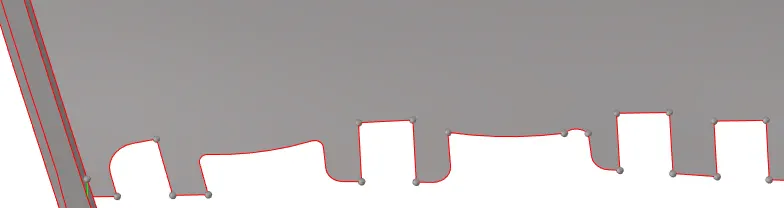
Now we are going to create the surface there and after that we are going to create holes in that area.
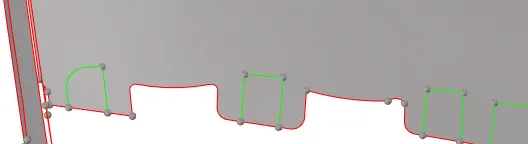
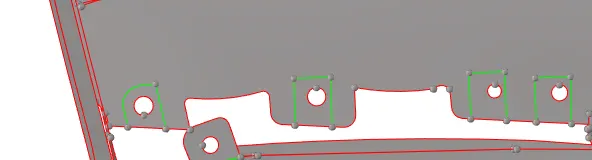
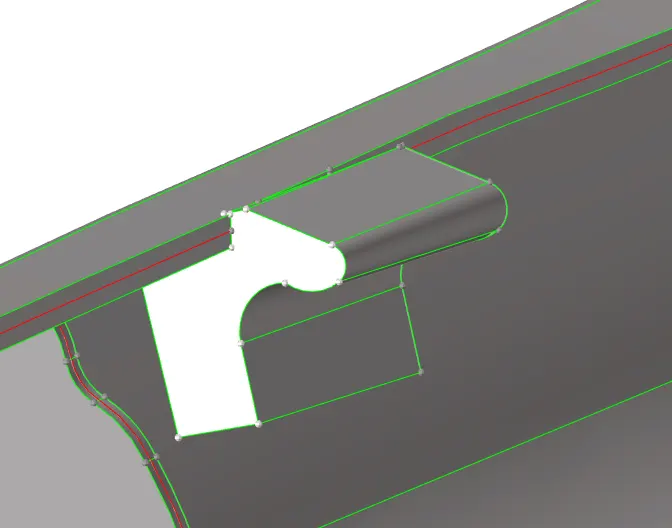
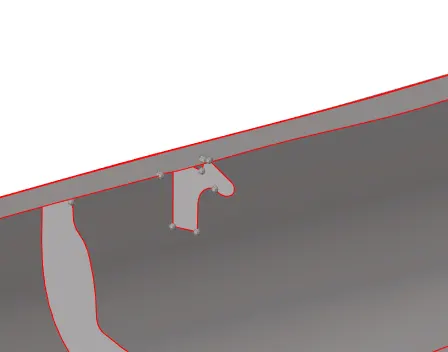
(iii) mid-surface of the following region:-
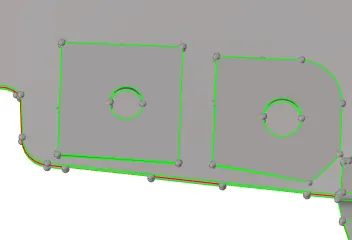
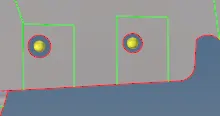
(iv) In the following region when we extract the mid-surface we have to create the circle to make the holes to get the good mid-surface:-
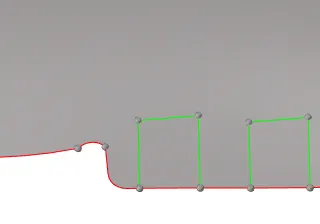
(v) To extract the mid-surface we are going to create the mid-line in the rib.
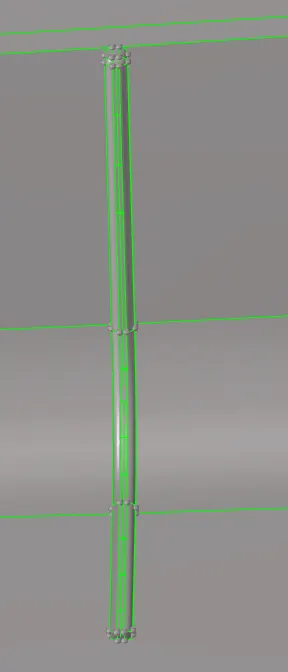
After that, we are going to trim the surface with the mid line.
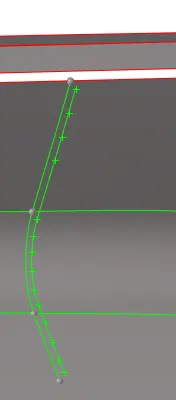
Now we are going to create the surface between those lines.
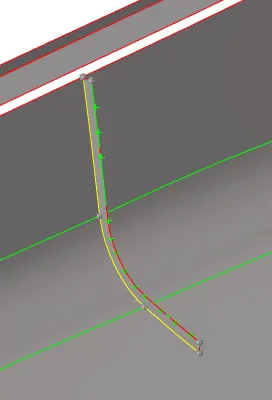
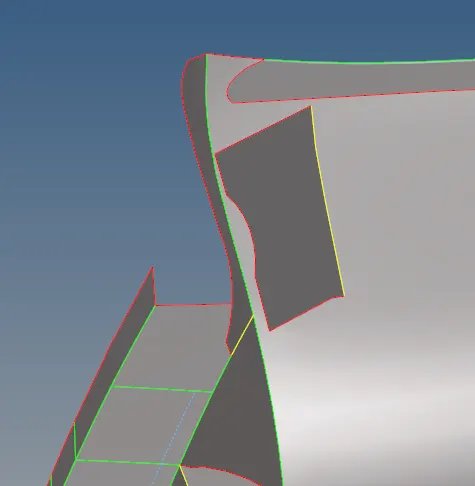
(vi) The mid-surface extraction in the following region:-
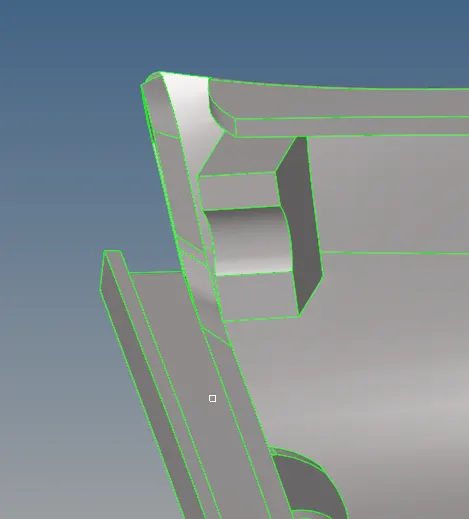
mid-surface:-
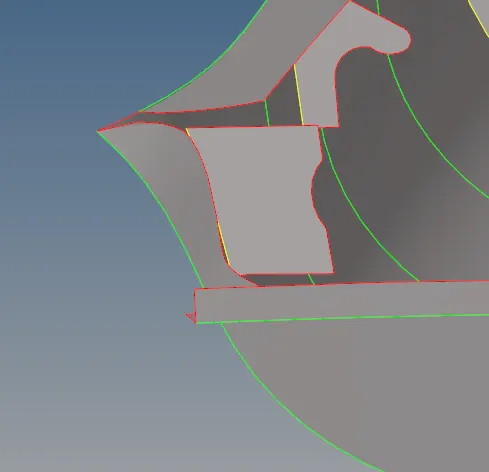
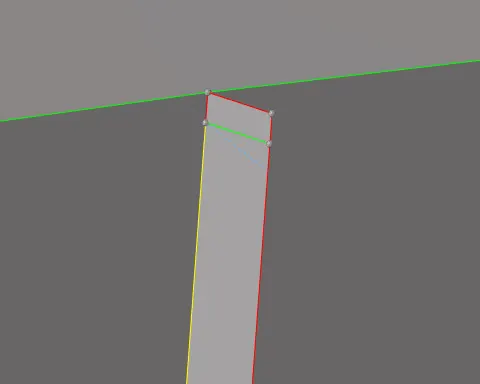
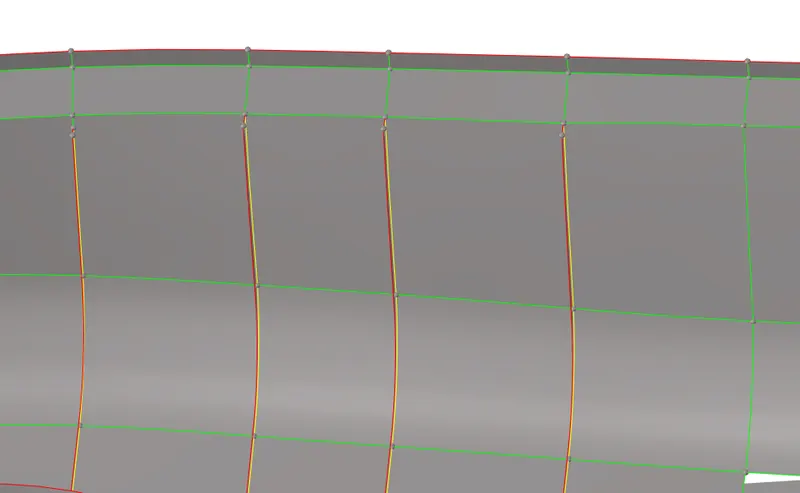
7. After mid-surface extraction we are going to do the geometry cleanup. We check the areas where if we mesh it fails for the quality criteria and according to that we are going to do the changes in the geometry.
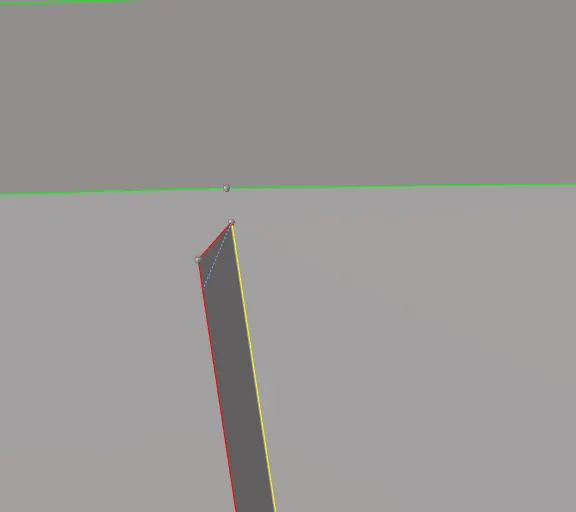
So the gap is very less so we are going to extend the surface to the feature line.
8. After the geometry clean up we are going to start the meshing.
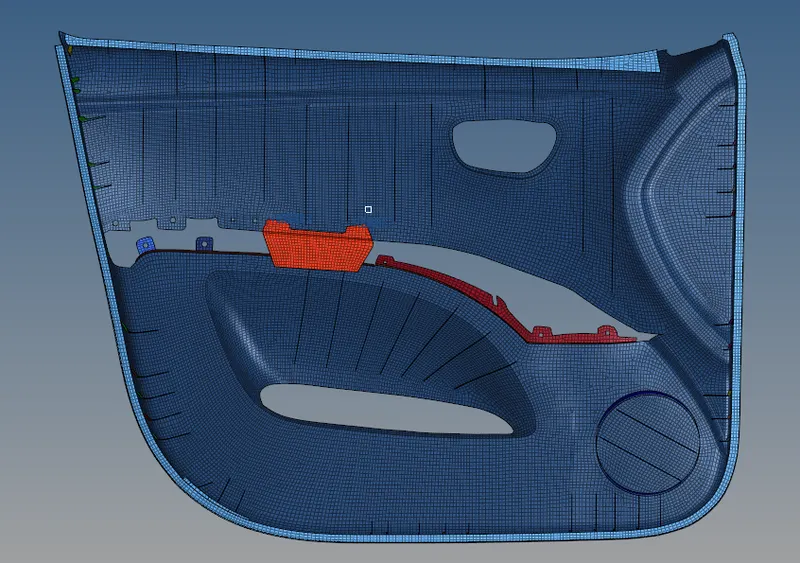
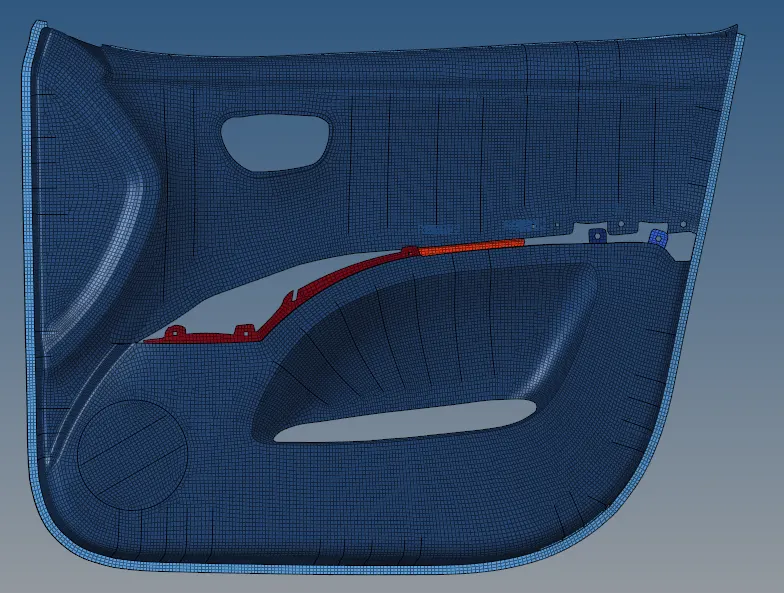
For meshing, we have to go 2D--> automesh

So we are going to do the meshing with the mixed type elements. So that we will not get the rotating quads.
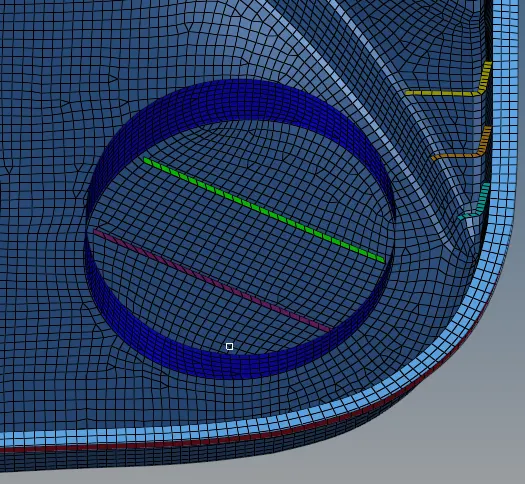
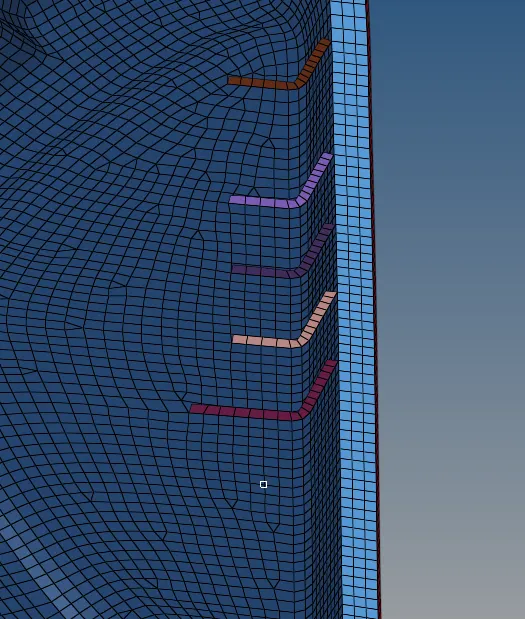
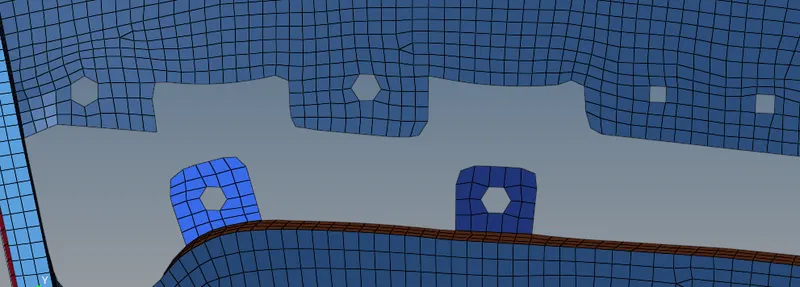
9. During meshing removed the trias which are in opposite direction.
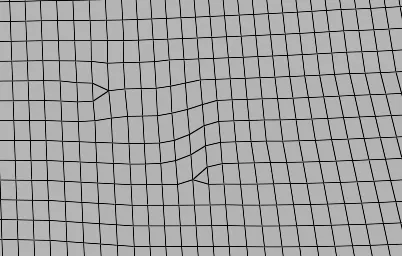
After removing those
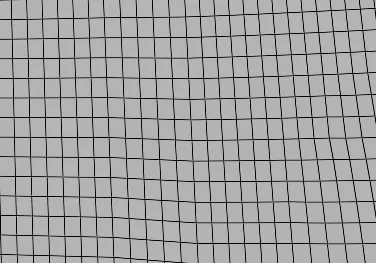
Some trias were touching each-other
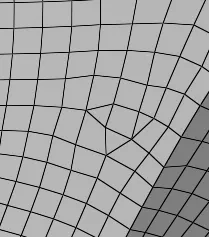
After separate them
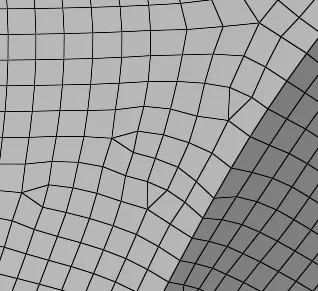
Some trias were in the fillet.
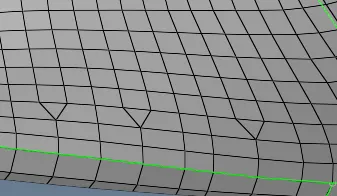
So I remove those
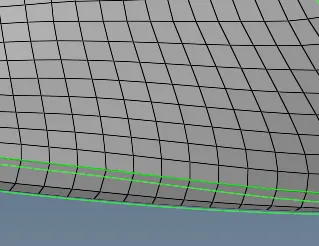
Some trias were touching the feature line
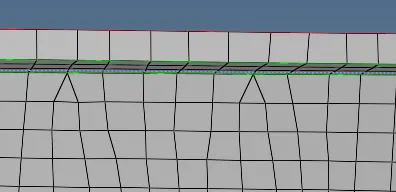
So I did drag those trias
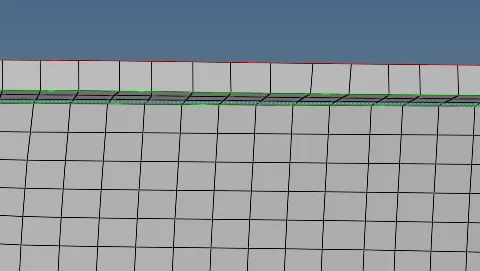
10. When we are doing meshing, we have to keep that in mind that feature capturing should be proper.
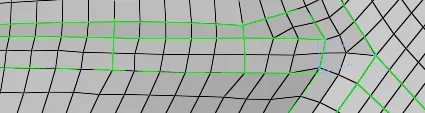

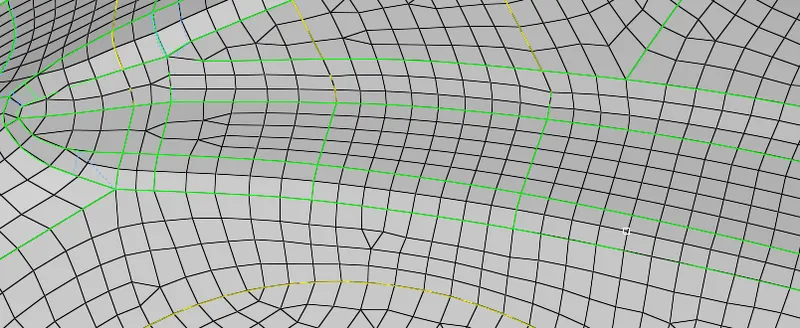
11. We have to make sure that the mesh flow is good. The elements should be in a proper way of order structure.
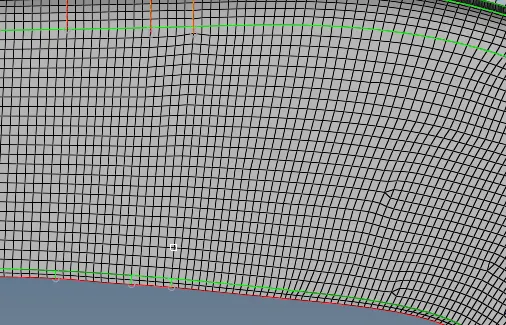
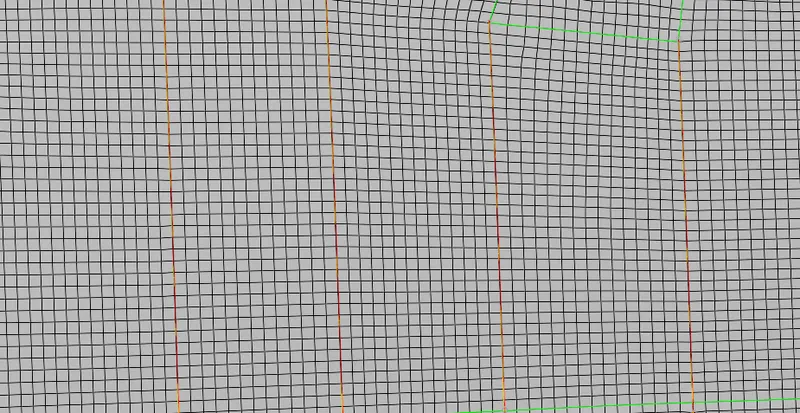
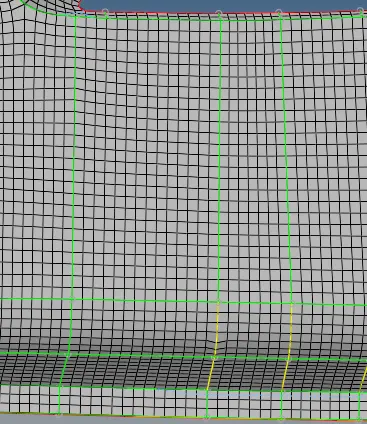
12. Now we are going to assign the element thickness.
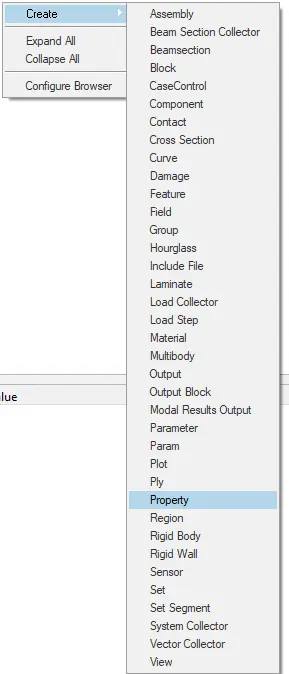
The thickness of the model is not uniform. So we have to create the property for every region according to their thickness. So we have created 39 properties.
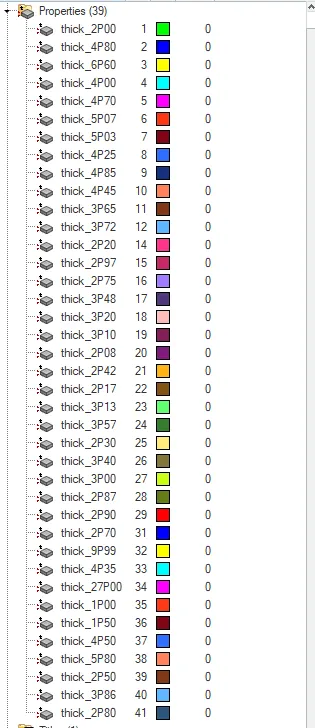
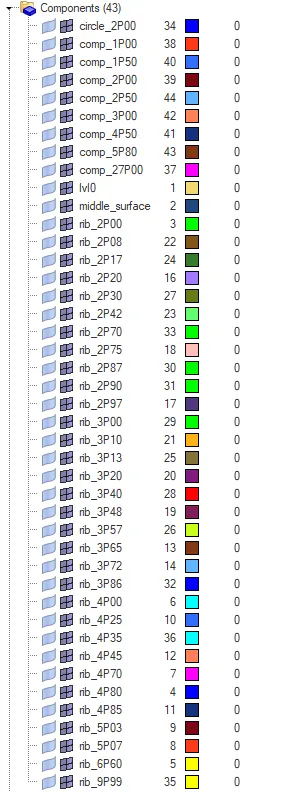
Now we are going to assign them to the elements. So to assign the thickness we have to move the particular elements to the new component so that we can assign the property to them according to their thickness.
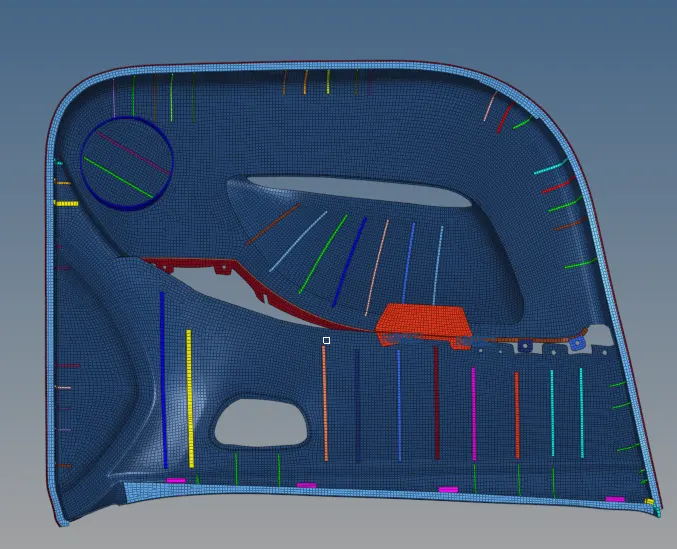
The model after giving the thickness:-
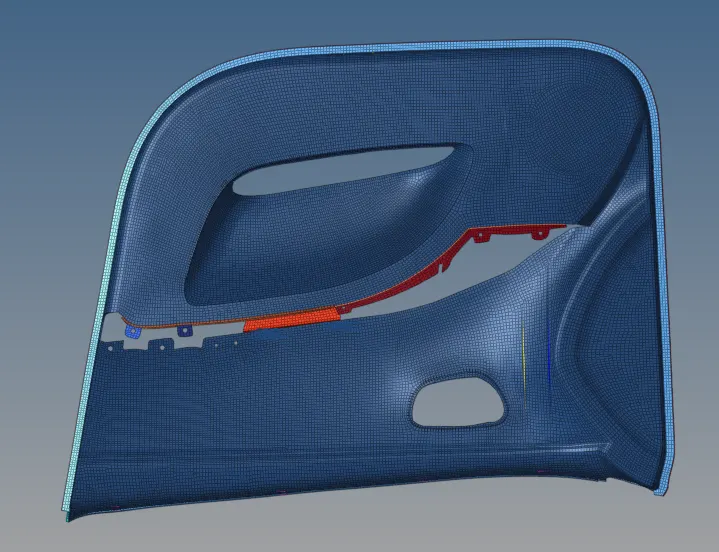
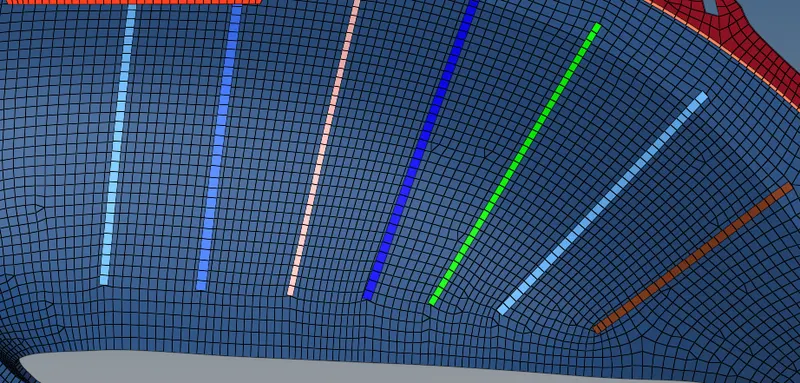
13. Now we are going to give the connection between two components because there is a gap between them but in the parent they are connected to each-other. So we are going to connect them with the RBE2 elements.
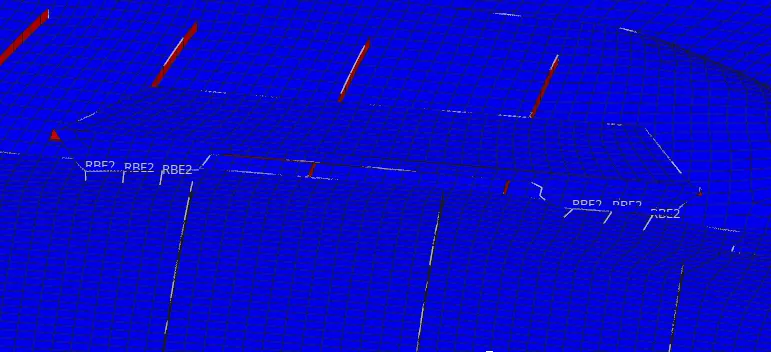
14. After the meshing is done we are going to do the element checks. In which we are going to check the free edges, normal of the elements, duplicates etc.
Duplicate Check:-
To check the Duplicate elements we go to Tool--> check elems (F10)

Free edge check:-
To check the free edges we go to Tool--> edges (Shift+F3)

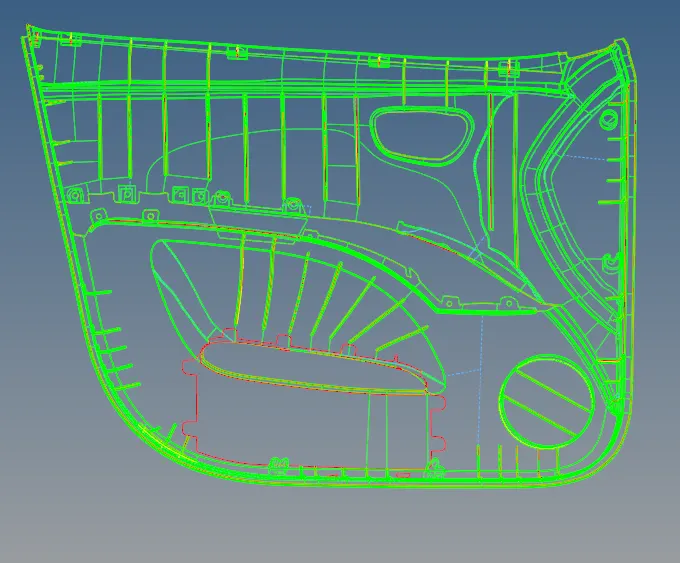
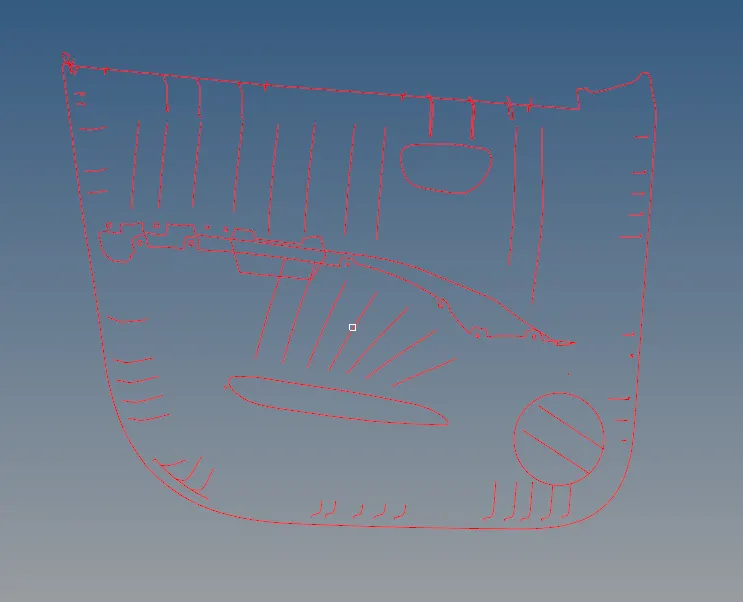
T edge:-
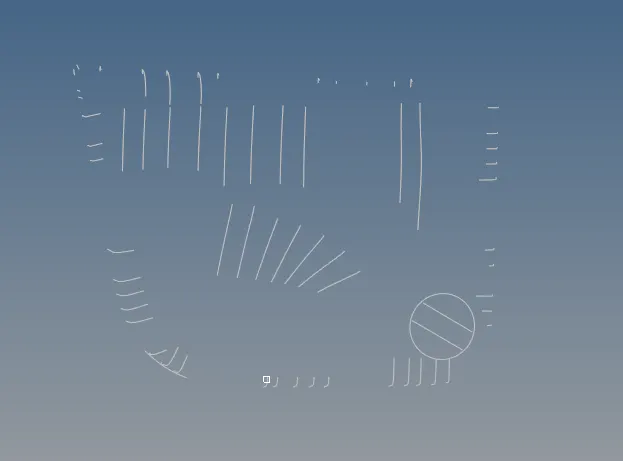
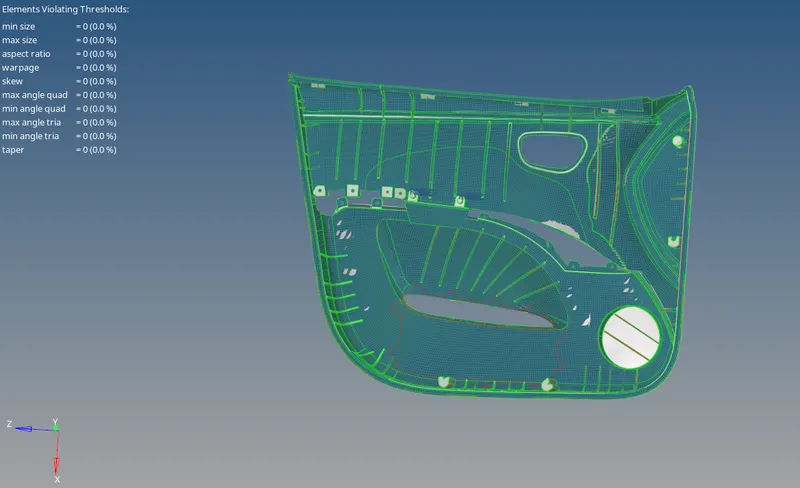
Quality Check:-
To check the quality of the elements we will go to 2D--> qualityindex

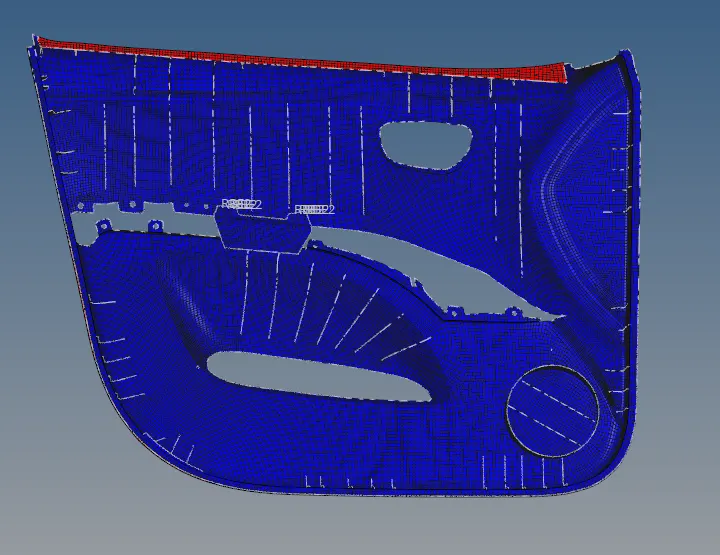
Normals:-
To check the normals of the elements we will go to Tool--> normals

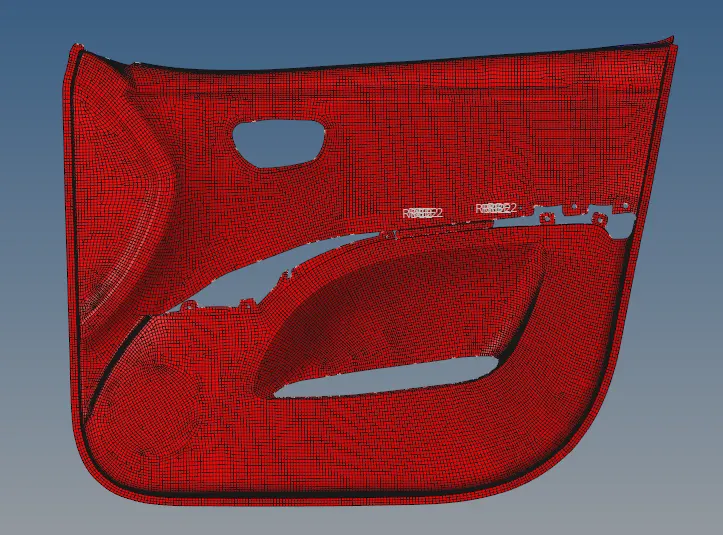
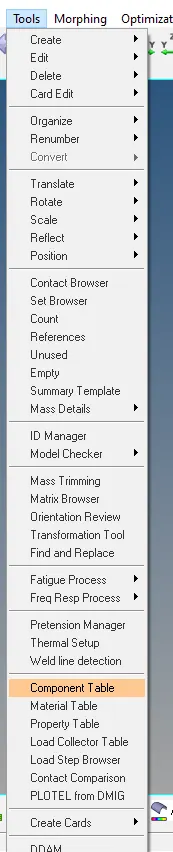
15. Now we are going to check that we have successfully assigned the properties to the elements properly.
For that, we will go to menu bar--> Tools--> component table

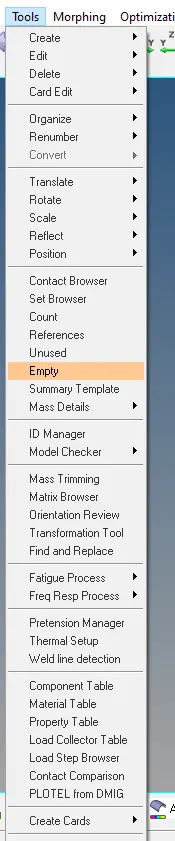
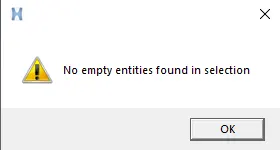
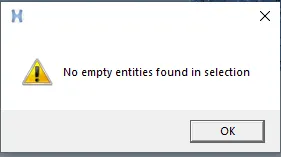
16. Now we are going to check if there is unnecessary component is present (empty component).
For that, we will go to menu bar--> Tools--> empty
17. Now we are going to check if there is unnecessary property is present (unused property).
For that, we will go to menu bar--> Tools--> unused

18. So we have resolved all the errors from the model and we have meshed the model without any element fail.
tria% = 0.87%
Things to keep in mind while meshing
1. Feature capturing should be proper in the mesh.
2. Mesh Flow should be good.
3. Element should not be failing for any quality criteria.
4. There should be connectivity properly in the elements.
5. There should not be any free edges between the elements.
6. Normals should be in the same direction on the surfaces.
7. Make sure that there should not be no duplicate elements.
Learning Outcome
1. Learn how to do the mesh.
2. Learn the rules which we have to follow while we are meshing the component.
3. Learn how to do the element check.
4. Learn about the different quality criteria.
5. Learn how to assign the thickness to any part of the model.