Week 12:Project-1-Meshing of Door Inner Panel Challenge
AIM:- The objective of this challenge is to perform the meshing on the midsurface which is taken from parent geometry and mesh to be deployed as per given quality criteria.
Procedure:-
The step by step procedure for this challenge is as follows:
Step-1: Import the given geometry into Hyperwork software and changed into Topo mode for good visualization of the features.
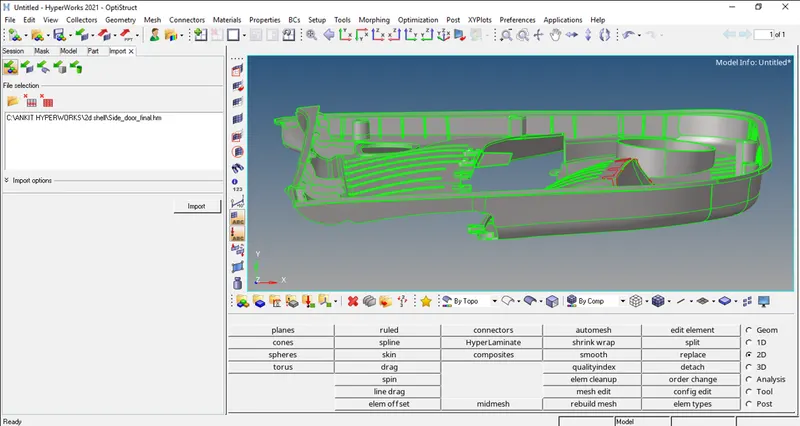
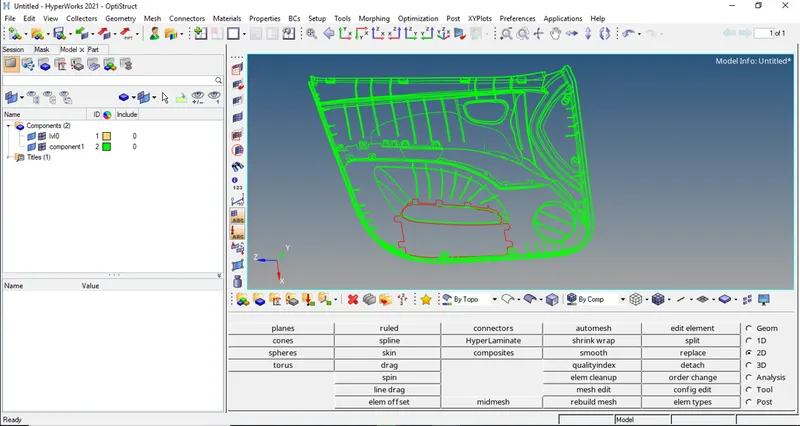
Step-2: Geometry cleanup is carried out before taking mid surface.
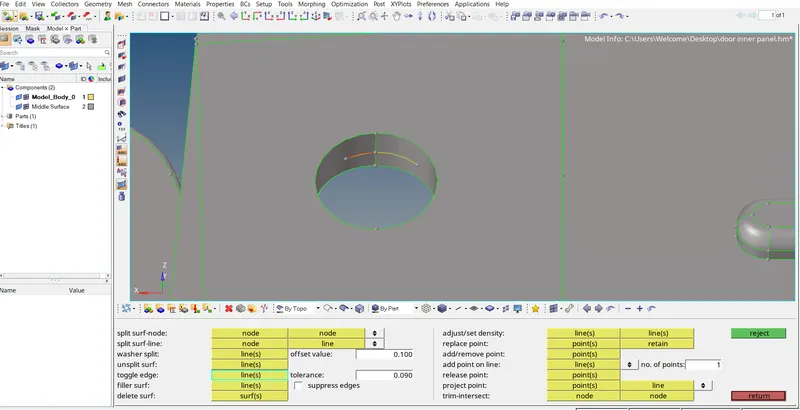
Triple cons are removed by releasing the points using Geom-> Quick edit-> Release points
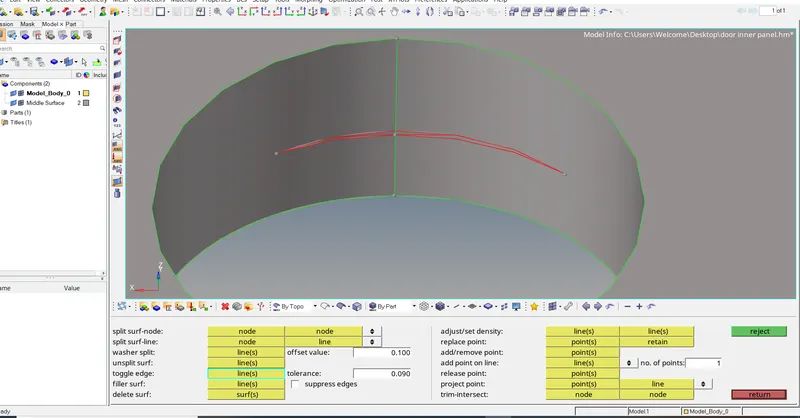
Points are realeased and free edges are showed
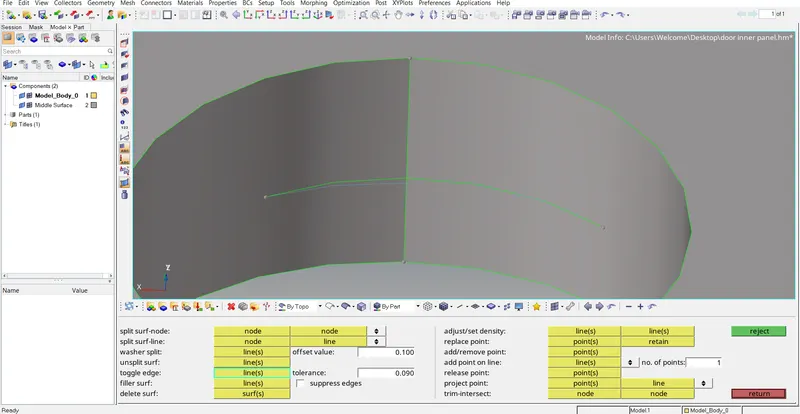
Used Geom-> Quick edit-> toggle edges to merge the free edges and changed into double cons.
Step 3:- Trim The Geometry In Nine Parts By Plane.
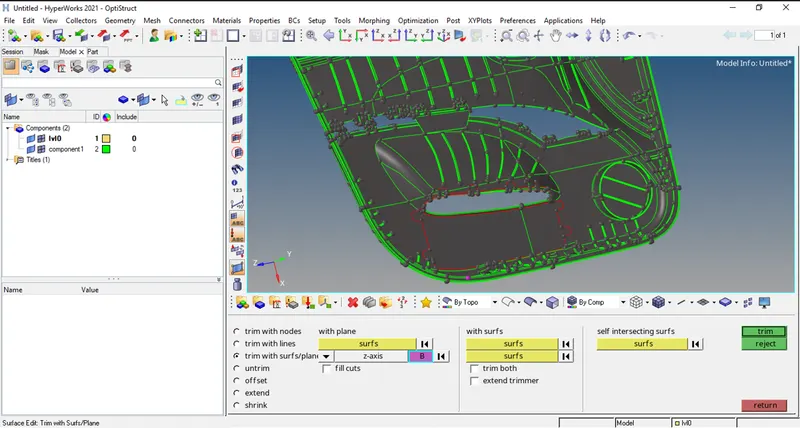
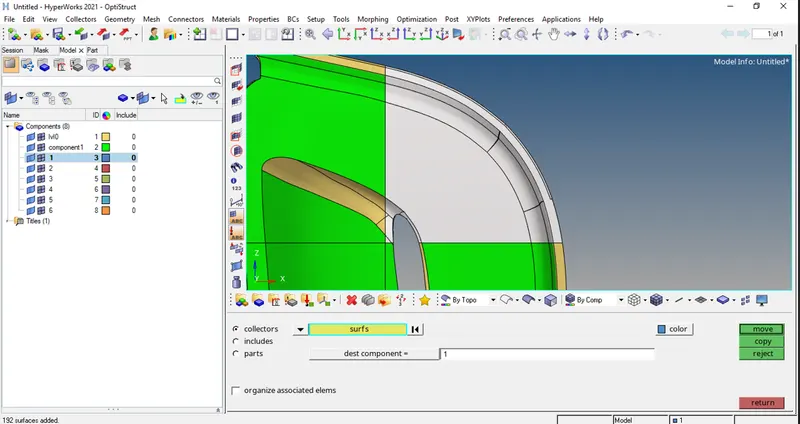
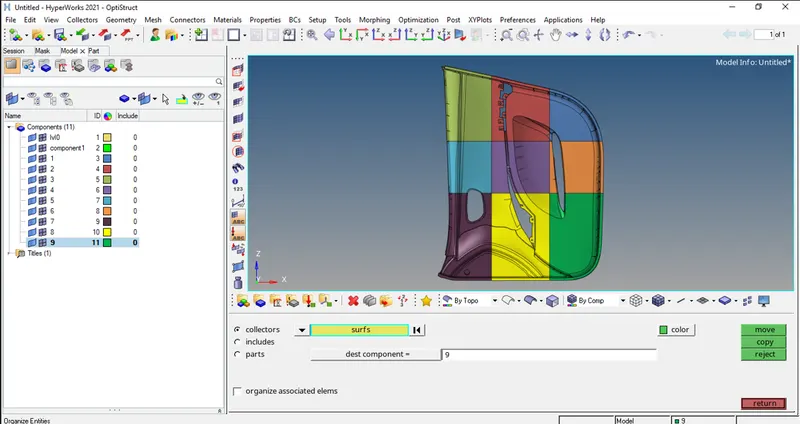
Step 4:- Defeatuning By Surface fillets.
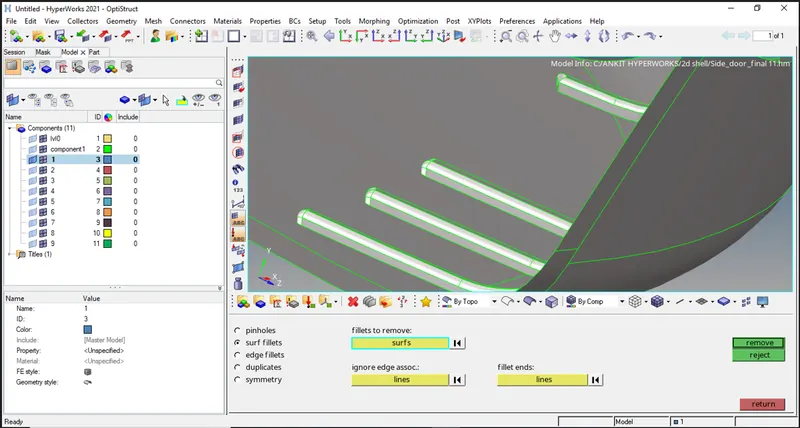
Step 5:- Creating Mid Surface For All Components And Geometry Cleaning Of Mid Surfaces.
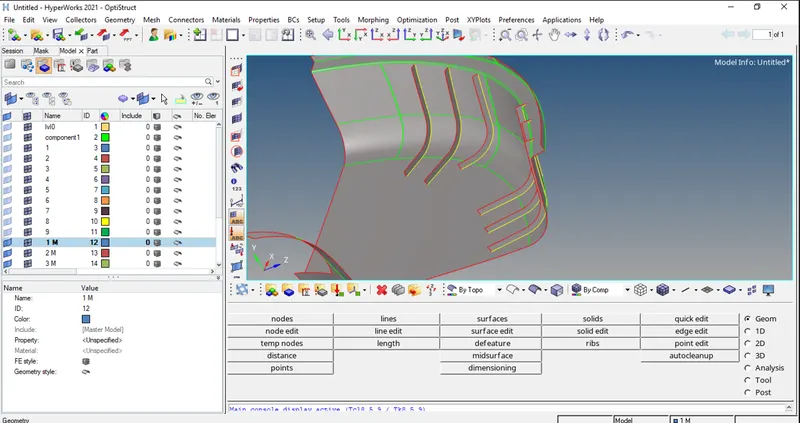
I use offset , extend for bild mid surface.
I use same commands for cleaning like surface , surface edit , quick edit , etc.
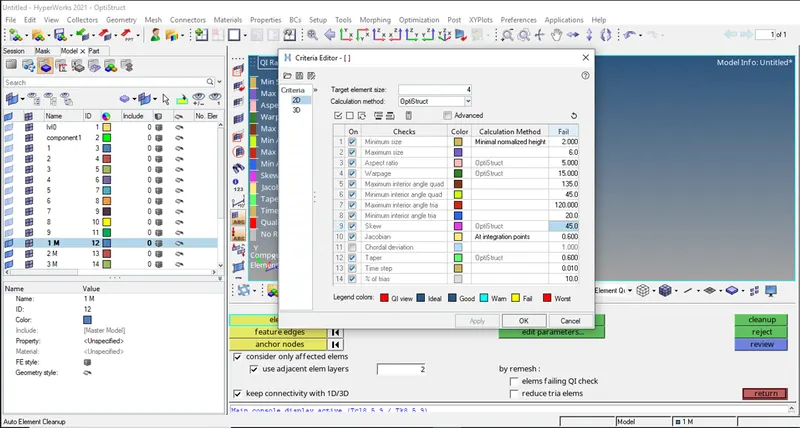
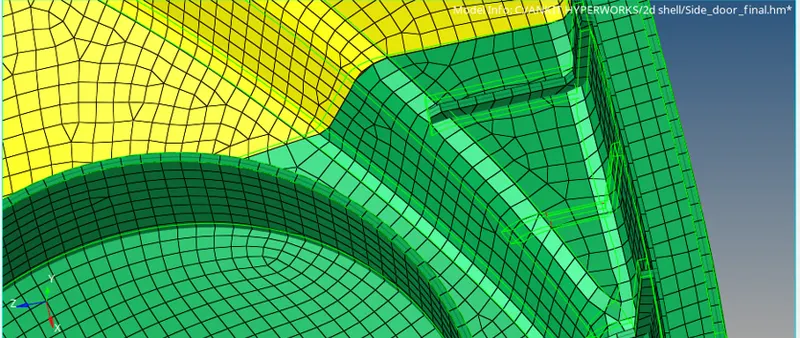
Step 6:- Meshing Of All Mid Surface One By One With Given Quality element Criteria.
Target Element Length = 4 Units
| S.N | Quality Criteria | Value |
| 1 | Aspect Ratio | 5 |
| 2 | Skewness | 45 |
| 3 | Warping | 15 |
| 4 | Taper | 0.5 |
| 5 | Min. Length | 2 Units |
| 6 | Max. Length | 6 Units |
| 7 | Min angle Quad | 45 |
| 8 | Max angle Quad | 135 |
| 9 | Min angle Tria | 20 |
| 10 | Max angle Tria | 120 |
| 10 | Tria % | 10 |
1}
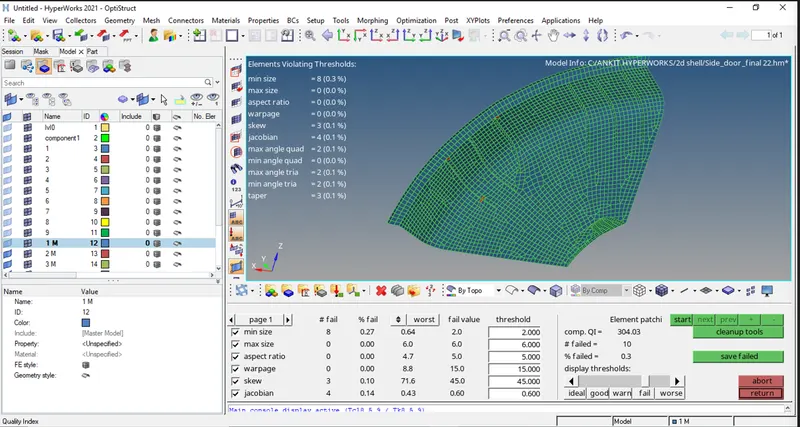
2}
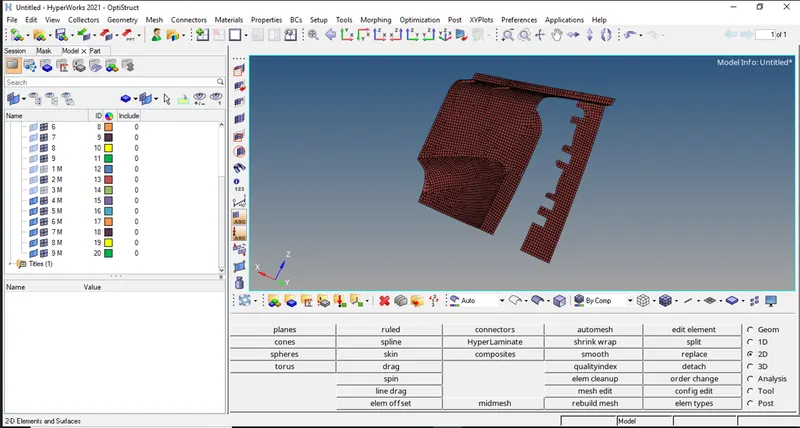
3}
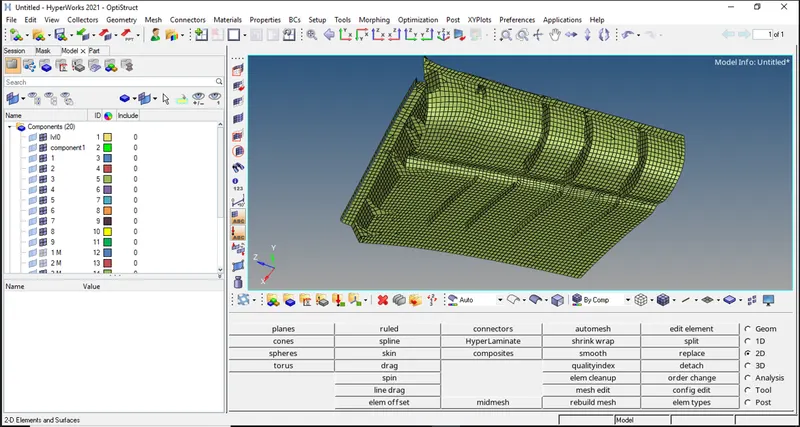
4}
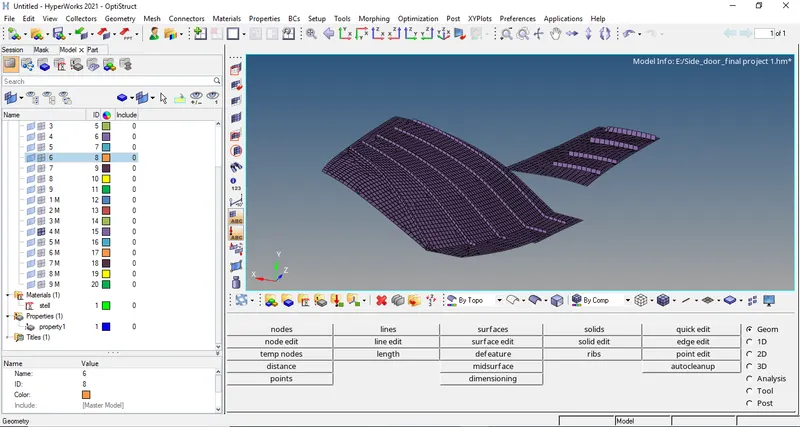
5}
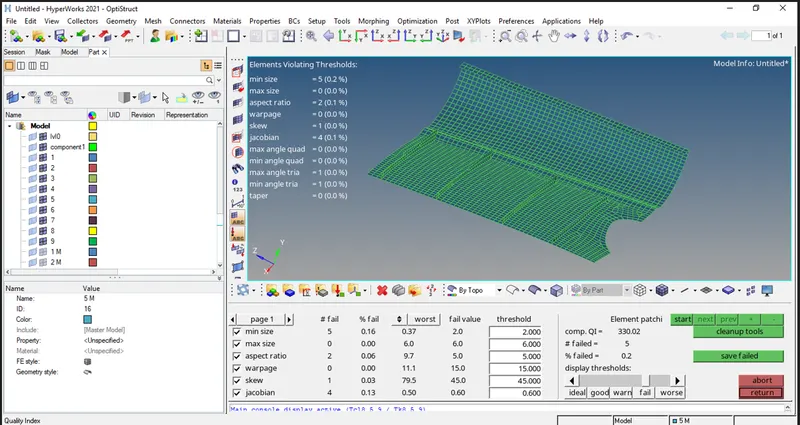
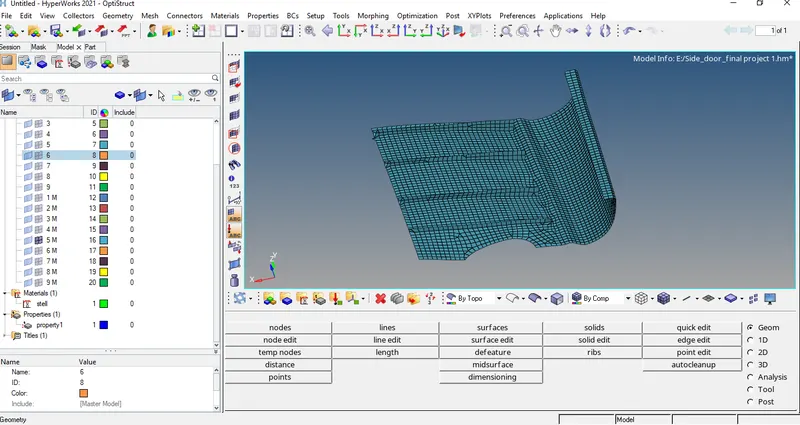
6}
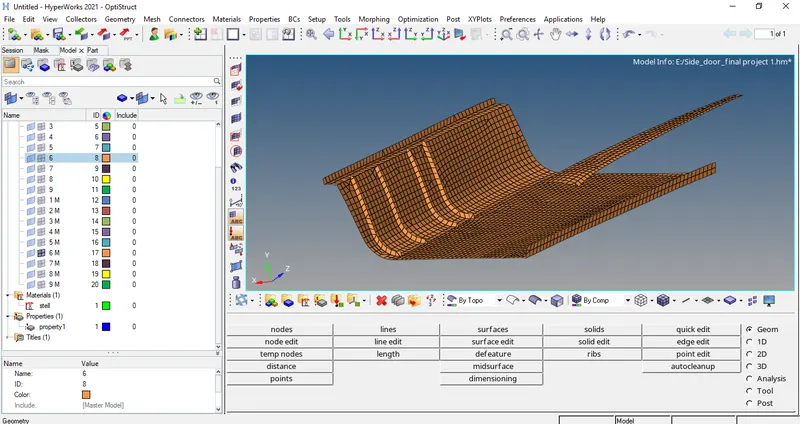
More Then 50% Of The Mesh
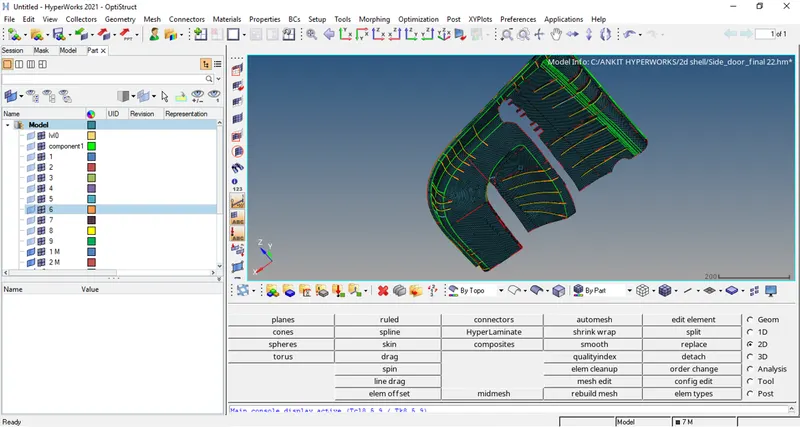
7}
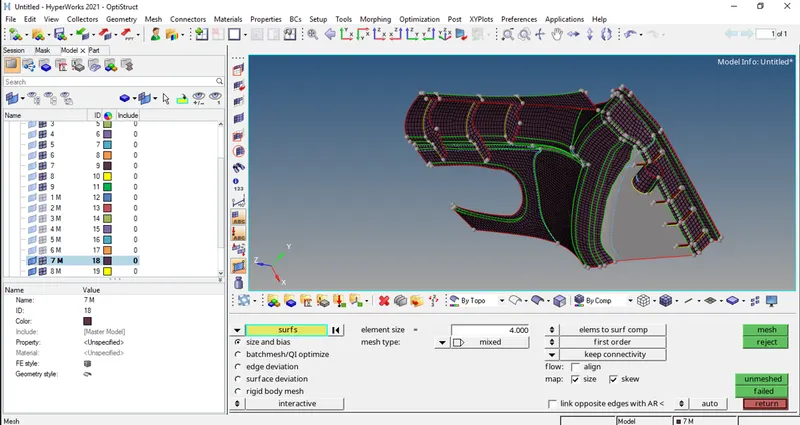
8}
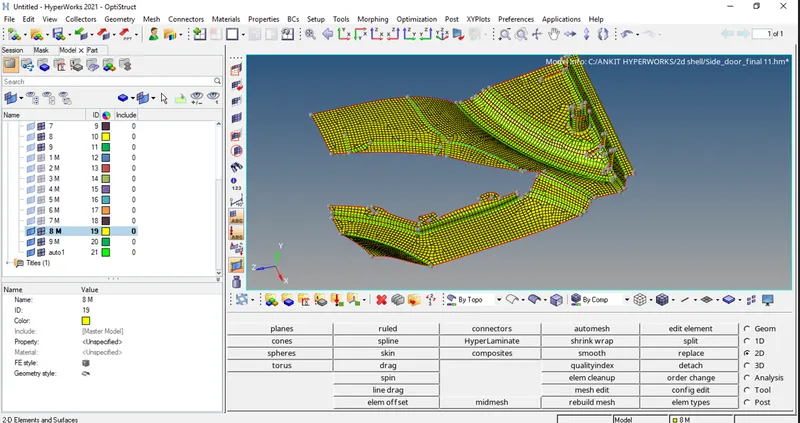
9}
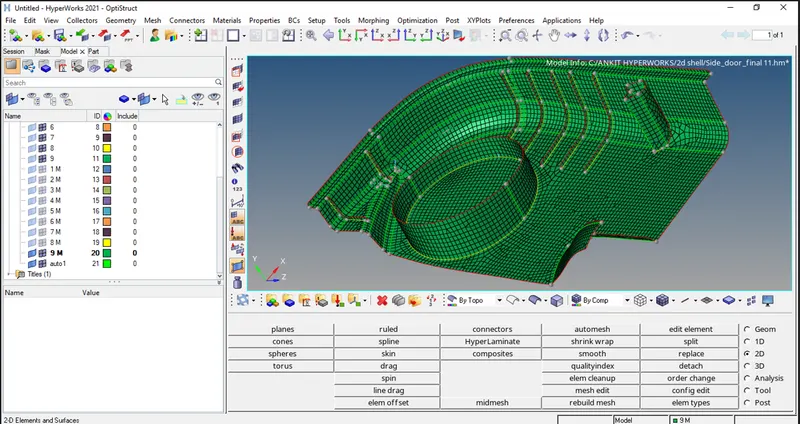
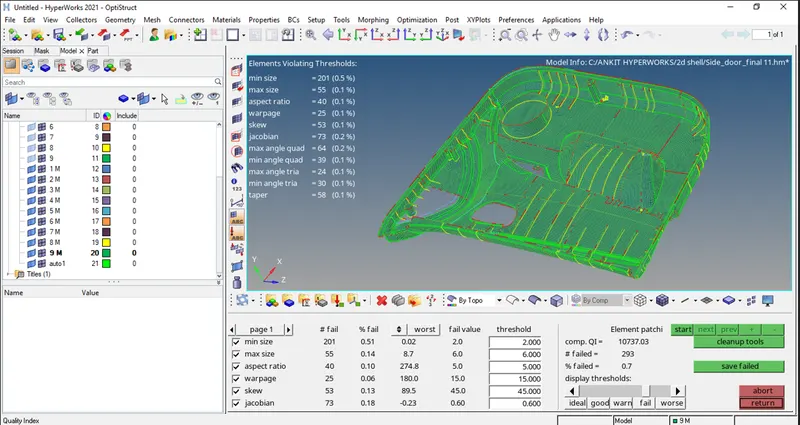
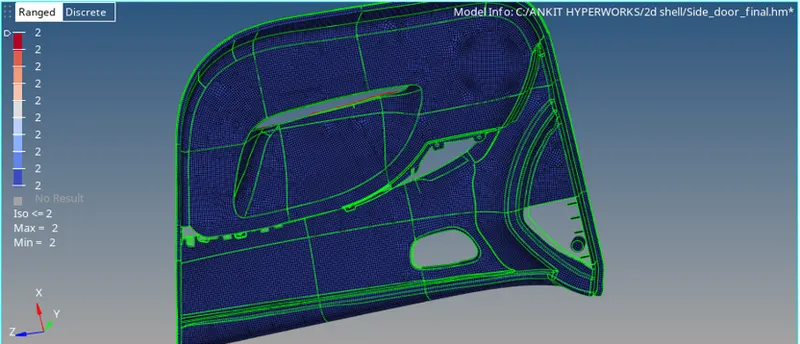
FULL MESH
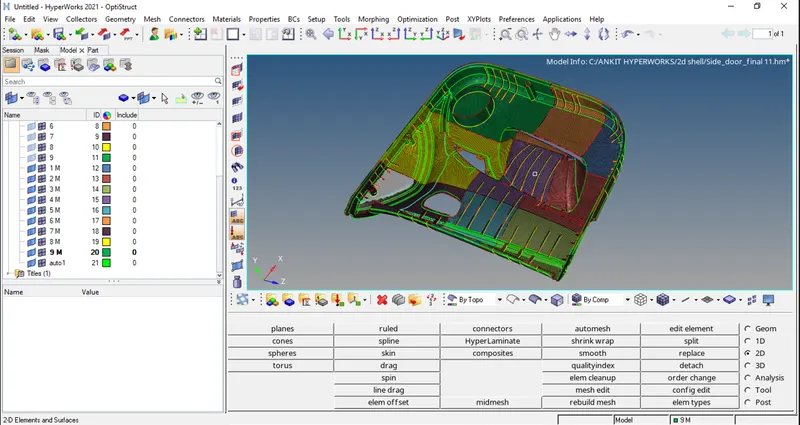
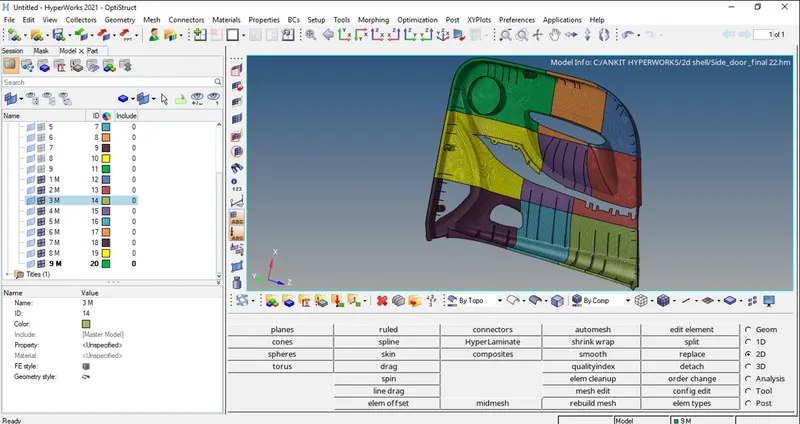
MESH QUALITY
Step 7:- Material And Proparties Assign To All Components.
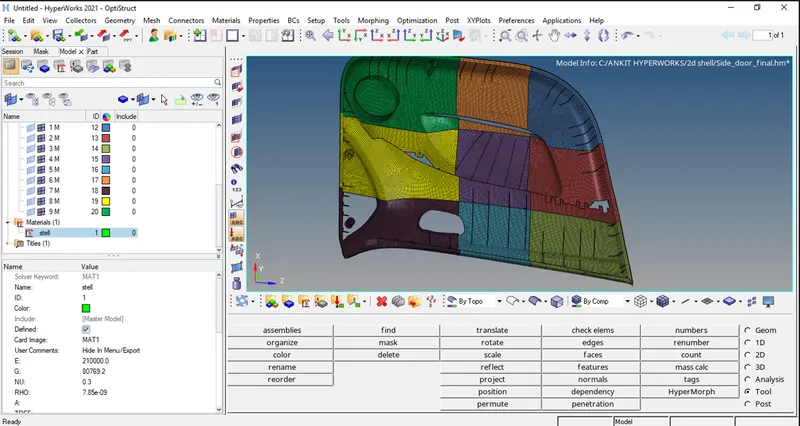
Material
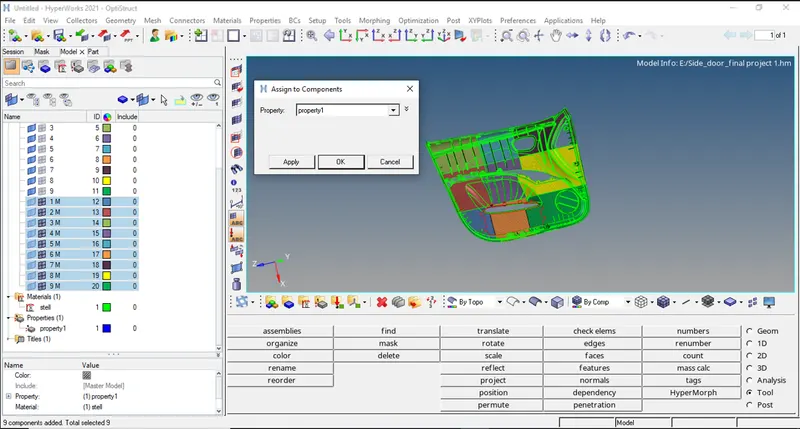
Proparties
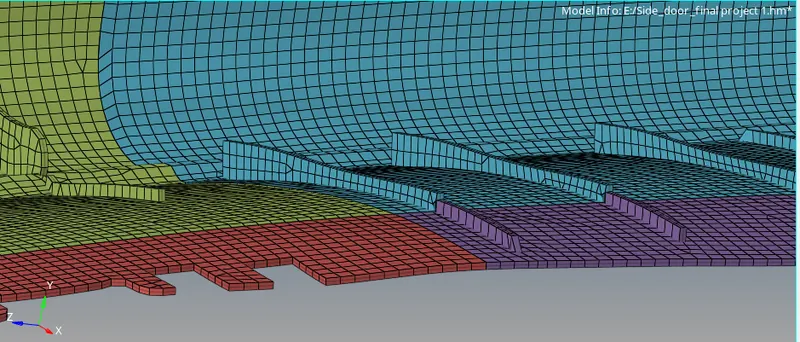
Step 8:- Thickness Assign { 1mm}
Learning outcomes:-
Learned how to take manual midsurface for plastic components
Learned how to edit the surfaces
Learned to generated good mesh flow.
Conclusion:-
The conclusion of this challenge is thst the given plastic component is taken the midsurface and generated the mesh with given quality criteria.