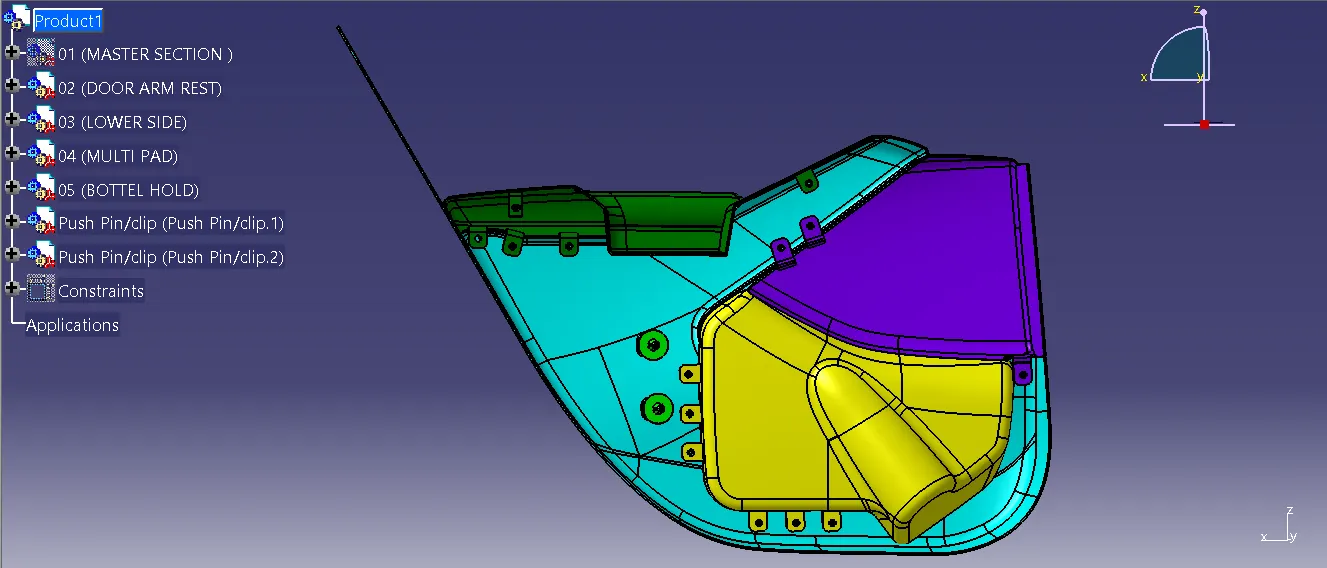
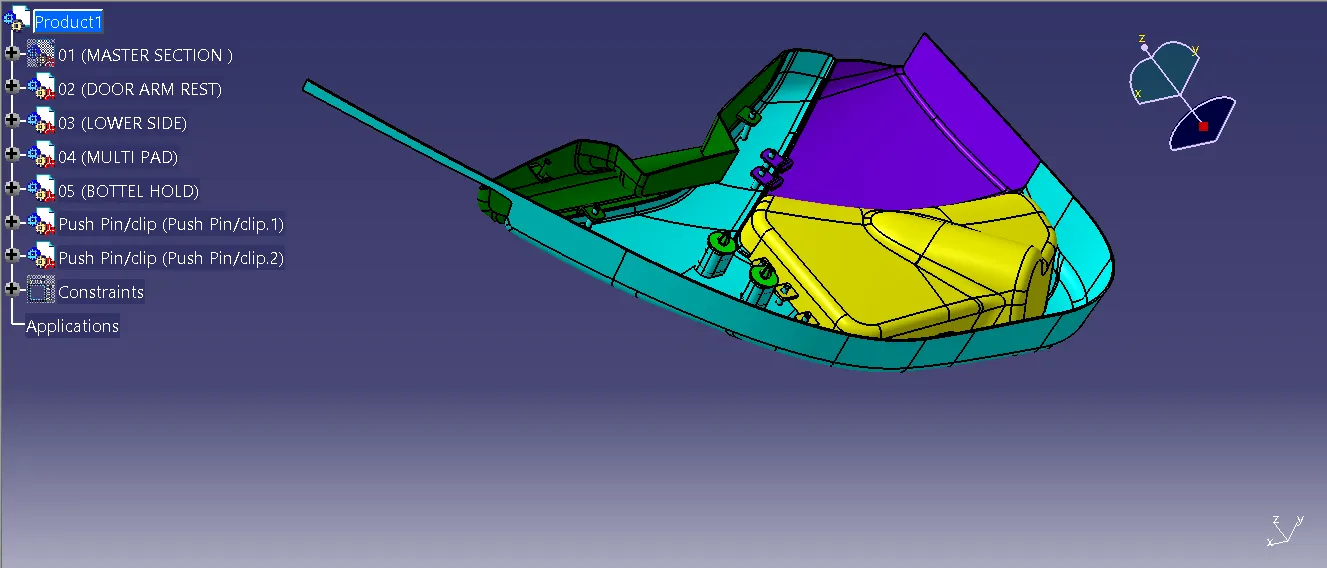
Week 12- Final project
Step 1: In the CLASS A SURFACE i made a remodification to make a intersect with the CLASS C & B,
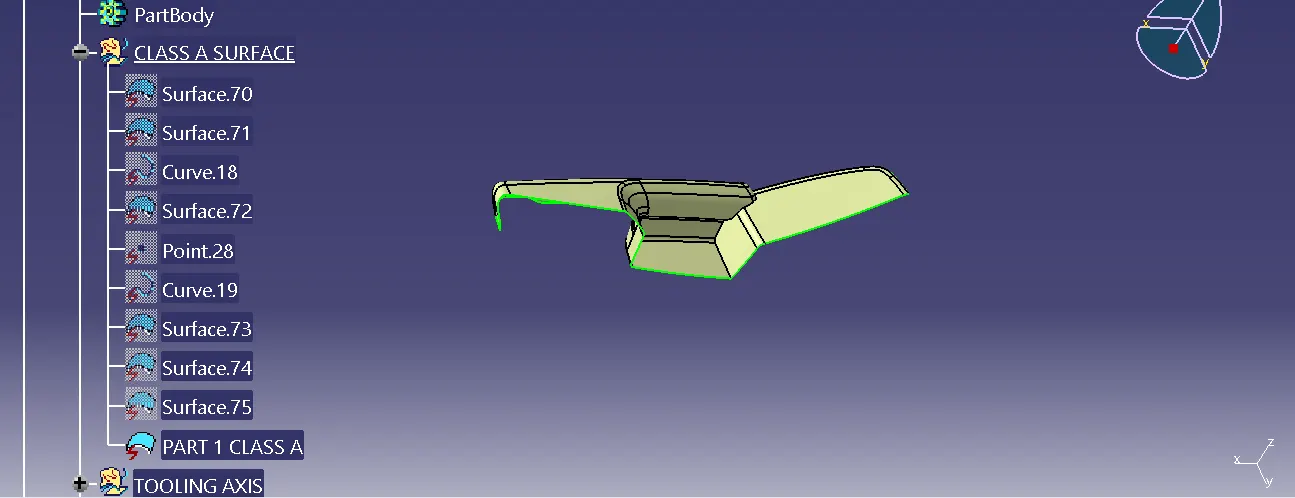
Step 2: I use the trim command to intersect and trim the CLASS A+B+C SURFACE,
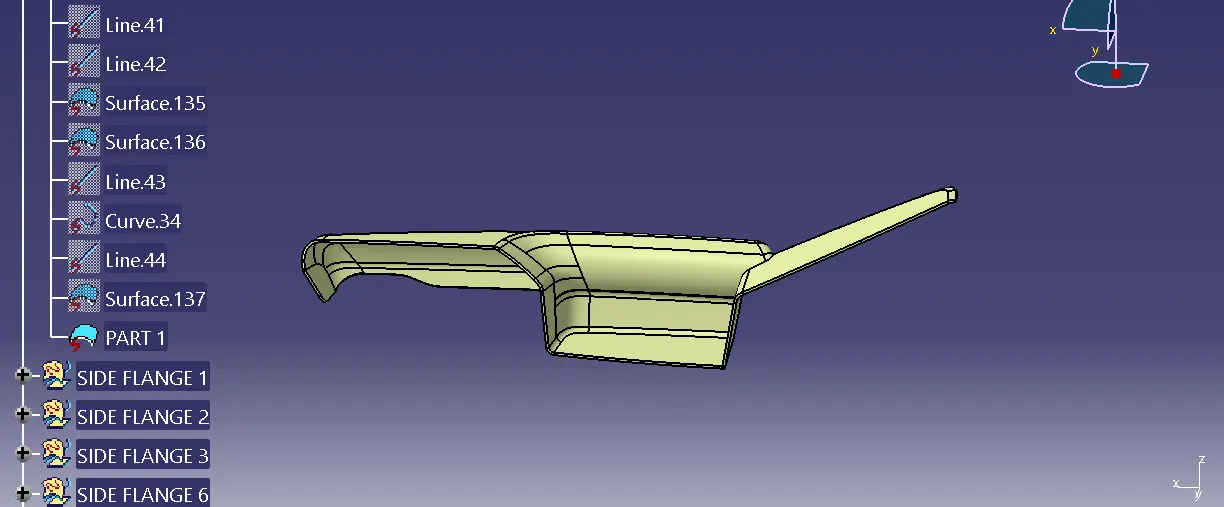
Step 3: I created the solid surface by using the CLOSED SURFACE command and made a SIDE FLANGE in step by step process to make a perfect solid,
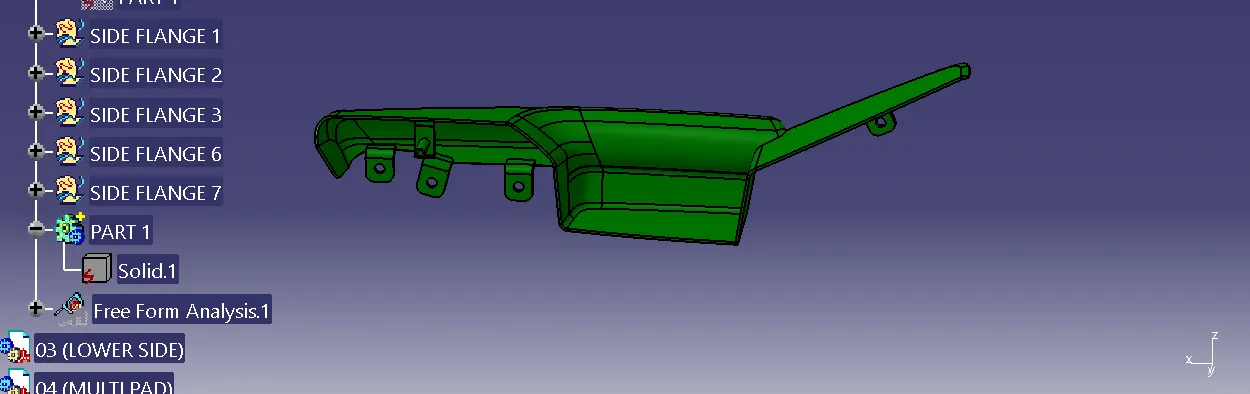
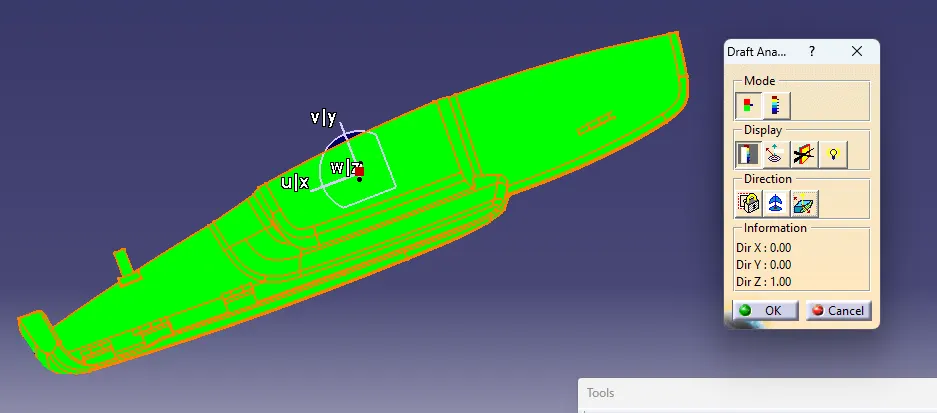
Step 4: I used the Draft Analysis to make a perfect in the upper surface,
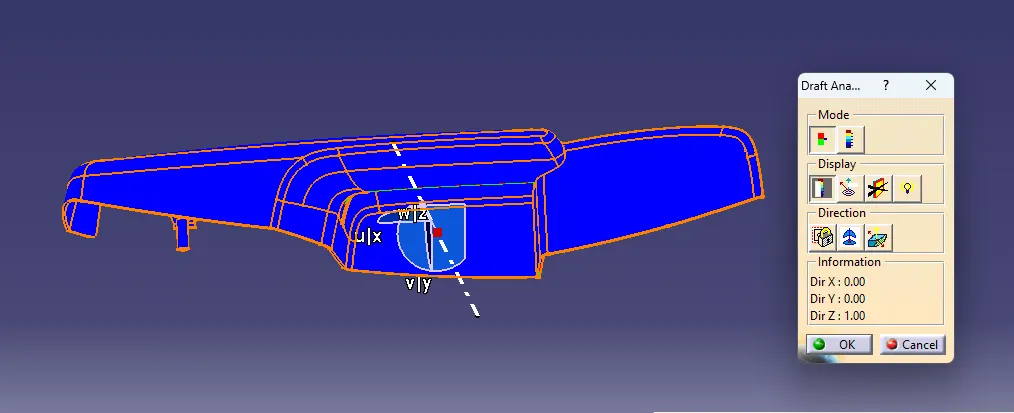
Step 5: And I used the inverses the Draft direction to check a perfect in lower surface,
Step 6: Then I created the LOWER SIDE in a separate part in product to make a different part, And I created a CLASS A SURFACE,
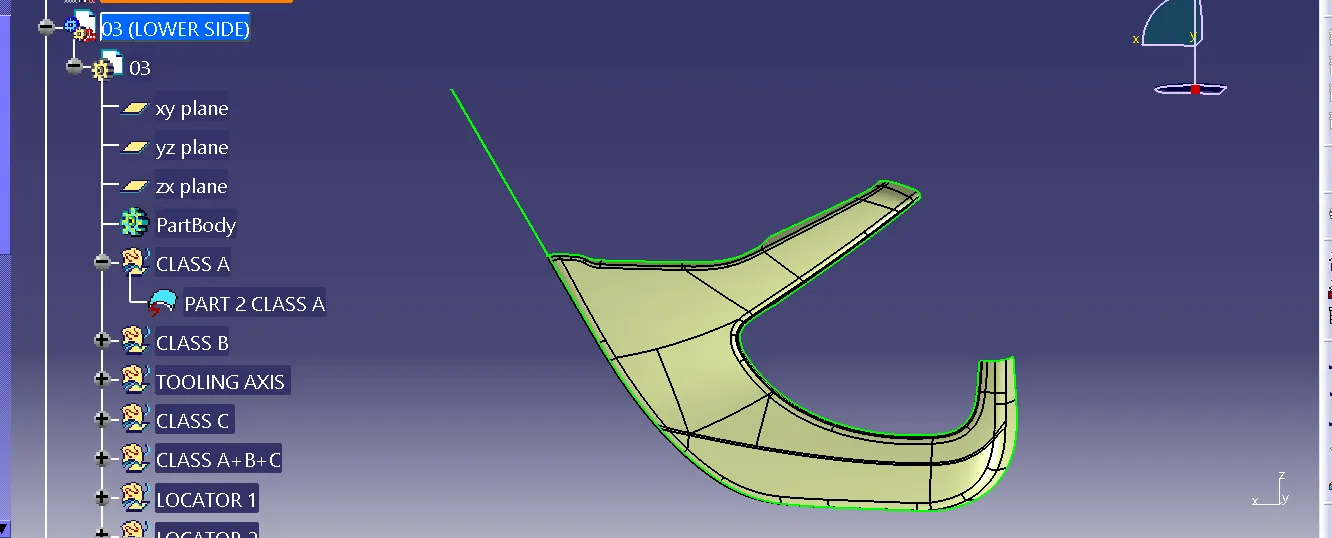
Step 7: Then I used the CLASS B & C to intersect the CLASS A,
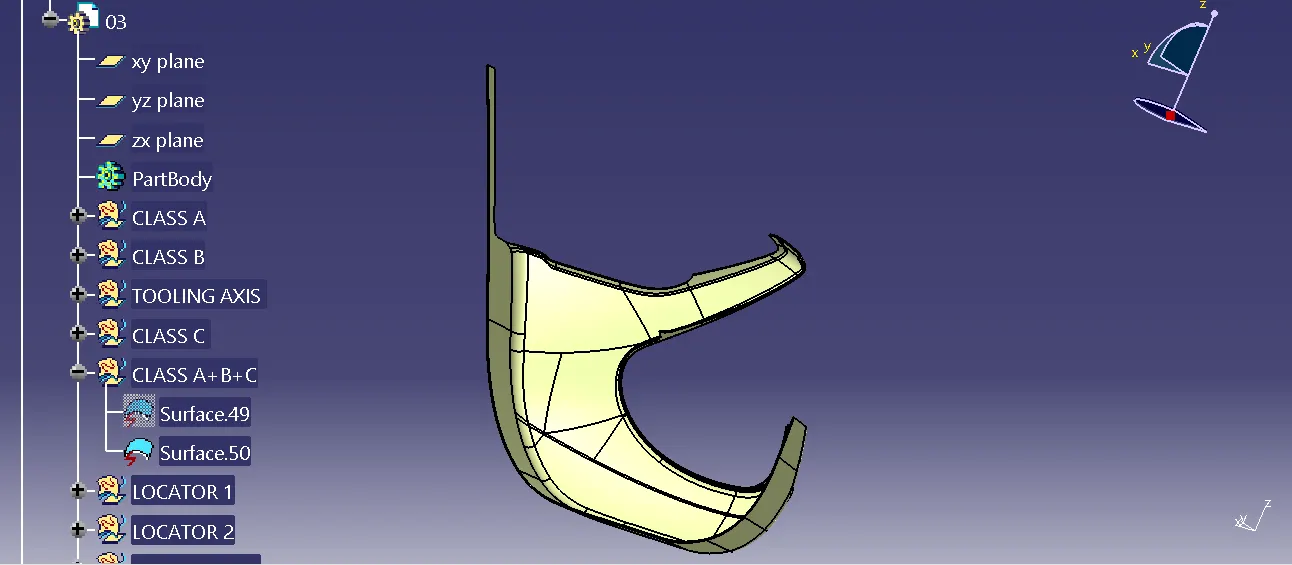
Step 8: I used the CLOSED SURFACE to make a perfect in the LOWER SIDE with the LOCATOR & DOG HOUSE,
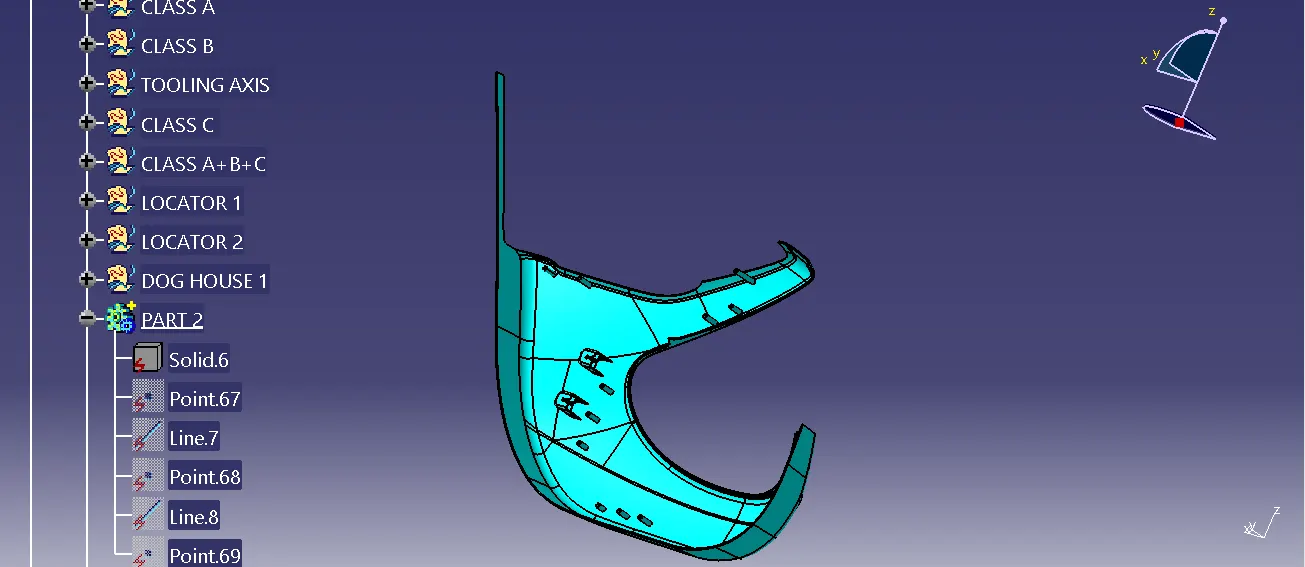
Step 9: I used the Draft Analysis to make a perfect in the upper surface in the LOWER SIDE,
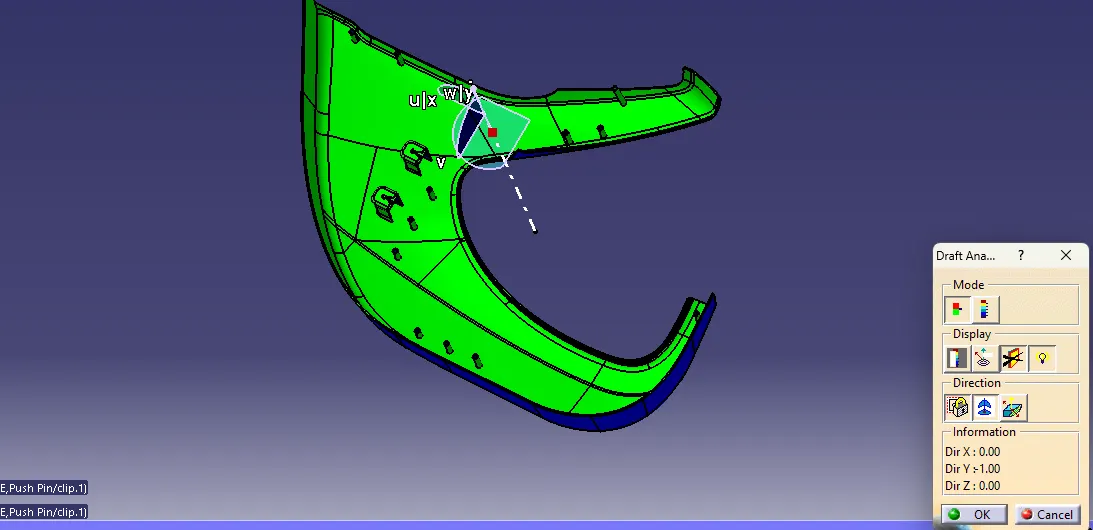
Step 10: And I used the inverses the Draft direction to check a perfect in lower surface,
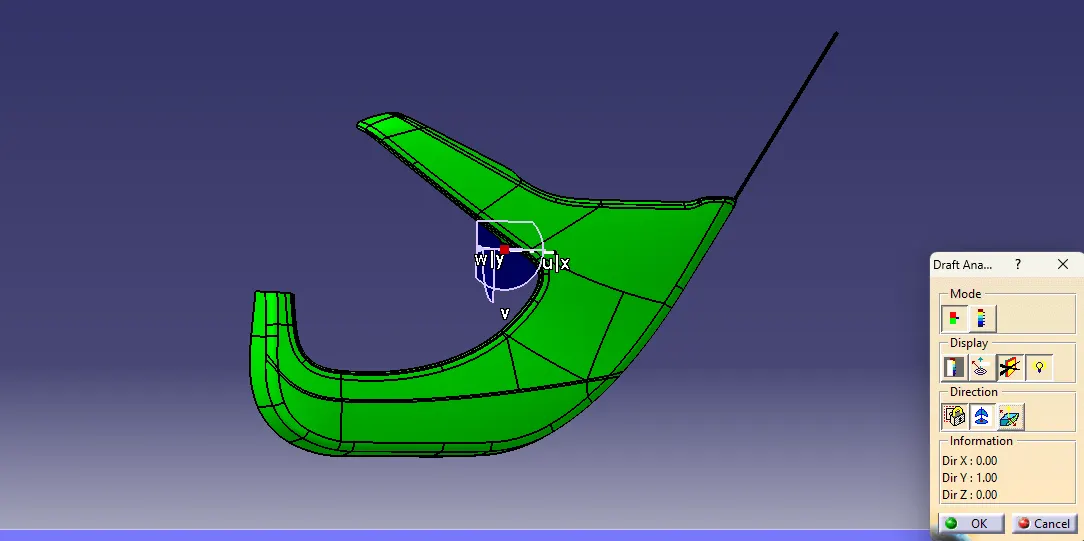
Step 11: Then I created the MULTI PAD in a separate part in product to make a different part, And I created a CLASS A SURFACE,
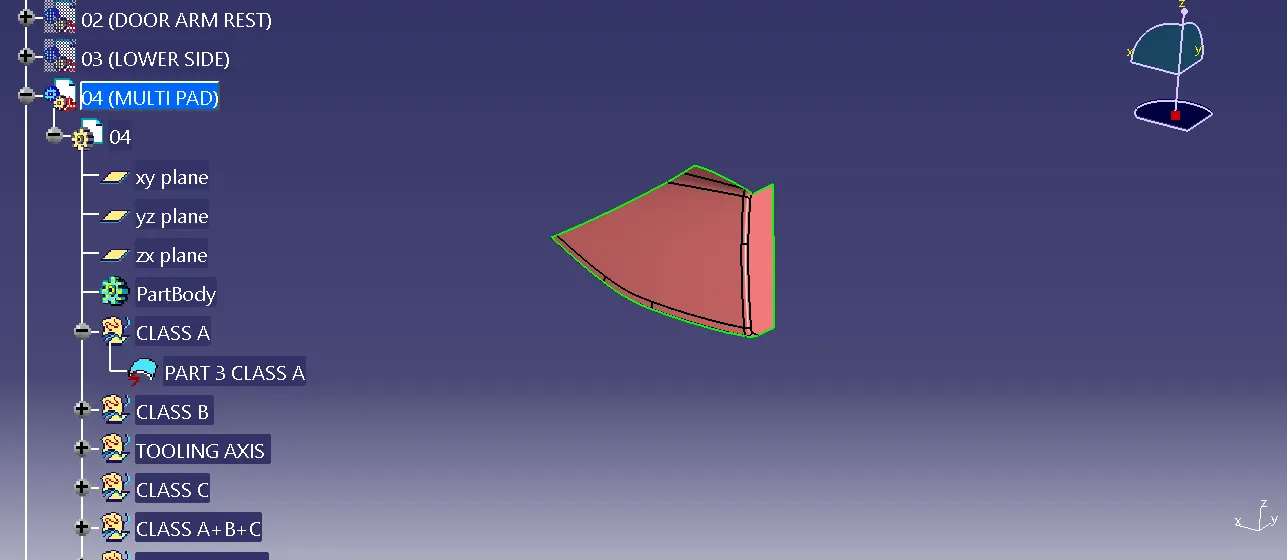
Step 12: Then I used the CLASS B & C to intersect the CLASS A,
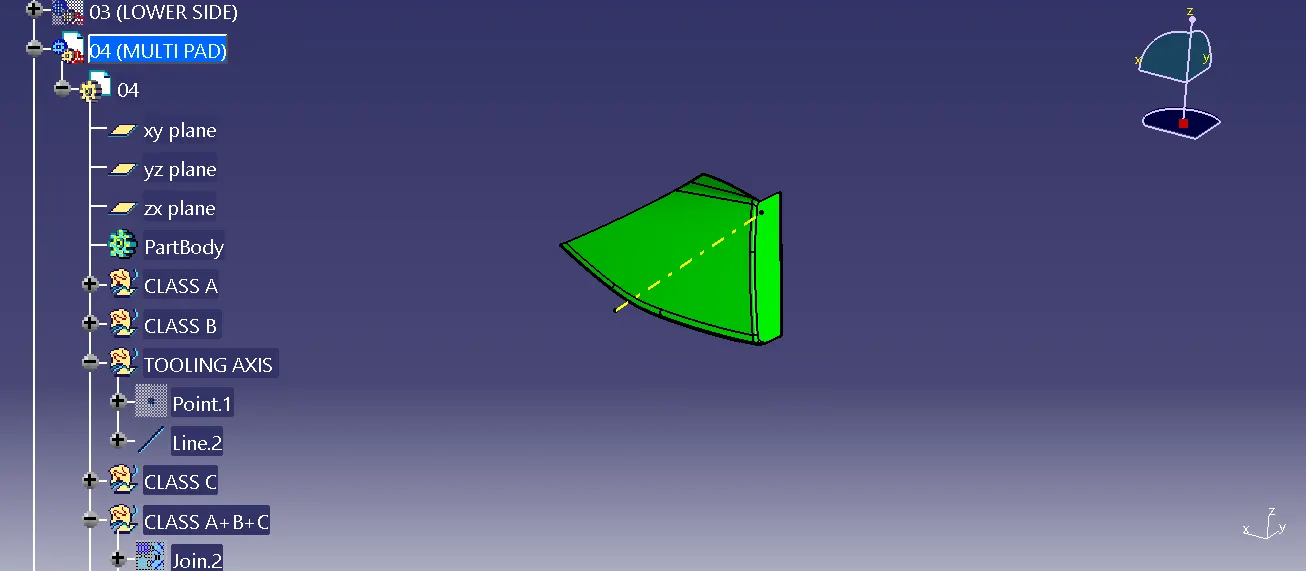
Step 13: I used the CLOSED SURFACE and a SIDE FLANGE to make a perfect in the MULTI PAD,
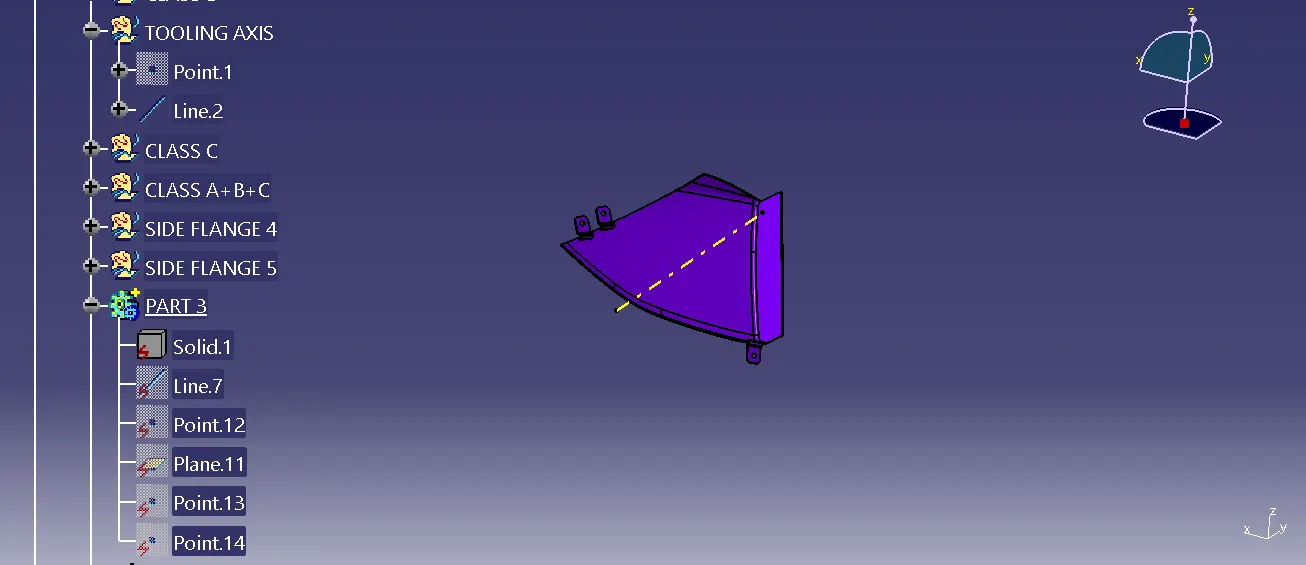
Step 14: I used the Draft Analysis to make a perfect in the upper surface in the MULTI PAD,
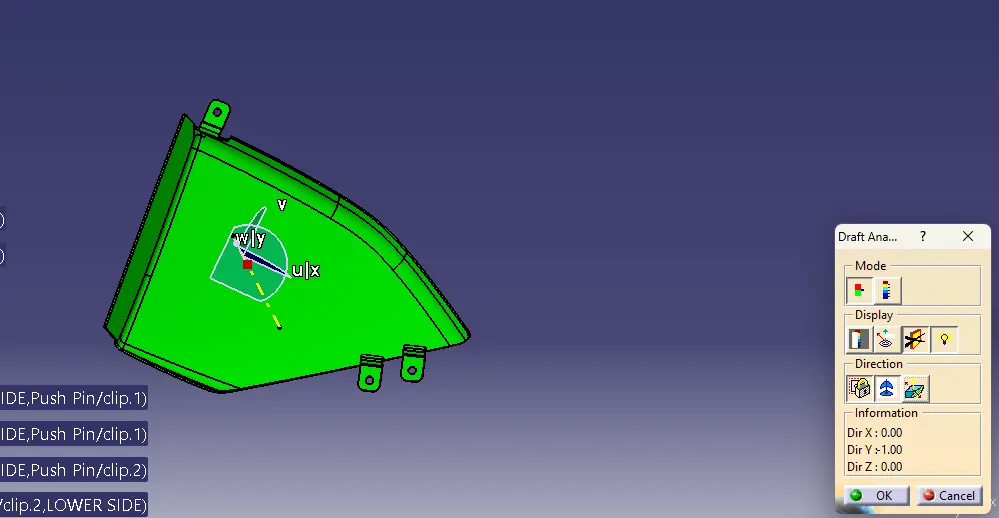
Step 15: And I used the inverses the Draft direction to check a perfect in lower surface,
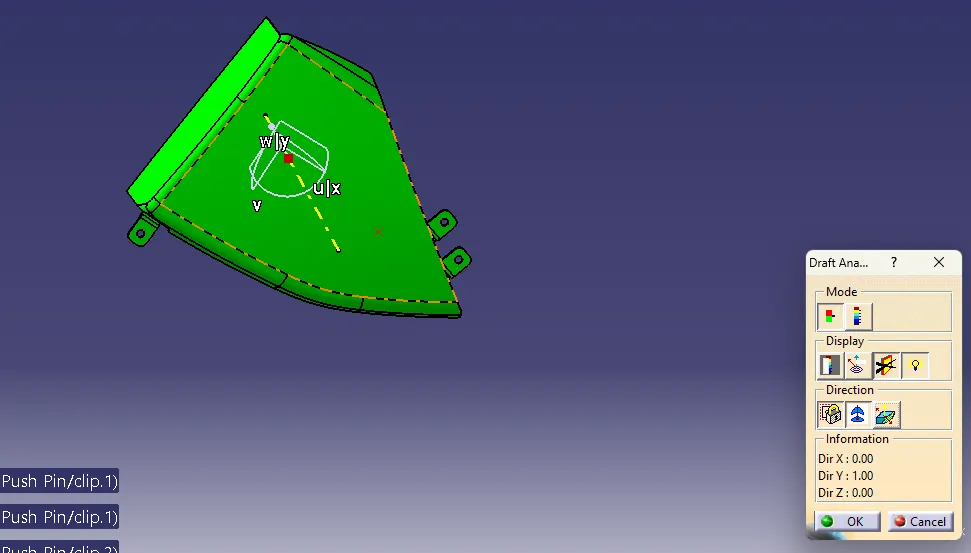
Step 16: I created the BOTTLE HOLD in a separate part in product to make a different part, And I created a CLASS A SURFACE,
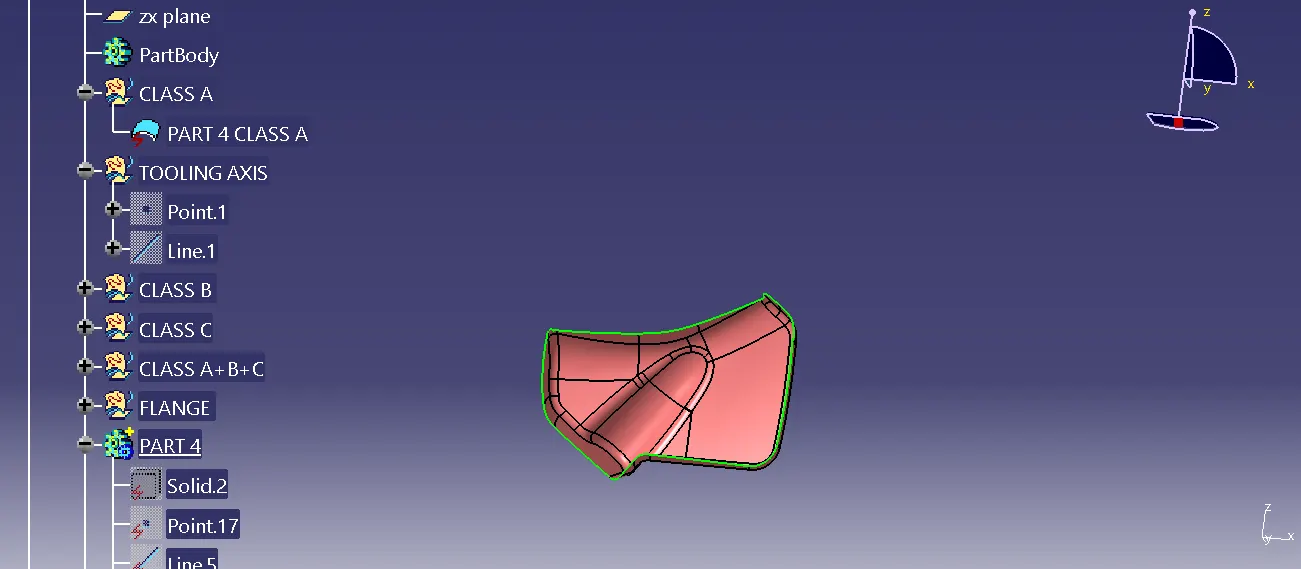
Step 17: Then I used the CLASS B & C to intersect the CLASS A,
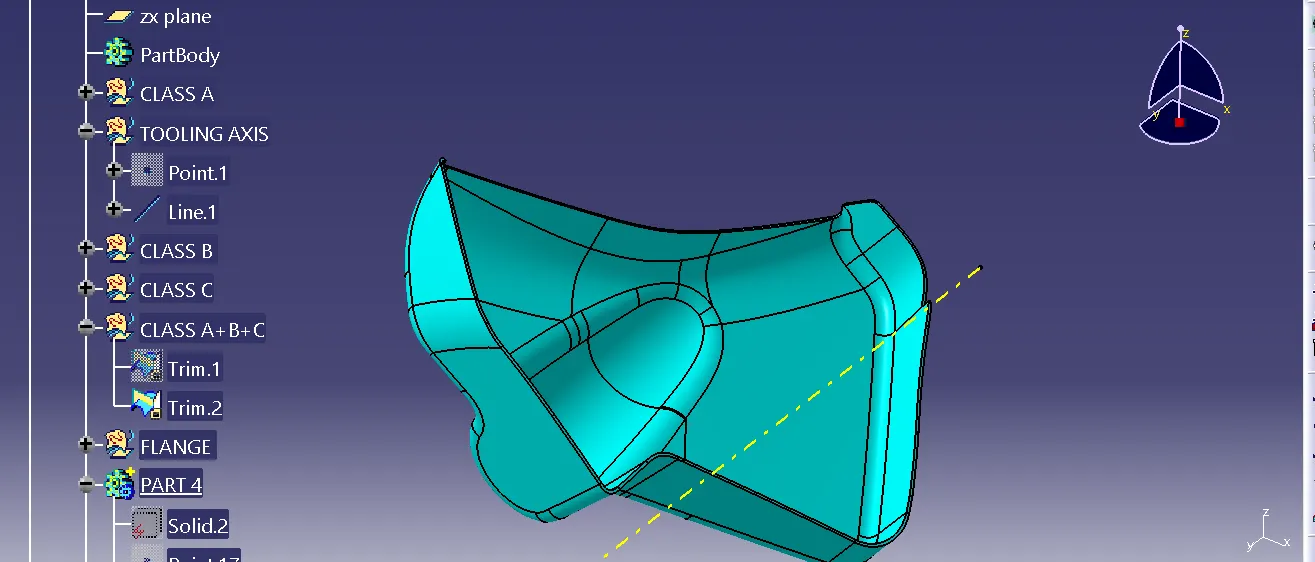
Step 18: I used the CLOSED SURFACE and a SIDE FLANGE to make a perfect in the BOTTLE HOLD,
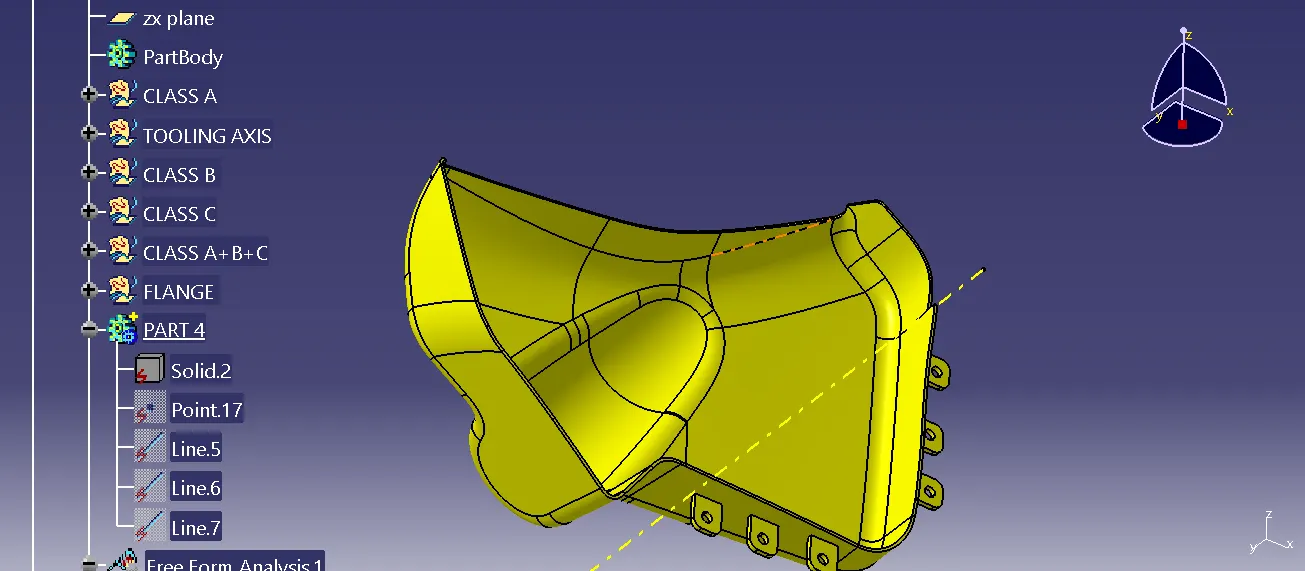
Step 19: : I used the Draft Analysis to make a perfect in the upper surface in the BOTTLE HOLD,
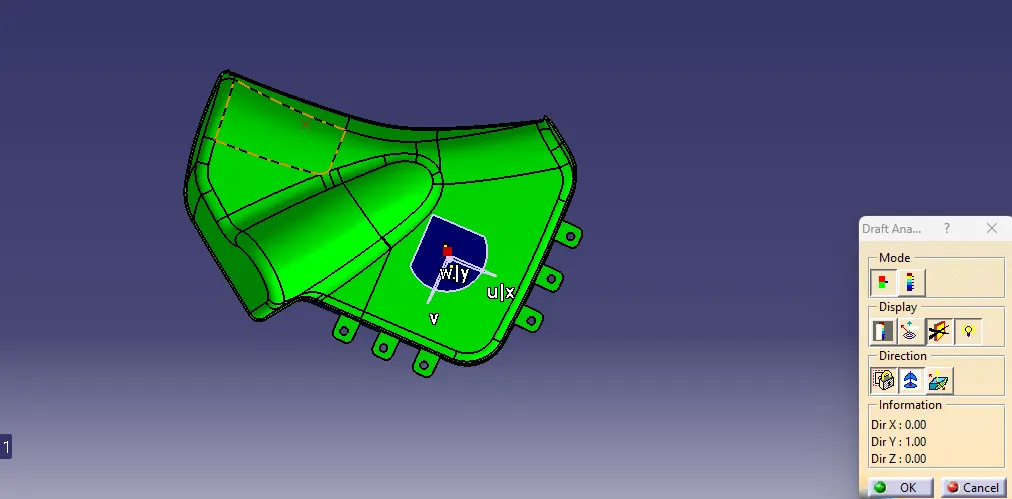
Step 20: And I used the inverses the Draft direction to check a perfect in lower surface,
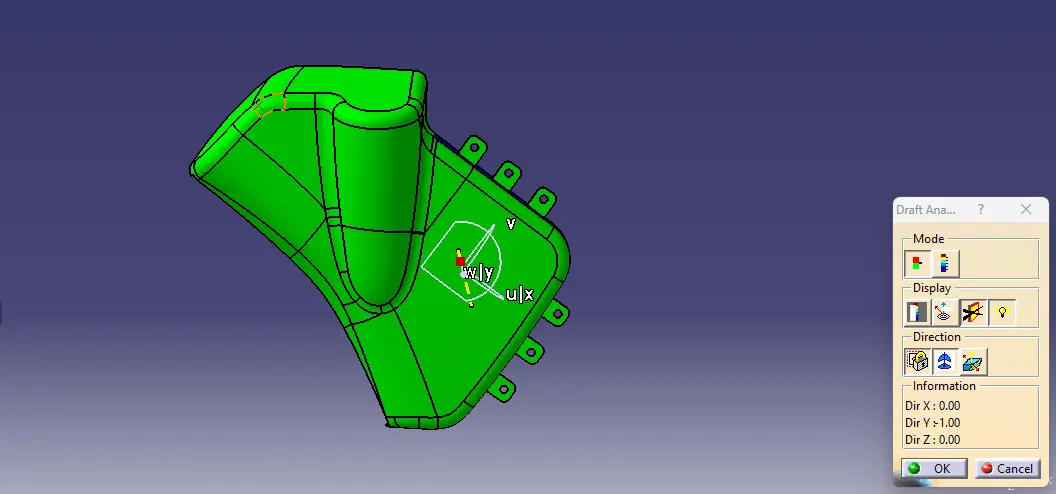
Step 21: And This is the FINAL PART of the model in DOG HOUSE WITH A PIN.