Week 12- Final project
Final Project
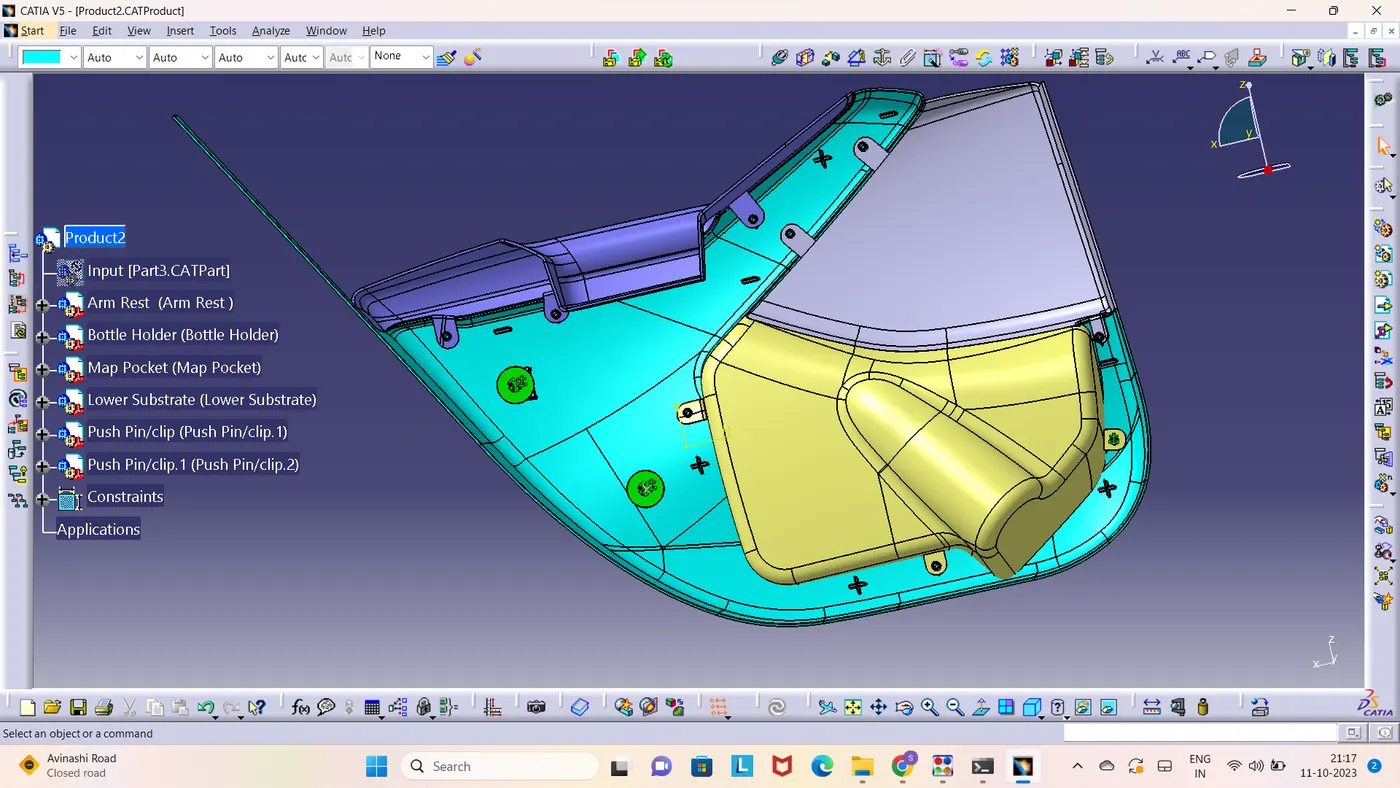
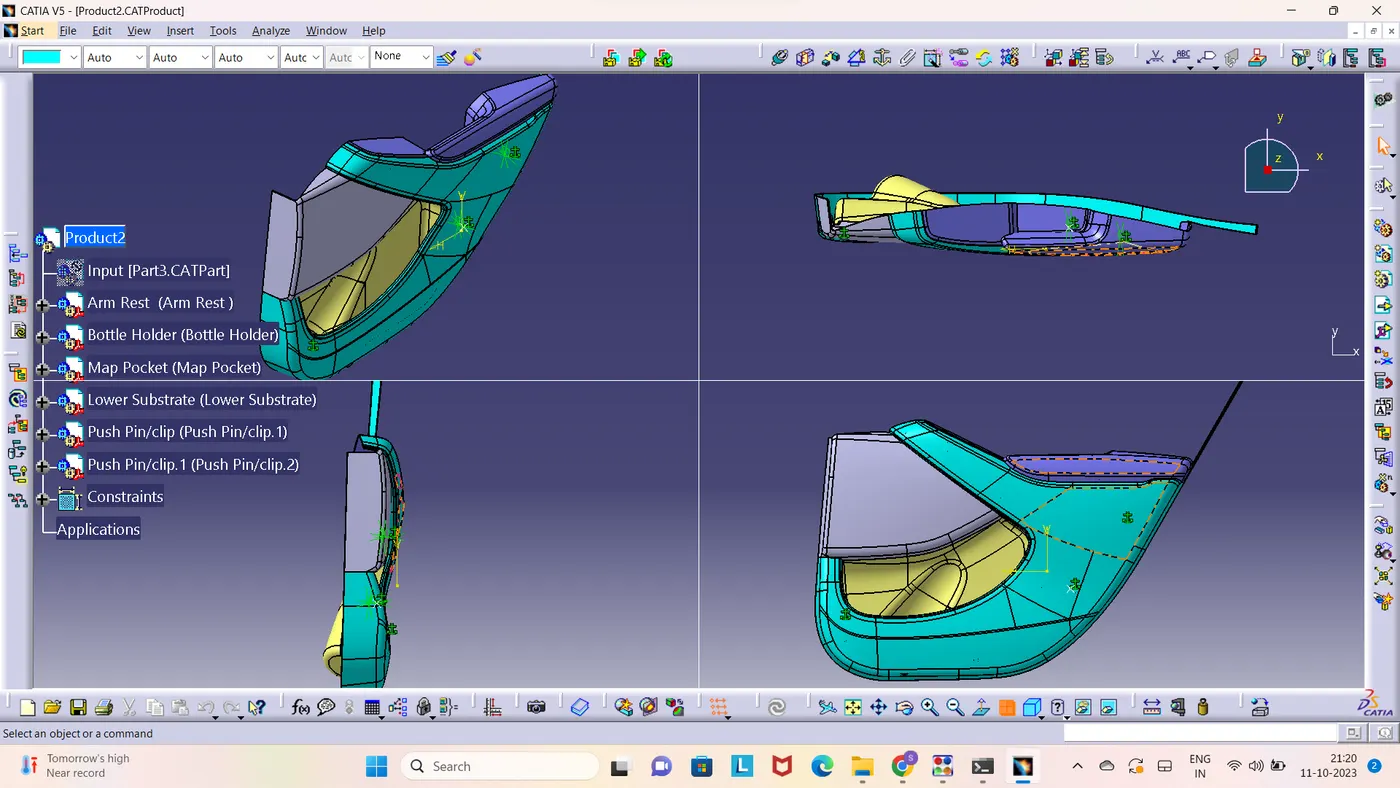
1. Divided the master section into four segments.
- Arm Rest
- Bottle Holder
- Map Pocket
- Lower Substrate
Complete Master Section body
2. Given Class A Surface
Check for gaps between surfaces for that click on join and then preview.
2.1 ARMREST
As there is a discontinuity in the given Class A surface. So we have to improve the class A Surface
Improved Class A Surface
2.2 Bottle Holder
3.3 Map Pocket
3.4 Lower Substrate
4. CREATING A TOOLING AXIS
The tooling axis is created for the component by bisecting method and also created the Side core axis also.
4.1 ARMREST
4.2 Bottle Holder
4.3 Map Pocket
4.4 Lower Substrate
5. CREATING CLASS B SURFACE
To create the class B surface, offset the class A surface inside as per our thickness requirement of 2.5mm.
5.1 ARMREST
5.2 Bottle Holder
5.3 Map Pocket
5.4 Lower Substrate
6. CREATING CLASS C SURFACE
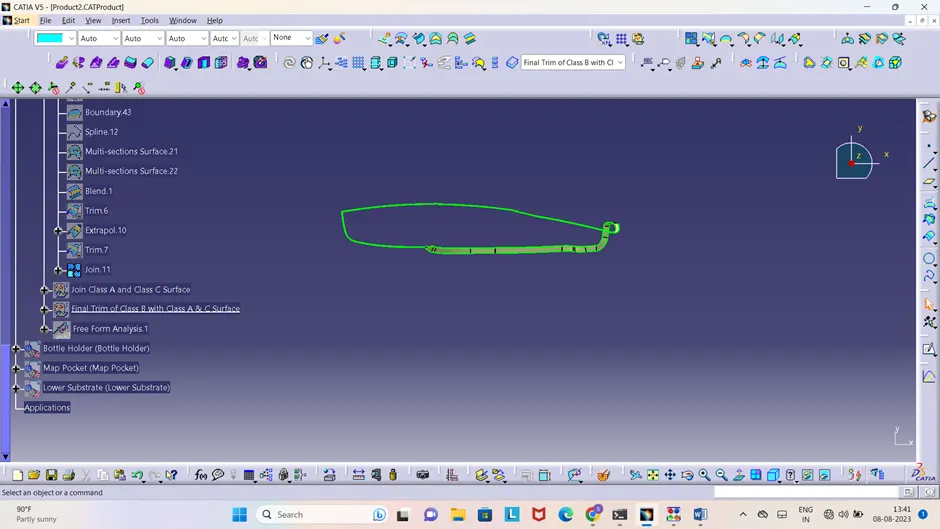
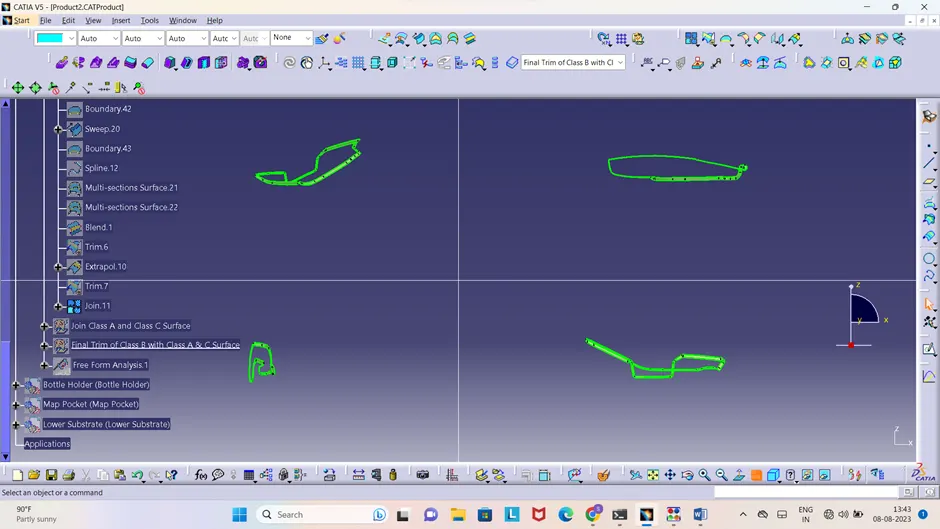
By using the Class A surface Create the Class C surface Using the Tooling axis.
6.1 ARMREST
<!--[endif]-->
6.2 Bottle Holder
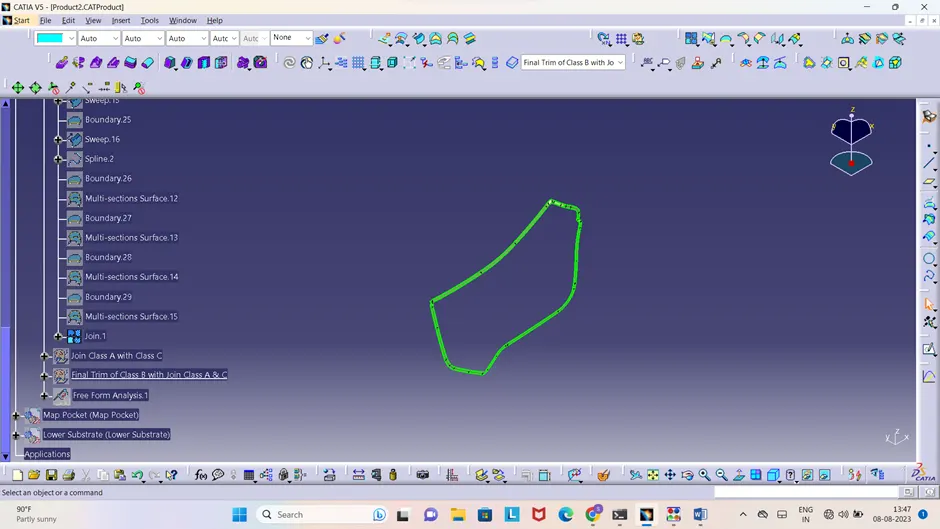
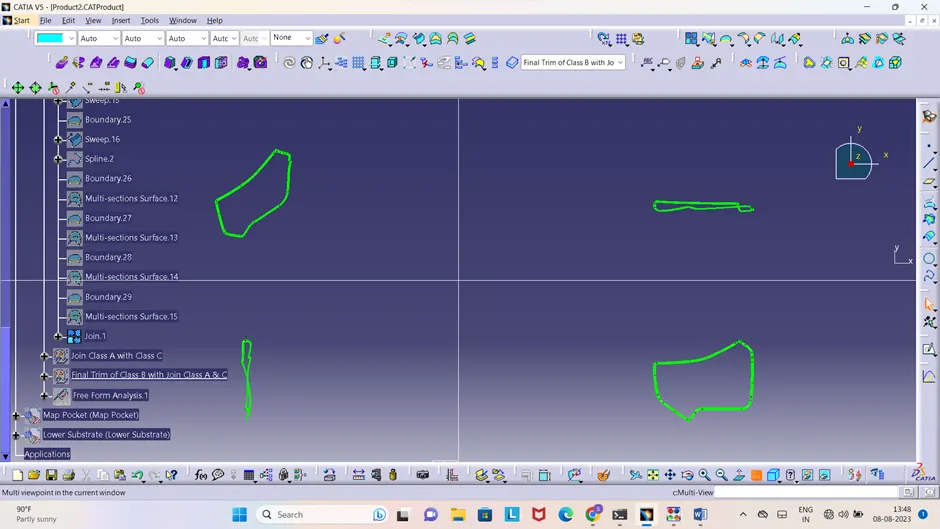
6.3 Map Pocket
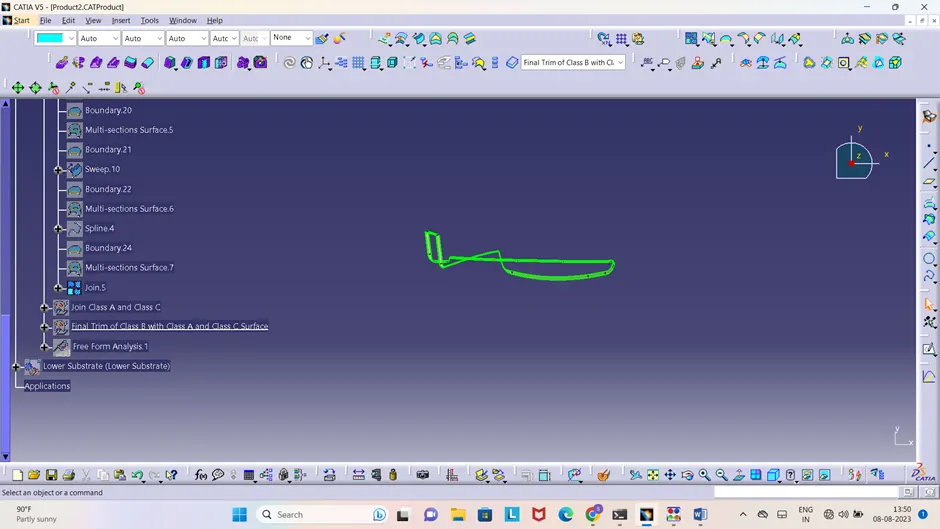
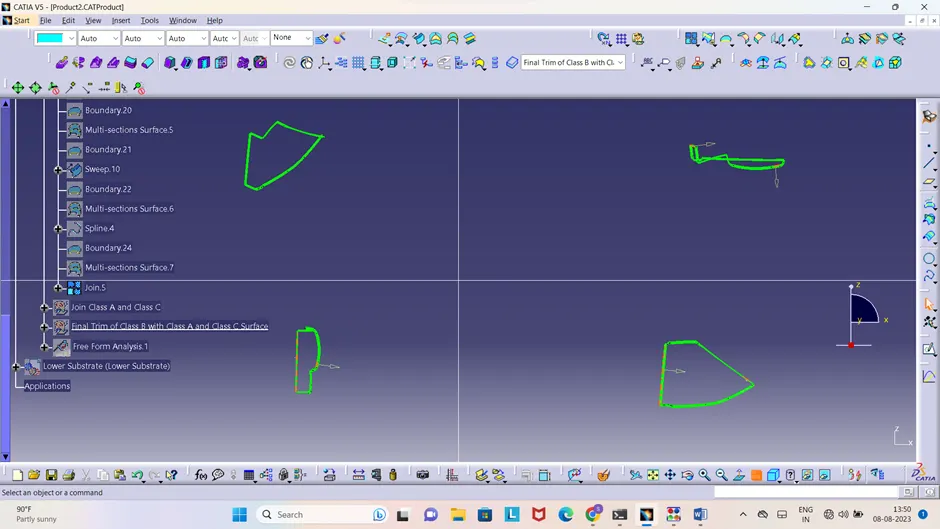
6.4 Lower Substrate
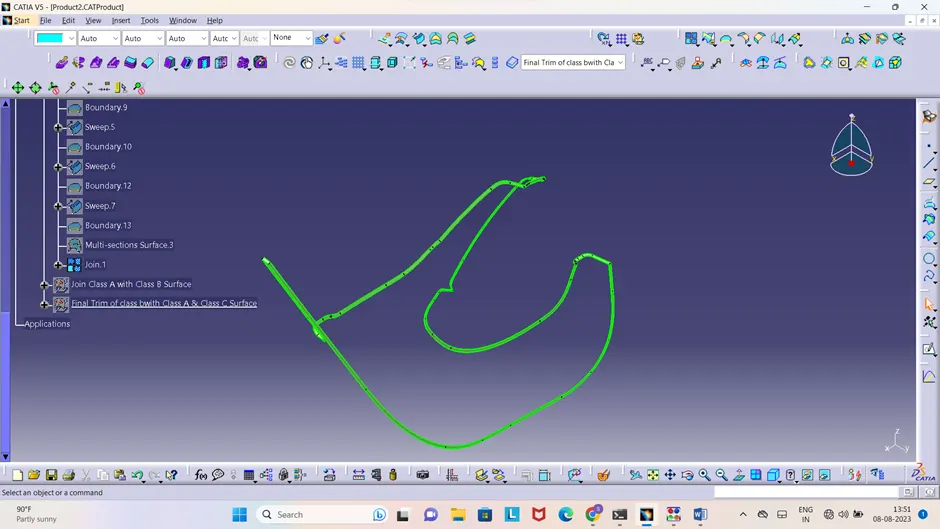
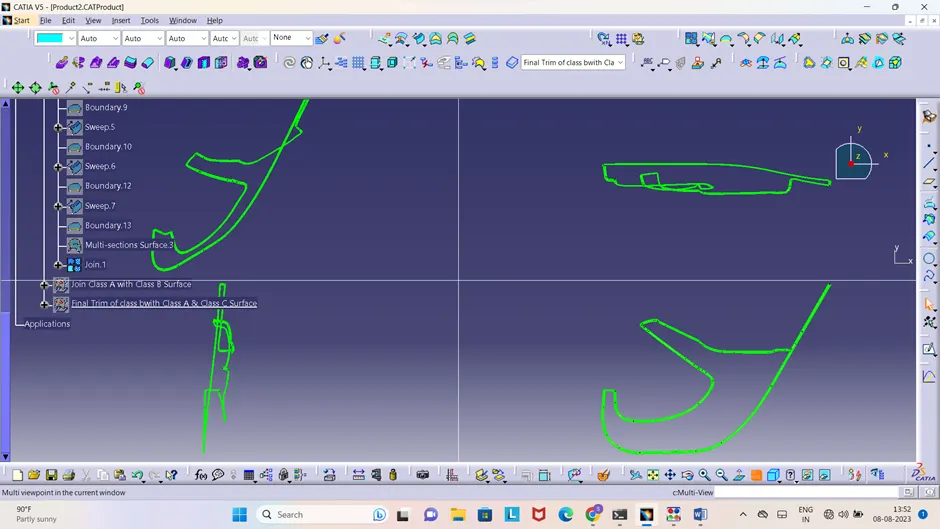
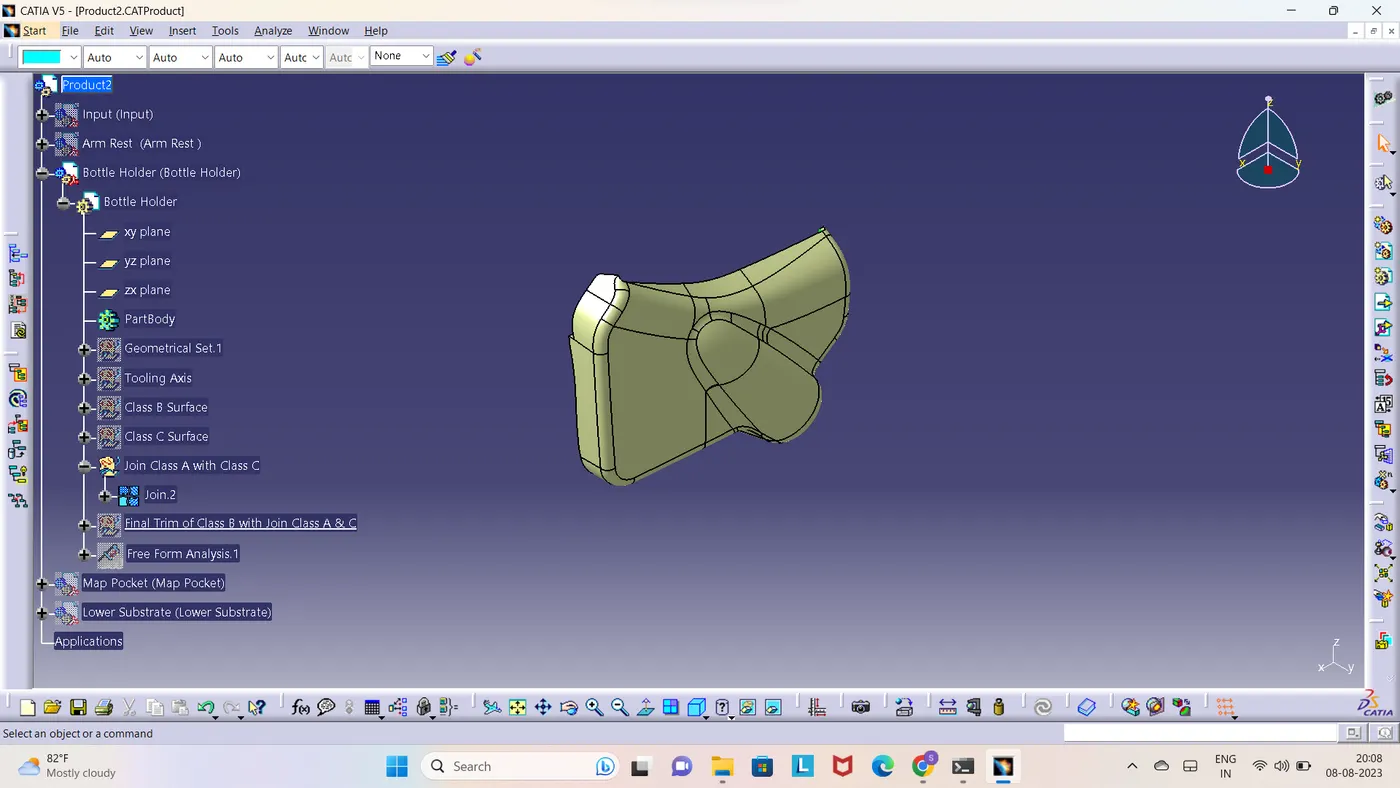
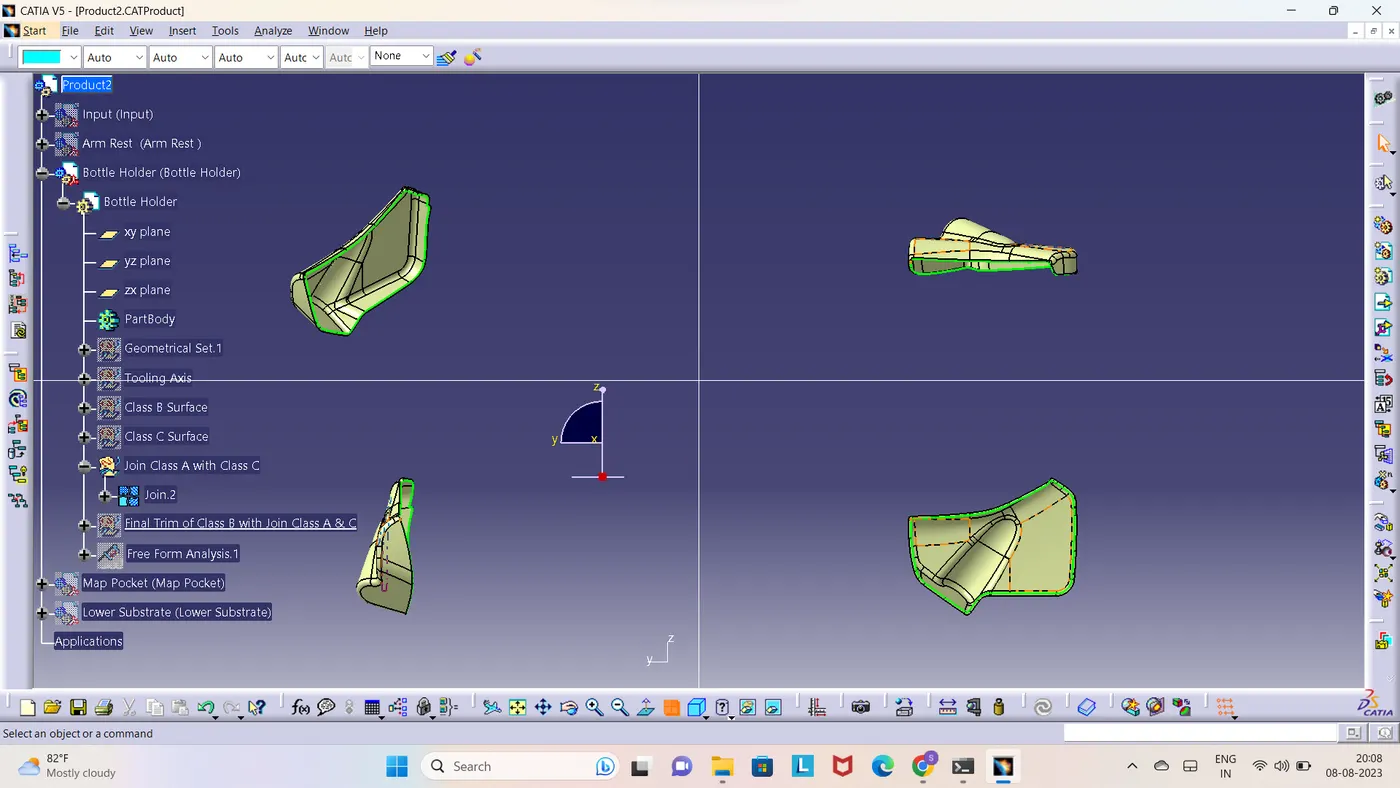
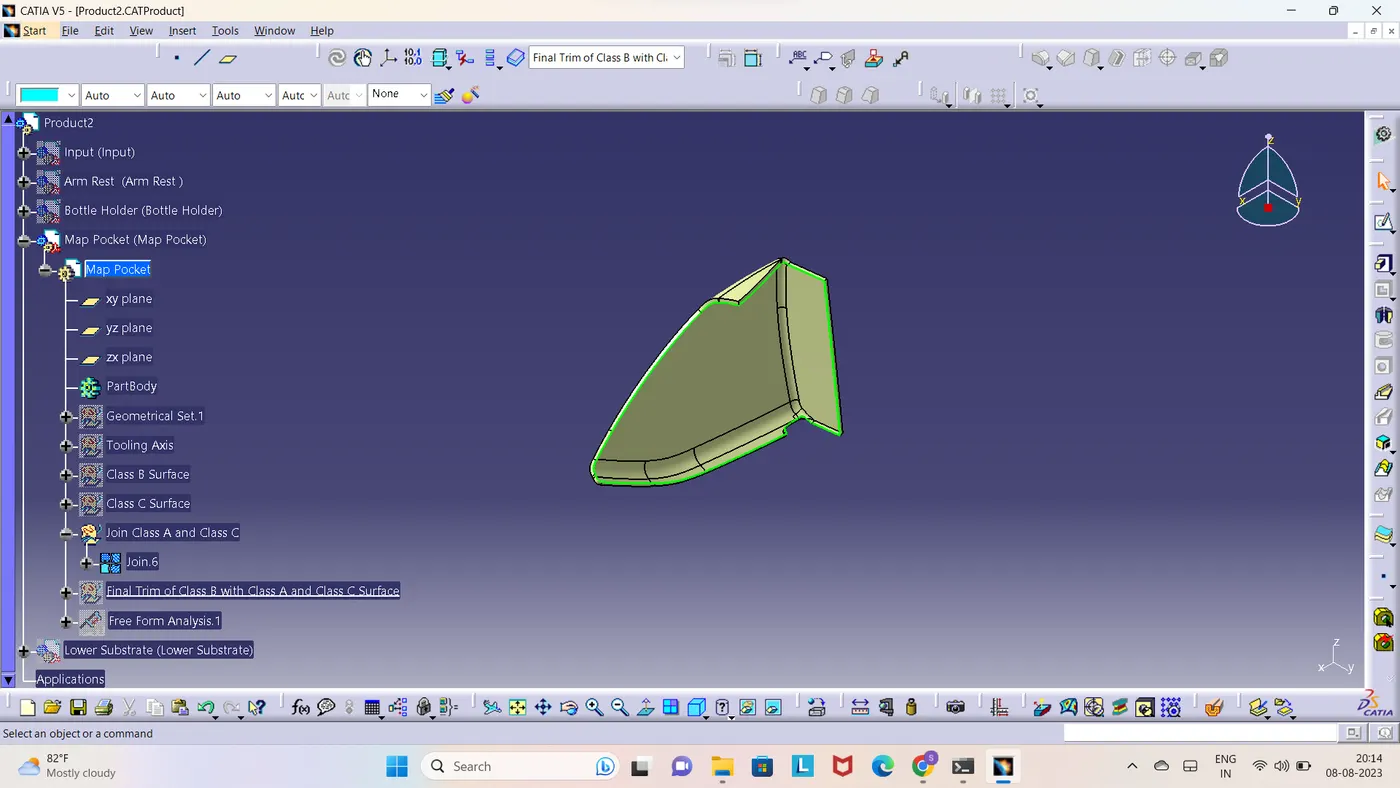
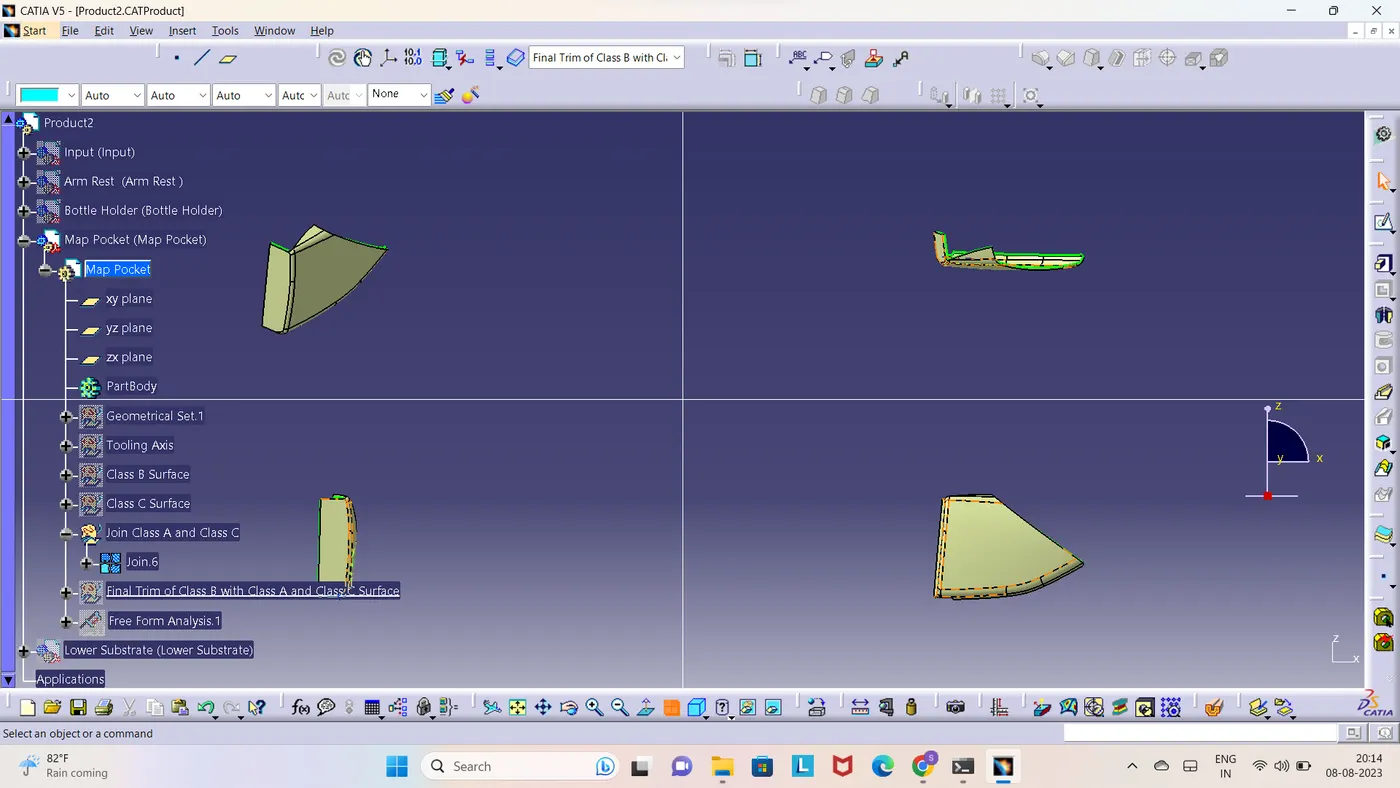
7. CREATING JOIN CLASS A WITH CLASS C SURFACE
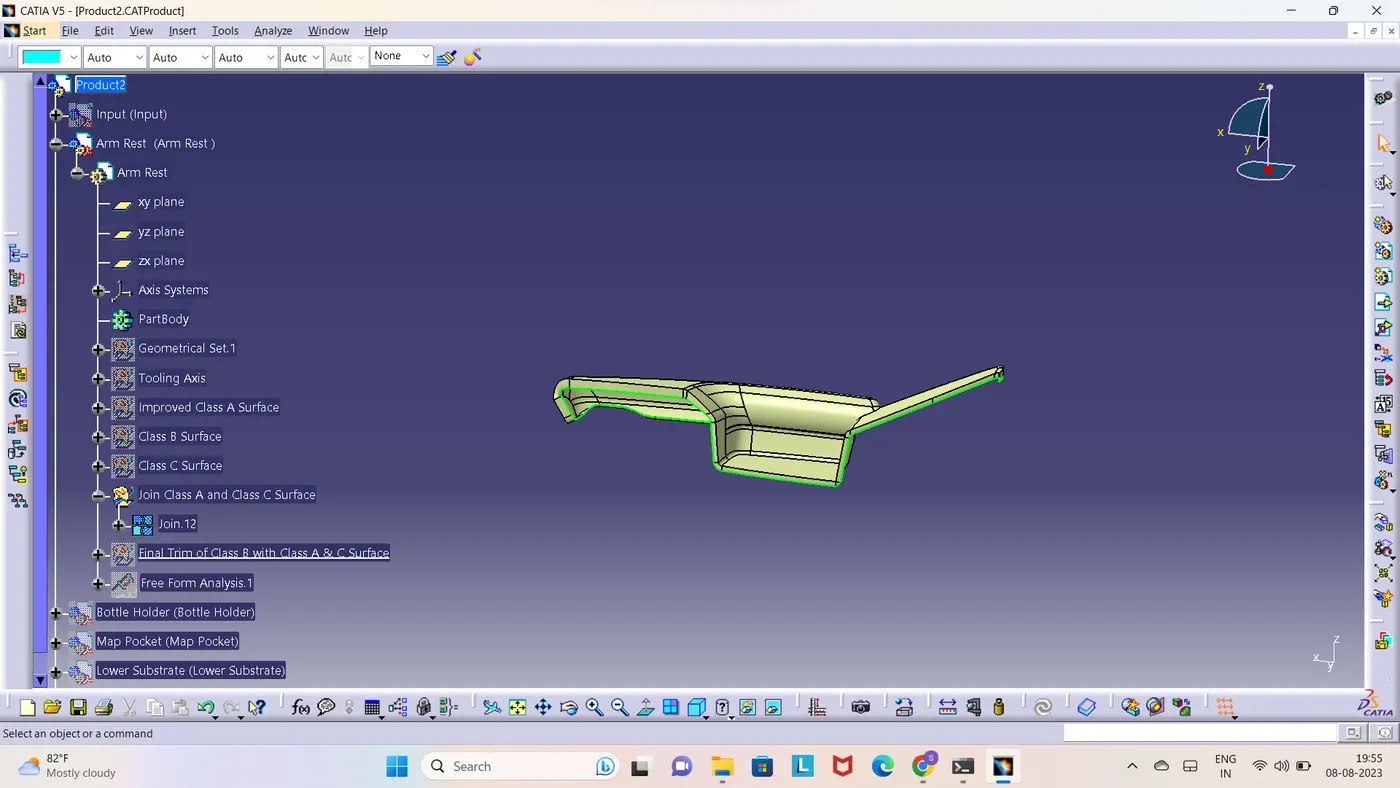
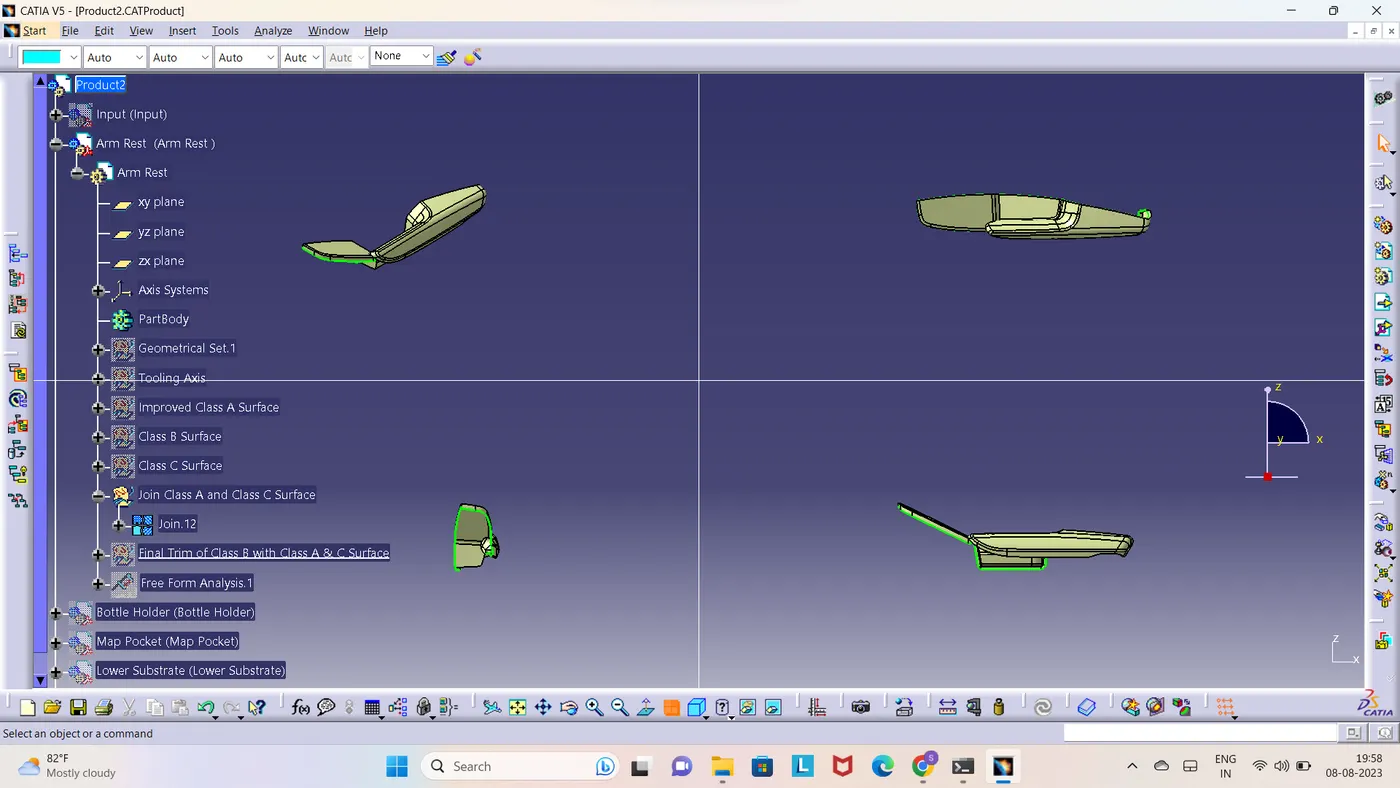
By using the join command join class A with Class C Surface
7.1 ARMREST
7.2 Bottle Holder
7.3 Map Pocket
7.4 Lower Substrate
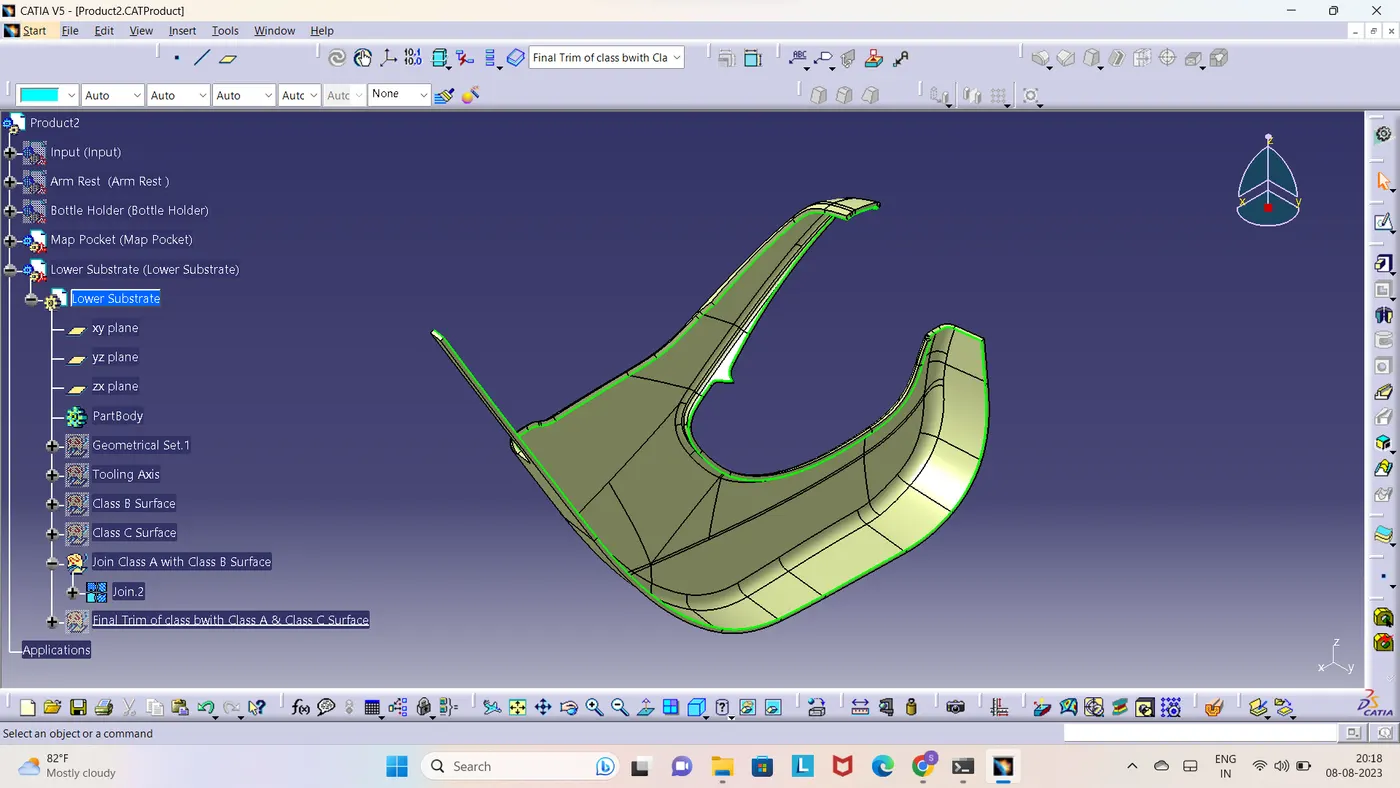
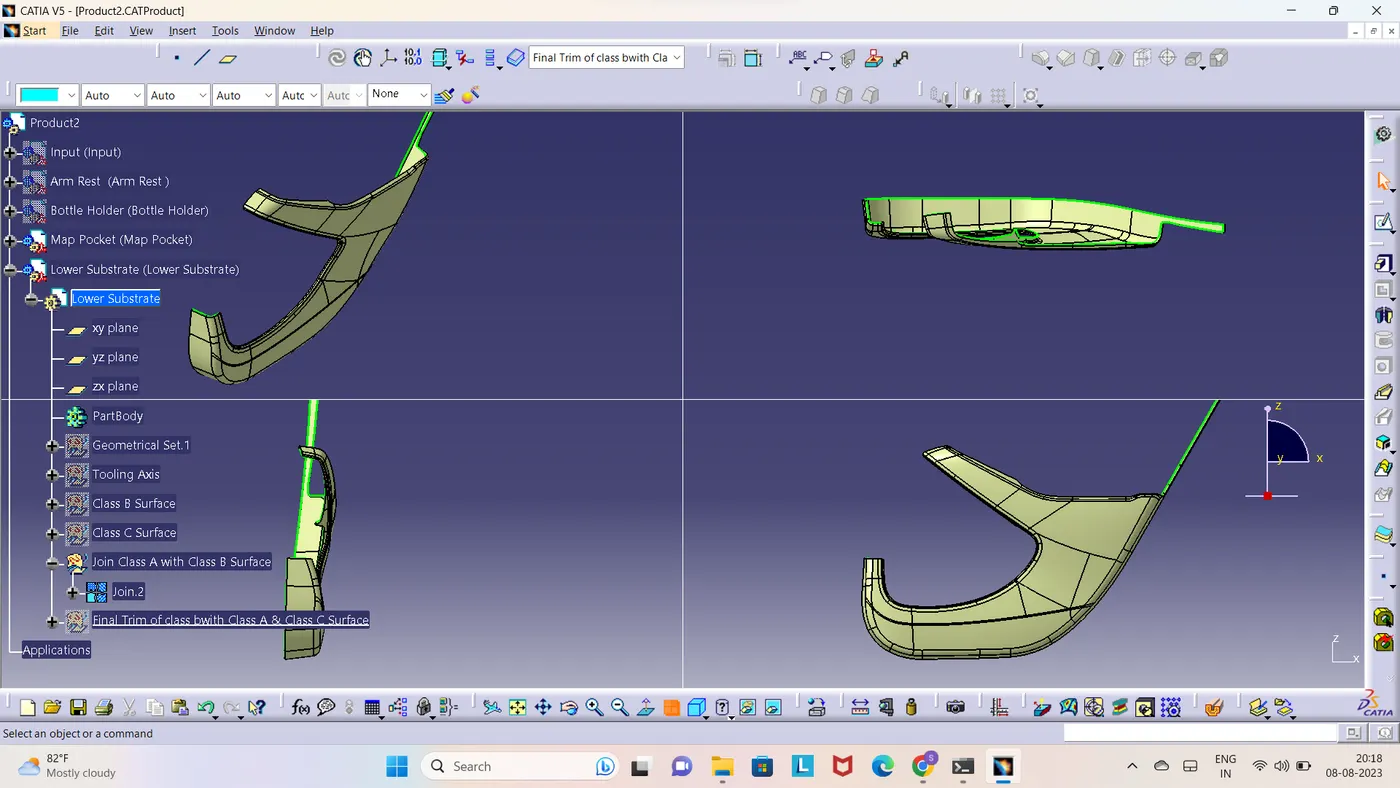
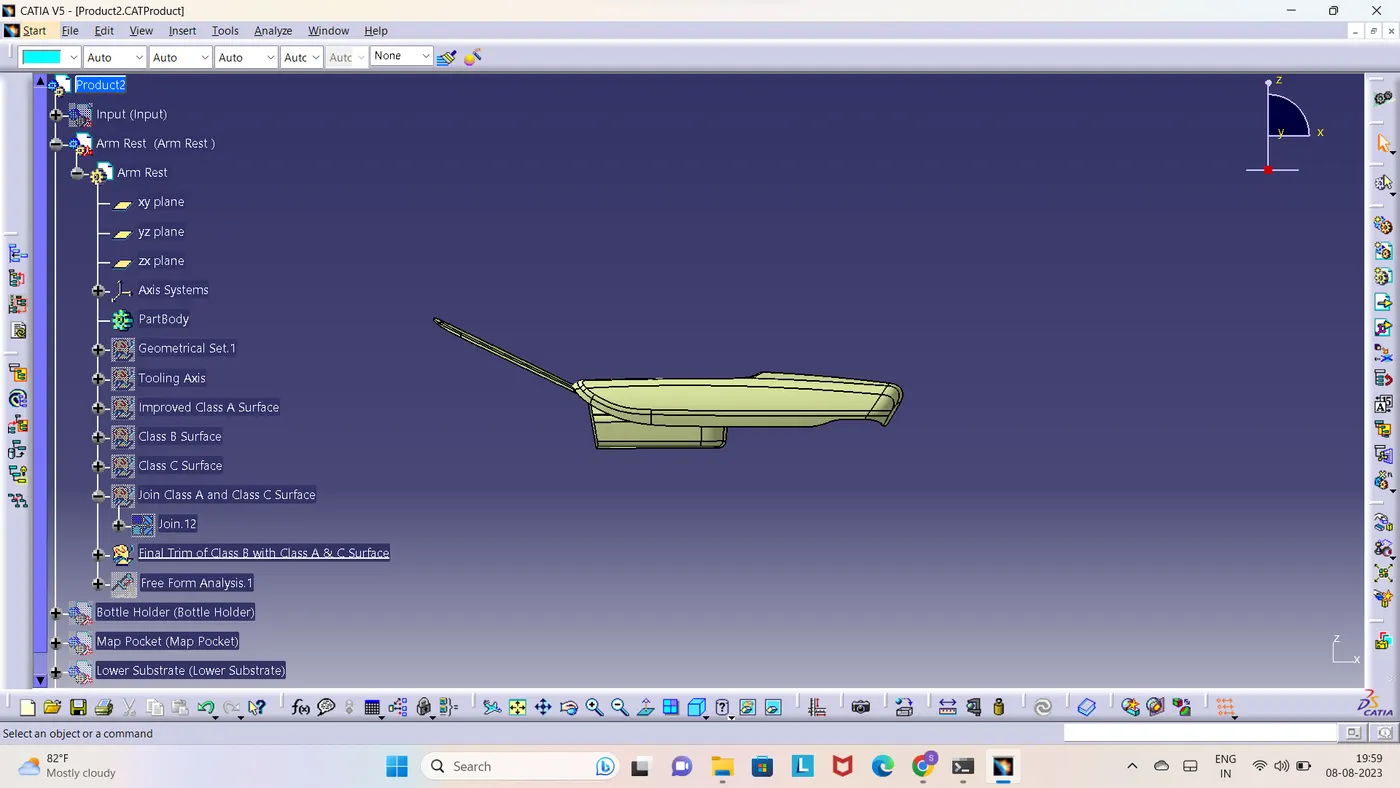
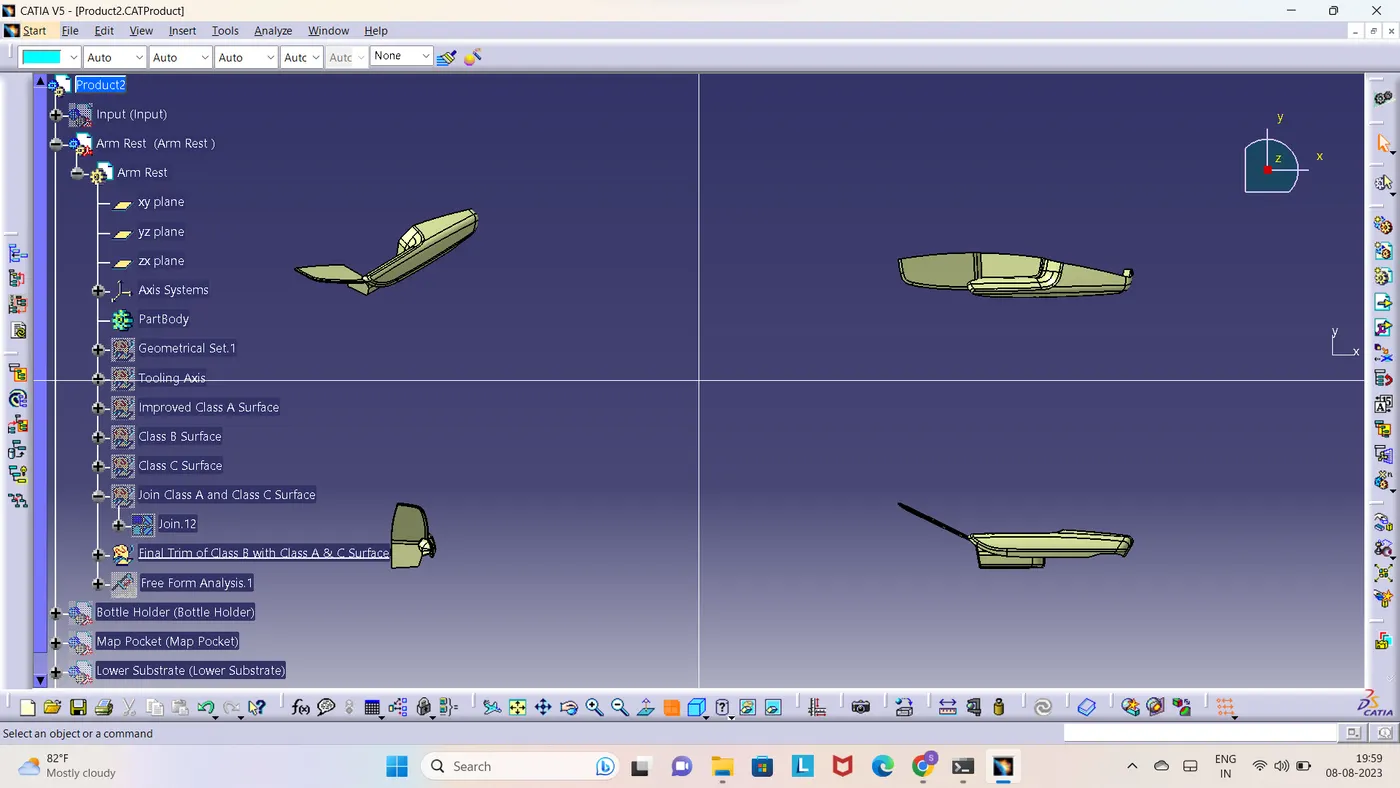
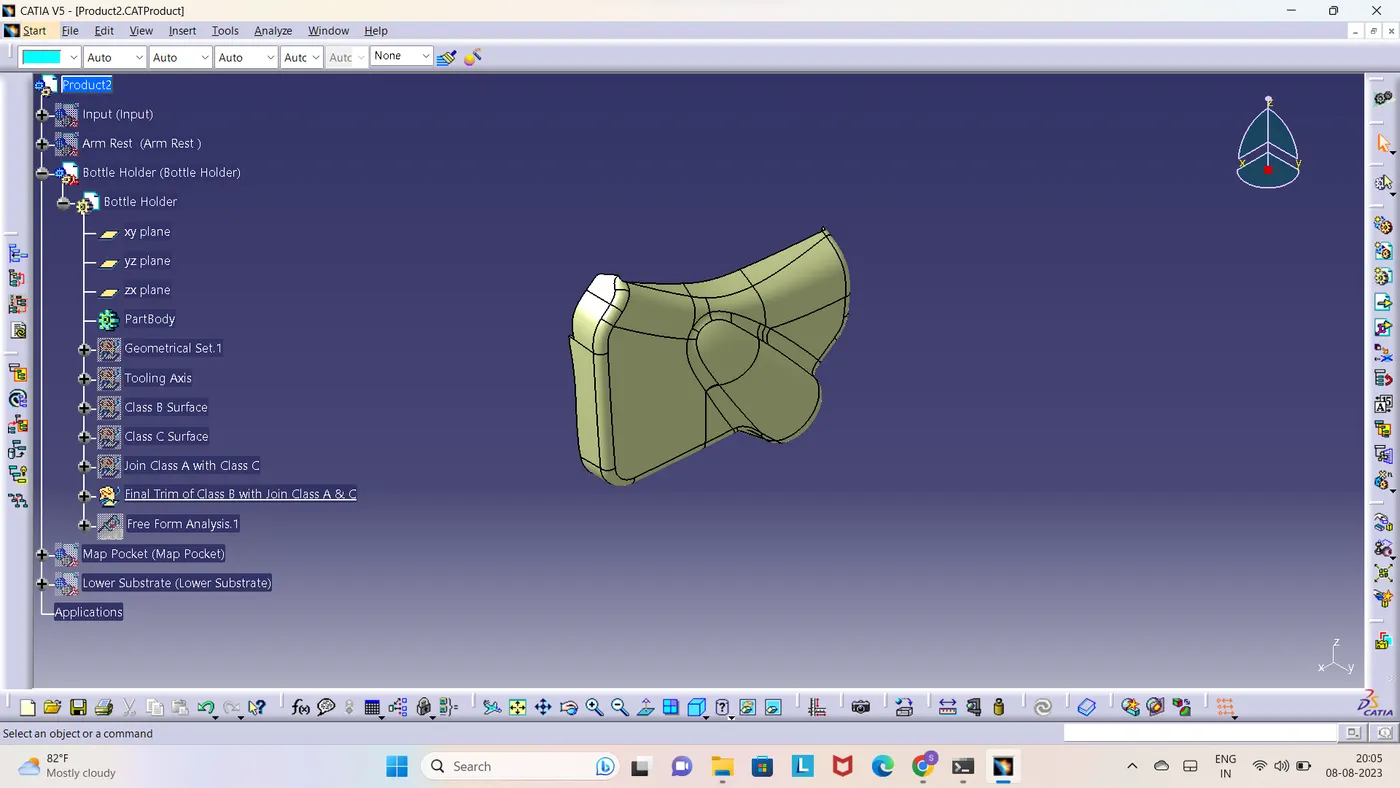
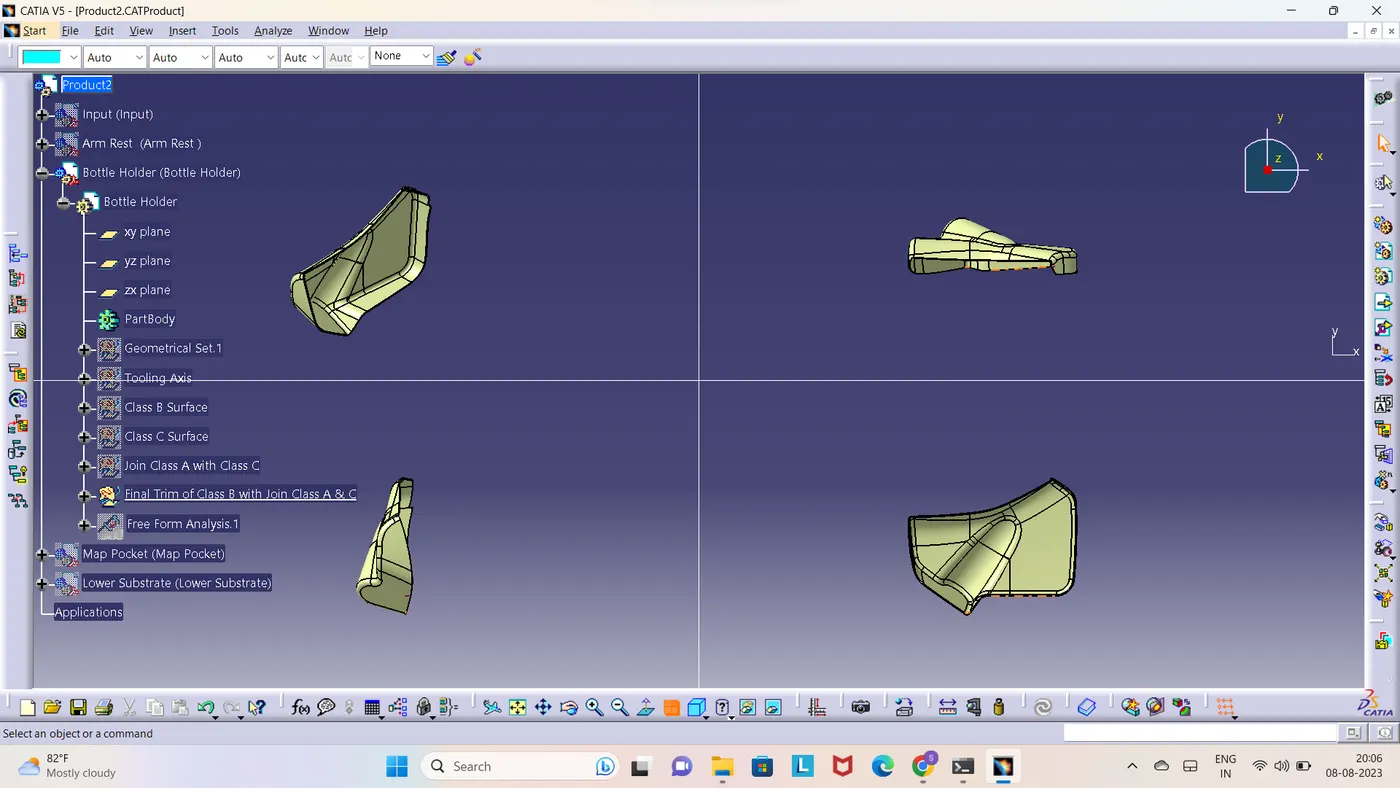
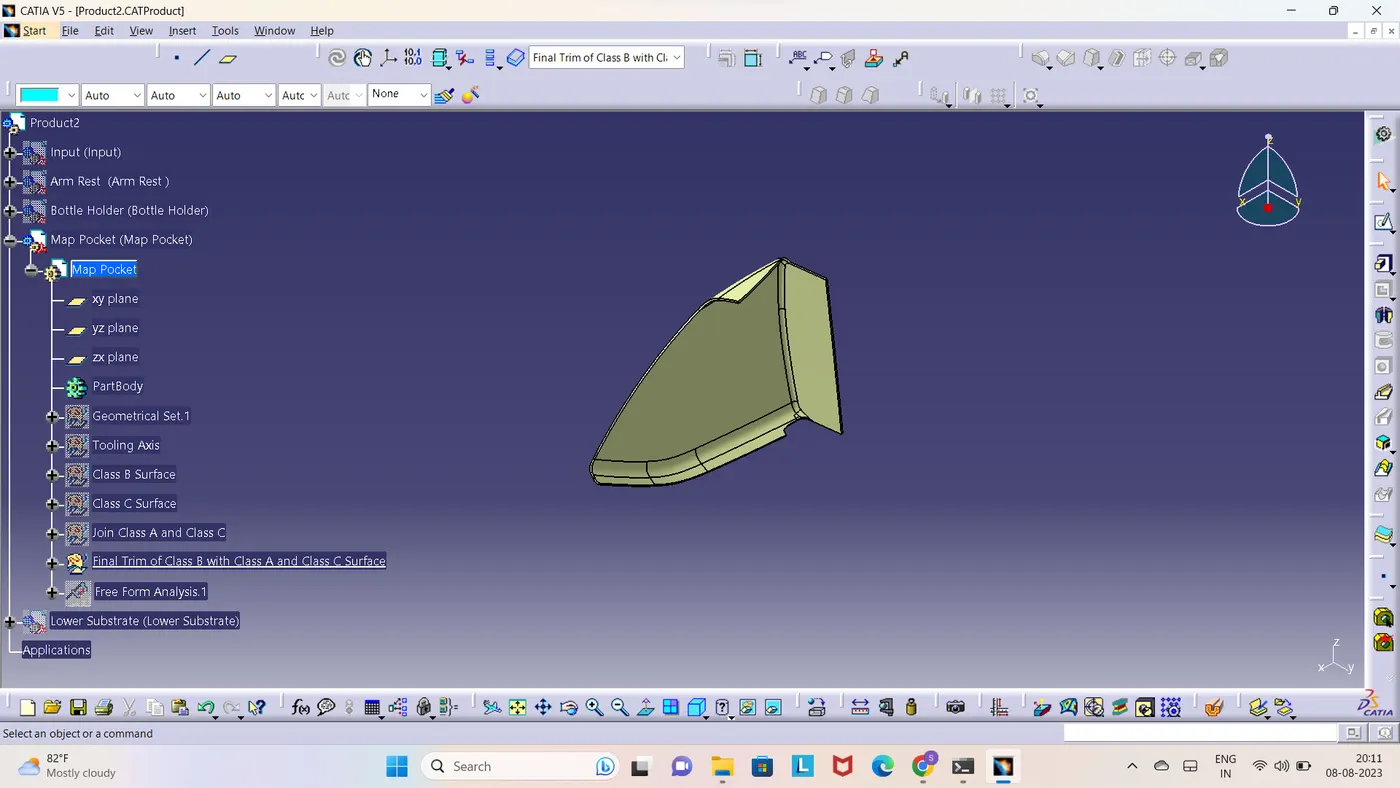
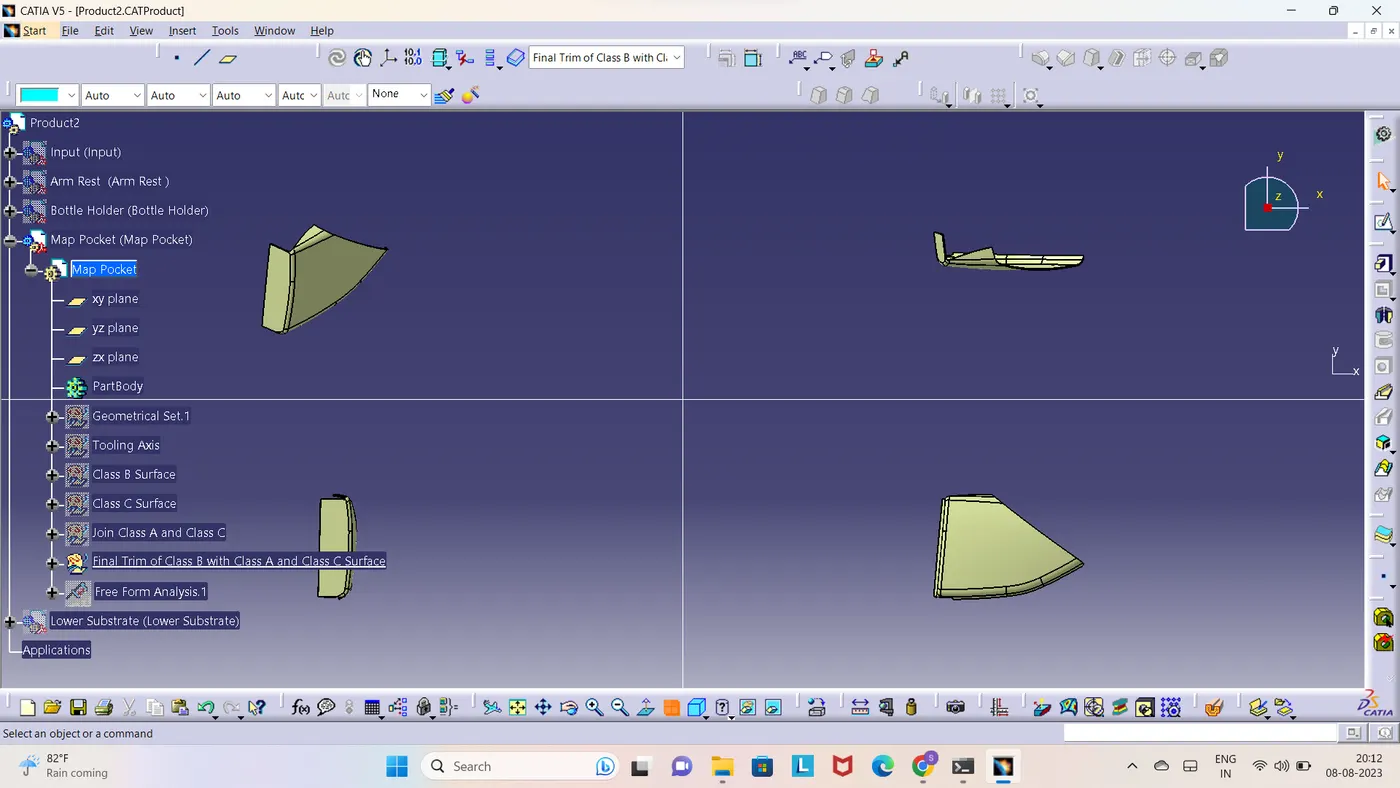
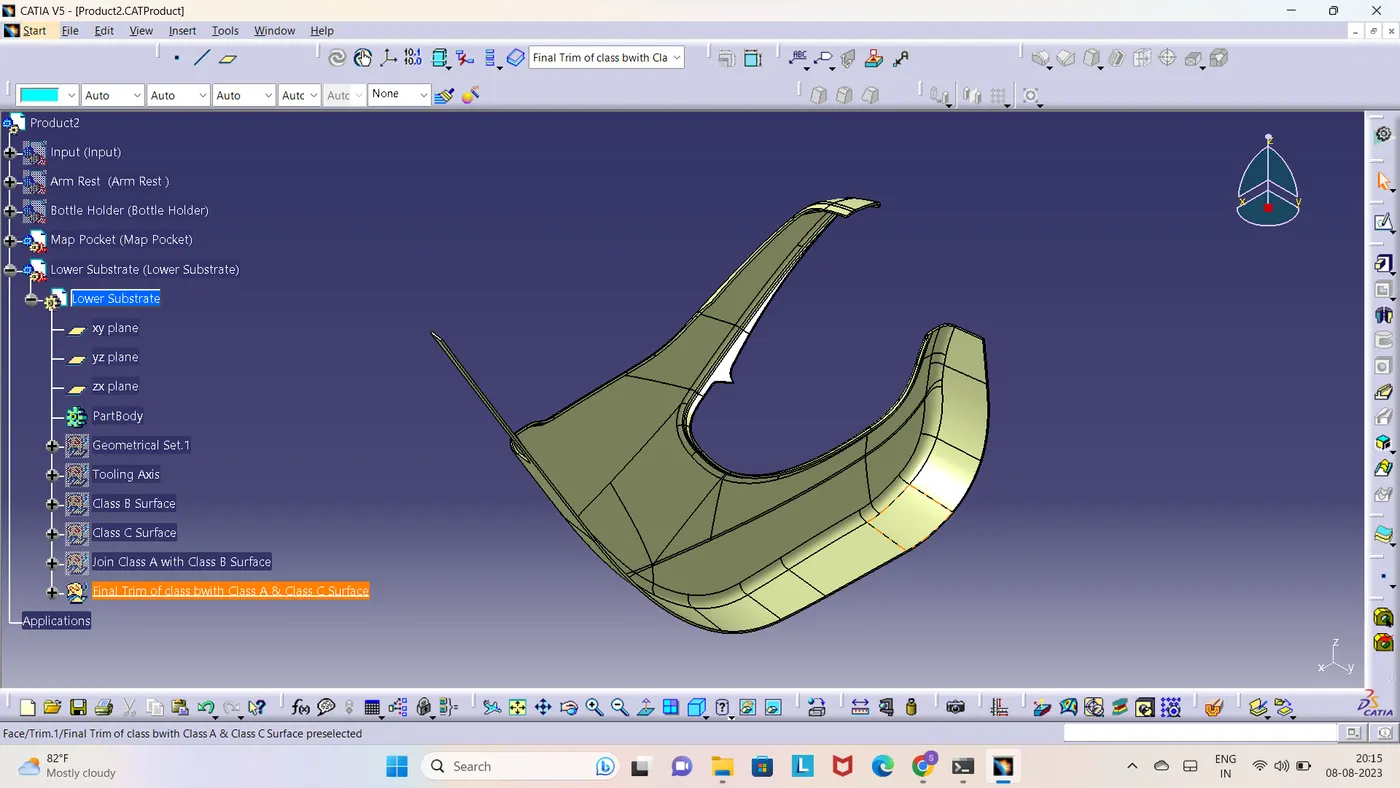
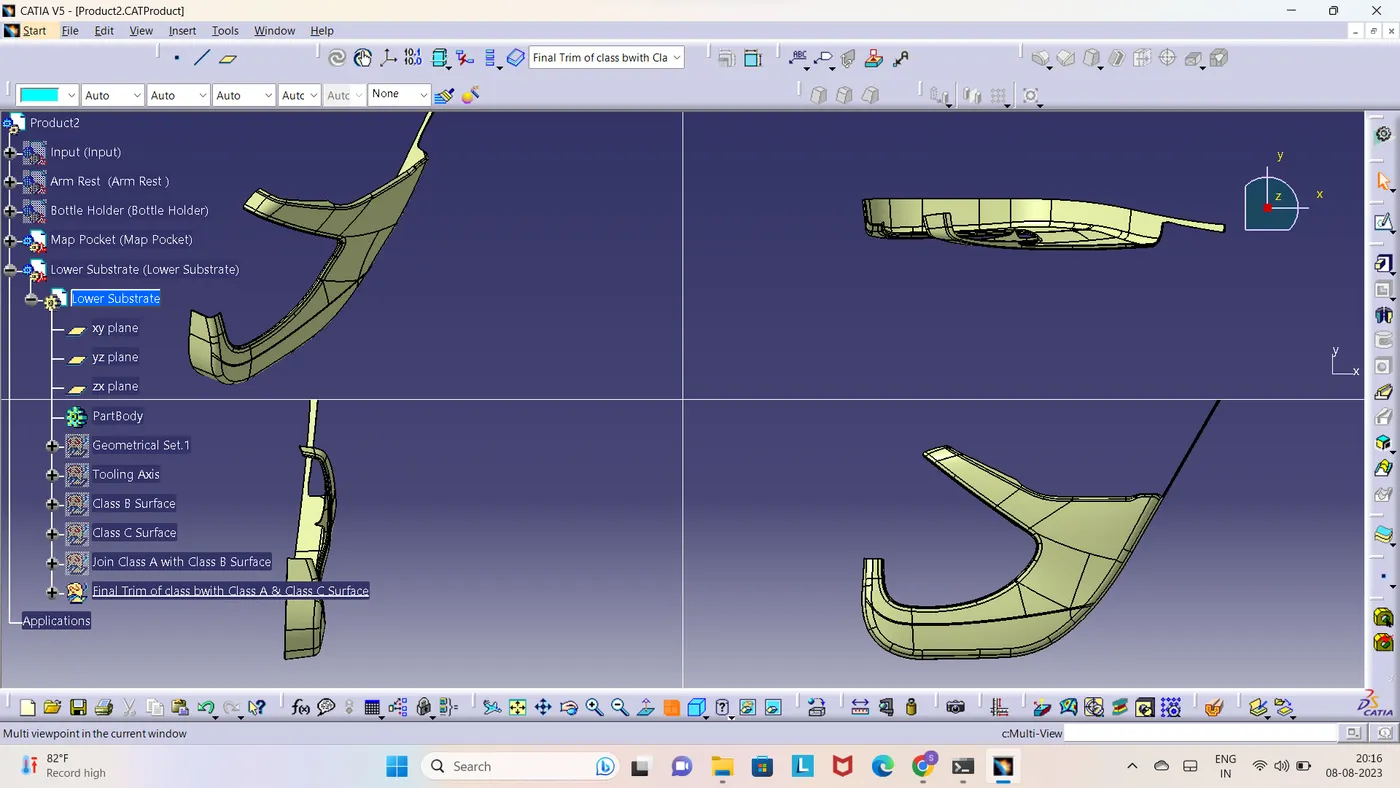
8. CREATING FINAL TRIM CLASS B WITH CLASS A AND CLASS C SURFACE
By using the trim command class B surface is trimmed with join class A with Class C Surface
8.1 ARMREST
8.2 Bottle Holder
8.3 Map Pocket
8.4 Lower Substrate
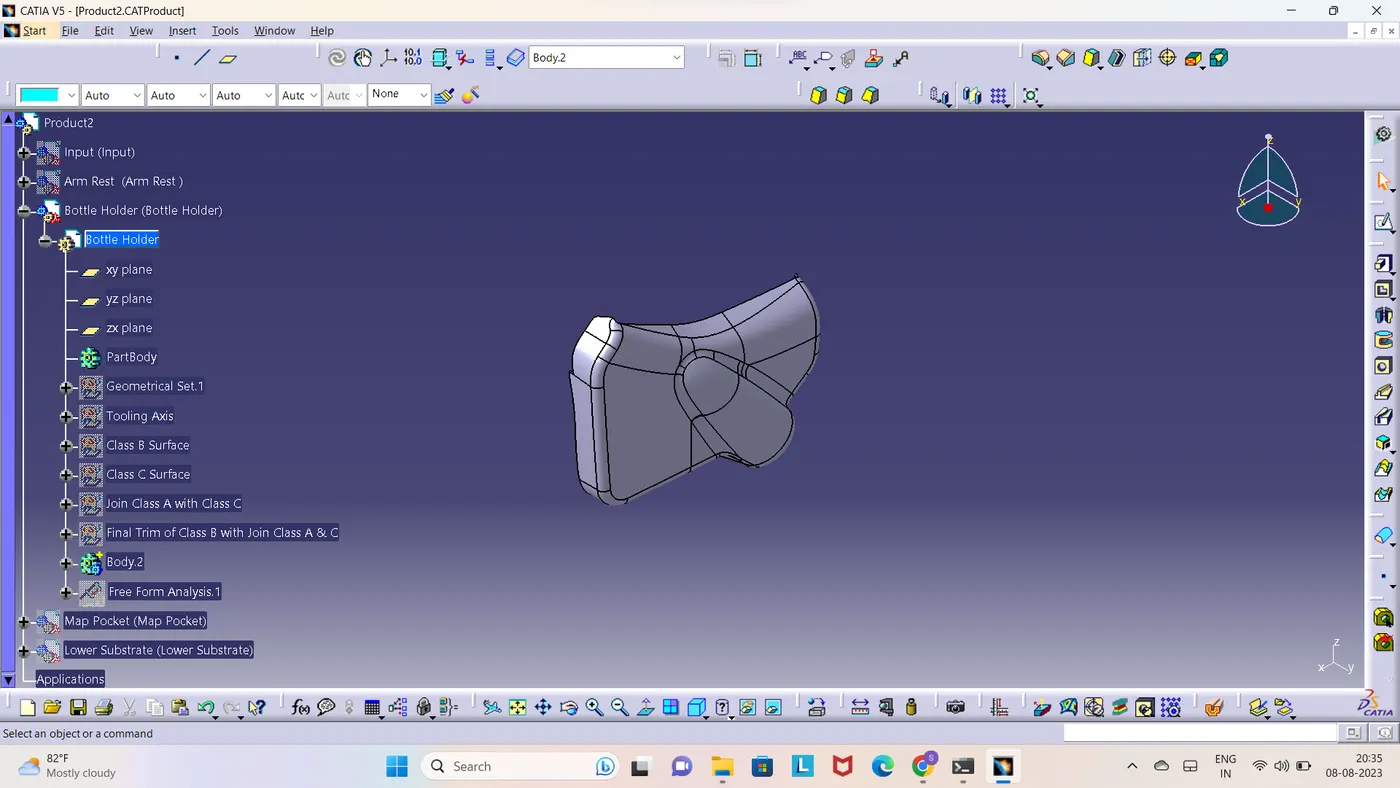
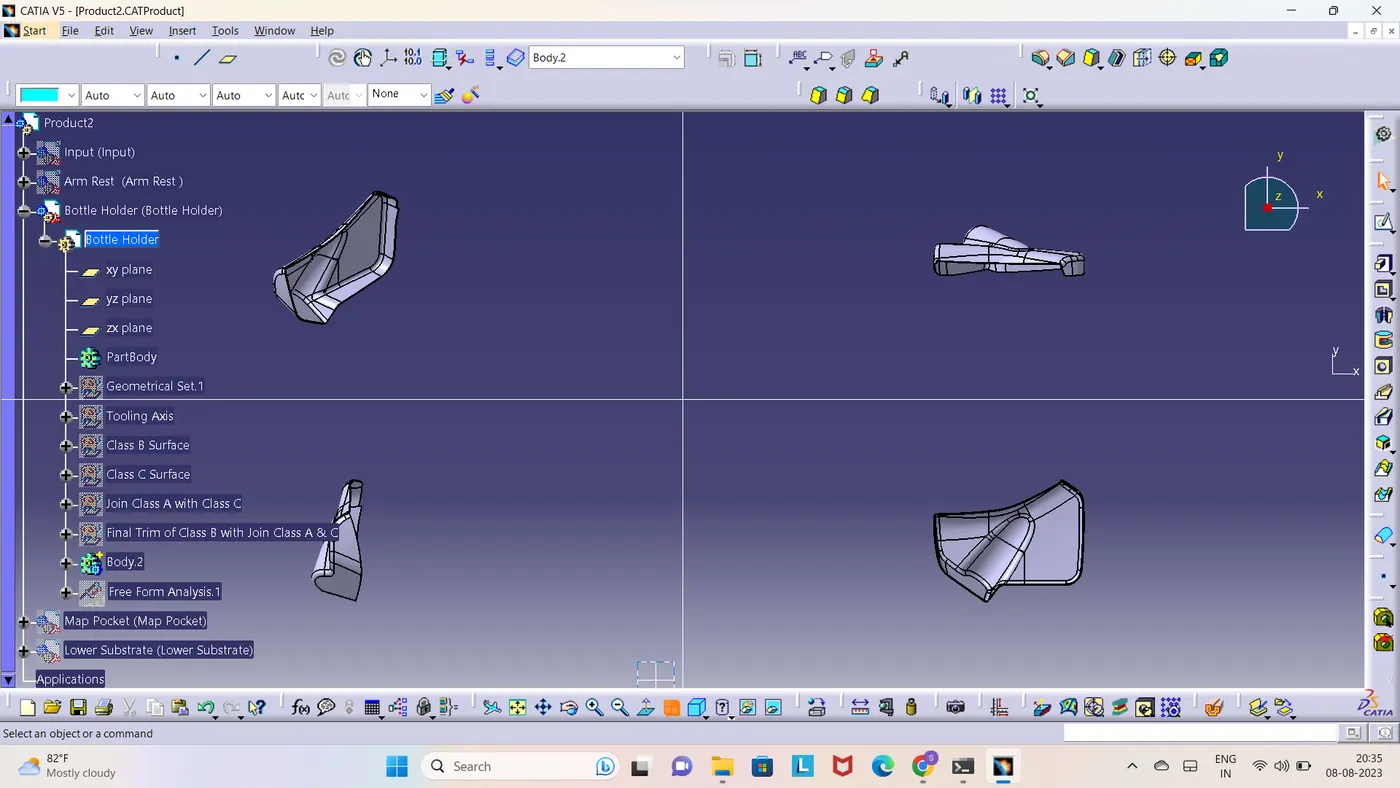
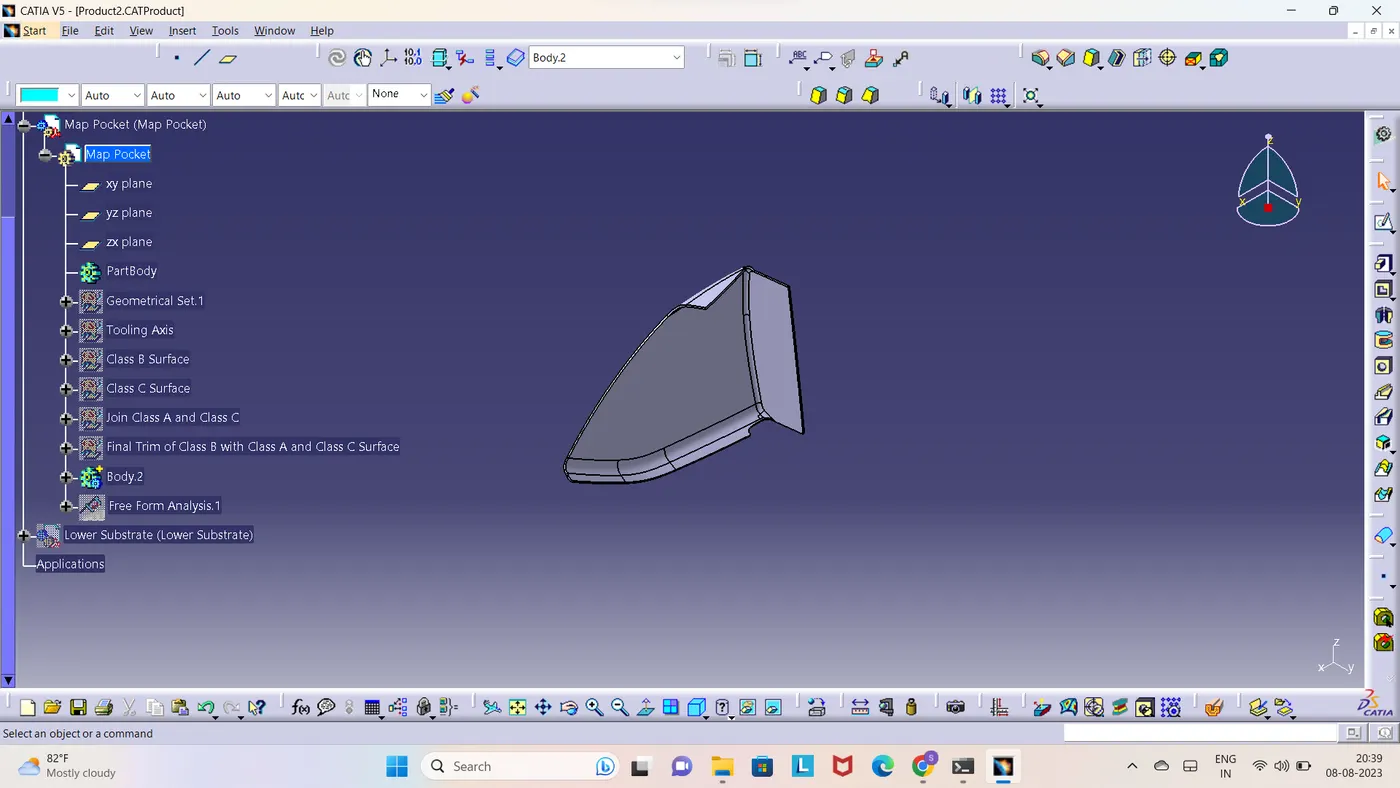
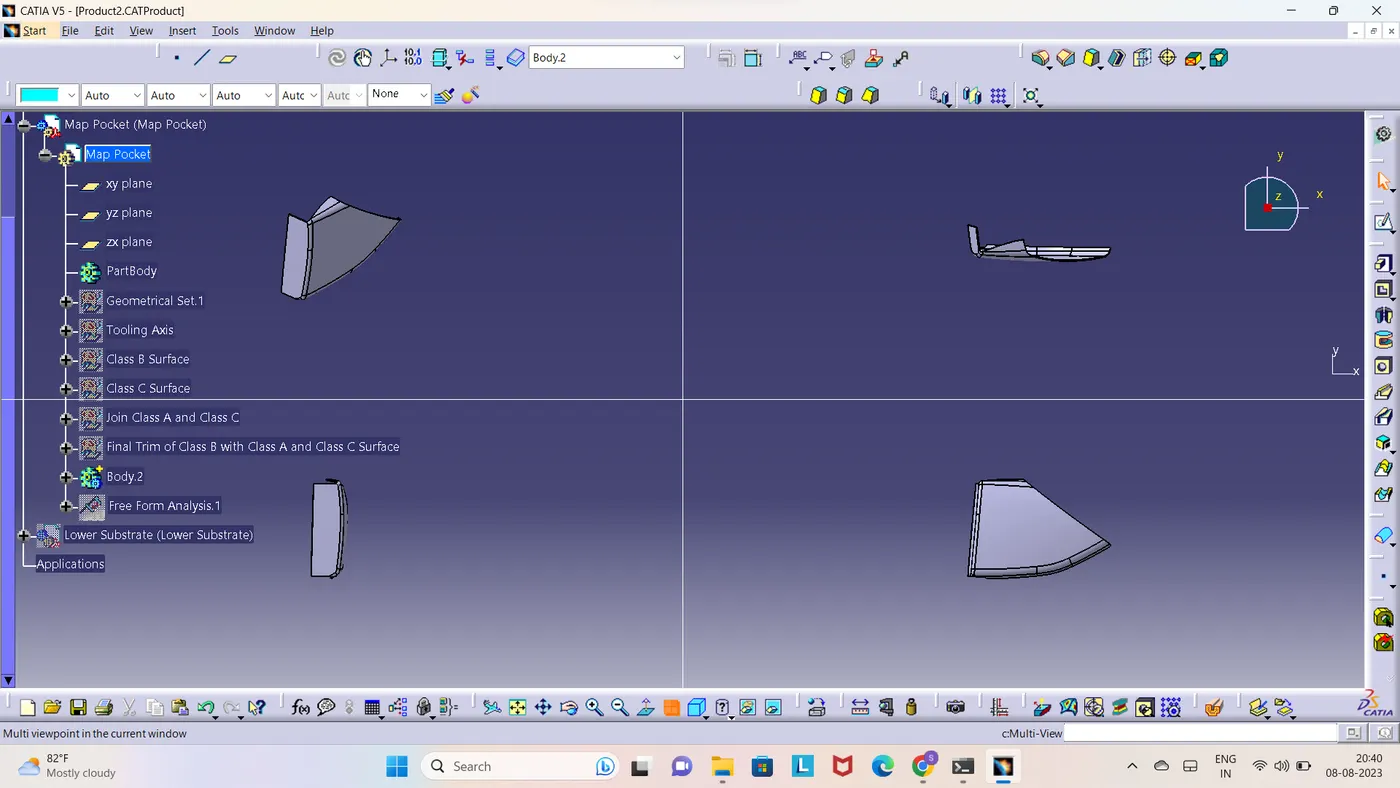
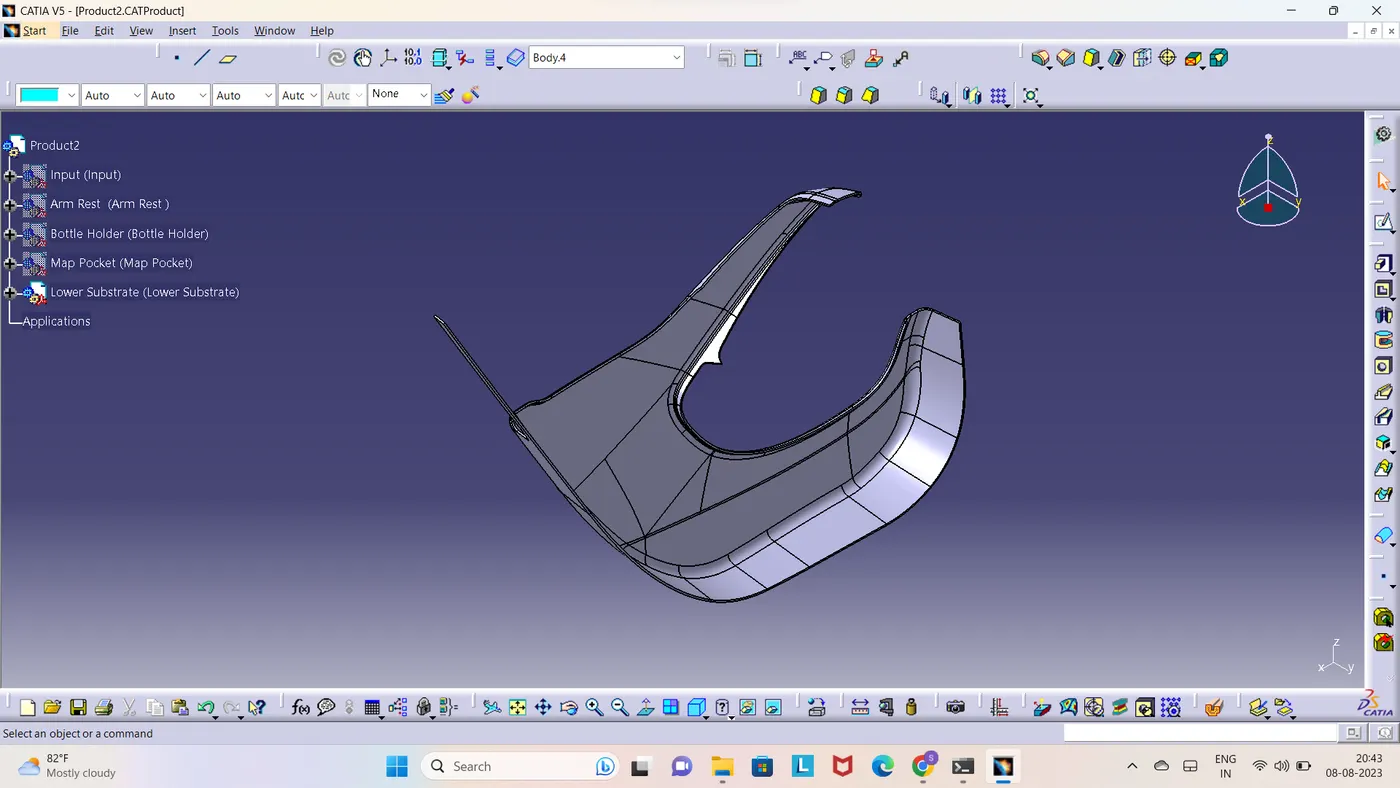
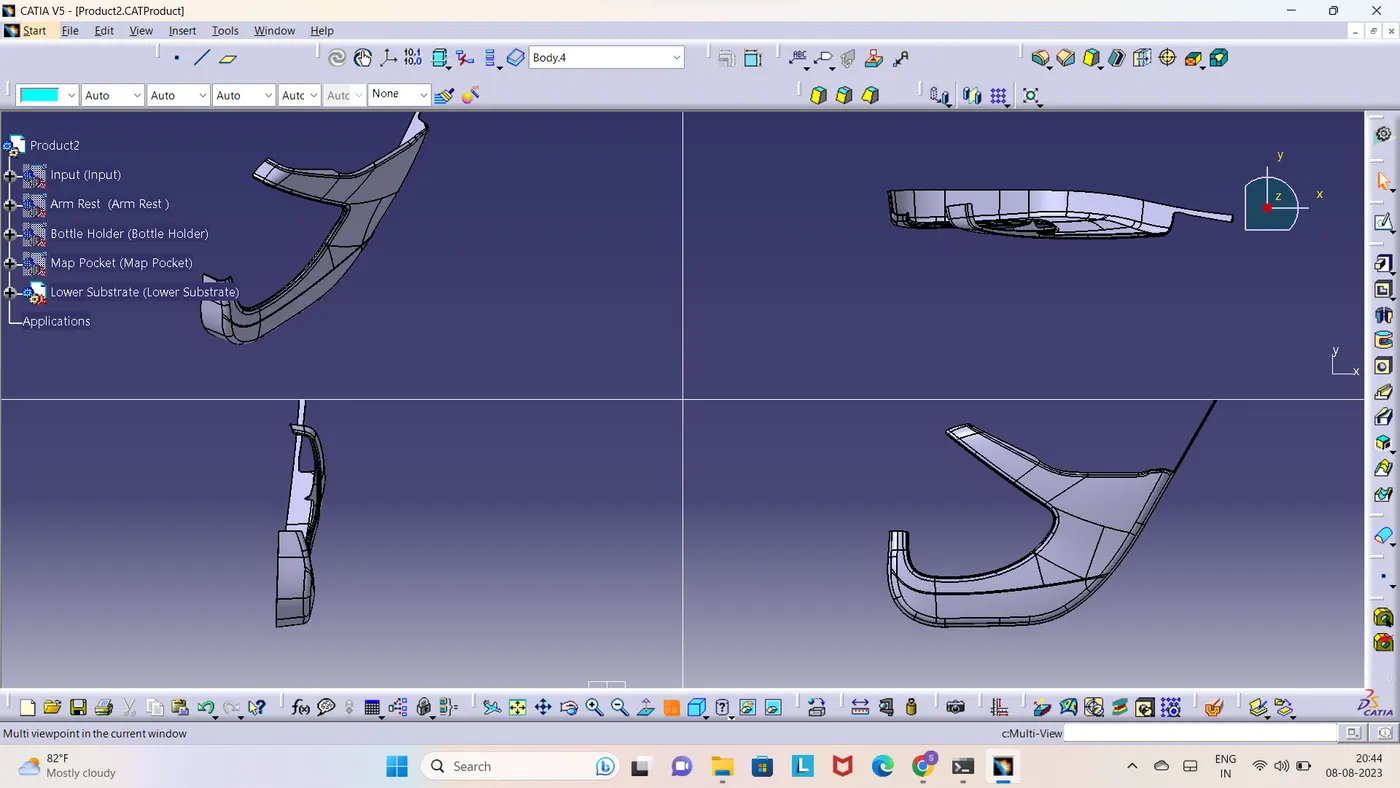
9. CREATED CLOSED SURFACE T0 THE GIVEN COMPONENT.
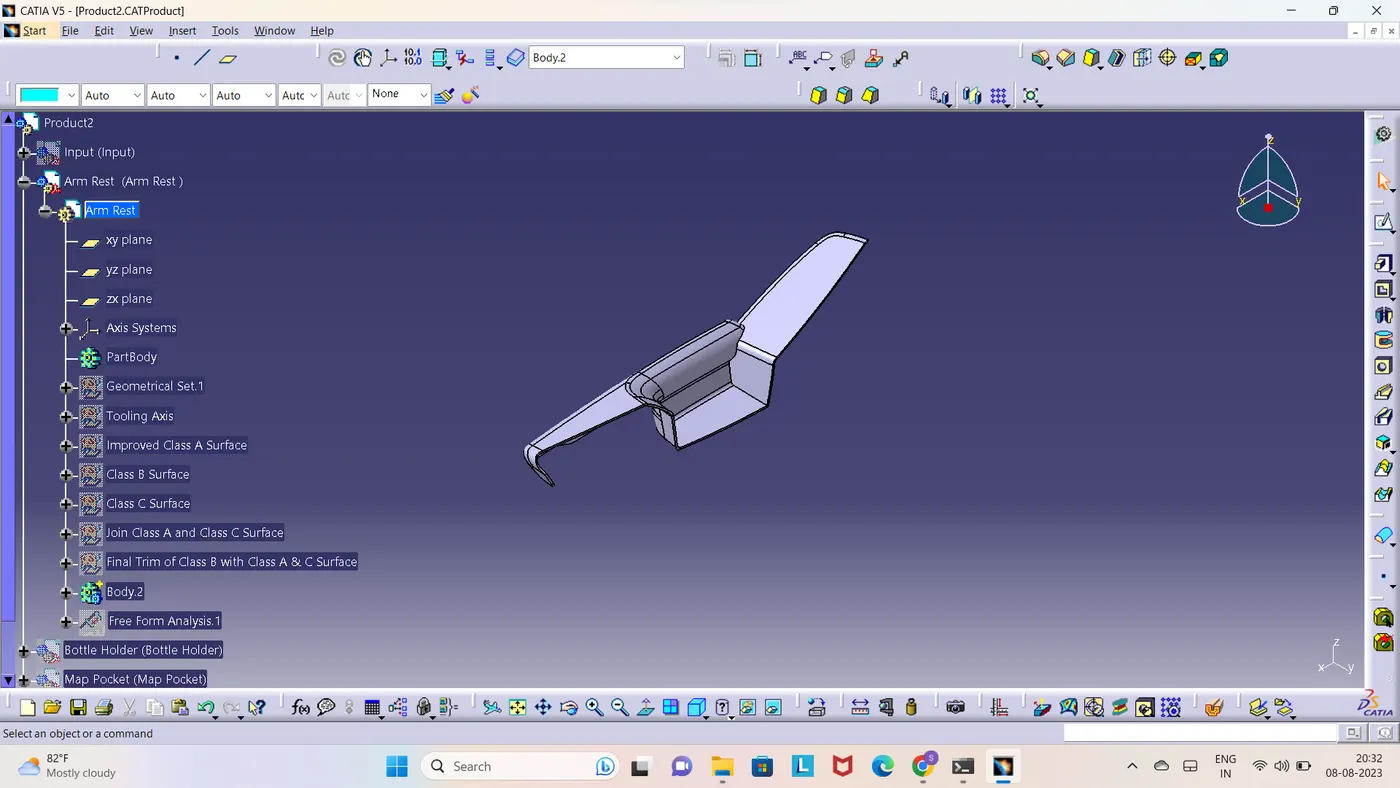
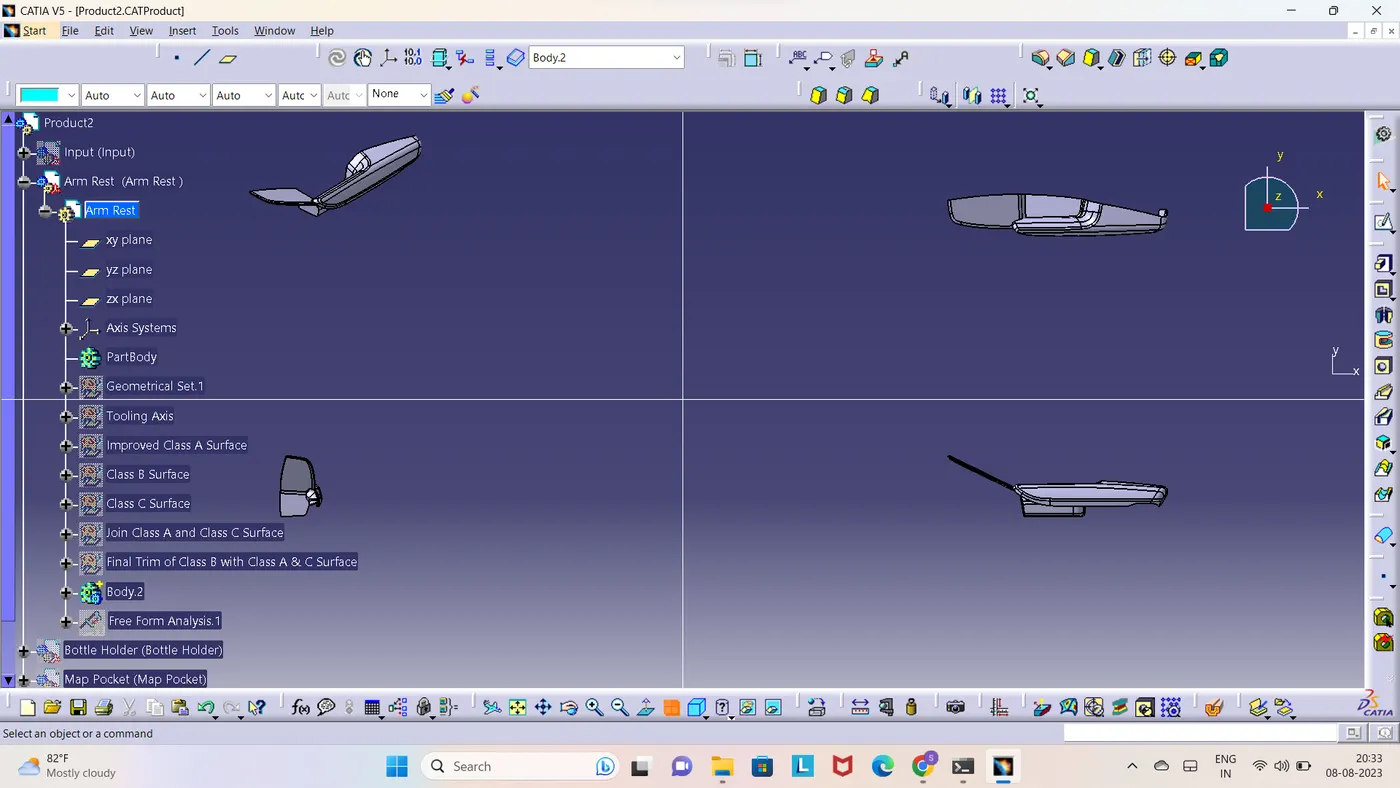
Created the surface using Colsed body
9.1 ARMREST
9.2 Bottle Holder
9.3 Map Pocket
9.4 Lower Substrate
10. BY FOLLOWING THE MASTER SECTION TO CREATE THE ATTACHMENT FEATURES.
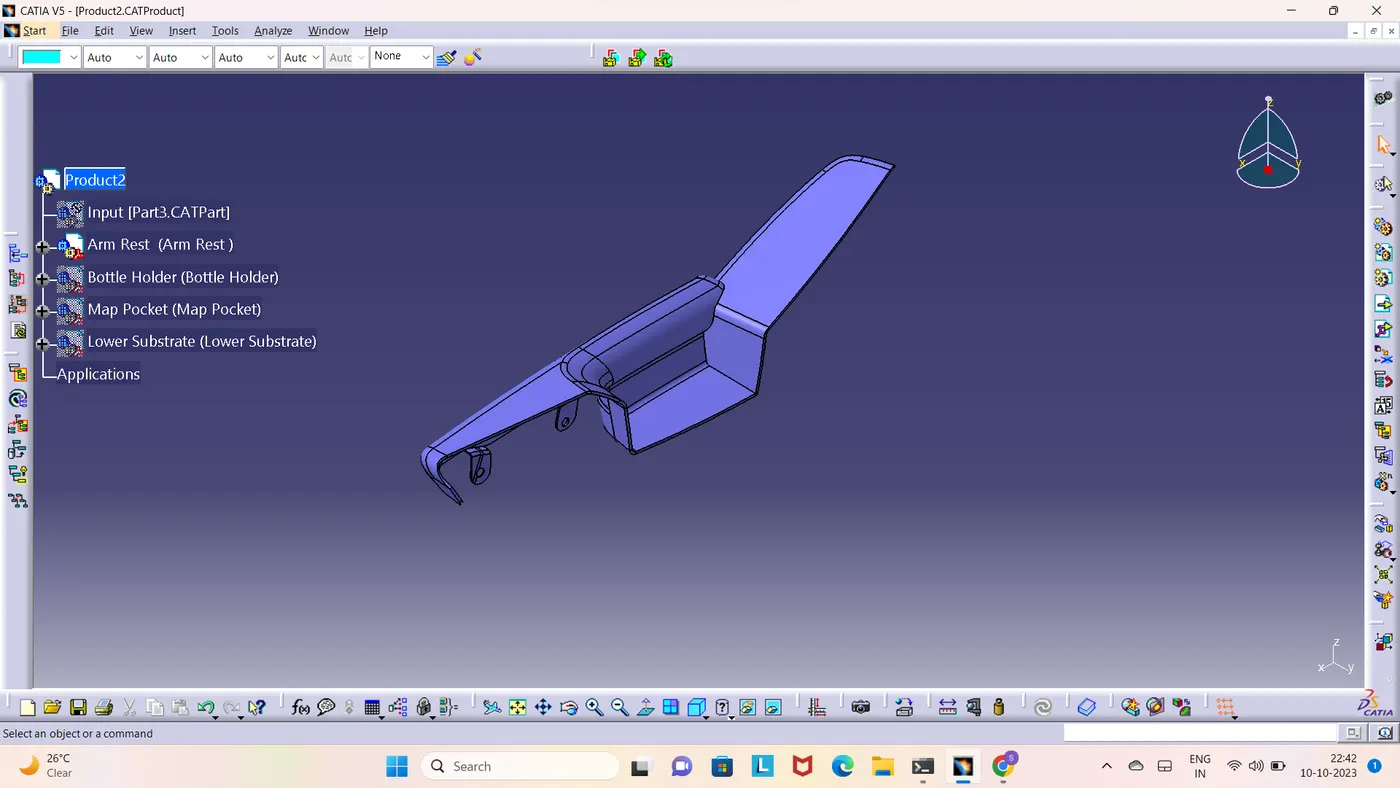
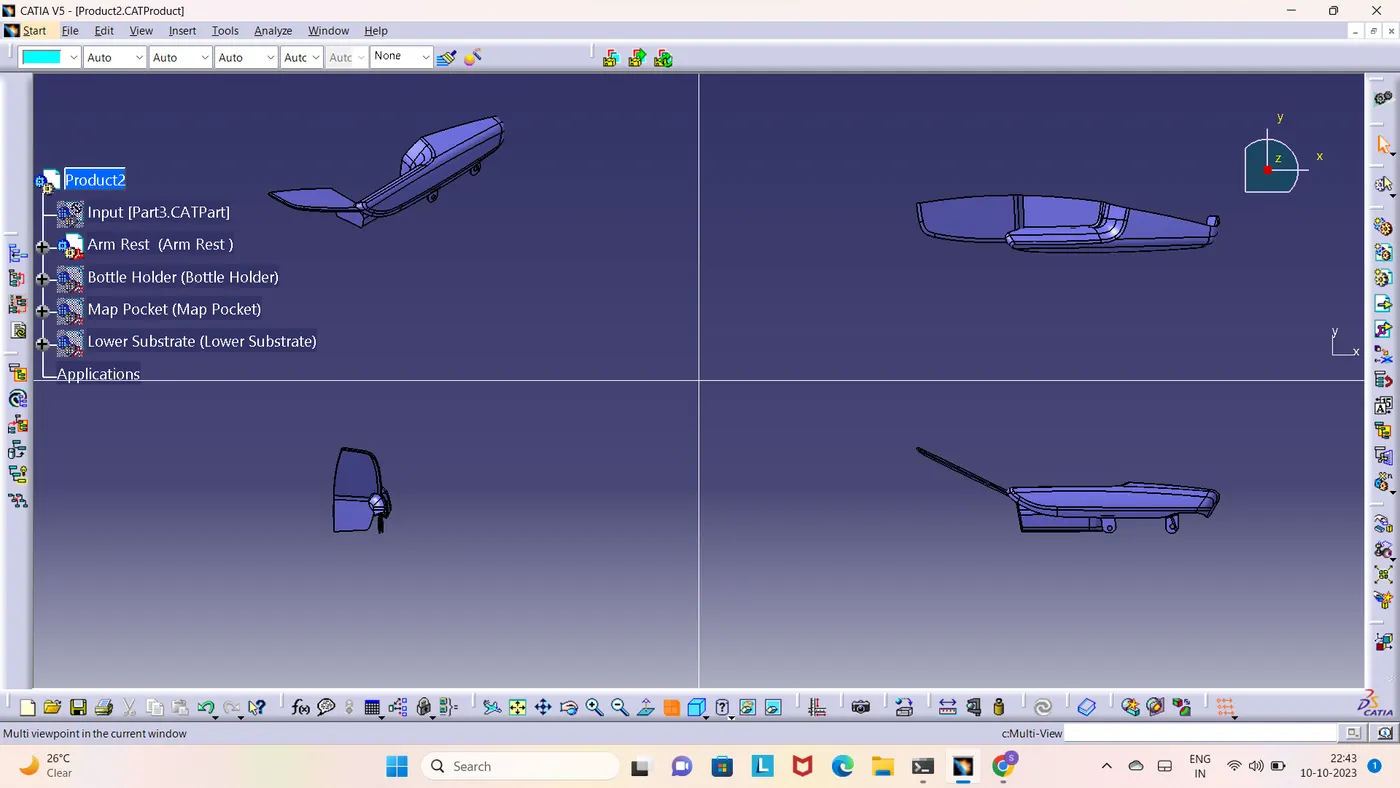
10.1 ARMREST
10.2 Bottle Holder
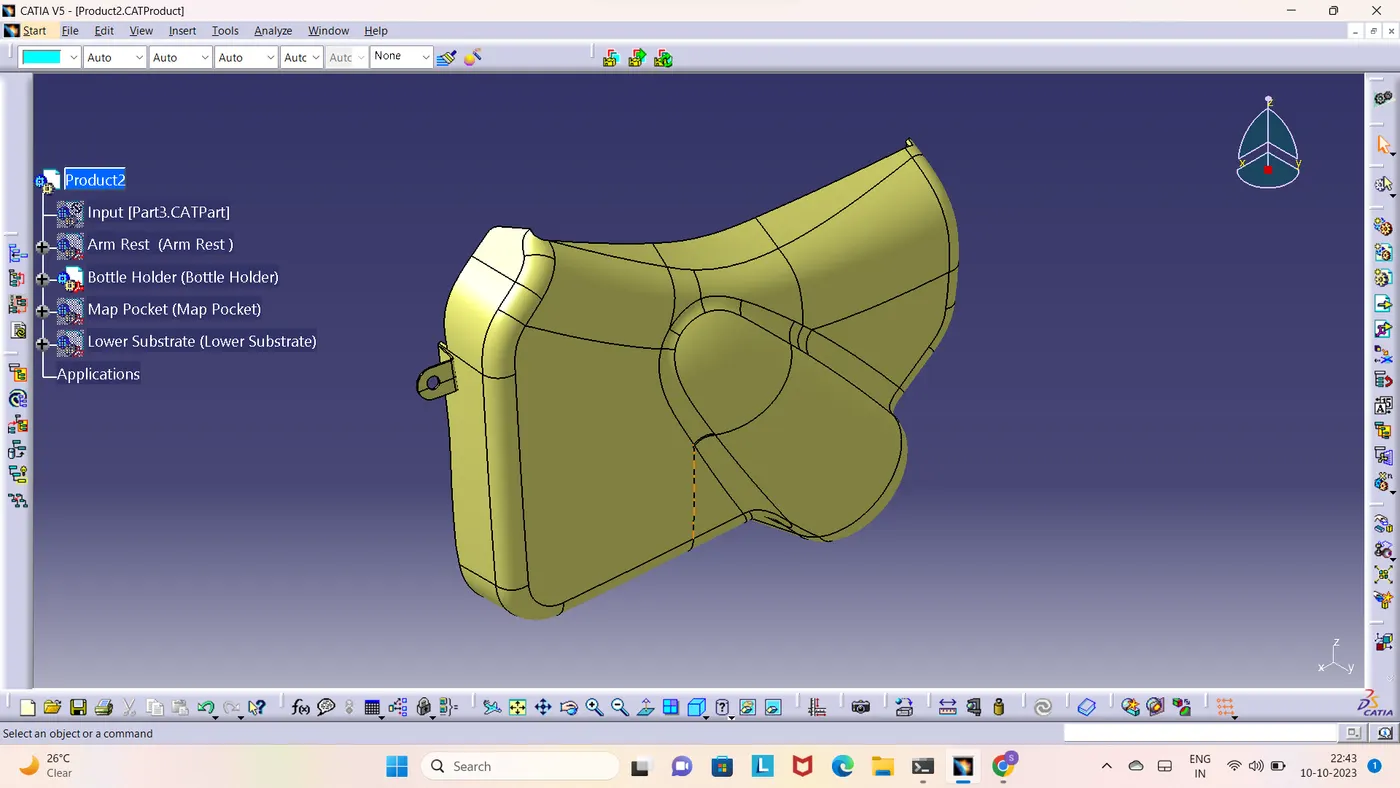
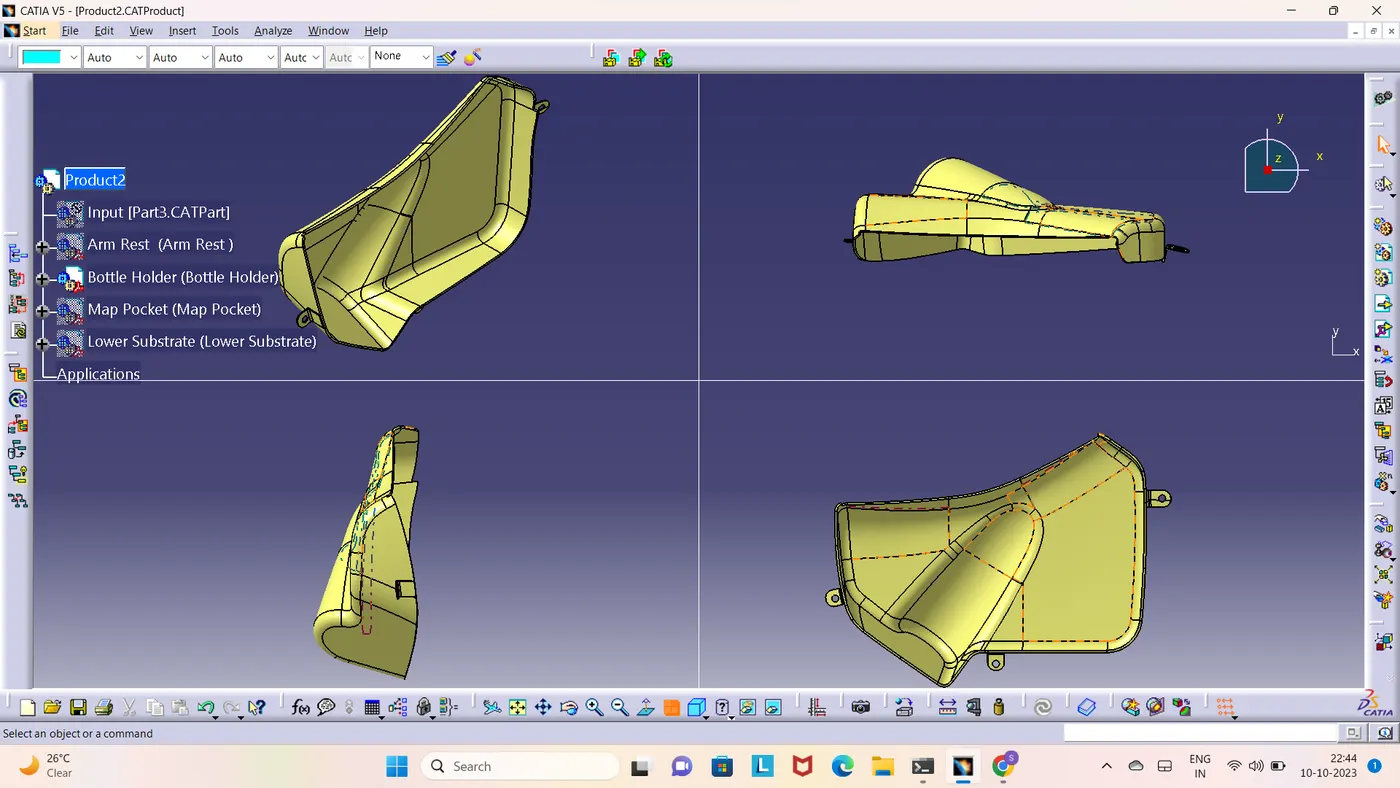
10.3 Map Pocket
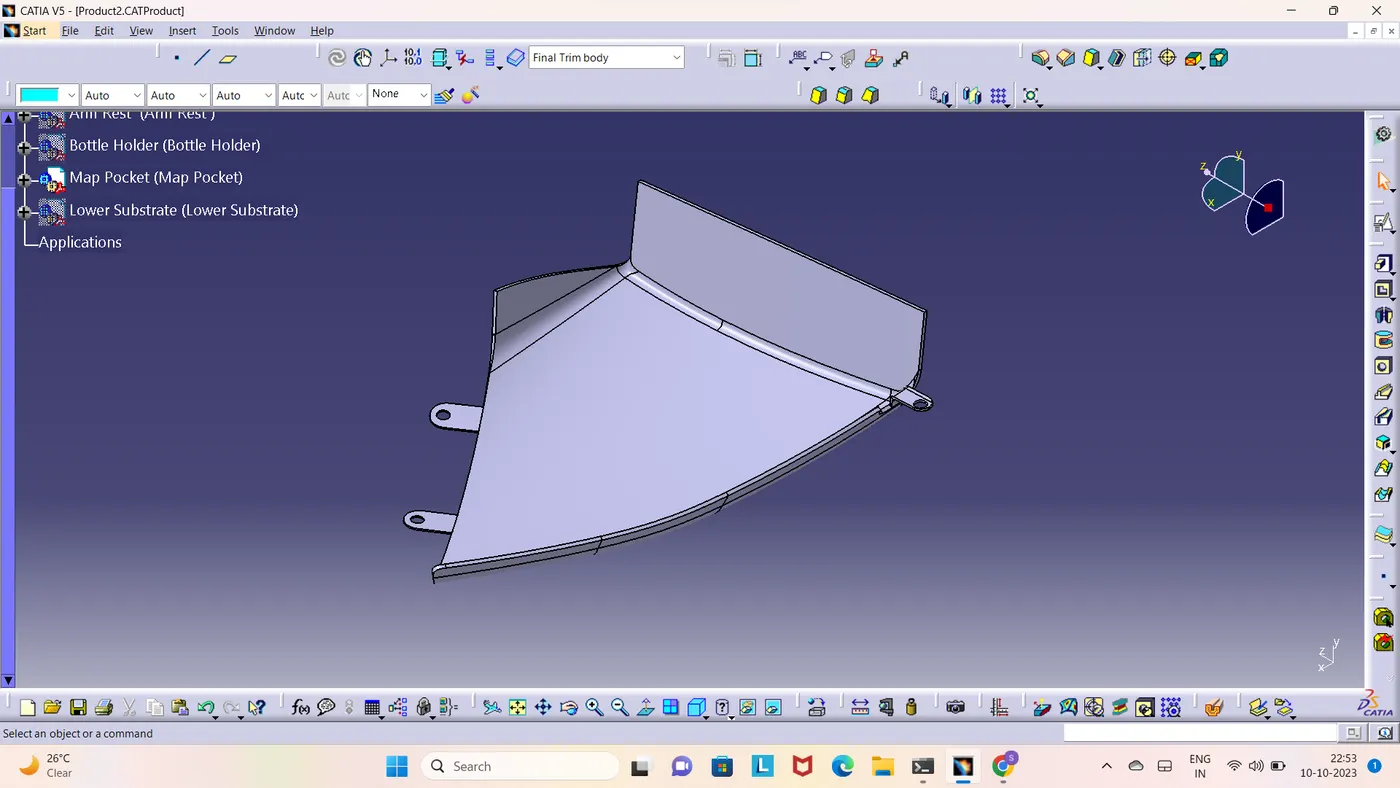
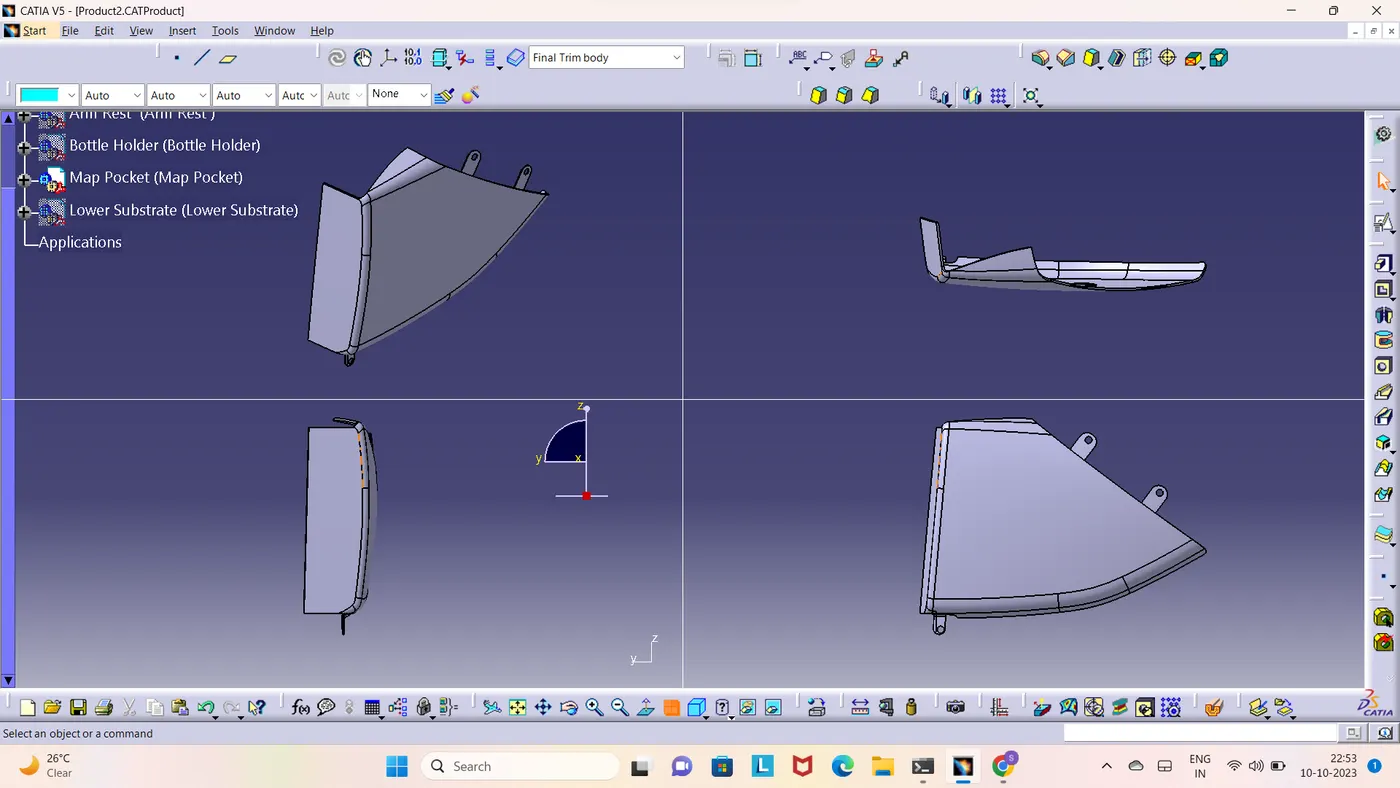
10.4 Lower Substrate
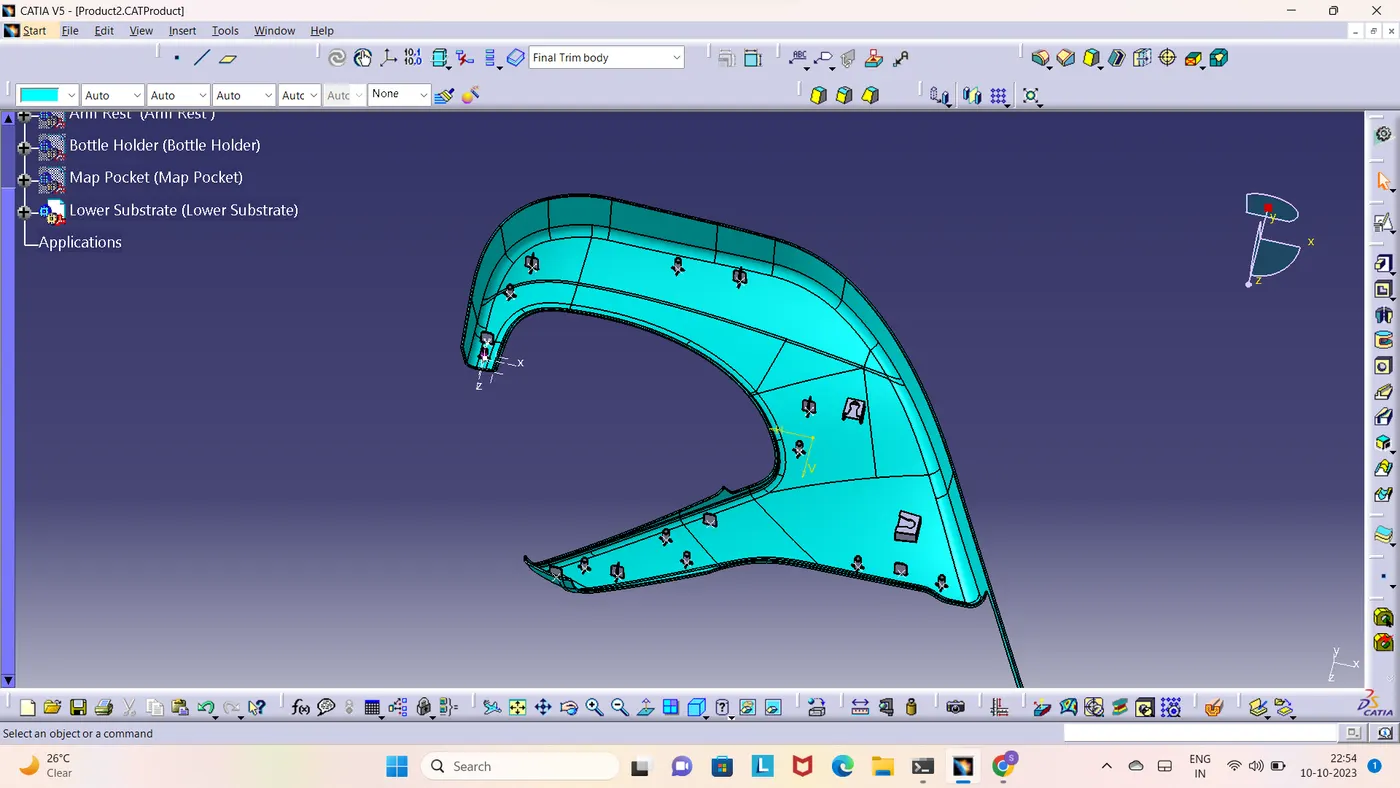
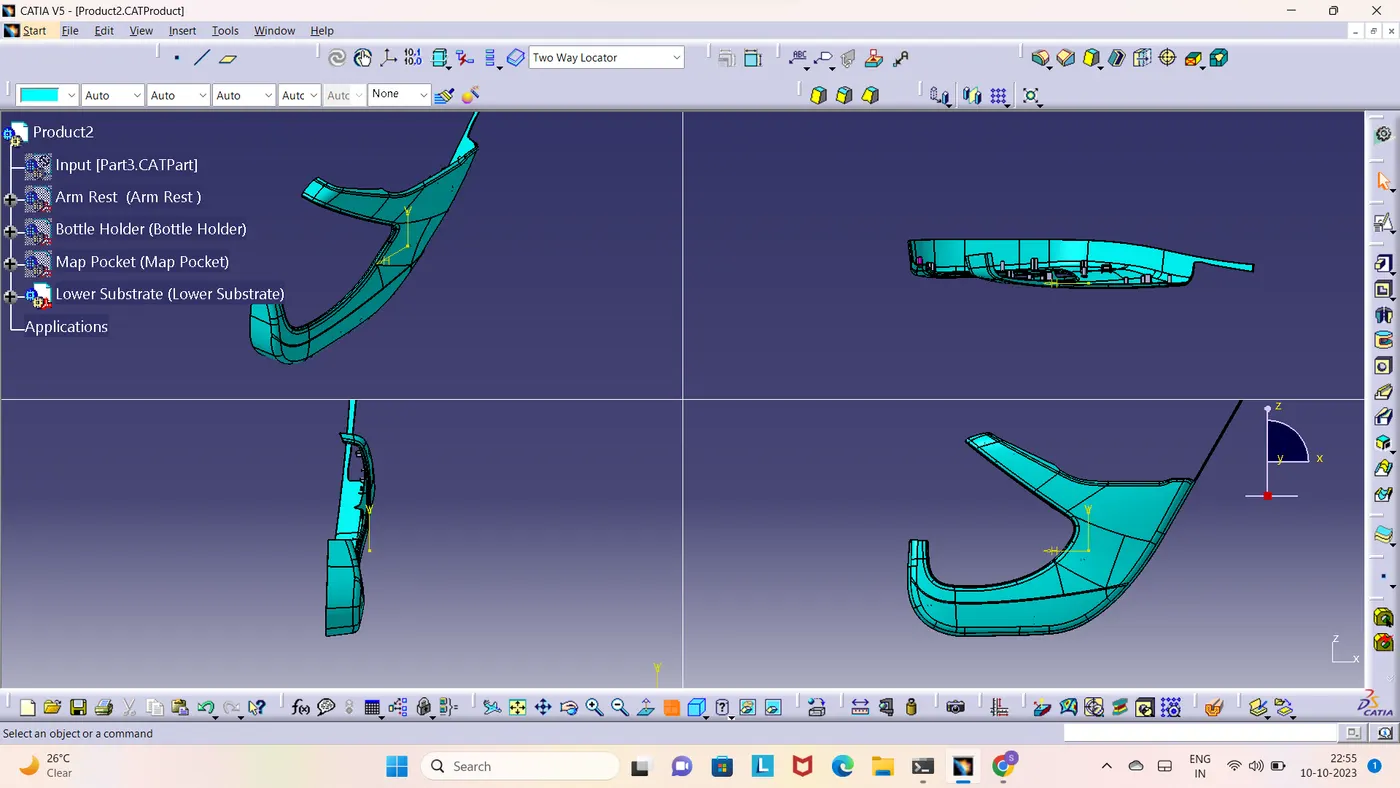
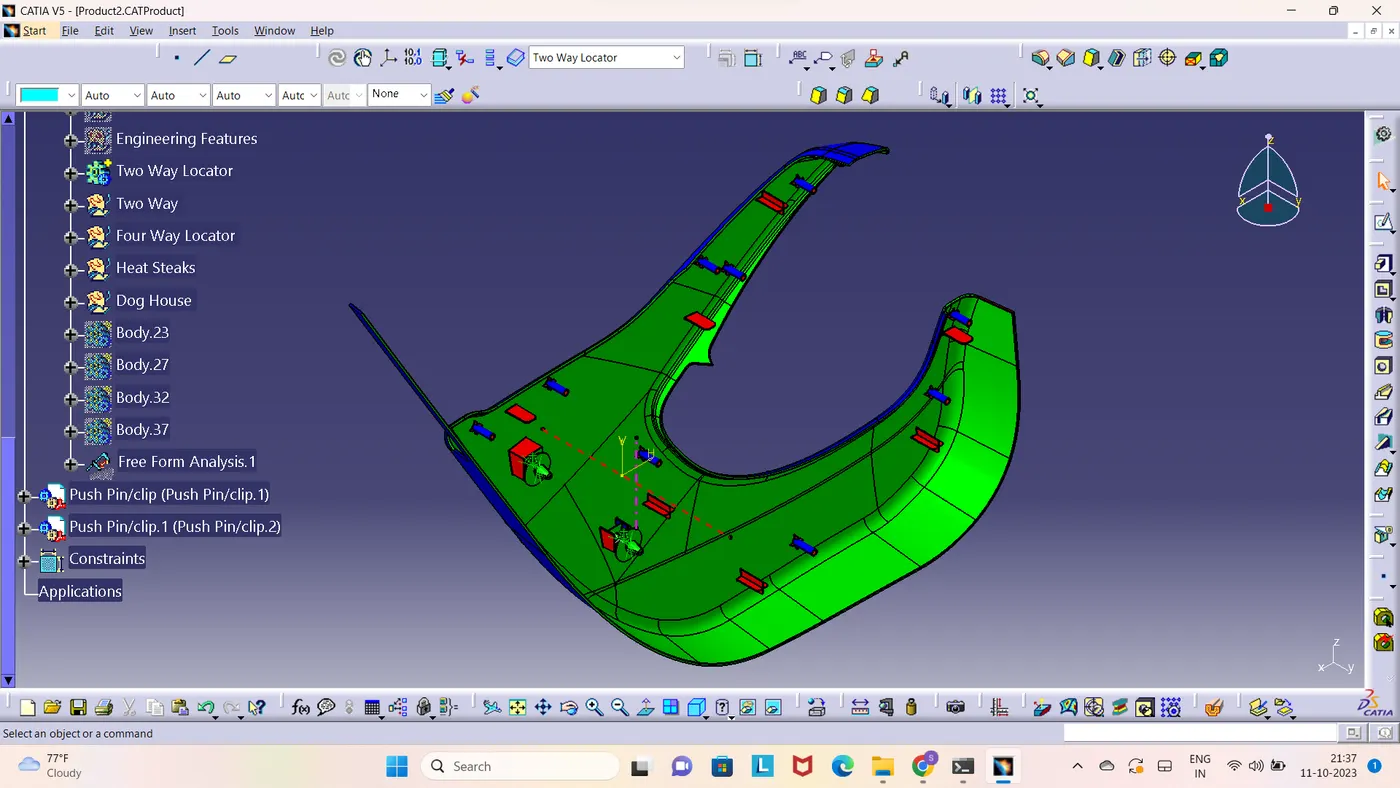
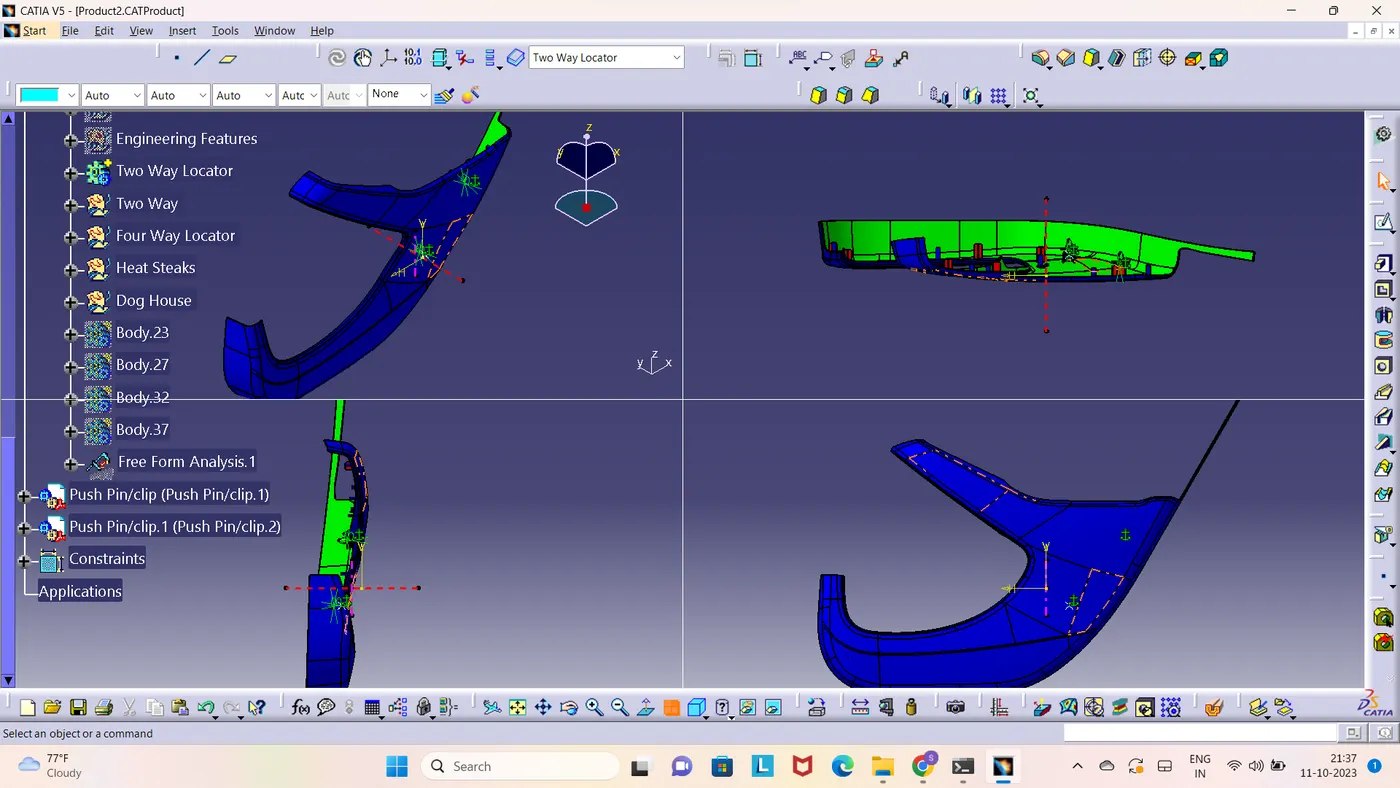
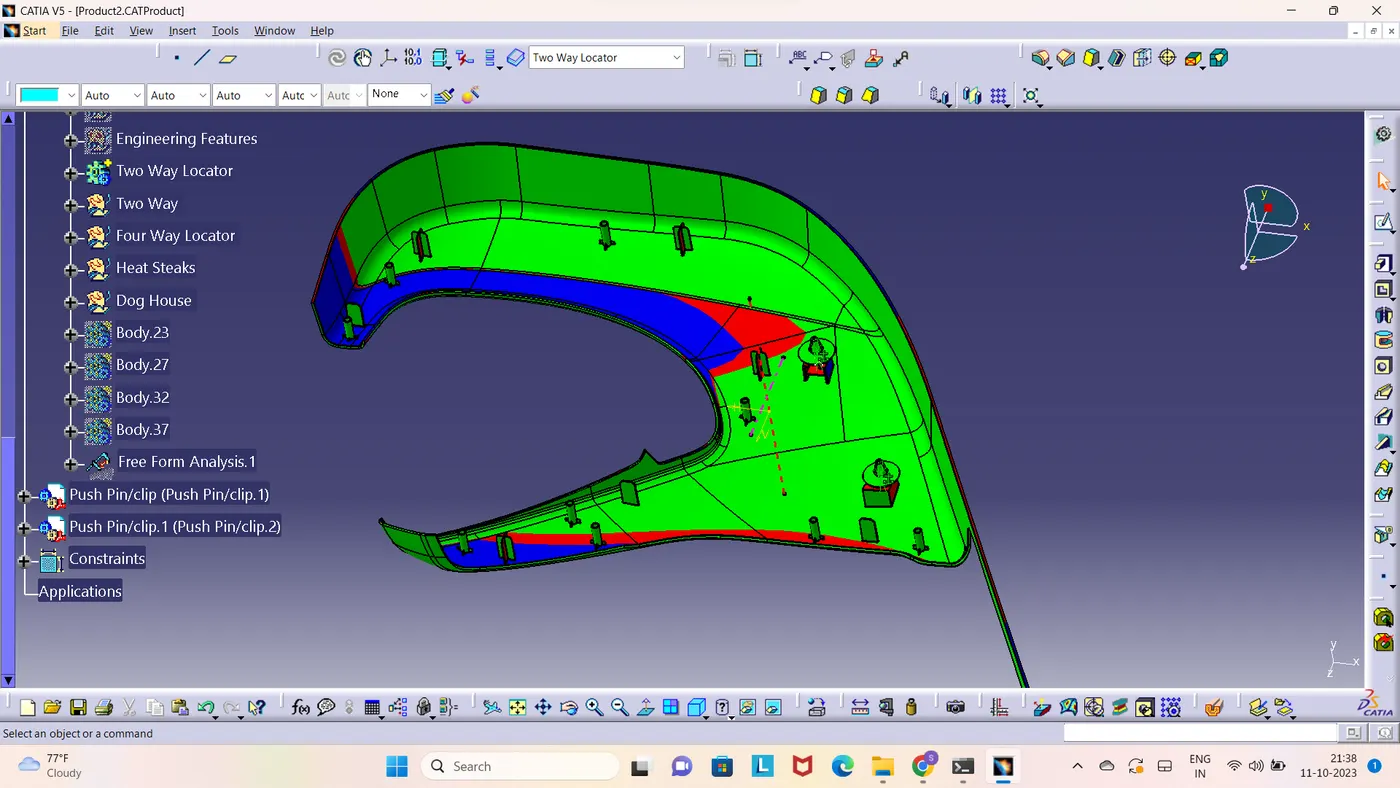
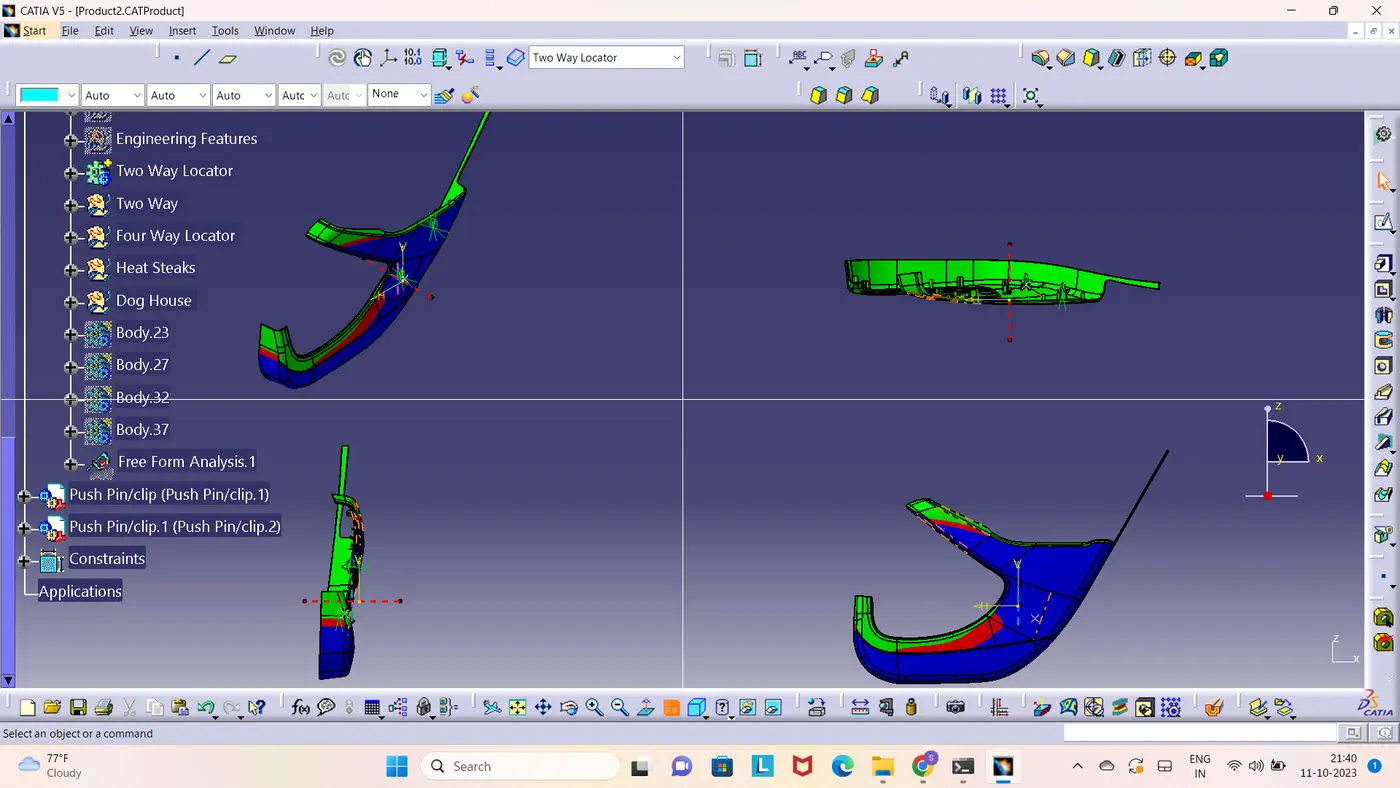
11. DRAFT ANALYSIS:
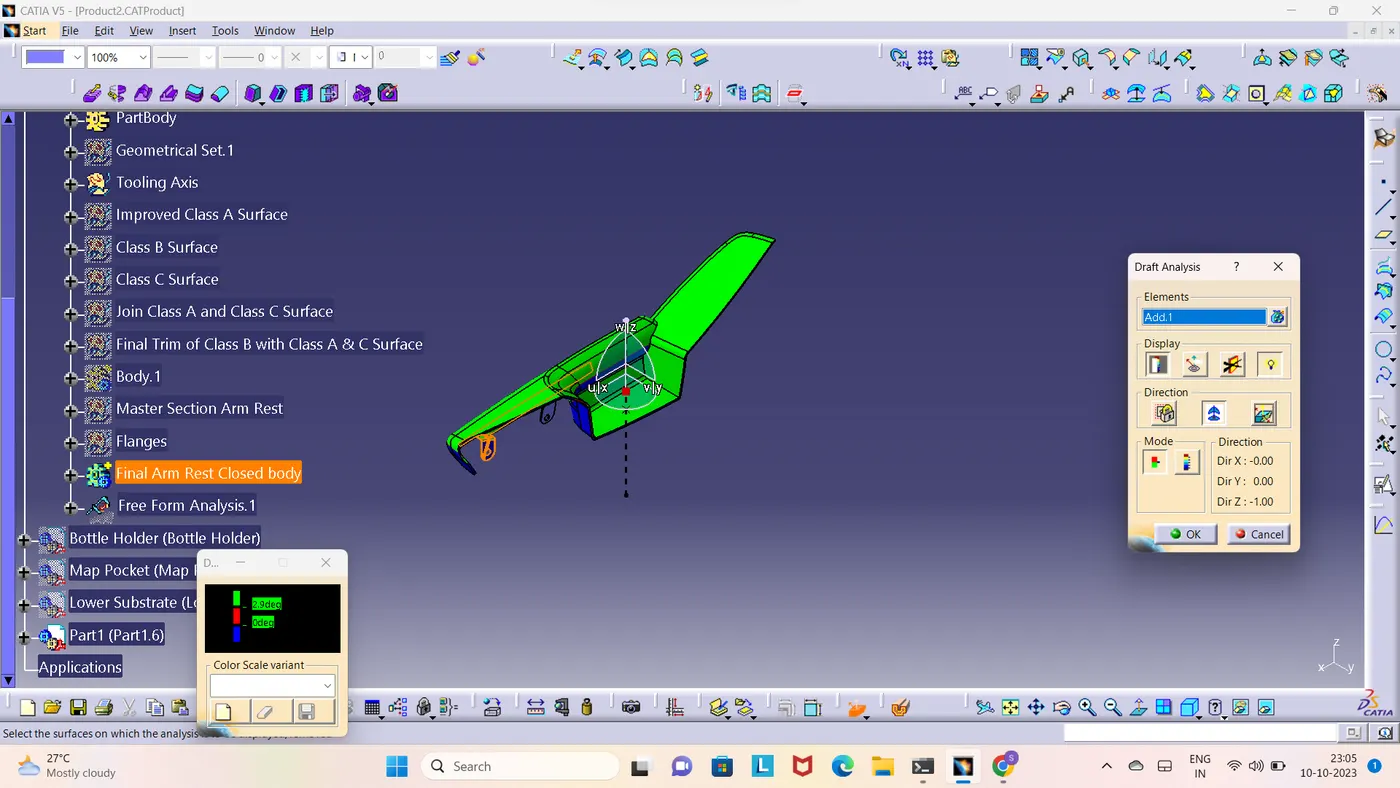
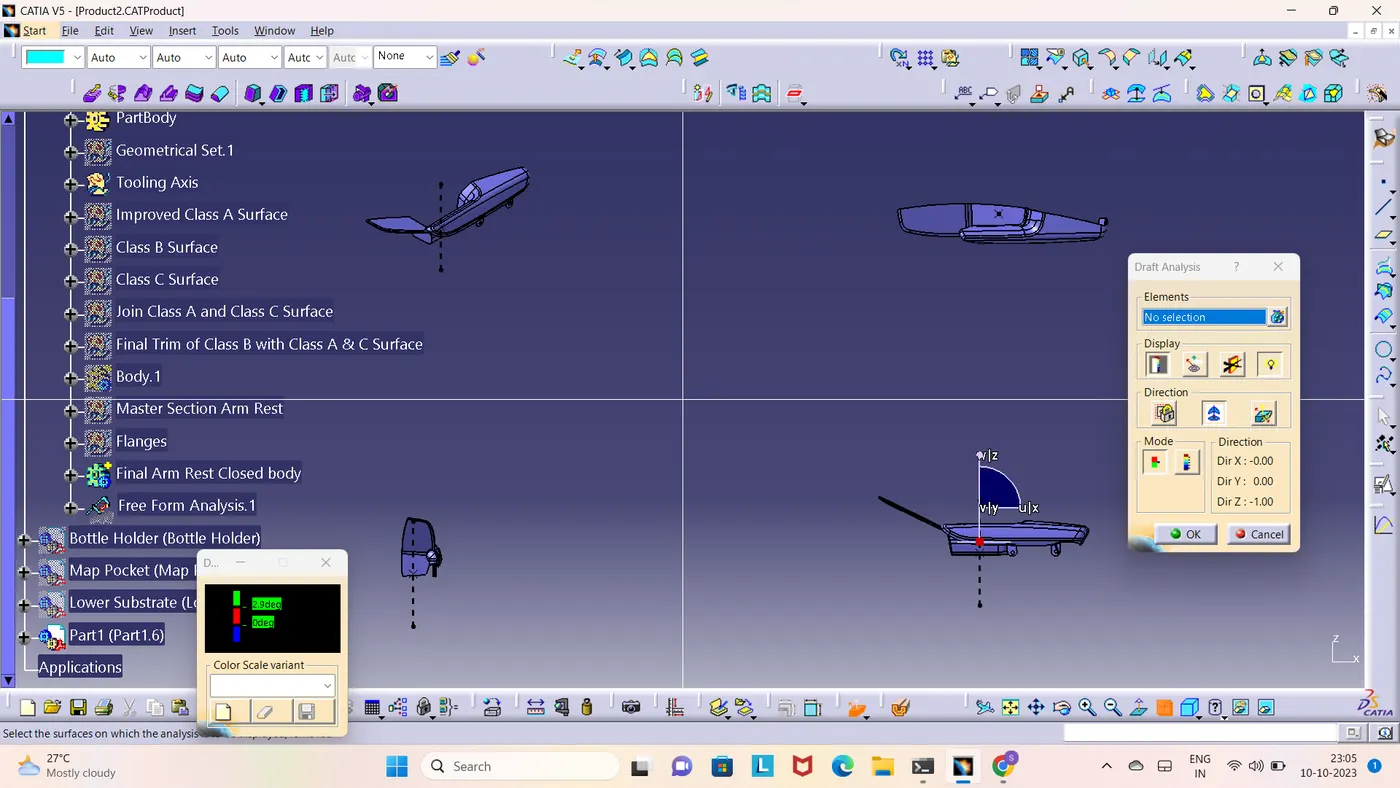
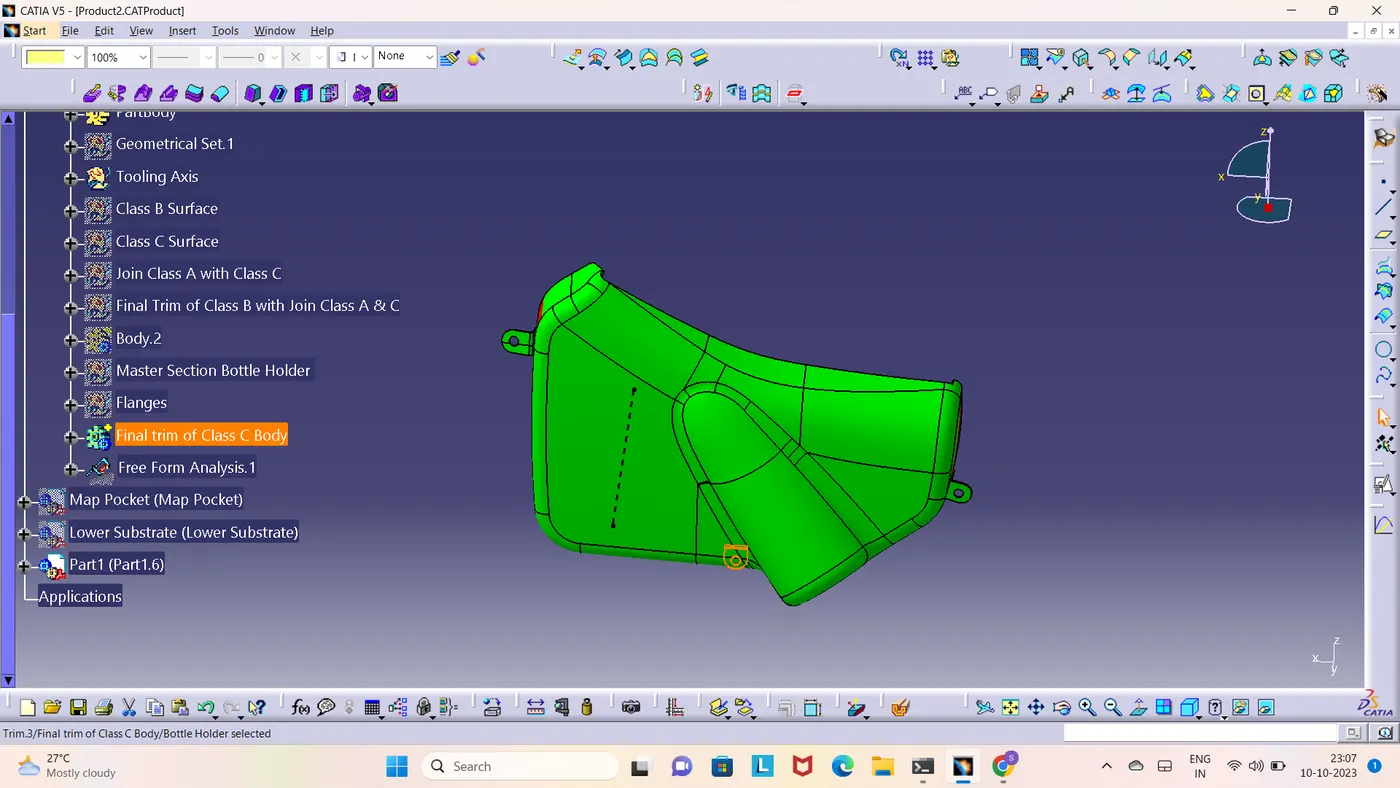
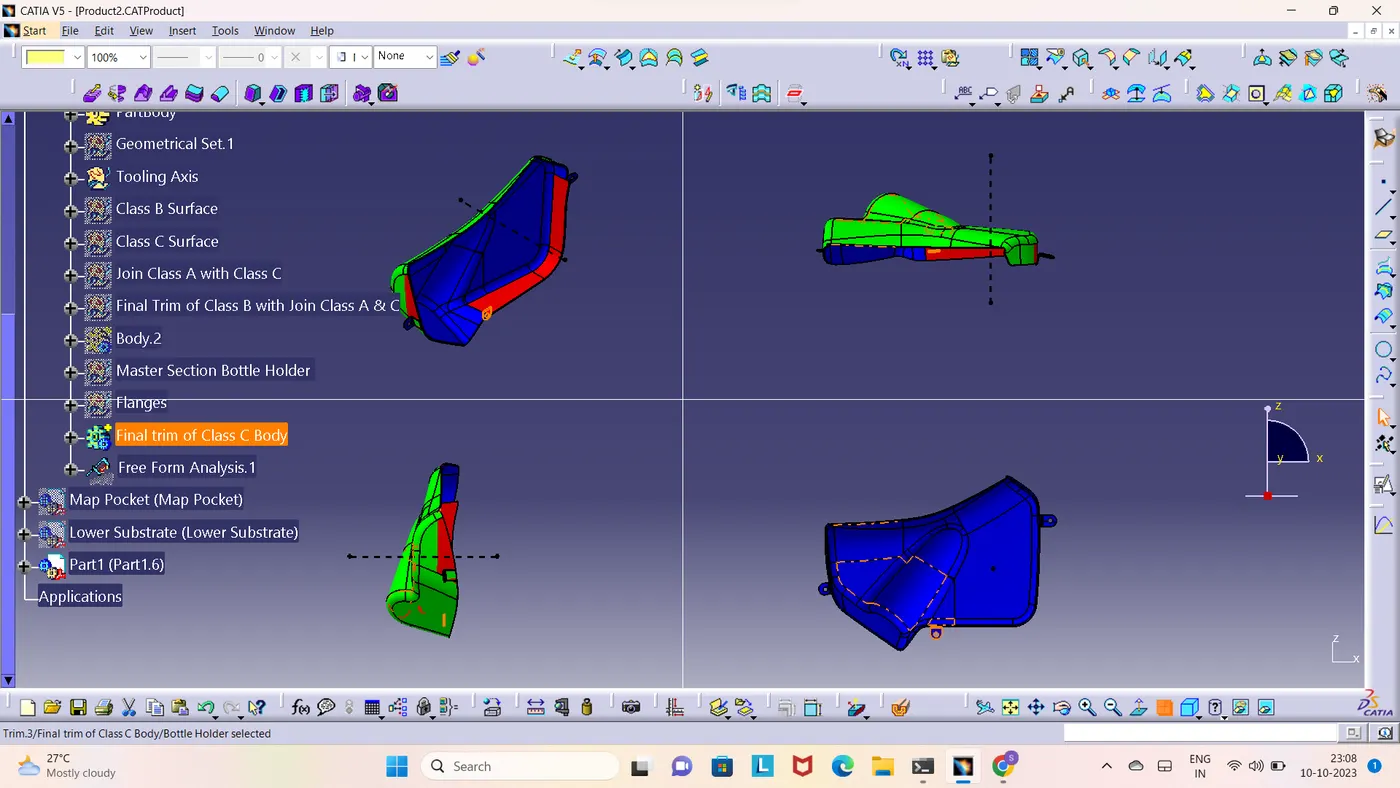
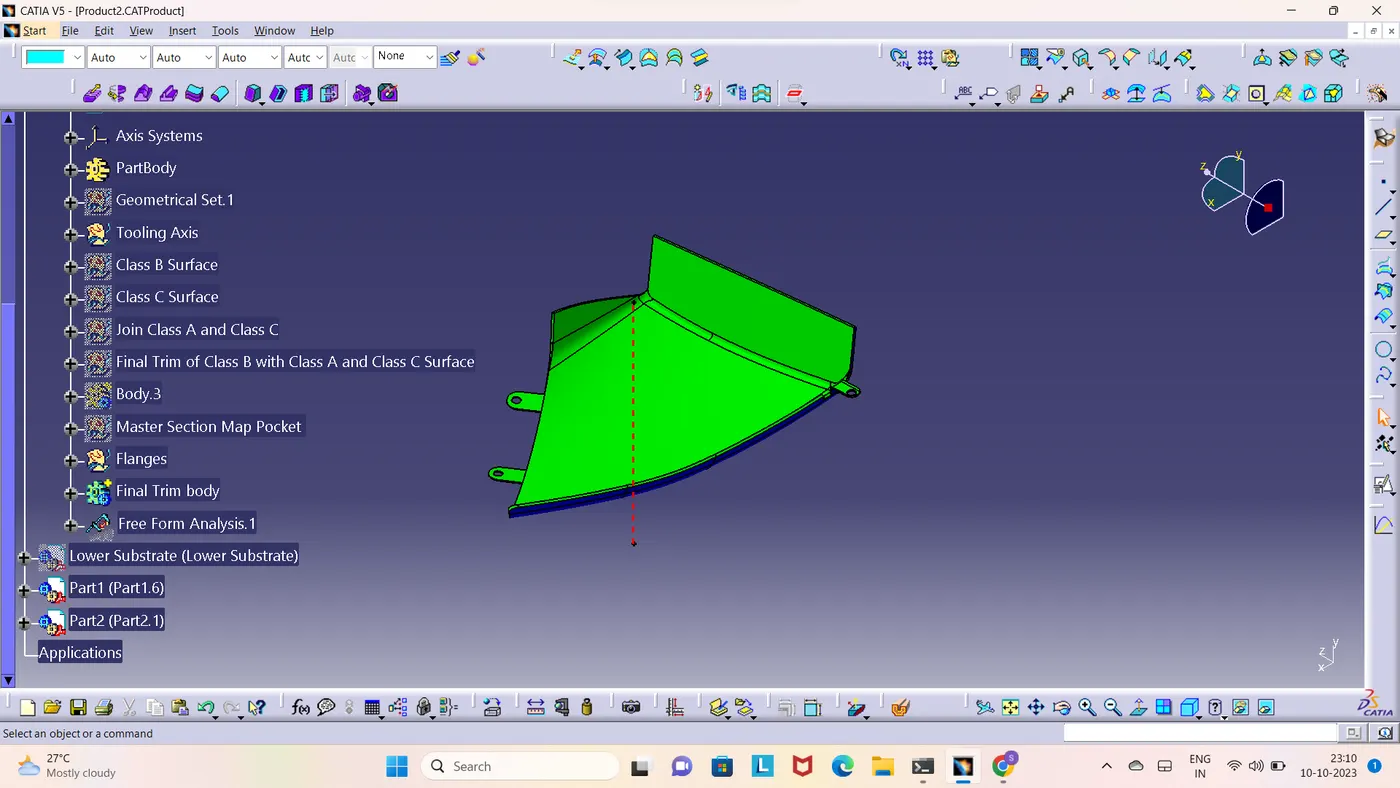
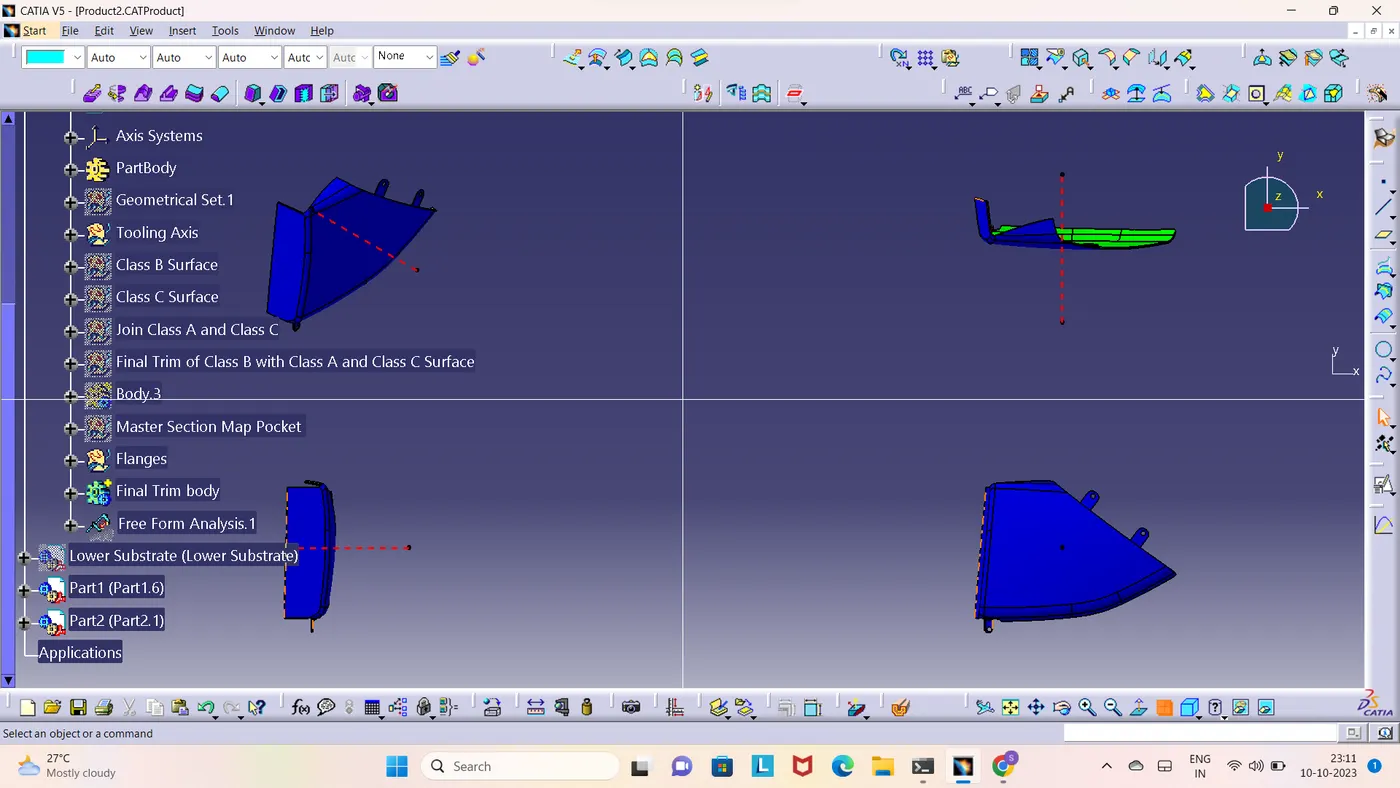
By applying drafting analysis at 2.9 Deg, we can see most bodies are been cleared. As Green is set at 2.9 degrees, blues is Zero, and less than Zero it is red colored.
10.1 ARMREST
10.2 Bottle Holder
10.3 Map Pocket
10.4 Lower Substrate
12. Push Pin:
As I have created two Dog Houses for this part assembly, I need to import two Push pins. Both are assembled correctly as shown.
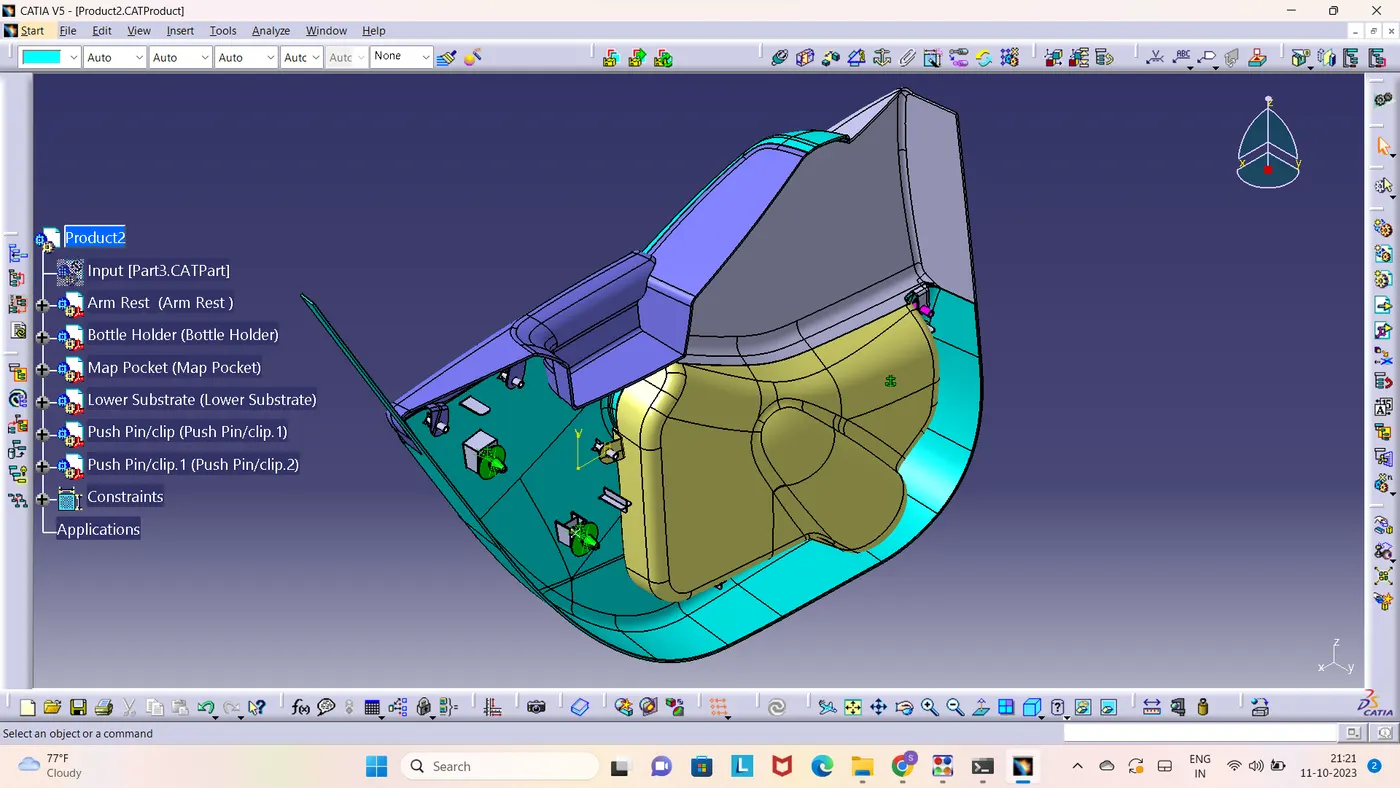
13. Final Development of a Door Trim panel