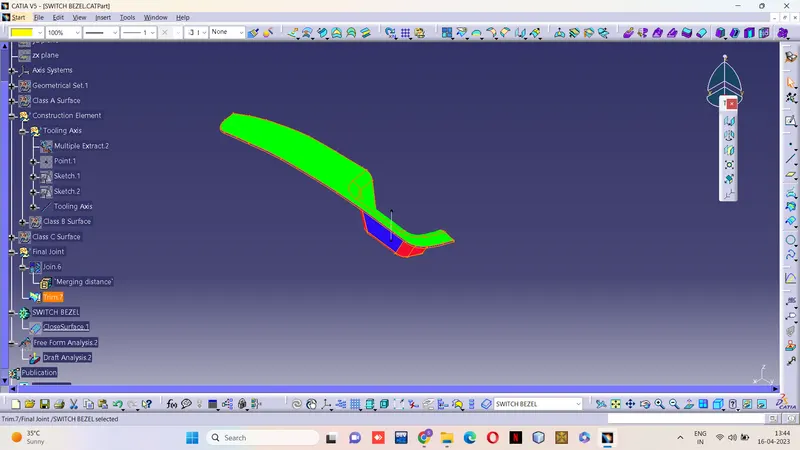
Week 9 - Challenge 2 - Switch Bezel Design
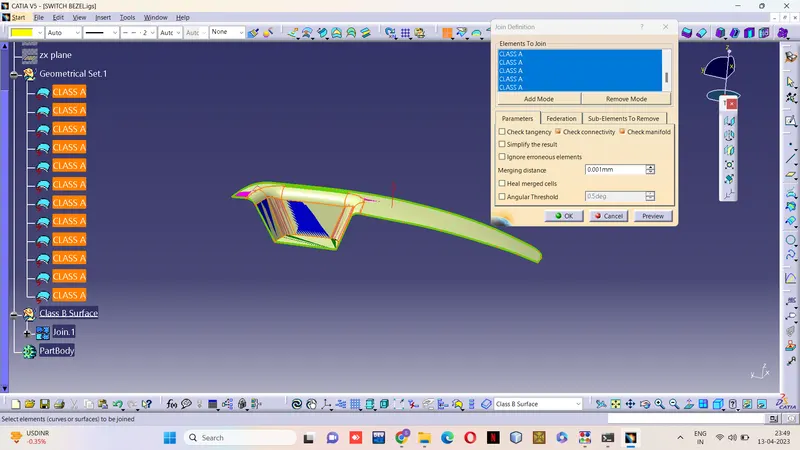
Step 1 - Completly checked the Class A Surface having any gaps in the surface connections using Join Tool
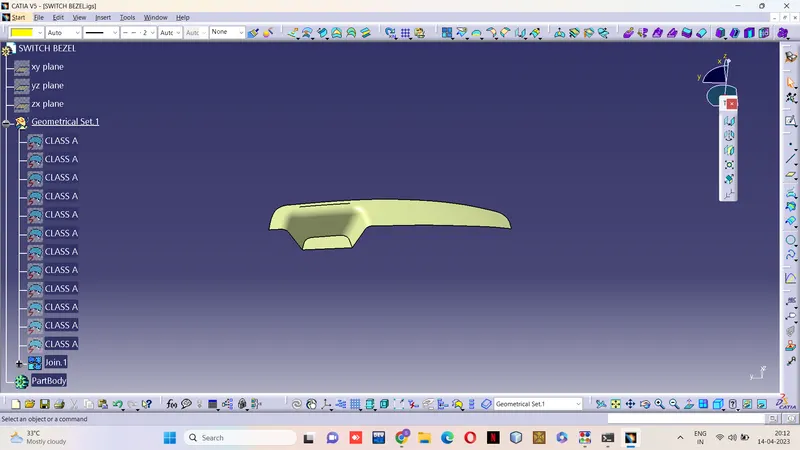
Step -2 Have inserted the Tooling Axis in the given Class A Surface.
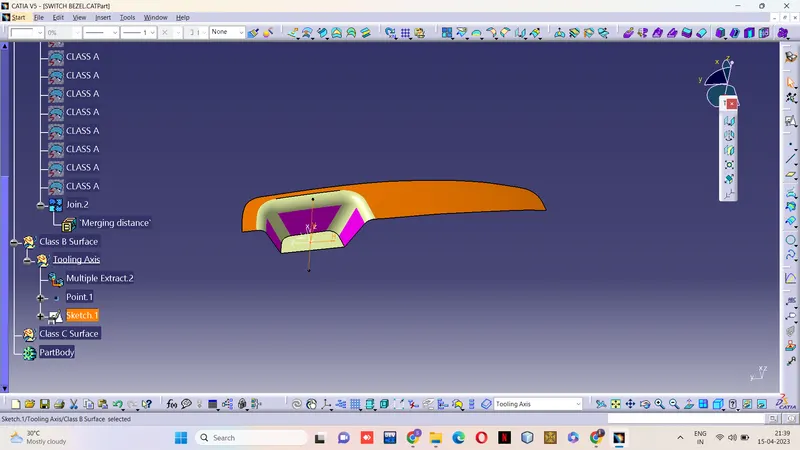
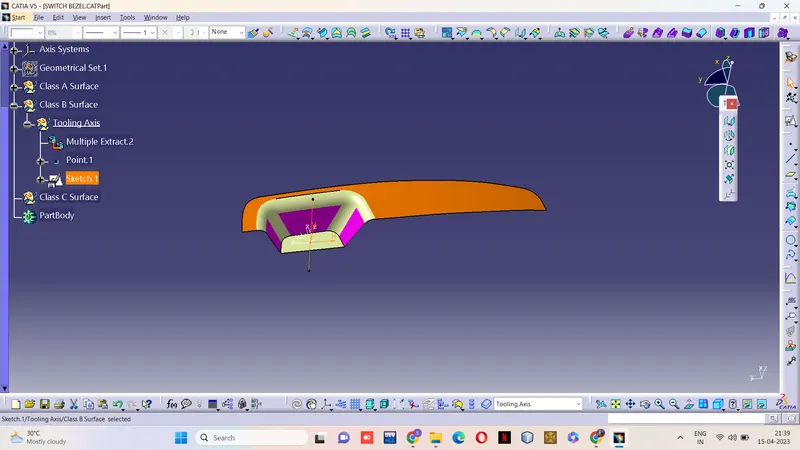
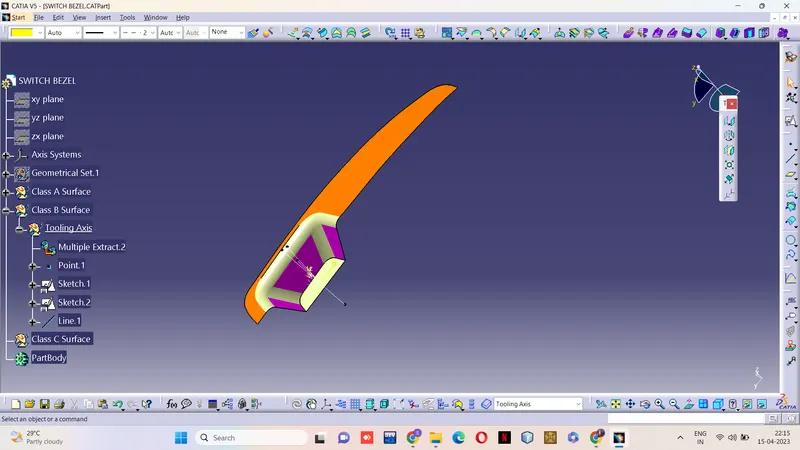
Final Tooling Axis
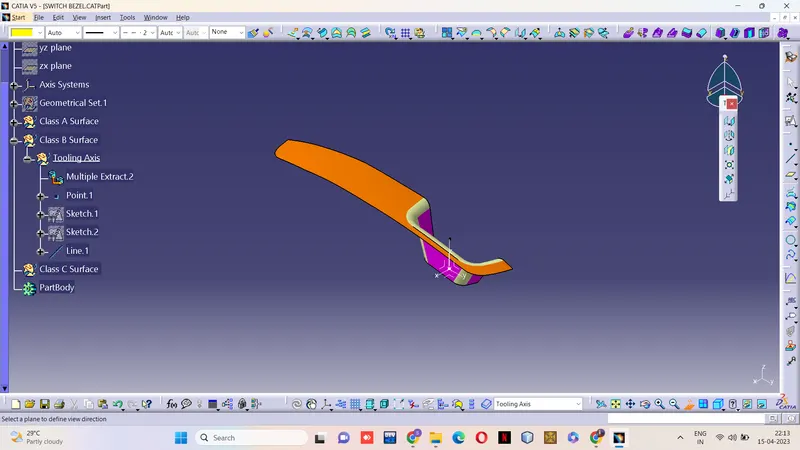
Finally Published the tooling Axis
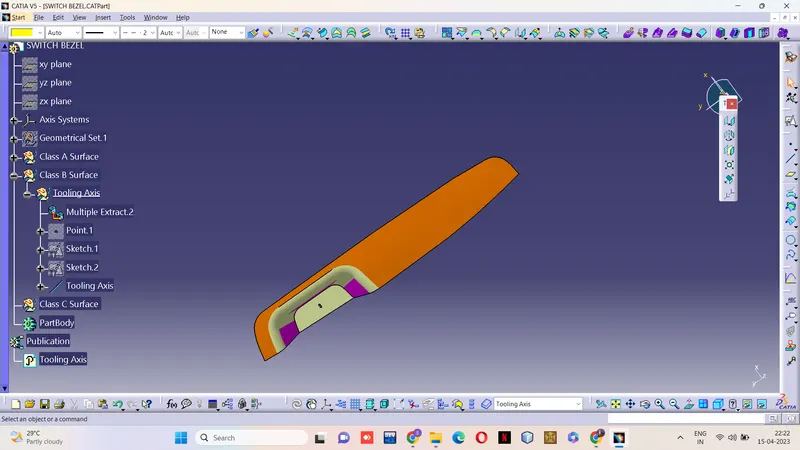
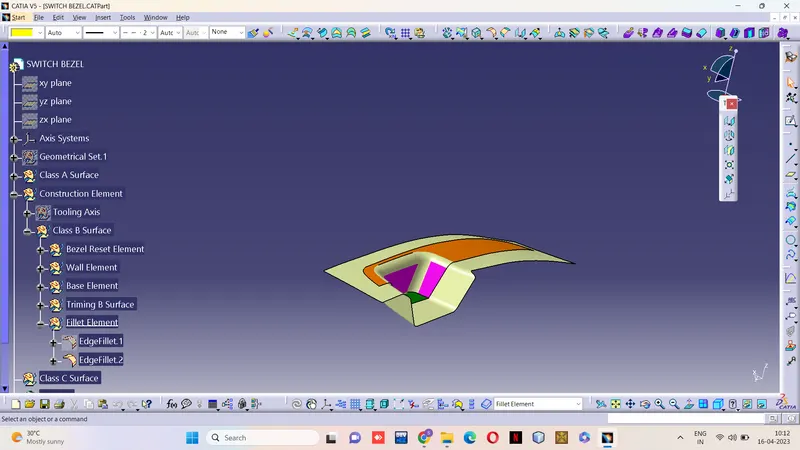
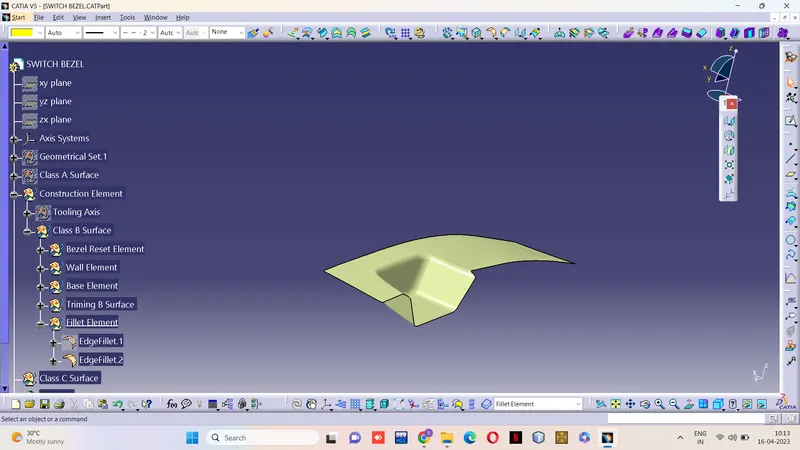
Step 3 - Creating Class B Surface
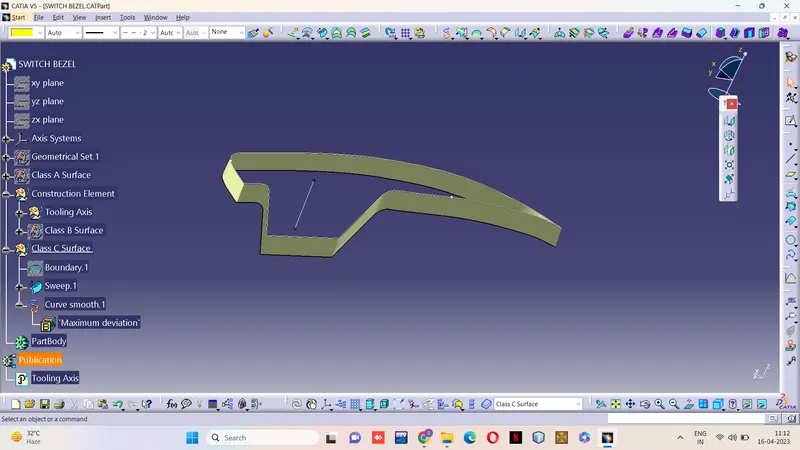
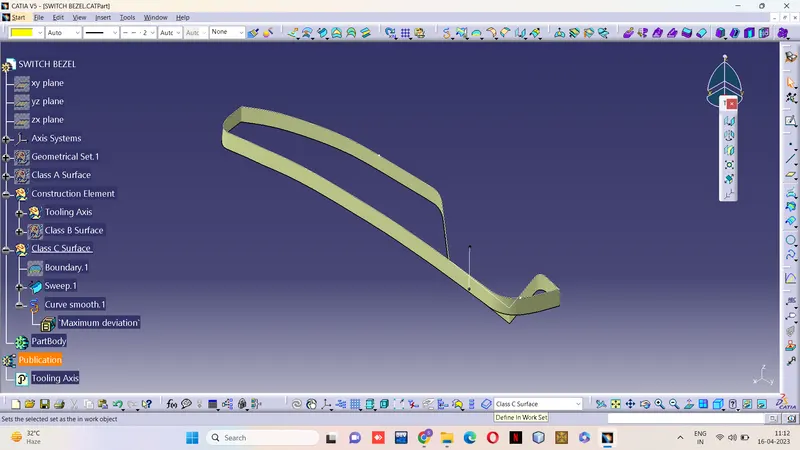
Step 4 - Creating Class C Surface
Step 5 - Finally Created Class A, Class B, and Class C Surfaces
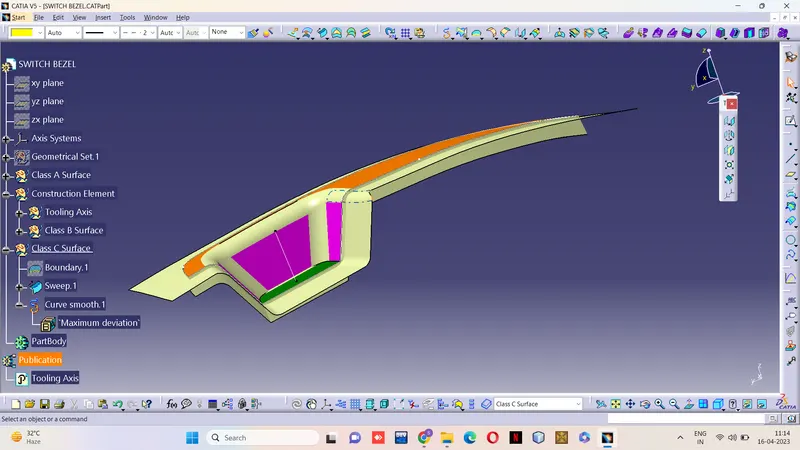
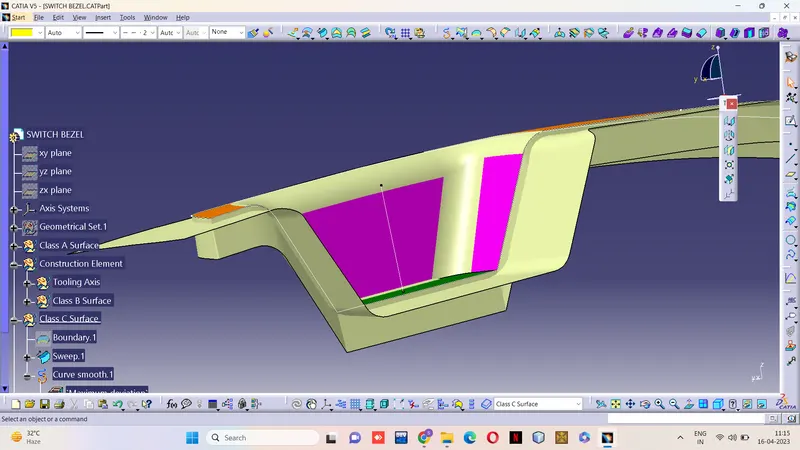
Step 6 - Final Join Elements of Class A and Class C
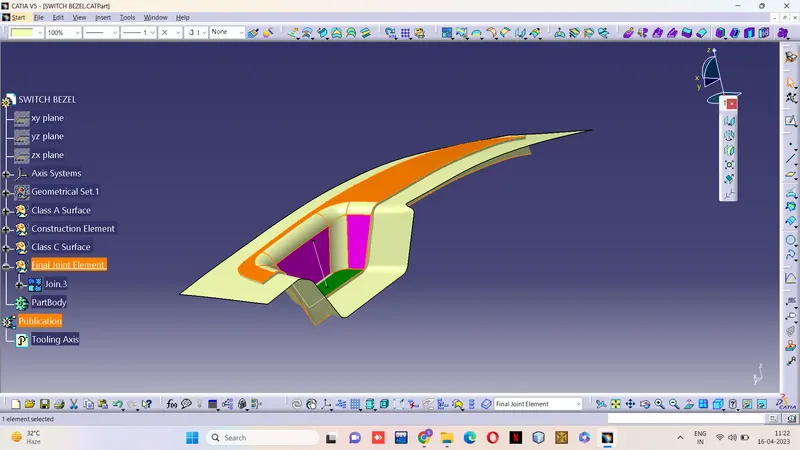
Step 7 - Final Trim with Class A Class c With Class B
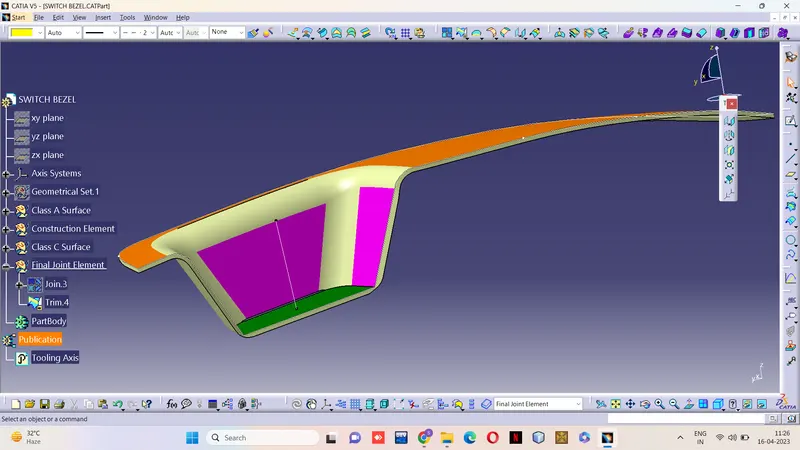
Step 8 - Given the closed surface for the element
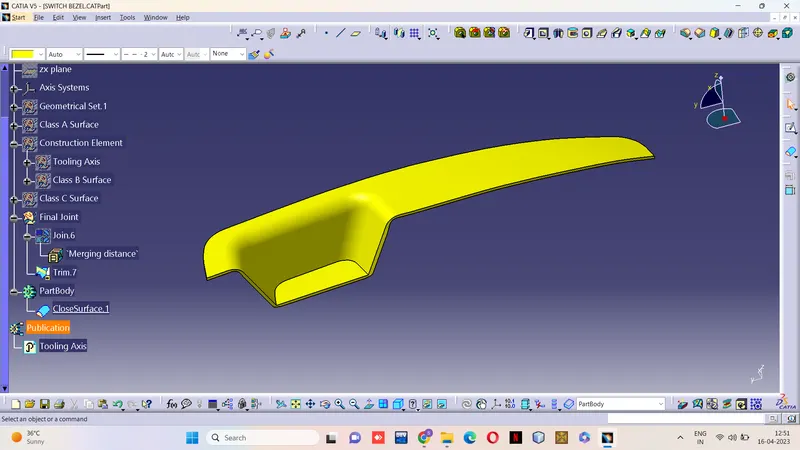
Step 9 - Draft Analysis
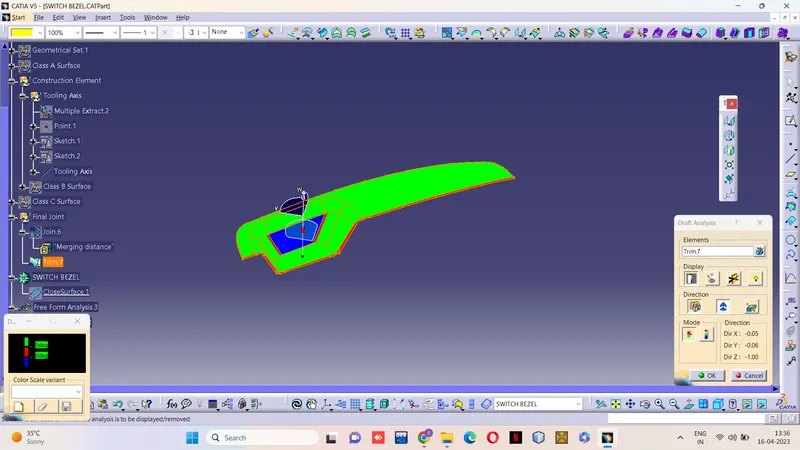
Step 10 - Result in Final Output of Switch Bezel