Week 11 - Project - A pillar Design with Master Section
STEP 1: This is are the master section design which they provied,
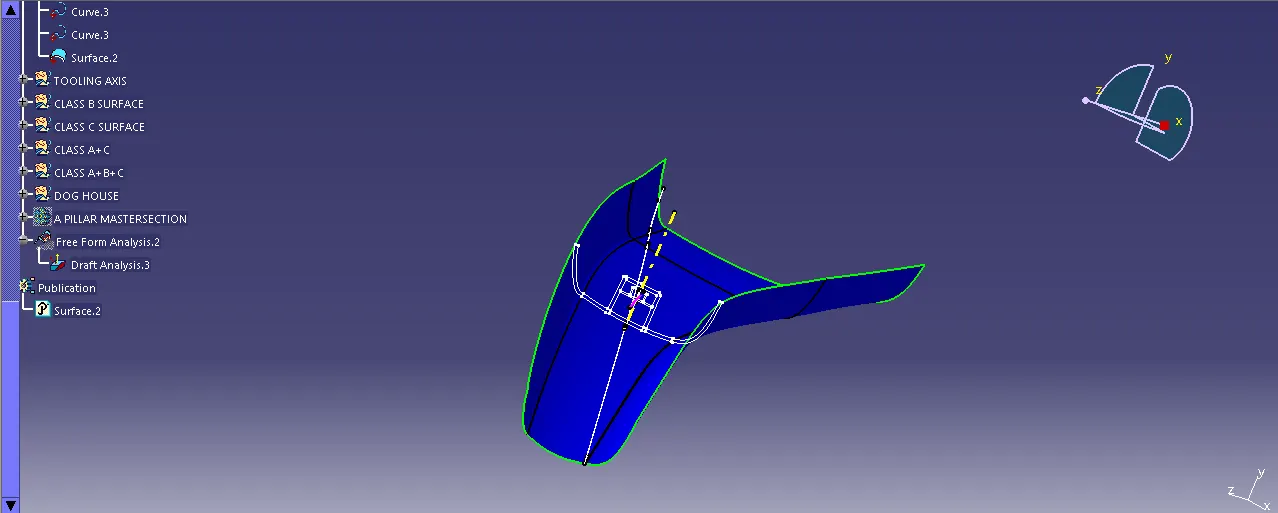
STEP 2: Using the master section to create a Main tooling axis,
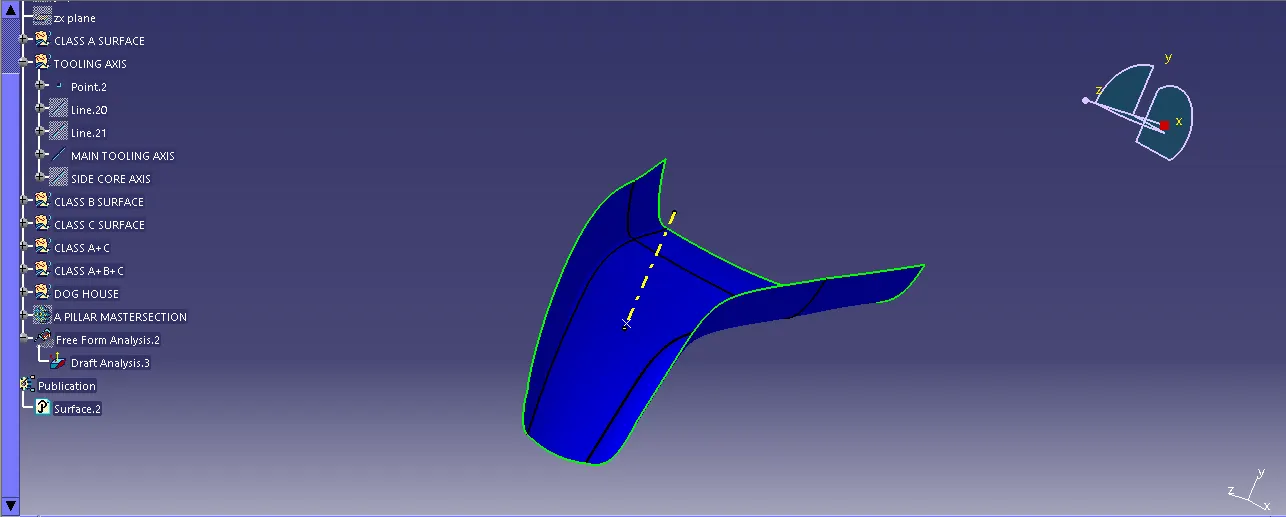
STEP 3: For the side i used the Side core axis to create a perfect,
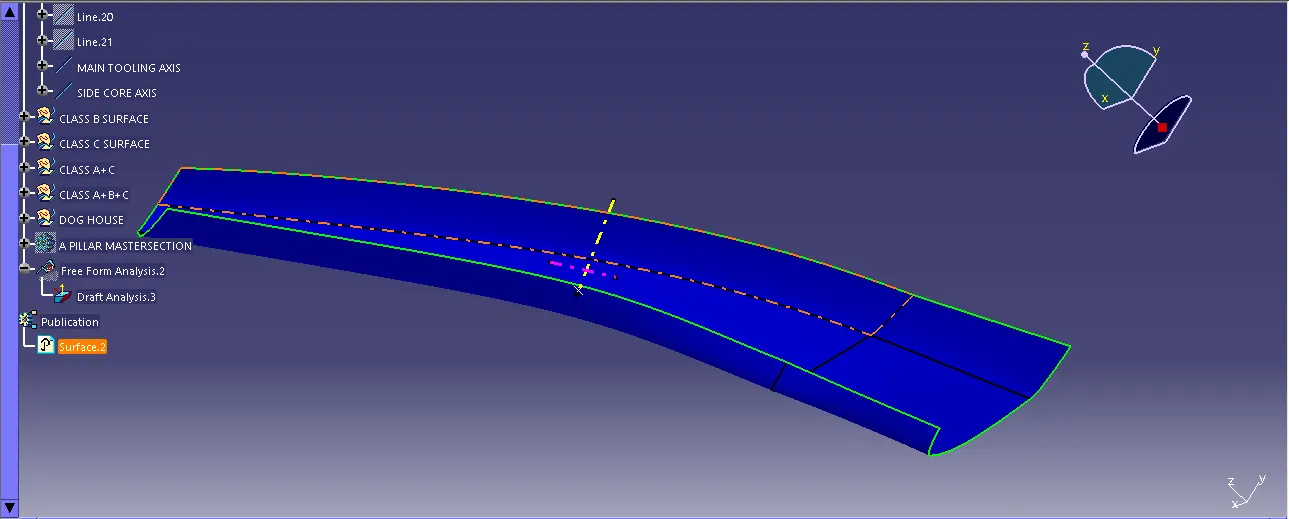
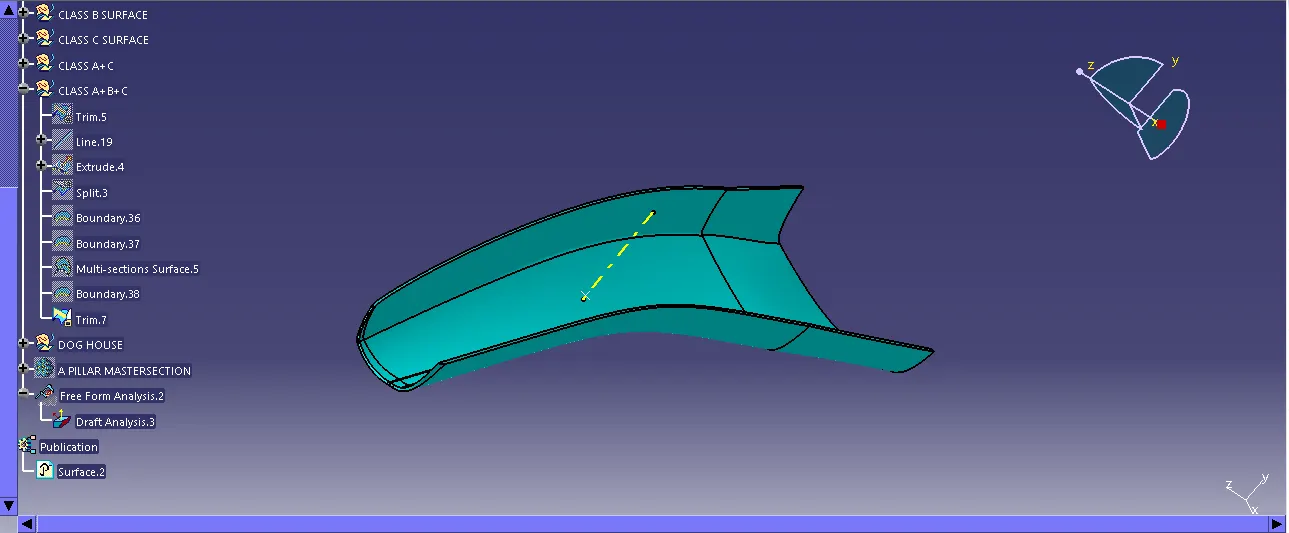
STEP 4:I used the CLASS A SURFACE to offset the to the CLASS B SURFACE and making the proper boundery surface to interset the CLASS A + CLASS B and CLASS C SURFACE,
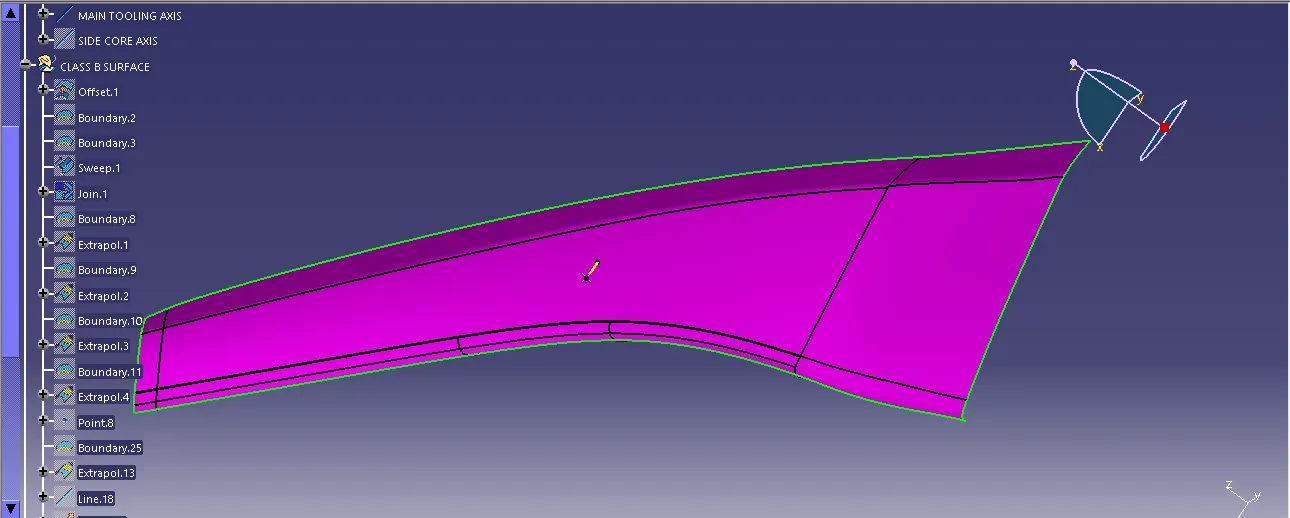
step 5: i used the CLASS A SURFACE to create a CLASS C SURFACE witha proper tooling axis, boundary, multi-sectionsurface, extrapol and trim command,
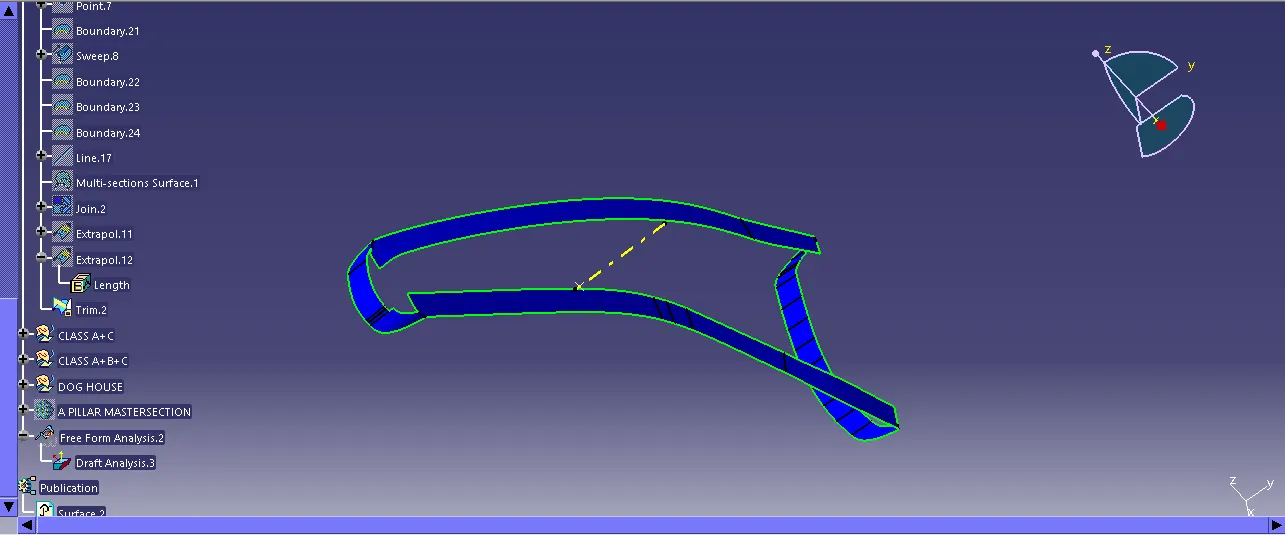
STEP 6: I used the join command to join th CLASS A + CLASS C SURFACE,
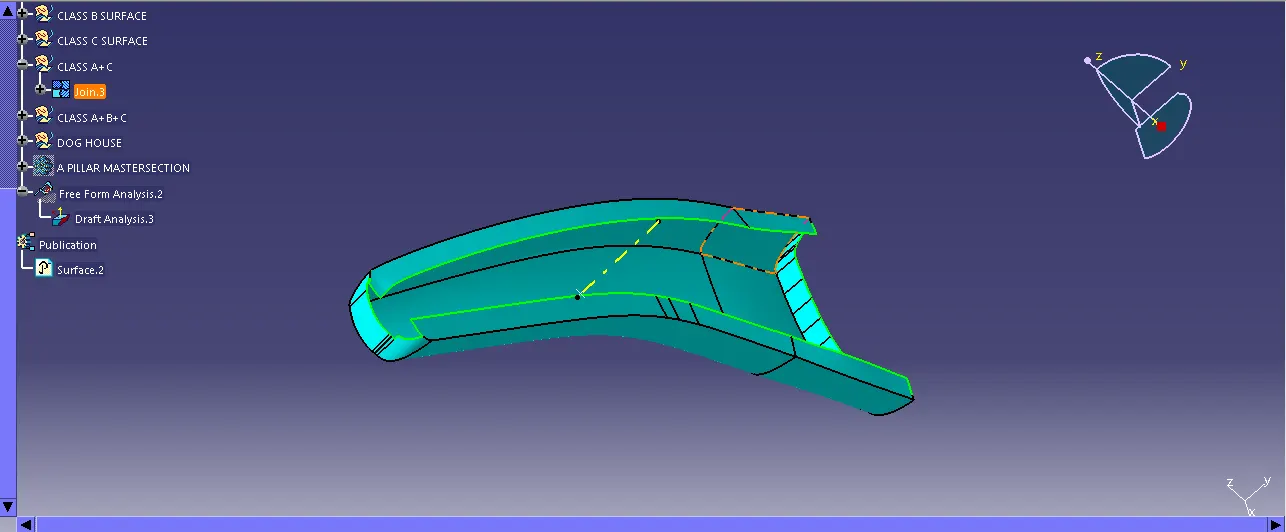
STEP 7: I used to trim the CLASS A+C with CLASS B SURFACE,
STEP 8: I used the CLOSEDSURFACE to create a solid body,
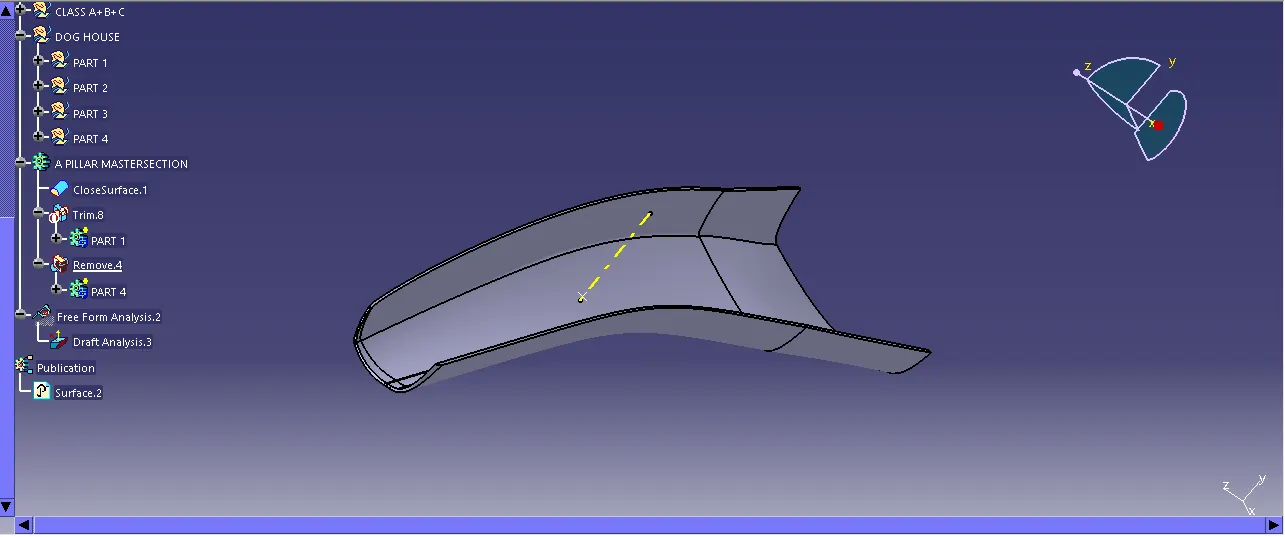
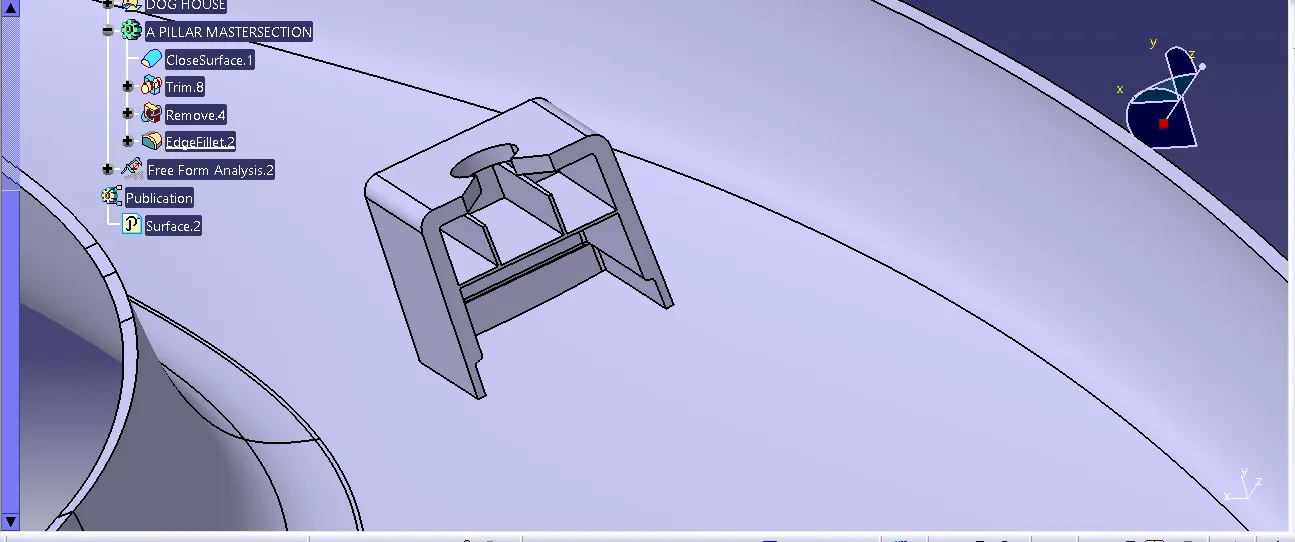
STEP 9: I used a part by part to create a DOG HOUSE by creating the point and the panel with sketch working,
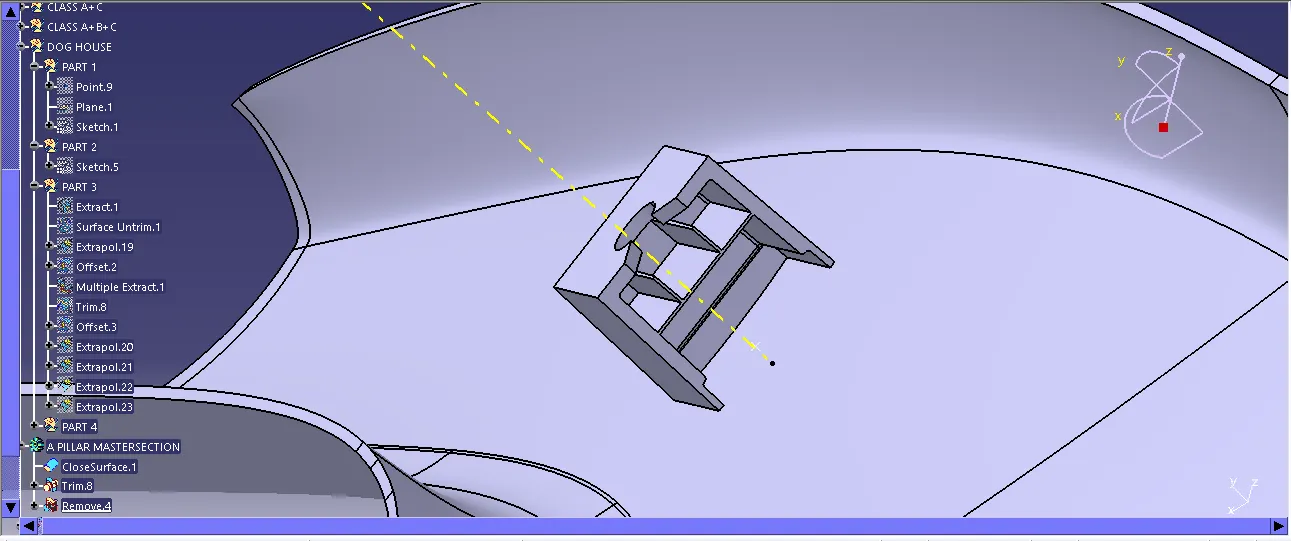
STEP 10: Then used the pad, draft, shell, split, edge,
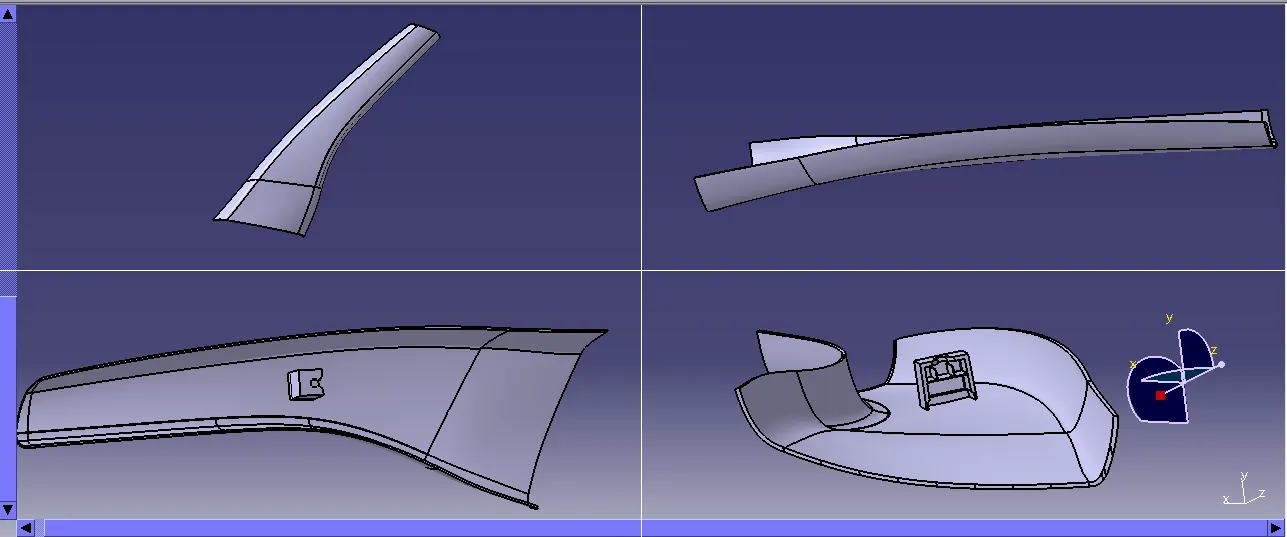
STEP 11: This are the FRONT, TOP, SIDE AND ISOMATRIC VIEW of the MASTR SECTION,
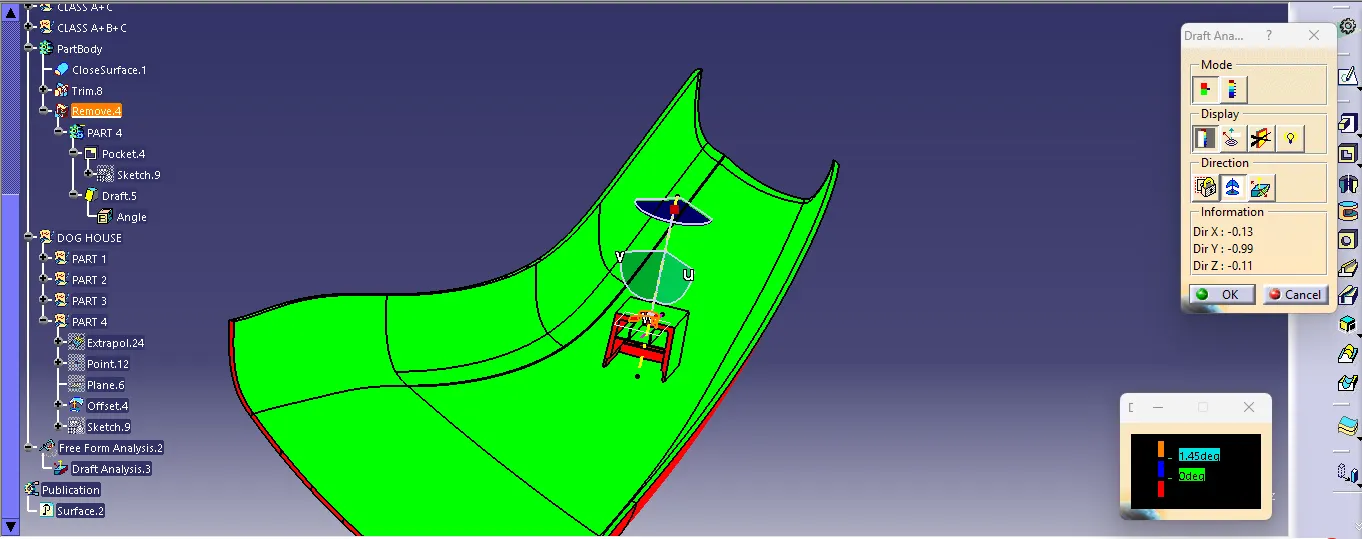
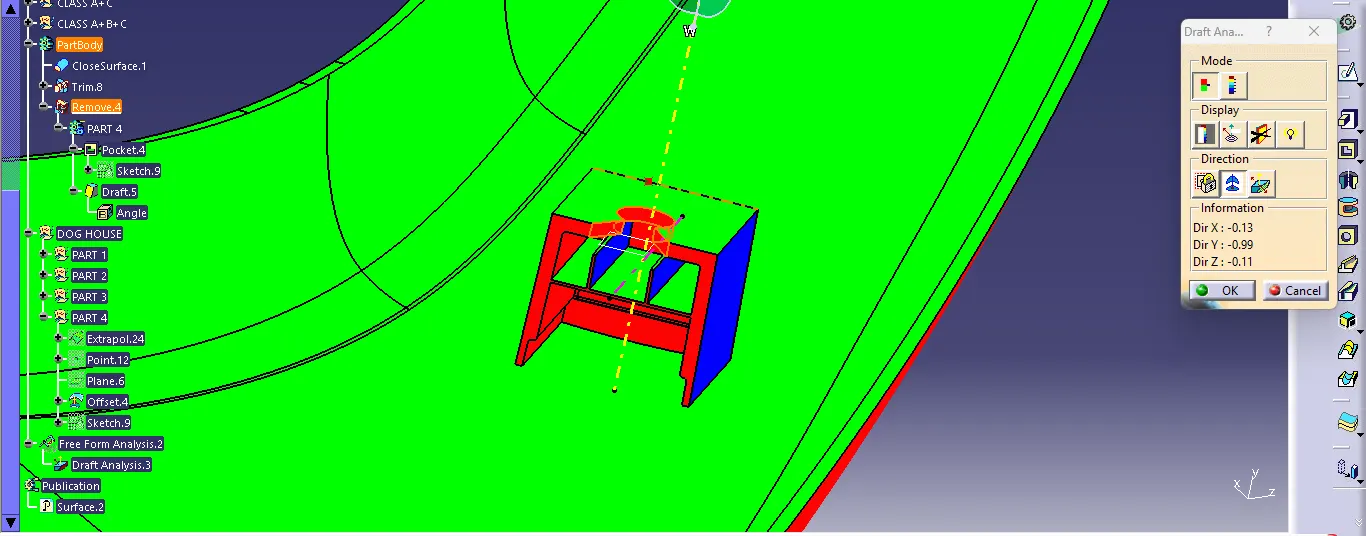
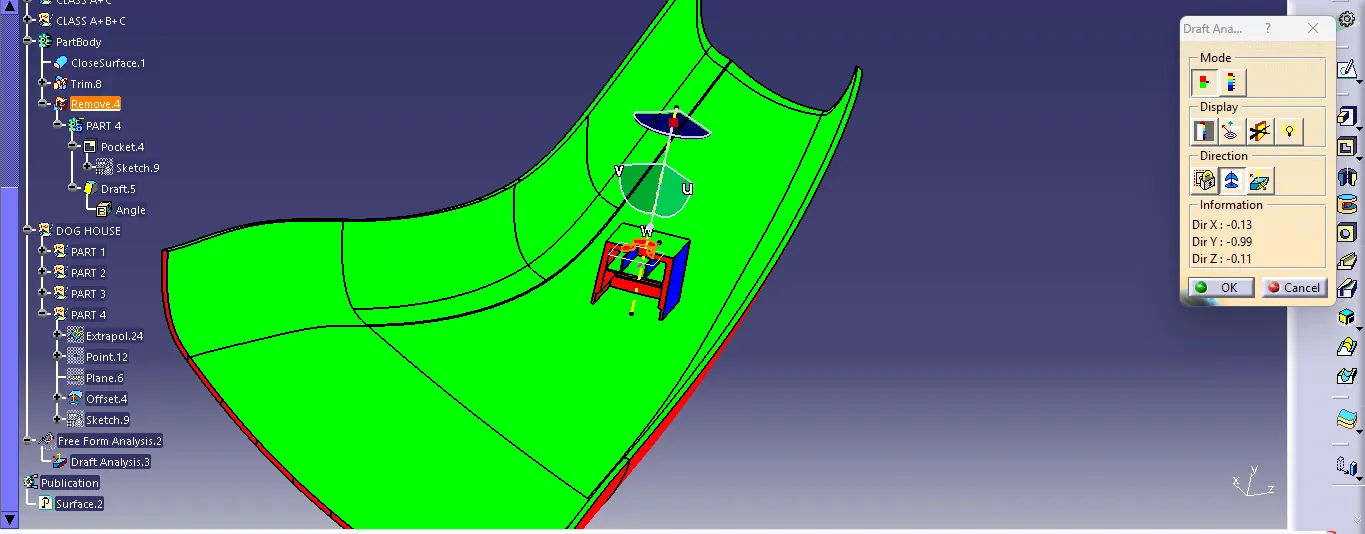
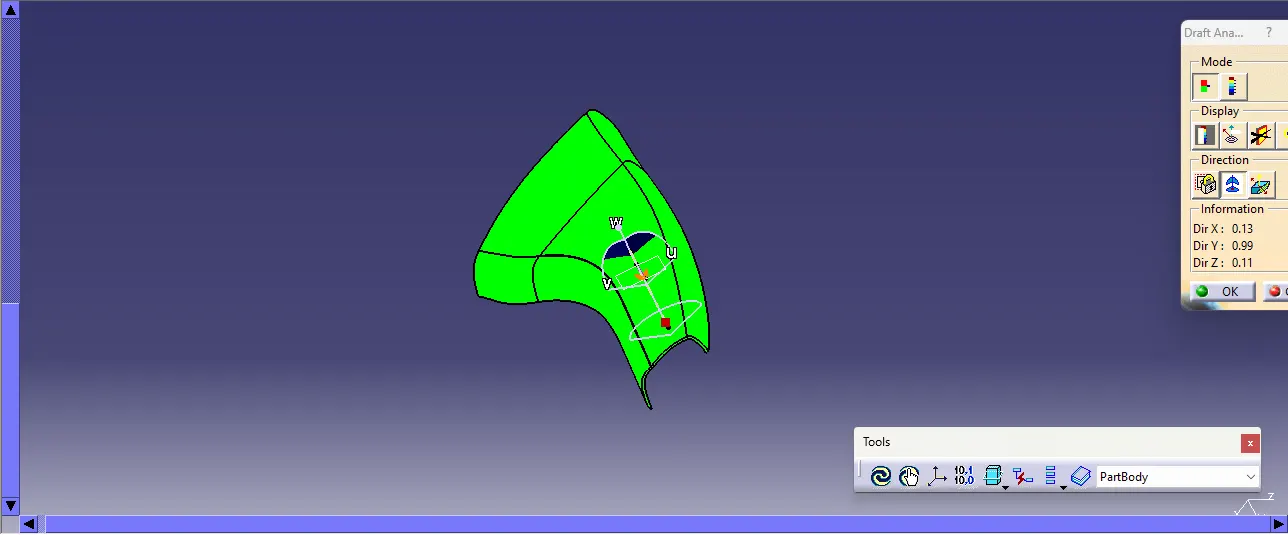
STEP 12: This are the DRAFT ANALYSIS for the class a , class b surface and for the dog house .