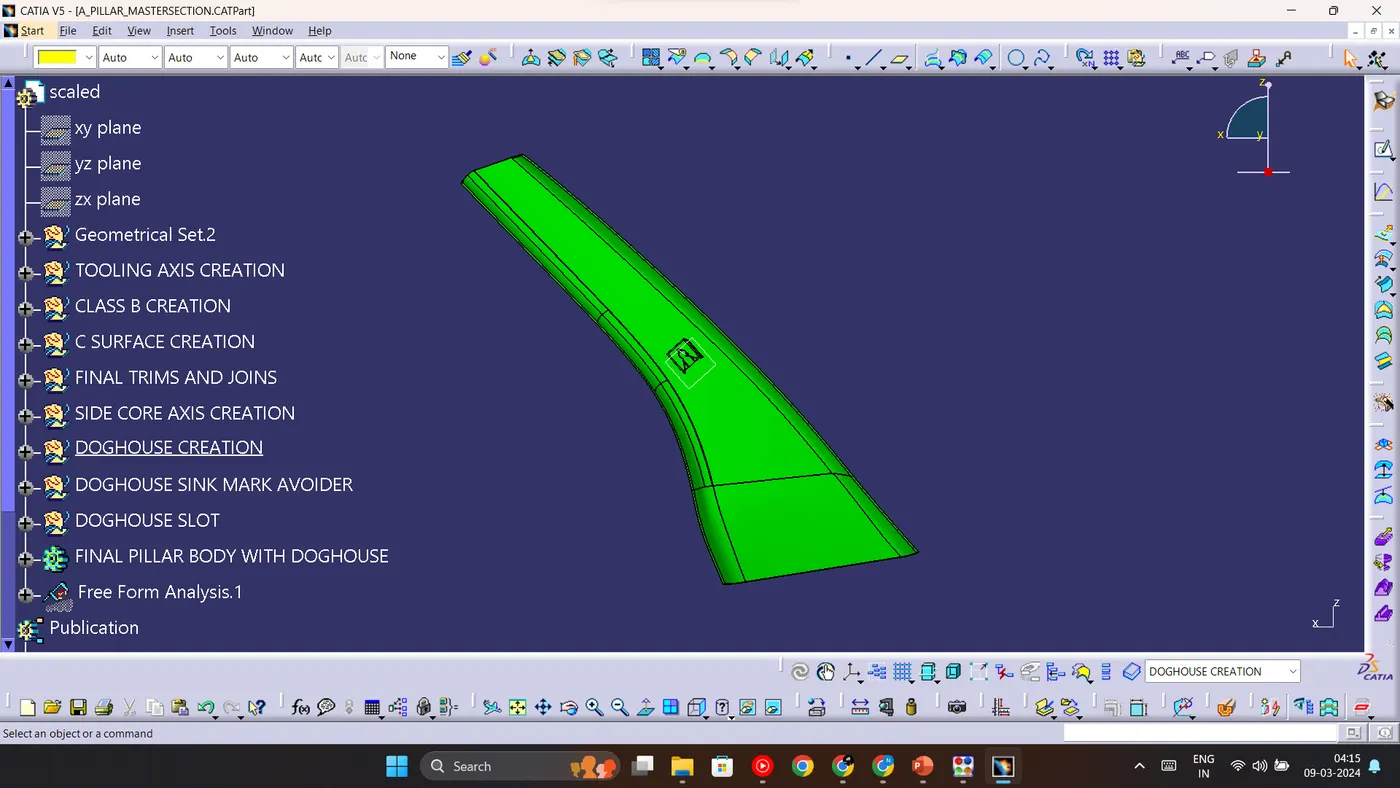
Week 11 - Project - A pillar Design with Master Section
Week 11 - Project - A pillar Design with Master Section
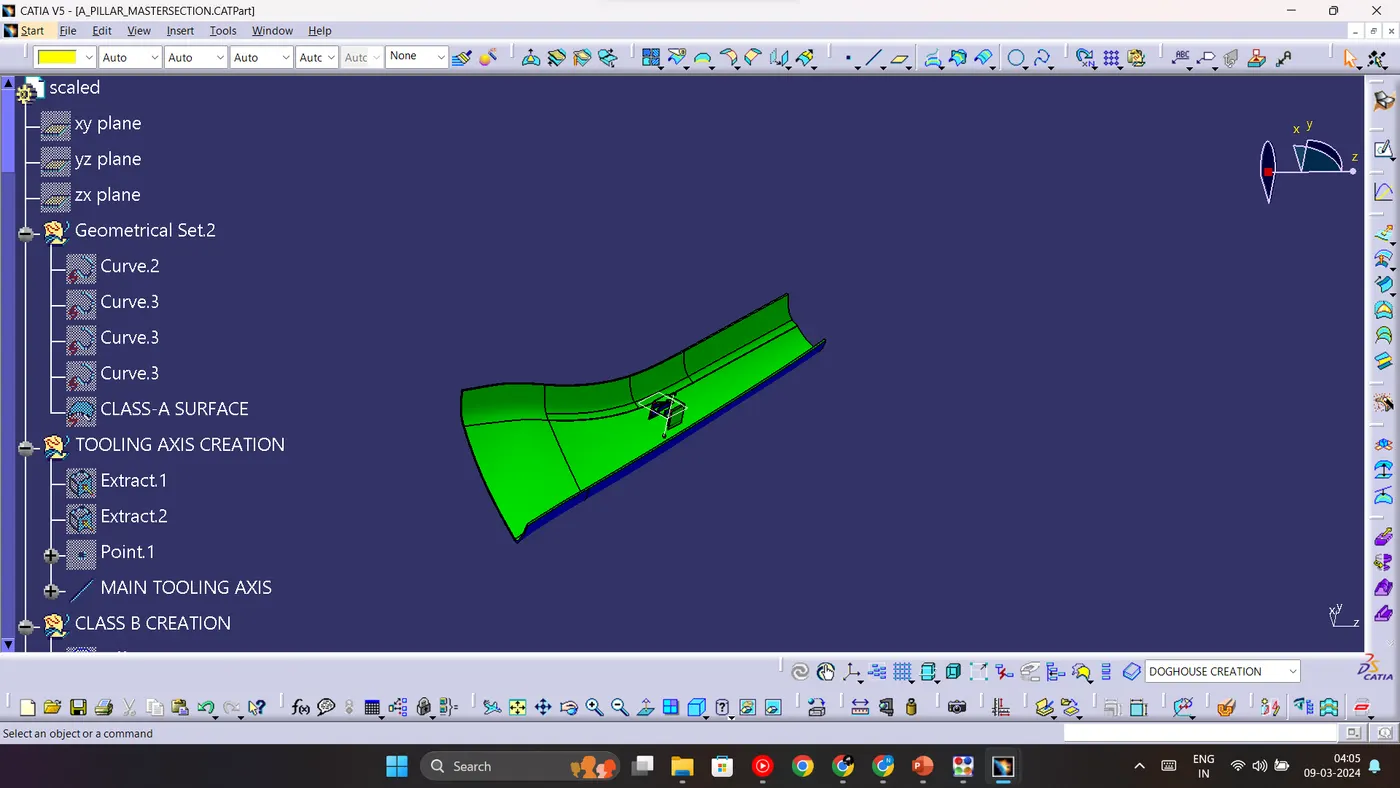
Tooling axis creation:
1. Extract the two sides of the doghouse from the master section that has been provided.
2. Create a point between the two extracts and create a bisecting line passing through that line.
3. This line will act as our Main tooling axis.
Draft analysis on the class-A surface:
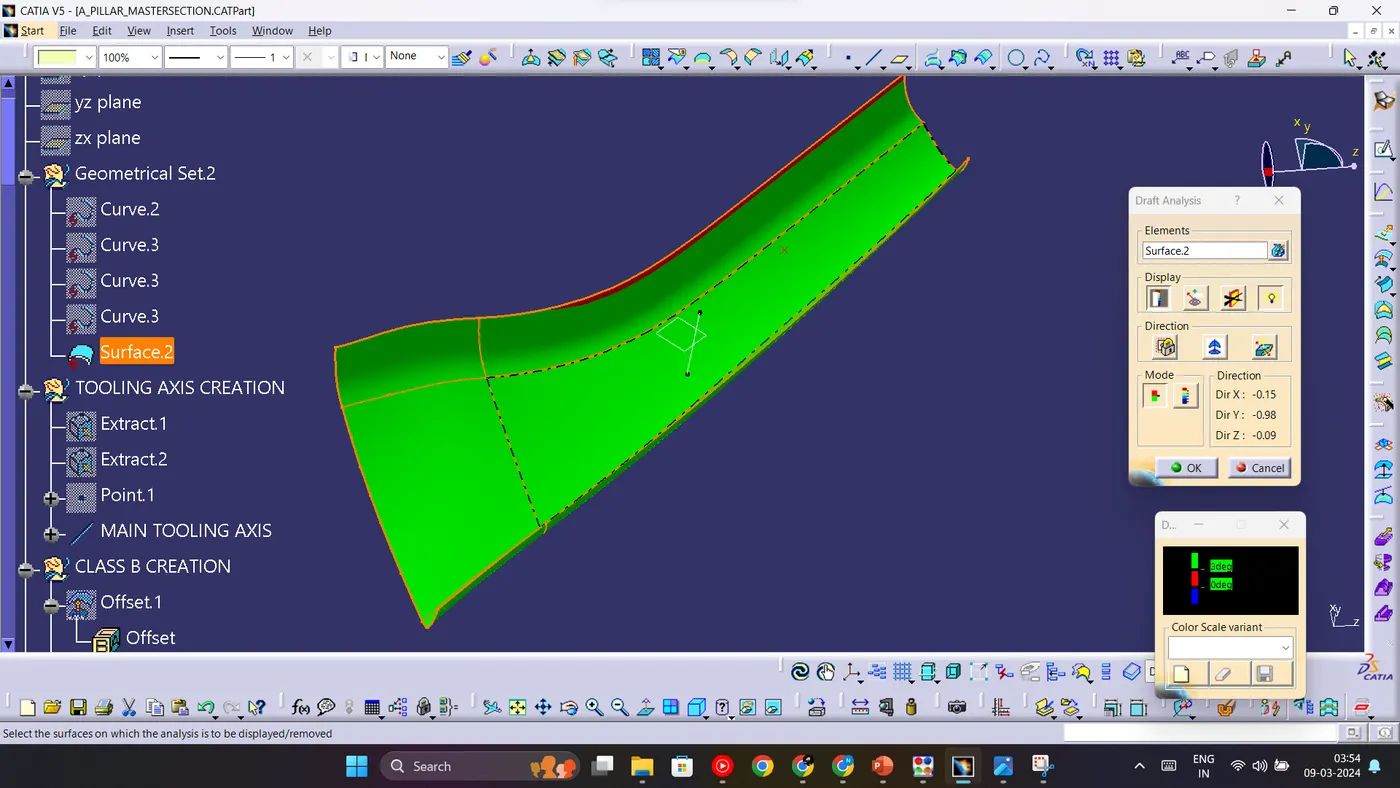
1. Insert a new feature draft analysis and click on the compass symbol.
2. Align the compass with the main tooling axis and click on the lock icon.
3. Now select the class-A surface.
4. The class-A surface will take colours based on the angle they are at with respect to the tooling axis.
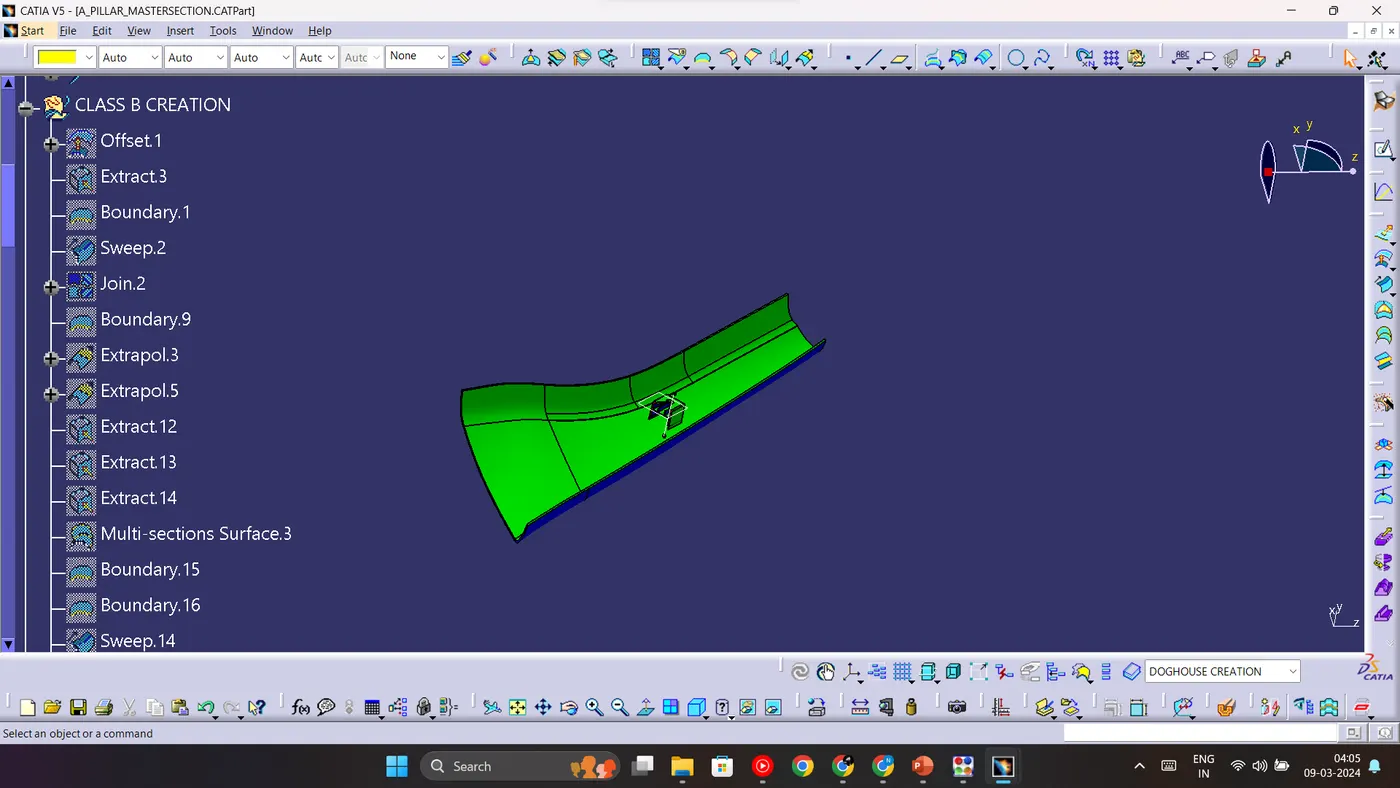
Class B creation:
1. Inspect the class-A surface that has been provided as input.
2. Create a new geometrical set and name it as Class-B creation.
3. Offset the class-a surface by a distance of 2.5mm which is the thickness of the pillar body.
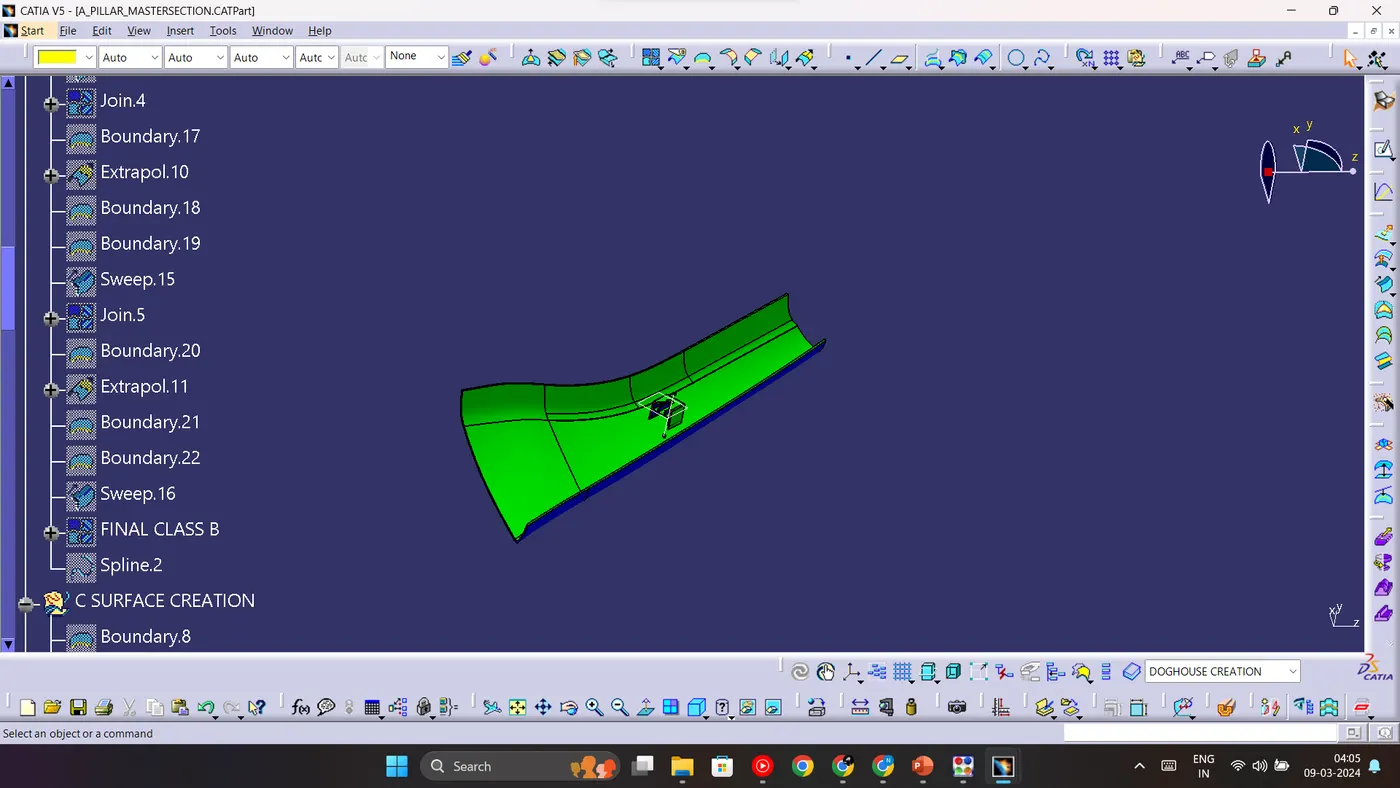
4. Some faces are not formed. Extract the boundaries separately and then create a sweep with reference surface.
5. Join the sweep with the offset and the required class-b surface has been obtained.
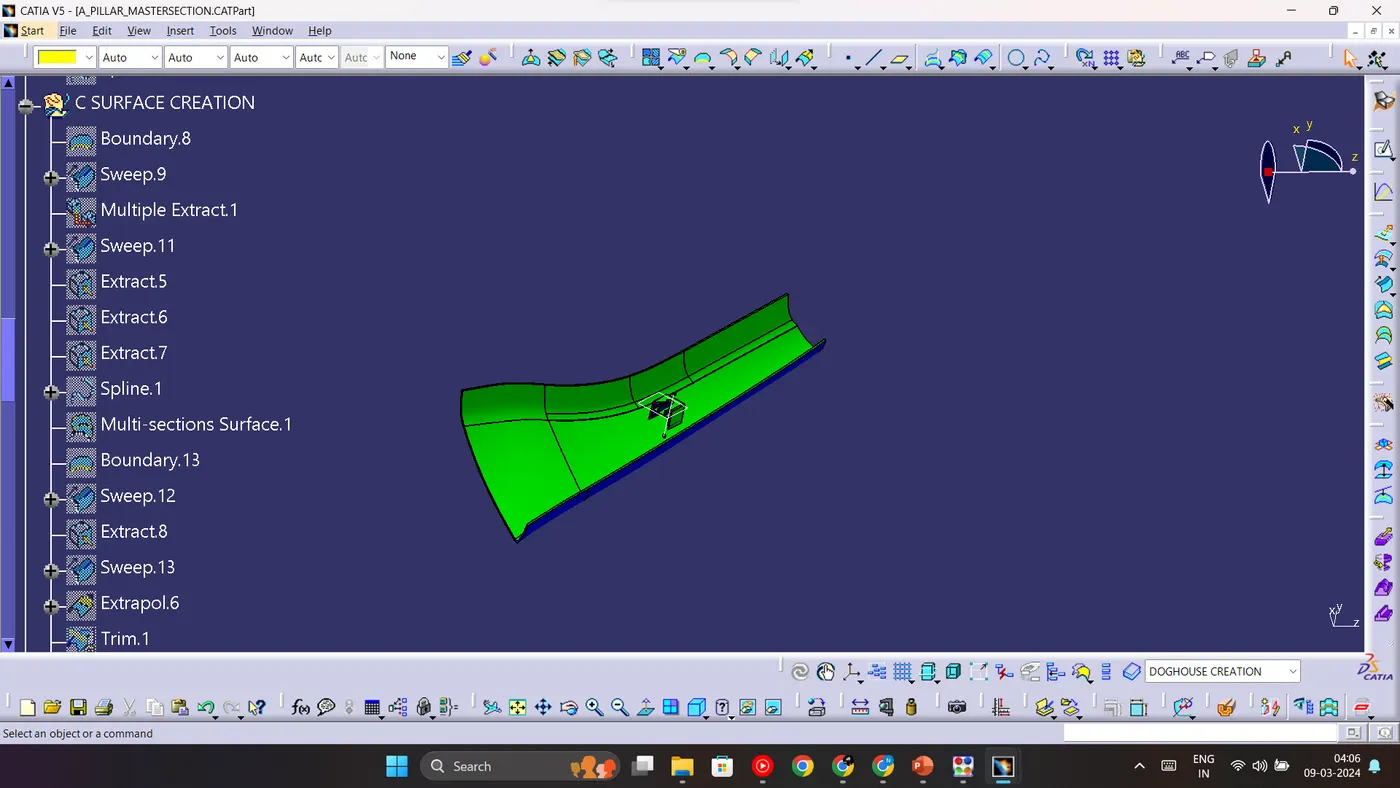
Class C creation:
1. For class-C creation, we need to look at the class-A surface.
2. Create a new geometrical set and name it class-A surface.
3. Then we need to extract the boundaries of each side of the class-A surface and then using tools such as sweep, multi section surface, etc. we can obtain the required class-C surface.
Pillar main body creation:
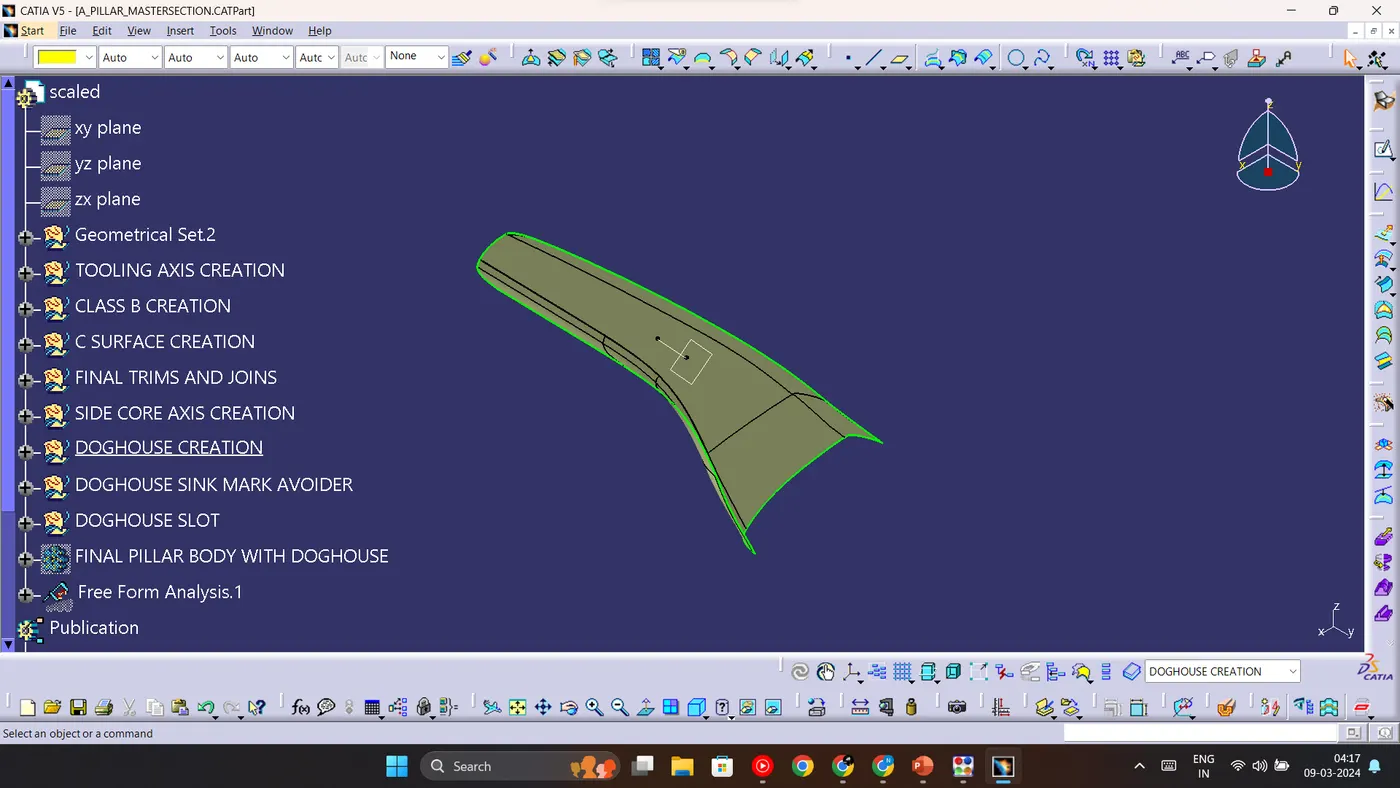
1. Now trim the class-A, Class-B and Class-C surfaces together.
2. Go to Part workbench and insert a new body. Now define the body.
3. Use close surface to obtain the pillar main body.
Draft analysis on the main part body:
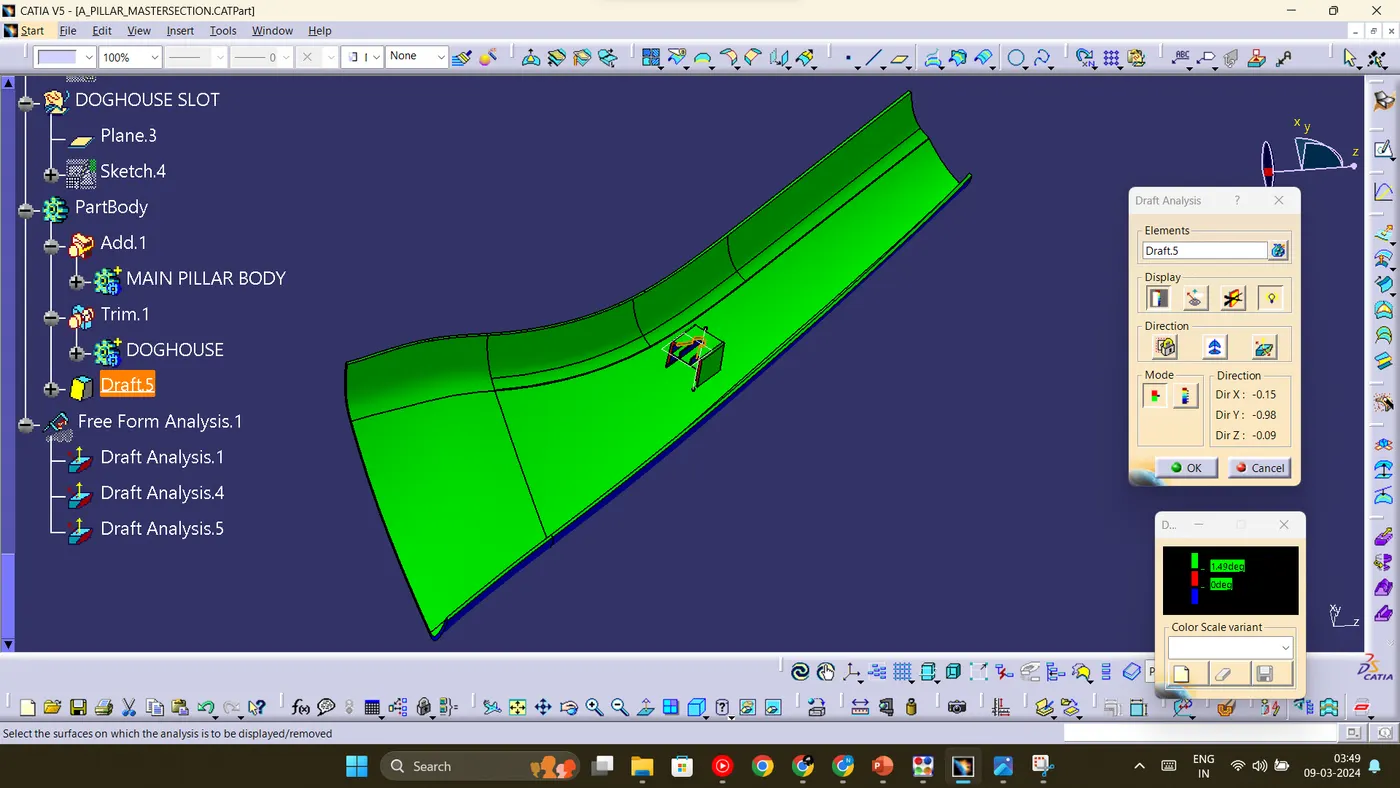
1. Insert a new draft analysis. Click on the compass icon and and align the compass with the main tooling axis.
2. Click on the lock symbol and select the part body.
3. The main part body will take colours based on the angle they are at with respect to the tooling axis.
Side core axis creation:
1. Create two extracts of the base of the doghouse and create a bisecting line through an existing point.
2. This line has to be perpendicular to the plane of the doghouse.
3. This line will work as our side core axis.
Doghouse creation:
1. Follow the master section and use positioned sketch to create the outline of the doghouse and extrude it.
2. Do this for the inner and the outer walls of the doghouse and create a sweep to close the extreme walls of the doghouse and trim them together.
3. Now insert a new body and name it doghouse. Go to part workbench, define the new body in the workbench and use close body tool to obtain the doghouse exterior.
4. Follow the same process to create the interior of the doghouse. Then use boolean operations to add them together.
5. Now we need to remove a part of the doghouse to prevent sink mark formation.
6. Extract the face of the main part body that is in the B side. Offset it to the required dimension.
7. Extract the inner face of the doghouse and offset it as required keeping in mind the design rules. Thickness at the base (C) has to be 40% or less than the part thickness and the height has to be between 3 and 6 mm.
8. Now use the trim tool to trim the two extracts together and then go to the part workbench. In part workbench, use trim tool and select the surface to create doghouse as necessary.
9. Now create a plane on the top of the doghouse and then create a positioned sketch on that plane. Create the geometry that is required for the push pins.
10. Pad the sketch to required dimensions and use the boolean remove operation to create the slot.
Draft analysis on the doghouse with respect to side core axis:
1. Now draft analysis needs to be performed on the doghouse.
2. Insert a new draft analysis and align the compass with the side core axis and lock it.
3. Then click on the doghouse and the doghouse will take colours based on the draft angle at various regions.
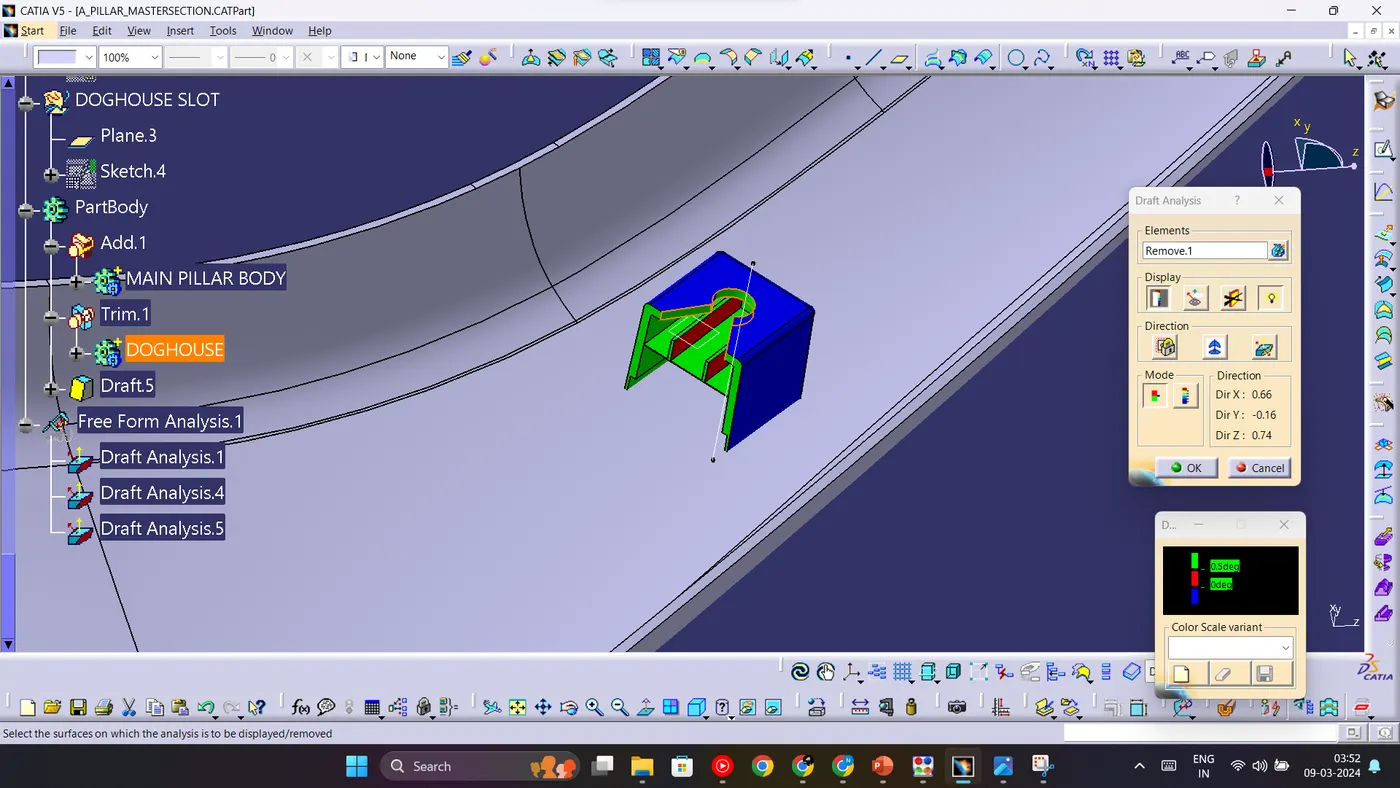
Pictures of sketches with sketch solving status box:
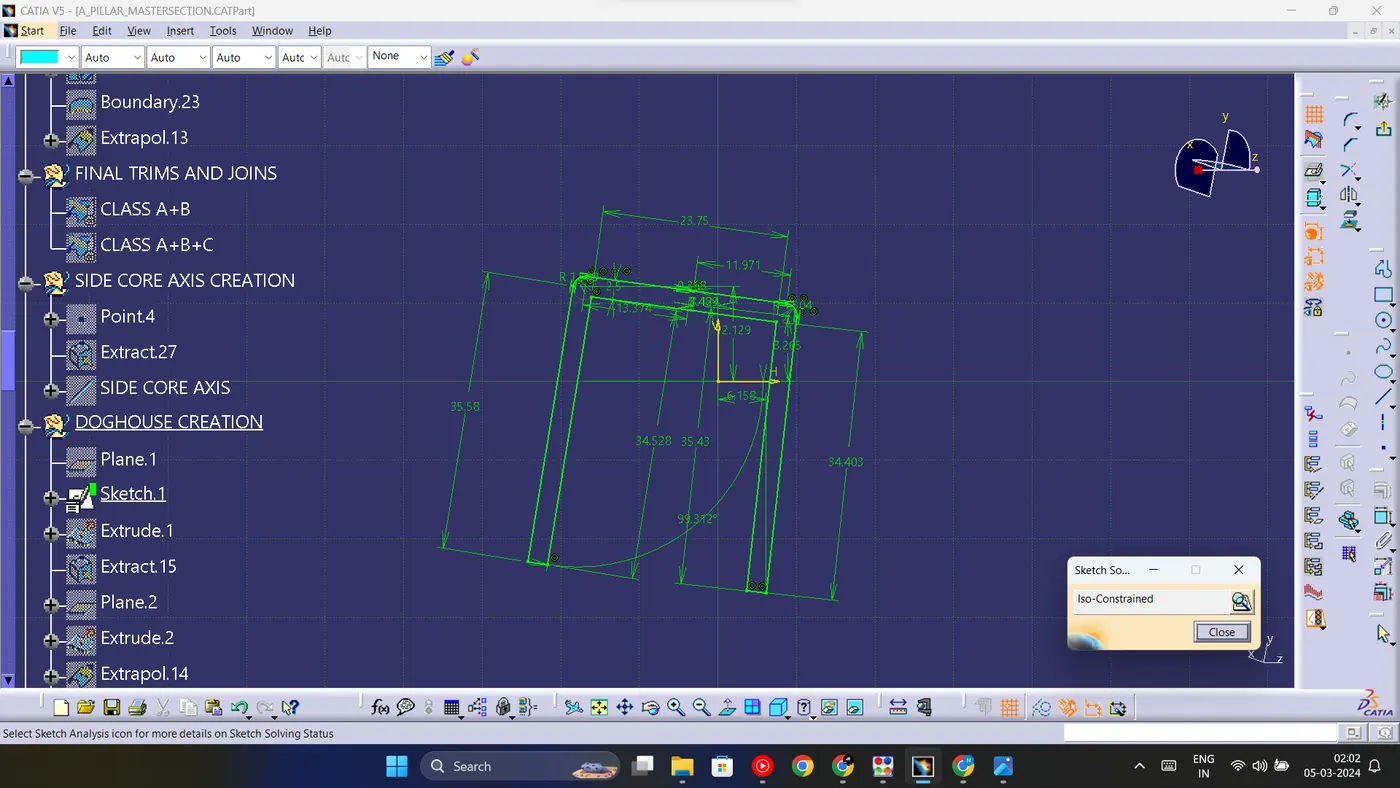
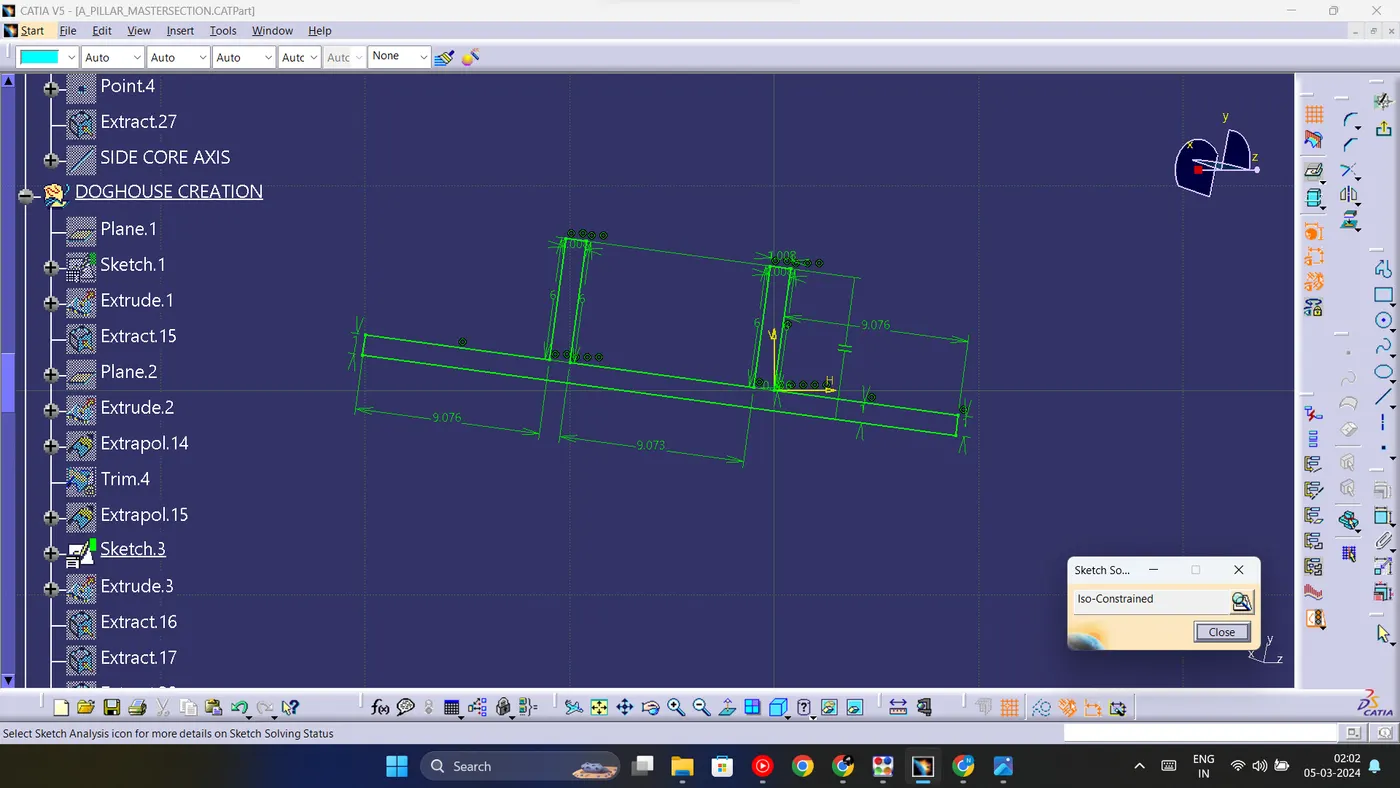
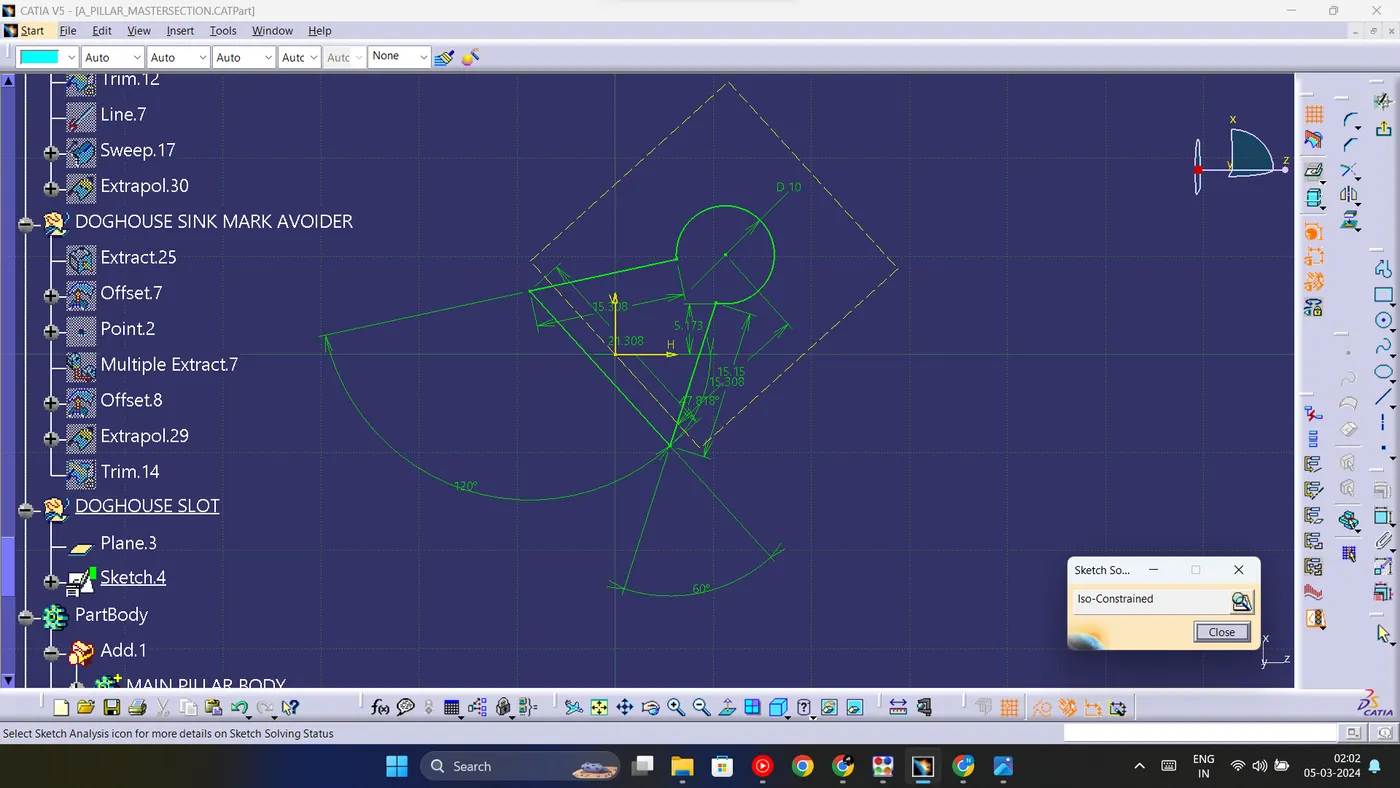
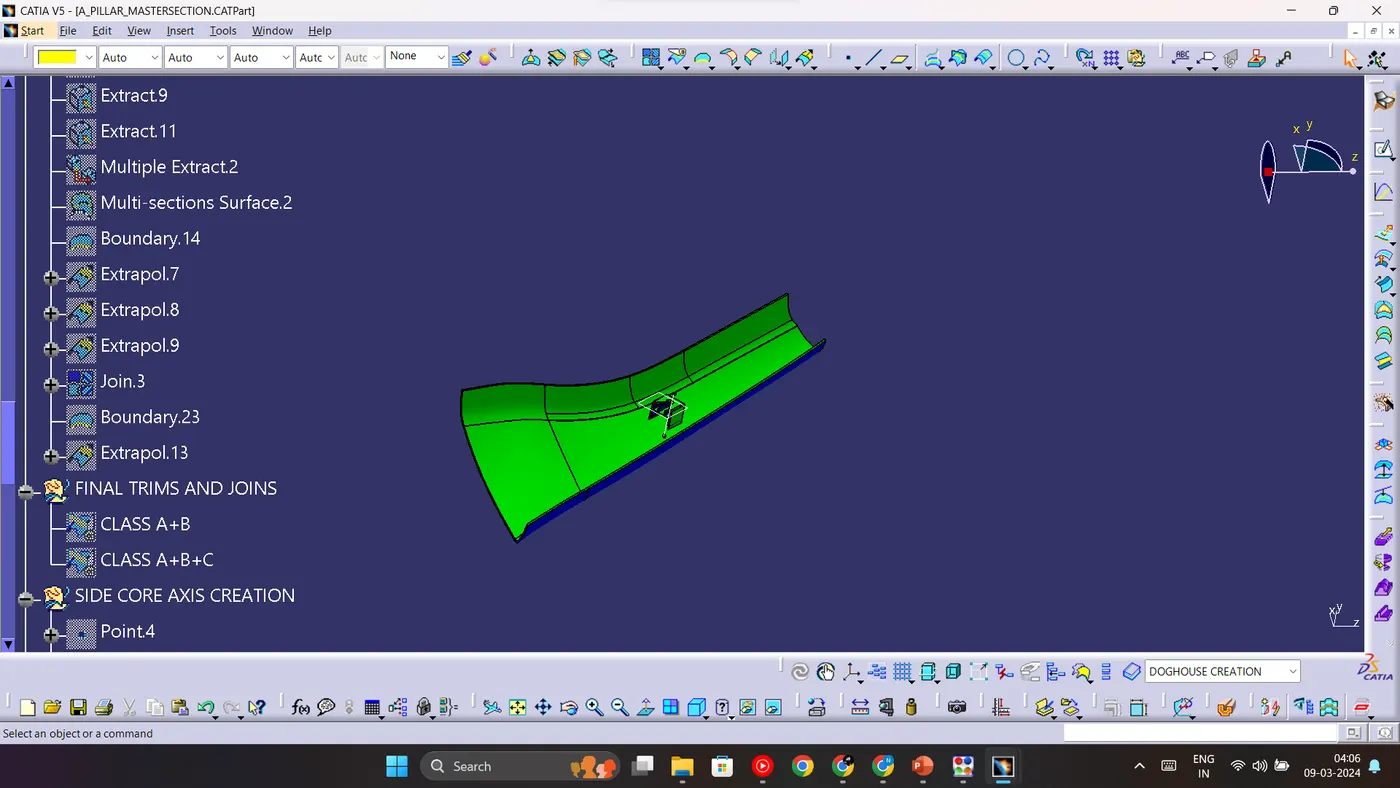
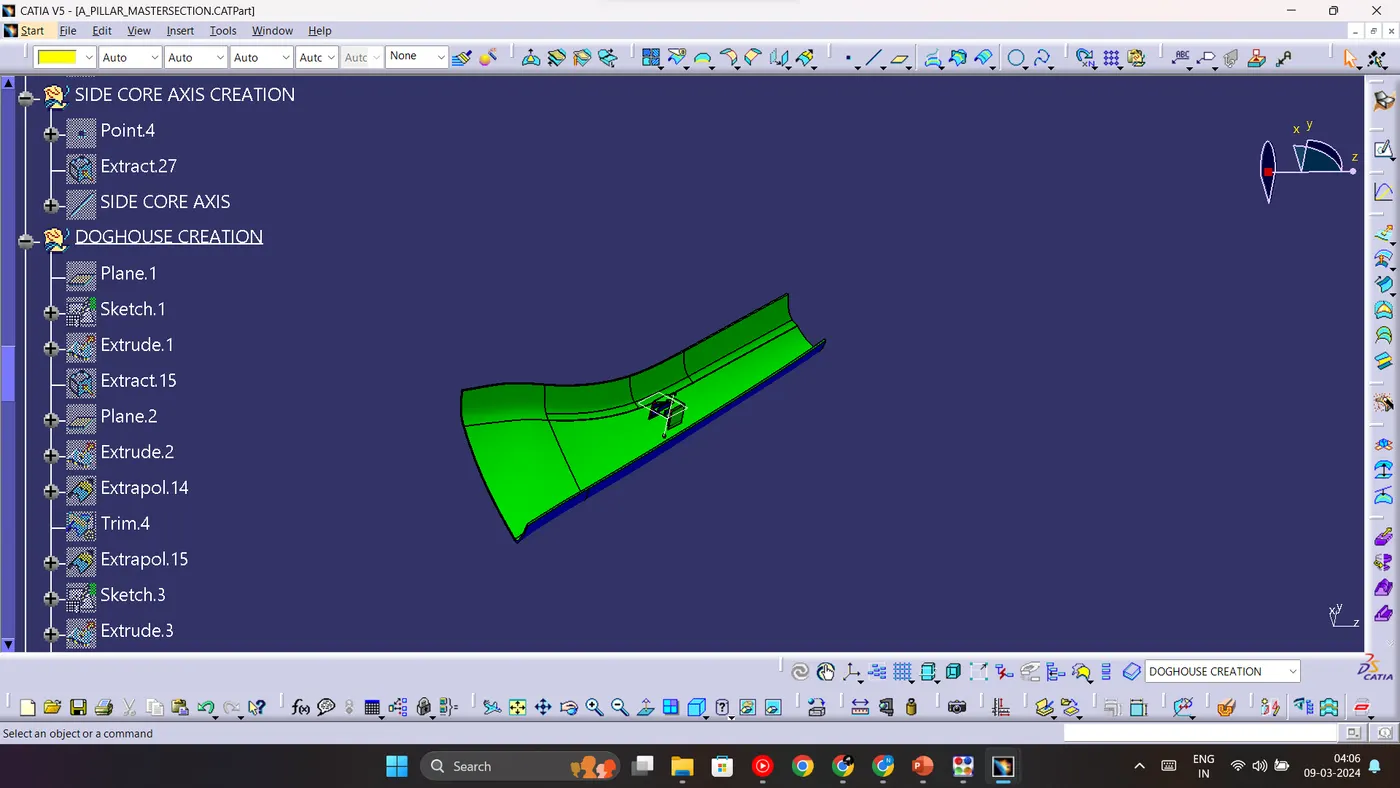
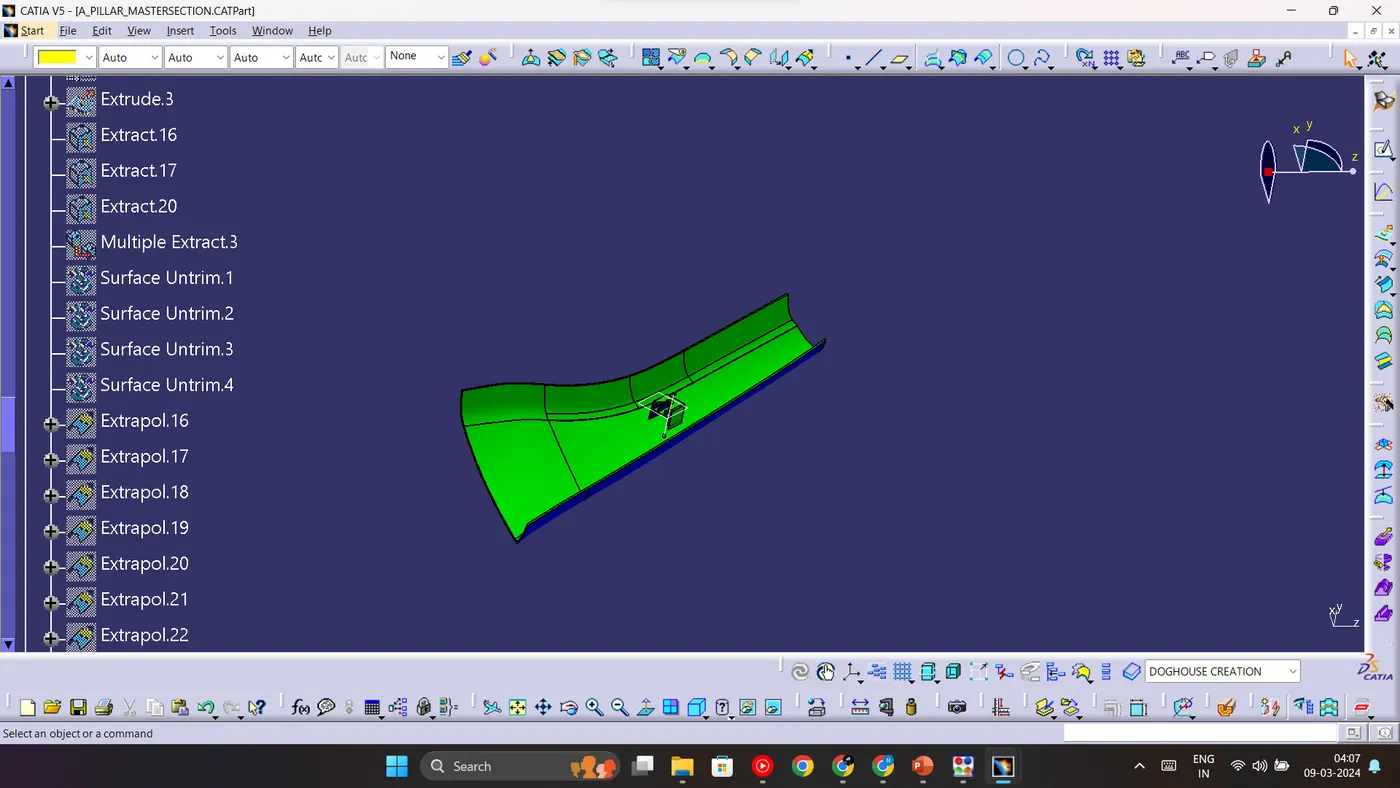
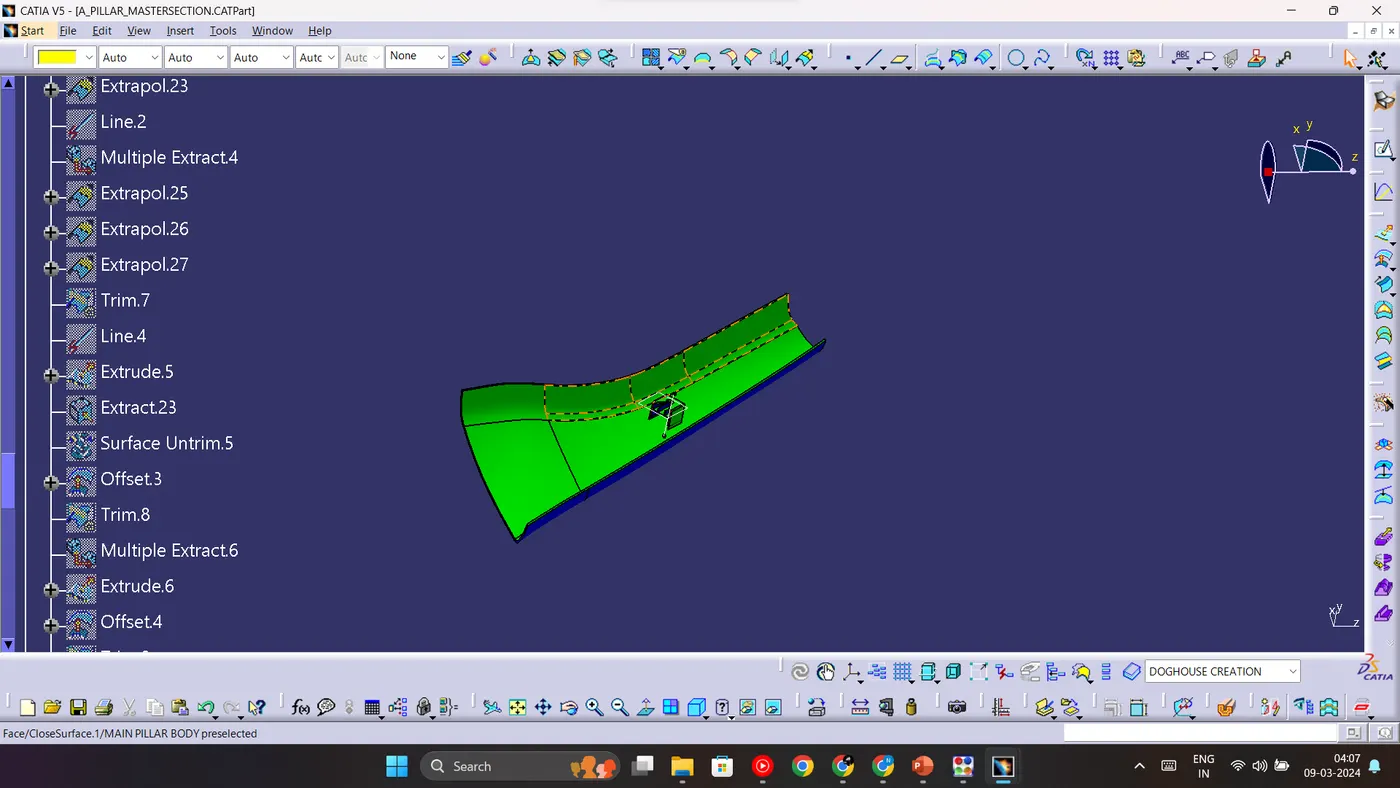
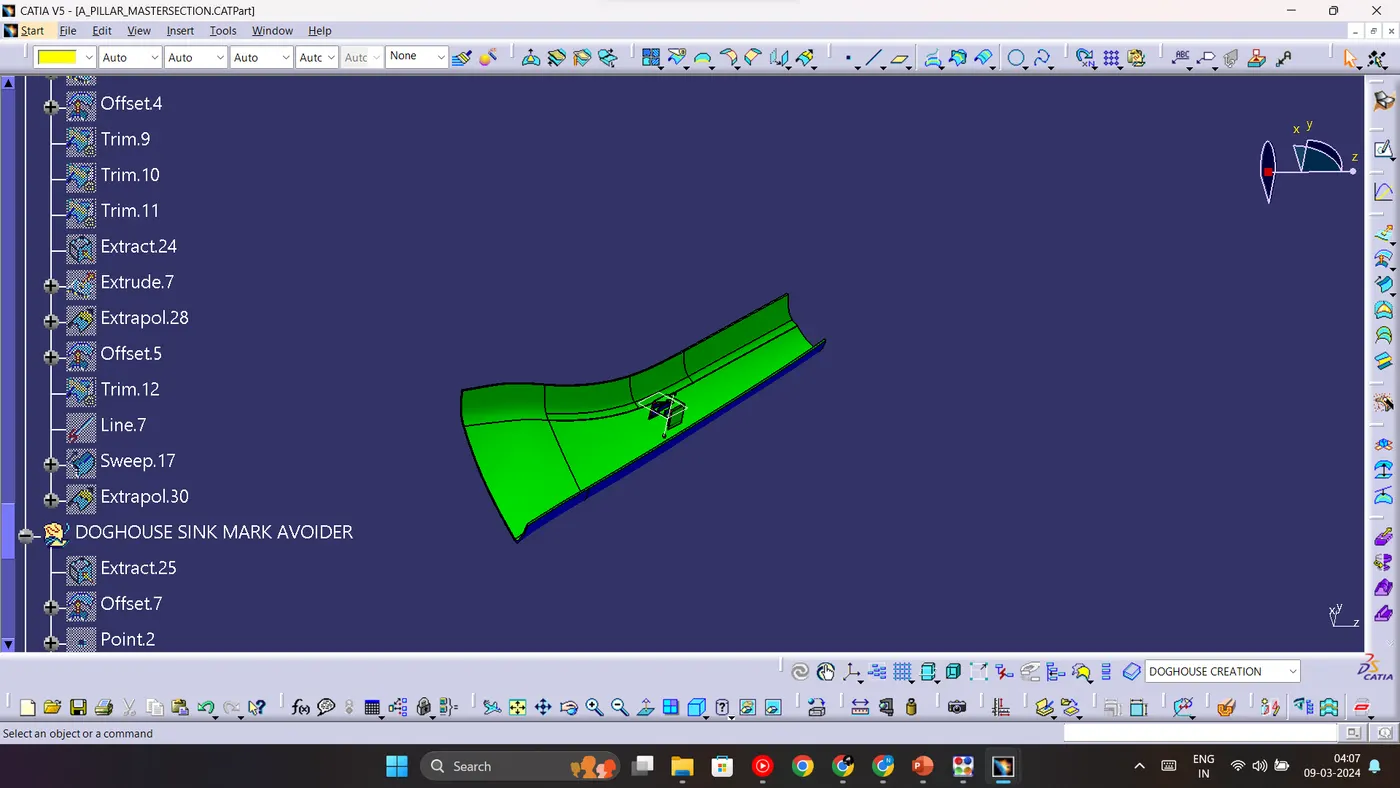
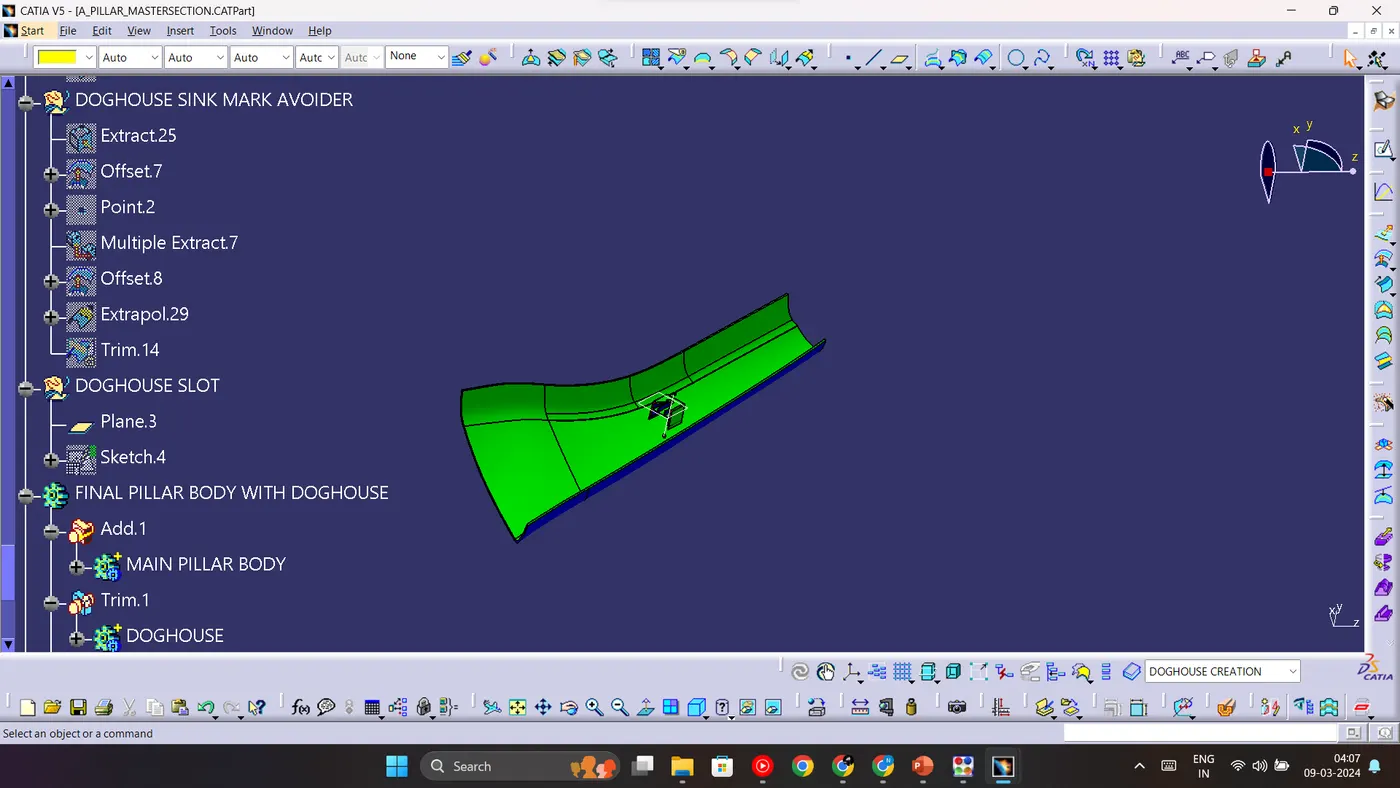
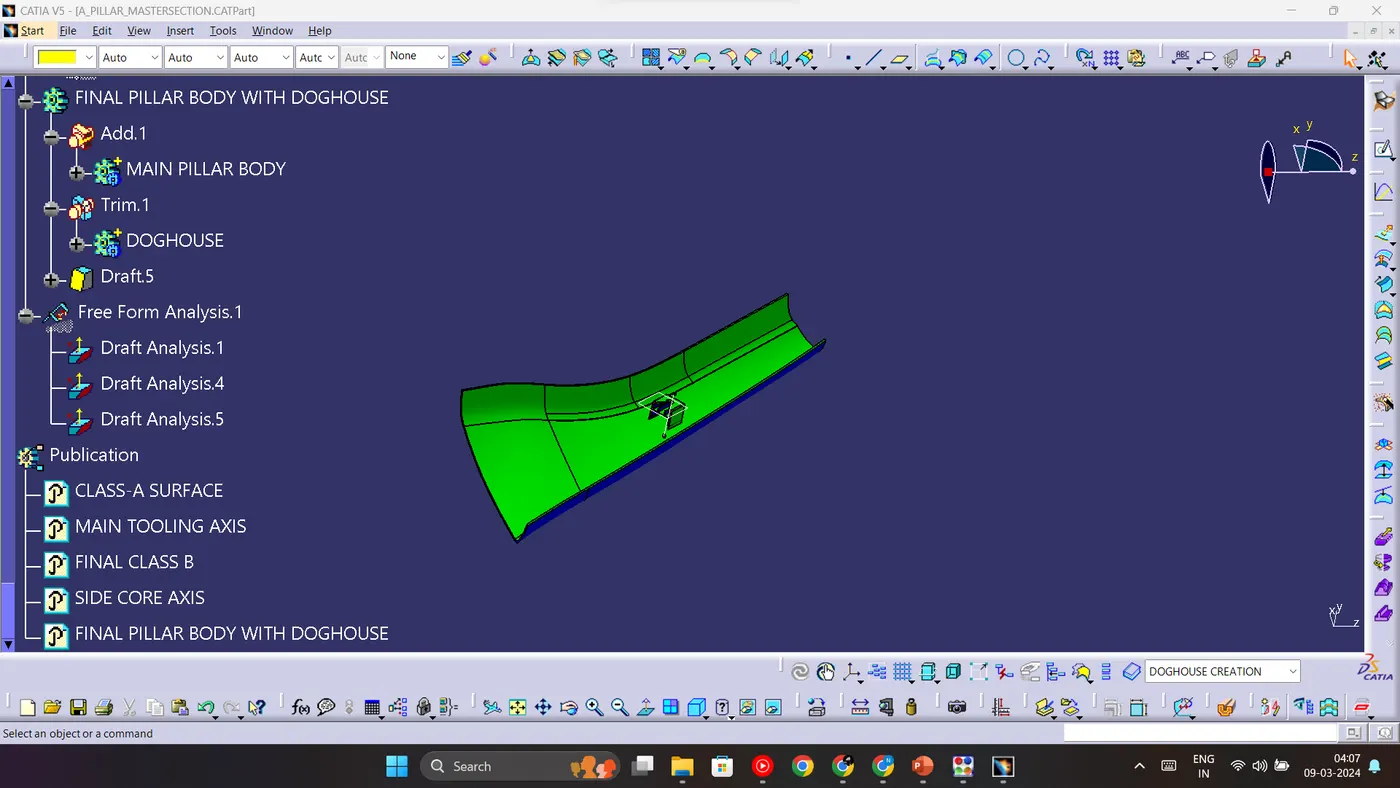
Pictures of detailed tree structure:
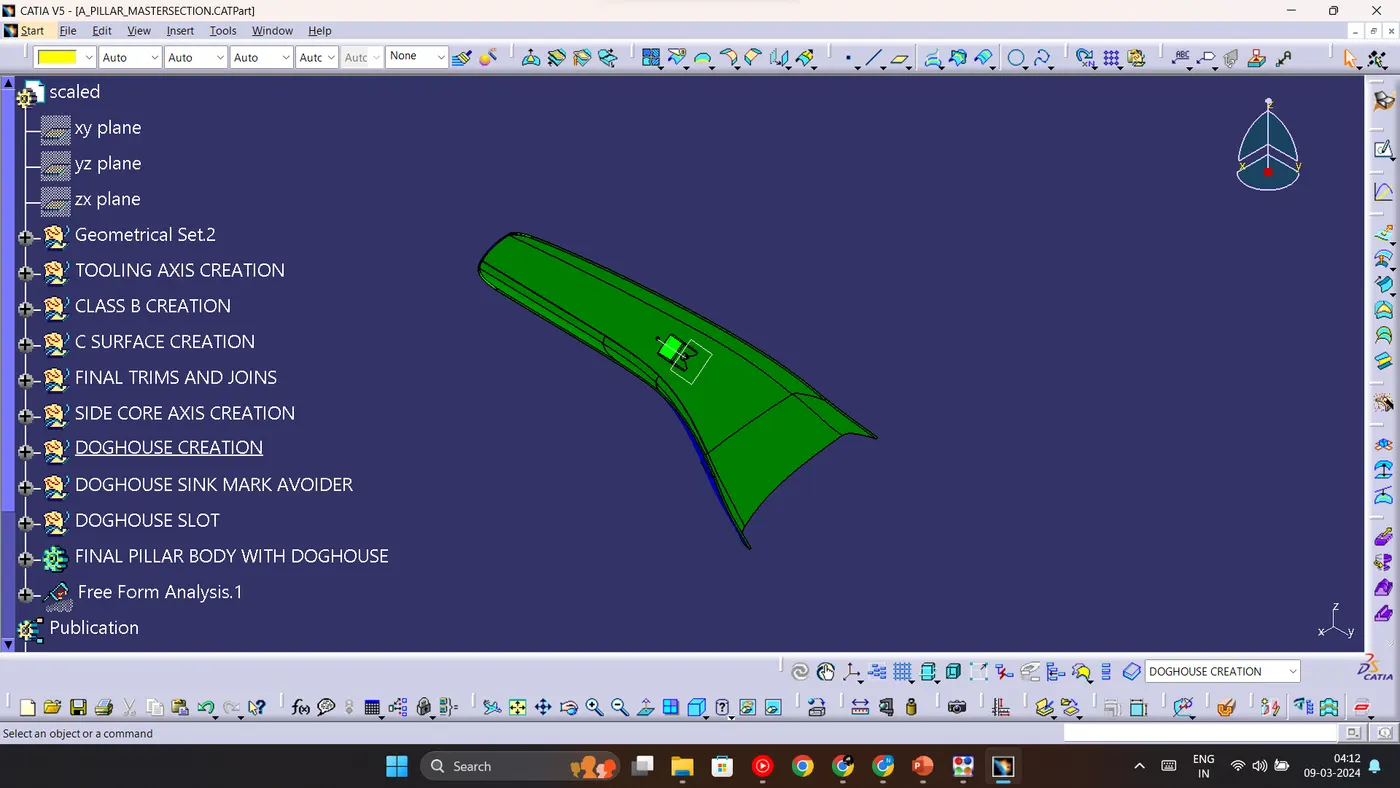
Pictures of Final part body in various orientations:
Isometric view:
Top view:
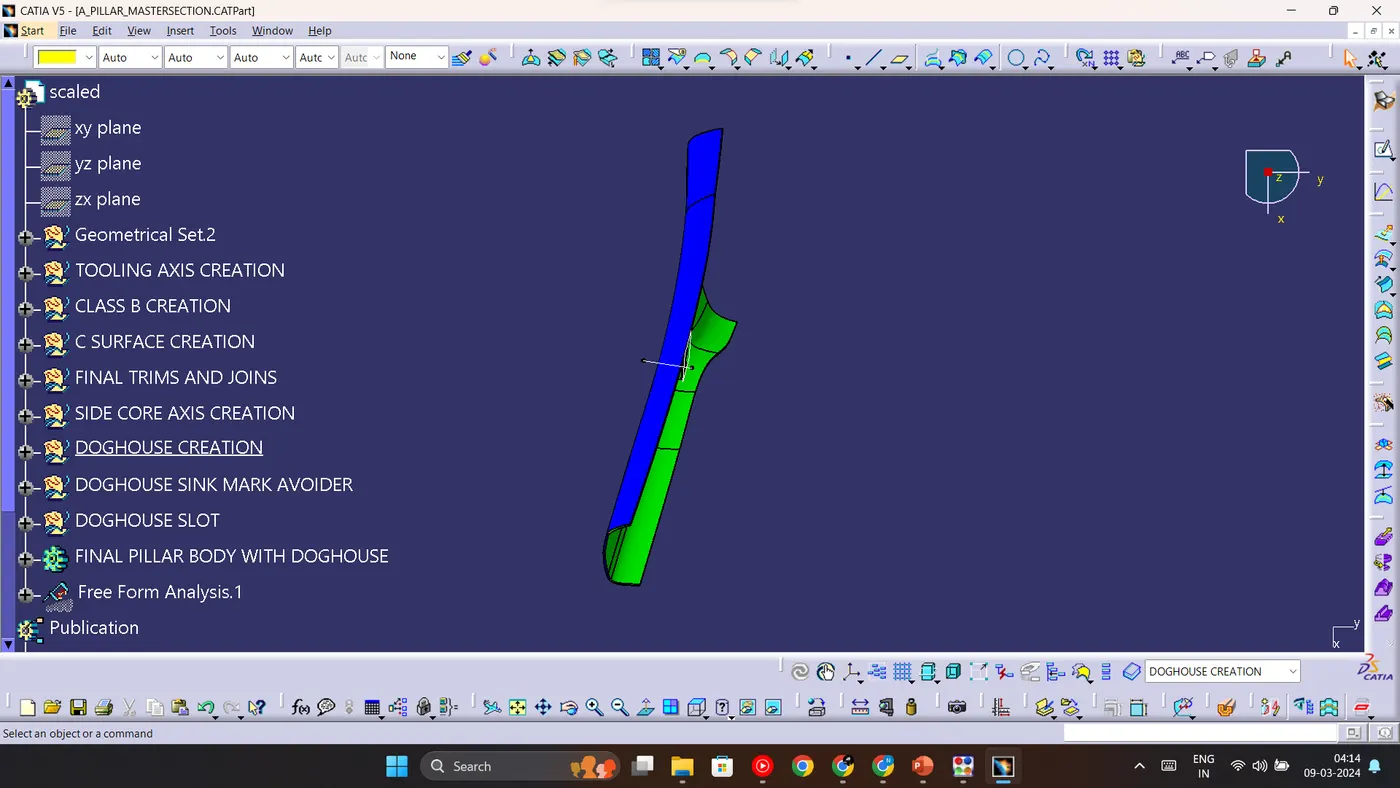
Front view:
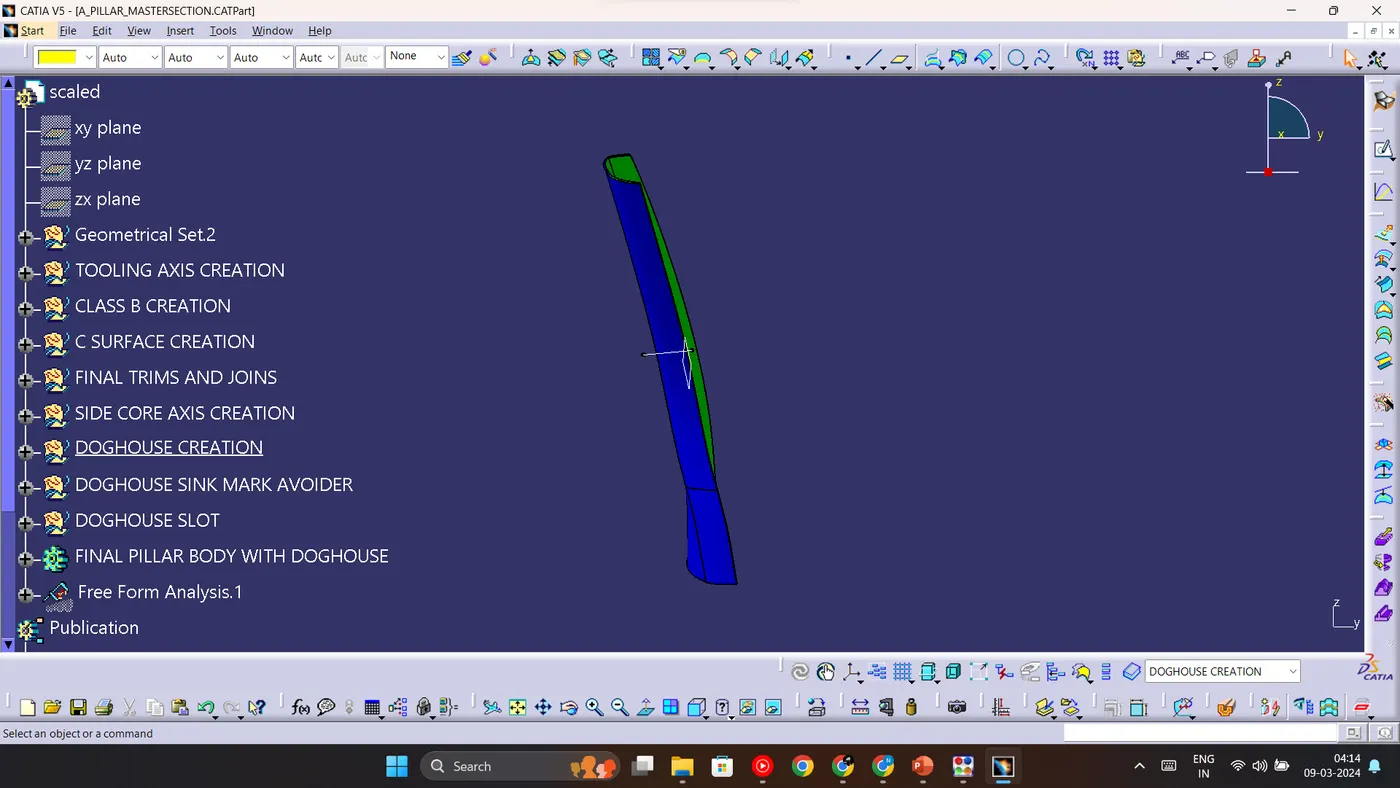
Side view: