Week 11 - Project - A pillar Design with Master Section
WEEK 11 CHALLENGE
DOG HOUSE
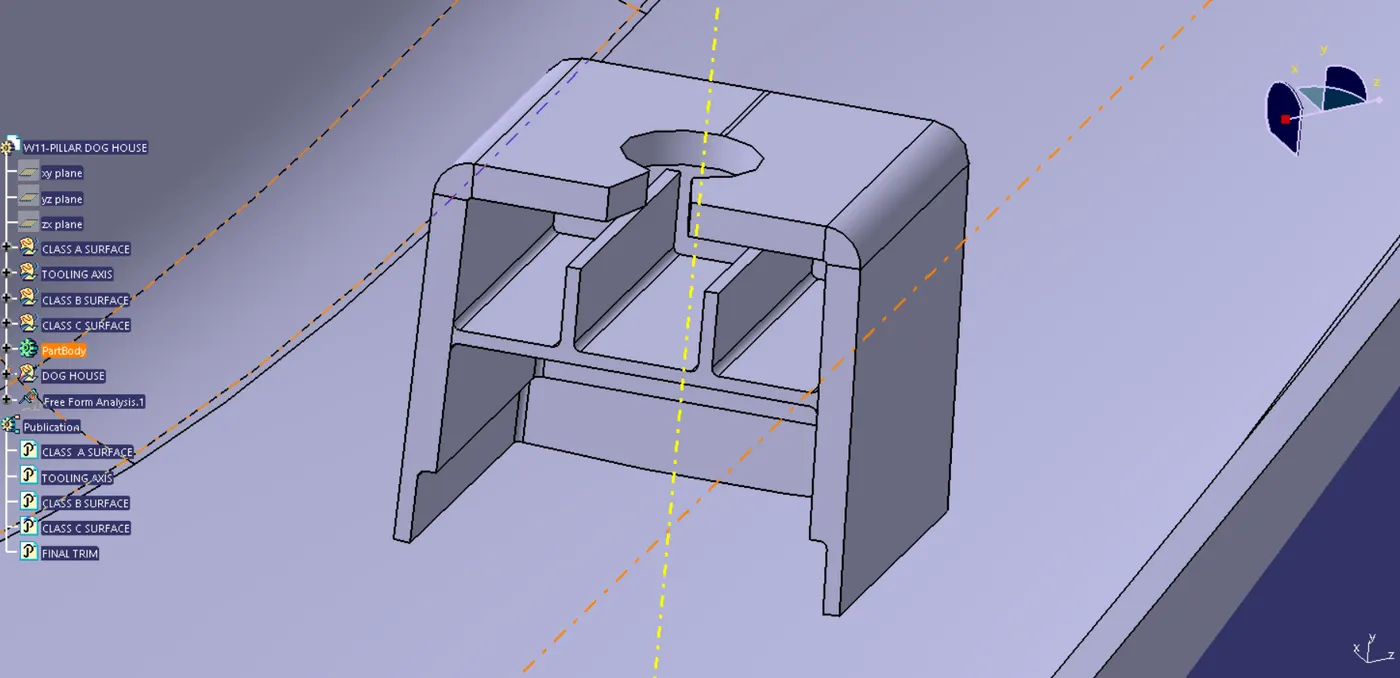
Dog house is an engineering feature used in plastic design. They are used as support feature and sometimes other engineering features like snaps, locators, screw bosses are mounted on them to increase their strength.They are subjected to draft analysis to prevent breakage of the component during ejection from the mould cavity.
A PILLAR WITH MASTER SECTION - DOG HOUSE
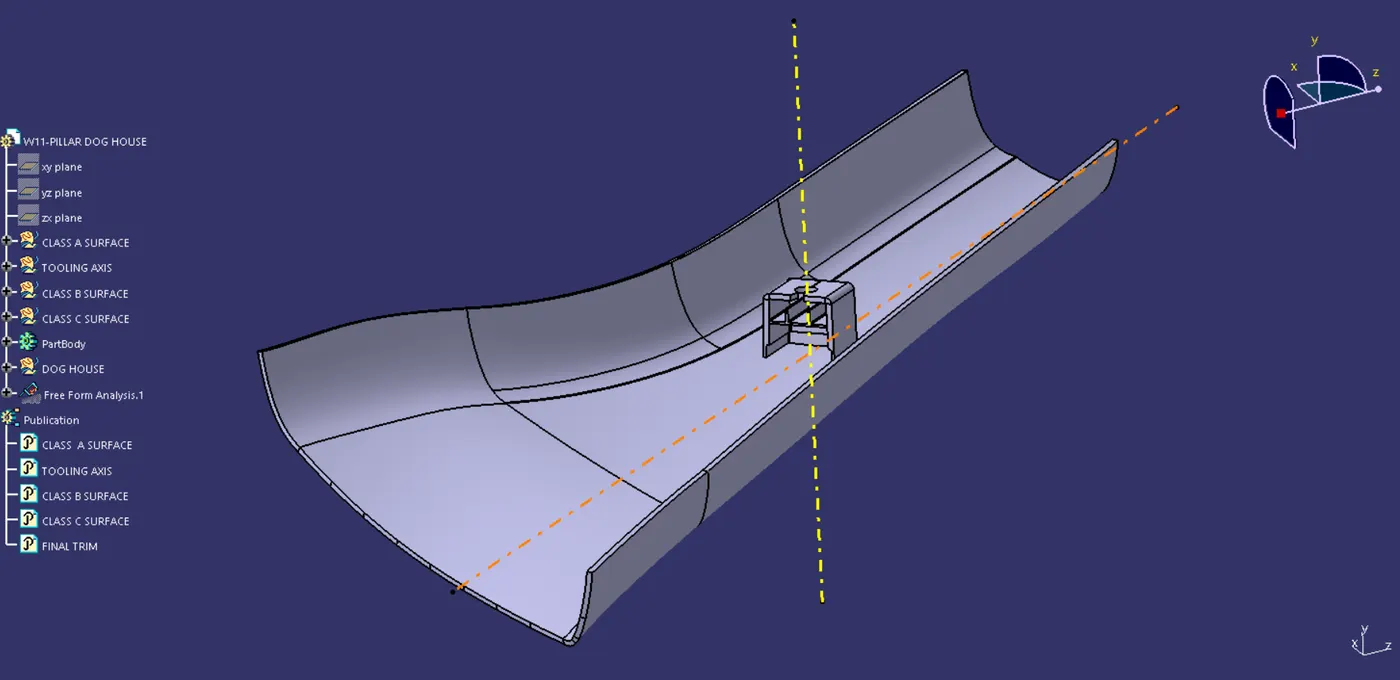
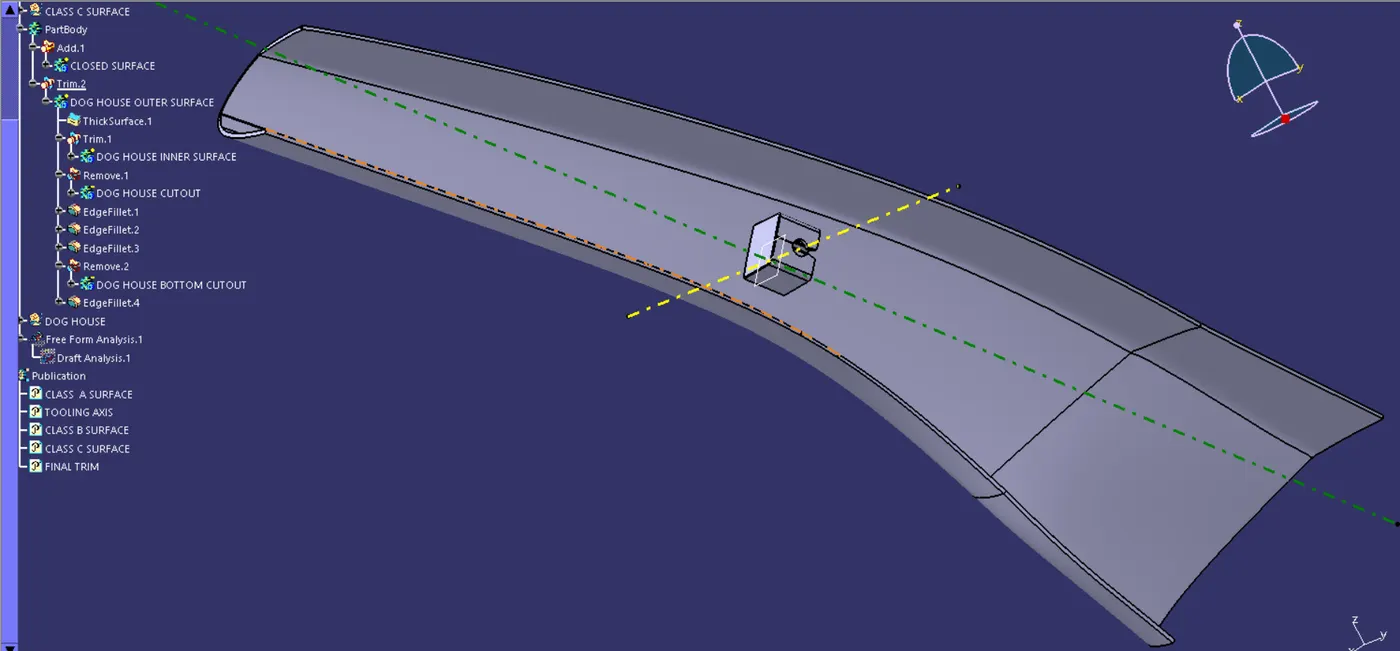
Class A Surface
Checking the connectivity by using the boundary or the intersection feature.
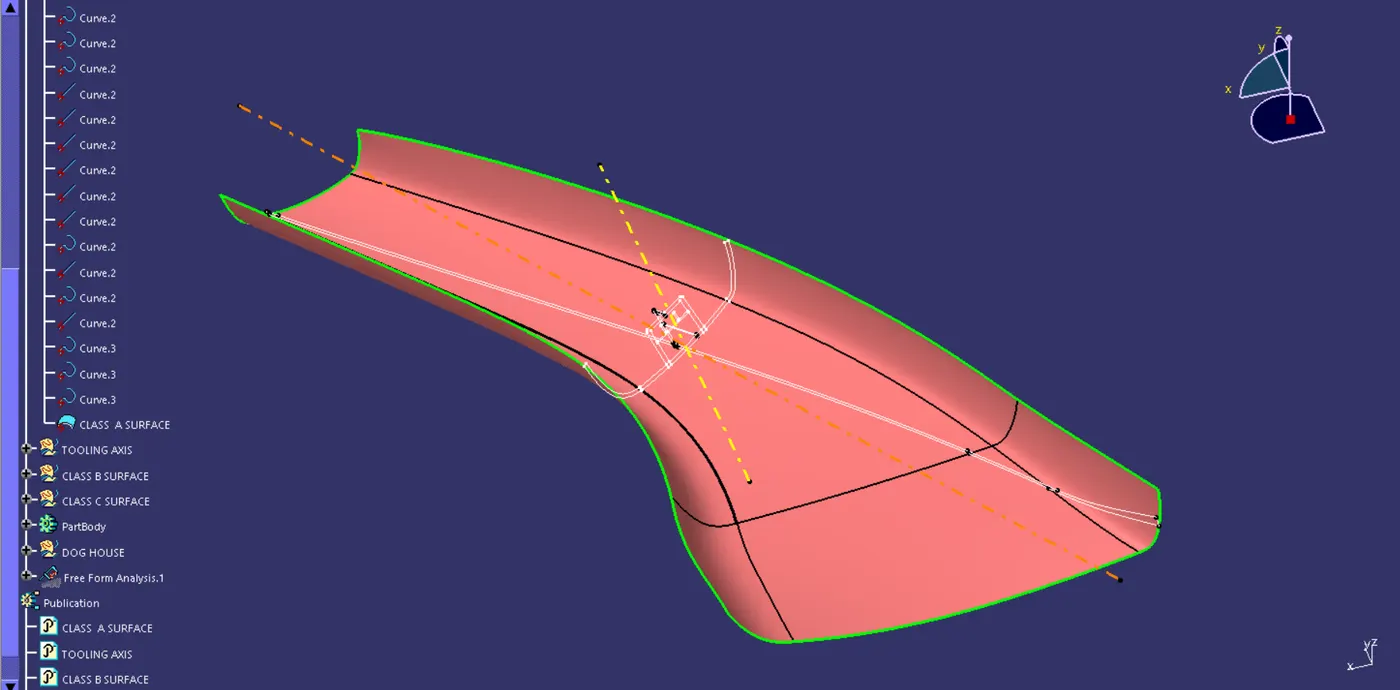
Class B Surface
Created by extracing, untrimming it, extrapolating and offsetting it with the given thickness before triming it all together.
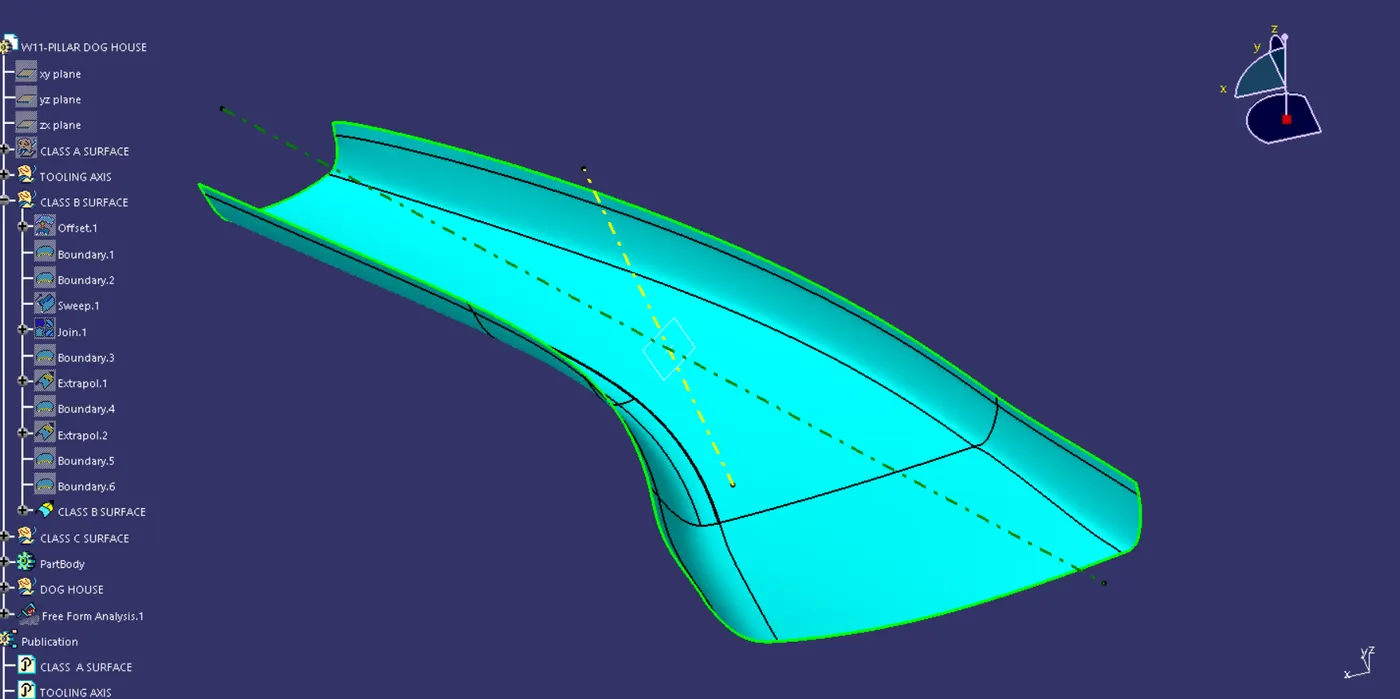
Class C surface
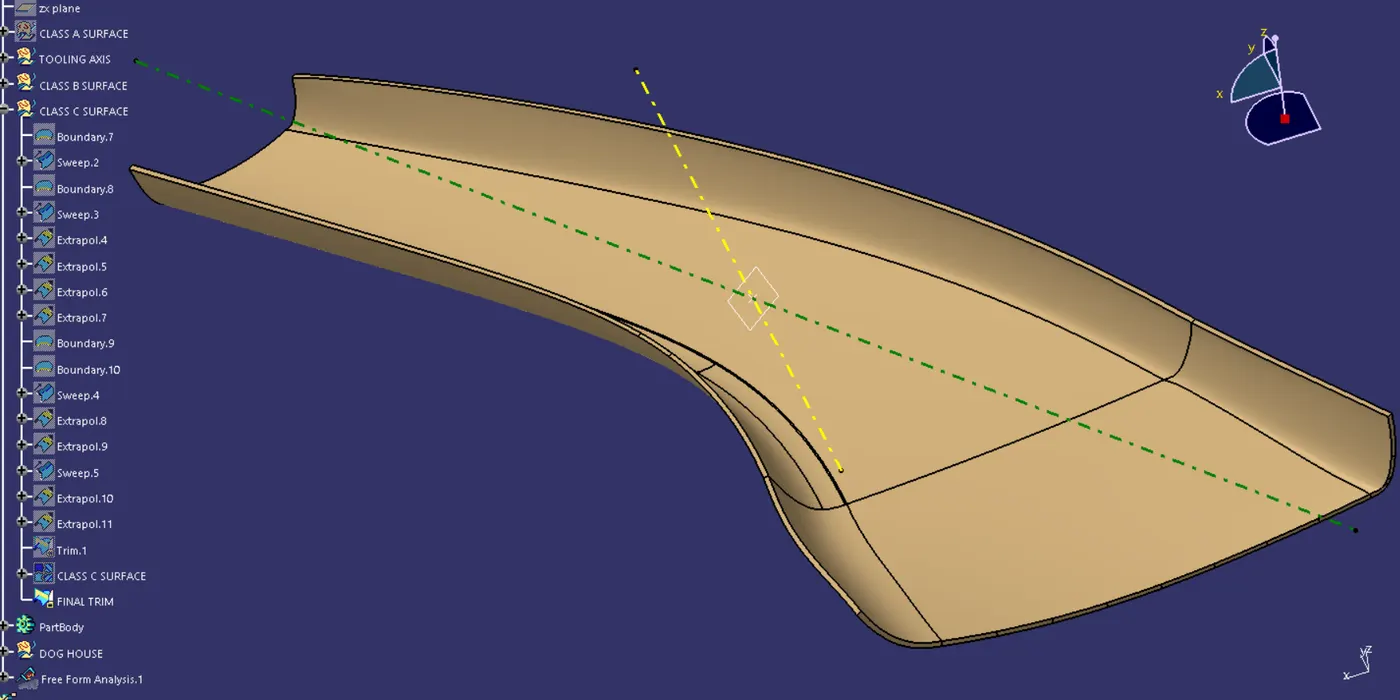
Created by using the sweep method, where with the boundary of the class a surface is used as the guide curve and the surface being the class A,triming it all together in the end.
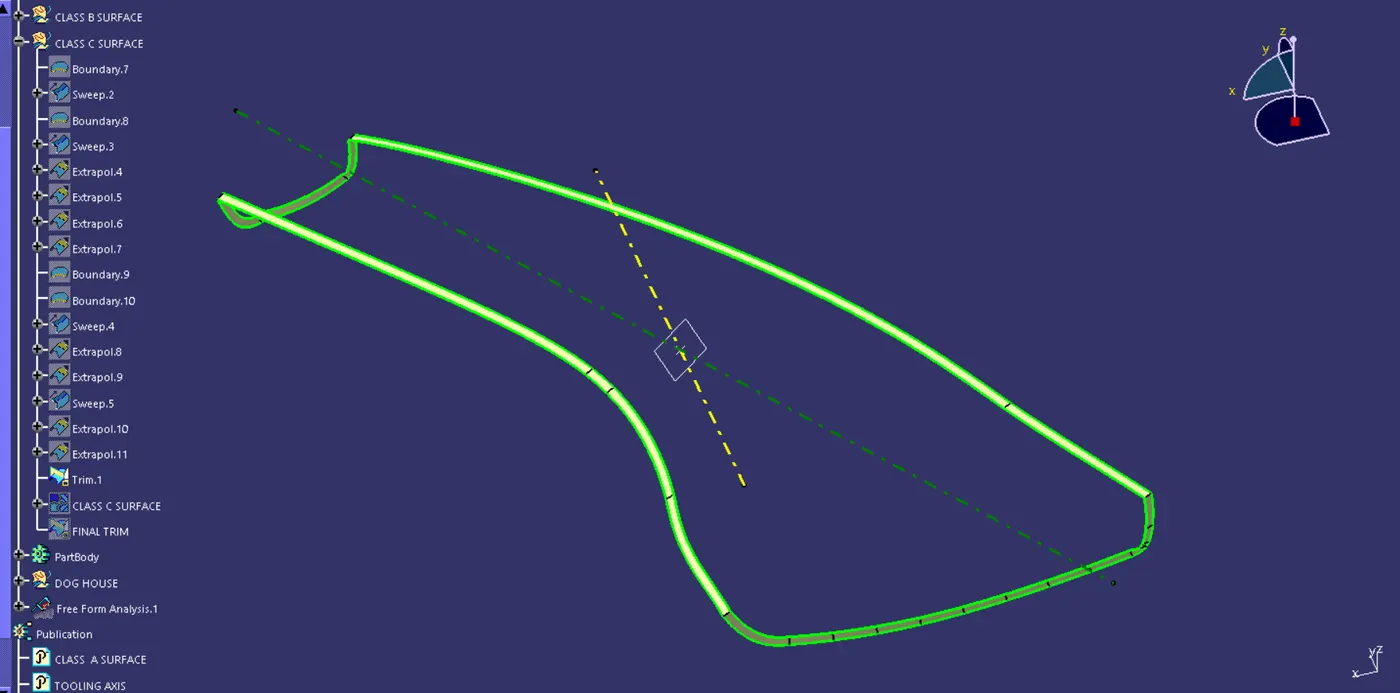
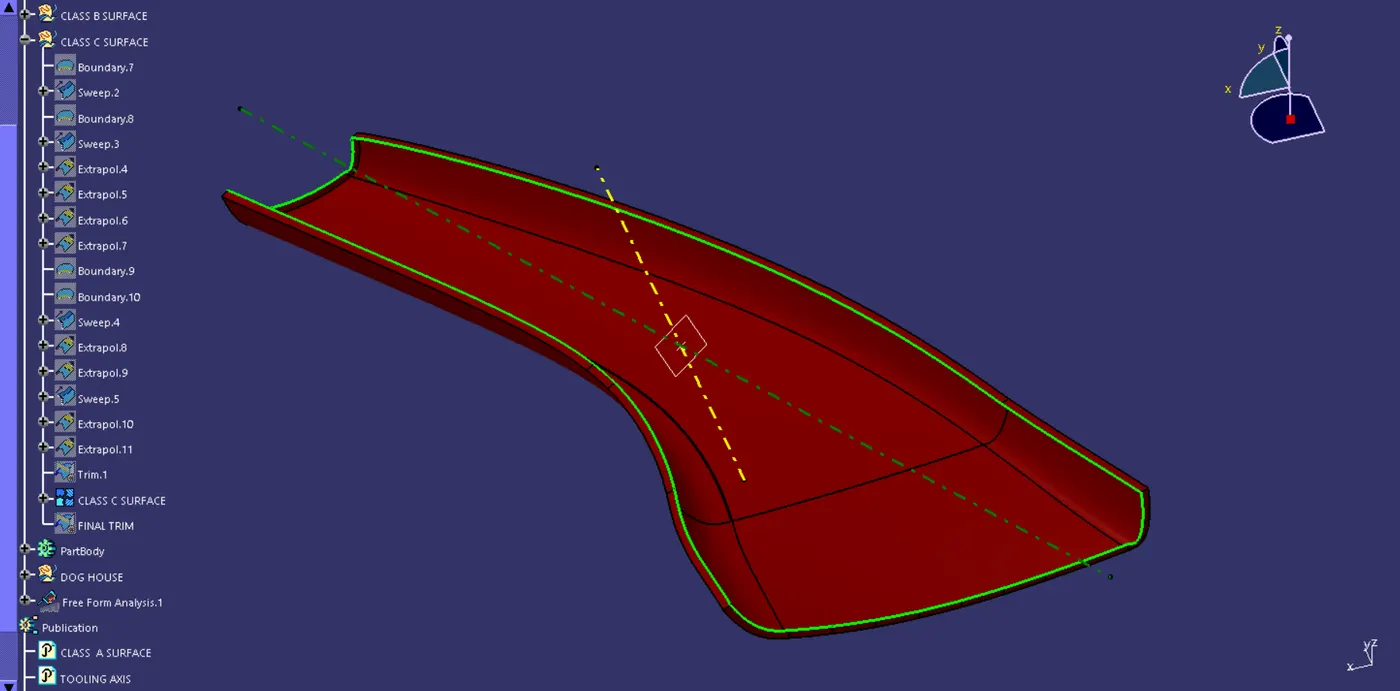
Step 1
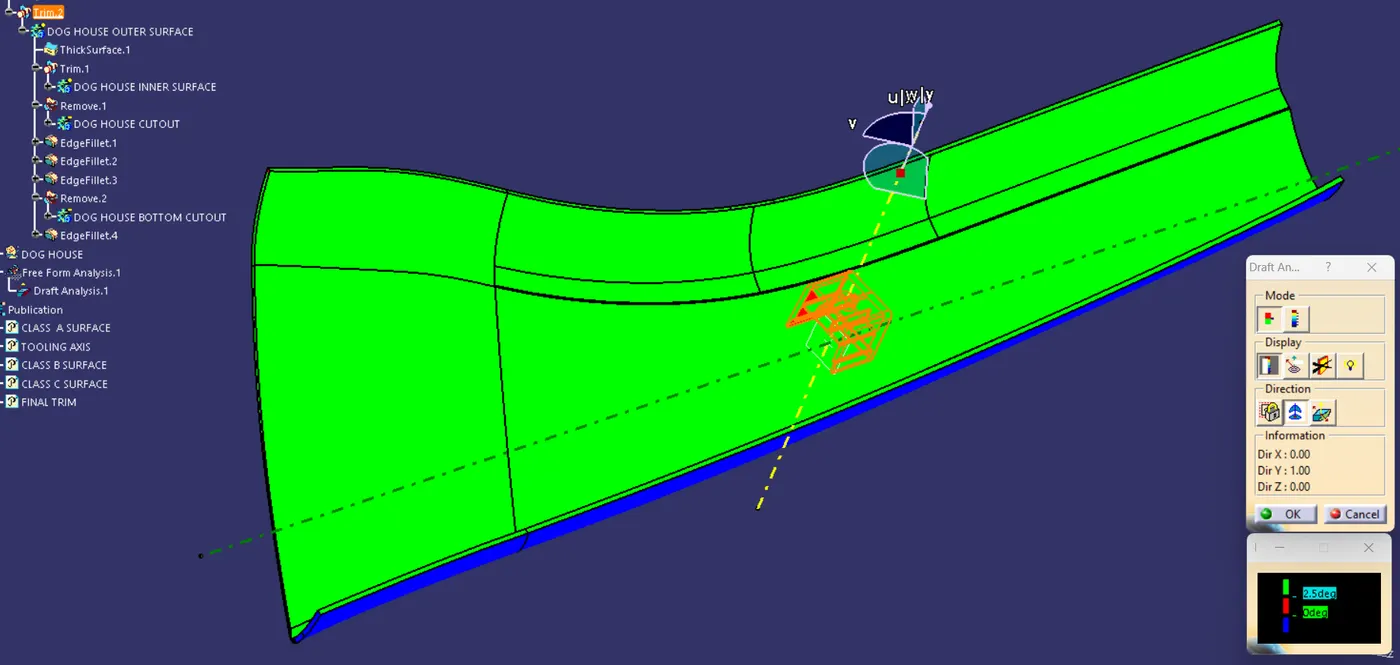
We checked through different positions where the part would be able to draft with the minimum draft angle and created a point and created a line and cross verified it with draft analysis and we found it out to the right axis and renamed the line as the Tooling axis and then ve created a horizontal axis and named it the side tooling axis.
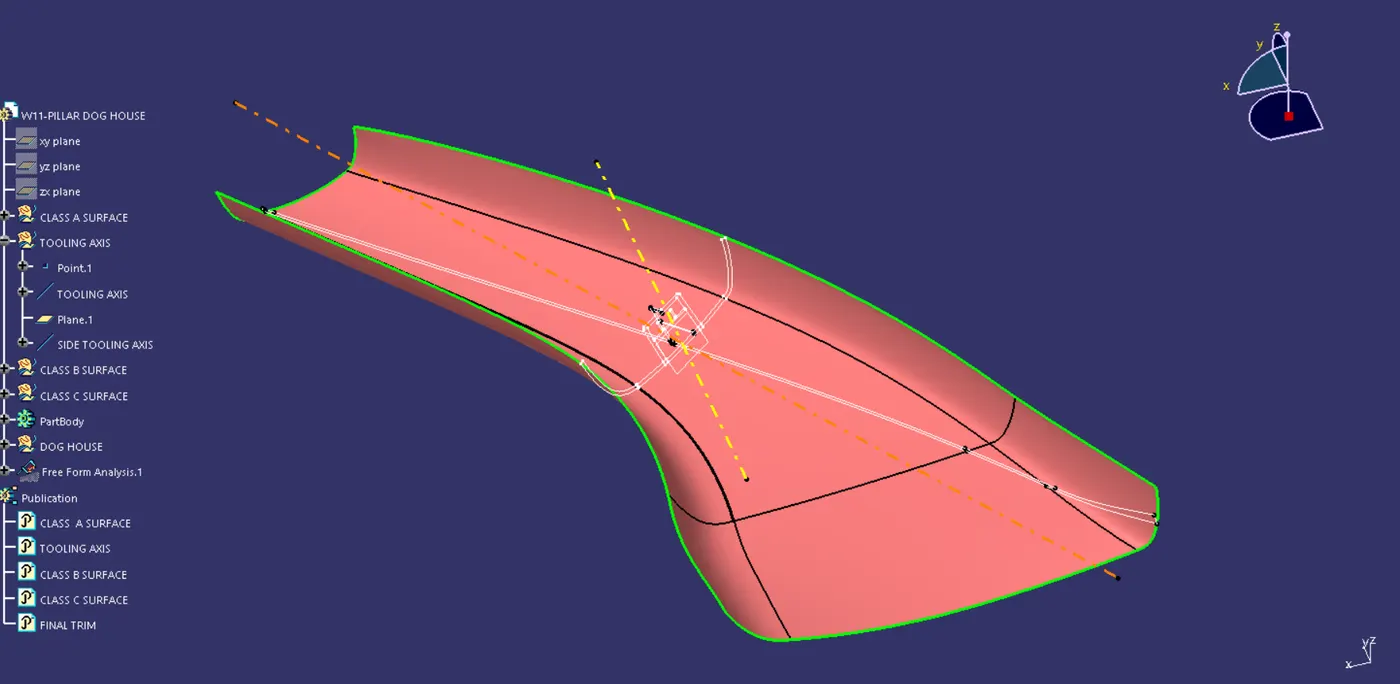
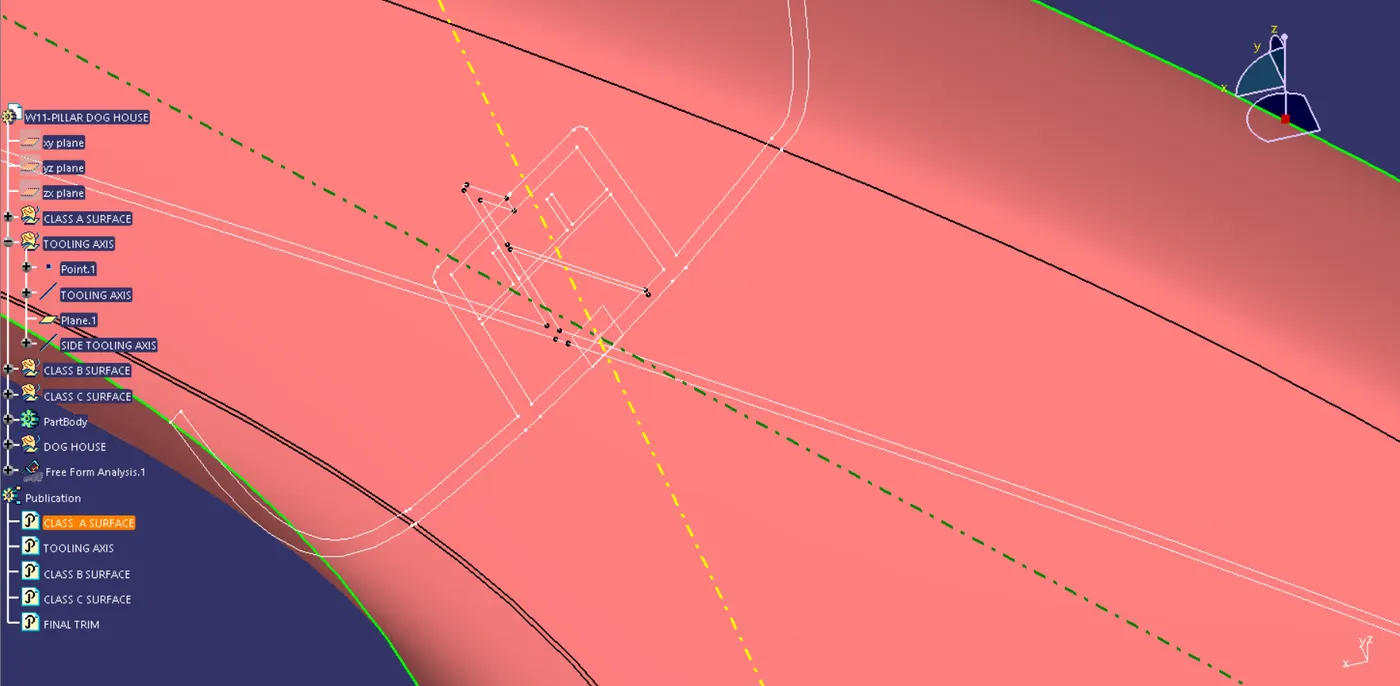
Step 2
We then offset the class A surface by 2.5mm and found a part of it didn't get offset rightly and to complete the class b surface we used the sweep,blend and the join commands along with the extrapolate too.
Step 3
To create the class C surface we at first created the boundary on the class A surface and then used the sweep method where the boundaries and tooling axis where chosen and a draft was given. Then we trimmed the class A & B together to form the Class C surface. Then we were able to get a closed surface.
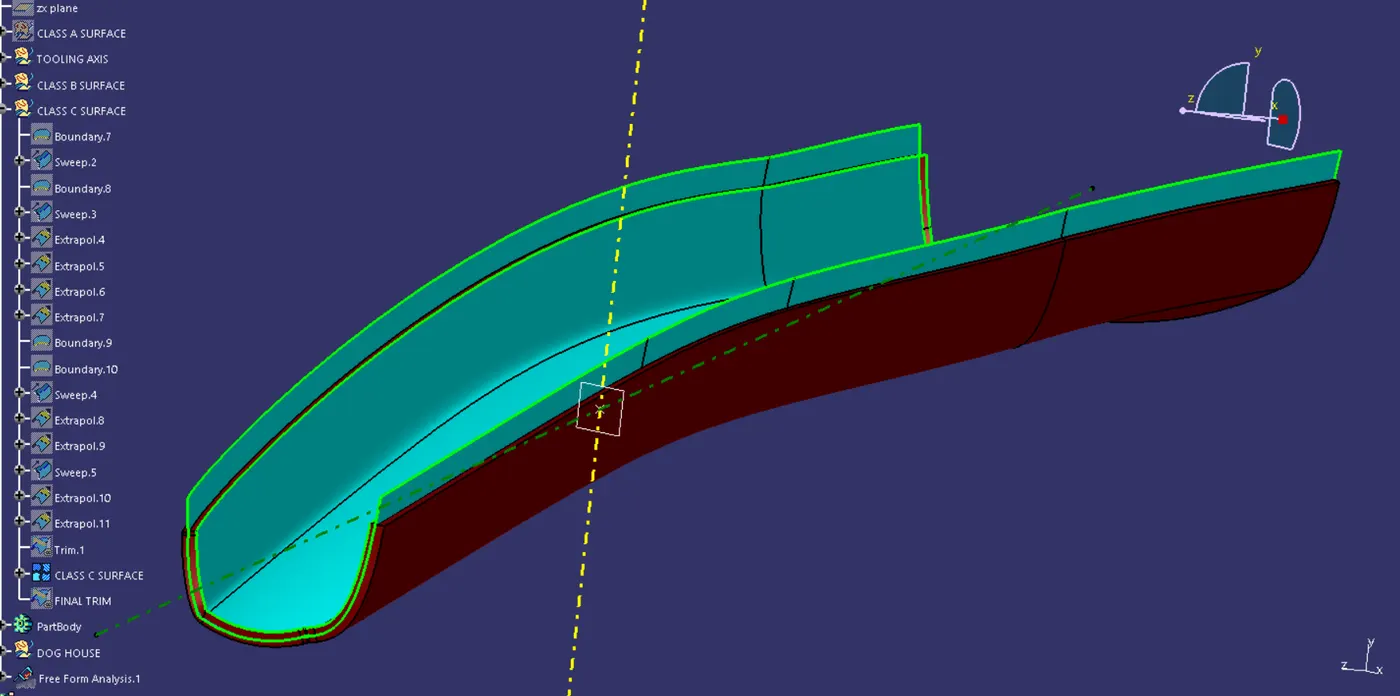
Step 4
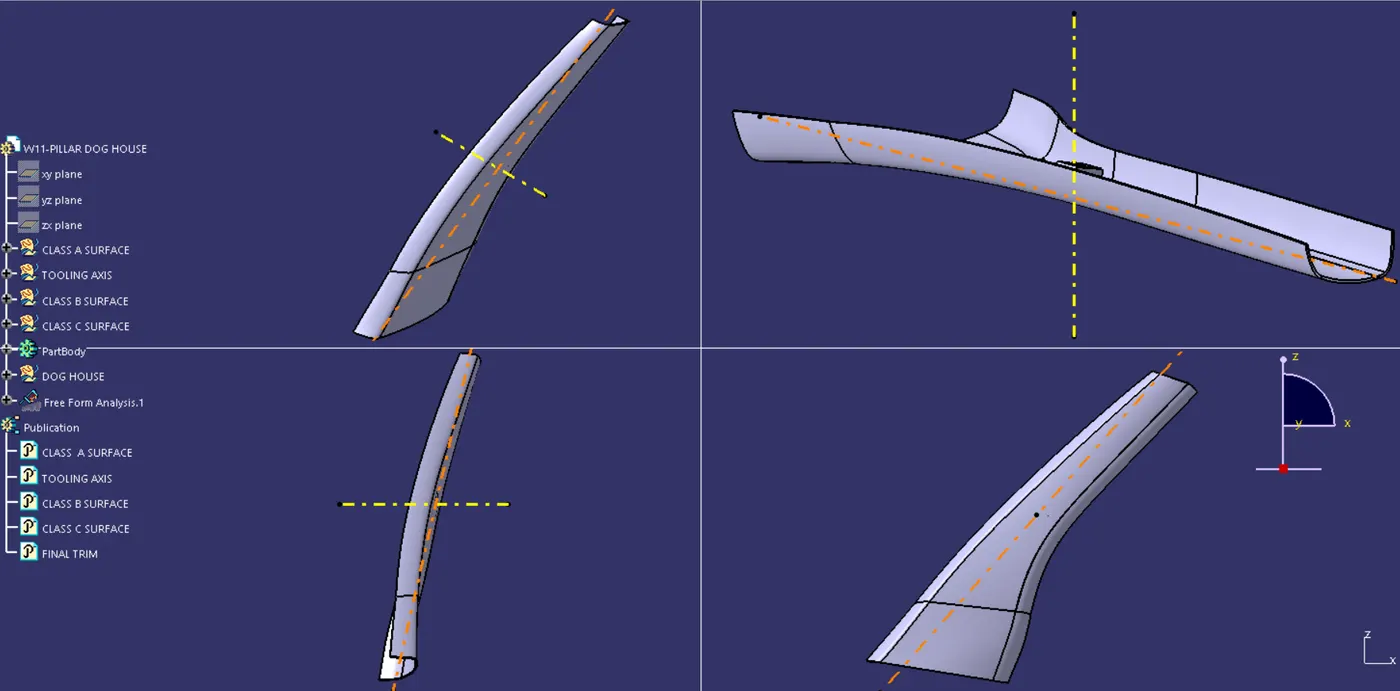
We then took the final trim to the product workbench and used the closed surface to thicken the Class C surface.
Step 5
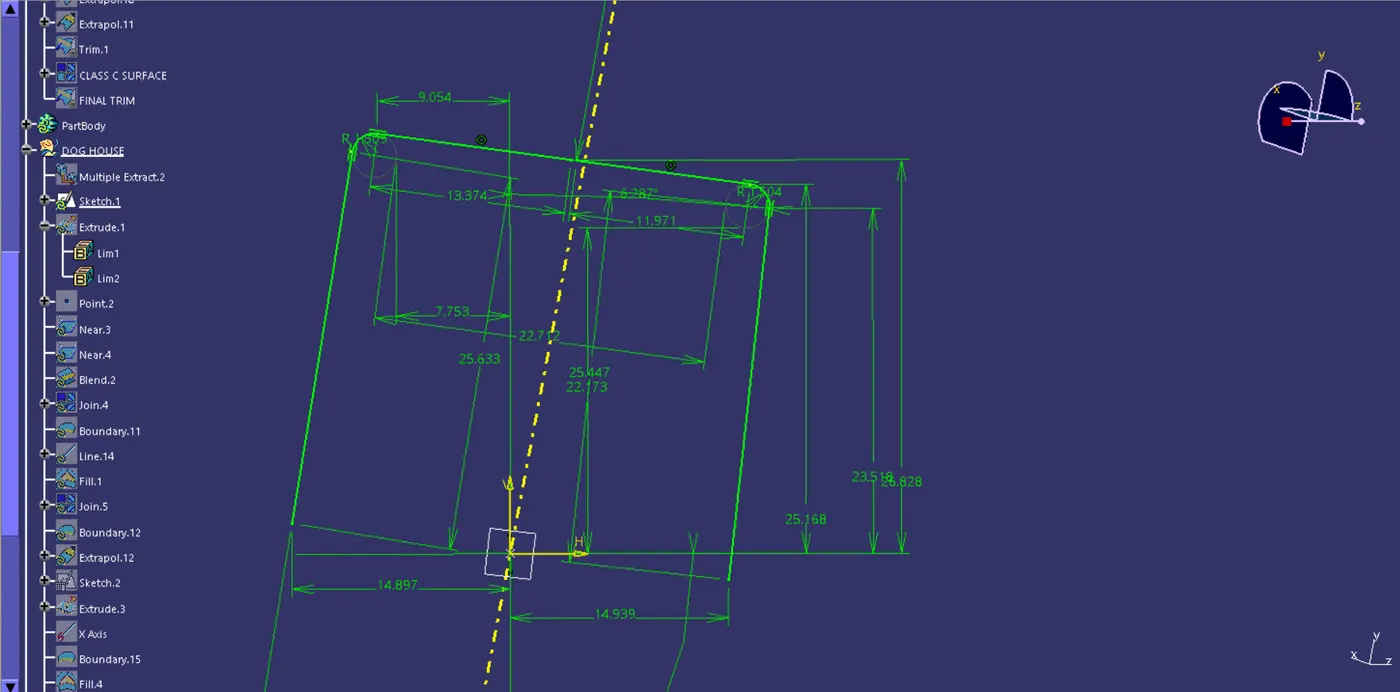
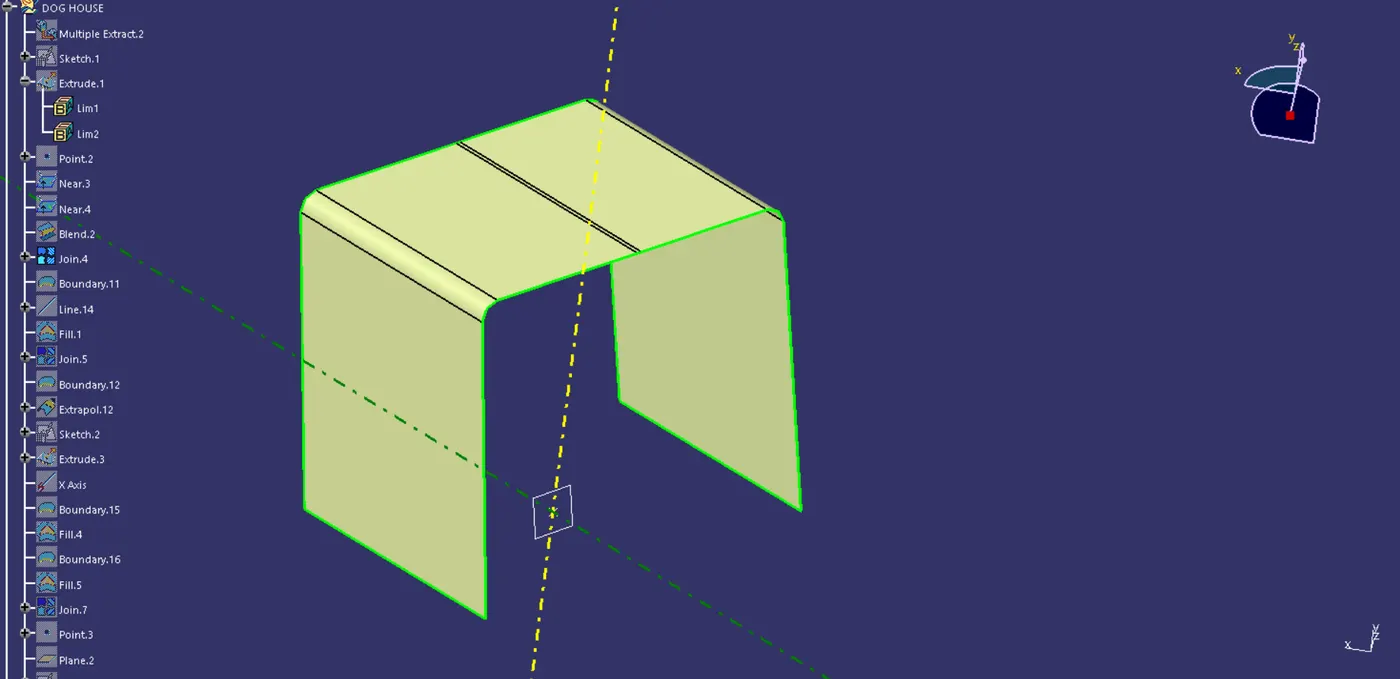
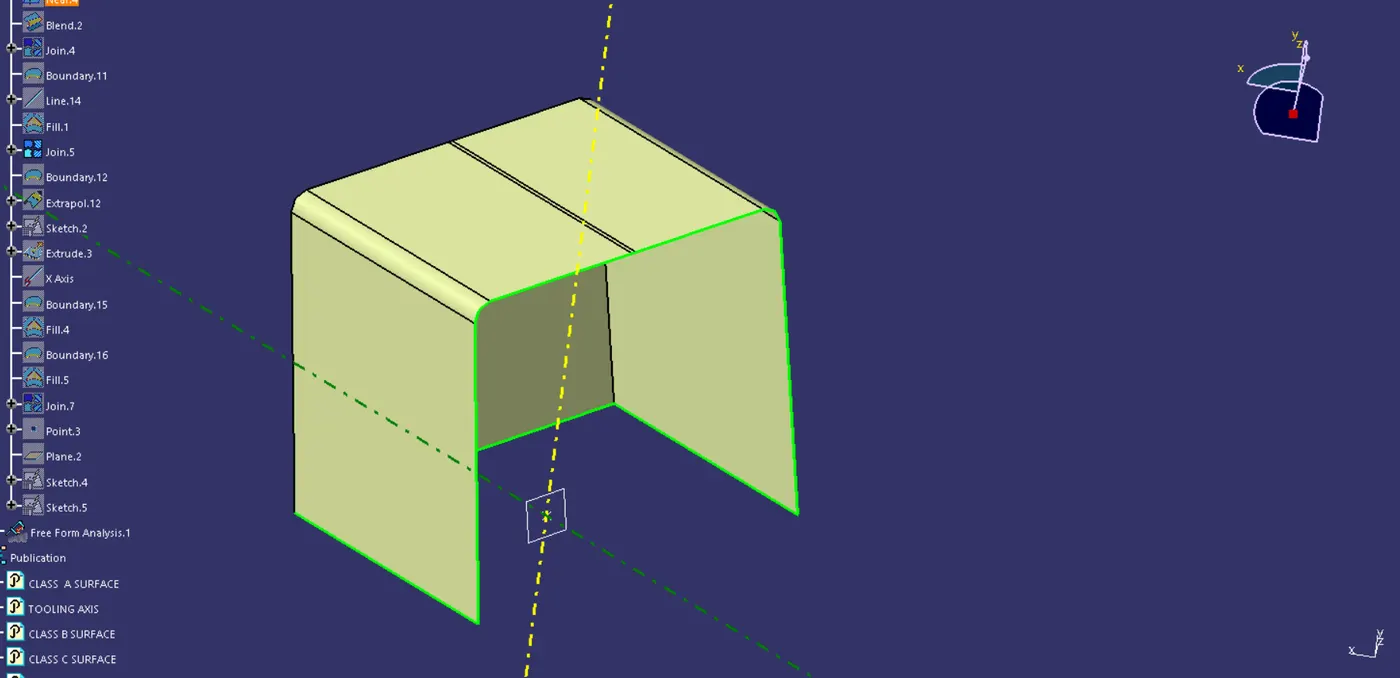
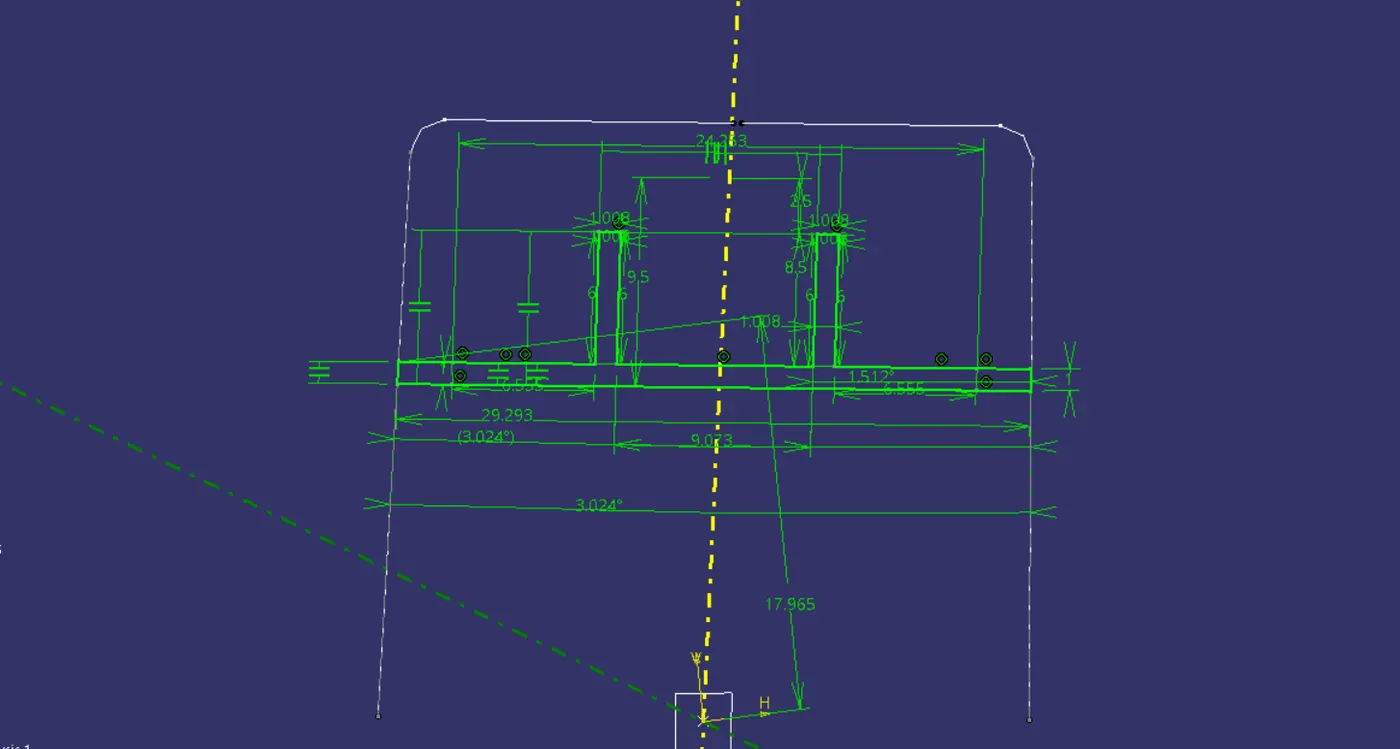
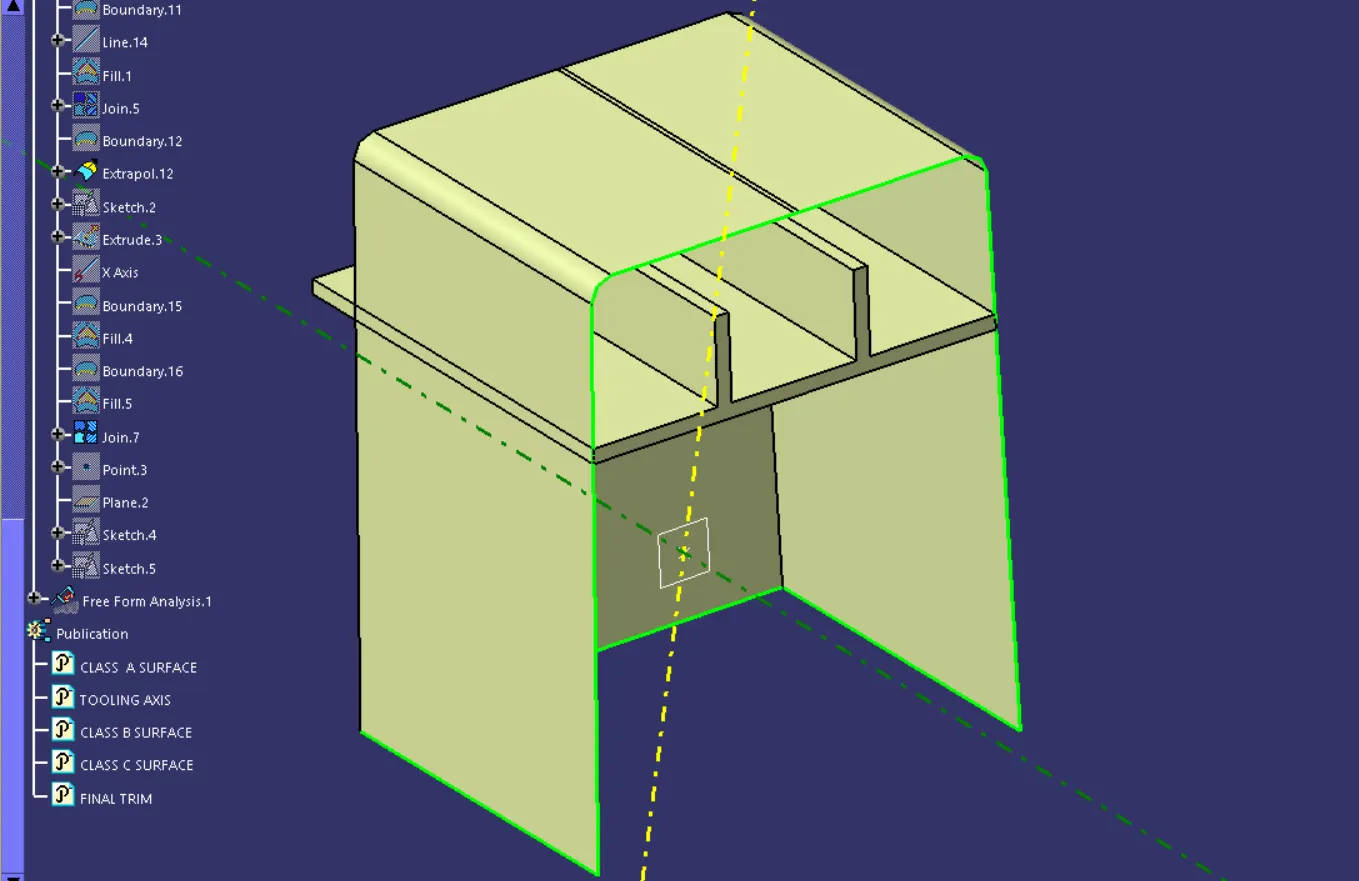
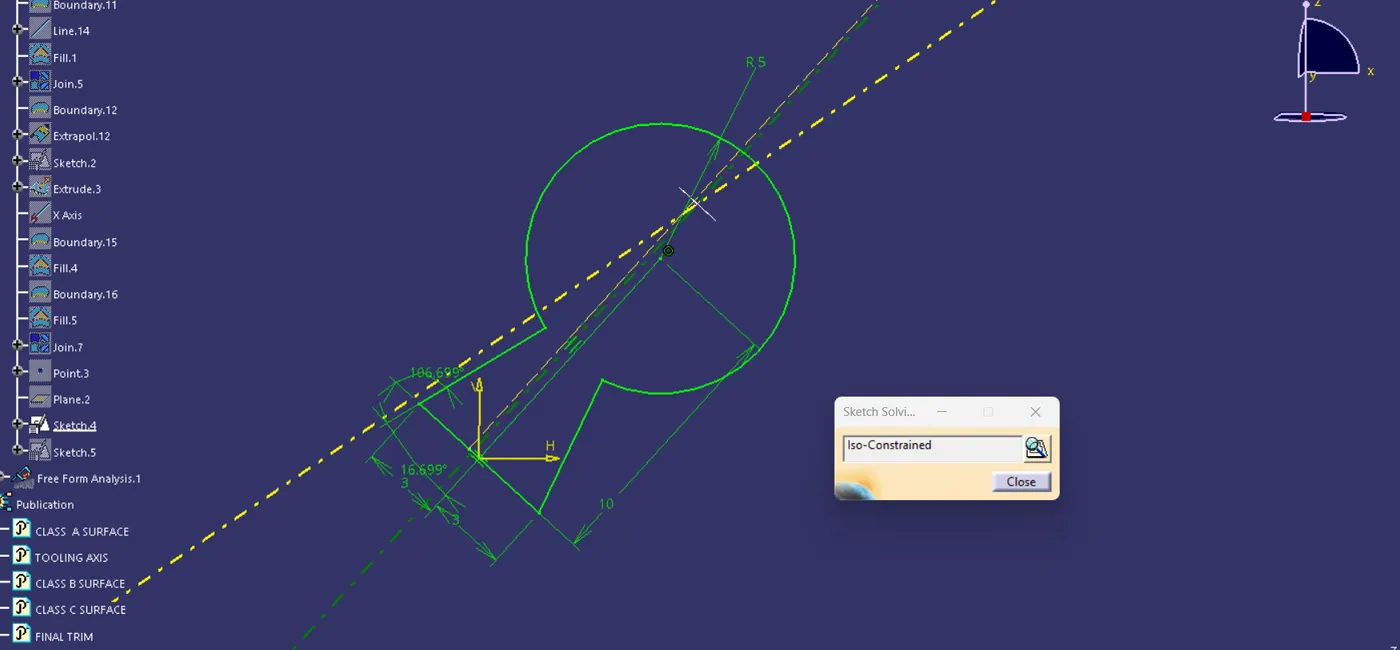
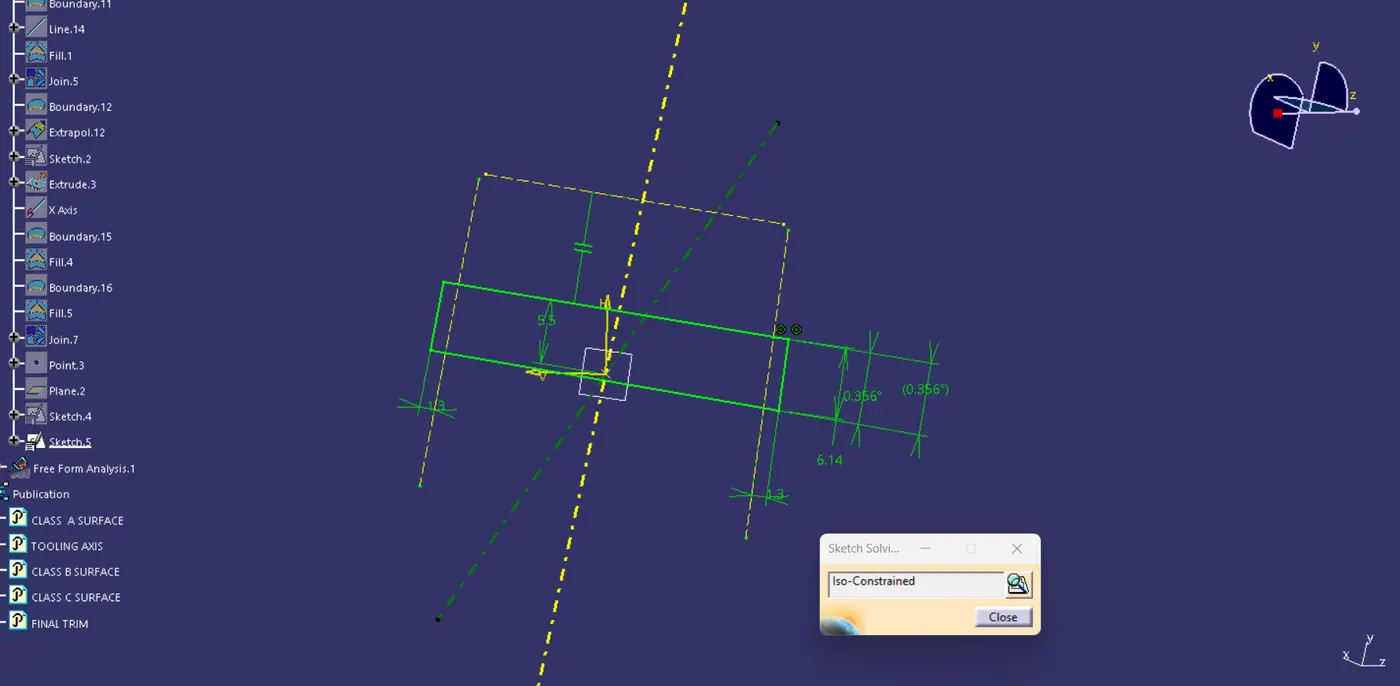
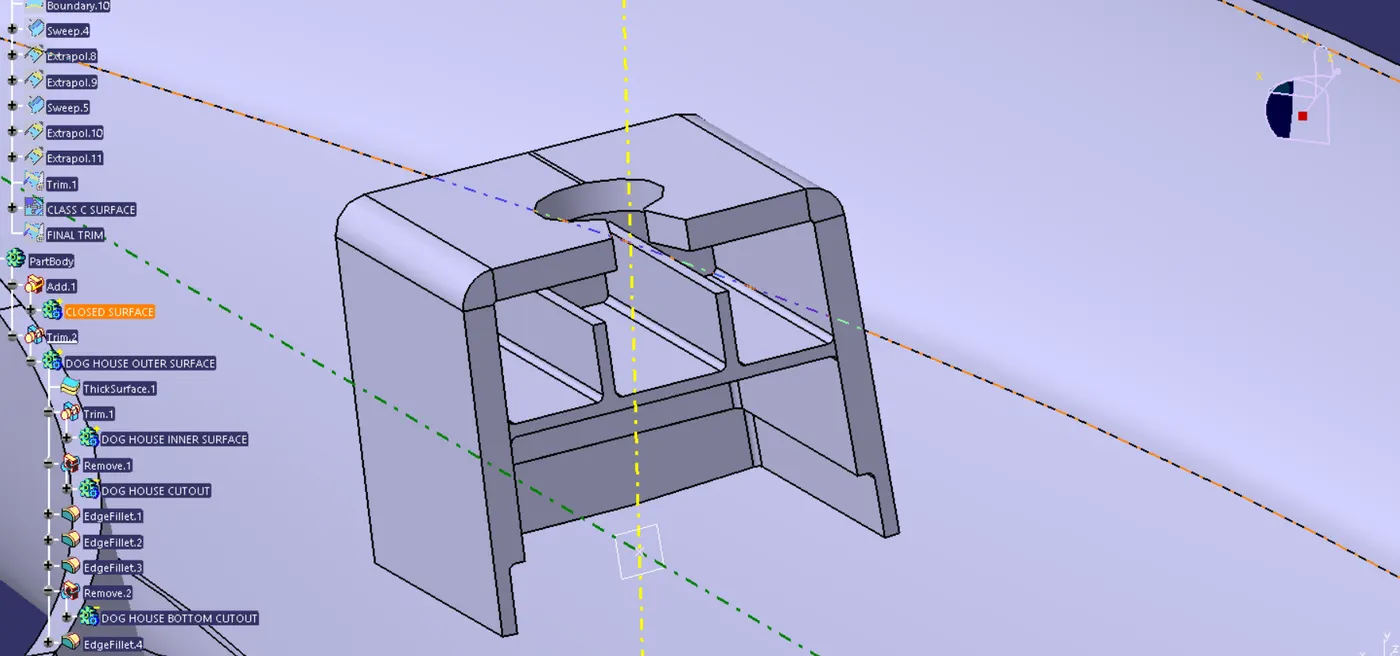
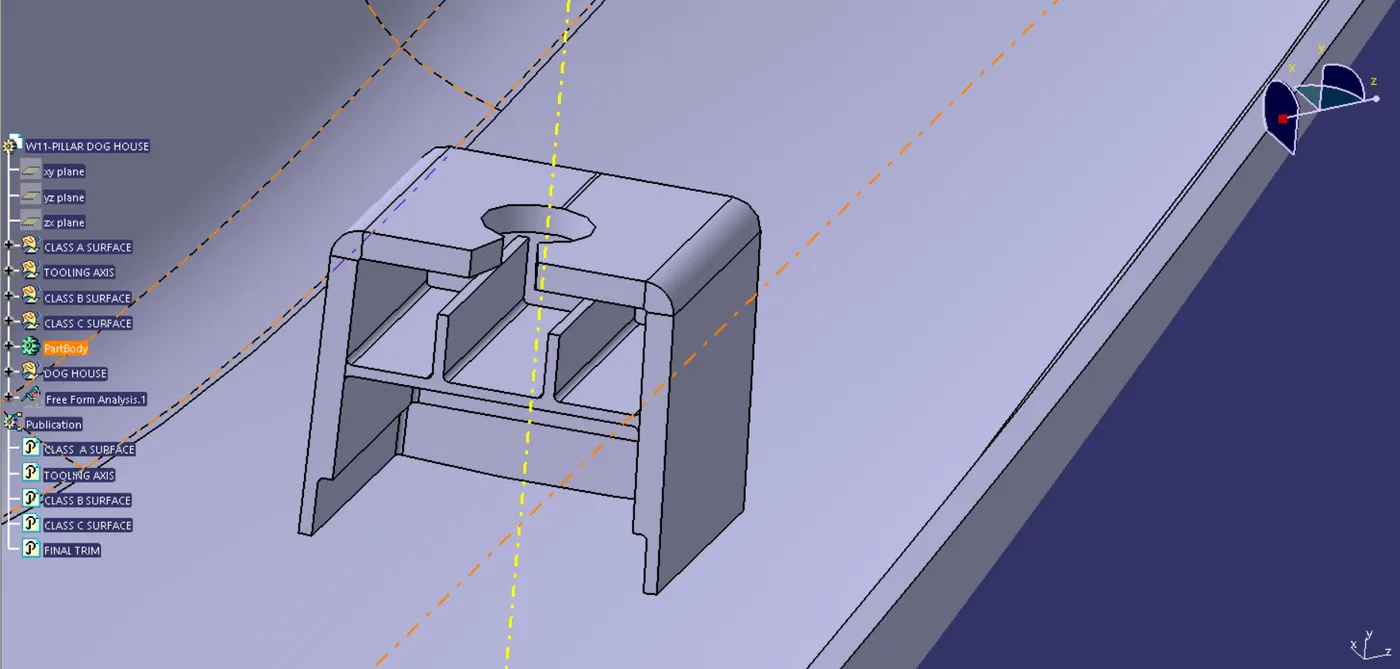
In this step we created the dog house for the pillar, at first we created the sketch by isolating the selected lines and then extruded it by giving the right dimensions and then thickened the surface. We created another sketch where we isolated the inner lines to extrude and closed them after closing the extruded surface using the fill command then we union trimed it together and then went on to do the top and bottom cutouts and finally union trimed the entire doghouse with the Closed surface of the pillar.
Step 6
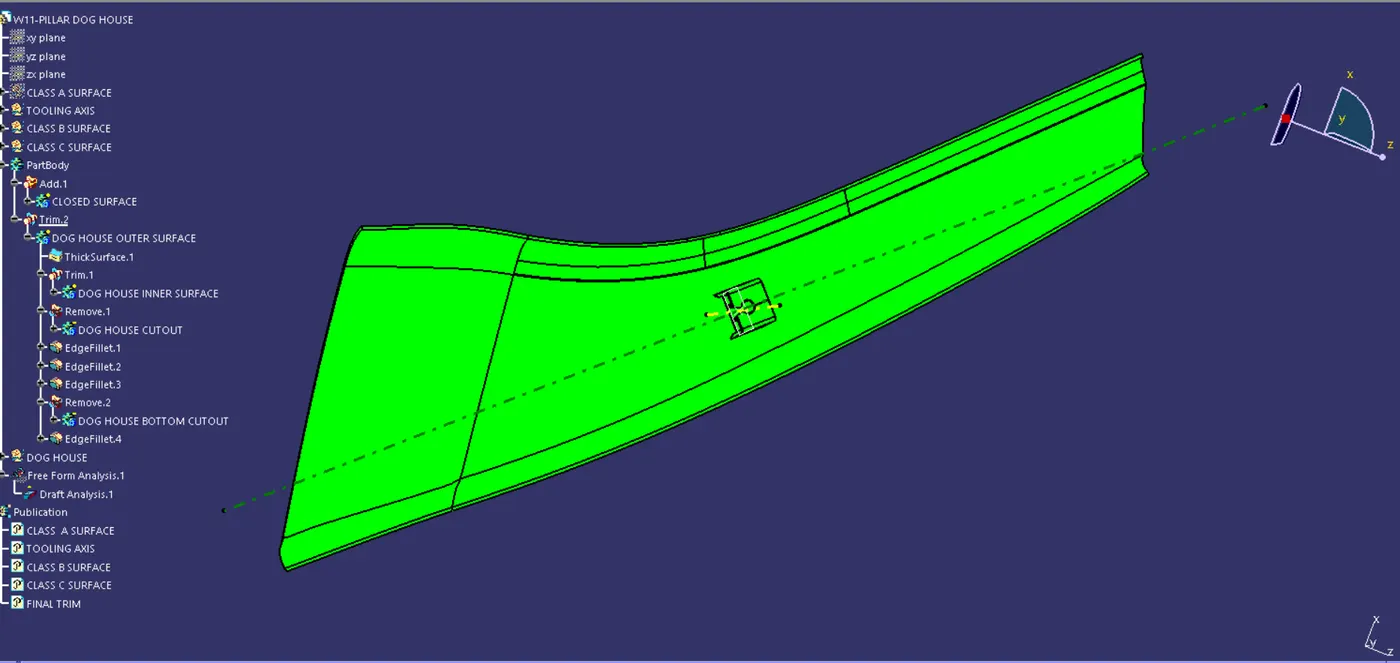
We then took the final closed surface then did the draft analysis, we dragged the compass fixed it to the tooling axis and checked for any undercuts and we achieved an all green surface thus completing the challenge.