Week 11 - Project - A pillar Design with Master Section
A-Pillar Master Section:-
Firstly I downloaded the STEP file After that I Checked Class A Surface for any errors or open surfaces.
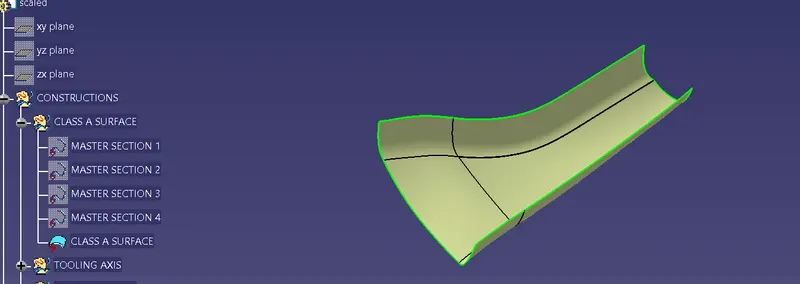
I didn't find any open surfaces. So I started with Tooling Axis.
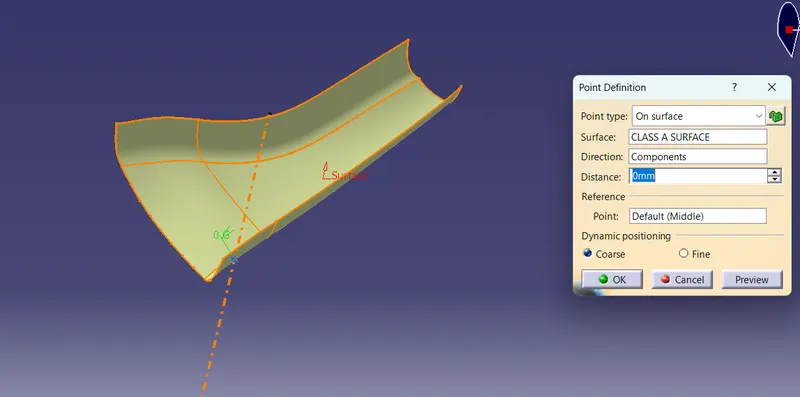
Class B Surface:-
I offset Class A Surface to 2.5 mm After offset I got some errors to rectify I used the sweep command.
Class C Surface:-
I took Class A Surface to Create Class C I used the sweep command. After that, I extrapolate and Trim unwanted surfaces.
Class C Surface Formed.
After that, I joined Class C and Class A surfaces. Then I used Final Trim Means Trim (Class A and C ) with Class B surface.
Then I checked for open surfaces in Final Trim.
I Close the surface.
Flange:-
For Flange I took the master section as a reference from which I created the dog house. After thickening the surface.
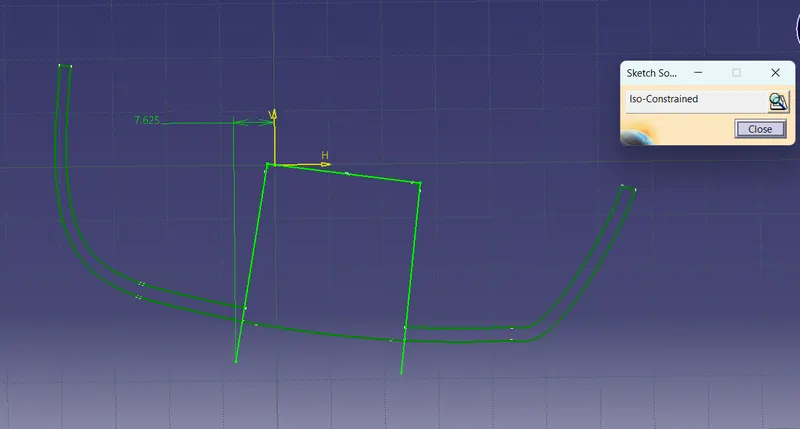
After sketching, I used extrude command then I thicken that part After that I split the unwanted surface.
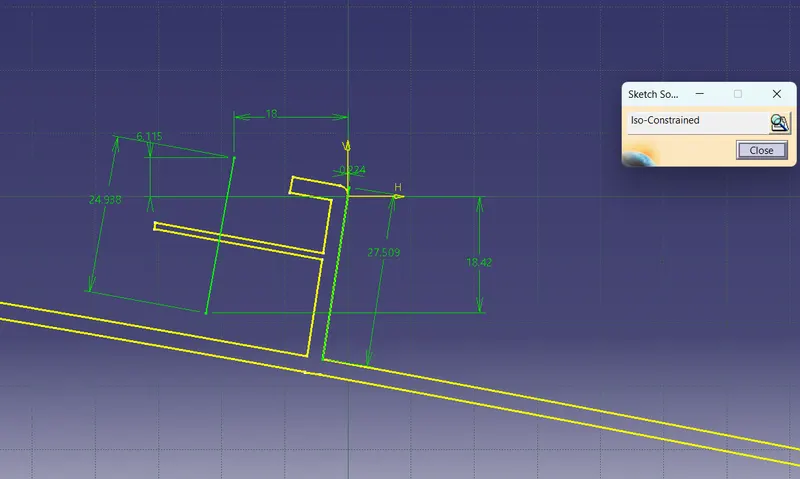
As above image, I used the limit between those I got Dog House.
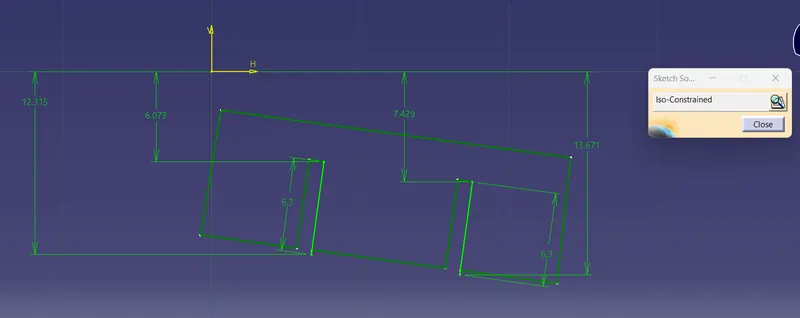
As above image, I used the Master section as a reference.
Dog House Top Portion:-
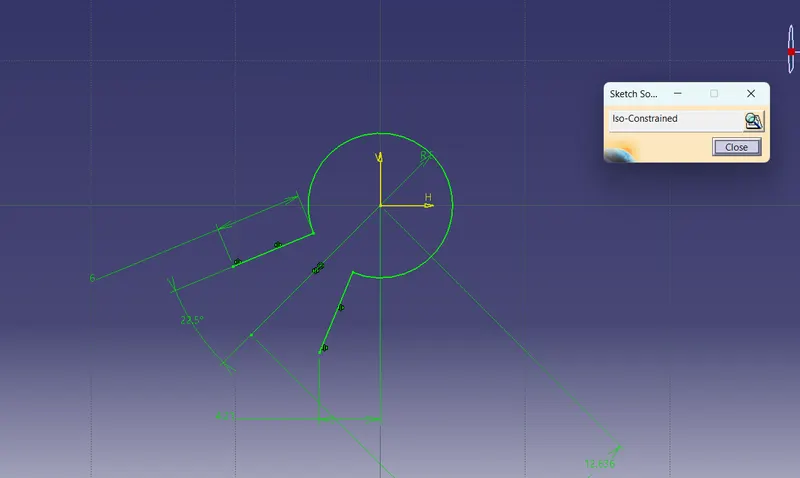
As from the sketch given, I challenge I used to draw like a below image
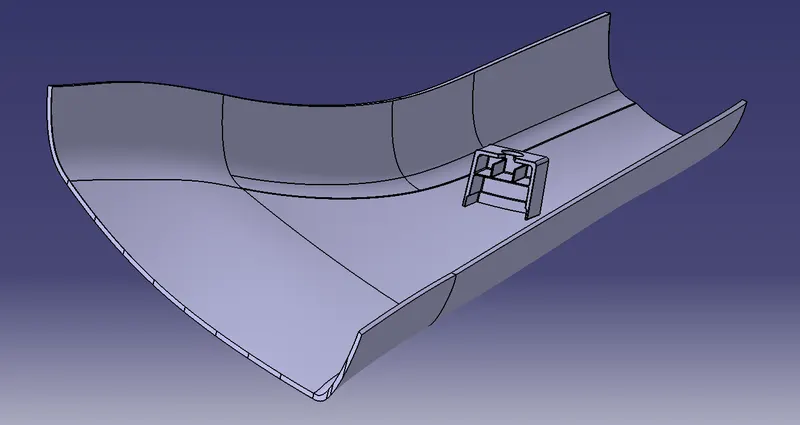
Final Plastic Product:-
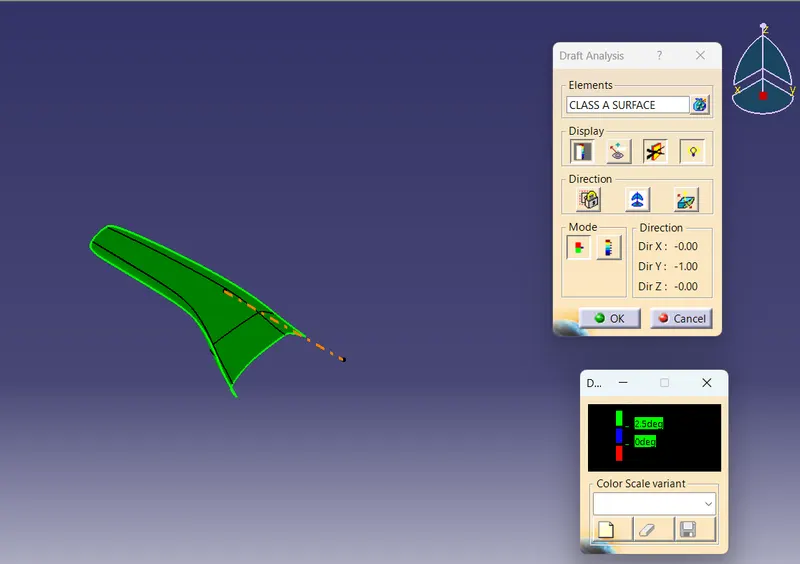
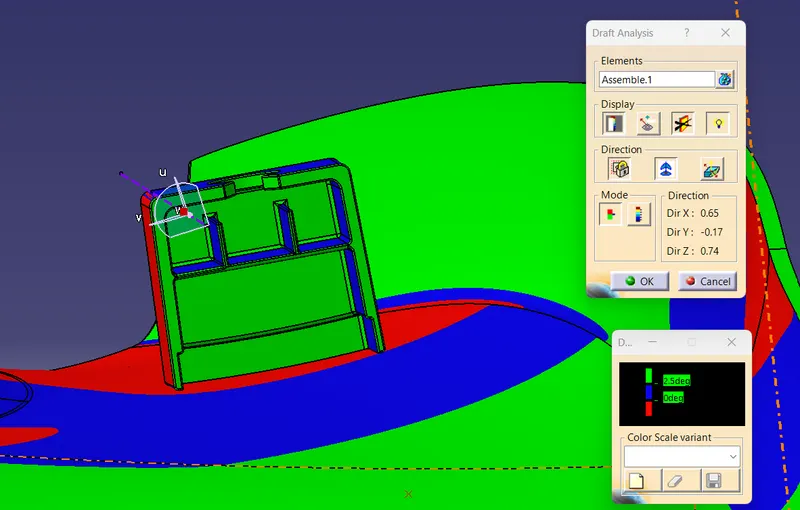
Draft Analysis:-
1)Class A Surface:-
Isometric View:-
Top View:-
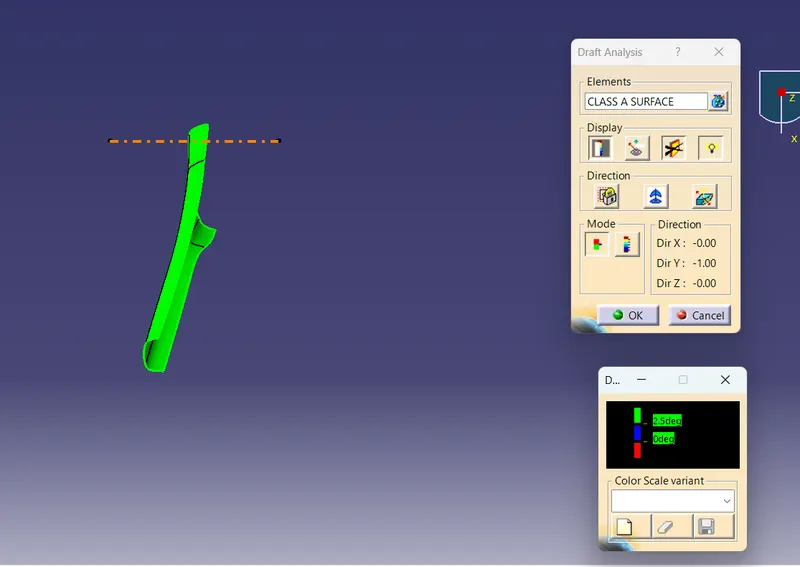
Side View:-
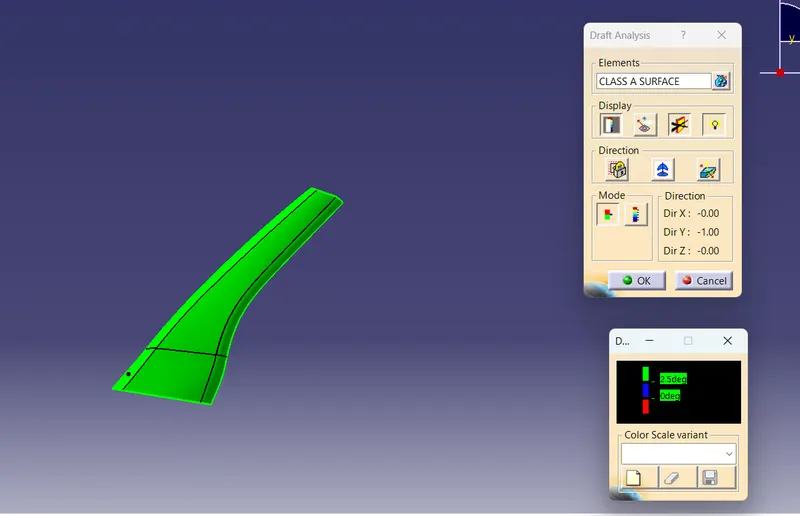
Front View:-
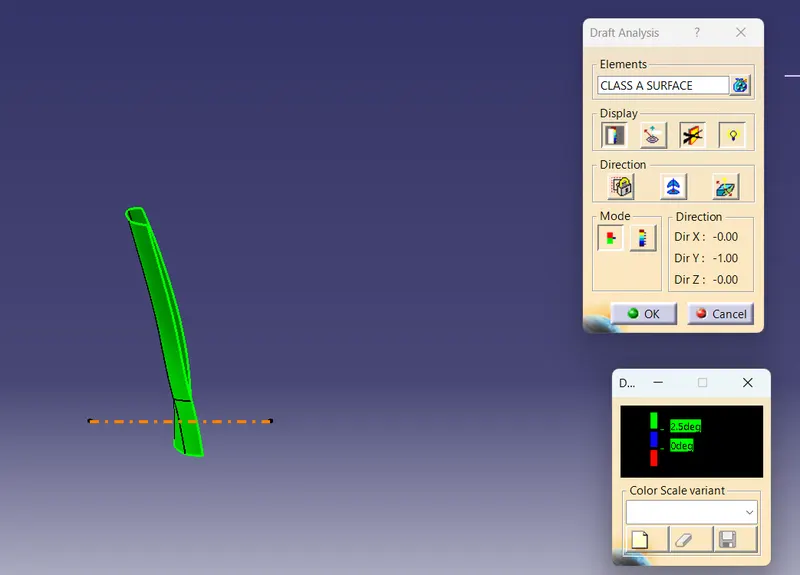
Final Product Tooling Axis:-
Isometric View:-
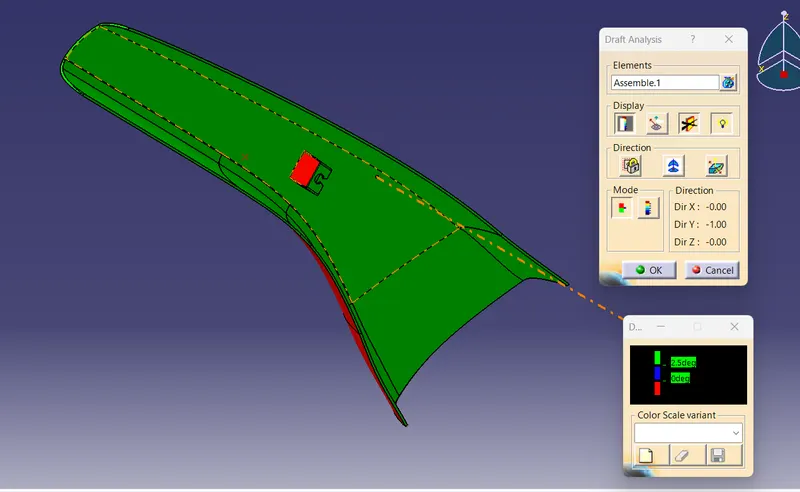
Top View:-
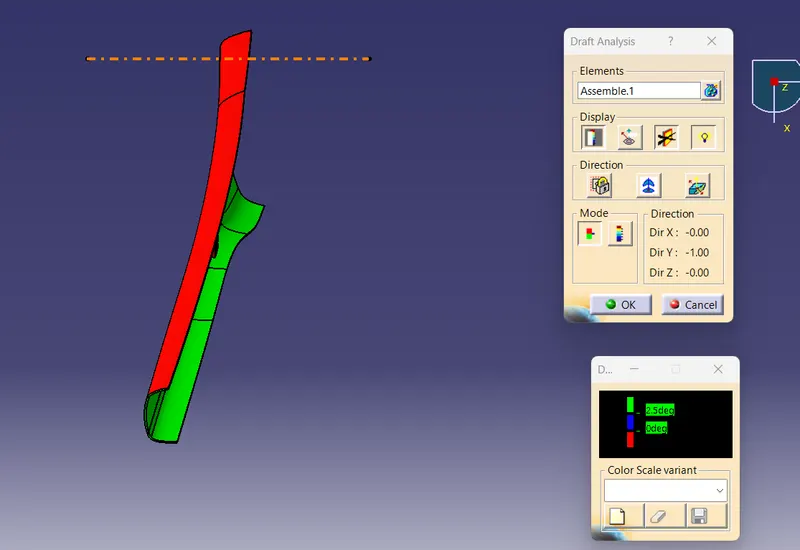
Side View:-
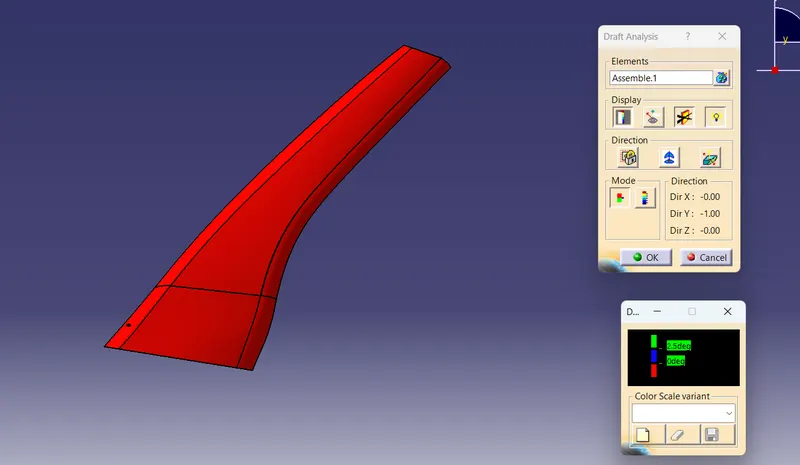
Front View:-
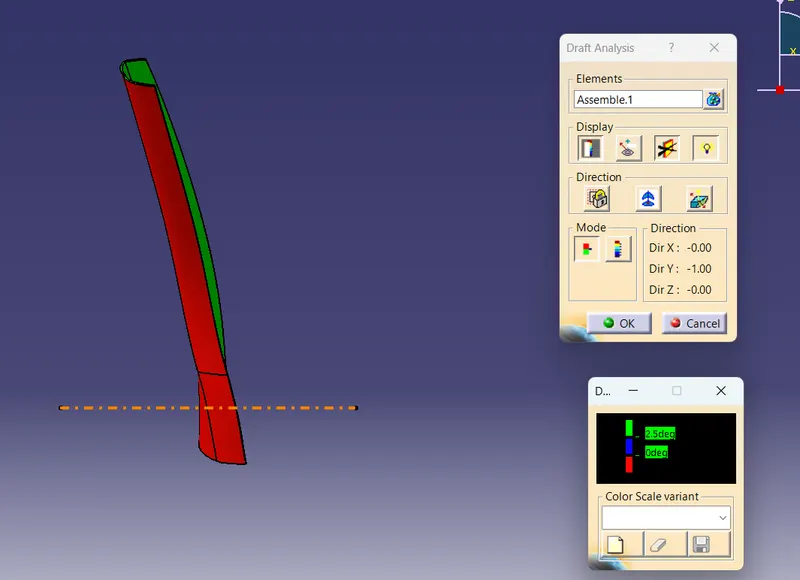
3)Side Core Axis:-
Isometric View:-
Report:-
As from the given project I created Close Surface.Created Dog House,B side features,Dog House Top Portion.