Week 11 - Final project
AIM:
Design and develop vehicle interior door trim in Catia V5 with a given class A surface and Master section. Create the side attachment features by the design guidelines.
Objective:
- a) Class A surface
- b) Nominal thickness: Refer master sections
- c) Attachment strategy:
Introduction:
The door panel serves as a link between the interior of the vehicle and the inner workings of the door. Generally, the door panel is divided into sections for ease of design, such as the armrest, Bottle Holder (Map Pocket), and the lower substrate. These have one of the most stringent requirements of any car's interior. This should be designed to withstand a load and to protect the occupants in the event of a collision.
The procedure of part creation
Interior door trim is divided into four components.
- Lower substrate
- Upper substrate
- Bottle Holder (Map pocket)
- Door armrest
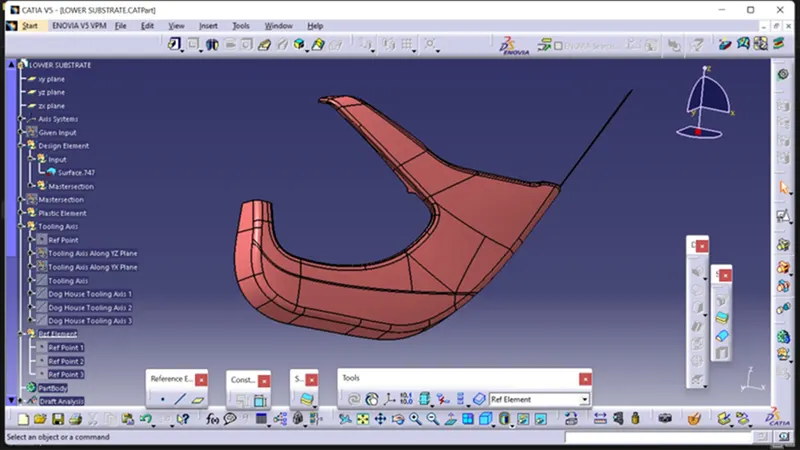
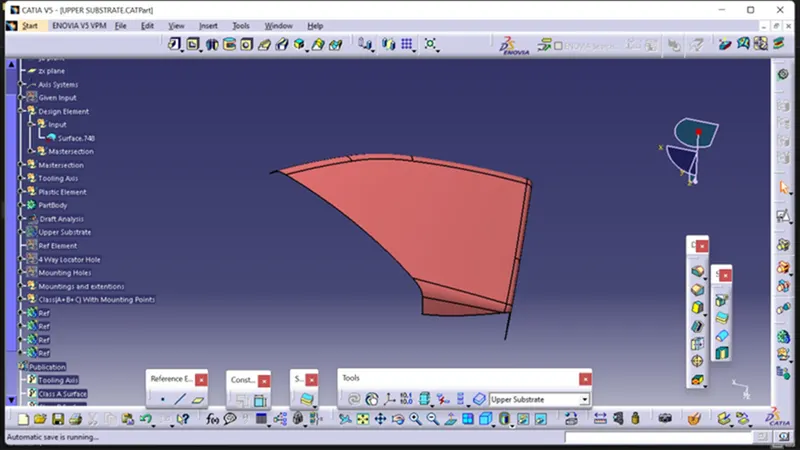
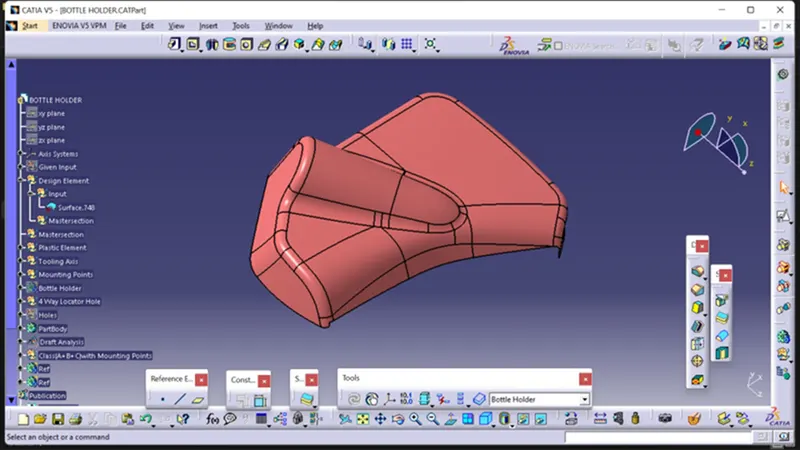
Given Surface:
- Lower substrate
- Upper substrate
- Bottle Holder (Map pocket)
- Door armrest
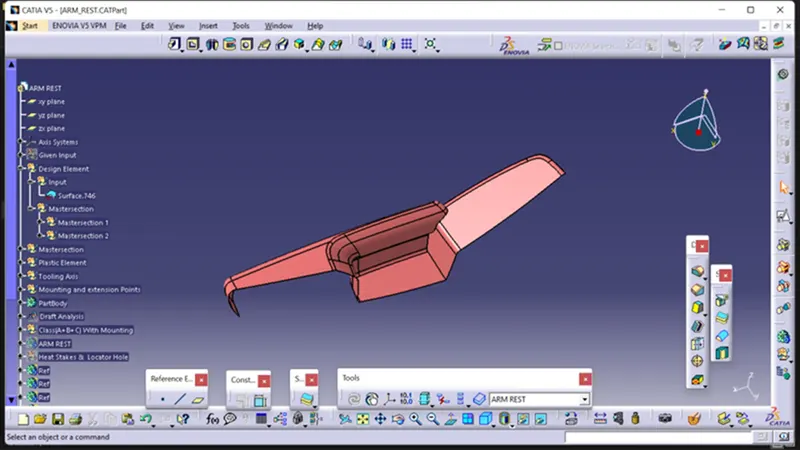
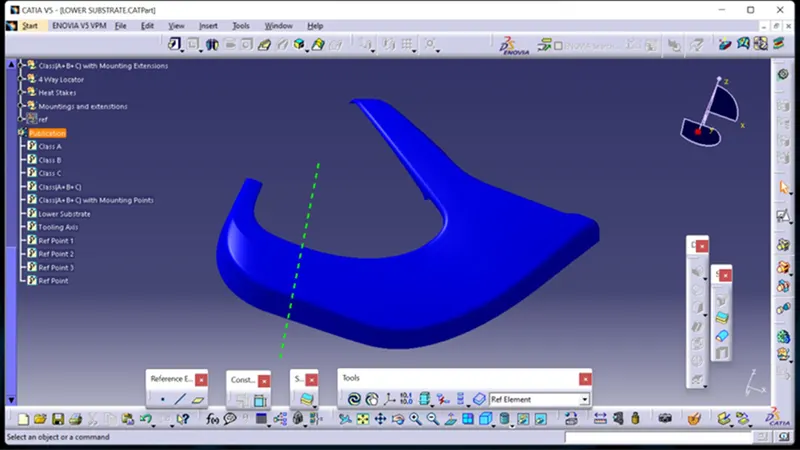
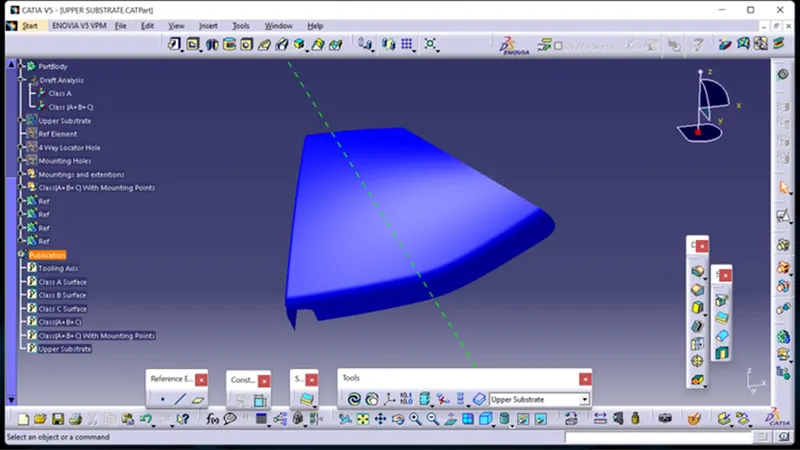
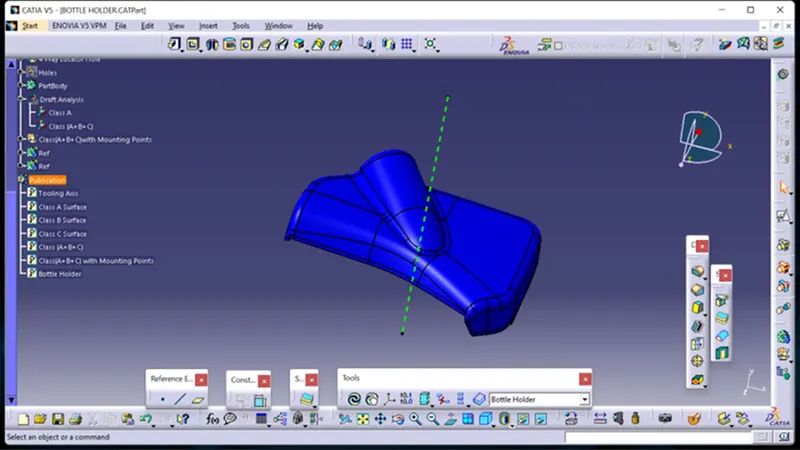
Tooling axis Creation
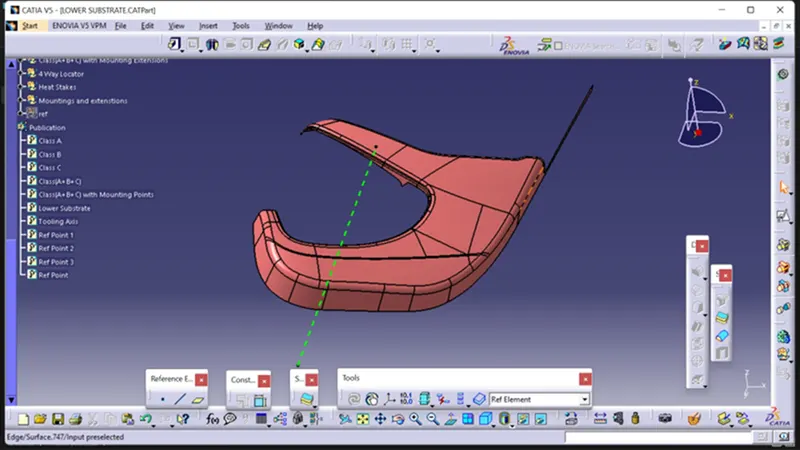
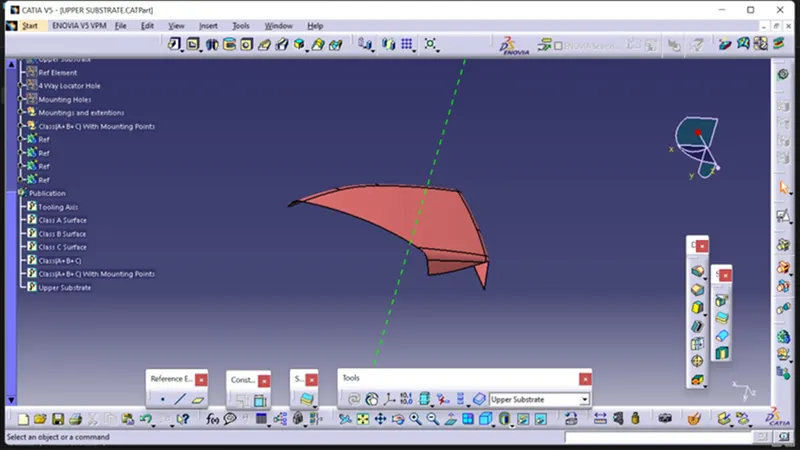
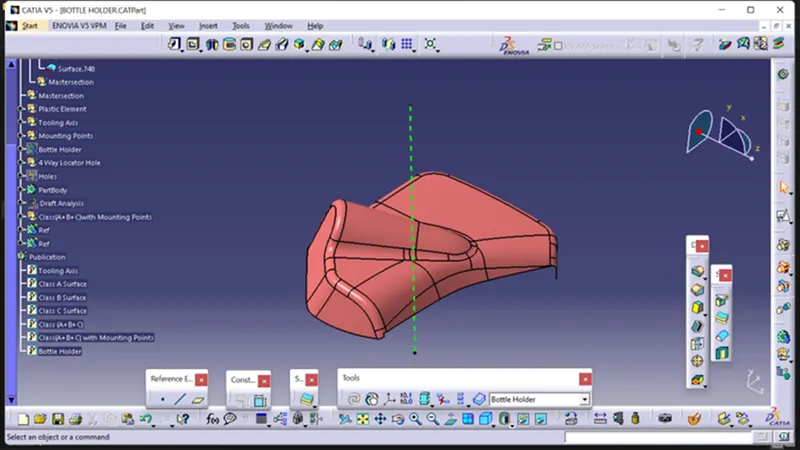
In injection molding, the Class A surface is first analyzed to determine the axis or tooling direction that separates the molds. Tooling direction is critical for plastic product design because it determines mold direction
Steps followed
On the extracted surface, a reference point is first created.
To plot clearance lines, a new axis system is used.
The 2 Planes along with class A were used to develop the tooling axis using the Intersection curve
To form the Tooling axis, two clearing lines were bisected as shown below
The tooling axis's graphic properties are changed to identify the Tooling axis
Tooling Axis:
- Lower substrate
- Upper substrate
- Bottle Holder (Map pocket)
- Door armrest
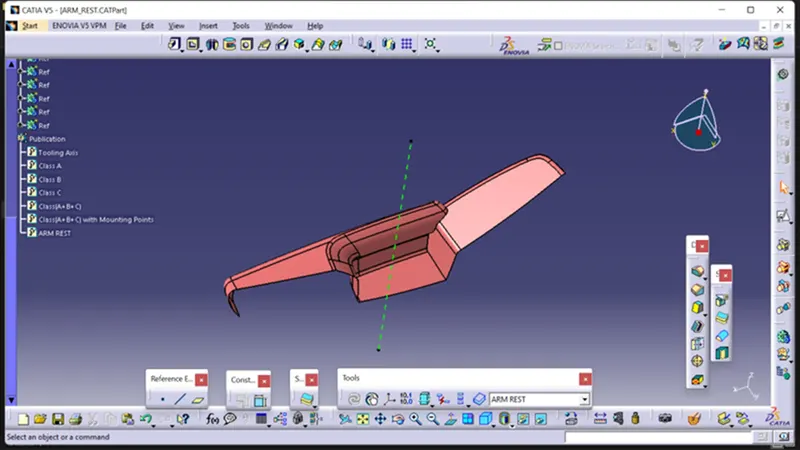
Class A Surface :
What is a Class A Surface?
A Class A surface in automotive design is any of a set of high-efficiency and quality free-form surfaces. Although the surfaces have curvature and tangency alignment to ideal aesthetical reflection quality, many people interpret class A surfaces to have G2 or even G3 curvature continuity to one another
Creation of Class A surface
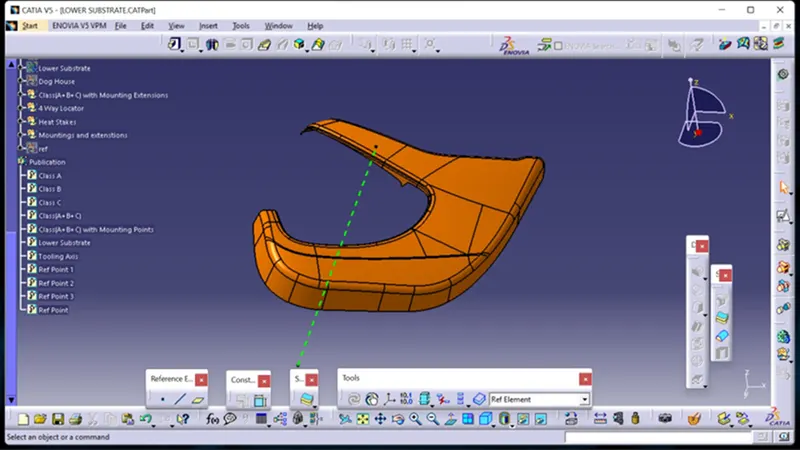
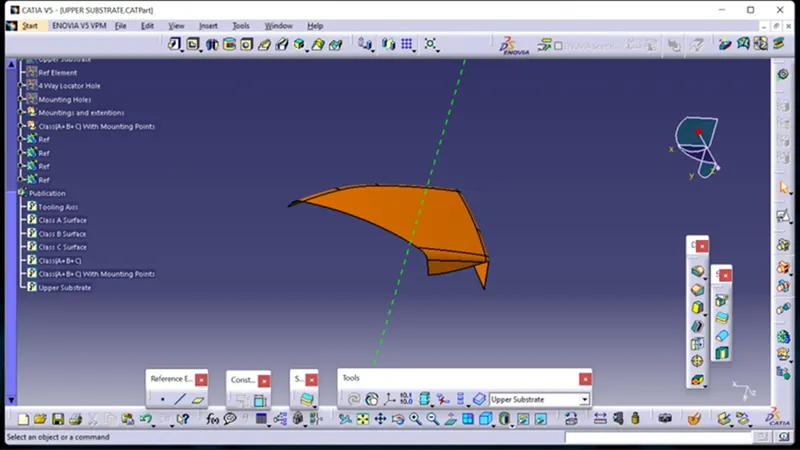
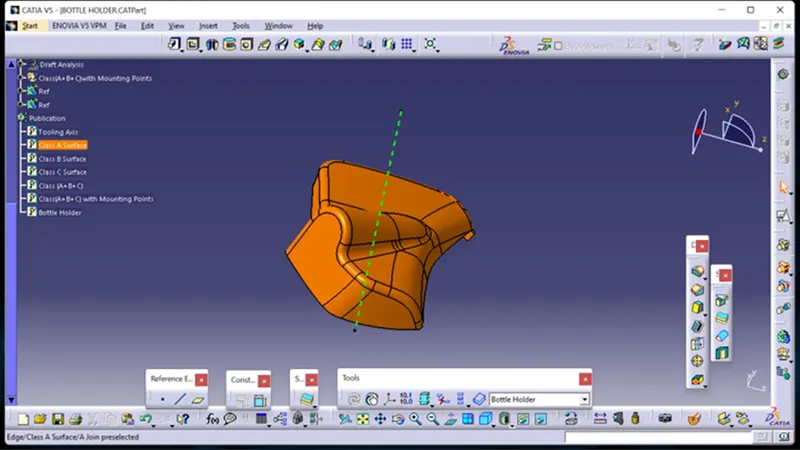
The given Surface is Joined together, using the Join command
- Lower substrate
- Upper substrate
- Bottle Holder (Map pocket)
- Door armrest
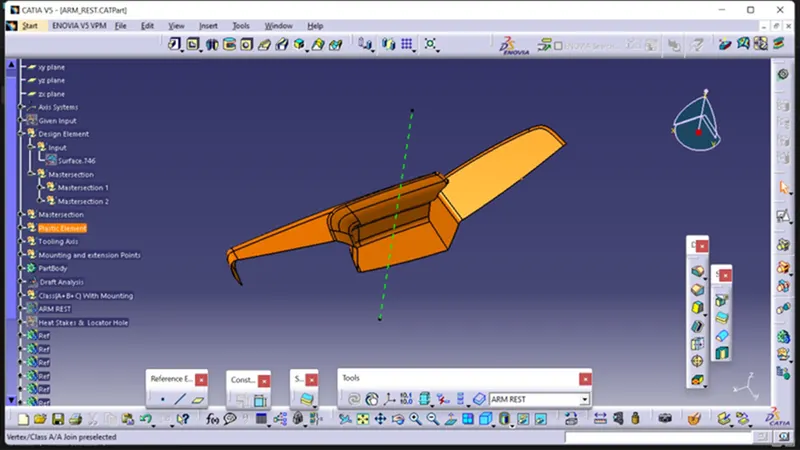
What is Draft Analysis?
Draft Analysis
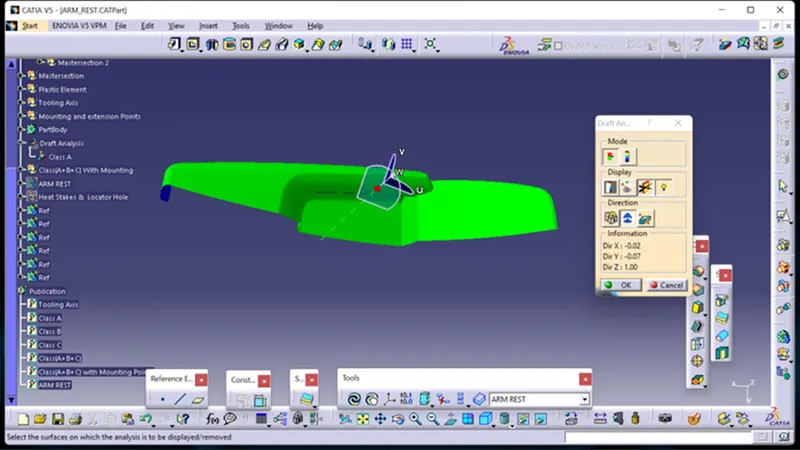
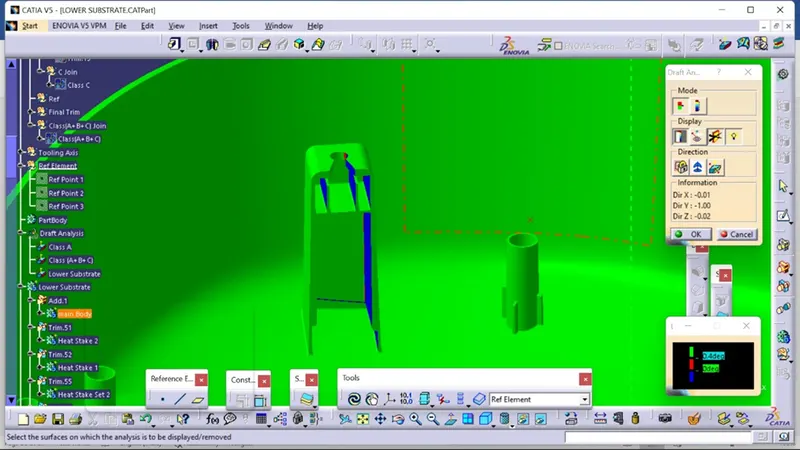
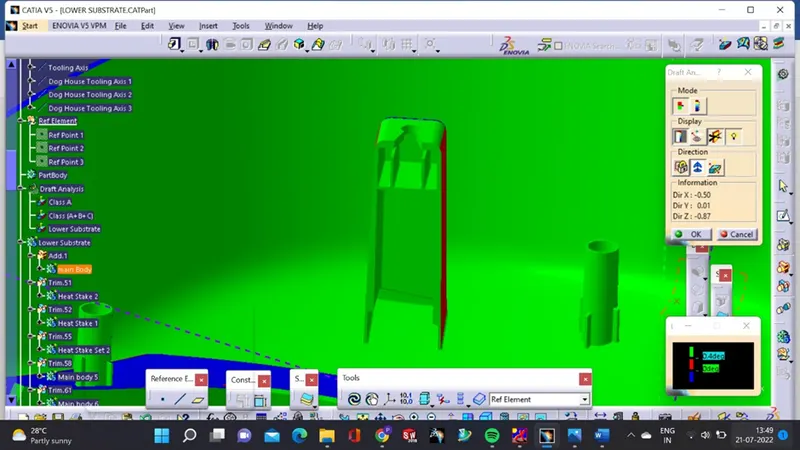
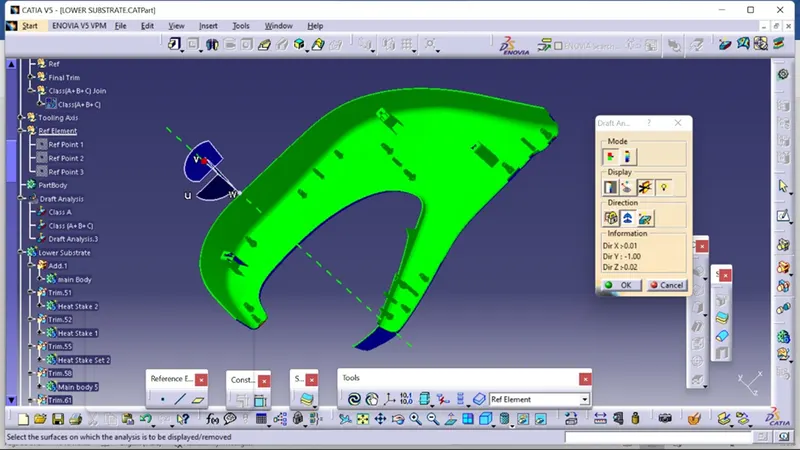
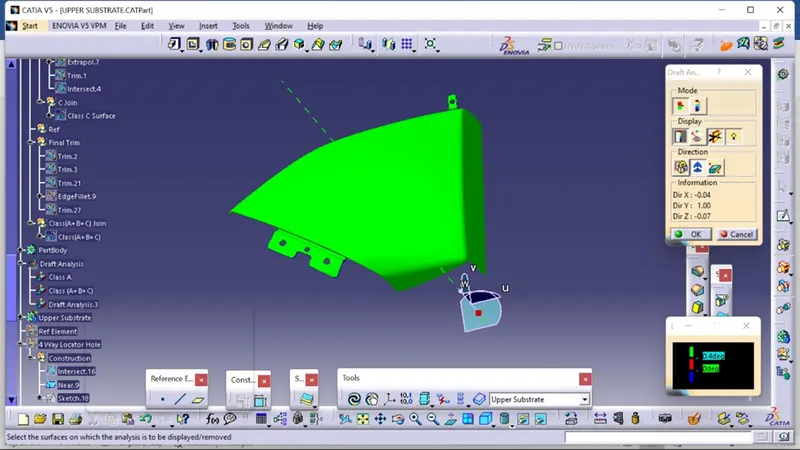
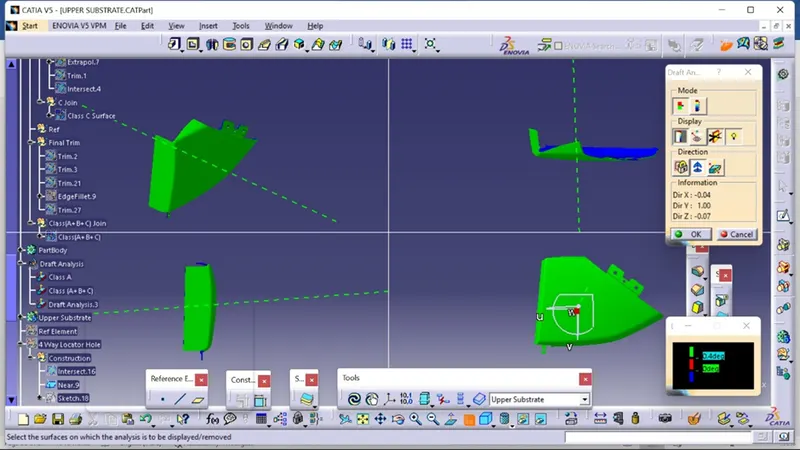
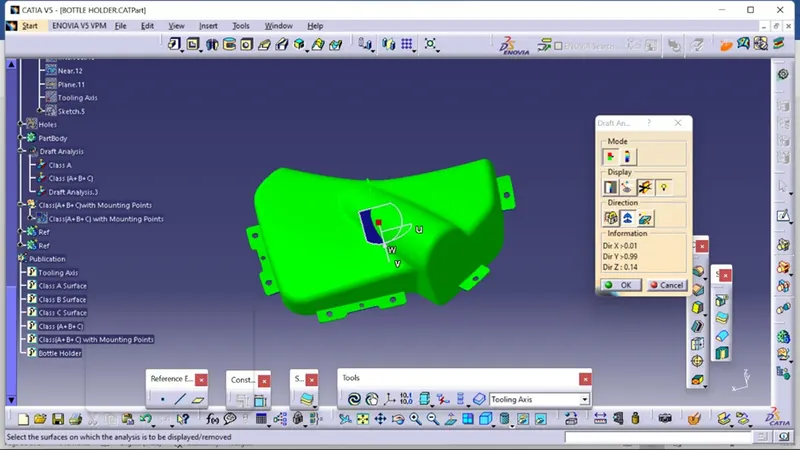
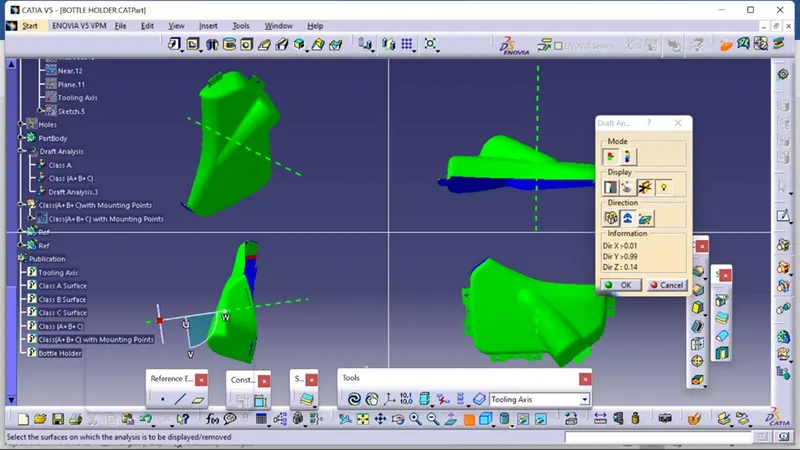
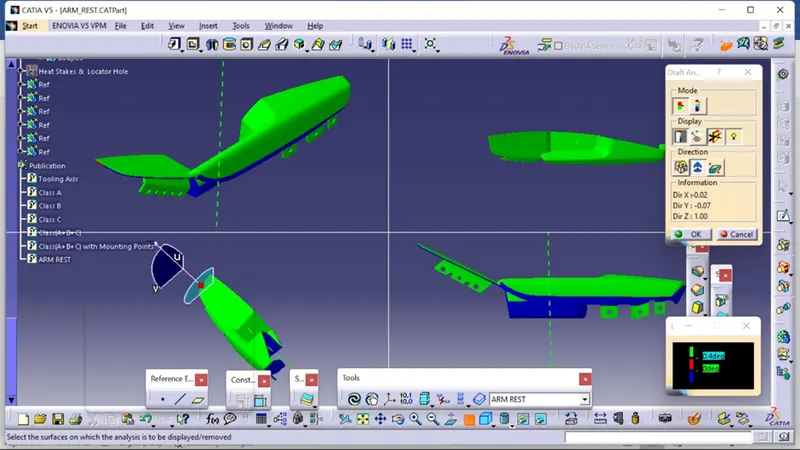
For molded or cast parts, the draft angle is the amount of taper perpendicular to the parting line. It is measurable in degrees. Because plastic shrinks and sticks on molding surfaces as it cools, we draft the walls of the plastic part so that it ejects or breaks free from the molding surfaces more easily and without dragging. To reduce the risk of damage to the parts and ensure ejection, a functional injection molding part must have drafts on both the cavity and core sides.
Nominal values for Draft angles
- 3 Degrees is a nominal draft angle
- 5 Degrees can also be manufactured. Increasing the manufacturing cost
- 7 Degrees is considered for Textured surface parts
Importance of Draft in injection molding
- Reduces the possibility of part damage due to friction during the release
- Reduces mold wear and tear
- Ensures a uniform, smooth, unscratched finish
- Ensures the integrity and uniformity of other surface finishes and textures
- Reduces overall cooling time by reducing or eliminating the need for unusual ejection setups
Steps followed for Draft Analysis
- The created part must be changed to the material mode in the display frame
- Compass is enabled and placed in the direction of the Tooling Axis
- The lock command is then used to fix the compass along the tooling axis
- Colour codes are classified and Draft angle is applied
- Running point analysis is used to display permissible draft angle
the Above Class A surface is later undergone draft analysis using the Draft analysis Comand
- Lower substrate
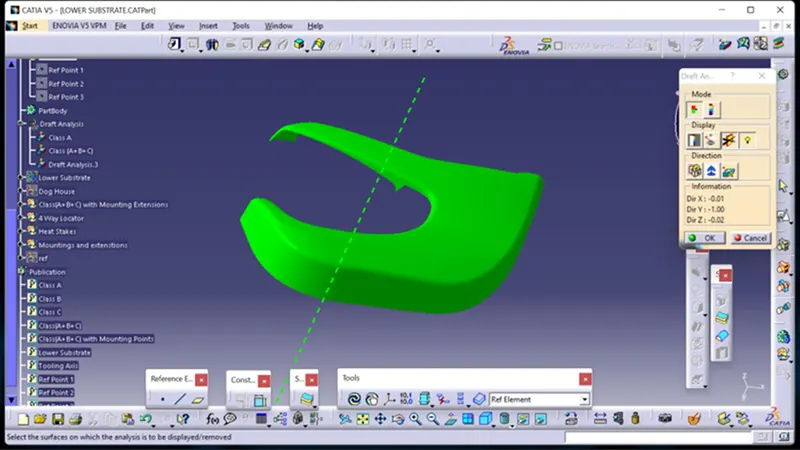
- Upper substrate
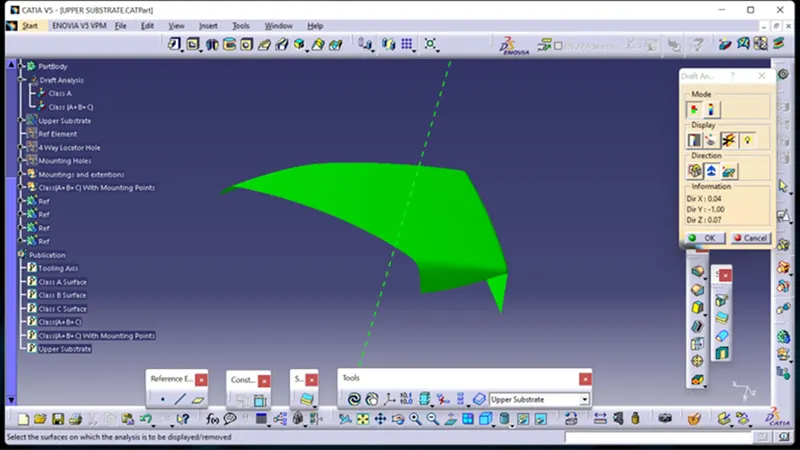
- Bottle Holder (Map pocket)
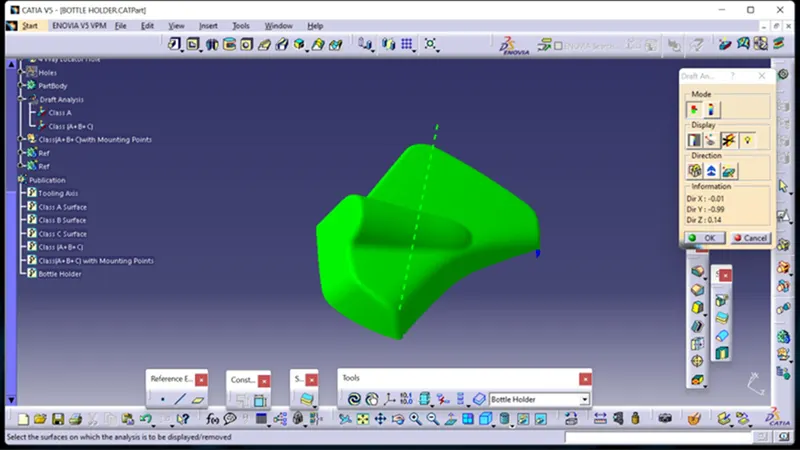
- Door armrest
Creation of Class B Surface
it is the offset surface of the Class A Surface the offset value depends on the thickness of the material, here the offset value is 2.5mm as given in the Master section.
- Lower substrate
- Upper substrate
- Bottle Holder (Map pocket)
- Door armrest
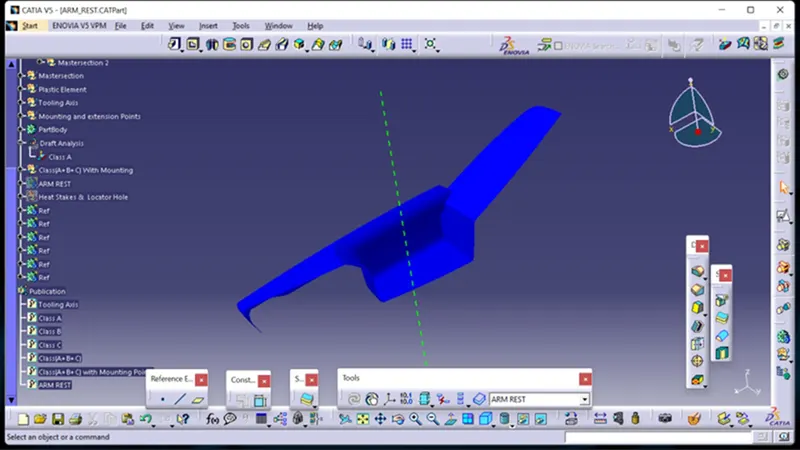
Class C surface
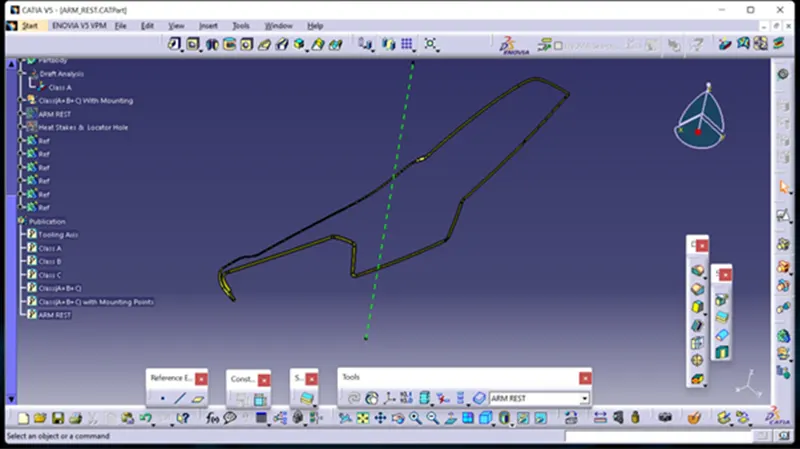
The surface that Joins both Class A and Class B surfaces are considered to be Class C Surface
- Lower substrate
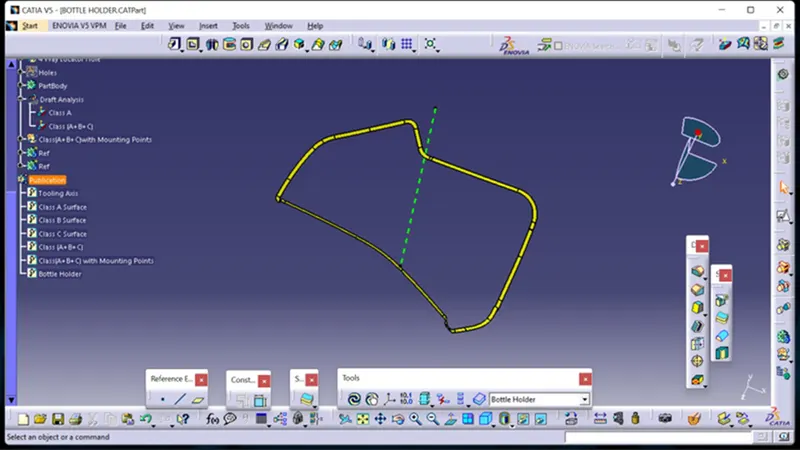
- Upper substrate
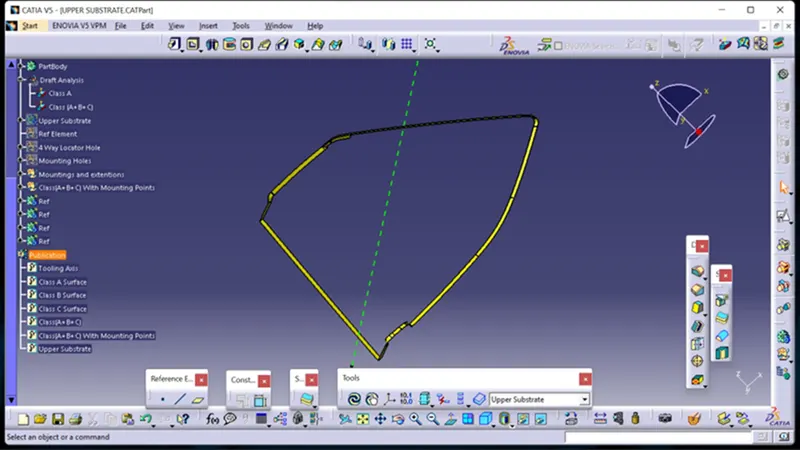
- Bottle Holder (Map pocket)
- Door armrest
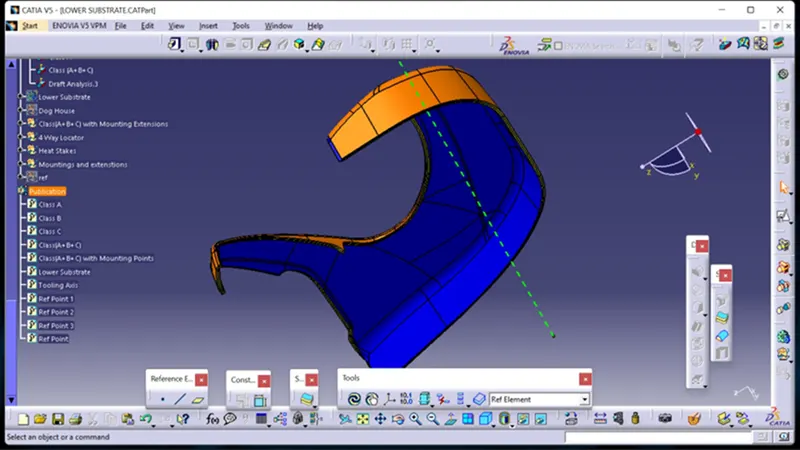
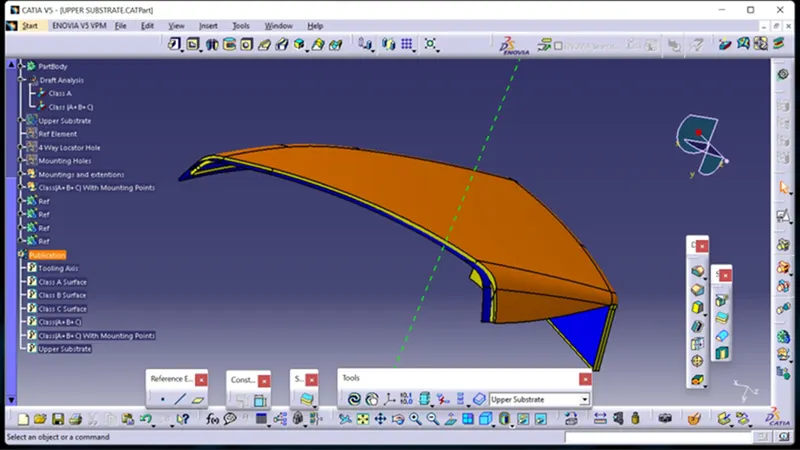
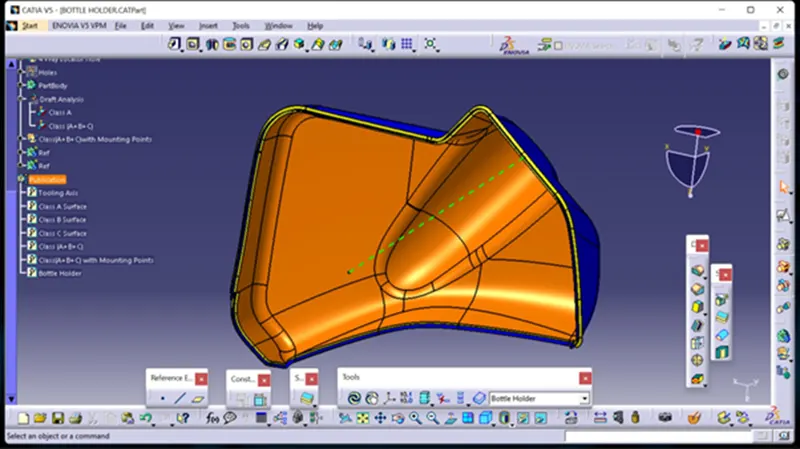
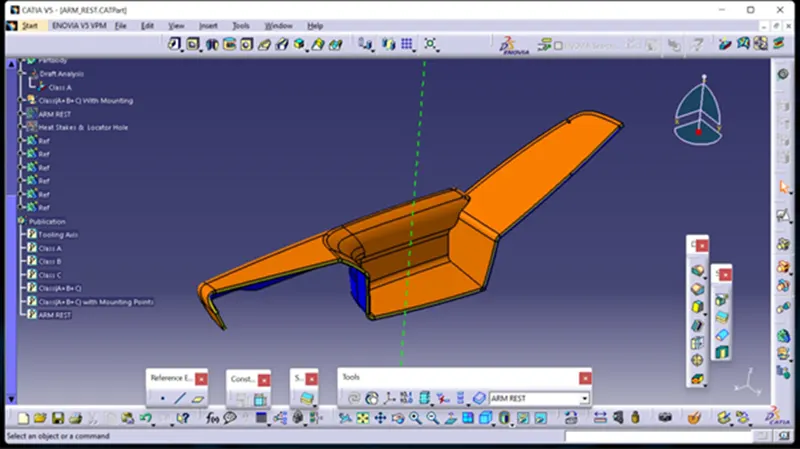
Class (A+B+C)
Here we combine all the surfaces into one closed surface using the Trim tool Command
- Lower substrate
- Upper substrate
- Bottle Holder (Map pocket)
- Door armrest
Conversion of Closed surface into Solid Part
Using Solid Command we convert the closed surface to a solid surface in the Part model
- Lower substrate
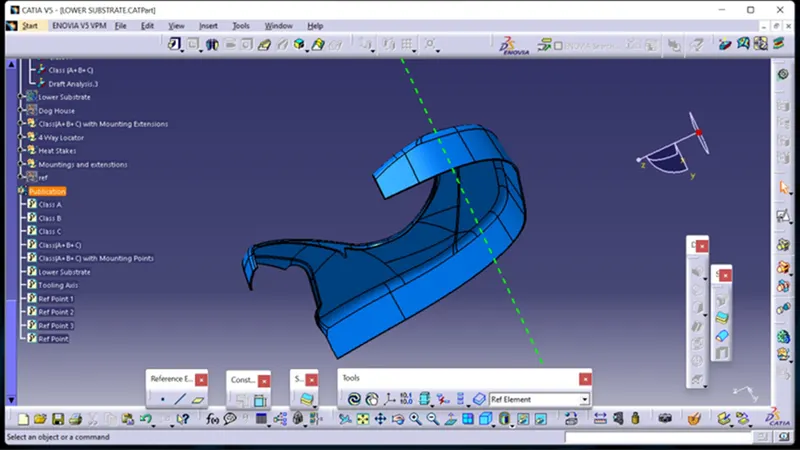
- Upper substrate
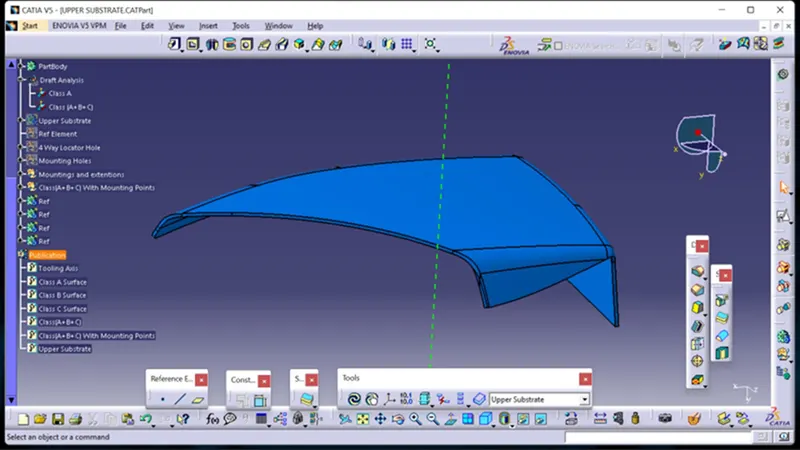
- Bottle Holder (Map pocket)
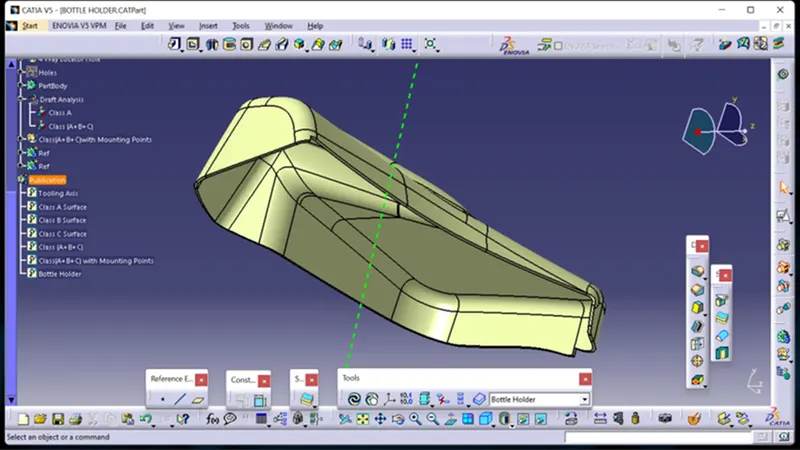
- Door armrest
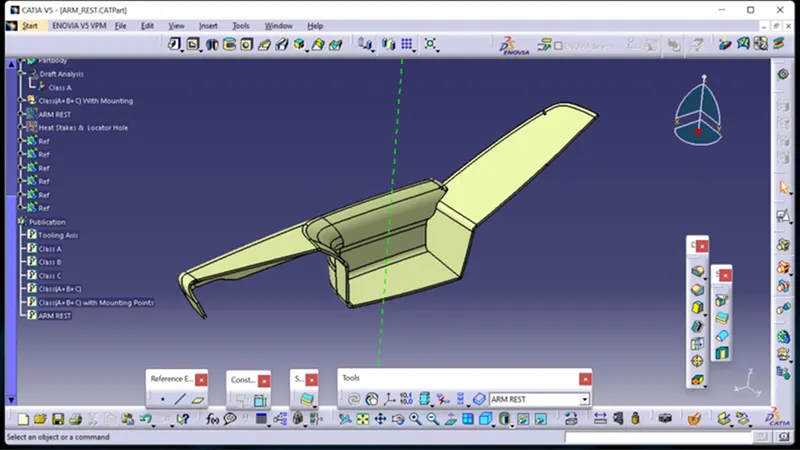
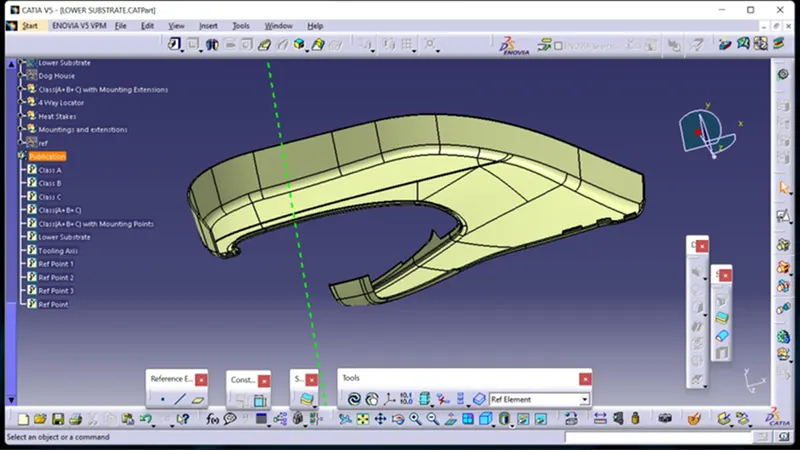
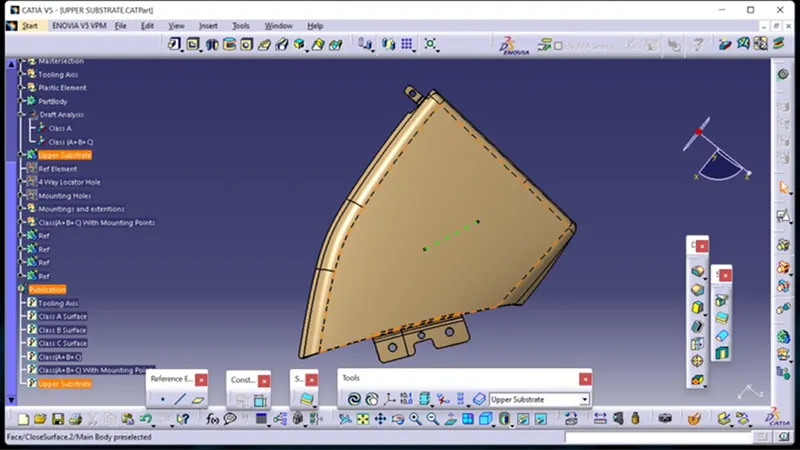
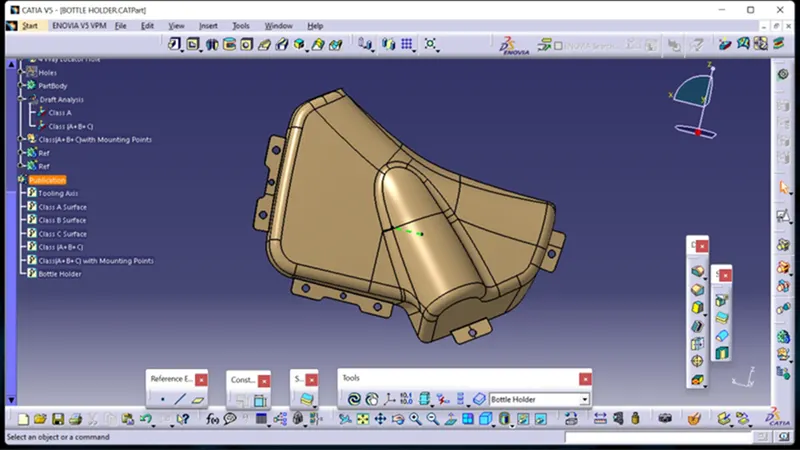
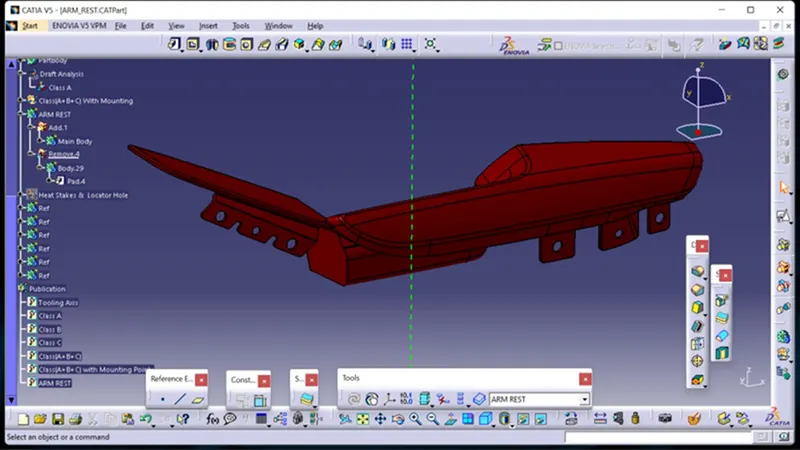
Flanges are created concerning the Master section given,
- Lower substrate
- Upper substrate
- Bottle Holder (Map pocket)
- Door armrest
Creation of attachment Features:
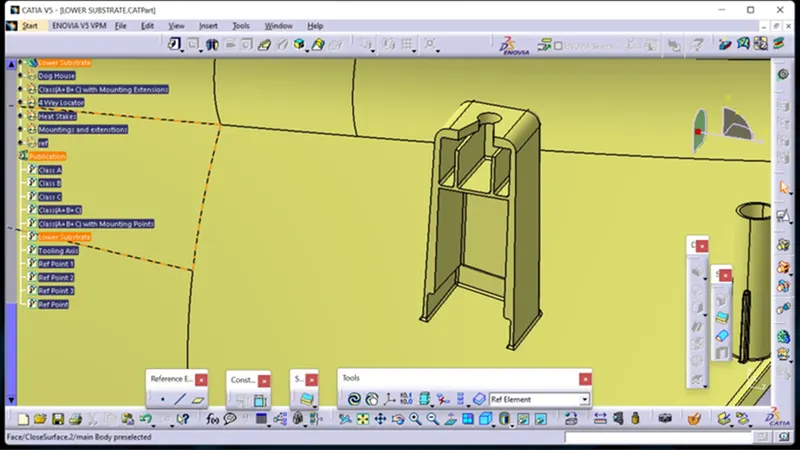
Dog house
Create the Dog House as per the design rules and give the required draft angle
- Dog house wall thickness at an intersection of the part wall (C) should be 40% or less than the main wall stock (T).
Draft Analysis
Along Main Tooling Axis
Draft Along Side core Axis
Ribs
Ribs are created according to the design rules and the required draft angle. Ribs are added to the surface to increase their stiffness and strength.
Heat Stakes:
The process of joining two dissimilar materials together. In heat staking, we use local heating and cooling to raise the temperature of plastic components and allow plastic reforming to be carried out.
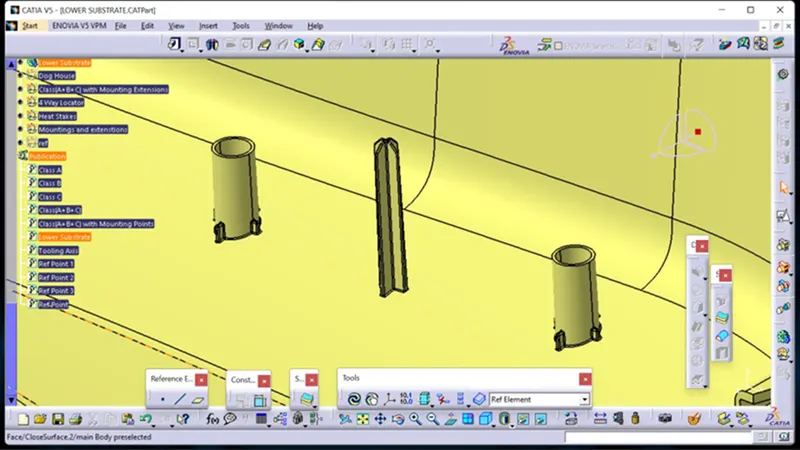
4 Way Locators:
A round locating pin located concentrically in a hole is a common application of a 4-way Locator and helps to further secure the piece. 4-WAY LOCATORS: 4-way means you prevent movement at 2 axes (+X, -X, +Y, and -Y) on the plane
Draft Analysis
Along Main Tooling Axis
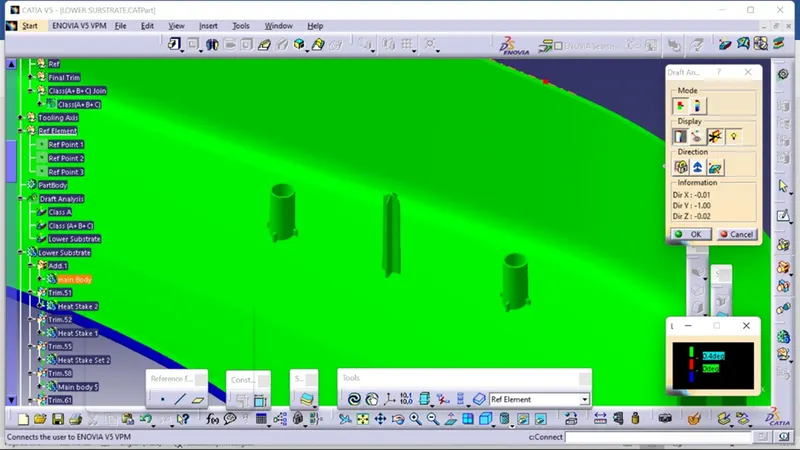
Attachment between the Lower substrate and Armrest
& Lower Substrate and Upper Substrate
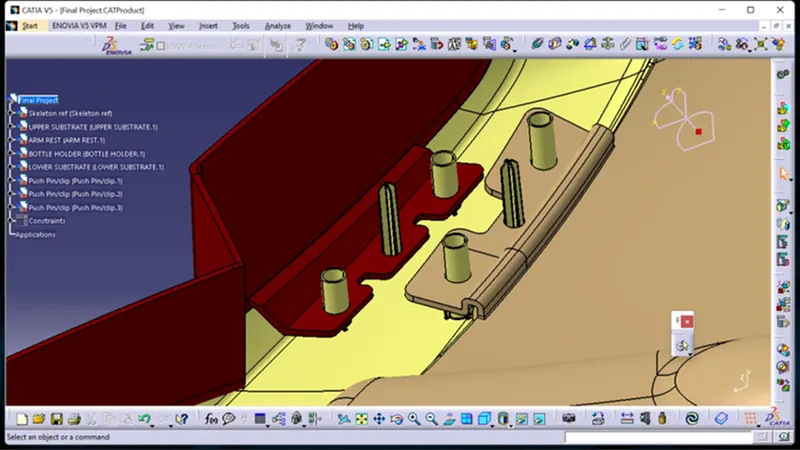
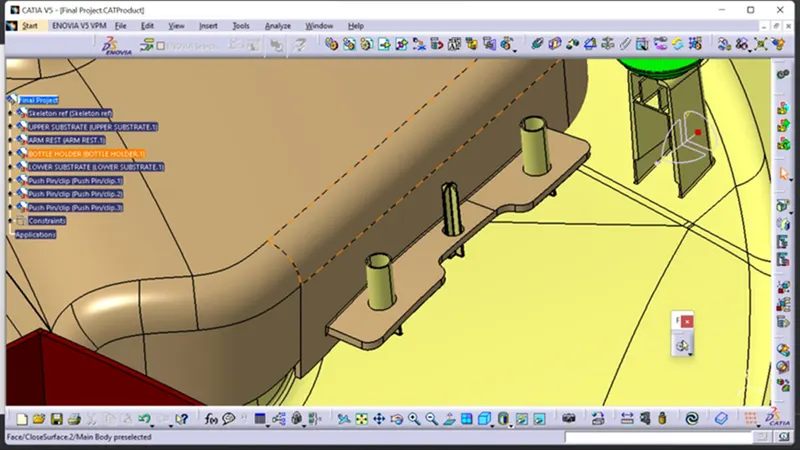
Attachment between Lower substrate and Bottle Holder (MAP POCKET)
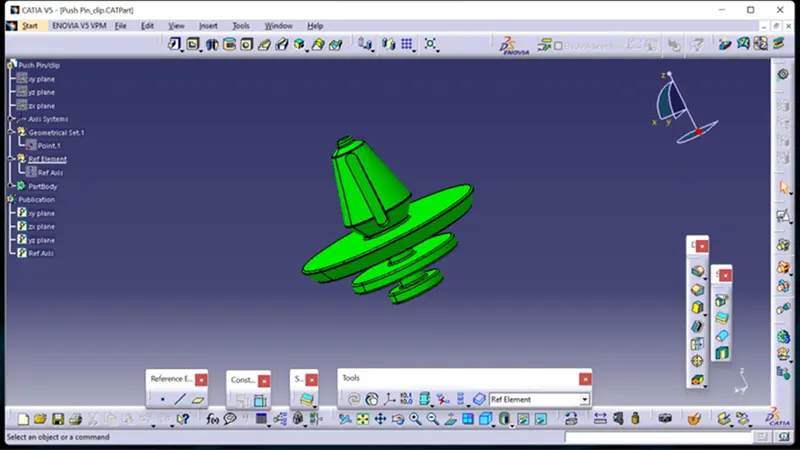
Push Pin
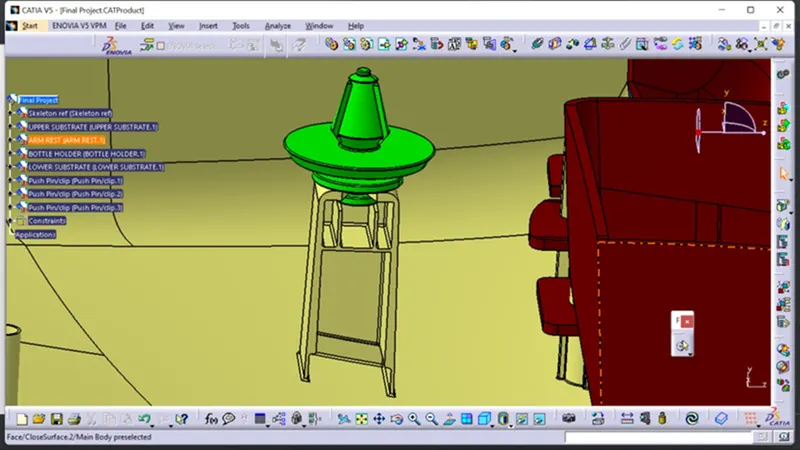
Draft Analysis of the components:
- Lower substrate
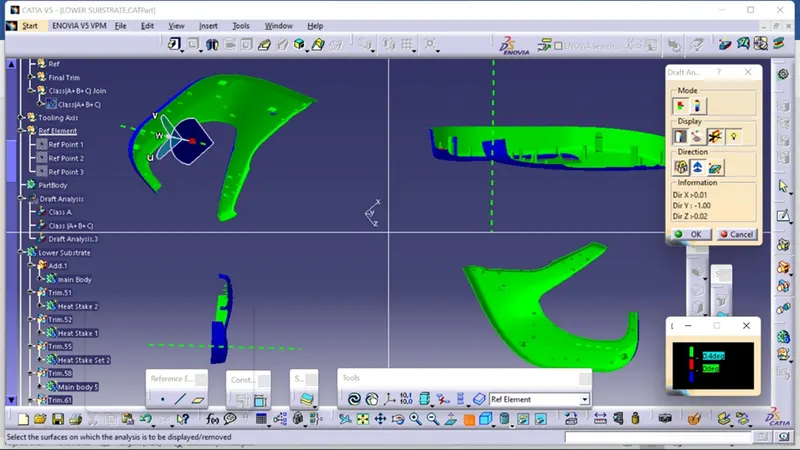
- Upper substrate
- Bottle Holder (Map pocket)
- Door armrest
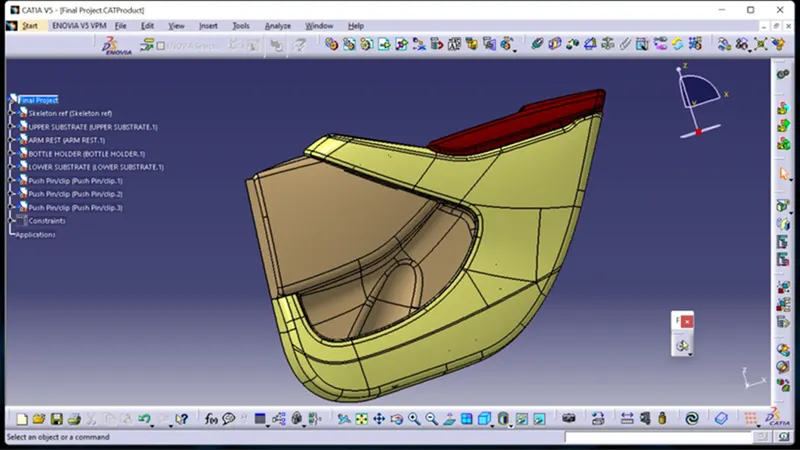
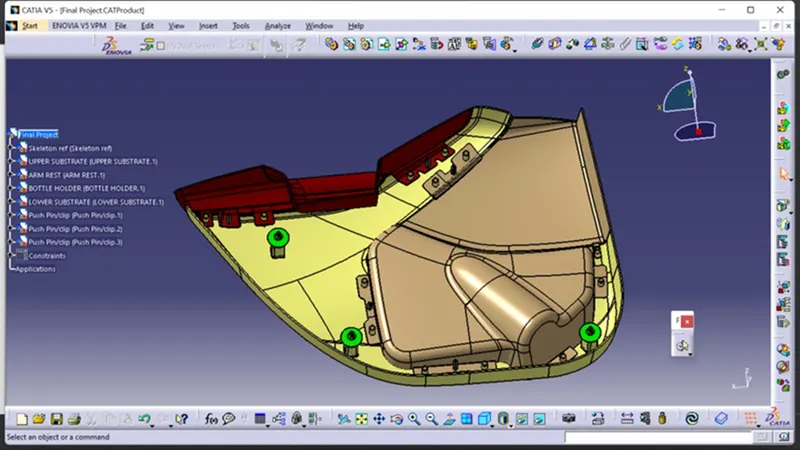
Final Assembly of the Interior Door Trim:
Front view:
Back View:
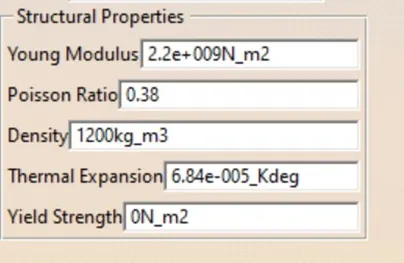
Applying Material:
Material is applied to the created Components,
Material: Plastic
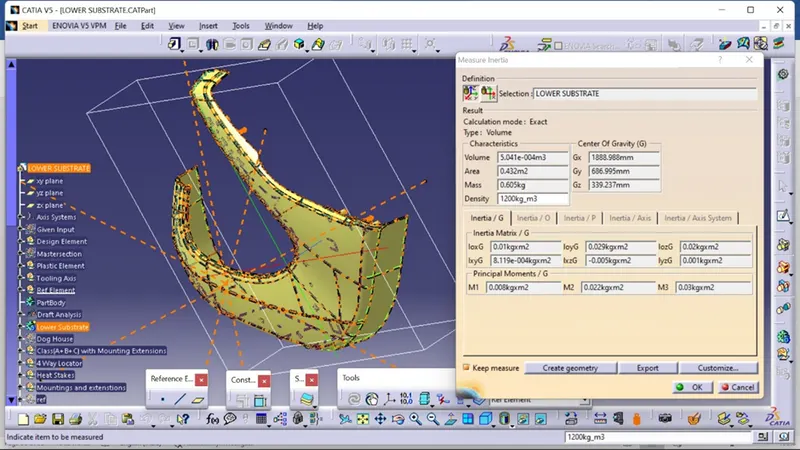
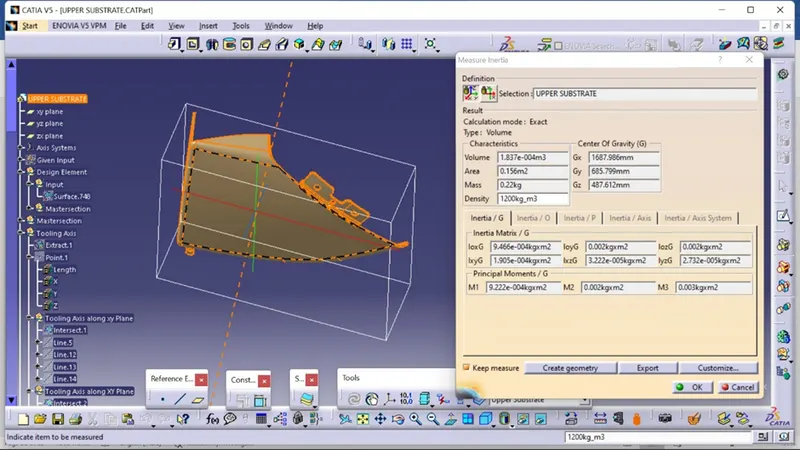
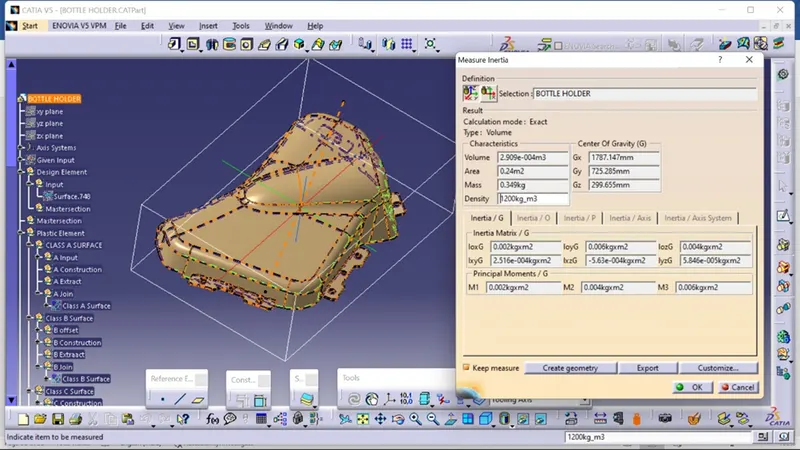
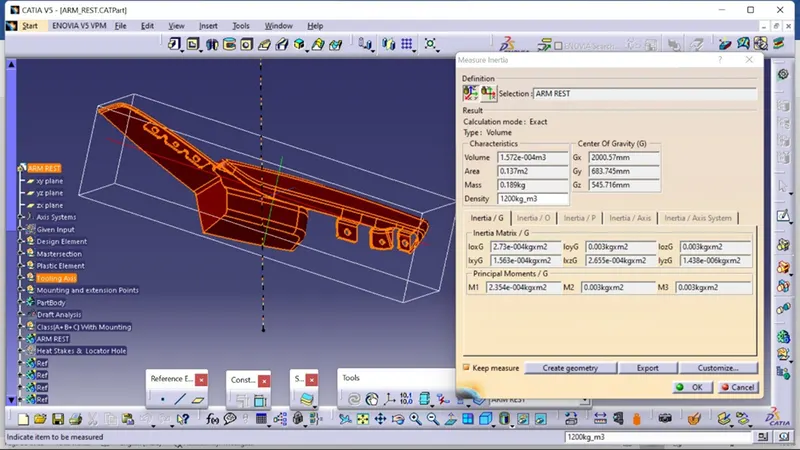
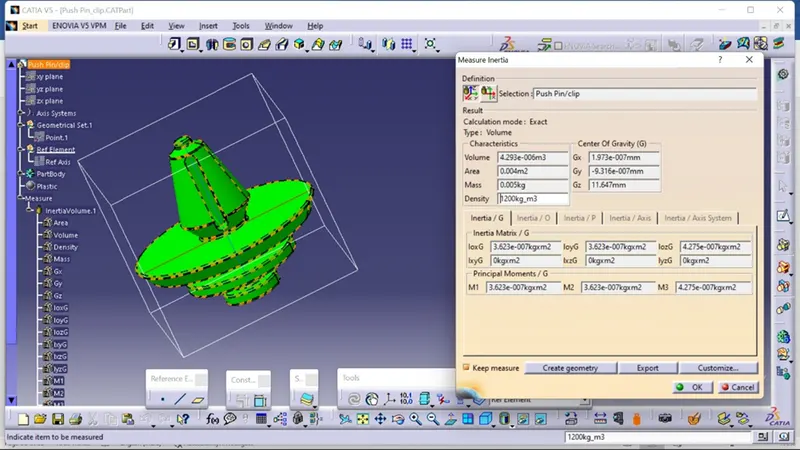
Mass of the components:
- Lower substrate
- Upper substrate
- Bottle Holder (Map pocket)
- Door armrest
- Push-Pin
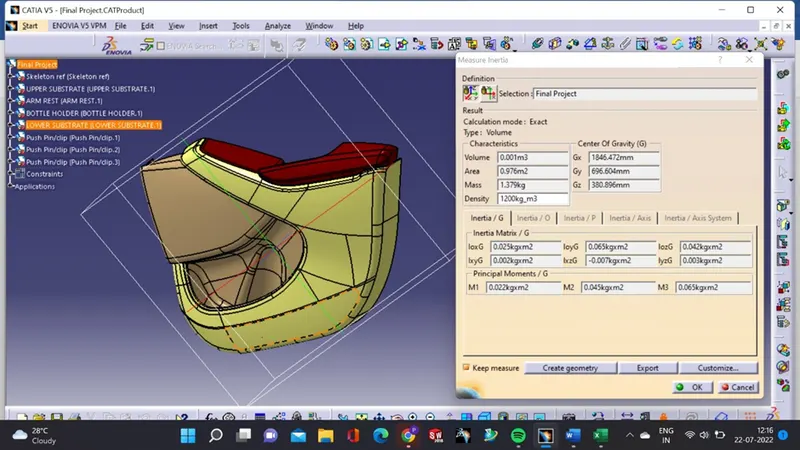
- Final Assembly