Week 11 - Final project
DESIGN AND DEVELOPMENT OF DOOR TRIM PANEL
AIM:
To design and develop the given class-A surface of the door panel and to attach B-side features.
PROCEDURE:
To create the complete door panel trim we need to follow step by step approach, the steps are
- Class-A analysis
- Solid body creation
- B-side features creation
These are the steps we are going to follow for all the components of the door trim panel.
CLASS-A ANALYSIS
Whenever we receive a class-A surface we should check the class-A surface for any gaps, using the boundary command. If there is a gap, we need to inform the studio team and once after getting the approval to modify the class-A we can also modify it.
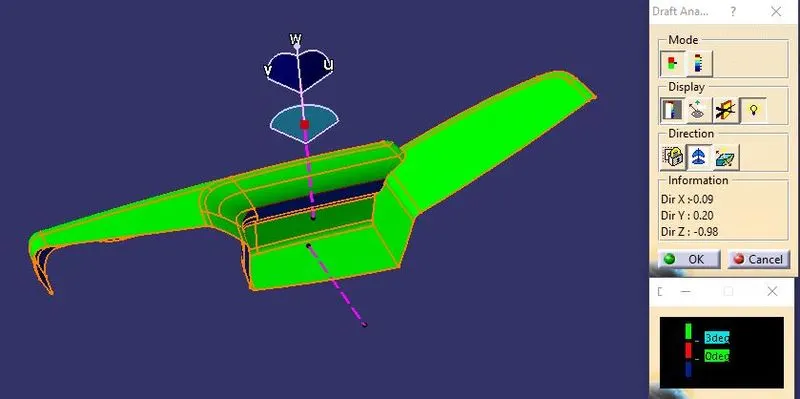
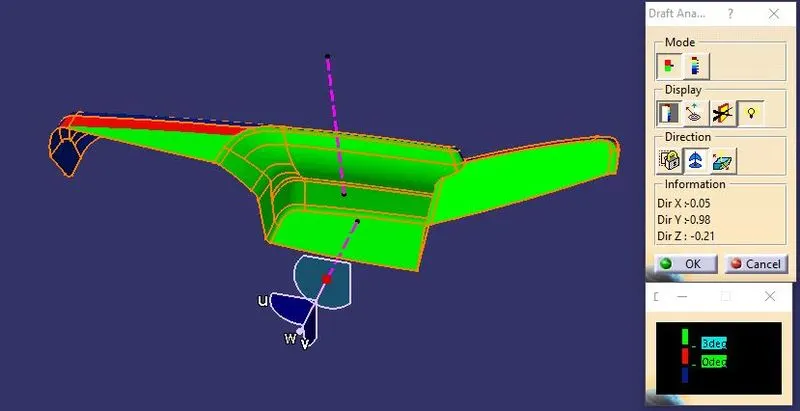
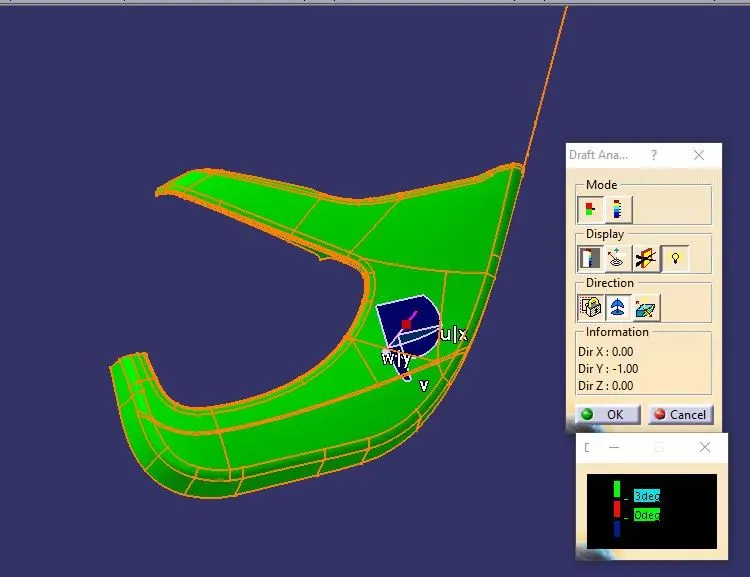
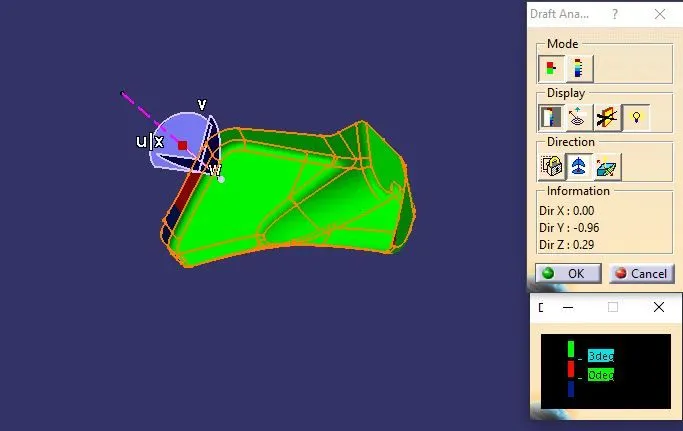
After that we have to create the draft analysis for the class-A surface so we can ensure that the component can be manufactured or not, for creating the draft analysis we need a tooling axis, so we have to check the part in all compass orientation for creating the tooling axis or we can follow the bisecting method also. In this bisecting method we need to intersect the class-A surface with a plane and we have to create the bisecting line on the origin point of the class-A surface.
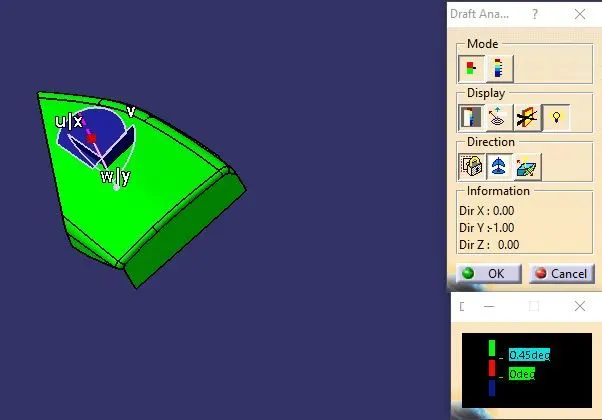
Then we have to perform the draft analysis on that class-A surface according to the tooling axis, for performing the draft analysis we have to enter the material mode then we have to place the compass on the tooling axis and enter the minimum draft value, then we can check the class-A surface for the draft angles.If some of the areas of the class-A is not cleared in a single tooling axis we have to create the side core tooling axis in order to clear the areas.
SOLID BODY CREATION
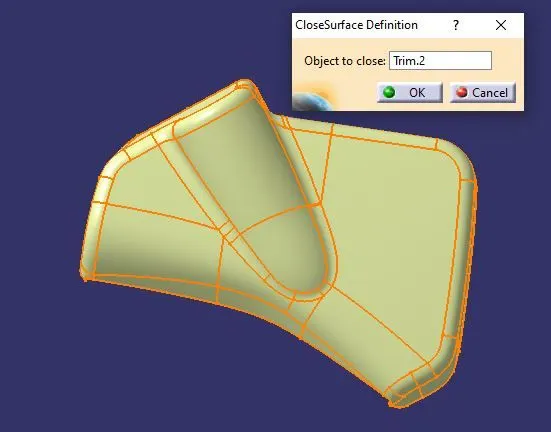
After performing the draft analysis we need to create the solid body by offsetting the class-A surface according to the required thickness of the part, here the thickness value is 2.5 mm, while creating offset we have to work on the patches and small radius which are creating problems, after creating the B-surface we need to create the C-surface of the parts, for C-surface creation we need to create a sweep along with draft direction, and we have to trim the class-A and B-surface with the C-surface while trimming we have to select the correct direction for trimming, after creating the closed surface we have to use the close surface command in the part work bench to create a complete solid out of that closed surface.
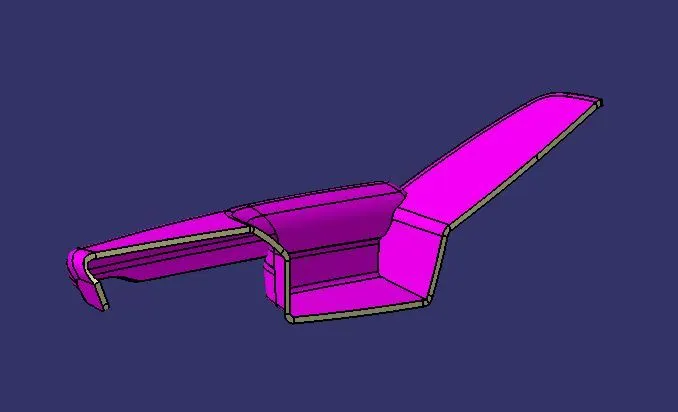
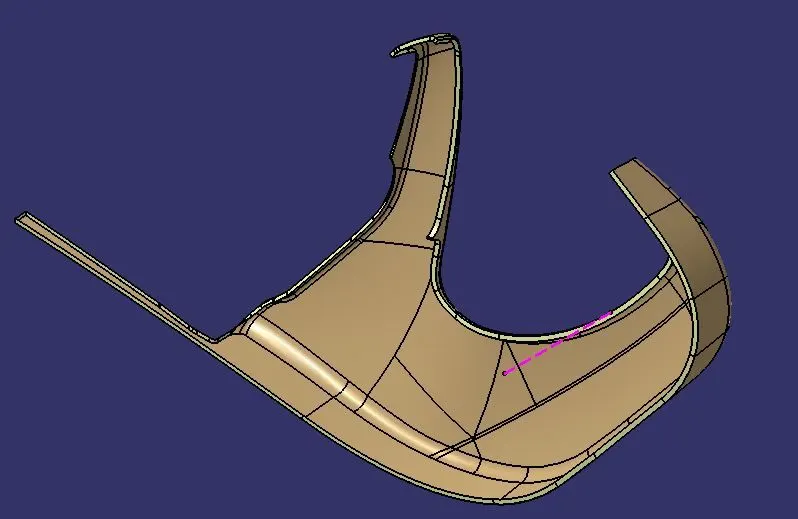
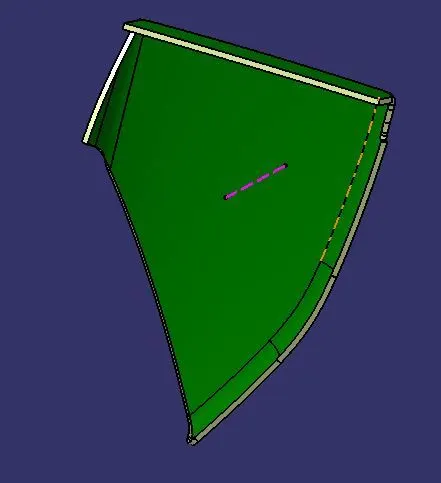
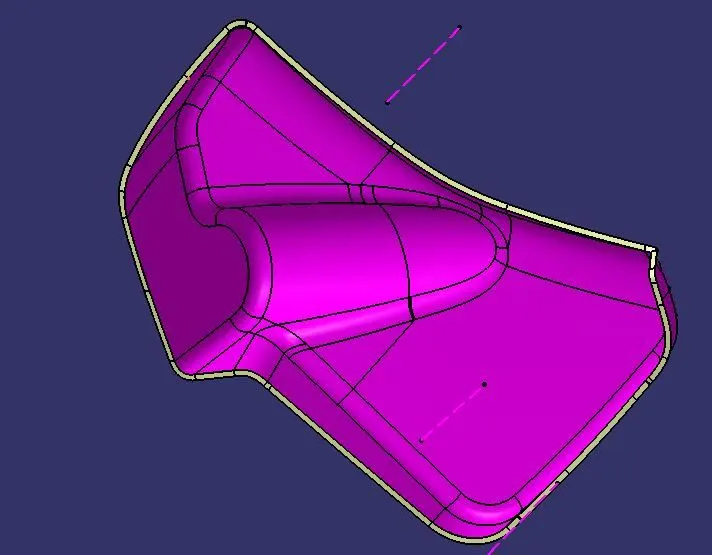
After creating the close surface we have to join the A,B,C-surfaces together, to form the complete closed body then we can use the close surface command to form the complete solid body out of the closed surface.
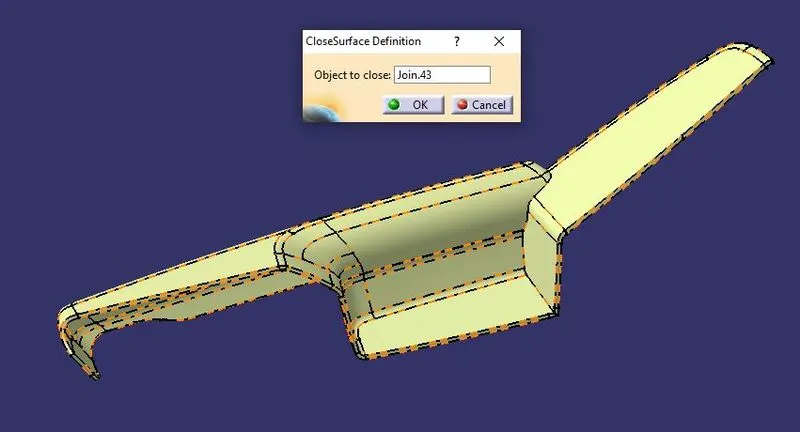
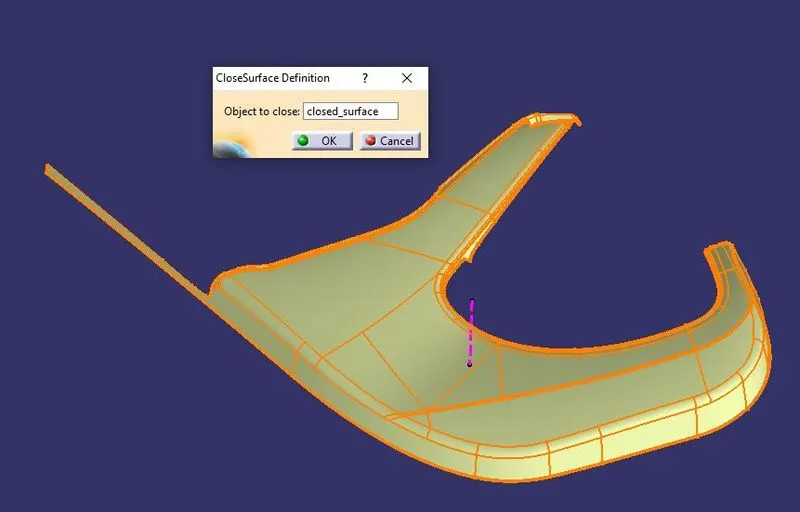
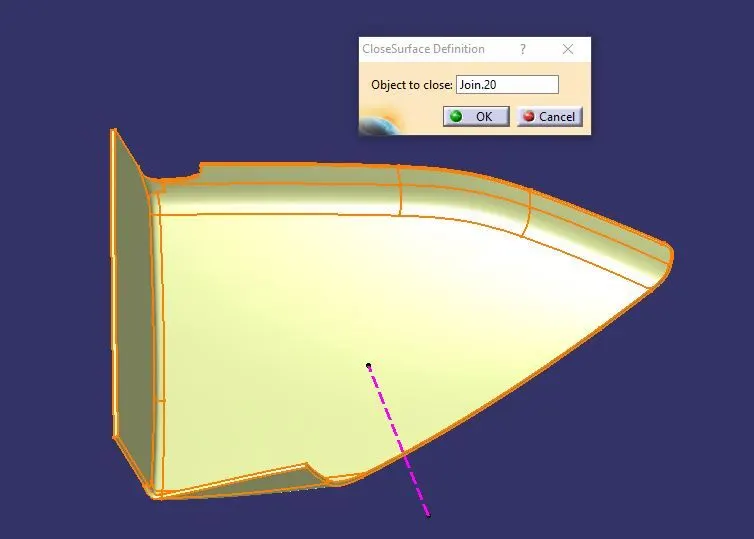
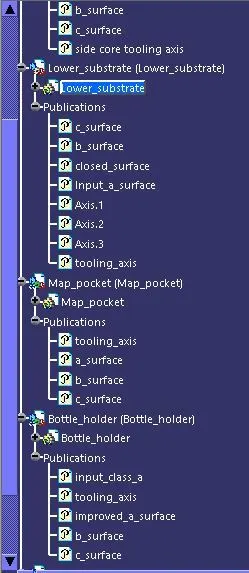
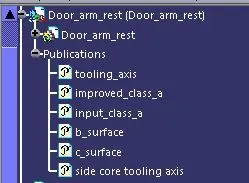
Always we have to ensure that we are publishing the class-A, Tooling axis, class-B, closed surface and other features which we need frequently, so we can easily access them.
B-SIDE FEATURES CREATION
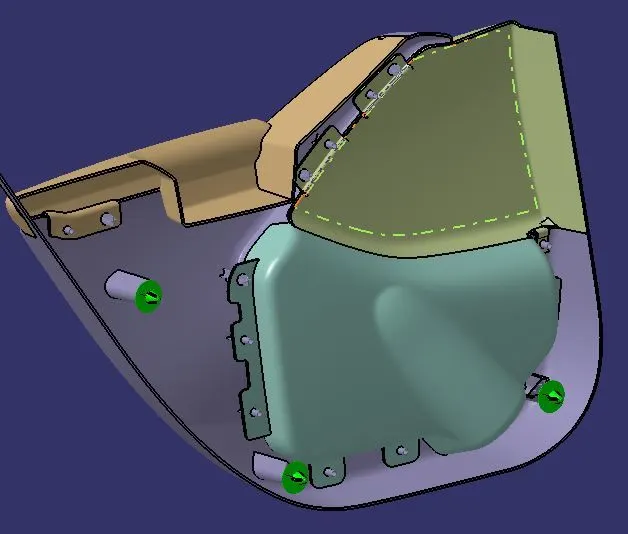
After creating the complete solid body we have to create the B-side features, for creating the B-side features we have to follow the master sections to create the flanges and heat stakes for part to part attachment, and locators for positioning the parts in correct locations, for that purpose the locators should have height more than the height of the heat stakes.
We can use the points for the reference of the attachment features, while using points we have to maintain some relation between the child part and parent part. So if we alter the position of the heat stake on the parent part then the corresponding hole of the child part will also get updated easily.
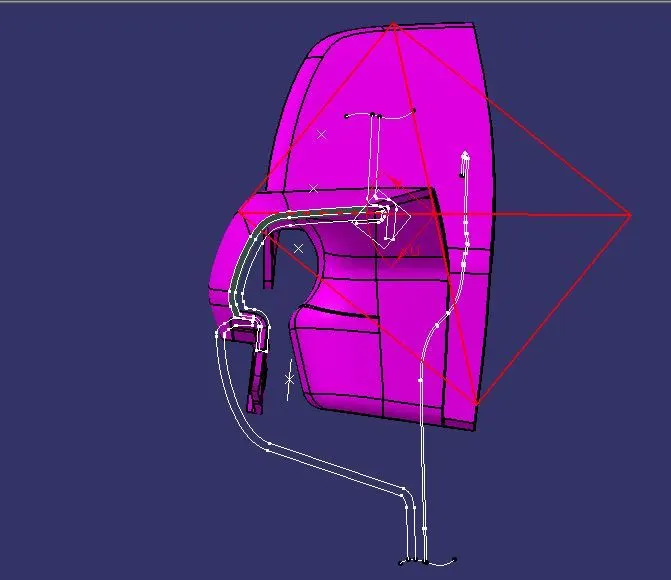
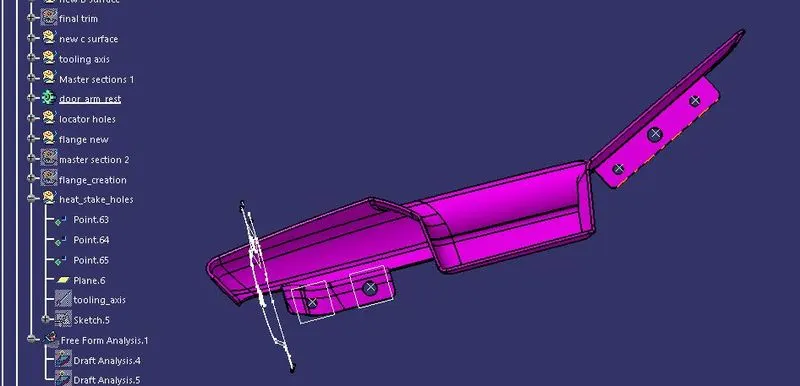
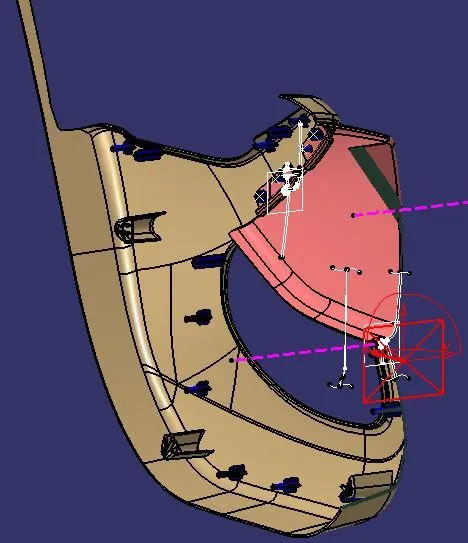
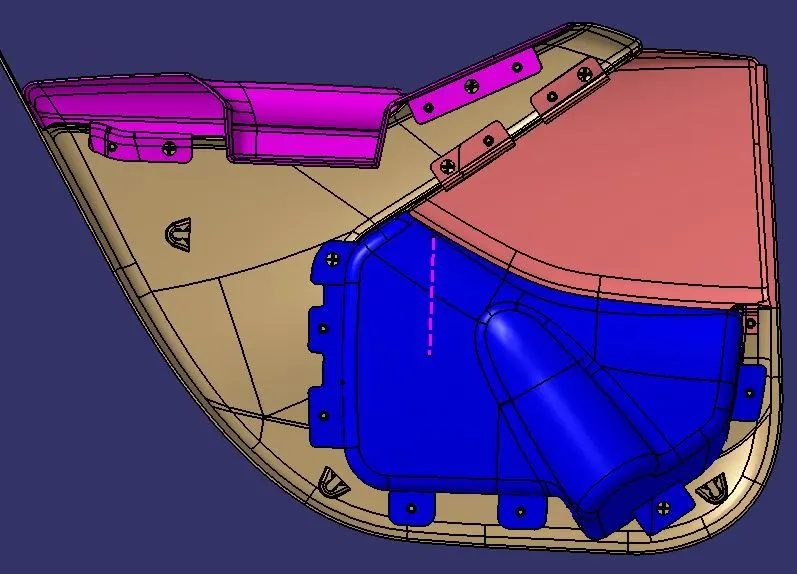
After creating flanges according to the master section we have to create the heat stakes and doghouses for attachment of two parts and also we have to make draft analysis on the B-side features to ensure it can be manufactured.
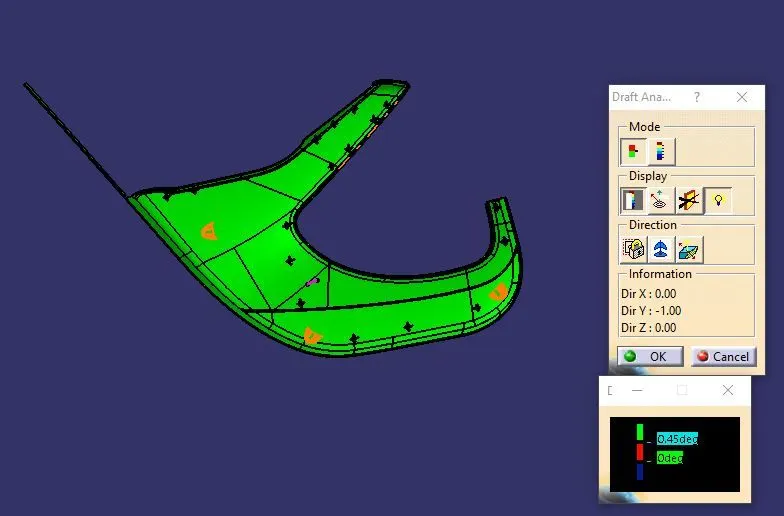
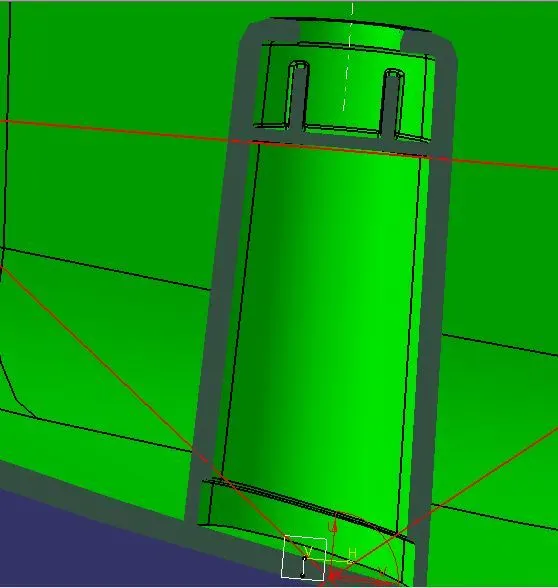
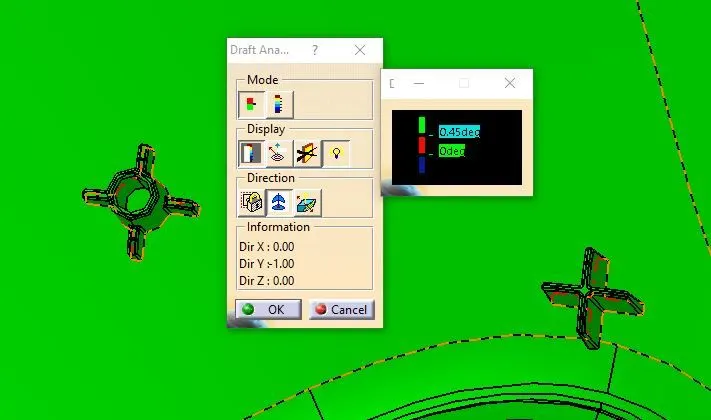
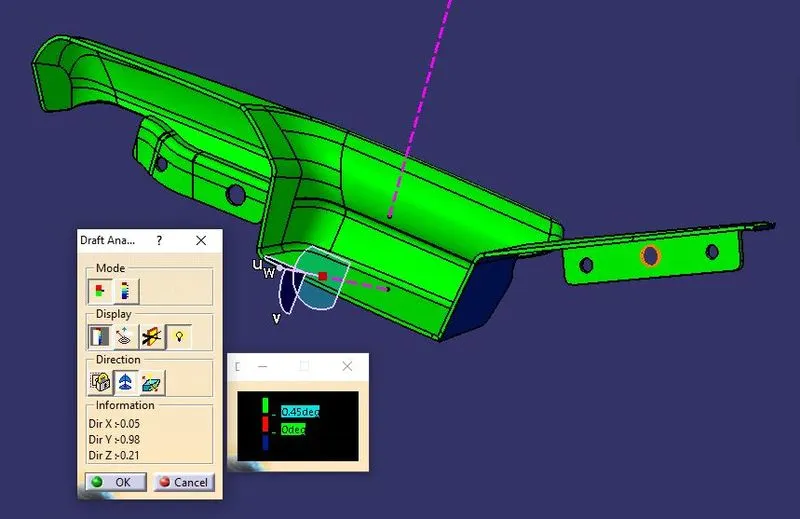
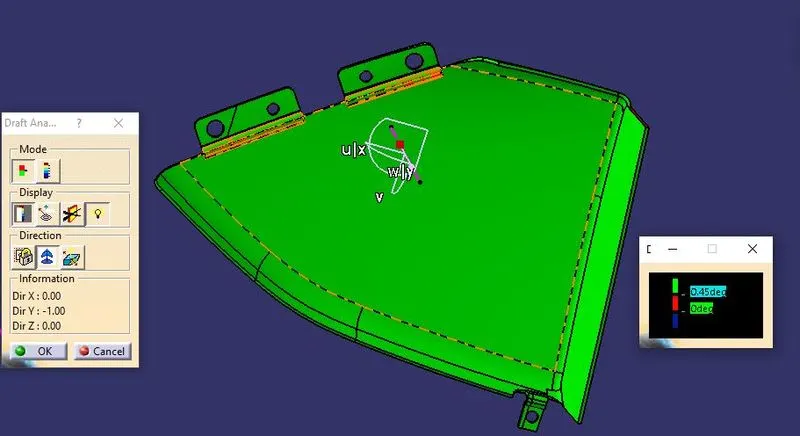
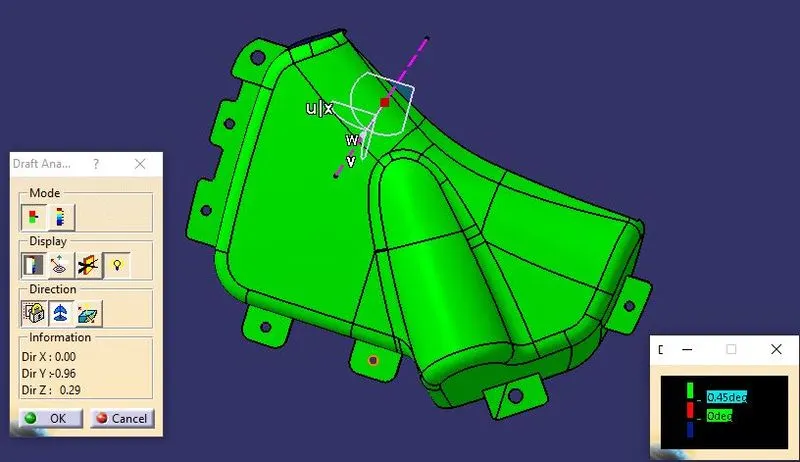
for the B-side features we have the draft values of 0.5 degrees, so we have to change the values of the draft analysis tool to have a correct colour codes on the part.
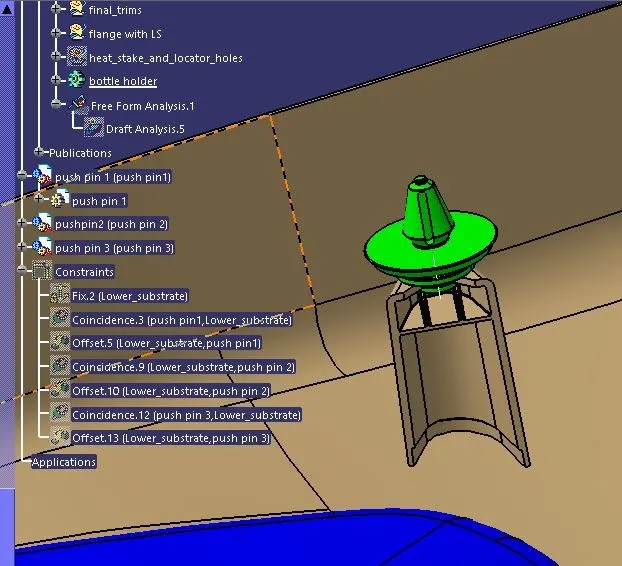
Then we have to assemble the push pin with the correct reference to the dog houses. we need to use the constraints on the assembly work bench for proper assembly of the components.
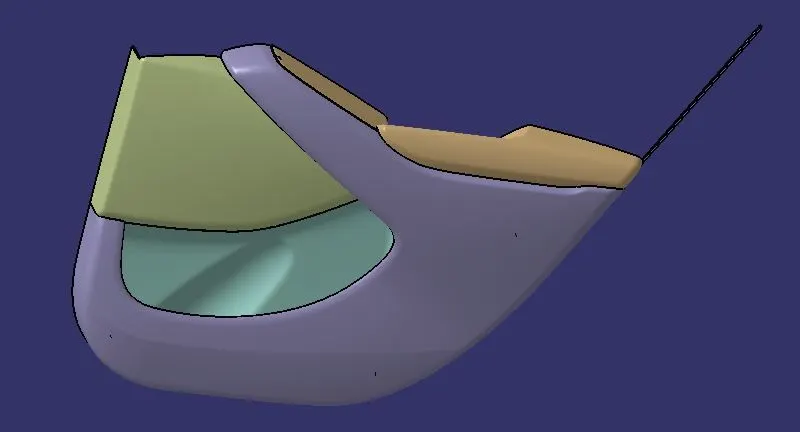
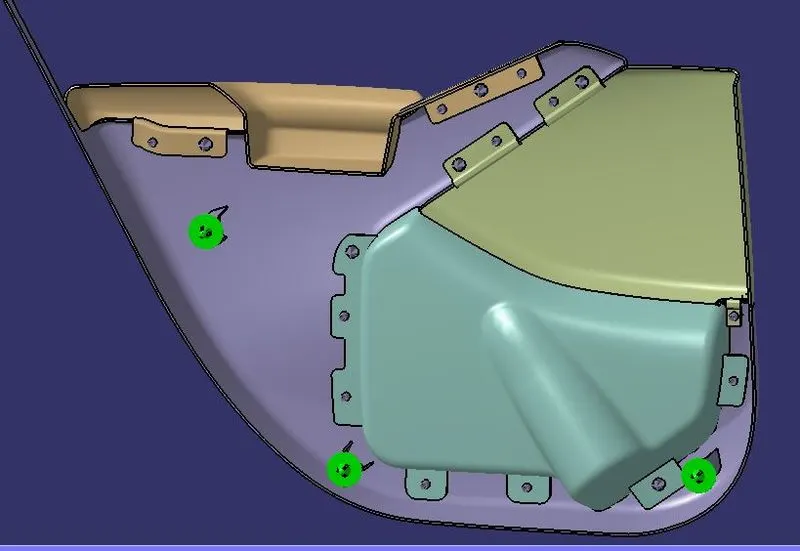
Various views of the final product interior door tim is given below.
CONCLUSION
Thus the door interior trim is designed from the class-A surface and draft analysis is also created, and B-side features are also created.