Week 11 - Final project
Aim:
To create door trim panel with attachment features considering the given inputs, design rules and following the OEM standards.
Abstract:
Plastics represent only about 10% of the weight of today’s vehicle but about 50% of the volume. the use of plastics in car parts has made vehicles lighter, smoother to drive and less noisy. The foremost reason plastic injection is important is to make a car lighter in weight. When weight is lessened, gas consumption is also lessened.
Plastic has revolutionized the design of car interiors, especially the doors and consoles. Consoles include armrests, cup holders, and storage spaces. That would be difficult to reproduce as efficiently and with the same performance results using any other family of materials. Plastics help reduce noise, vibration, and harshness in the vehicle interior. plastics door modules can save time in production and assembly.
Objective:
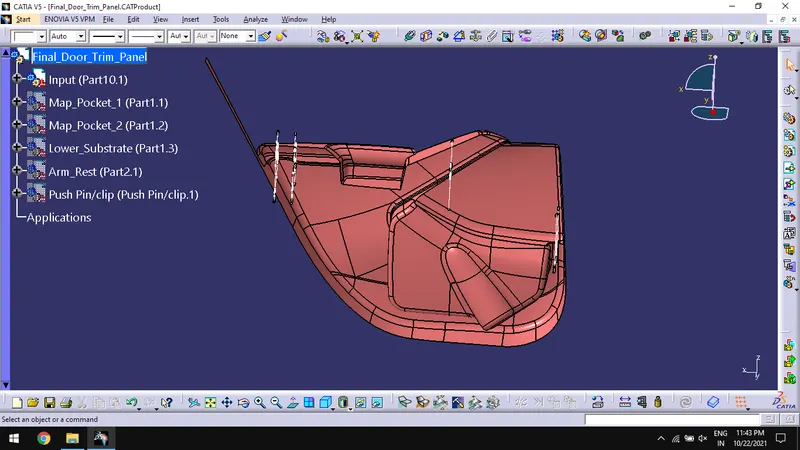
- Creation of product file from the given Class A data with all the parts separately.
- Creating the tooling direction for all the parts.
- Creating the solid bodies by making proper class B and class C surfaces.
- Follow the master section to create the flanges and engineering features.
- Creation of additional features such as flanges, dog houses and heat stakes.
Methodology:
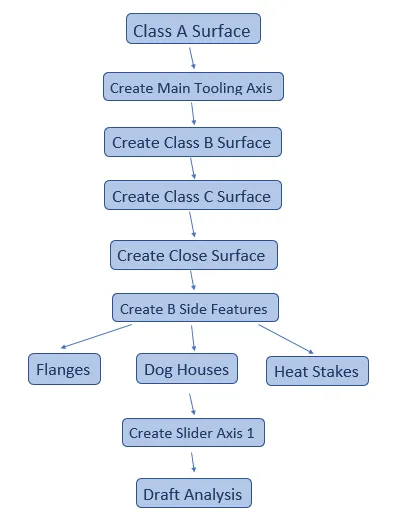
Given Class A Surfaces with master section:
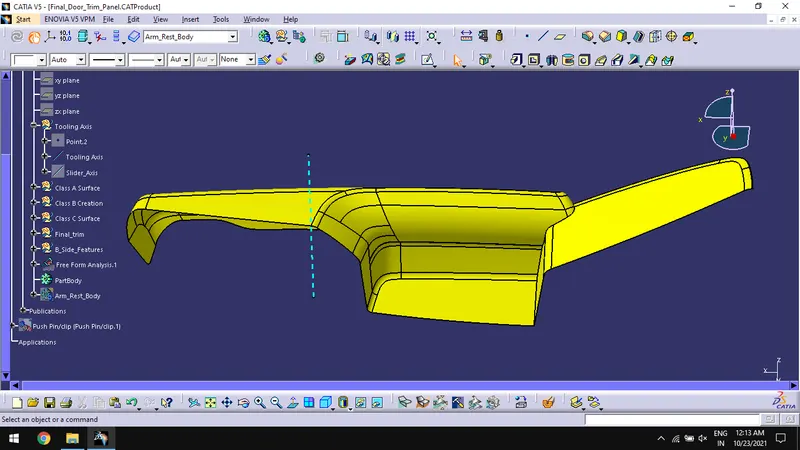
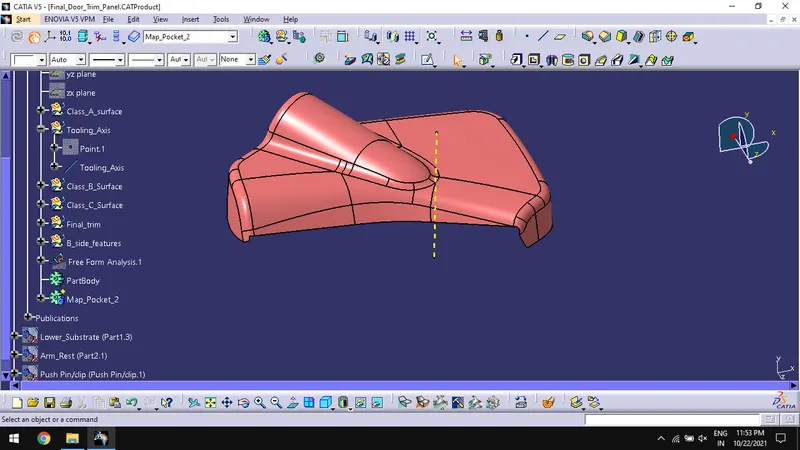
Creation of Tooling Axis:
- Extract the edges of locators in master section.
- Create a point on the surface.
- Draw lines using point- direction option and rename it as tooling axis.
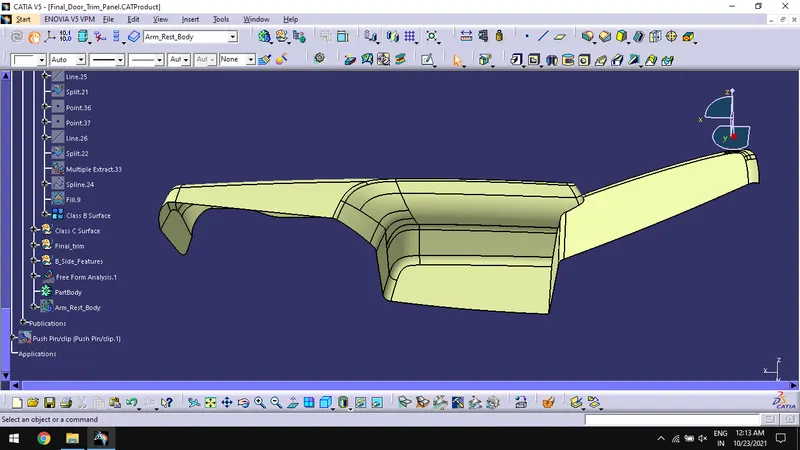
Creation of Class B Surface:
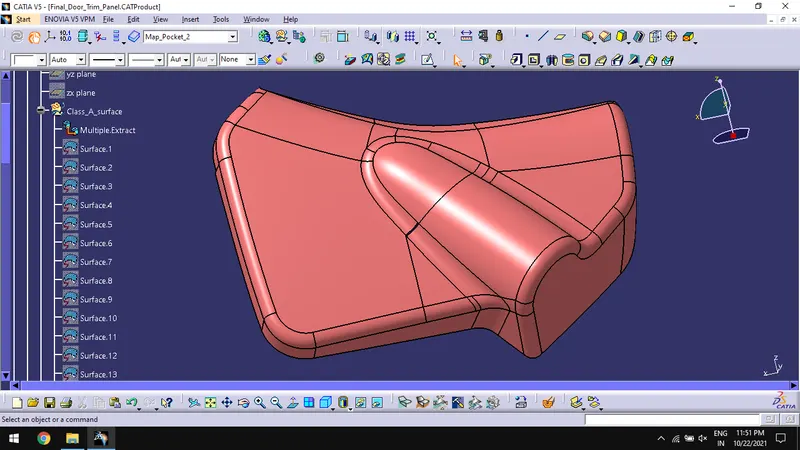
- Create a geometrical set, name it as Class B surface and extract the surfaces of class A using extract command.
- Offset the surface for 2mm.
- Extrapolate and trim the required surfaces.
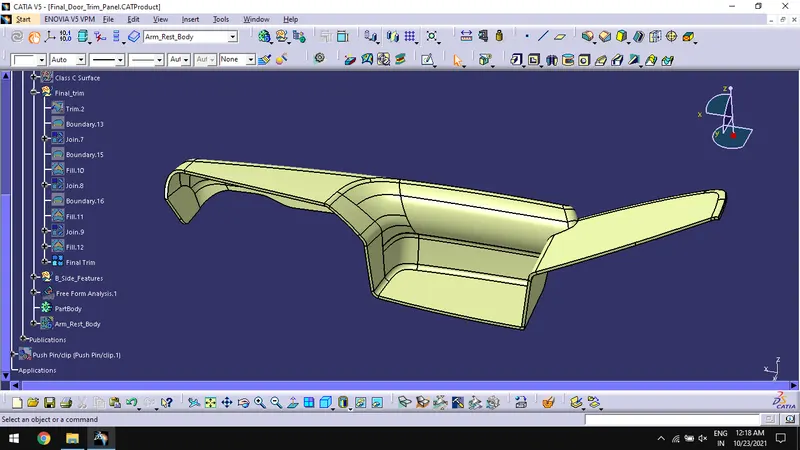
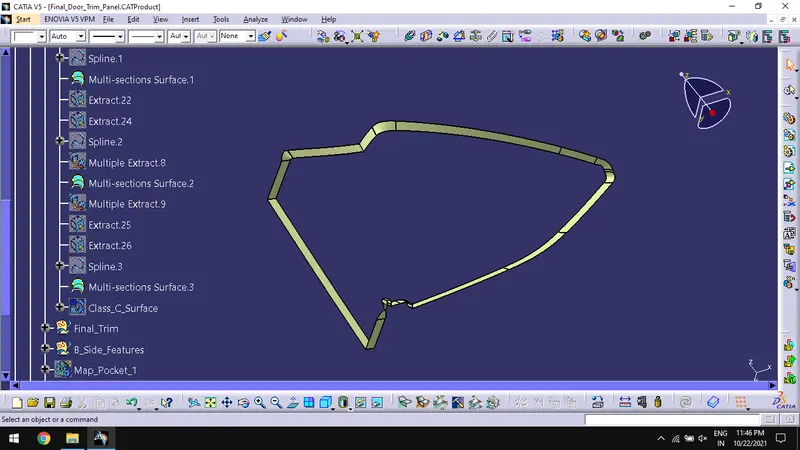
Creation of Class C Surface:
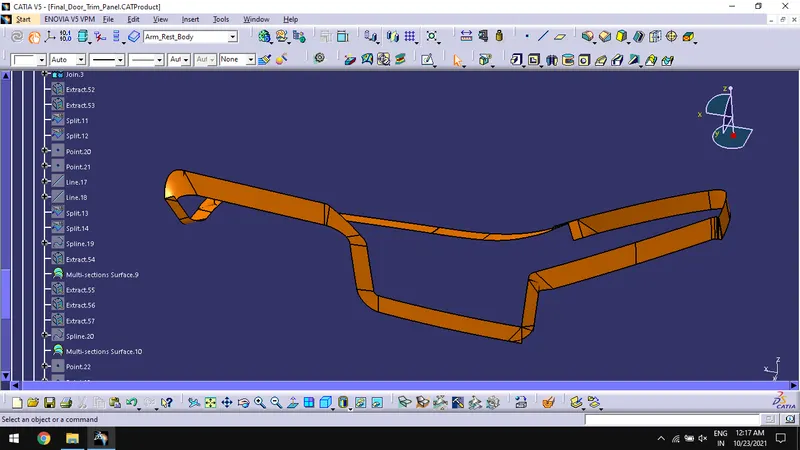
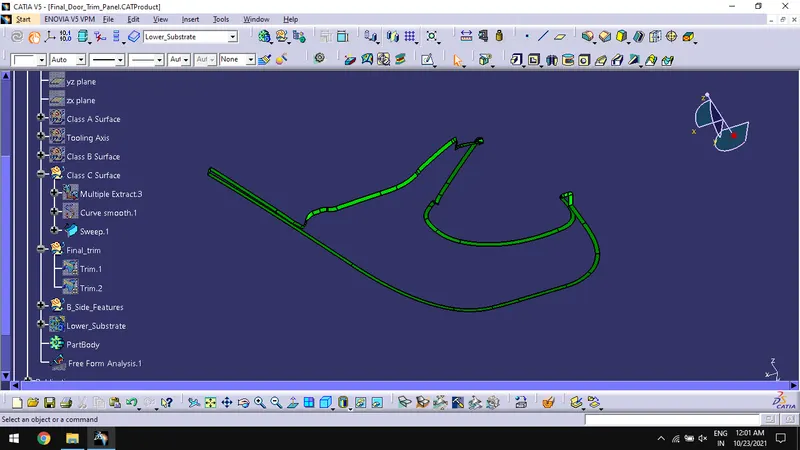
- Extract the edges of class A surface with flanges using multiple extract.
- Sweep the extracts with reference surface or draft direction as tooling axis.
- Extrapolate the sweeps to create class C surface.
- Trim the class C surface with class B surface.
Creation of Solid Components:
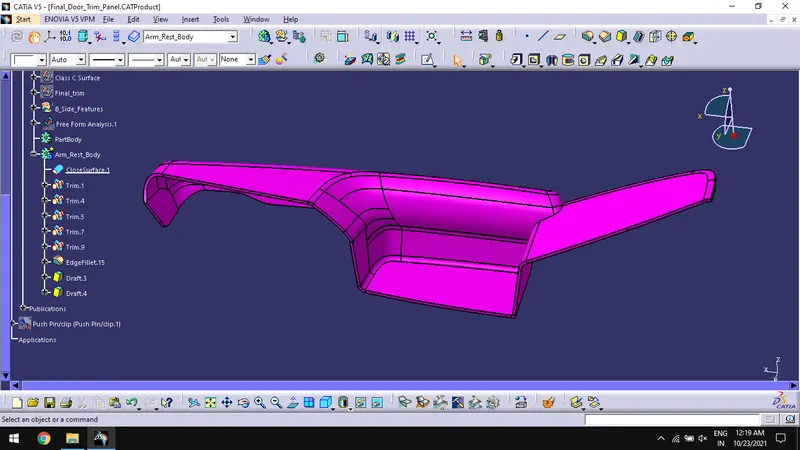
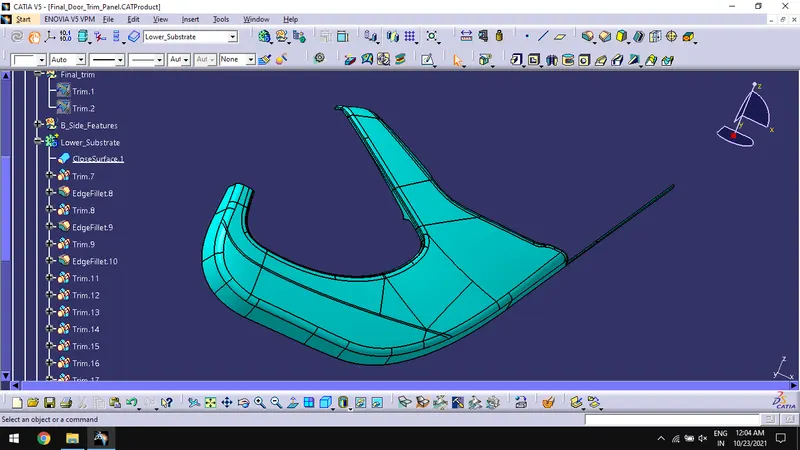
- In part design workbench, use close surface command on the surface to create solid plastic component.
Creation of B- Side Features (Engineering Features):
Creation of Flanges:
- Create a plane on the master section with 3 points.
- Create a sweep on the edges of the class A surface using extracted edges by multiple extract command.
- Check the sweep by intersecting the master section with plane created.
- Offset the sweep based on the intersect.
- Trim the class A with sweep.
- Use thick surface command to thicken the required surface.
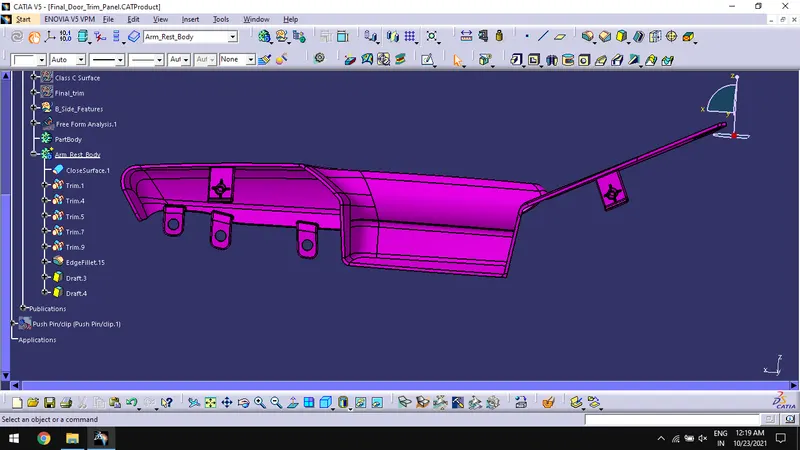
- Sketch holes required for heat stakes.
- Make draft for 0.50 on sides.
- Create edge fillets on the edges.
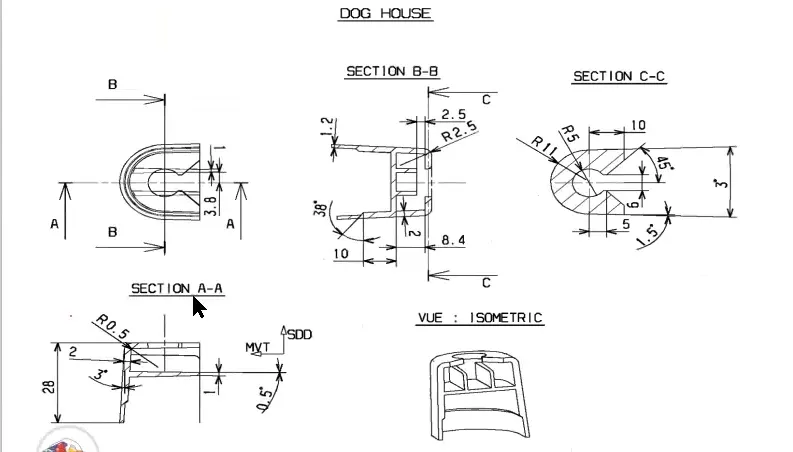
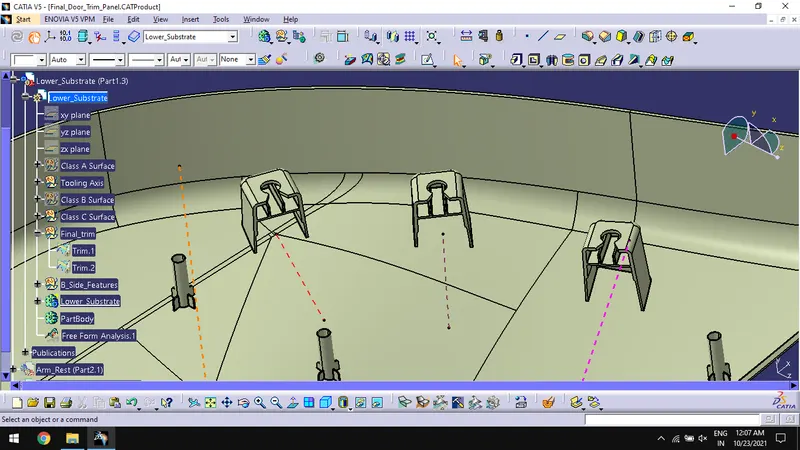
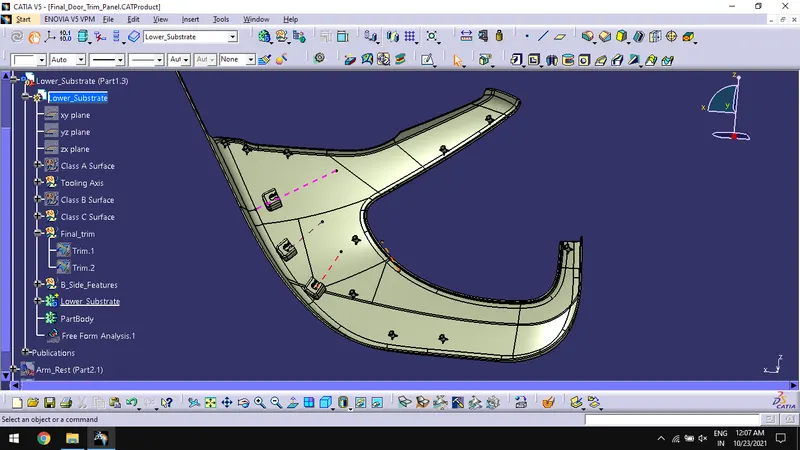
Creation of Dog Houses:
- Create point and plane based on location for dog house.
- Create the sketch and extrude for the dog house surface.
- Extrapolate and trim the surface to get the required surface.
- Use thick surface command on the surface to get the solid dog house.
- Create ribs and cutouts used for push pins on the dog house.
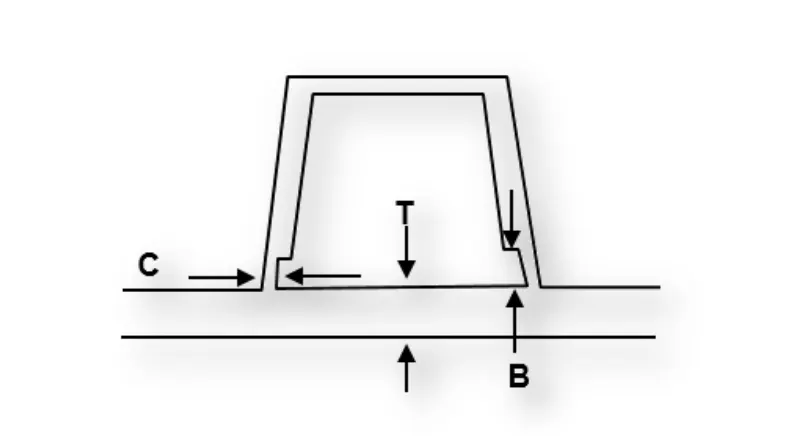
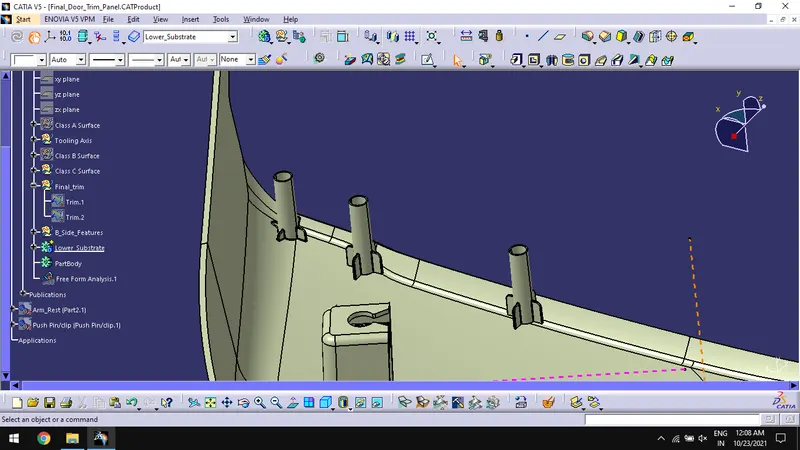
Creation of Heat Stakes:
- Create a sketch and draw the profile for heat stake.
- In part design workbench, pad the sketch for required height.
- Create ribs for heat stakes.
- Draft and fillet the body of the heat stakes and ribs.
- Union trim the bodies together.
Creation of Push pin:
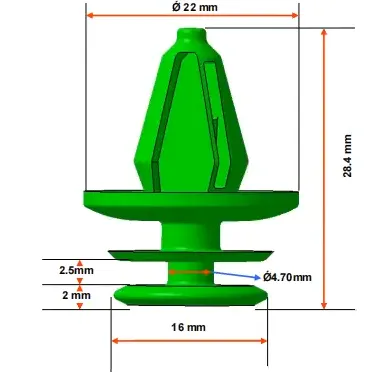
Creation of Slider axis:
- Create a line using point and direction which clears the dog house.
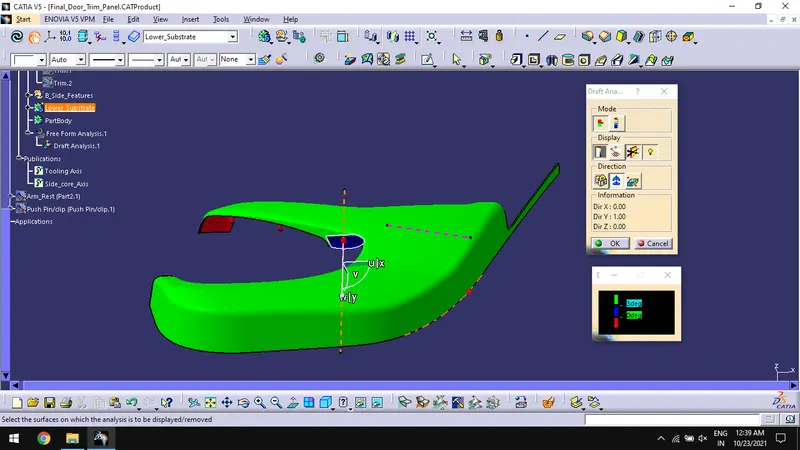
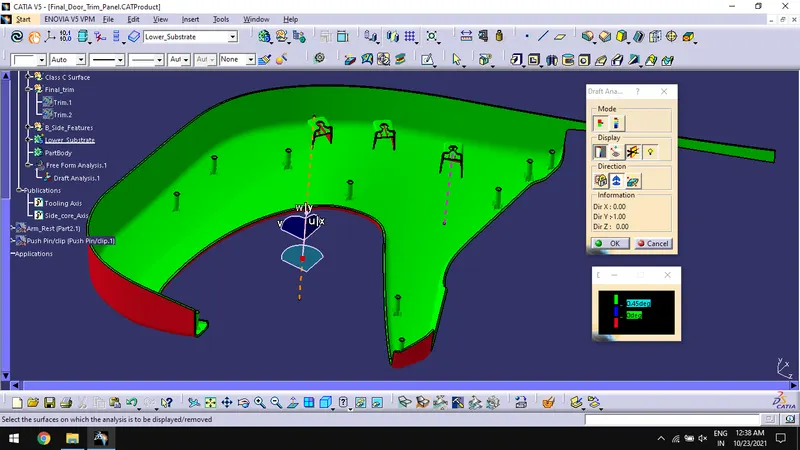
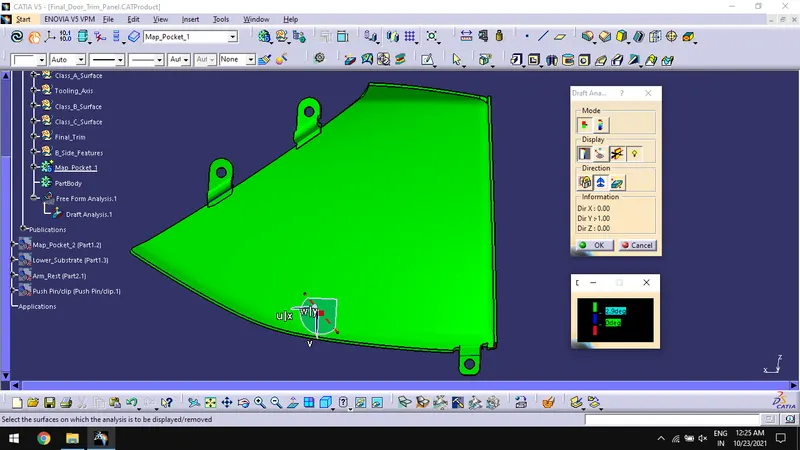
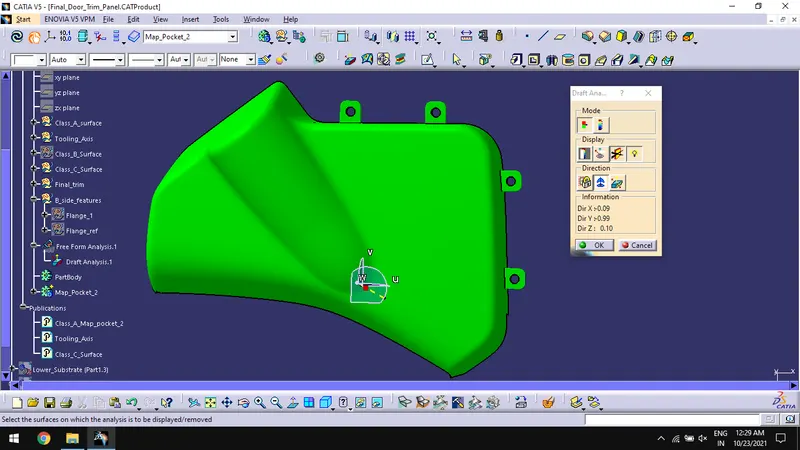
Draft Analysis:
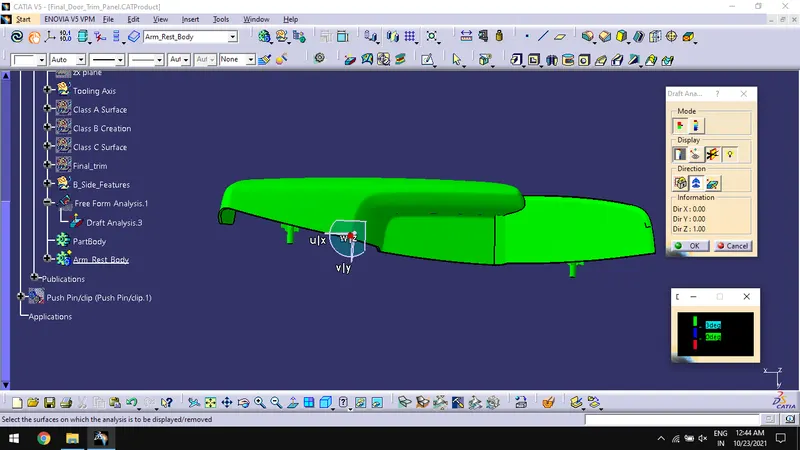
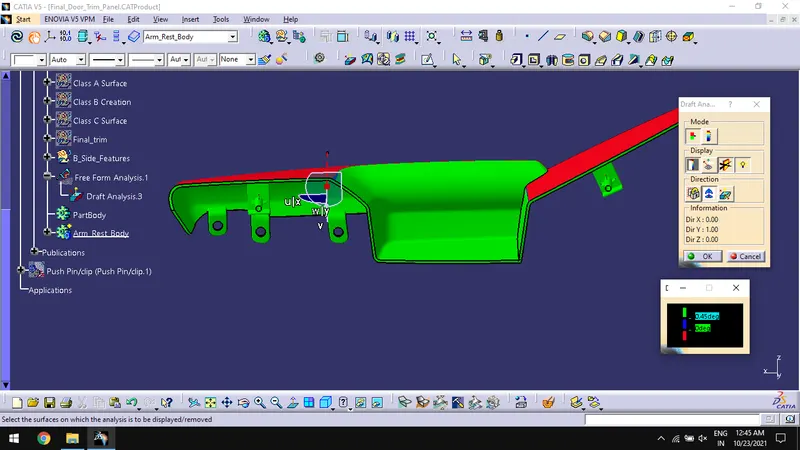
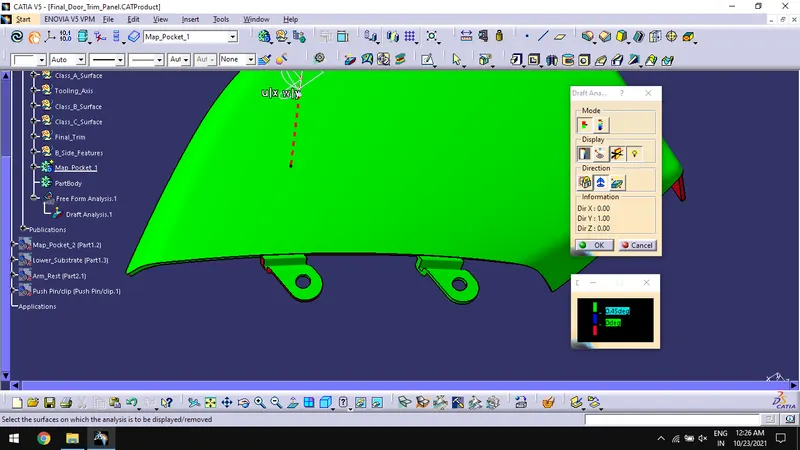
- Do draft analysis for final component with tooling axis following the general draft analysis procedure.
- To find Draft analysis option, Go to Insert > Analysis > Feature Draft Analysis.
- Set clearing angle, select tooling axis and surfaces to check.
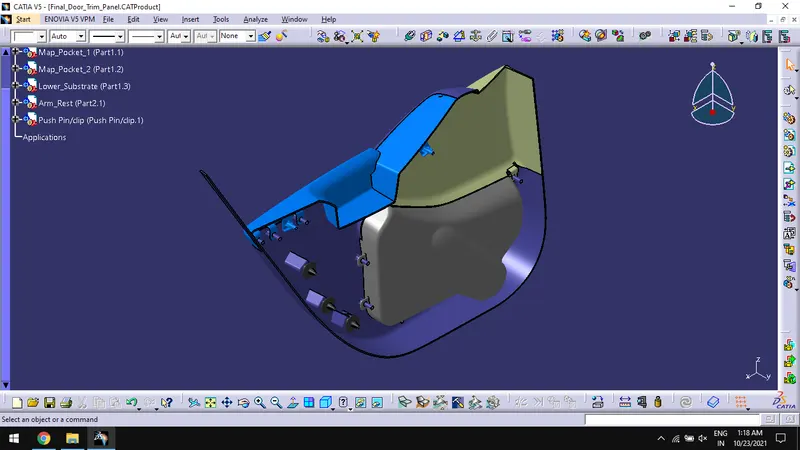
Following are the creation of individual parts using the above methodology,
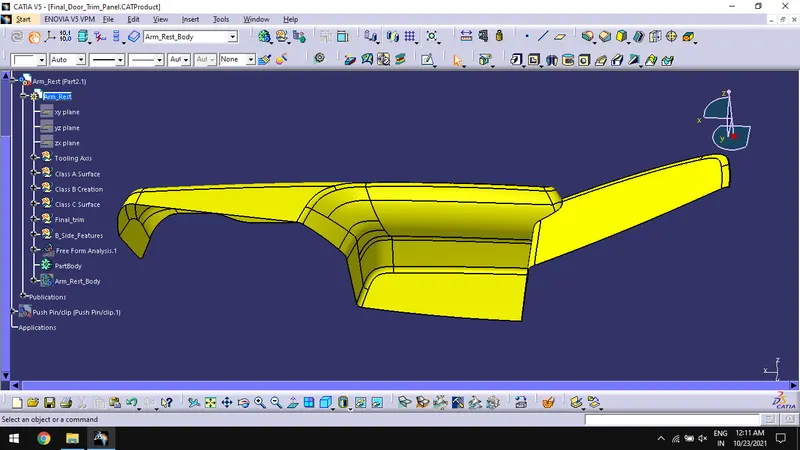
Arm Rest Creation:
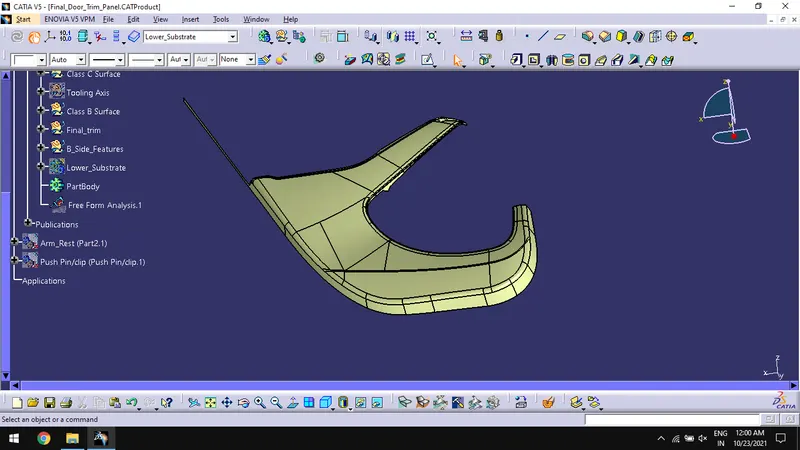
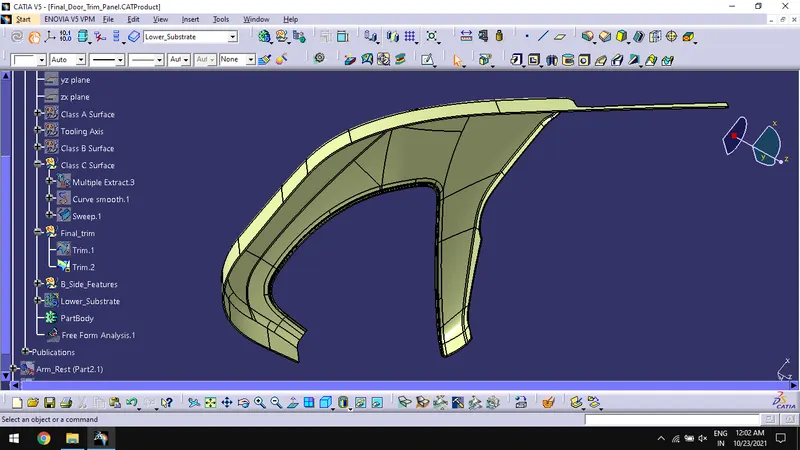
Lower Substrate Creation:
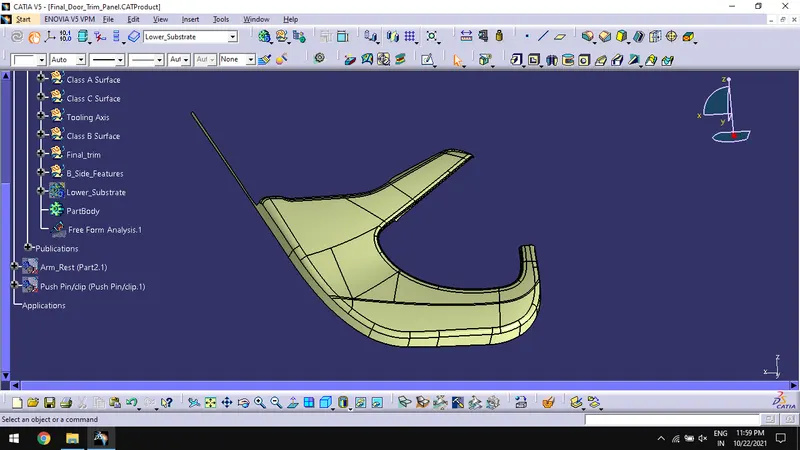
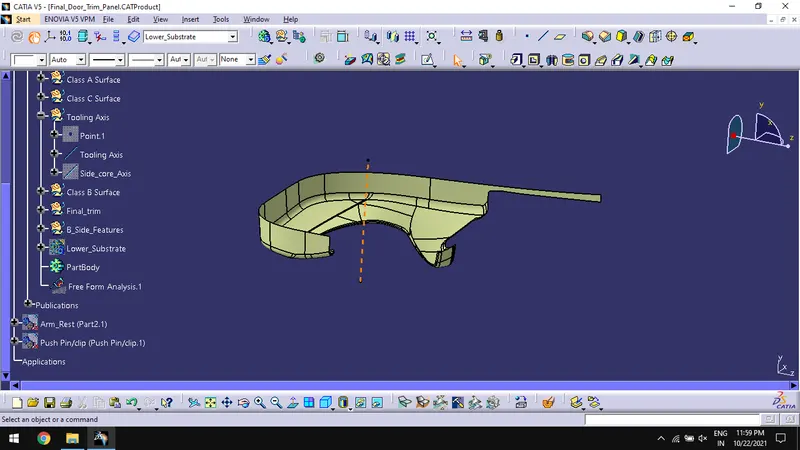
Dog houses:
Heat Stakes:
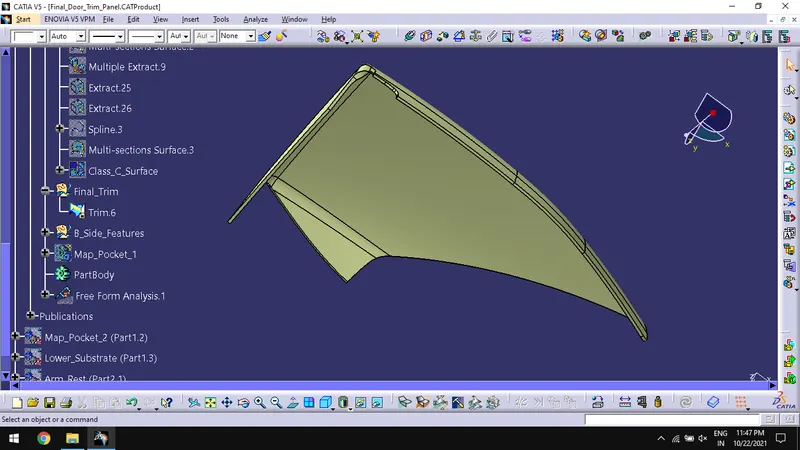
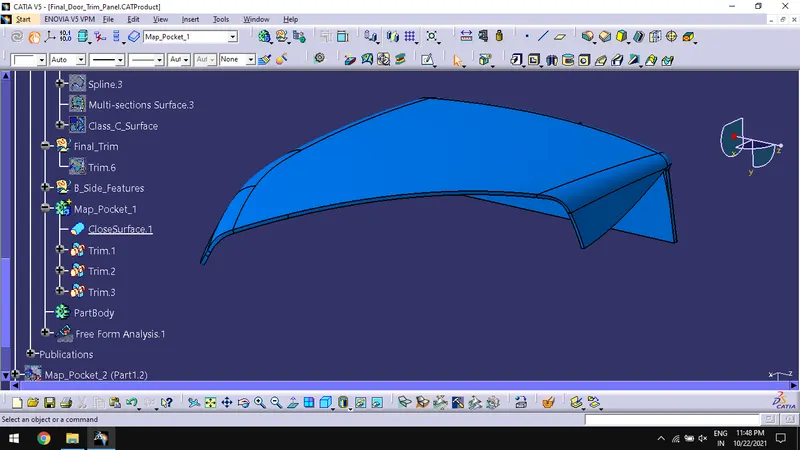
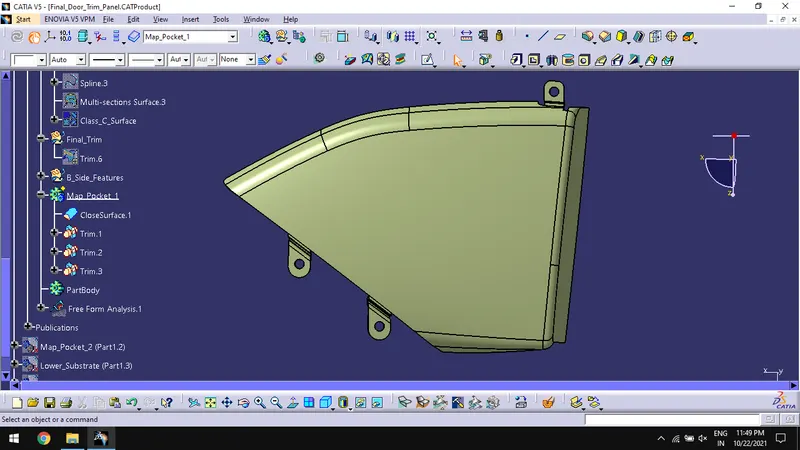
Map Pocket 1 creation:
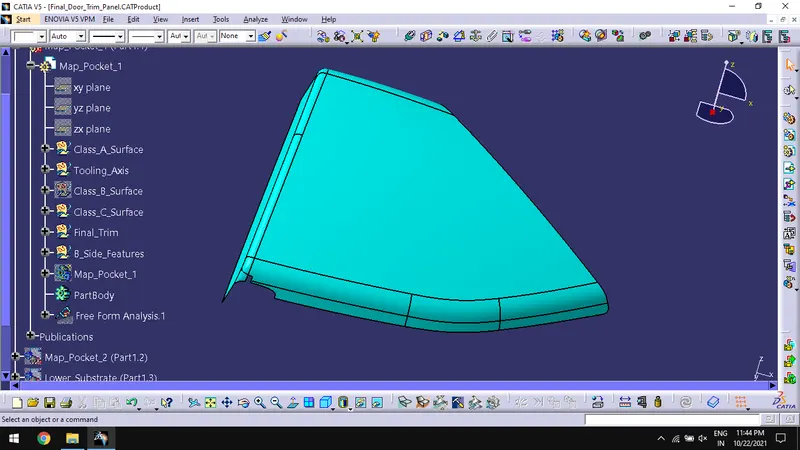
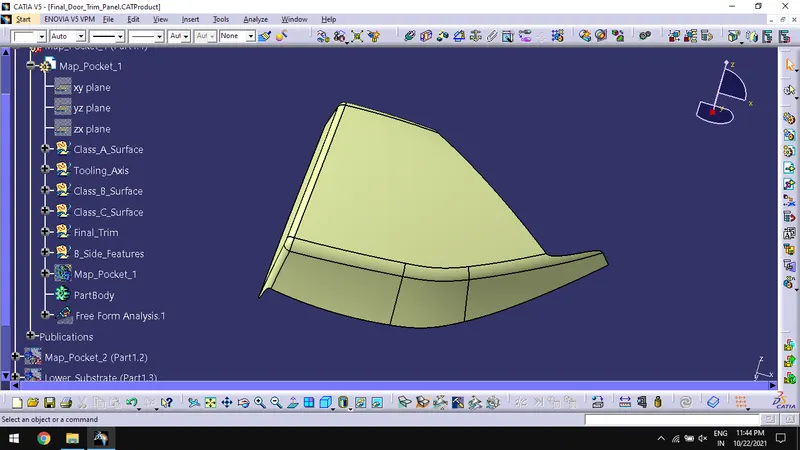
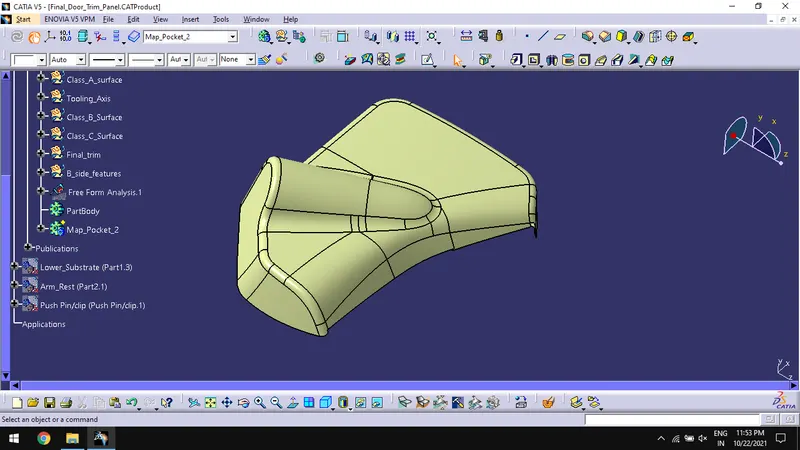
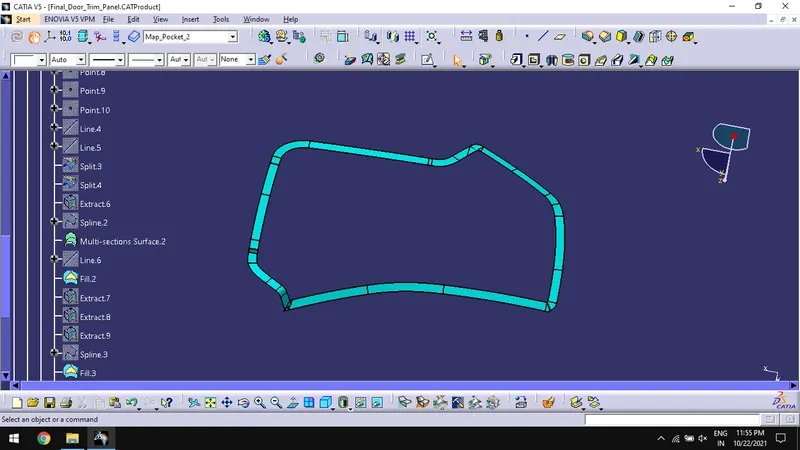
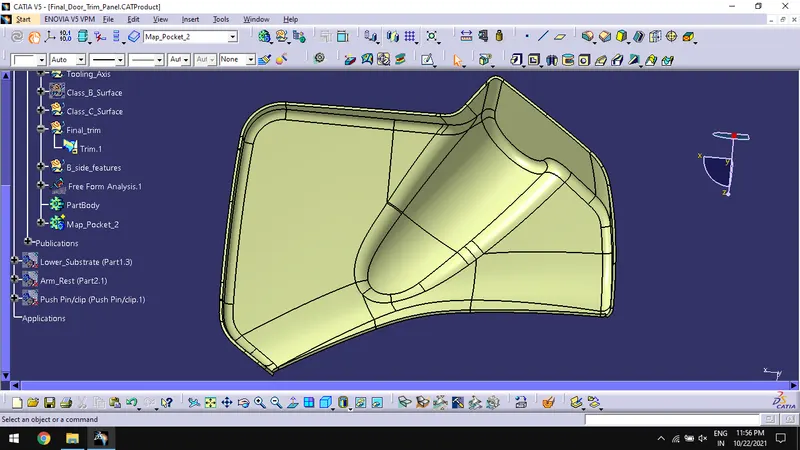
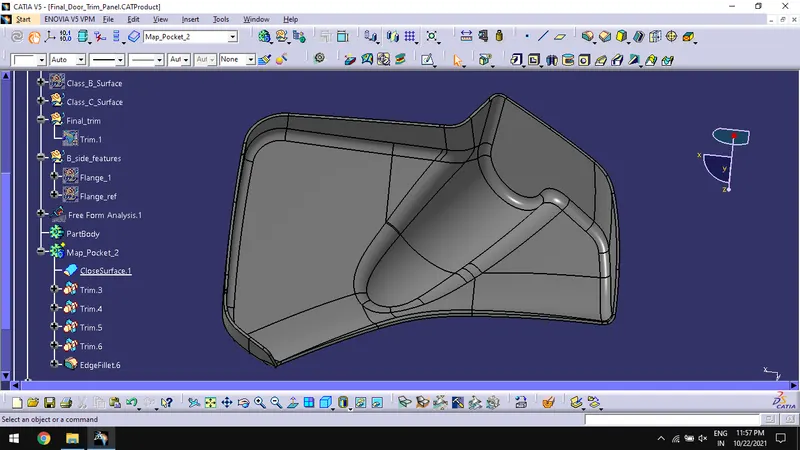
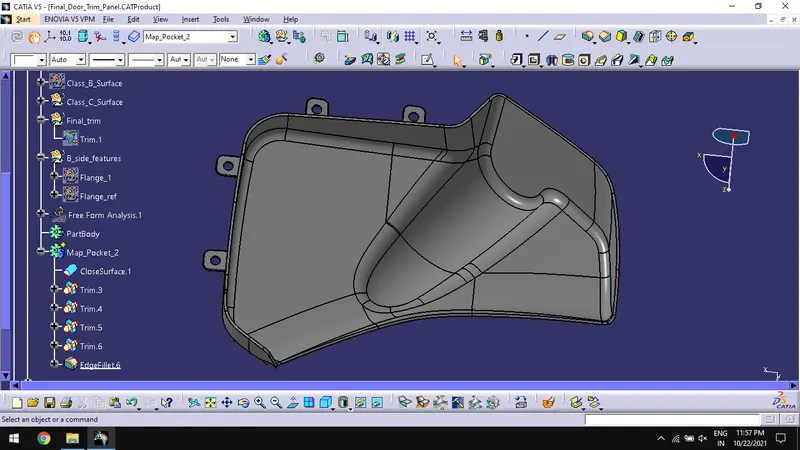
Map Pocket 2 creation:
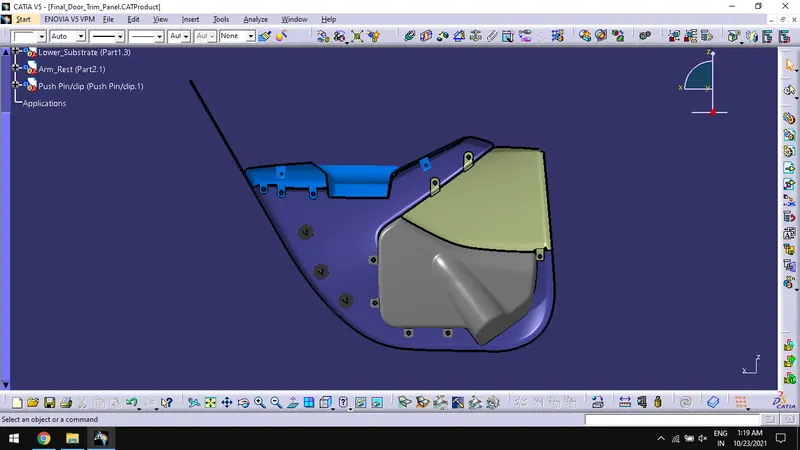
Different Views of The Components:
Isometric view:
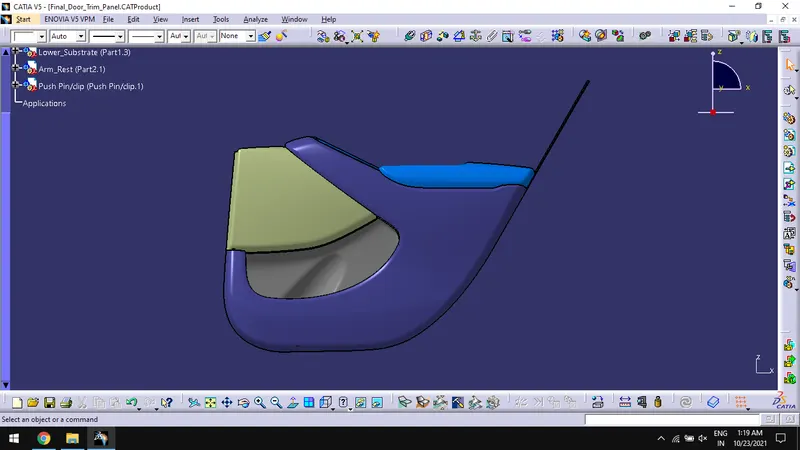
Front view:
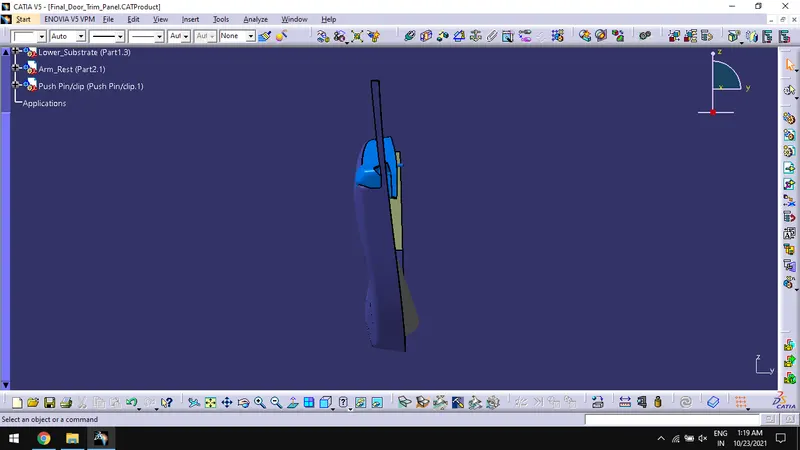
Side view:
Top view:
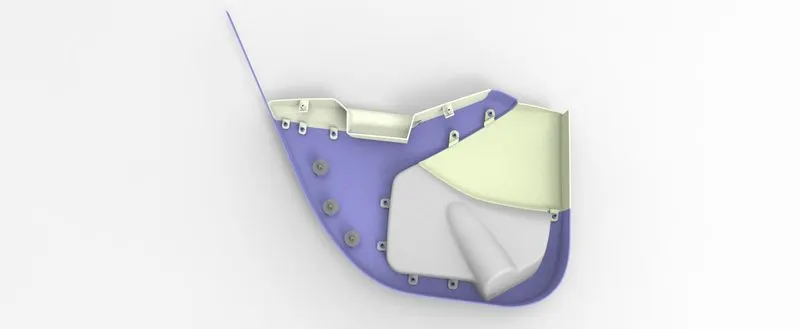
Rendering:
Rendering of final assembly is done using keyshot 10.
Conclusion:
Thus, Creation of door trim panel with attachment features considering the given inputs, design rules and following the OEM standards are done successfully.