Week 10 - Challenge 3 - Door Trim Lower with Engineering Features
AIM :
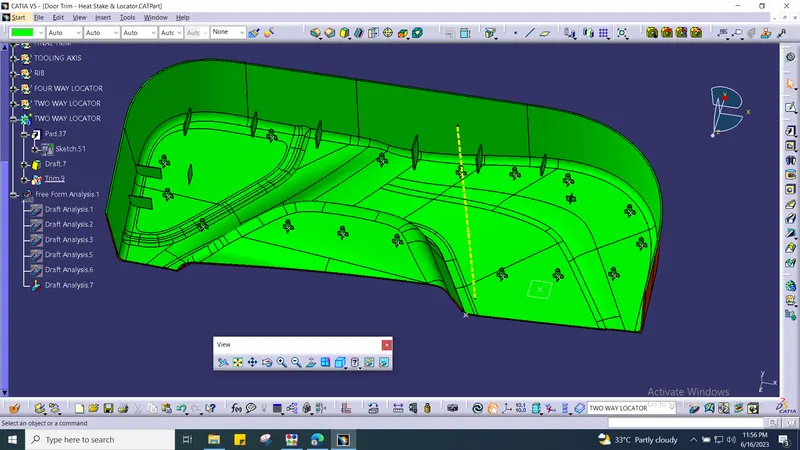
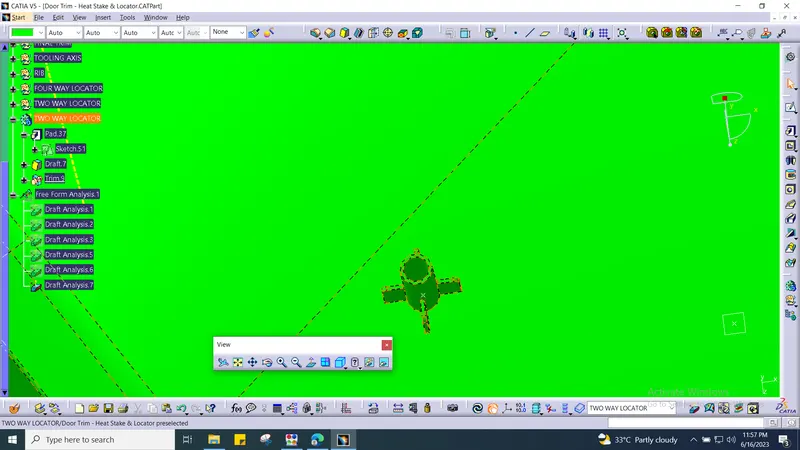
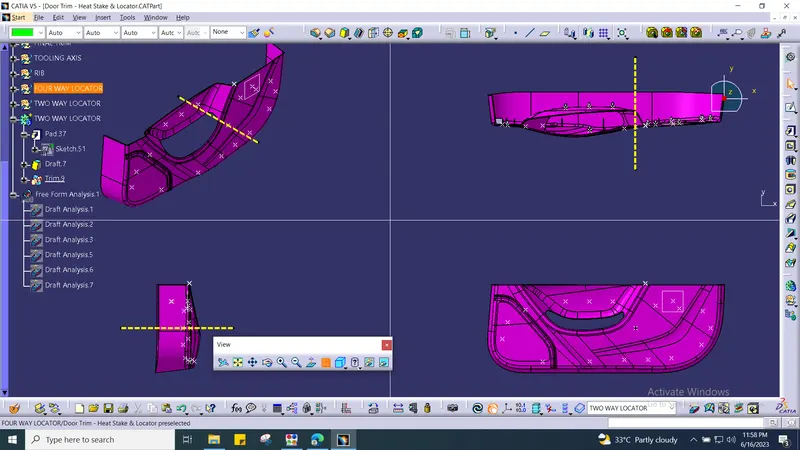
Create the Door Trim Lower Plastic component through the given Class-A surface. To begin with, the tooling axis for the given Class-A Surface should be created meeting the requirements of the draft angle and at the end perform the Draft analysis on the model.
OVERVIEW :
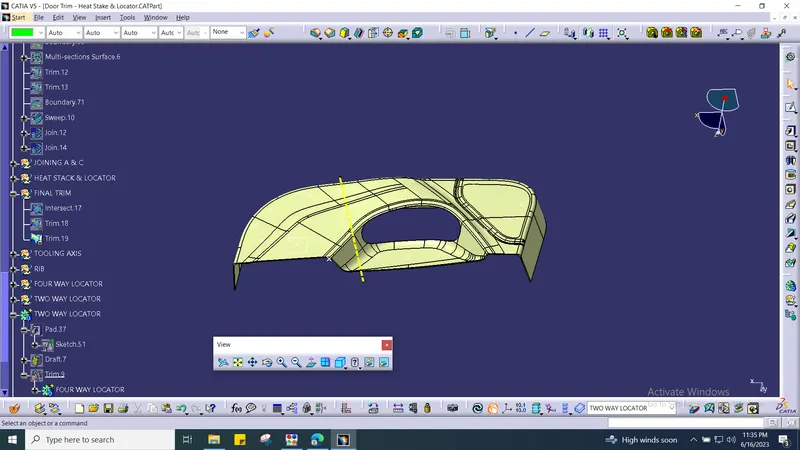
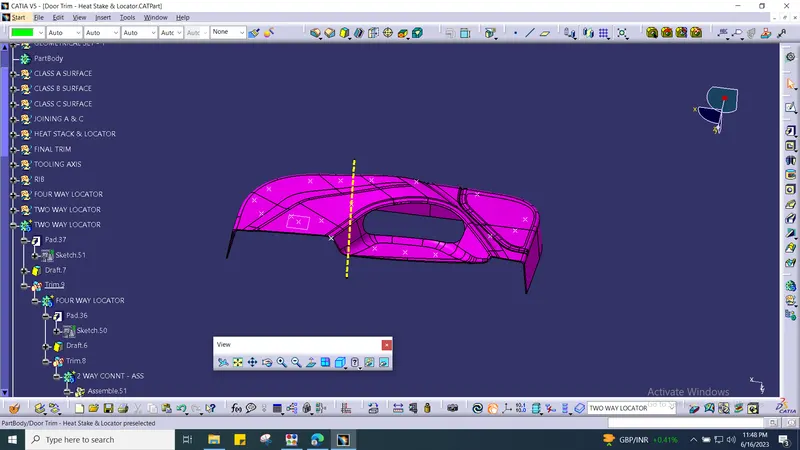
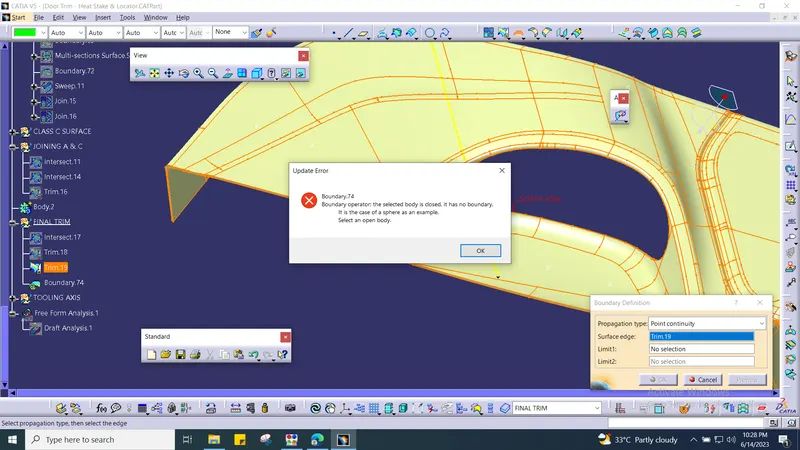
First create a geometrical set with proper sutitable name it as a Surface A. Then we need to offset into 2.5mm ( Surface b ). After that we will get some patch surface in fillet portion due to that fillet in "A" surface. Once we cleared all patches then join them together and name it as "B" surface. And then now do the sweep operating in A surface And then trim it then join together with A & C surface for final trim. Before going to do final trim make sure wheather the boundary having closed boundary or not then do the final with B & Joined surface A & C. After that do then closed surface. And then perform the draft analysis with the draft valve for 3 deg in closed surface and 0.5 deg for locator and heat stackes.
TOOLING AXIS :
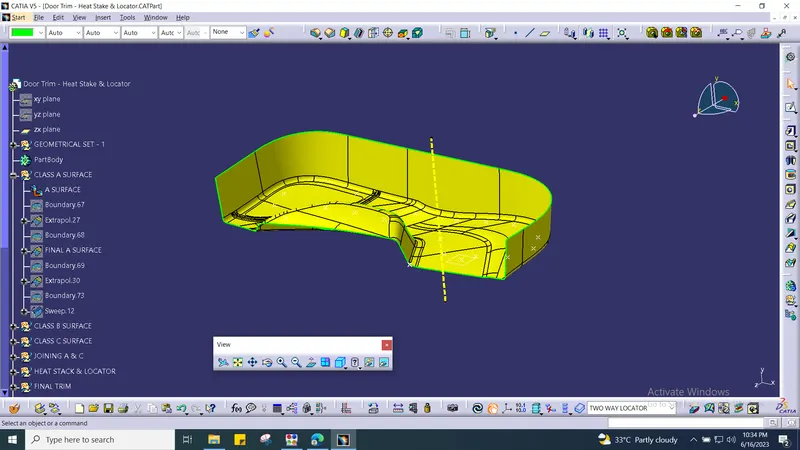
Creating tooling axis first we need to create a point in extracted surface A. Then create a line ( point to direction ) to X aixs. Now we can do the pre draft analysis.
PRE DRAFT ANALYSIS :
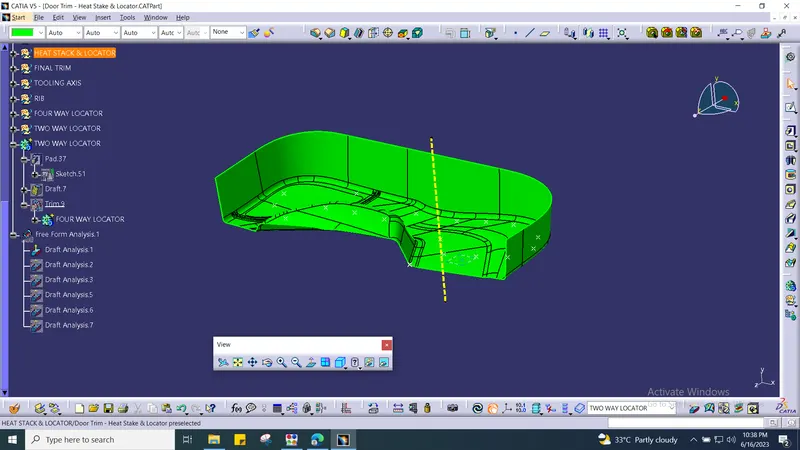
After creating Tooling axis we need to check the pre draft analysis from there we can check the tooling whether we created correct or not.
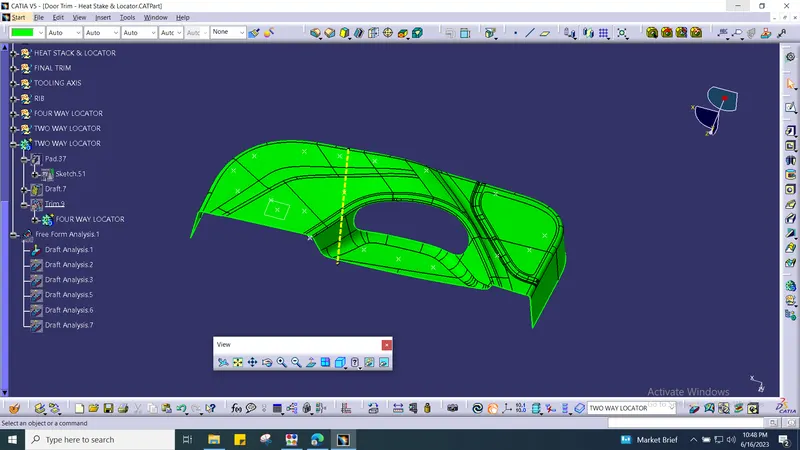
We are getting green colour all over the A surface so then it correct. we can proceed further 3d model activities.
CLASS B SURFACE :
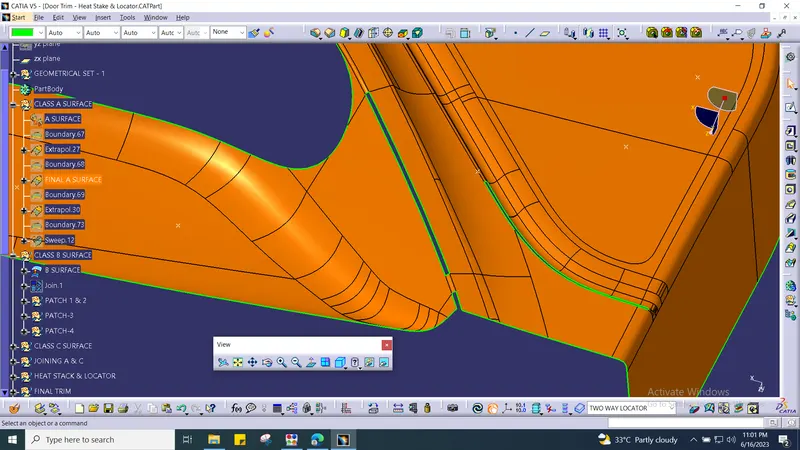
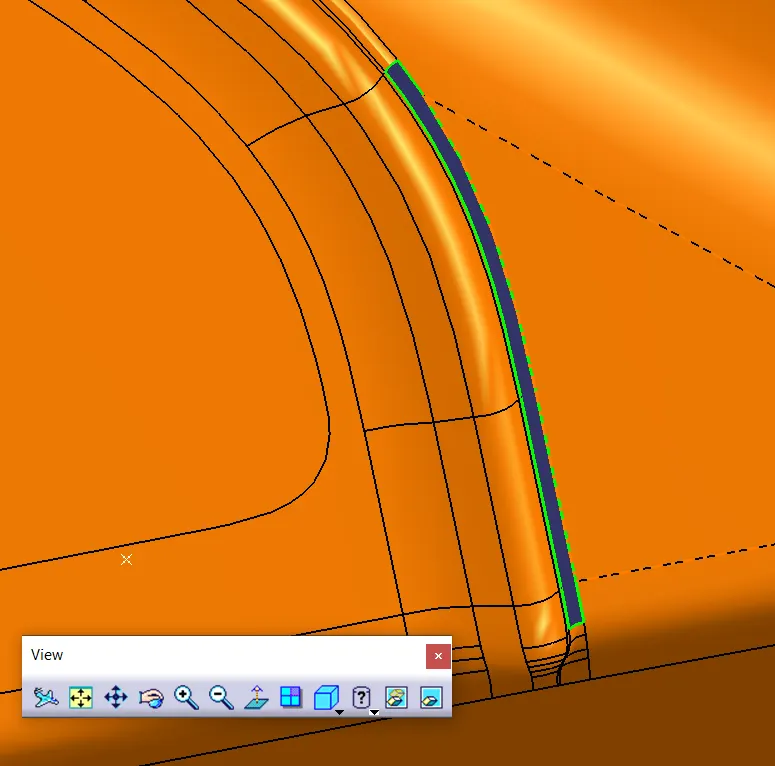
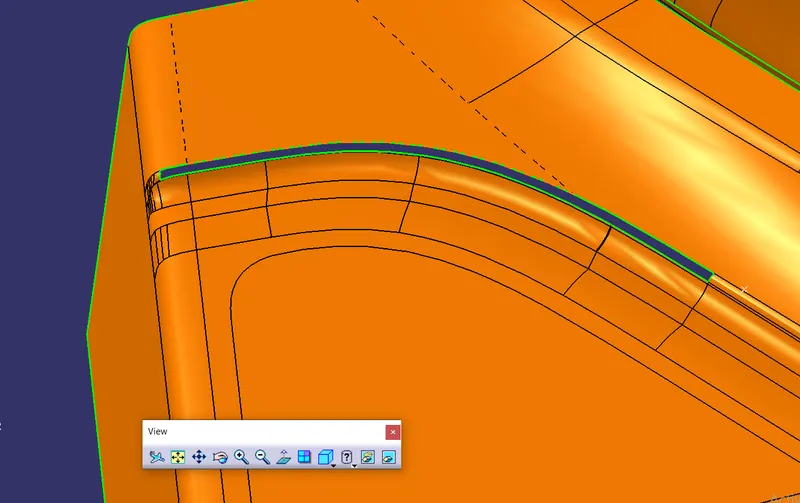
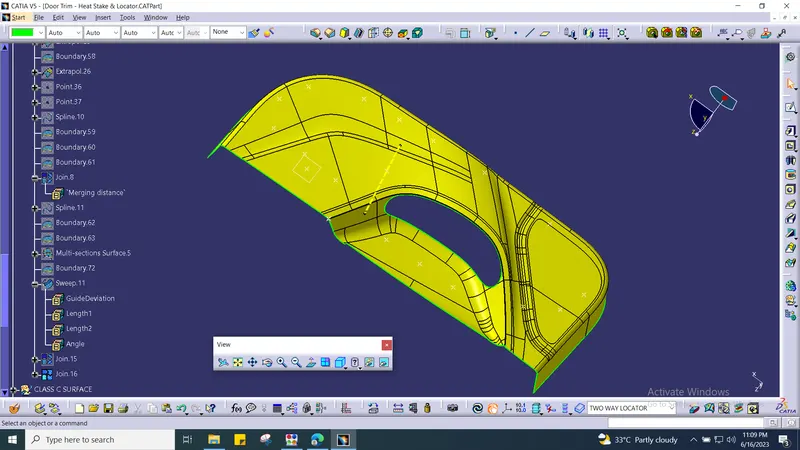
After creating tooling axis & pre draft analysis, then we need to create B surface using offset 2.5mm. Once its done we can observe the patches over the fillet area. We need to cover those patches with the help of extrapolate, multi section, splines. Once all patches are covered properly with b surface then we need to join all patches surface with B surface. Then named it as Final B surface.
PATCHES SURFACE :
B SURFACE:
CLASS C SURFACE :
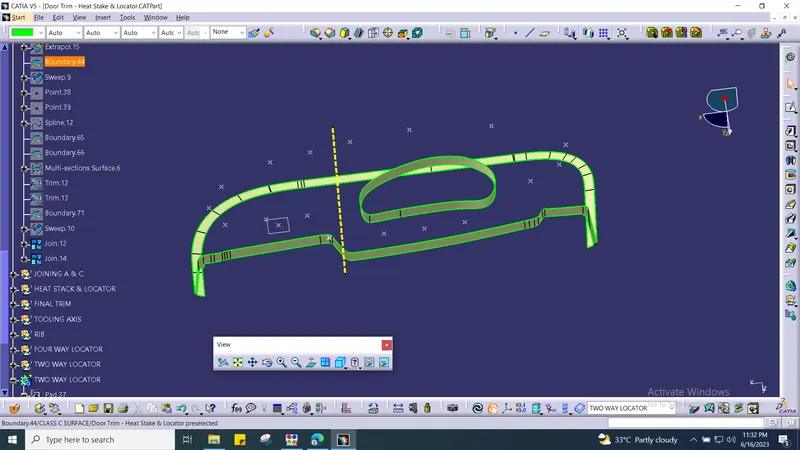
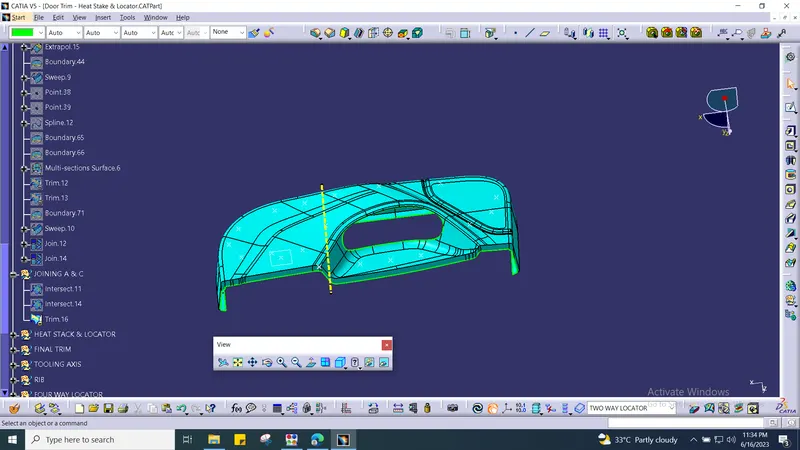
After creating A & B surface then we need to do C surface with the help of sweep. Create a boundary from Surface A then do the sweep with the 3 degree draft with tooling axis direction. While creating boundary we can observe the sweep operation fails due to that discontinue boundary line inorder to overcome this we need to create a boundary small portion alone. Then we need to do extroplate untill surface get intersect properly with B surface. In fillet area we need to do multi section. After that join all them together with A & C surface then finally trim it off.
Joining A & C surface :
FINAL TRIM :
CLOSED SURFACE :
CLOSED BOUNDARY CONDITION :
CREATION OF LOCATORS:
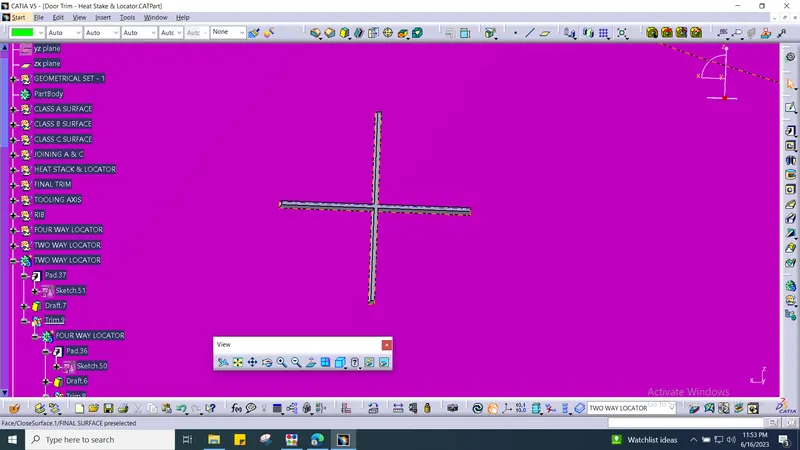
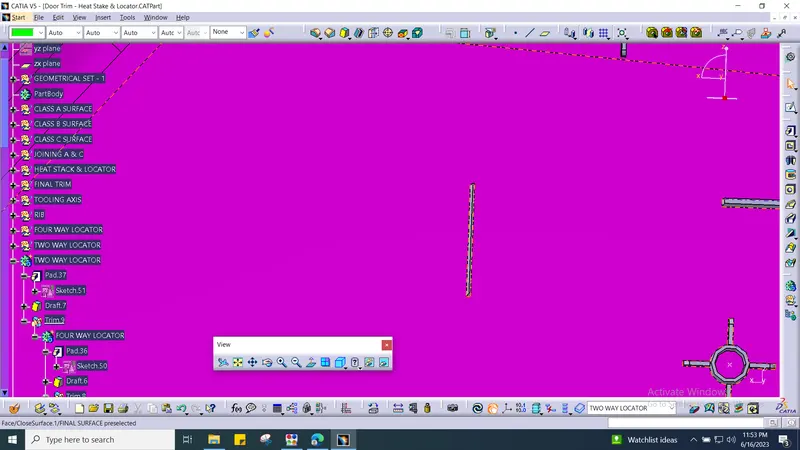
To create the locators, I created a sketch on the body. After creating the sketch, I pad it 20mm in height and thicken it to 1.3mm and I drafted it with 0.5deg in the direction of the tooling axis. I gave 3mm of chamfer with 45deg of inclination and after I gave a fillet of 0.3mm radius.
4-way locator:
2 WAY LOCATOR :
CREATION OF HEAT STAKES:
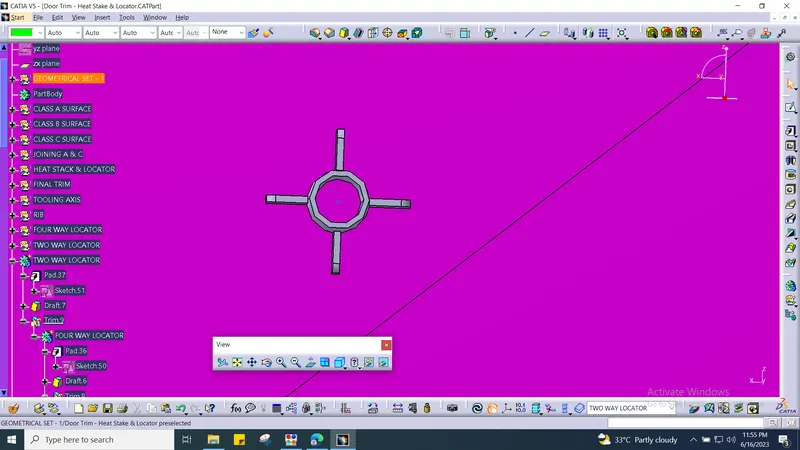
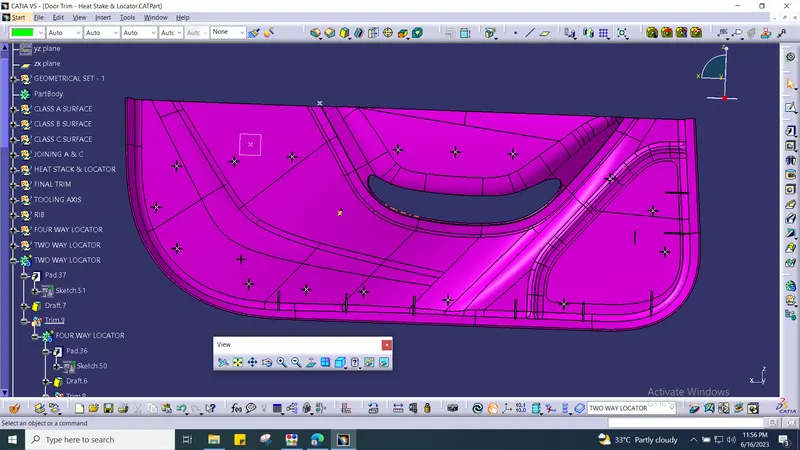
To create the heat stakes, I draw a sketch on the surface. After the creation of the sketch, I pad it to 20mm height and I gave a draft angle of 0.5deg on both sides inside and outside. After creating the heat stake, I created the ribs for supporting purposes. To create the ribs, I draw a sketch and padded it and 1.5mm in thickness. After padding the ribs, I drafted 0.5deg in the tooling asix direction. Finally, I union trim the ribs with a heat stake to remove the ribs, which are present inside the heat stakes.
DRAFT ANALYSIS :
DIFFERENT VIEW :
CONCLUSION :
As per given instruction we have done the surface modelling, tooling axis Heat stack, Locator & draft analysis.