Week 10 - Challenge 2- Attachment Feature Creation (Dog House)
Objective:
Create the Dog House for the Door Trim considering the design rules mentioned in the video. Consider the thickness of the part to be 2.5 mm.
"C" is where the doghouse contacts the backside of the surface
-
Doghouse wall thickness at the intersection of the part wall ( C ) should be 40% or less than the main wall stock ( T ).
-
The height of ( B ) should be between 3.0 – 6.0 mm
Class_A_Surface:
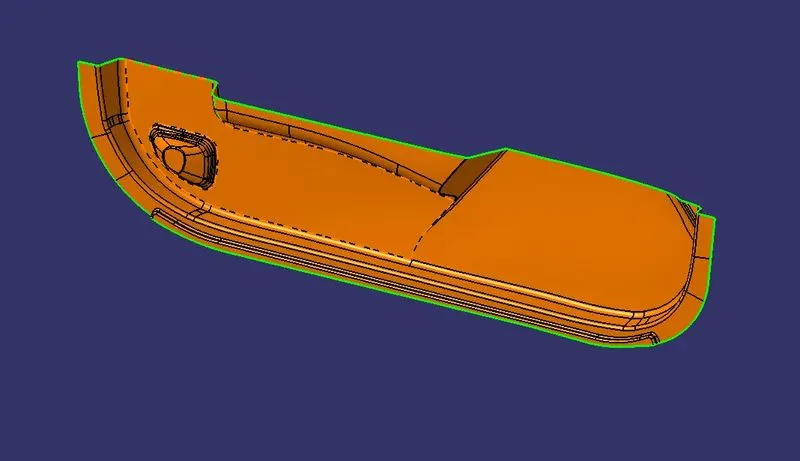
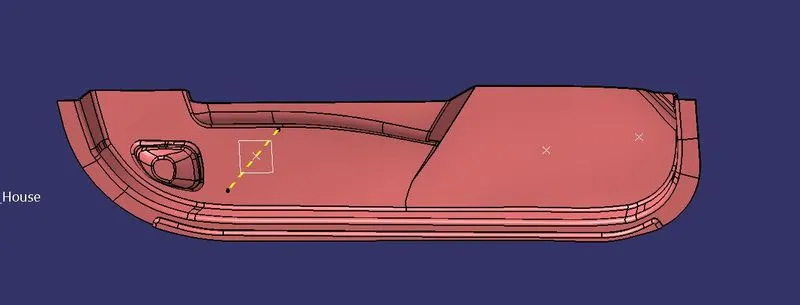
The above A_Surface is the source part for creating the B and C surface for the door trim.
Tooling Axis Creation:
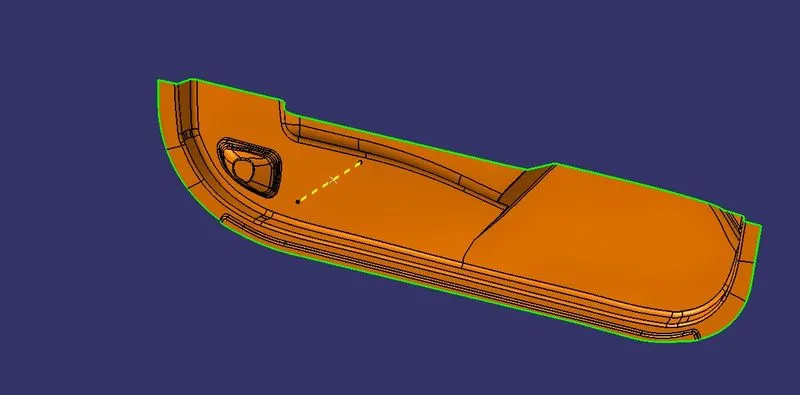
I'm using the surface of the door trim, and create the point on the middle and later create the line in the Y-Direction.
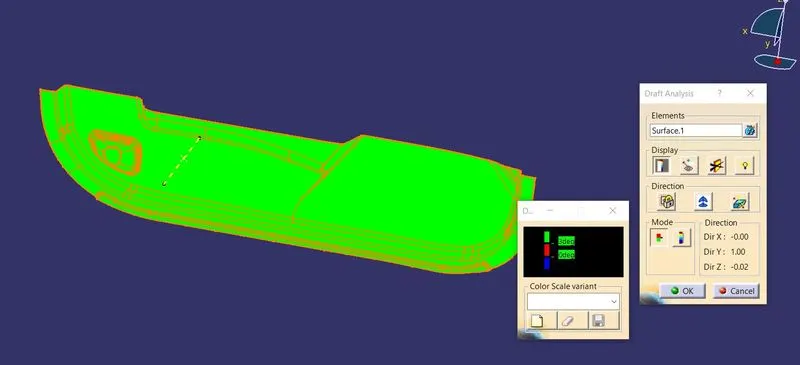
Draft Analysis for Class_A_Surface:
After creating a tooling axis we do the draft analysis. Before drafting we have to make sure that in the view mode it is selected for the materials.
After selecting the feature draft analysis tool we drag the compass from its position to the tool axis. Then lock the compass. After that select anywhere on the component and it will give you the result.
We change the minimum draft for the component to 3°.
We can use the running point option to check the angle of the component.
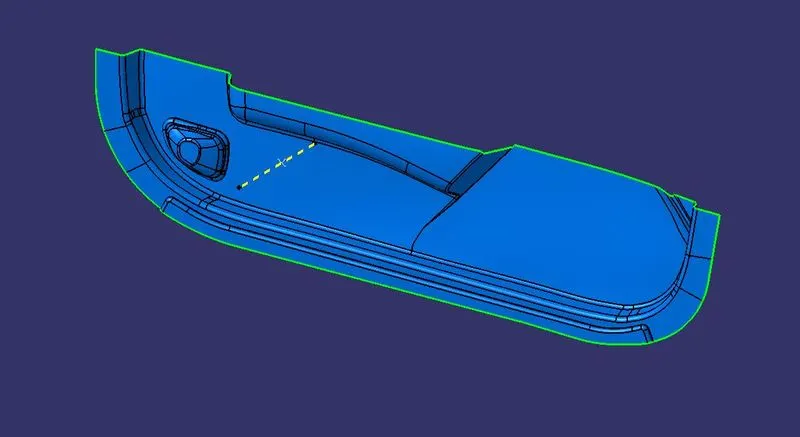
Class_B_Surface:
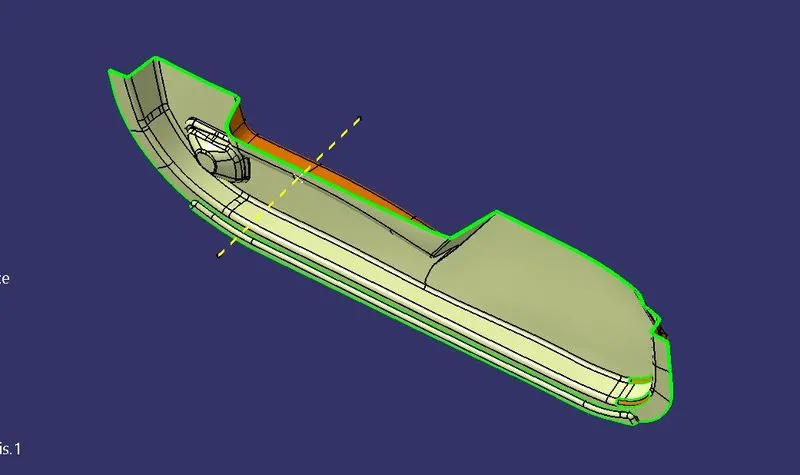
For creating the B_Surface I used to offset the A_Surface to 2.5mm inwards. Then some errors are found on that surface. Then doing some patchwork to complete the B_Surface creation successfully.
Class_C_Surface:
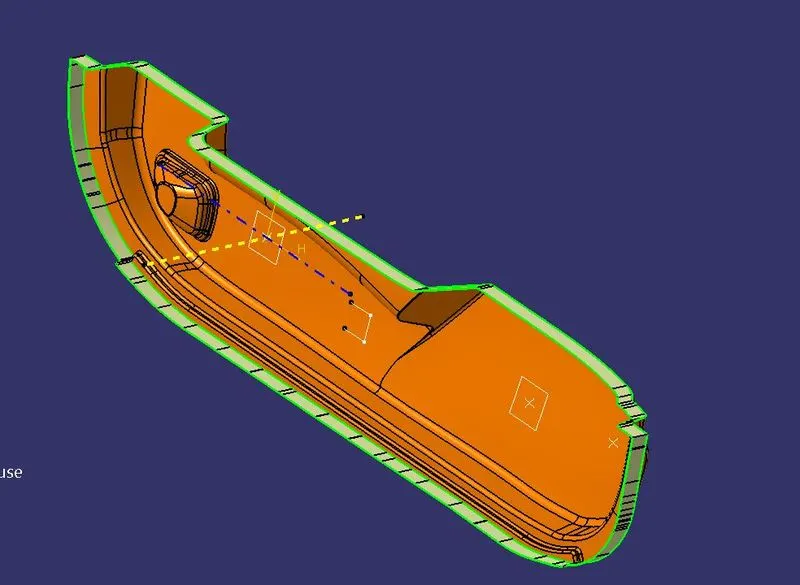
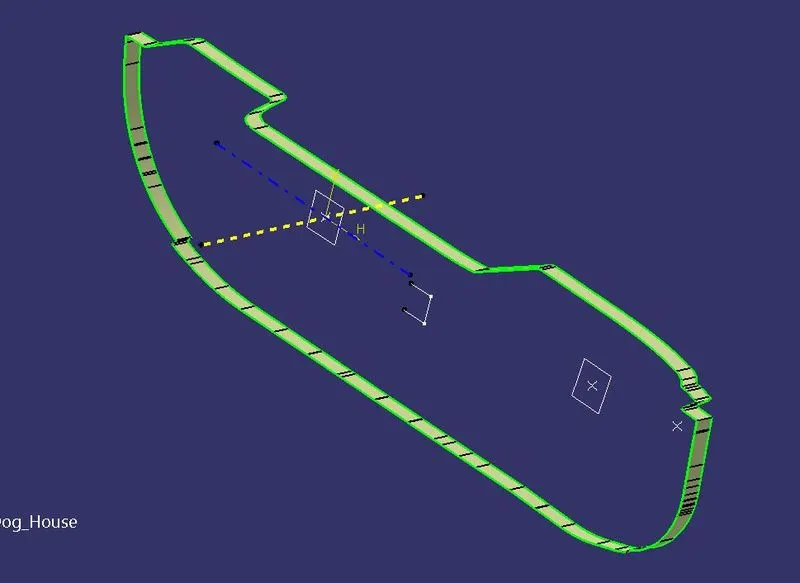
In this we are going to use the A_Surface edge boundaries to create the C_Surface for the by using the sweep tool.
Final Part Surface:
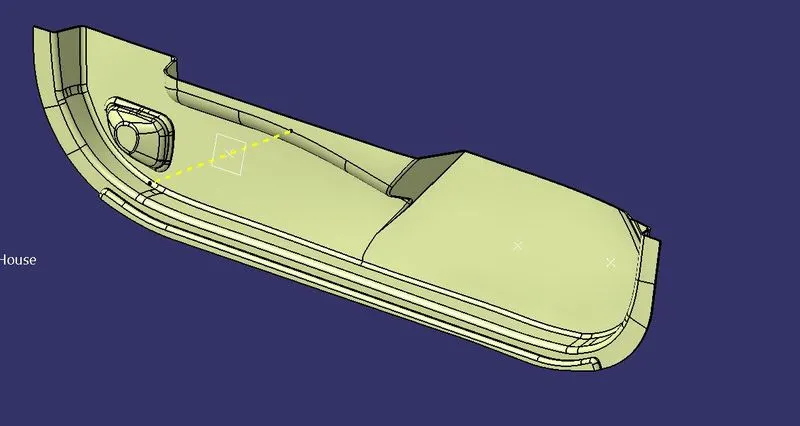
Then we are going to join the A_Surface and the C_Surface, later we'll get this surface. Then we can trim with the B_Surface, Later we'll get the final part surface.
Final Plastic Component:
By using the close surface tool in the part workbench we'll get the final part as solid profile.
DOG HOUSE Creation
- Dog houses are designed to avoid SINK MARK created on the CLASS-A surface by screw bosses and to solve the length issues when giving screw bosses which need to be assembled to other components.
- It is also useful when perpendicular screw bosses are required on the part to the tooling direction.
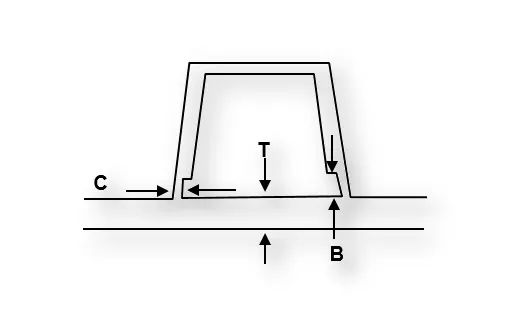
- C thickness should be 40% of the main wall thickness T
- Minimum width of the dog house is 12 mm.
- Height of B should be 3-6 mm
- Minimum draft for the do house degrees 5 degrees to die draw.
Procedure for creating the DOG HOUSE
- The First step is to create a side core axis.
- I have chosen the normal to-the-point method for creating the Dog_House draft tooling axis.
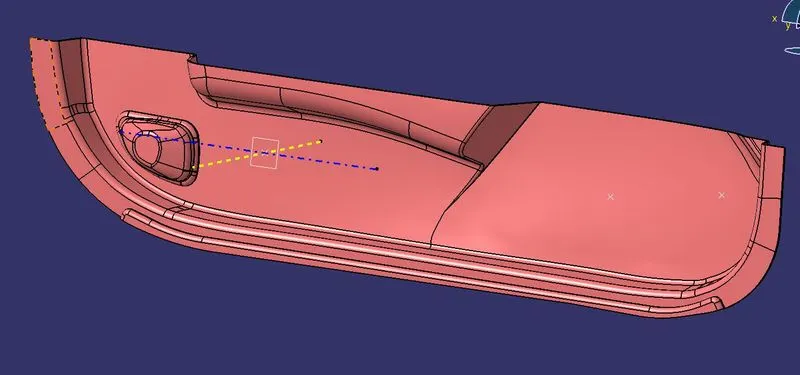
Sketch for dog house ceation.
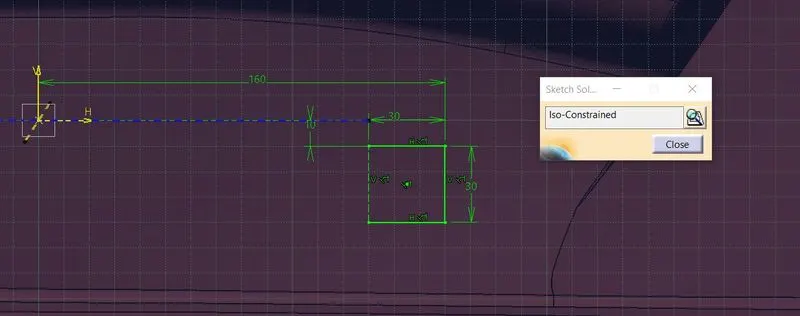
After using this sketch to sweep it to the required height, then perform the thicken tool on this surface, and then make the draft, fillets on it create the final output of the dog house.
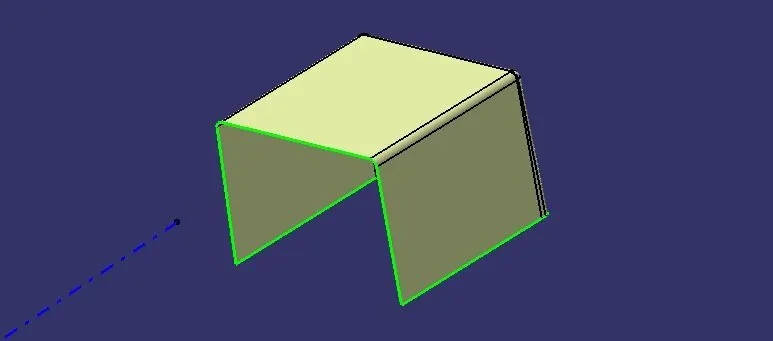
Later gettting the final dog house, I'm using user pattern to get placed to the other place on the required area. Then using Boolean operation, union trim the dog house body part with the door trim component.
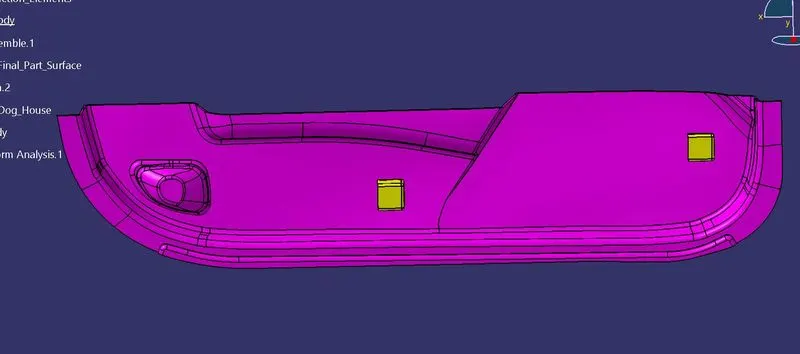
3D_model_View_Orientations:
Front View:
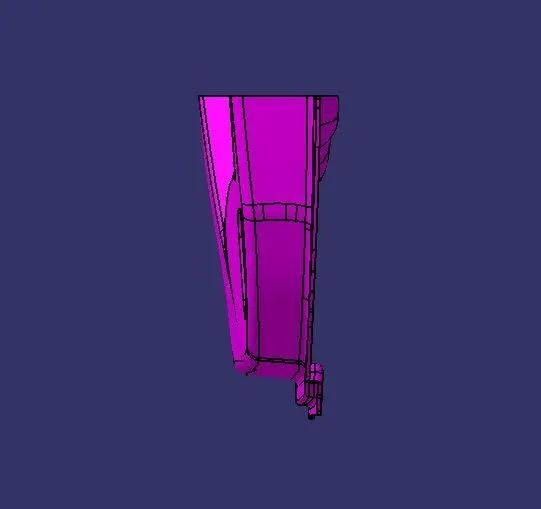
Top View:
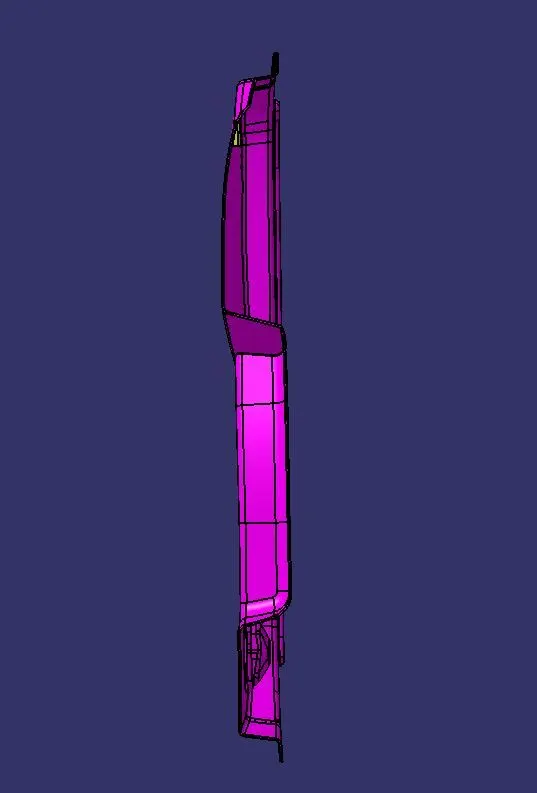
Side View:
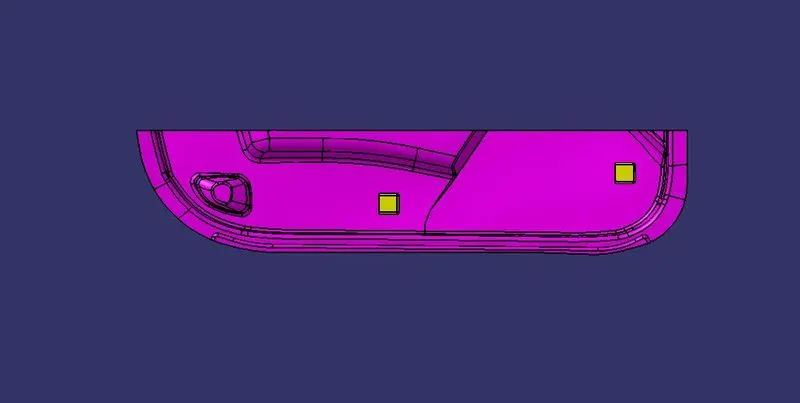
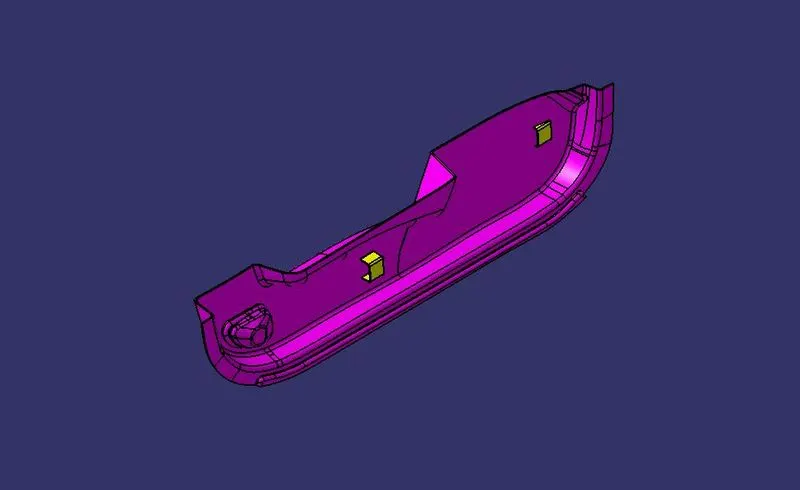
Isometric View:
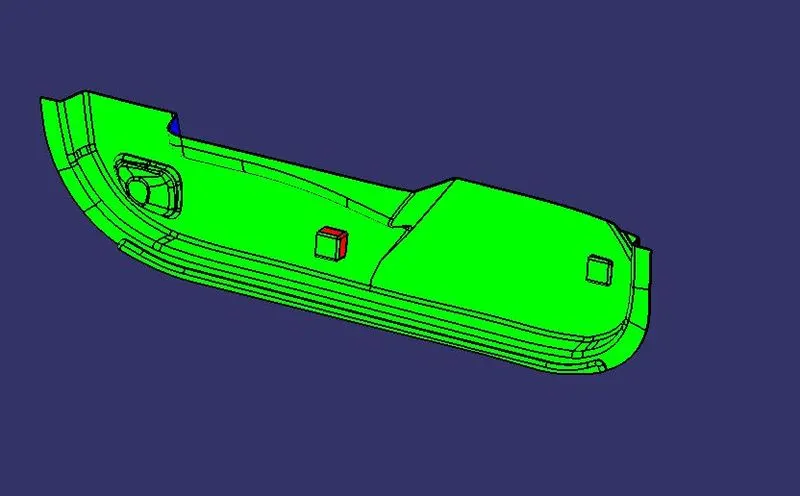
Draft Analysis - Final Component:
The above draft analysis procedure is used in this component, it was shown below.
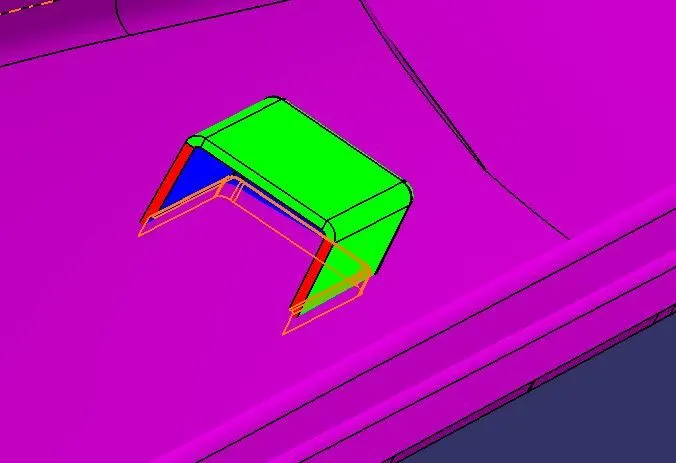
Finally, we'll get all the surfaces for the component creation, then we'll make the draft analysis on it whether the part is suitable are not for the moulding purpose.