Week 10 - Challenge 2- Attachment Feature Creation (Dog House)
AIM
Create the Dog House for the Door Trim considering the design rules mentioned in the video. Consider the thickness of the part to be 2.5 mm.
DOG HOUSE
Dog house is an engineering feature used in plastic trim design. Dog houses are used as supporting feature. Sometimes other engineering features like snaps; locators etc. are mounded on them to increase their strength. Dog house and other engineering components are built on the B-surface.
OBJECTIVE
- Create a Tooling axis for the given CLASS -A surface.
- Create the CLASS B and C surfaces of door trim using the given CLASS-A surface.
- Create a final surface model and convert it into a solid body using the close surface command in the part design workbench.
- Crea ate side core axis for the dog house
- Create Dog house on the B surface by considering the design rules.
- Perform draft analysis for both Class-A surface and Final part body.
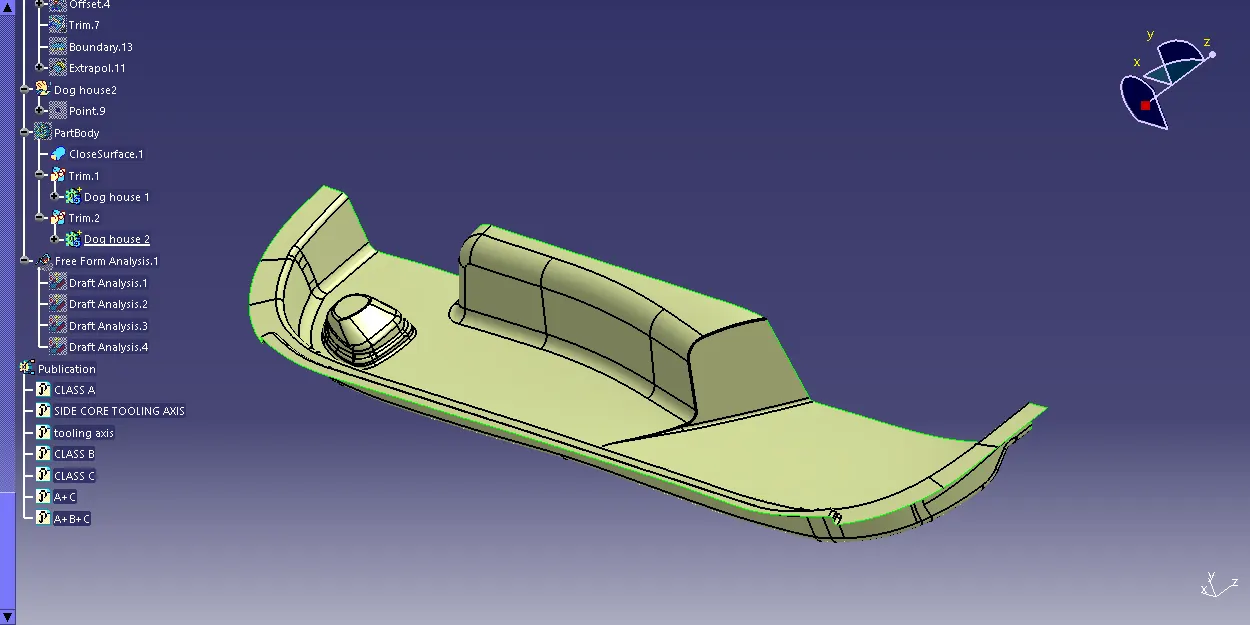
Class A Surface
Visible surface is a Class-A surface. It provides the style team's look for the component, which the part design engineer uses to develop the component with all of the engineering requirements.
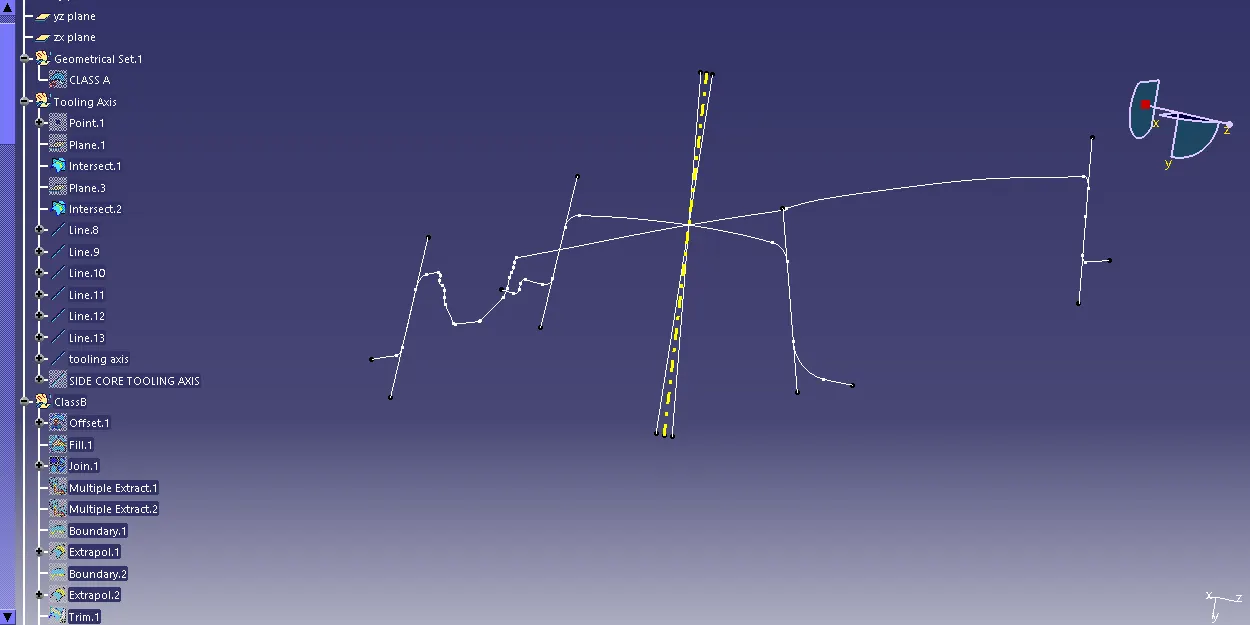
Tooling axis-Bisecting line Method
Using a dummy tooling axis, the bisecting line method is essentially used to identify the correct tooling axis. When using the bisecting line method, a line is utilized to either bisect the two lines or indicate an error, indicating that the two lines are parallel. We intersect the surface with the appropriate plane to determine whether or not the surface is toolable. This produces a drawing with two lines, which we can then bisect to produce a third line at the intersection of the two lines.
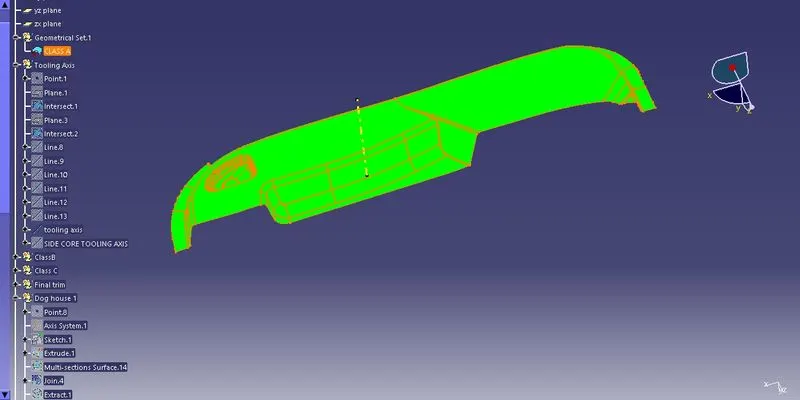
Draft Analysis of class A
Use the Featured Draft Analysis tool in the tools to now analyse the draft. After locating the compass and aligning it with the tooling axis, click on the lock symbol after aligning, and then click again on the surface after opening the draft analysis tool box.
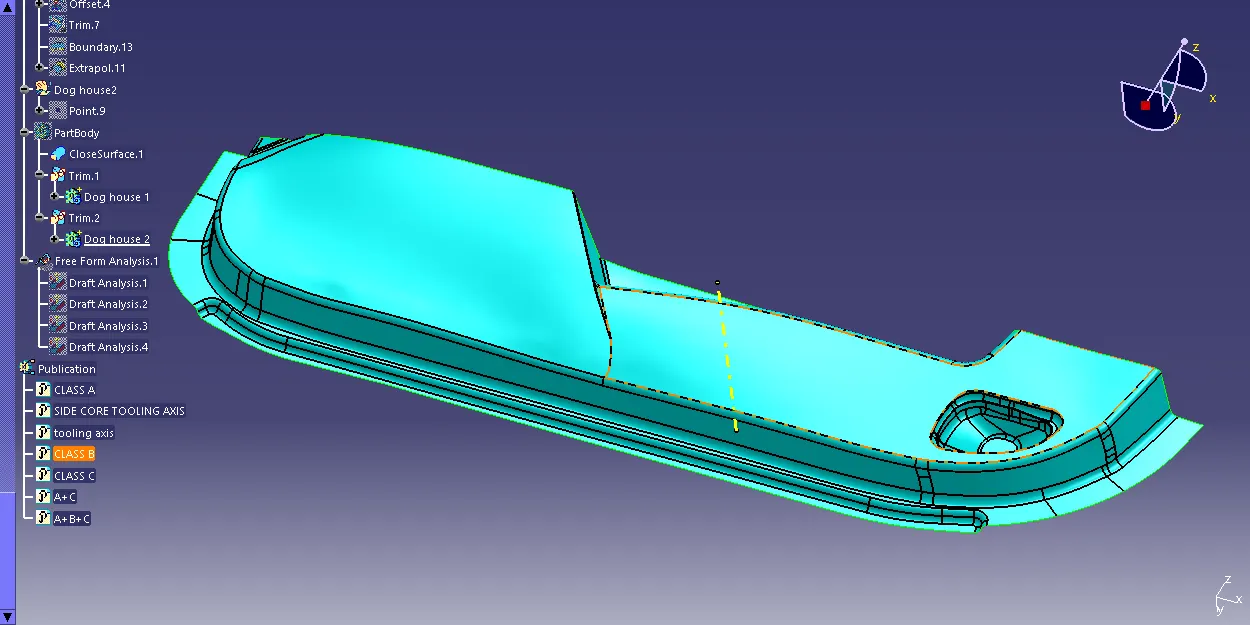
Creating Class B Surface:
First, offset the surface to 2.5mm, some errors may occur and some parts got removed. Click keep all sub-elements. And use fill, sweep, boundary, extrapolate, and trim commands to close the patches. Then join all together.
Creating Class C Surface:
At first extract the boundaries of the Class A surface and B surface, and use the sweep option to create the c surface
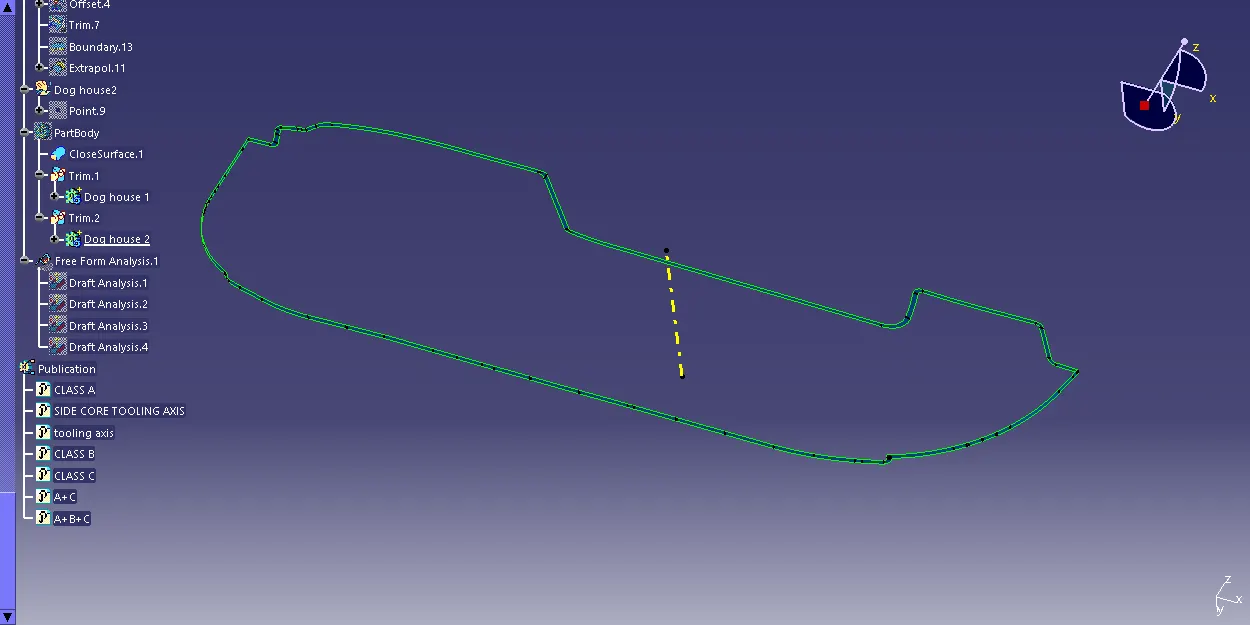
Final output :
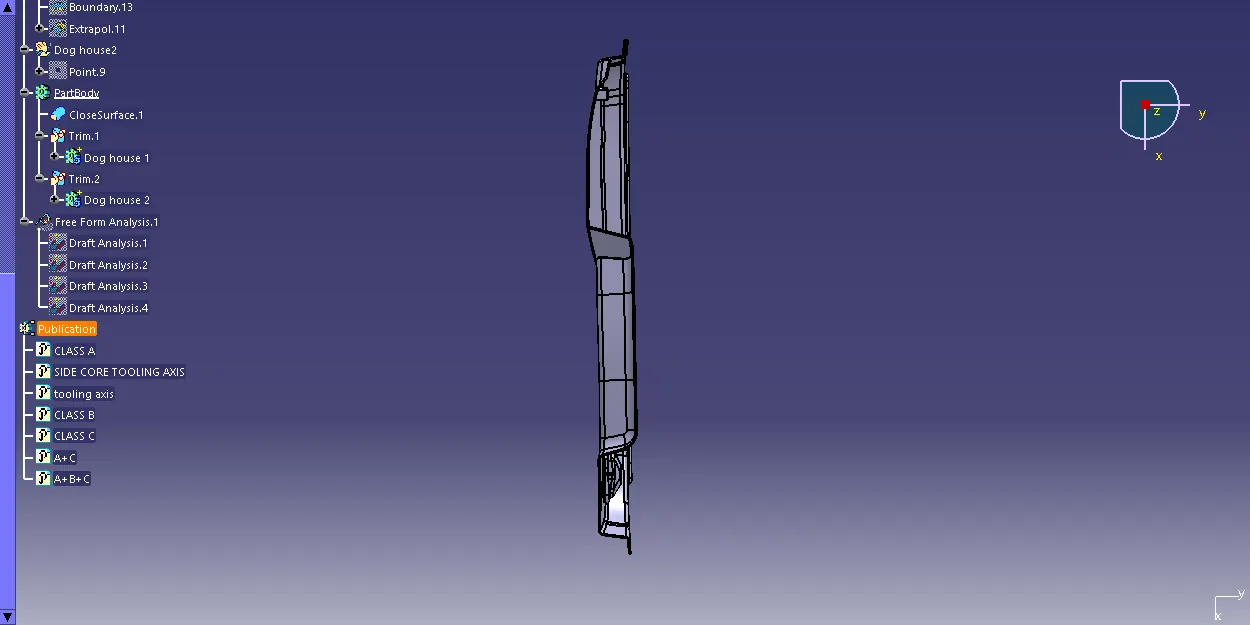
Now trim the Class A , Class B and Class C surfaces to get the desired output. And make it as a solid body using close surface feature in part workbench.
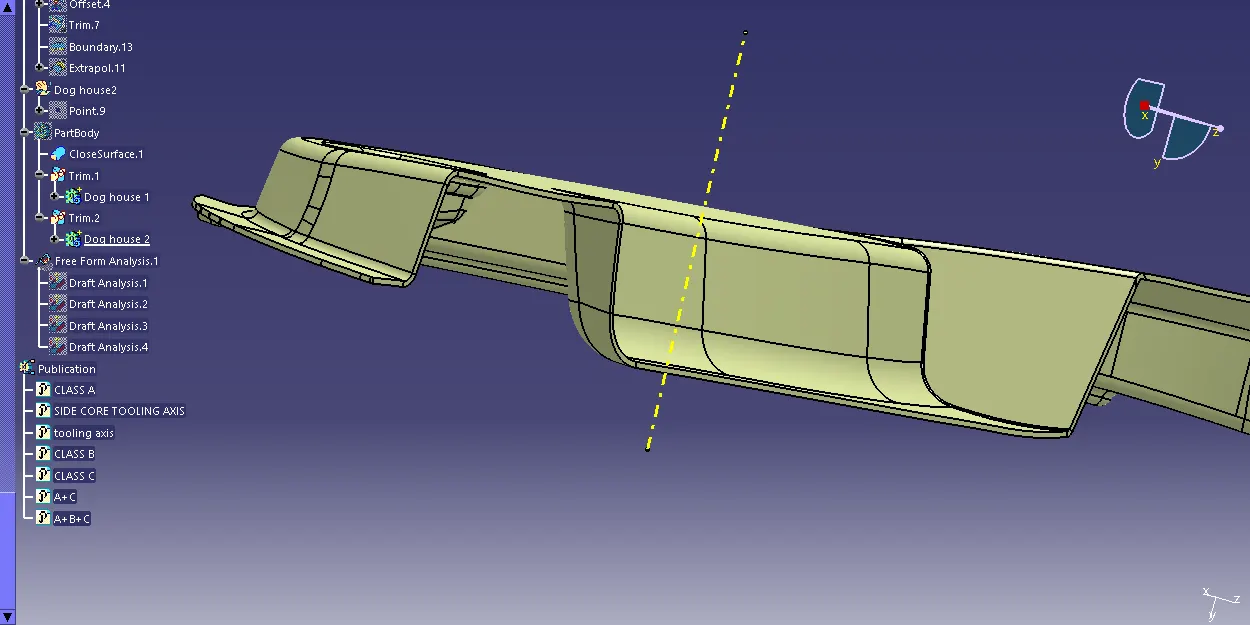
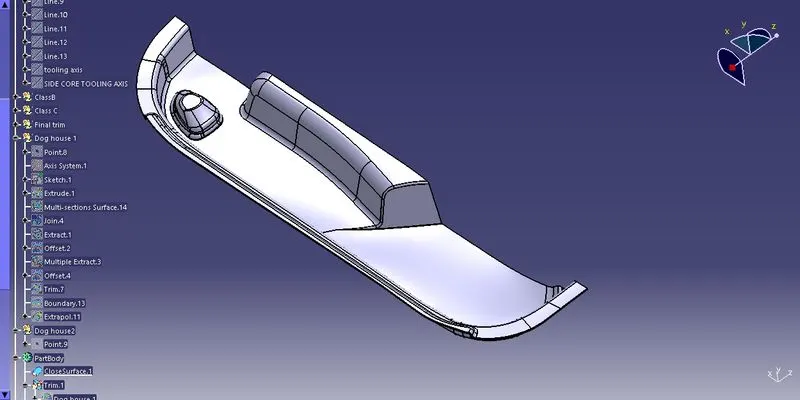
DOG HOUSE Creation
- Dog houses are designed to avoid SINK MARK created on the CLASS-A surface by screw bosses and to solve the length issues when giving screw bosses which need to be assembled to other components.
- It is also useful when perpendicular screw bosses are required on the part to the tooling direction.
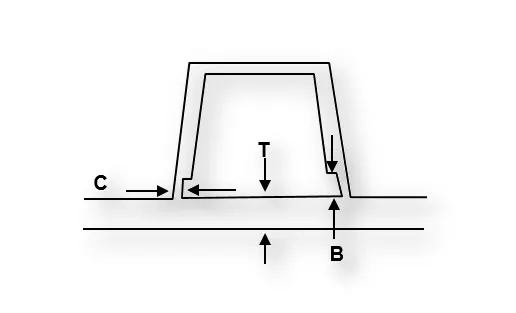
- C thickness should be 40% of the main wall thickness T
- Minimum width of the dog house is 12 mm.
- Height of B should be 3-6 mm
- Minimum draft for the do house degrees 5 degrees to die draw.
Procedure for creating the DOG HOUSE
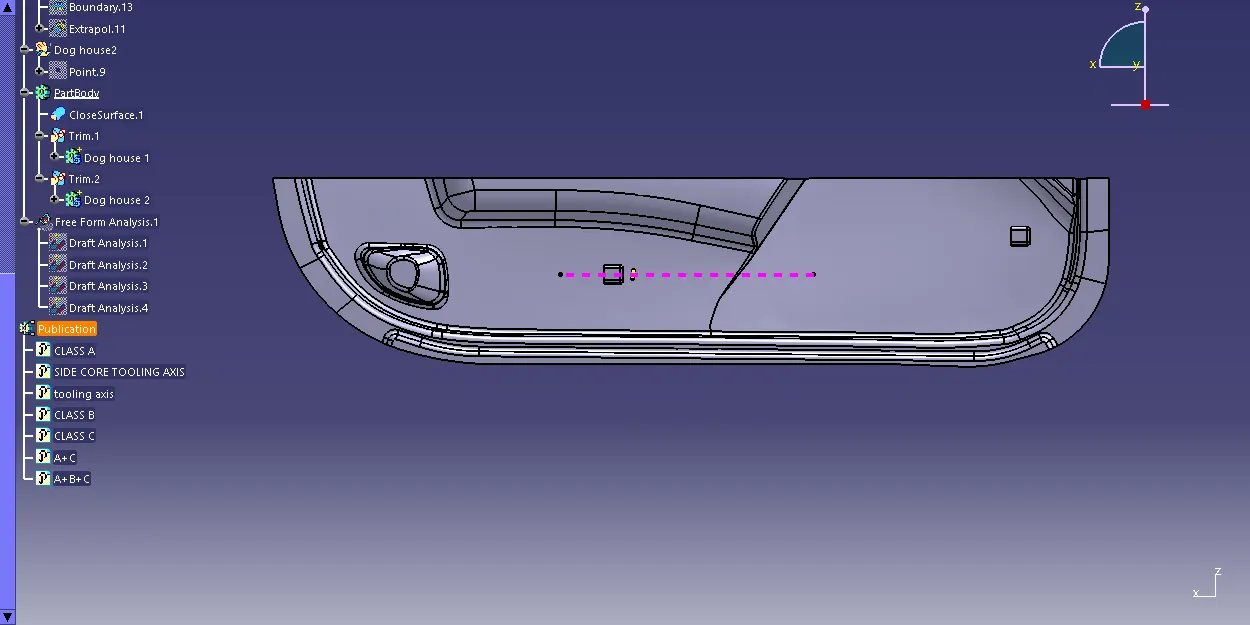
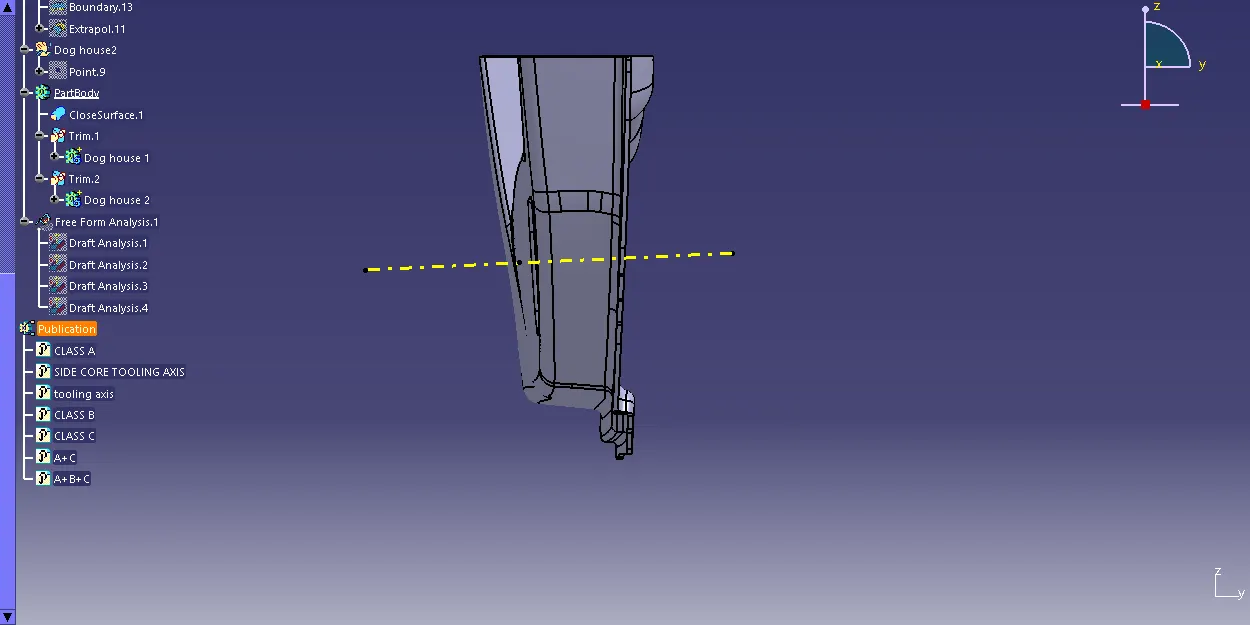
- the First step is to create a side core axis.
- I have chosen the normal to-the-point method for creating the side core tooling axis.
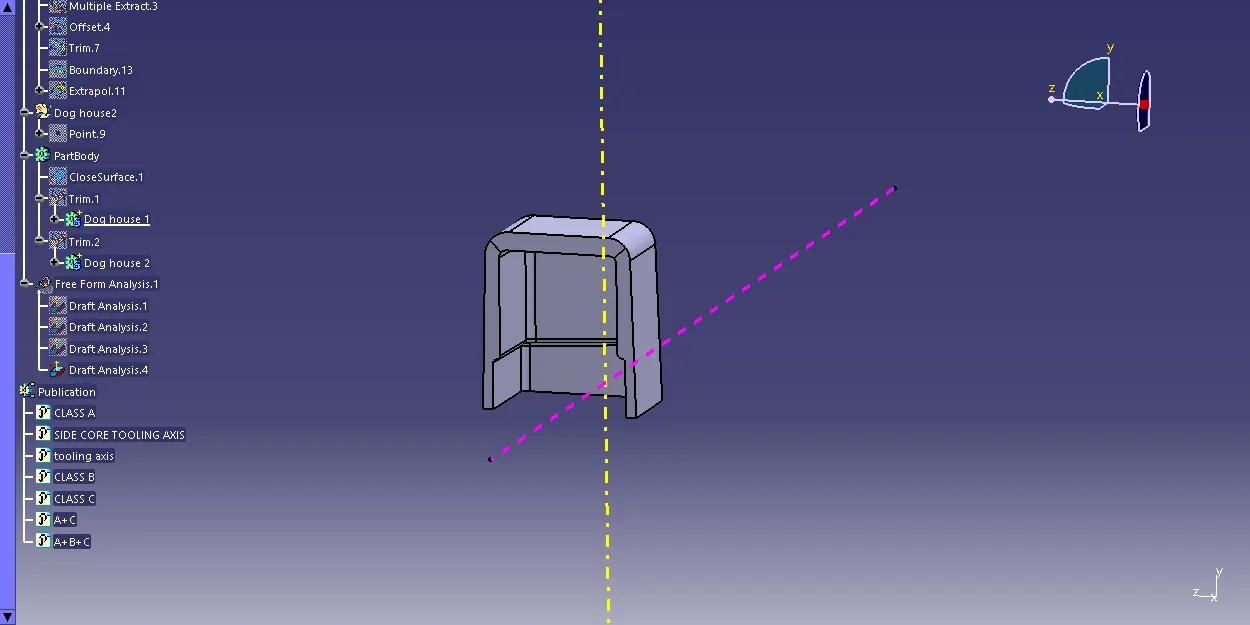
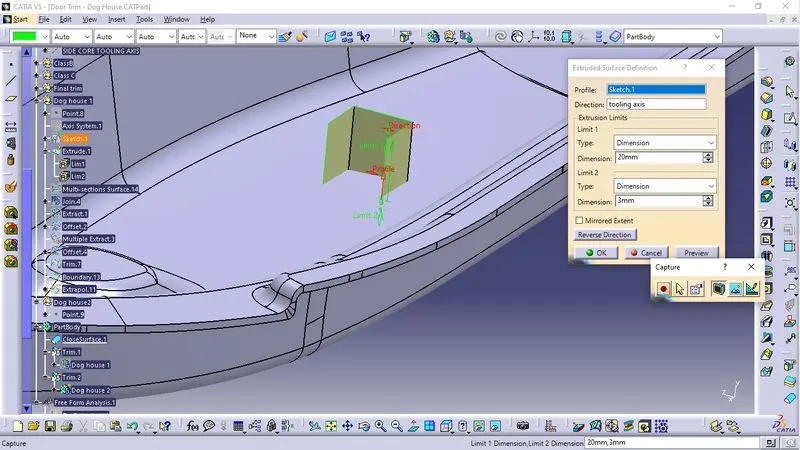
- Create the dog house by creating a positioned sketch on the z-x plane. Using extrude or sweep method create dog hose outer walls.
- Now close the top wall using the multi-section surface command.
- Using thicken command in the part workbench, create a solid part of the dog house.
- Give proper draft angles and fillets by considering the design rules.
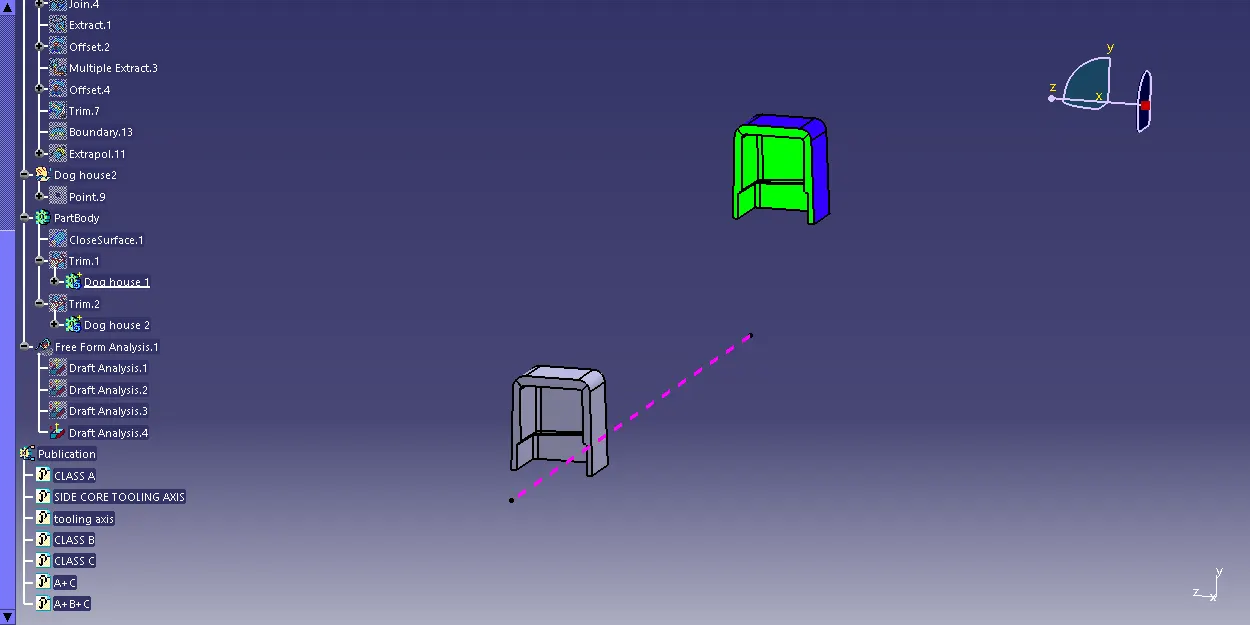
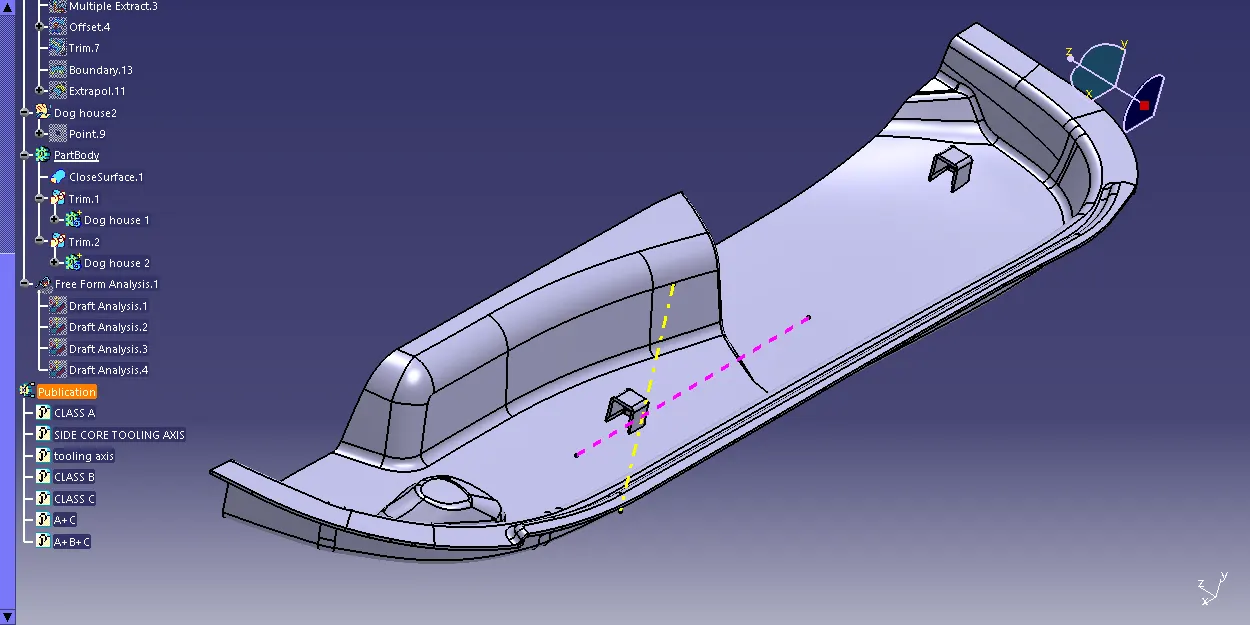
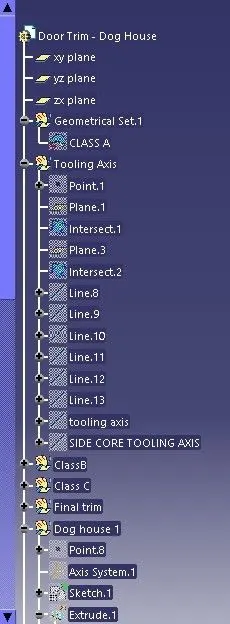
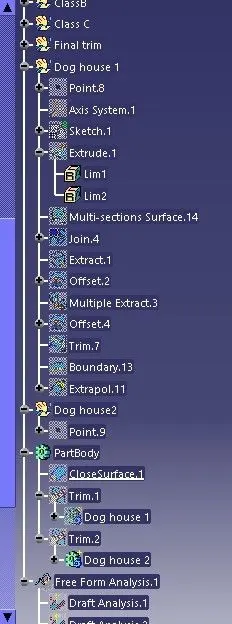 Tree Structure