Week 10 - Challenge 2- Attachment Feature Creation (Dog House)
AIM
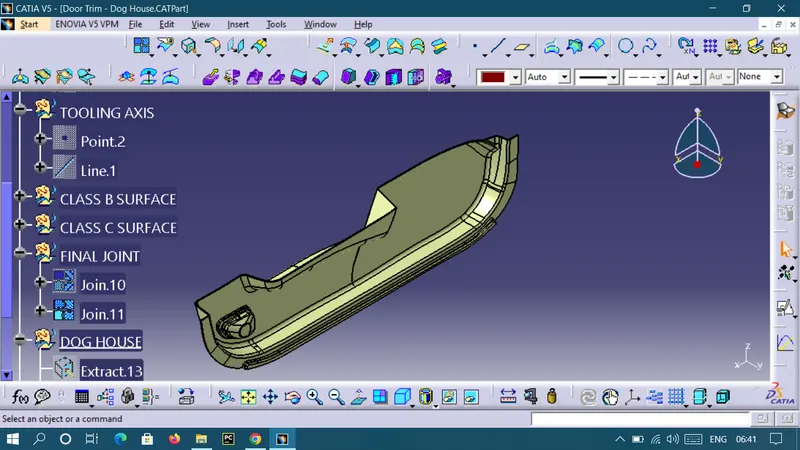
Create the Dog House for the Door Trim considering the design rules for the Dog House.
OBJECTIVE
- Create a Tooling axis for the given CLASS -A surface.
- Create the CLASS B and C surfaces of door trim using the given CLASS-A surface.
- Create a final surface model and convert it into a solid body using the close surface command in the part design workbench.
- Crea ate side core axis for the dog house
- Create Dog house on the B surface by considering the design rules.
- Perform draft analysis for both Class-A surface and Final part body.
Procedure for Tooling axis creation
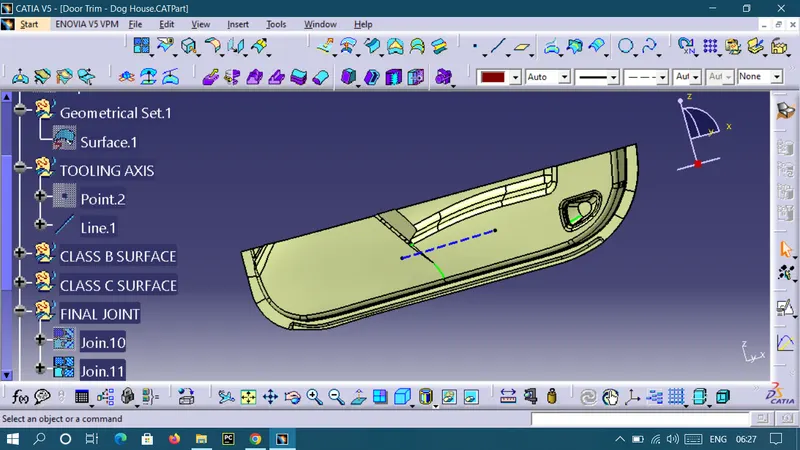
- Check the best possible tooling direction by manually adjusting the compass.
- By analysing it is found thathe t y axis as tooling direction would clear most of the faces without any difficulties.
- Now extract any surface and create a mid-point on it.
- Then create a dummy axis creating a line on the point and direction along the y-axis.
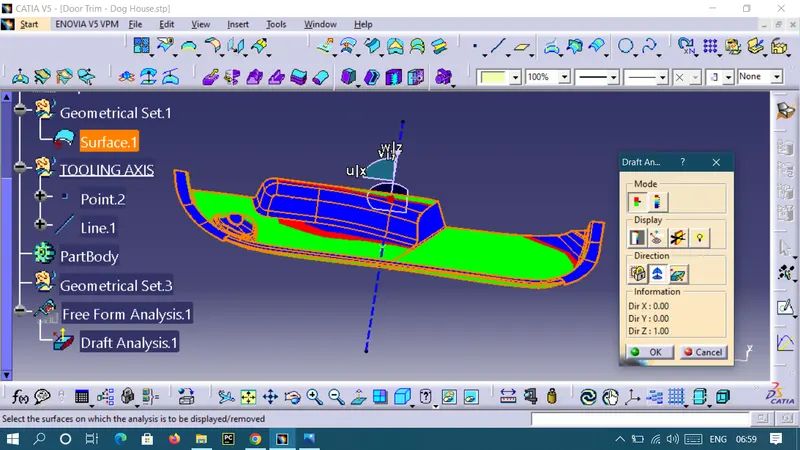
- Perform draft analysis to find whether the given axis clears the draft analysis. If not create a new tooling axis.
Draft analysis of CLASS-A surface
CLASS-B surface creation
Class-B surface means the thickness of a part it is not visible and is inside part. In other words, the Class-B surface is a surface below a certain thickness from the class-A surface. This is the surface that contains engineering aspects of a model.
- Crean ate offset surface of Cin LASS-A about 2.5mm inward direction.
- Check for discontinuity and rework on the offset surface using extract, multi-extract, multi sections surfaces.
CLASS-C surface creation
The surface that joins class-A and class-B surfaarethe s is class-C surface. Class C is often specified for interior surfaces not readily visible, surfaces that will be covered by another part when assembled
- Create the sweep concerningerence to the surface and tooling axismulti-extractingting the CLASS-A boundary
- Join the sweep surfaces by using commands like extrapolate, trmulti-sectiontion surface.
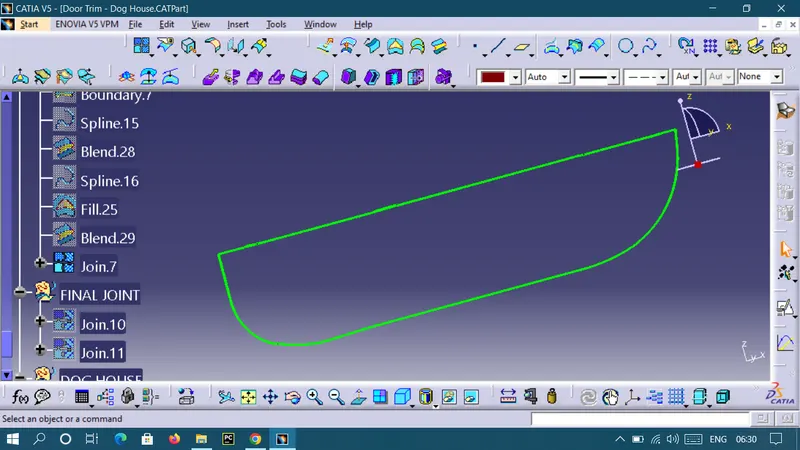
Creating the Final surface
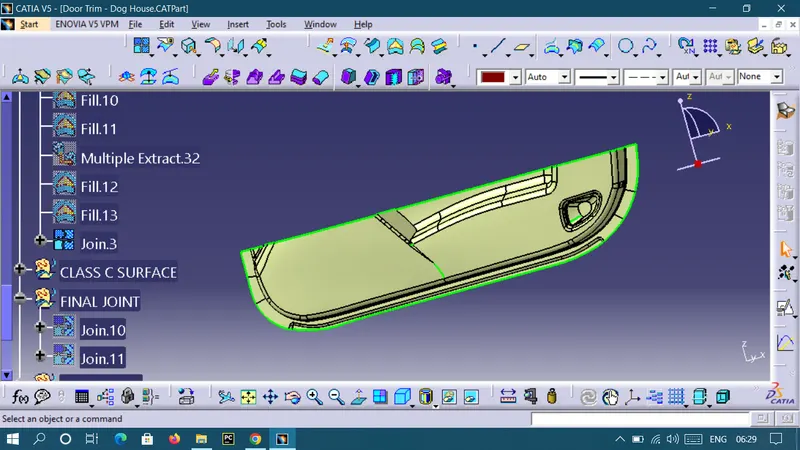
- For creating the Finals door trim surface, join the CLASS-A and CLASS-C surfaces together.
- Then Extrapolate the B surfacea little bit outward direction to make sure that there would not be any gap when trimming with the joined surface.
- Then trim the extrapolated CLASS-B surface wthe ith Join surface (CLASS-A and CLASS-C)
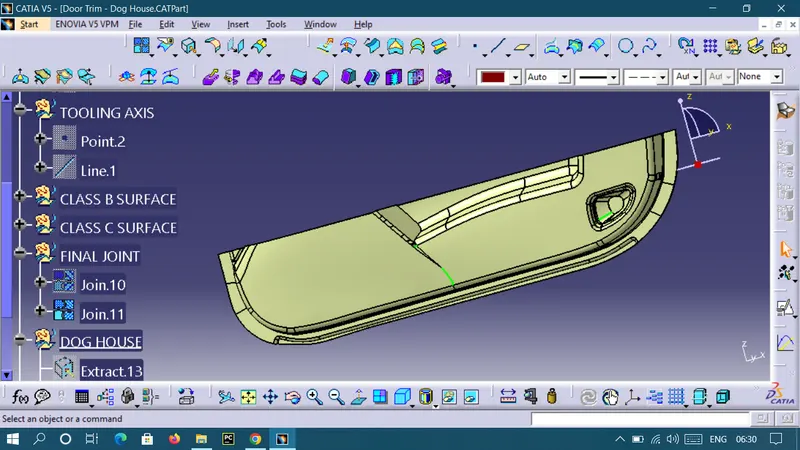
VIEWS
TOP VIEW
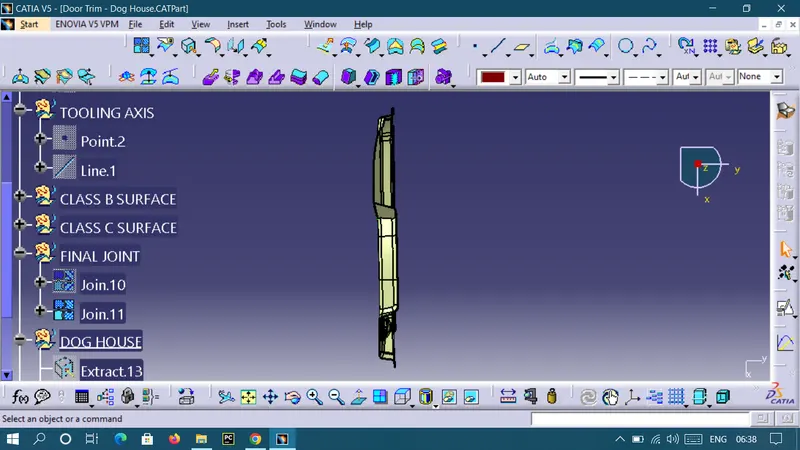
FRONT VIEW
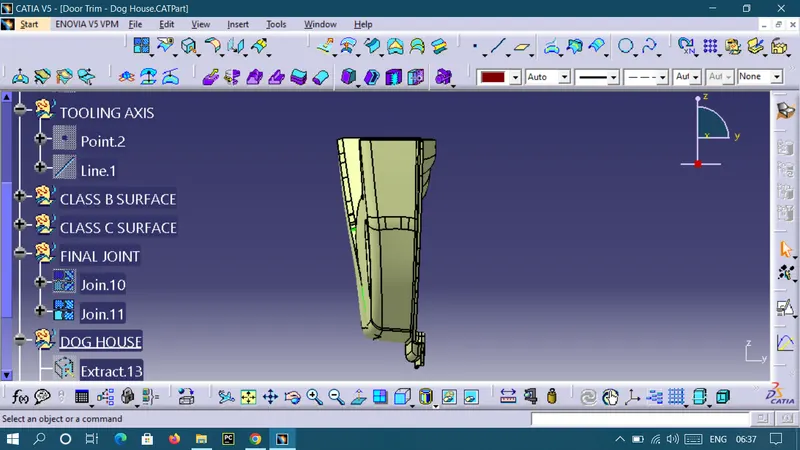
SIDE VIEW
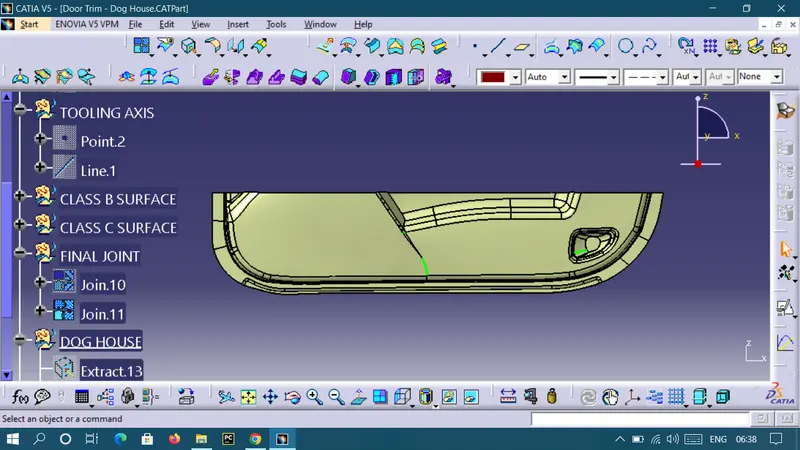
ISOMETRIC VIEW