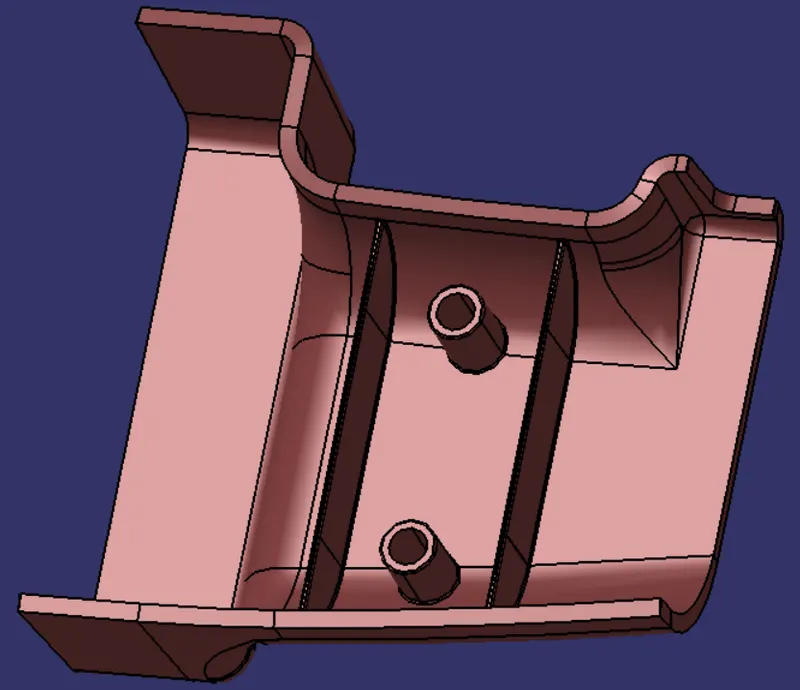
Week 10 - Challenge 1- Attachment Feature Creation (Ribs & Screw Boss)
Aim:- Attachment Feature Creation (Ribs & Screw Boss)
objective:-Create the rib for the Drill Handle considering the design rules mentioned in the video.
Procedure for the projects
- Creating the tooling axis
- Draft analysis of Class A surface
- Creating Class B surface
- Creating Class C surface
- Surface and solid body
- Draft analysis of Solid body
- Engineering features Rib and Screw boss
1. Tooling axis creation :
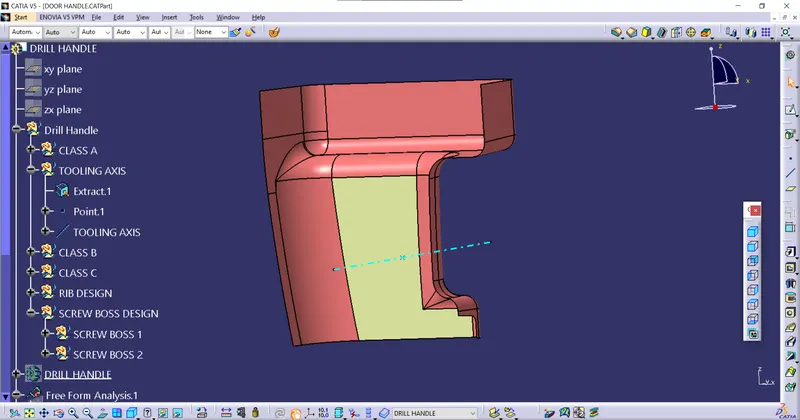
The first step is to observe the given class-A surface deeply and we can say the larger flat area which is perpendicular to the Tooling axis. So, by considering this thing for this class-A surface tooling direction will be in the X-direction. so we create the point on the flat surface as shown in the figure.
Draft analysis for class A surface:
To perform the draft analysis in class A, I selected the featured draft analysis tool in the Generative shape design workbench. Initially, I click on the 'use of the compass to define the new current draft direction' command to align the compass to the tooling axis.
Once the compass is aligned the compass to the tooling axis, we need to select the surface to perform draft analysis. Class A surface will be highlighted (in green colour) according to the colour bar angle and colours we defined in it.
Here I gave green colour for > 0.9 deg, red colour for < 0deg and cyan colour for less than 0.9deg and greater than 0deg.
If I gave a 3deg draft angle some faces are not getting cleared, so I have gradually reduced the draft angle to up to every face gets cleared.
3. CREATING CLASS B SURFACE
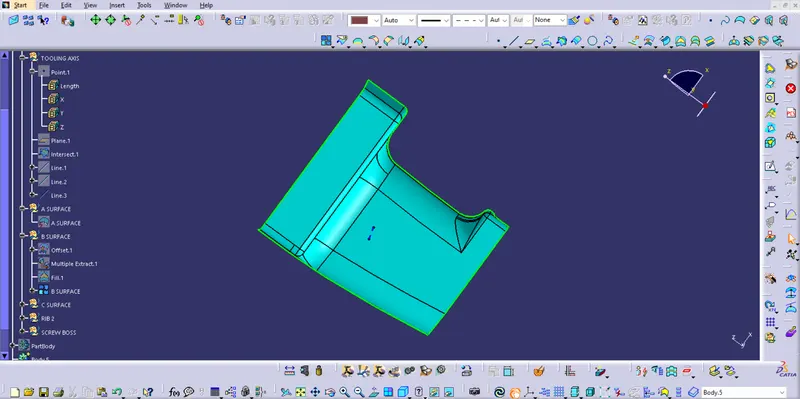
Extract the surfaces from the class A using multiple extract and untrim them.Use Extrapolate to make sure that all the untrims are properly intersected to trim and offset the surfaces to 2.5 mm to create the thickness.Trim the extra surfaces using trim command.Insert them into new geometrical set and name it with respective part names.Apply fillets to the model after creating the entire surface.If the edges are outside the fillet value will be added to the thickness of the component and if the edges are inside, the fillet value will be subtracted from the thickness of the component, for instance the thickness of the component Is 2.5mm the fillet value is 15mm so the outside portion value should be 17.5mm and inner eges should be filleted 12.5mm to get uniform thickness.Perform trims one at a time so that it will be clear to understand.
Class B surface Creation:
To create the class B surface for the door handle, I offset the class A surface to 2.5mm inside. Once the class A surface is offset created, according to the thickness, we can observe some patches on the offset surface due to the fillets on the class A surface. Now, we need to close those patches. I used multi-section solid command to close the patches.
Class A offset:
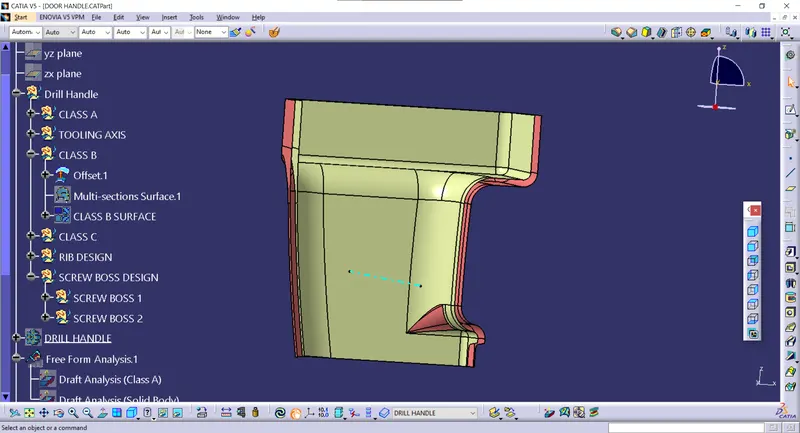
Offset patch:
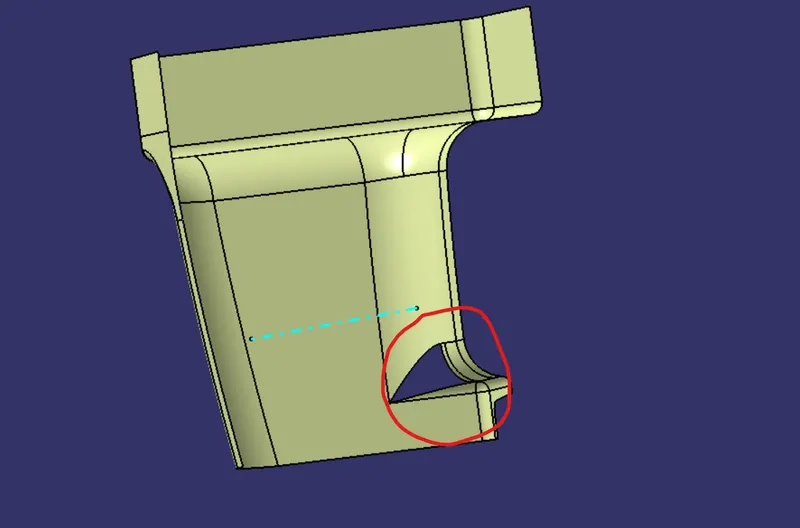
I observed only one patch on the offset, I used a multi-section solid command to close the patch to create the proper 'Class B surface'.
Class B Surface:
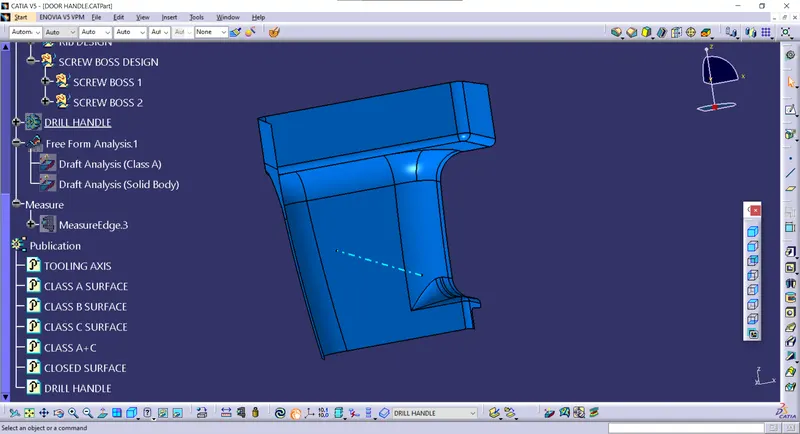
Class C Surface creation:
I used the sweep command in the geometric shape design workbench to create the class C surface.
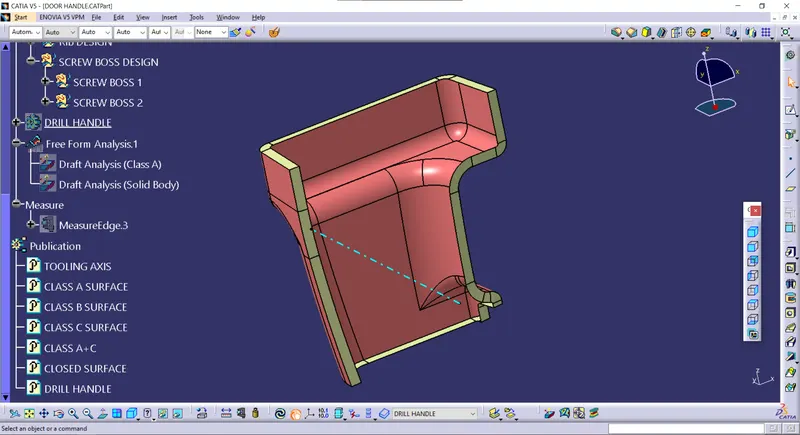
Initially, I extracted the edges of the class A surface with tangent continuity by using the multiple extract command. After extracting the class A surface edges correctly, I sweeped the extracted edges with 93deg toward the class B surface. After sweeping the extracted class A surface edges, I extrapolated the edges of the sweep for 2mm to intersect the sweep edges with each other. Now I trimmed the extrapolated surfaces together to create a complete sweep surface towards the class B surface. I joined both the trimmed sweep surface and class A surface together, to get the class A+C surfaces as a single surface. Now, to create a solid body for the door handle we need a closed surface. I trim the class B surface with joined class A+C surface to make the closed surface of a door handle.
Class C surface:
- RIB
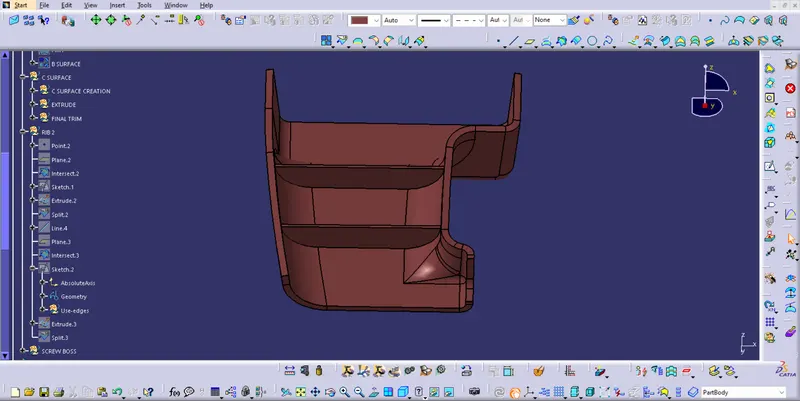
Rib root thickness analysis
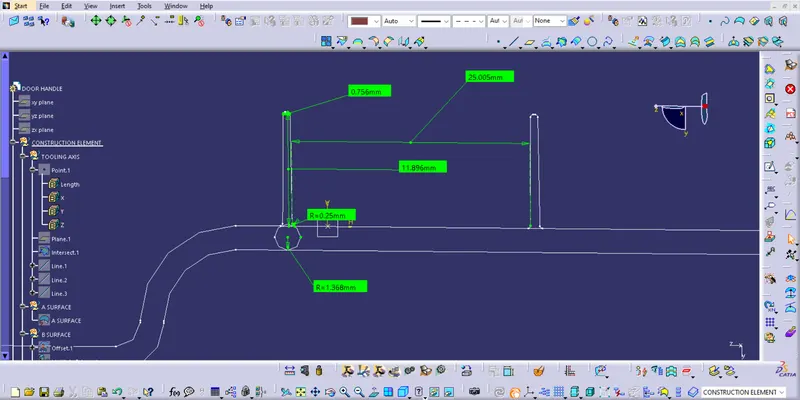
To check the Rib root thickness, first take perpendicular intersection across the body and the Rib and then have to sketch a circle which tangent to the Rib base or root area by using tritangent type circle. The value must be within 30% greater of the wall thickness.
- Screw Boss
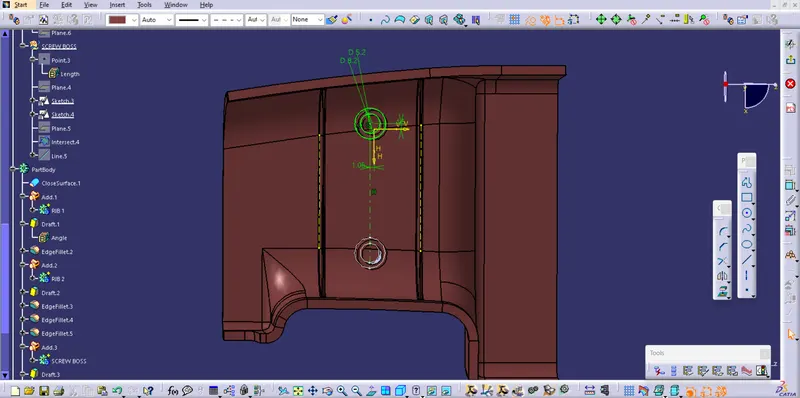
Screw boss are used as a point for attachment and assembly, most common in as cylindrical projection with hole design to receive screw or other types of fastening hardware.
Design considersation of the Screw boss
Conclusion :
Hence the Rib for the drill handle considering the design rules for rib creation and Screw boss creation and Draft analysis is also performed for the final component is successfully done.