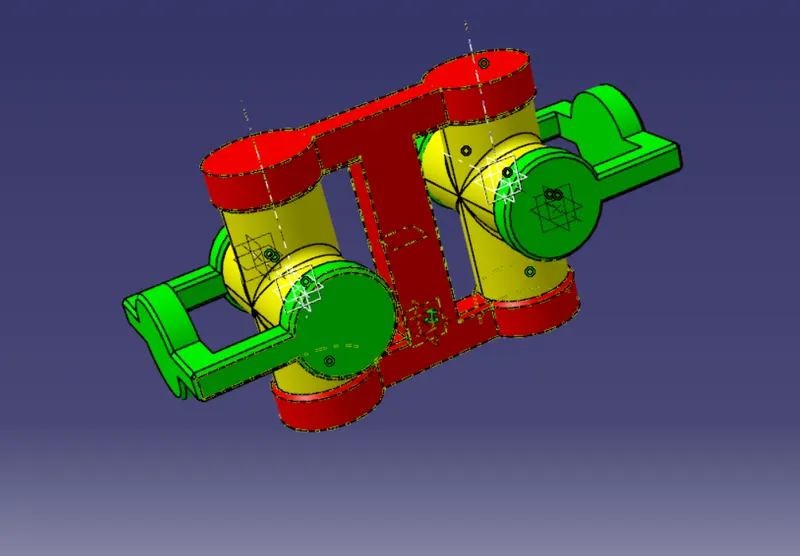
Week 10- Assembly Workbench
The aim is to draw the Part body and assemble it in product workbench.
Steps to get into product workbench:
File -> New -> Product
To import the component drawing to the Assembly/product workbench:
- Click on the existing component toolbar
- Click on the Mainpart
- Then the folder containing the folder will appears
Important guidelines to be taken care of while in Product workbench
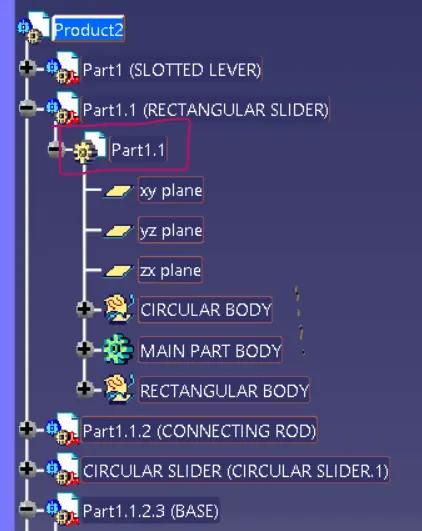
While double click in the part as marked in above figure,it will go to the part design.To get back into the Assembly,you want to just double click the Product on the above.
Manipulation : Click on manipulation and select the direction,drag the component accordingely.
The first part to be fixed to be taken as the reference.These are the main guideliness to be followed in Assembly workbench
Inorder to make axis on a part to be constrained
- Click on the part
- Take Generative shape design
- Click on Insert->Wireframe->Axis
The constrains that used in this Project are:
Coincidense constrain:In coincidense constrain we have to select the centre axis of the two components and then click local update
Contact constrain:In this constrain,we have to select the phase of one part and select the phase of the secandpart and then apply local update.
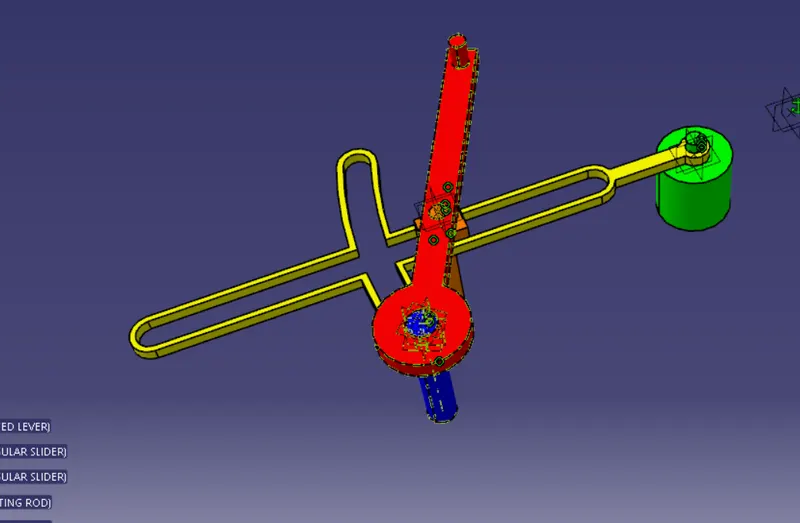
QUICK RETURN MECHANISM
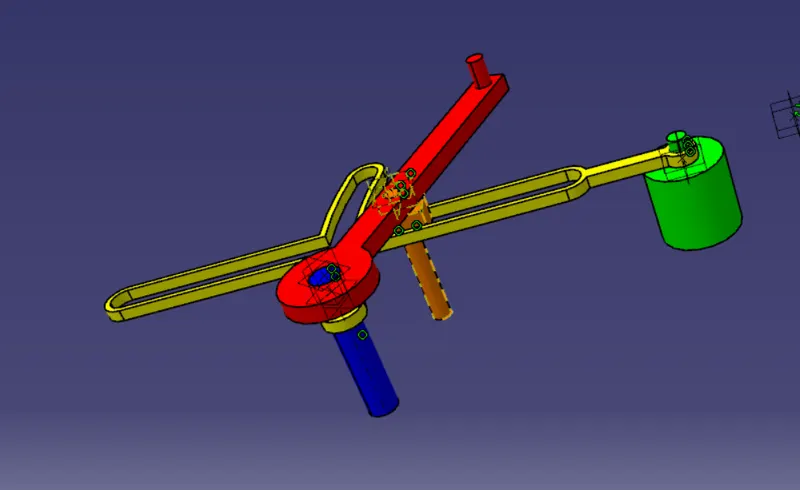
This is the Assembly of Quick return mechanism
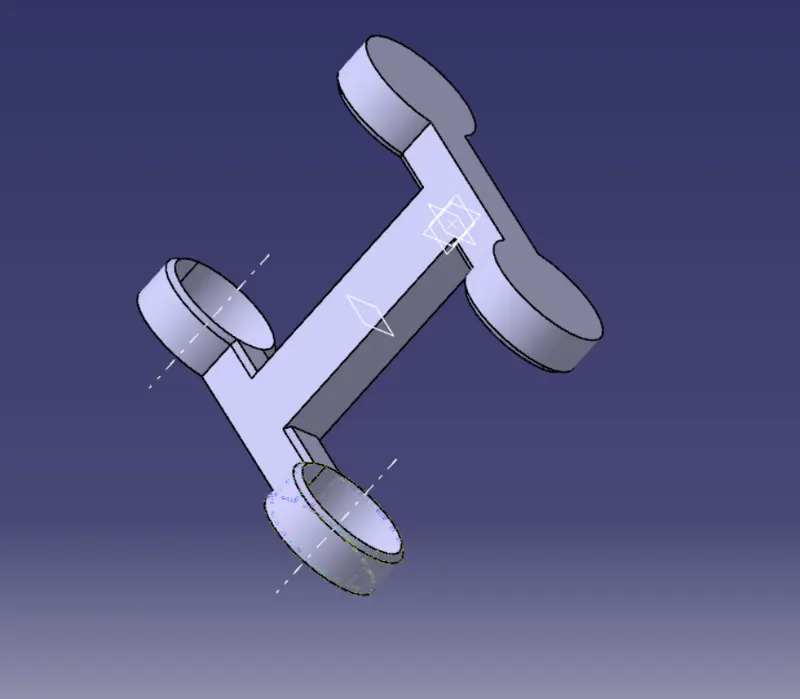
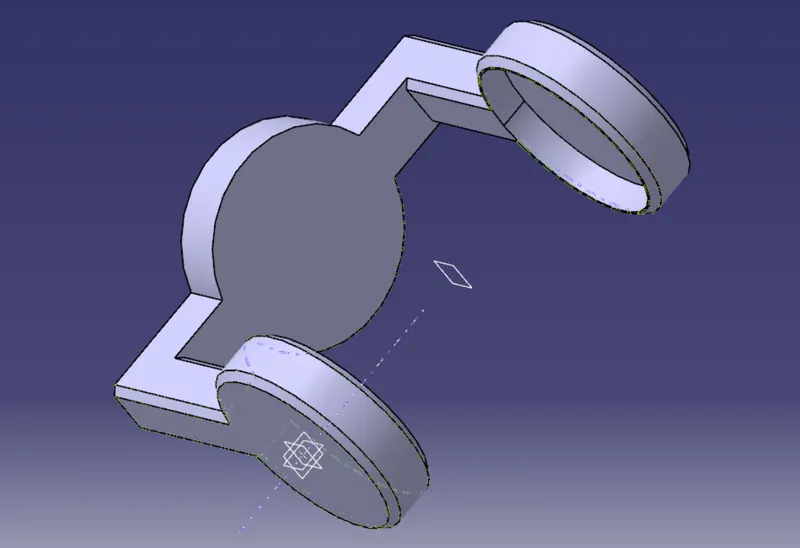
BODY 1
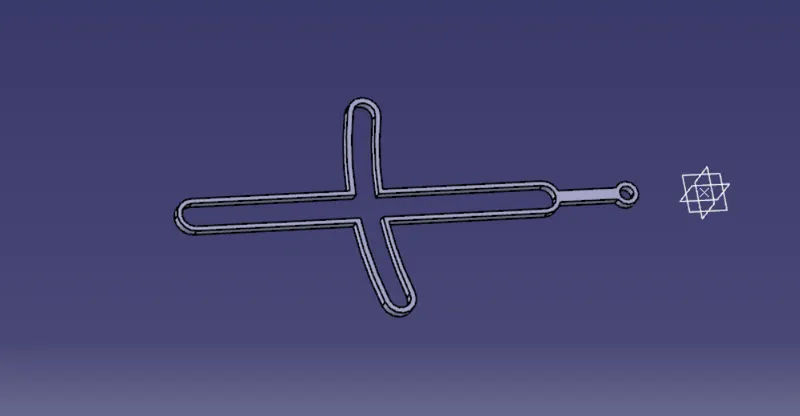
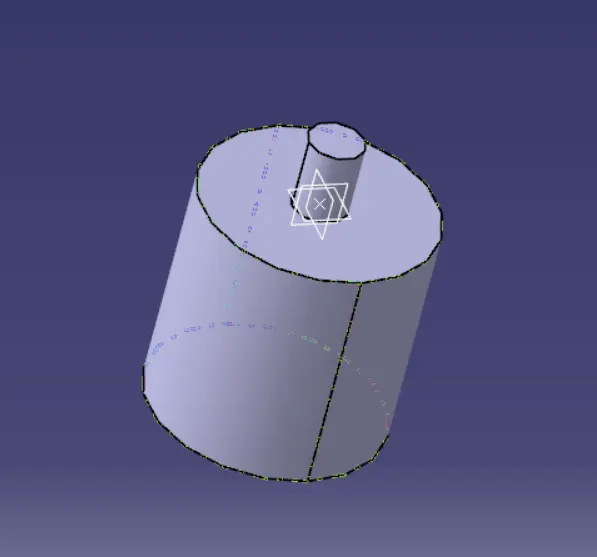
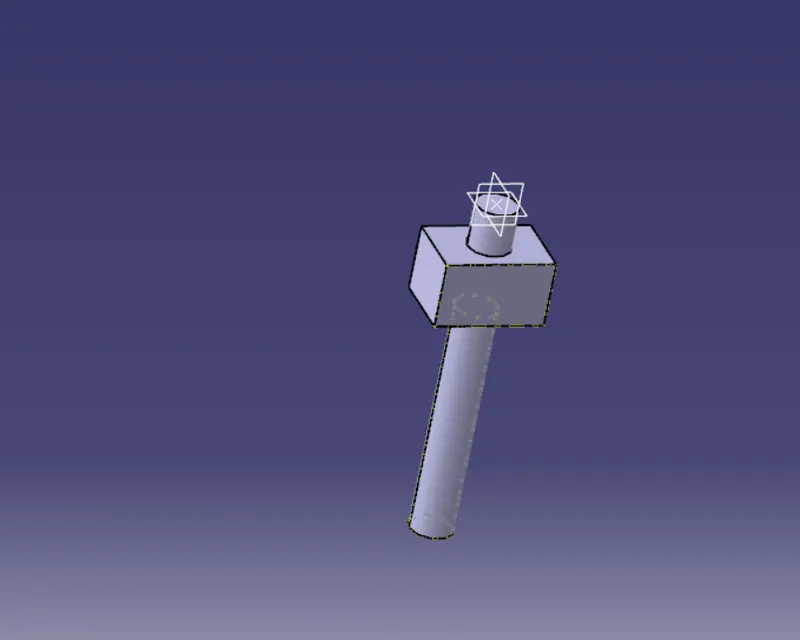
ASSEMBLY
The next drawing is the CV Joint
The part file of the CV Joint
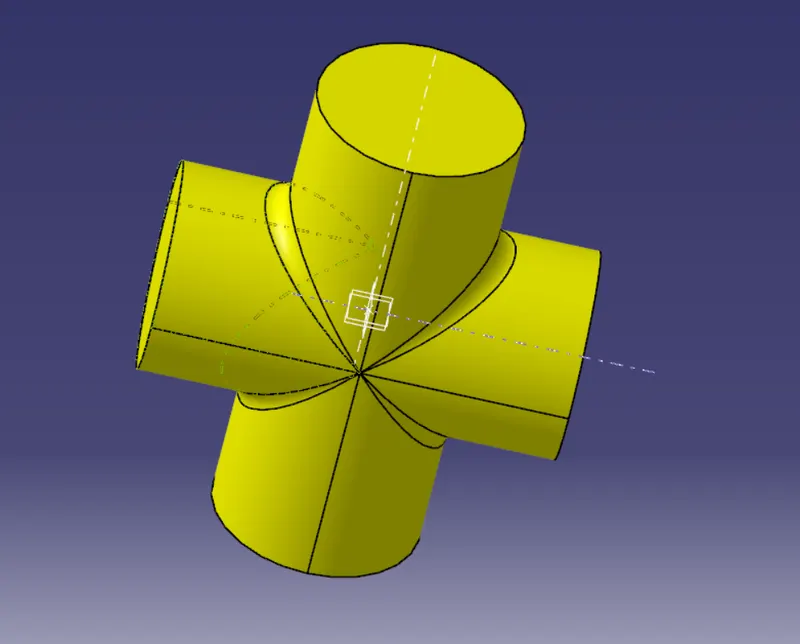
The assembly