Week 10- Assembly Workbench
DESIGN AND ASSEMBLY OF QUICK RETURN MECHANISM:
QUICK RETURN MECHANISM
A quick retum mechanism is an apparatus to produce a reciprocating motion in which the time taken for travel in retum stroke is less than in the forward stroke. It is driven by a circular motion source (typically a motor of some sort) and uses a system of links with three turning pairs and a sliding pair.
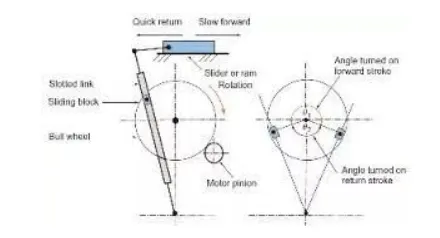
There are 5 Parts are there in quick return mechanisam they are designed seperately and assembled together in catia assembly workbench.
Body 1
First we have to draw 2D drawing to make the part body.
Sketch 1
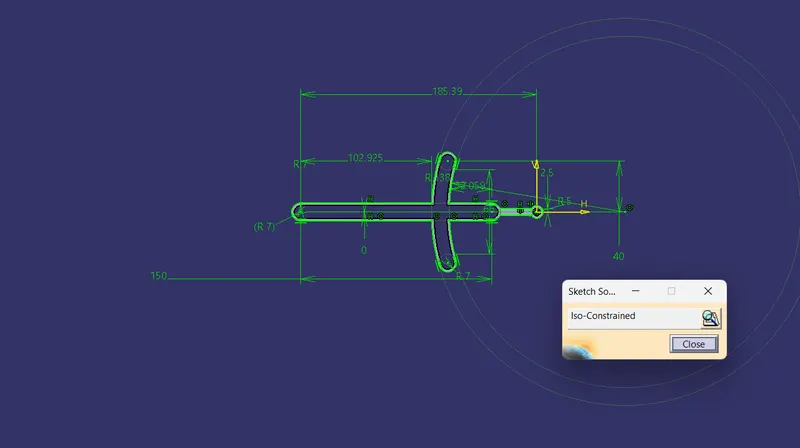
Sketch 2
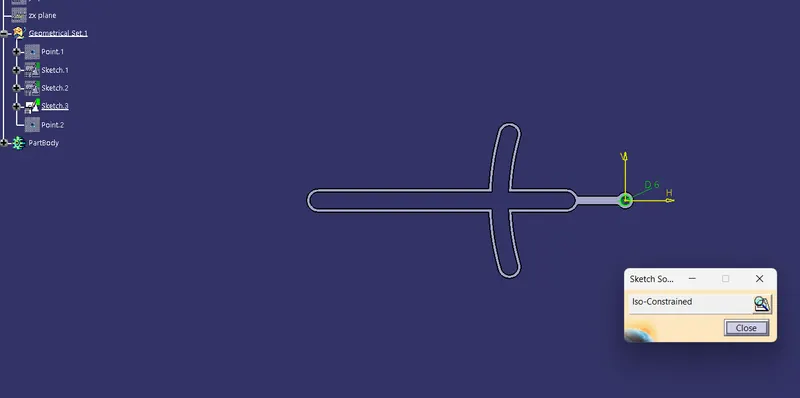
Freom the refernce of the sketch 1 offset 2 mm and make the sketch 2
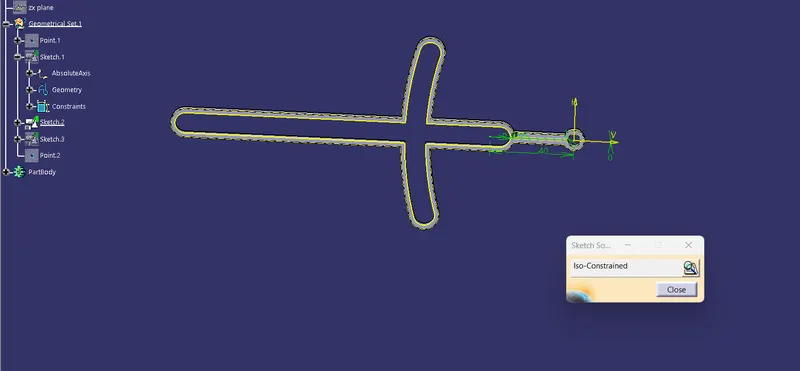
Sketch 3
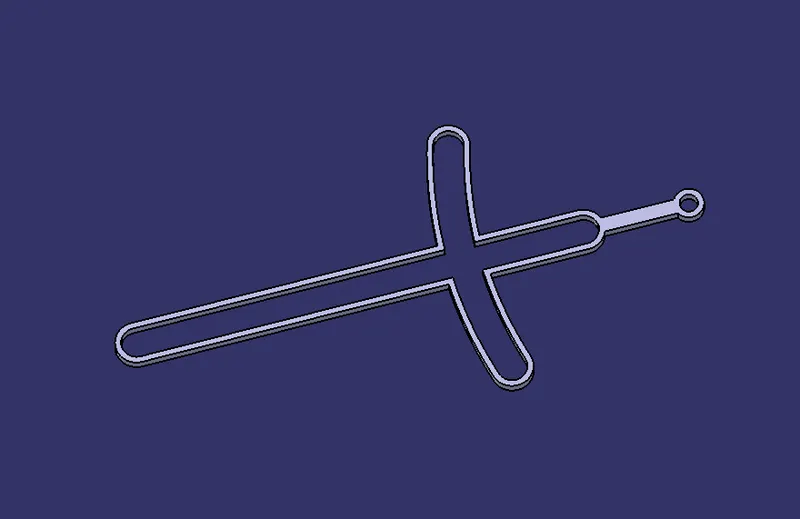
our body is created.
Body 2
Sketch 1
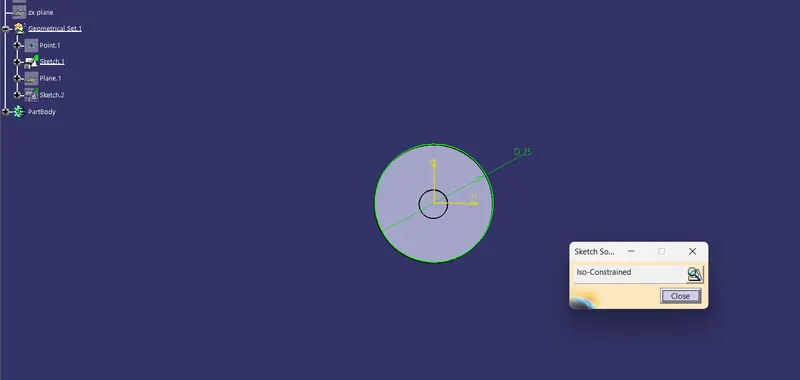
Sketch 2
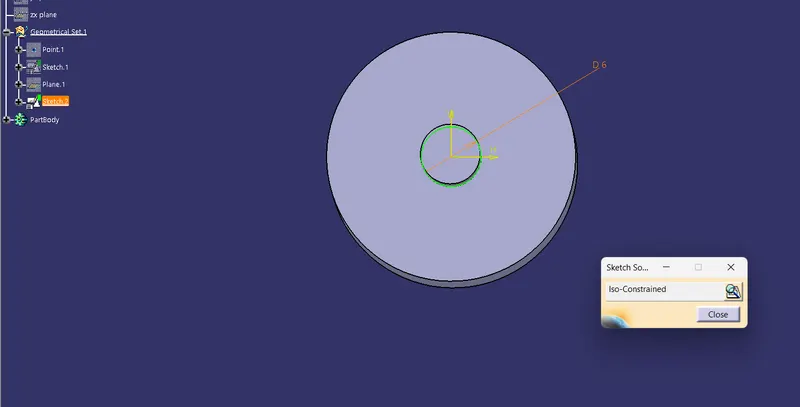
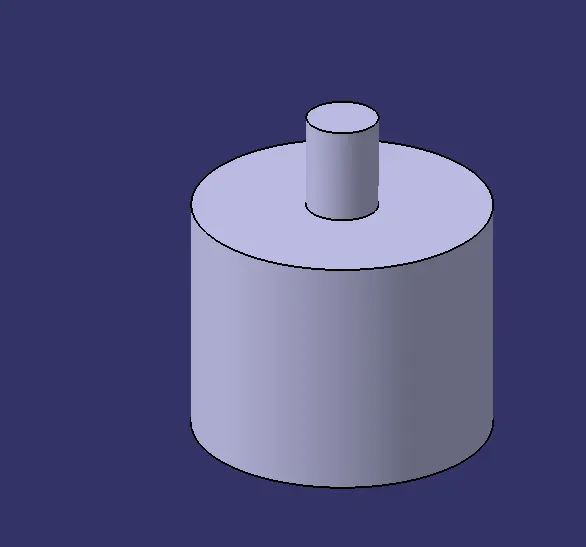
Insert the body to make soild part
Body 3
Sketch 1
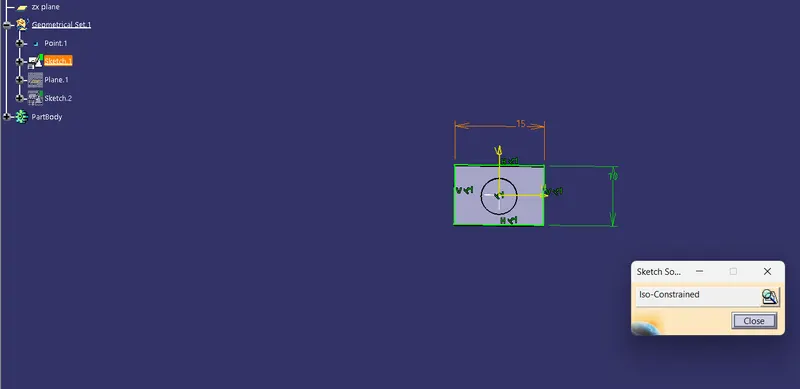
sketch 2
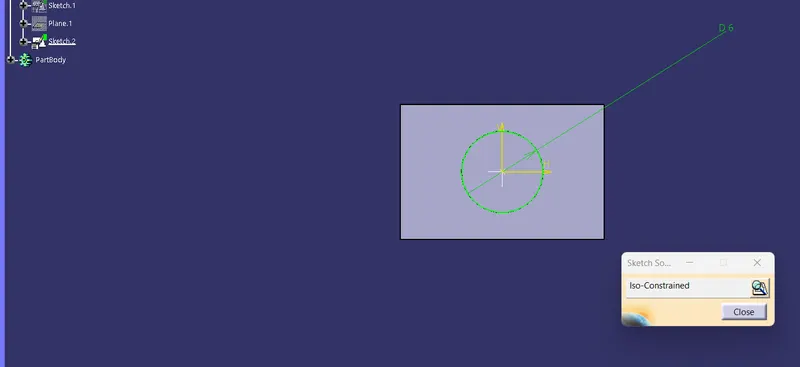
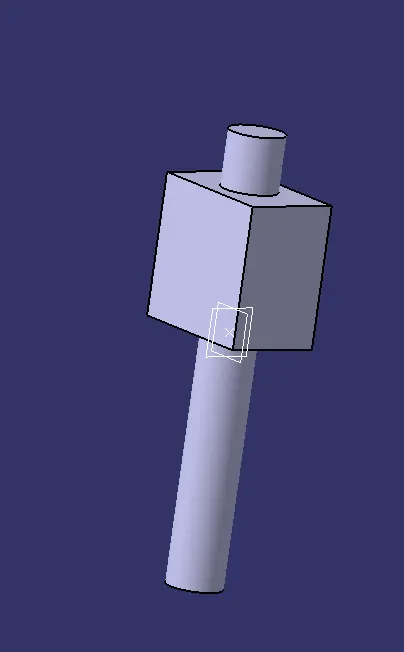
Insert a bodys to make soild part body and performeed bulion operations
Body 4
Sketch 1
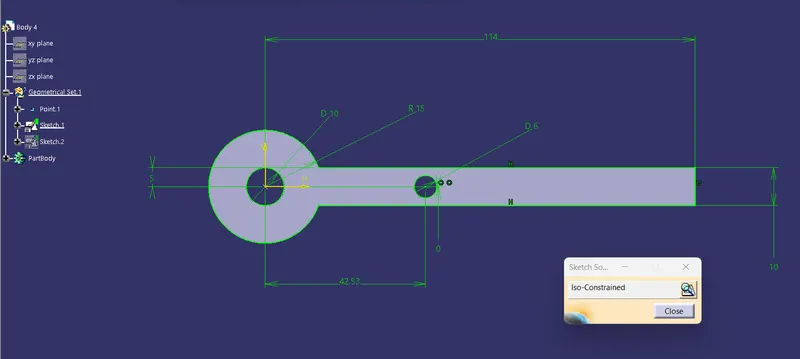
Sketch 2
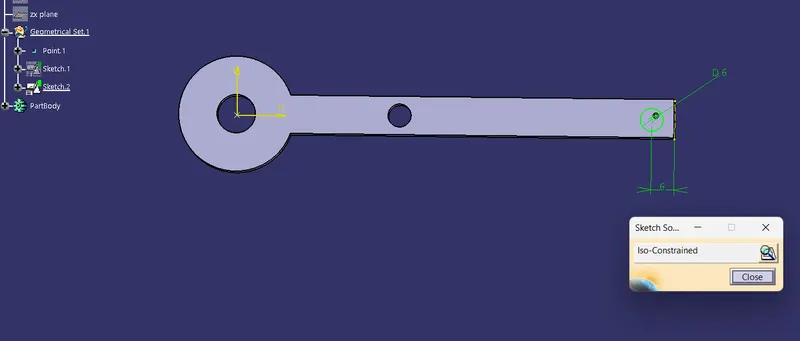
insert a body and performed a bulion operation
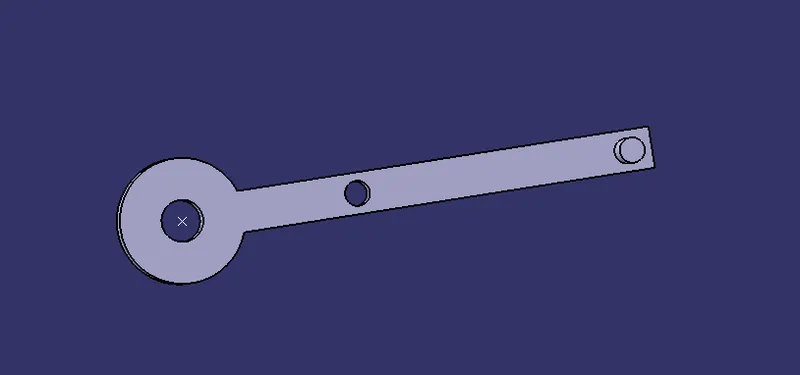
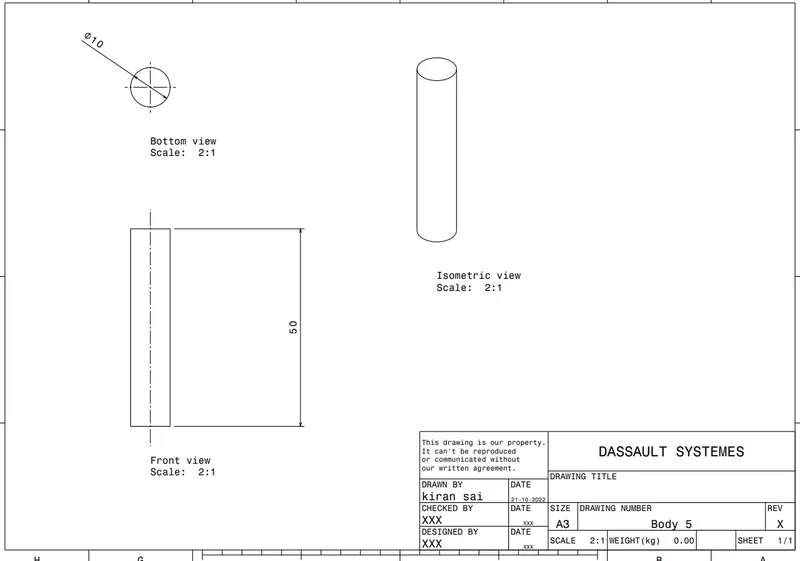
Body 5
Sketch 1
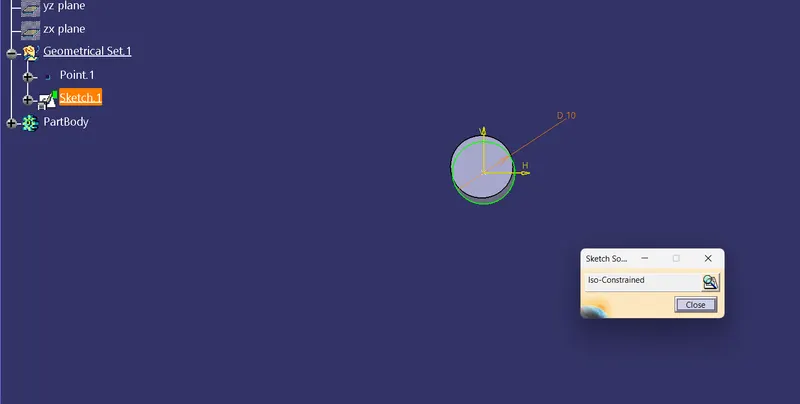
Insert a body make solid part
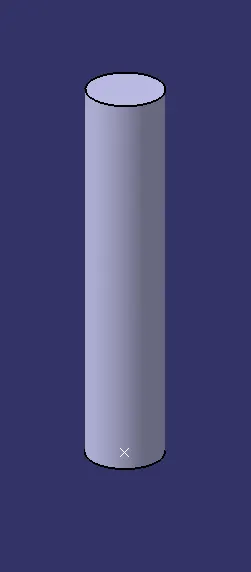
After all require body we have to assembly by change to assembly work bench
Quick Return Mechanism Asemblys
so that all the part are import the to assembly workbench and we have give all the constraint.
Here first we fix base body (Body 1) and give all the constraints all the parts align the properly.
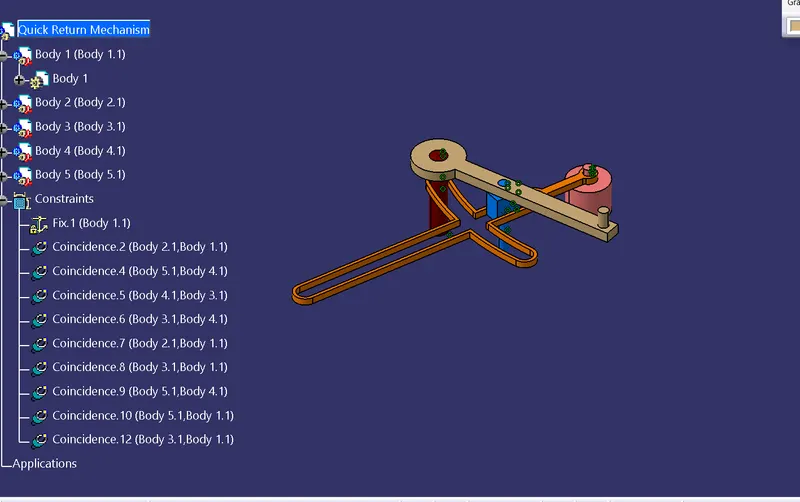
Final output of the assembly
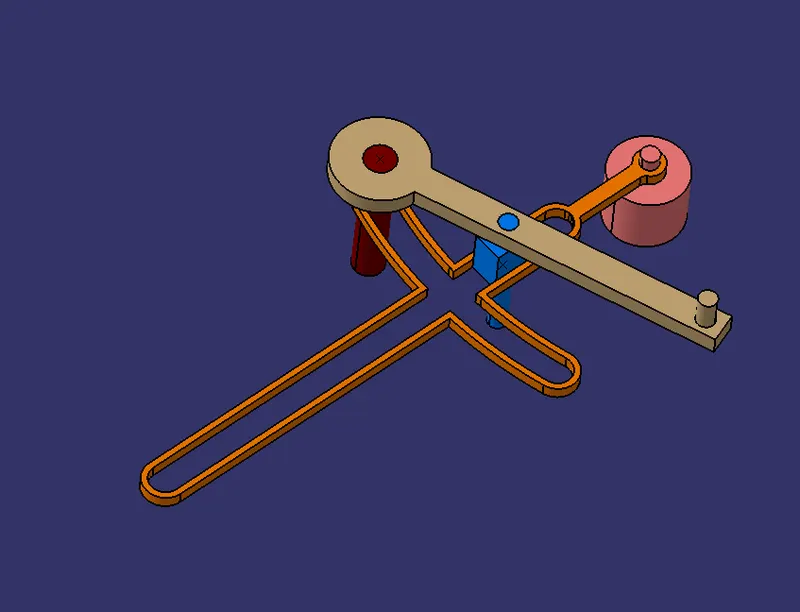
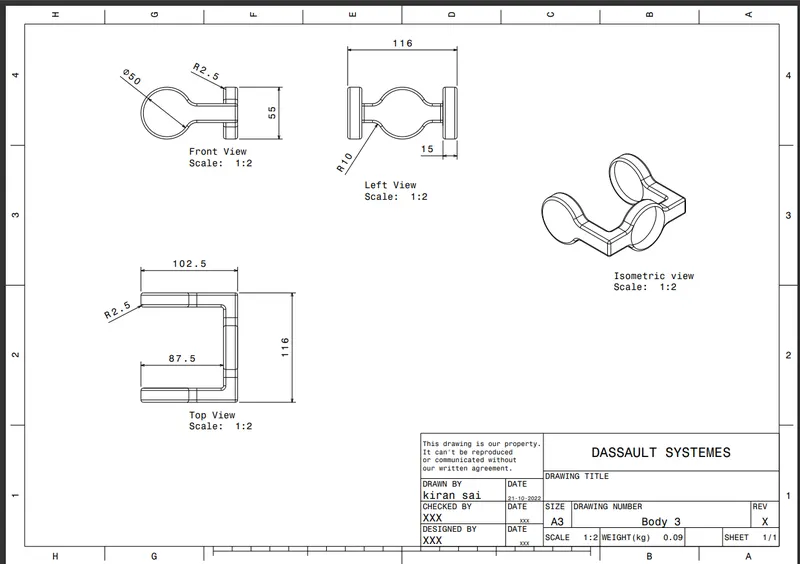
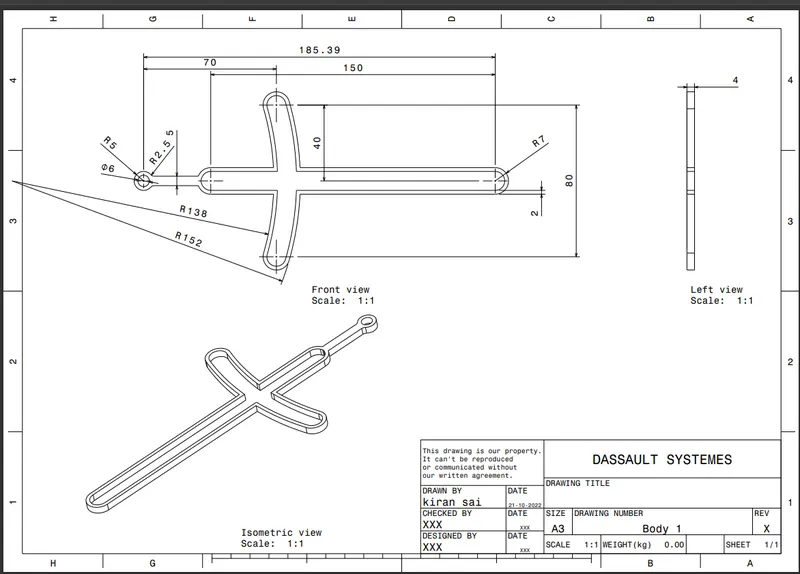
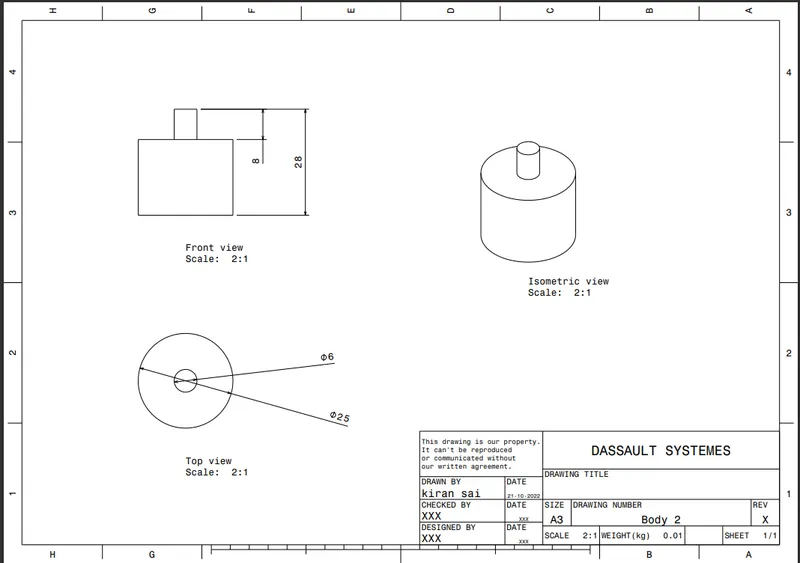
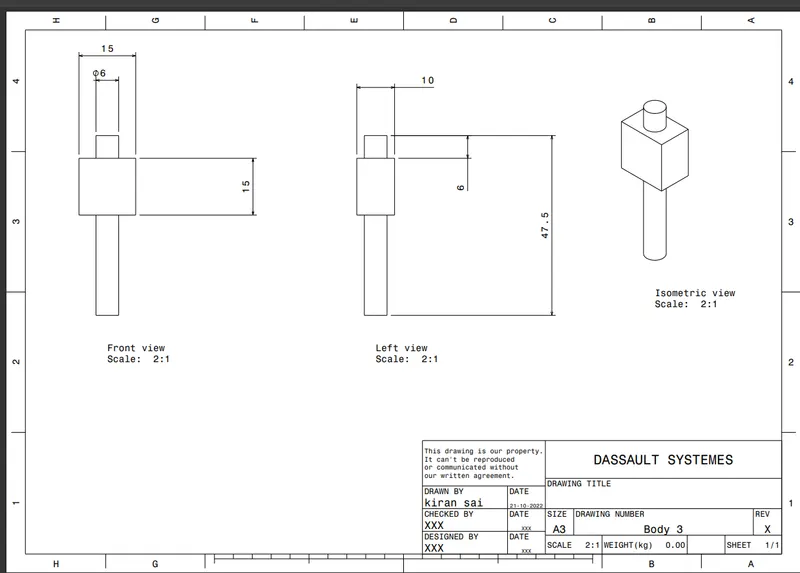
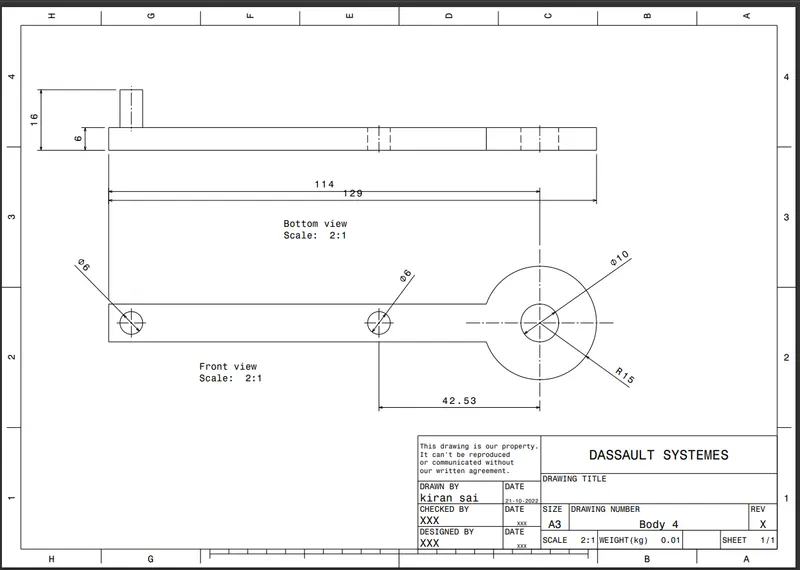
Draft Assembly
QUICK RETURN MECHANISM
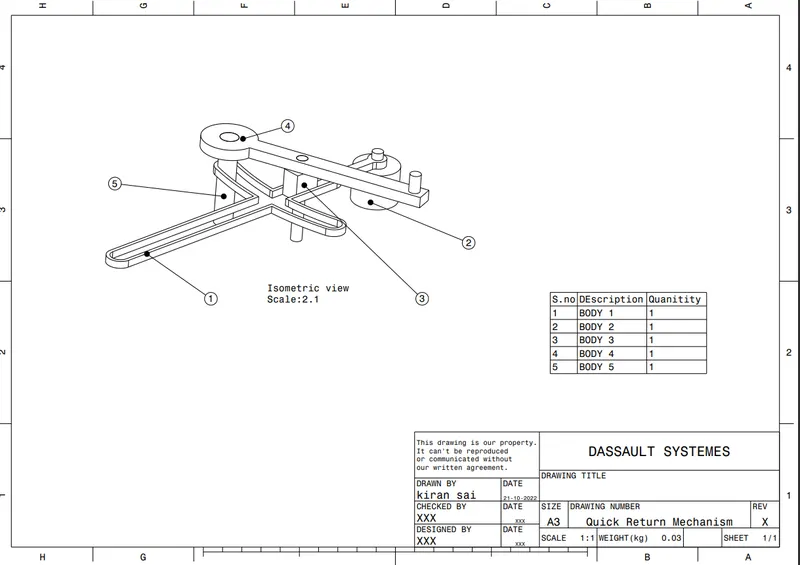
Body 1
Body 2
Body 3
Body 4
Body 5
2) CV Joint :
Part modeling :-
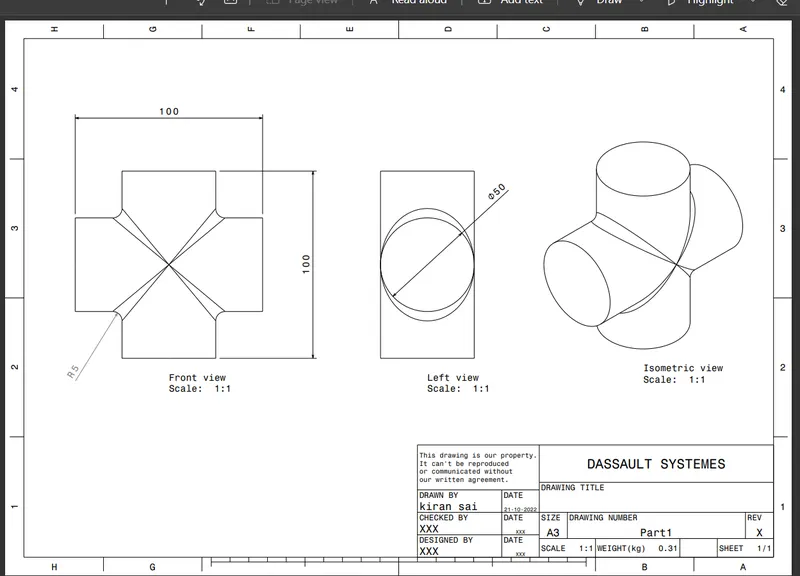
Body 1
Sketch 1
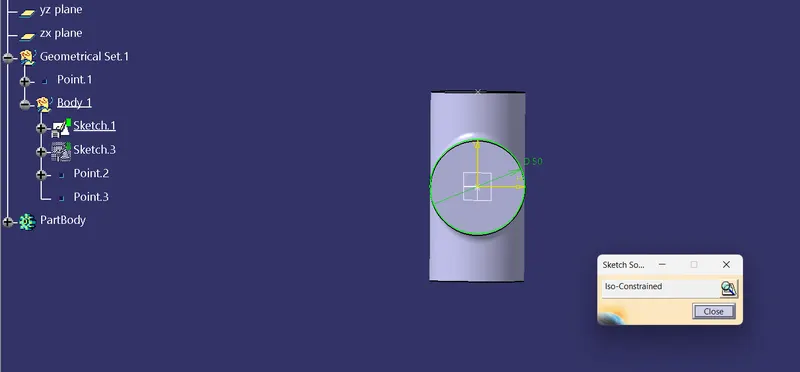
Sketch 2
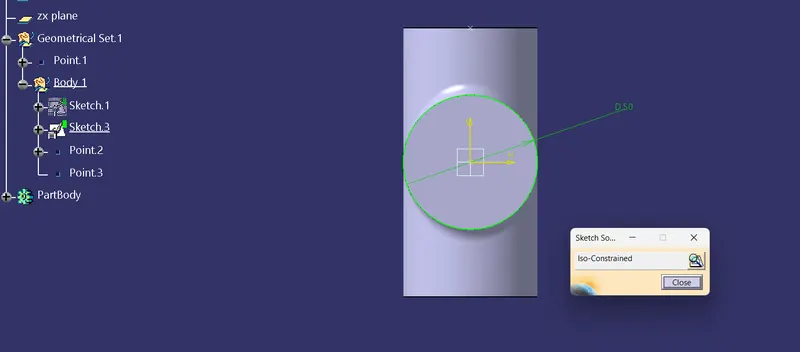
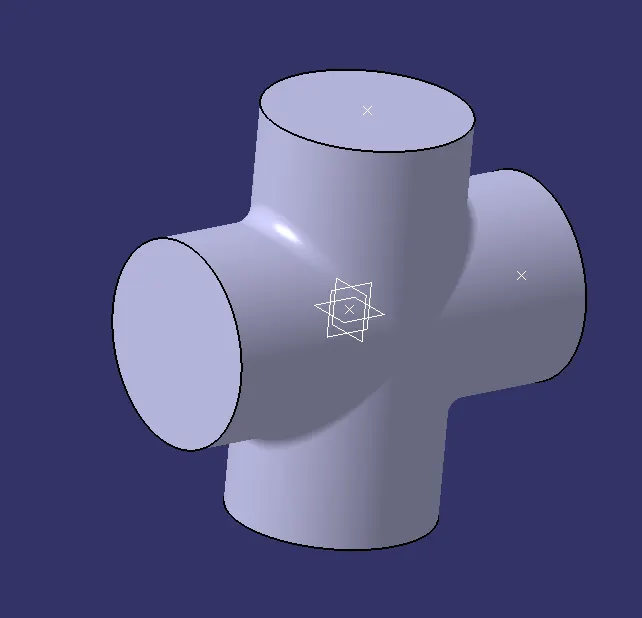
After creating the insert the body and make soild body perform bulion operations so that ur part is created
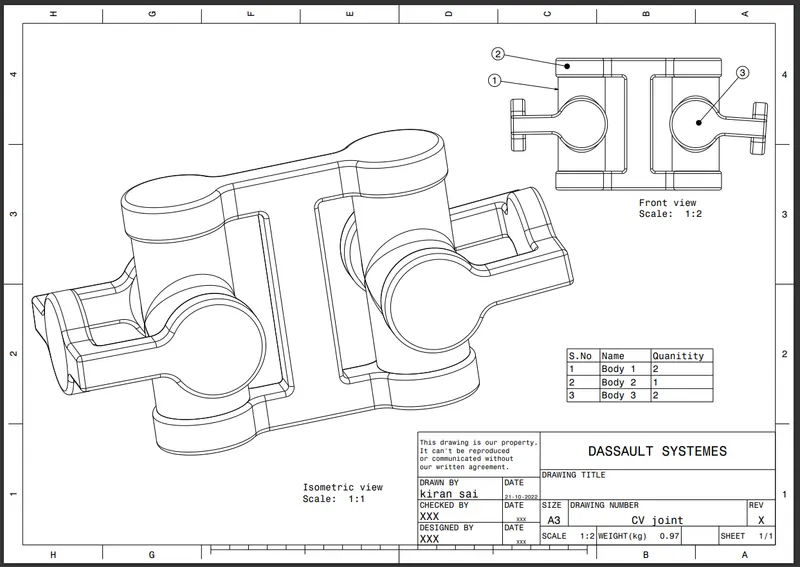
Draft Assembly
CV Joint
Body 1
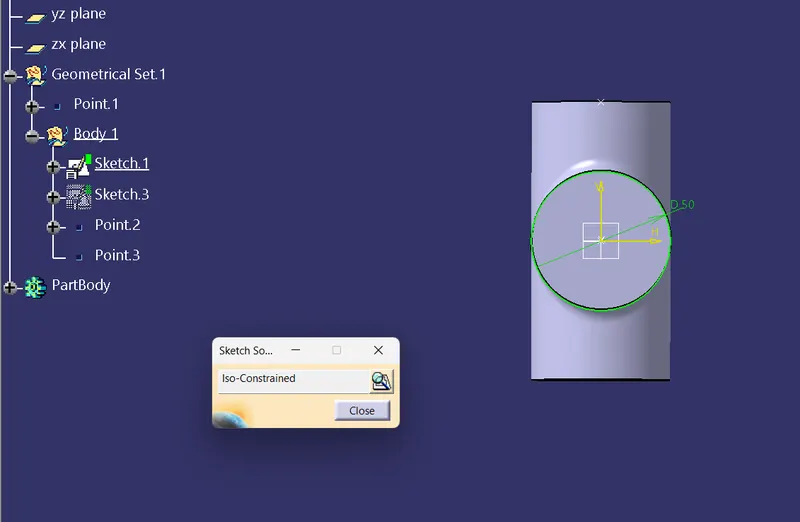
Sketch 2
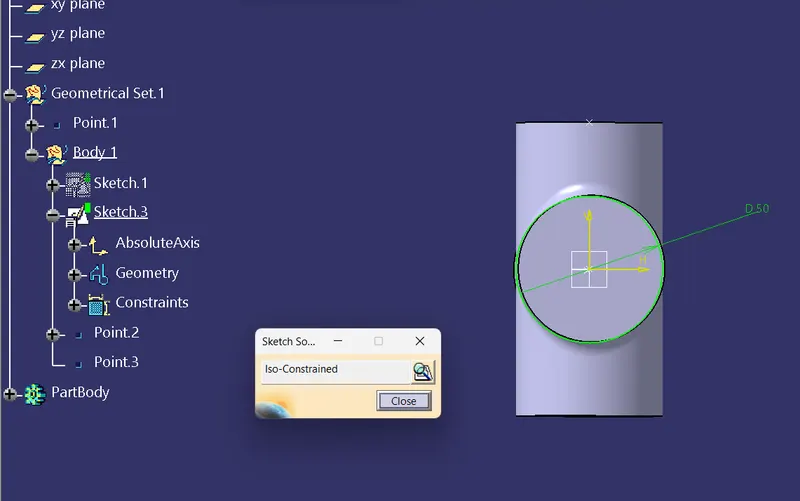
After creating the sketchs we have to insert the body and perform the bulion operations to require the Part body
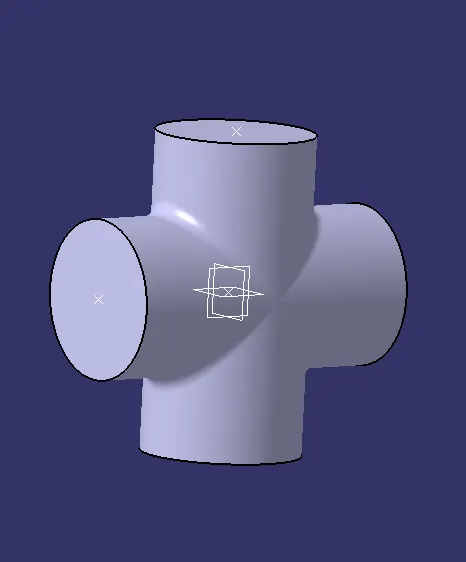
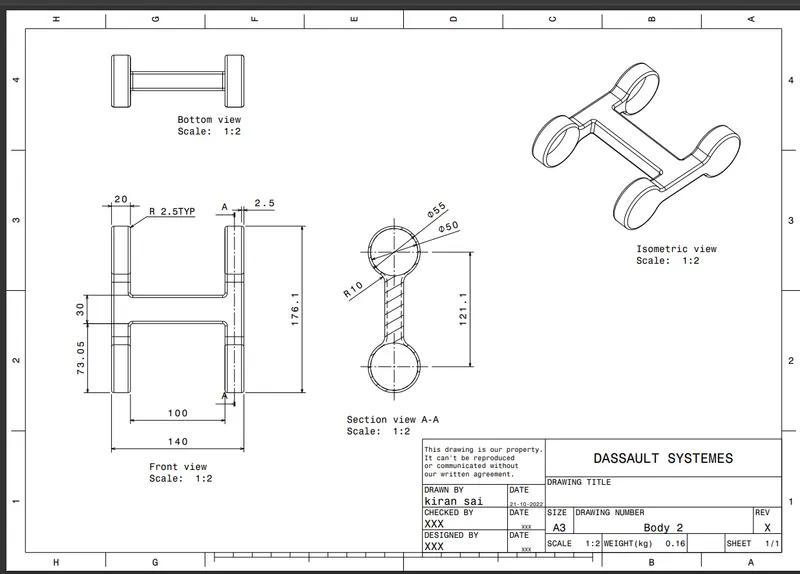
Body 2
Sketch 1
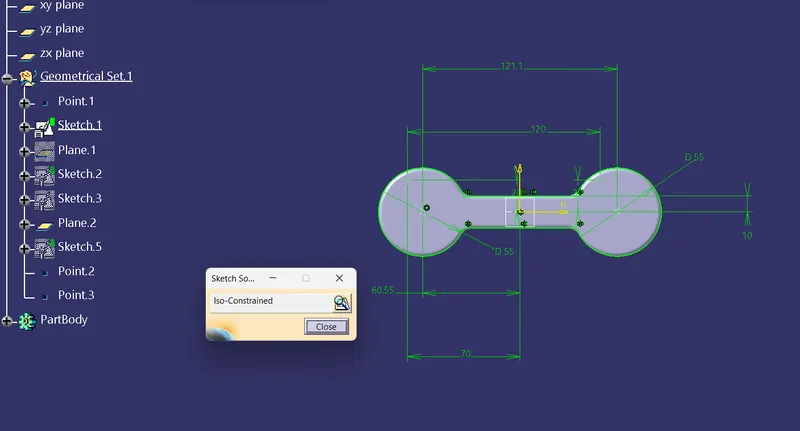
Sketch 2
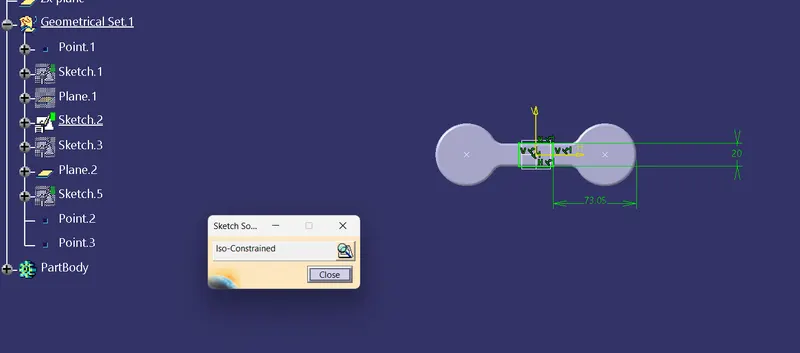
Sketch 3
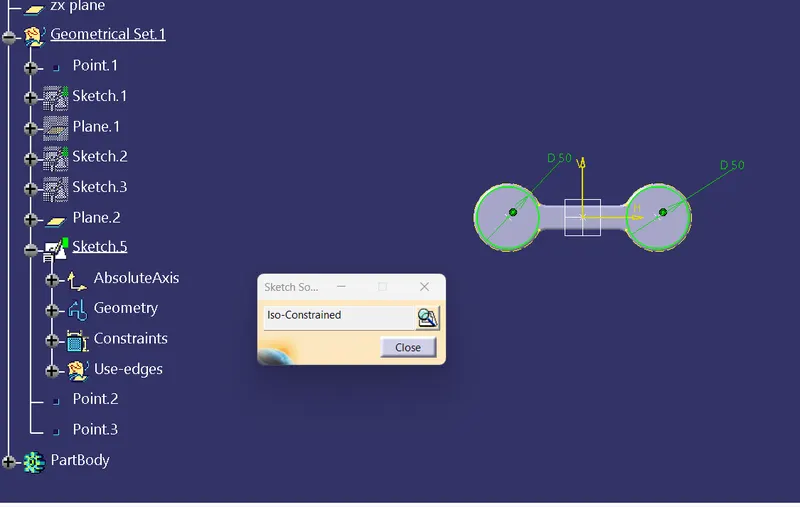
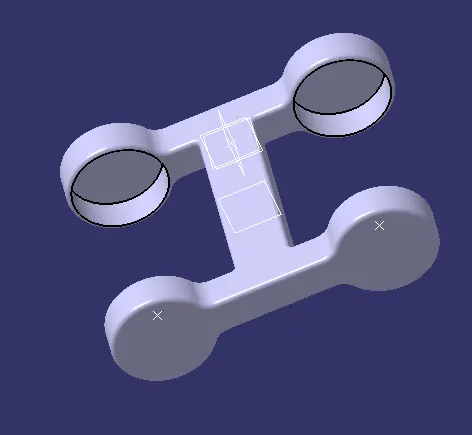
After creating the perform the bullion operation
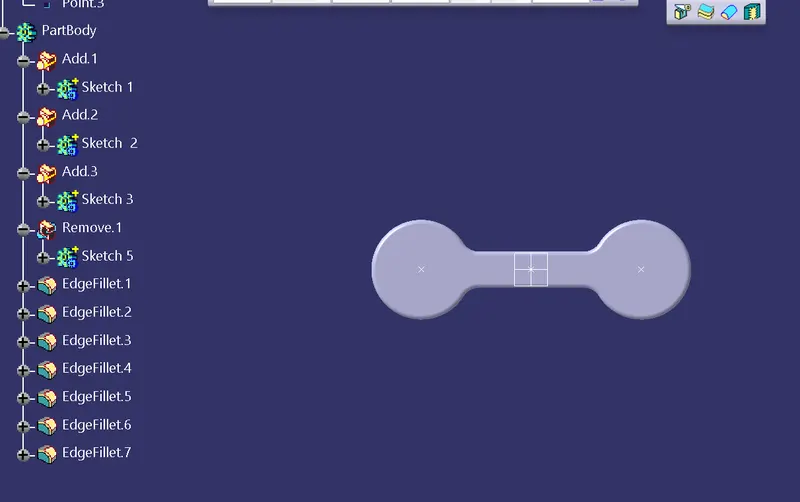
we get our part
Body 3
Sketch 1
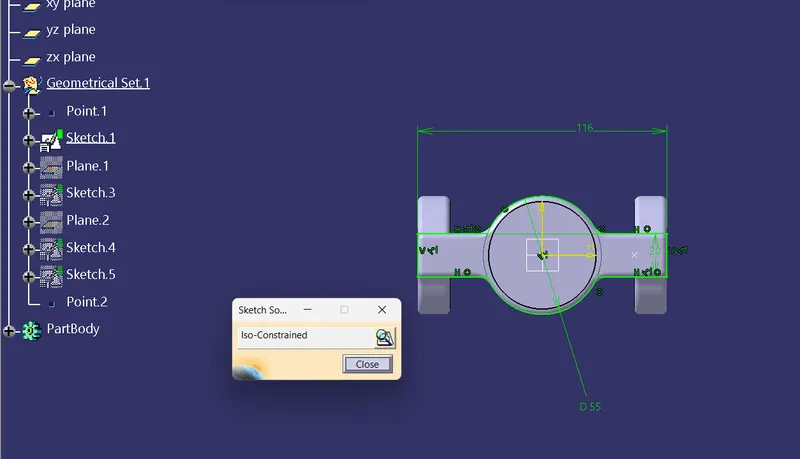
Sketch 2
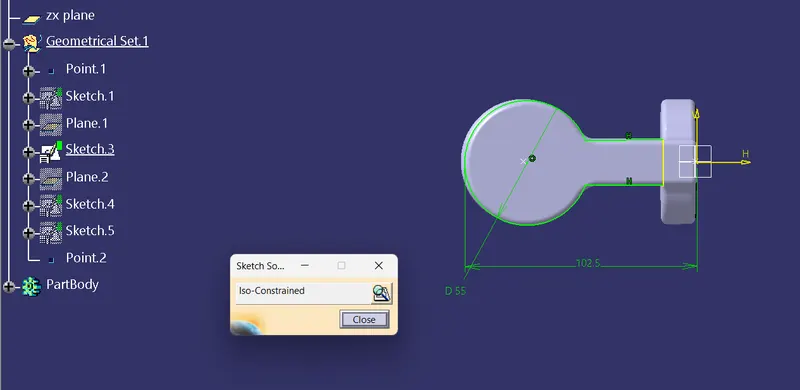
Sketch 3
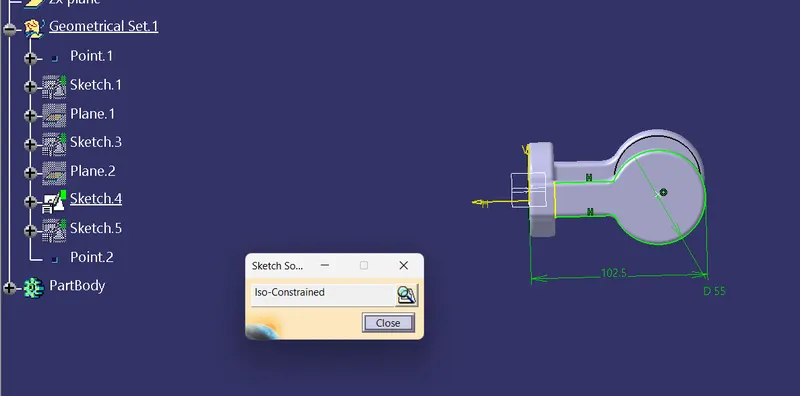
Sketch 4
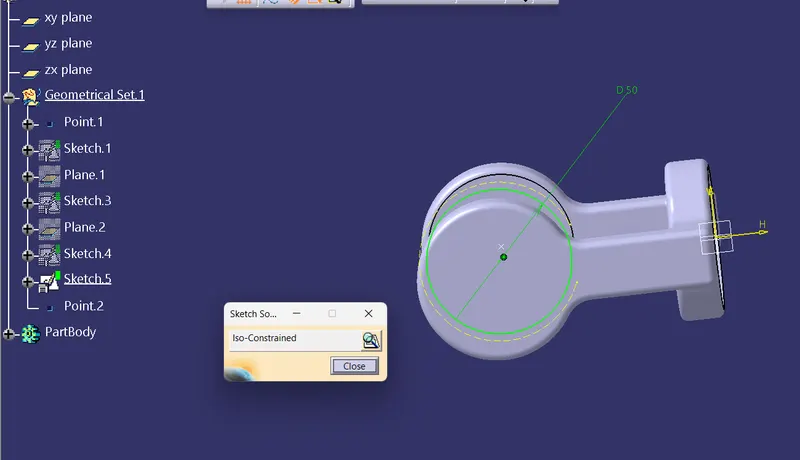
After completing all the sketchs we perform the bullion operations to get our part
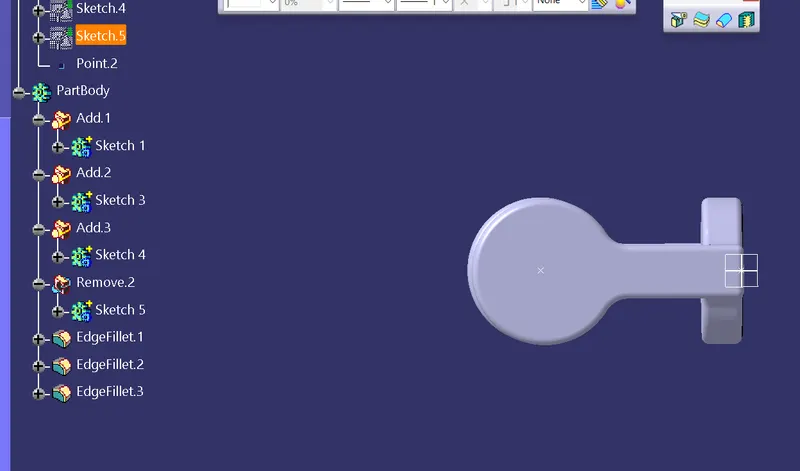
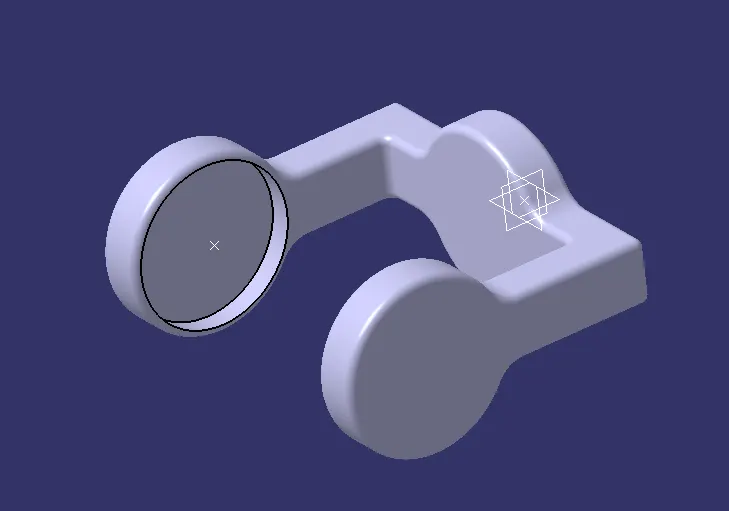
After all require body we have to assembly by change to assembly work bench
CV Assembly
so that all the part are import the to assembly workbench and we have give all the constraint.
Here we give all the constraints all the parts align the properly.
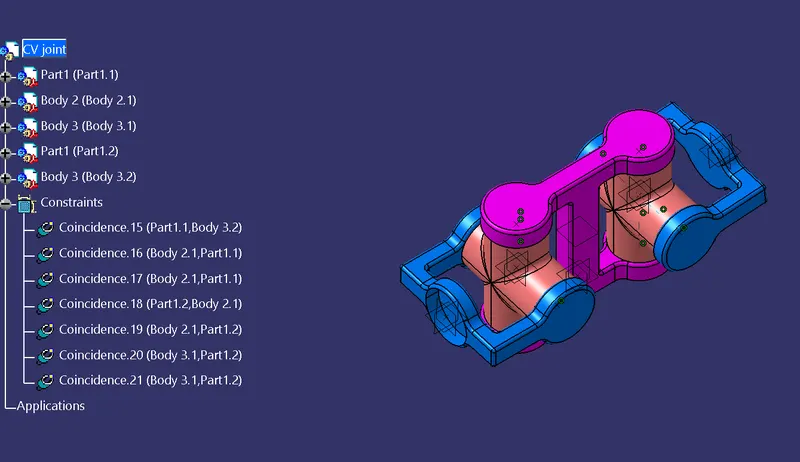
After all the constarints we get the final porduct
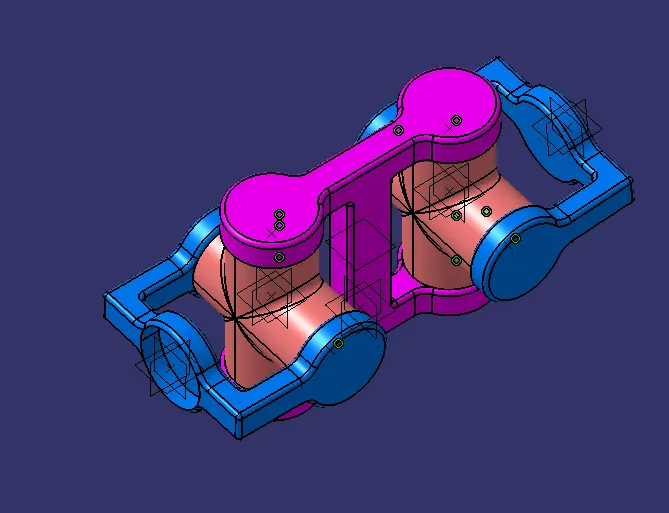
Draft Assembly
Cv Joint
Body 1
Body 2
Body 3